
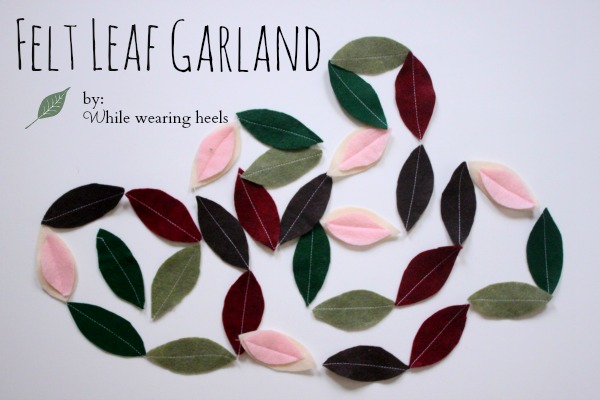
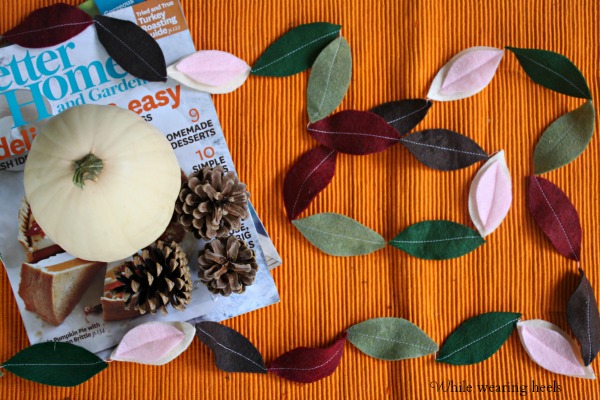
Felt Leaf Garland
Hello One Artsy Mama readers. It’s Amy from While Wearing Heels, your sewing “expert”…so get out your sewing machine and let’s get started.
Last time I was here, it was summer and now fall is upon us. The days are getting cooler and the leaves are falling. Though I may not be a huge fan of raking leaves, I am an admirer of their beautiful colors so much so, I decided I should turn them into a garland.
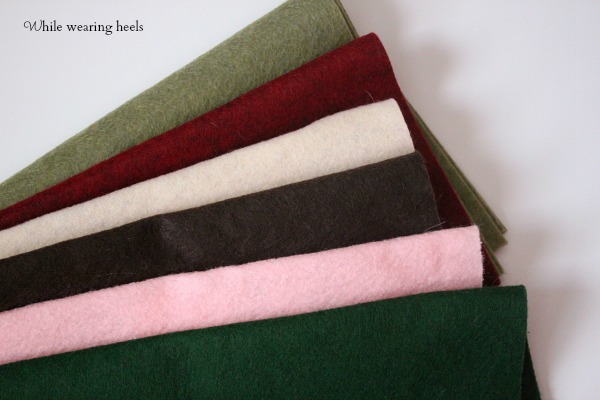
To get started, first, grab some fall colored felt.
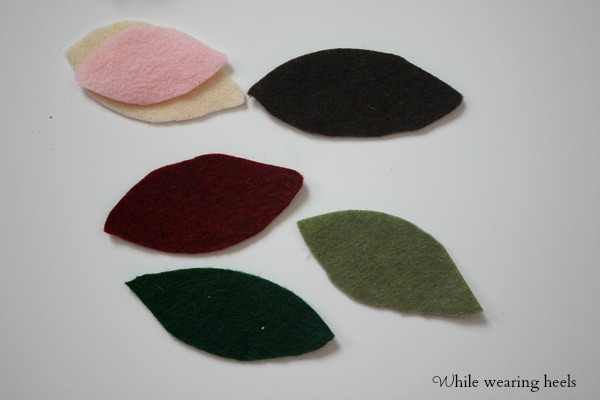
 Cut leaf shapes out until you develop carpal tunnel syndrome…or hopefully just before that point.
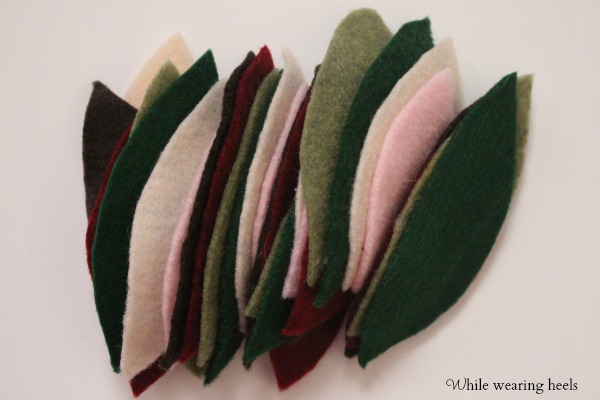
 Arrange the felt leaves, in whatever pattern you should choose, into a stack.
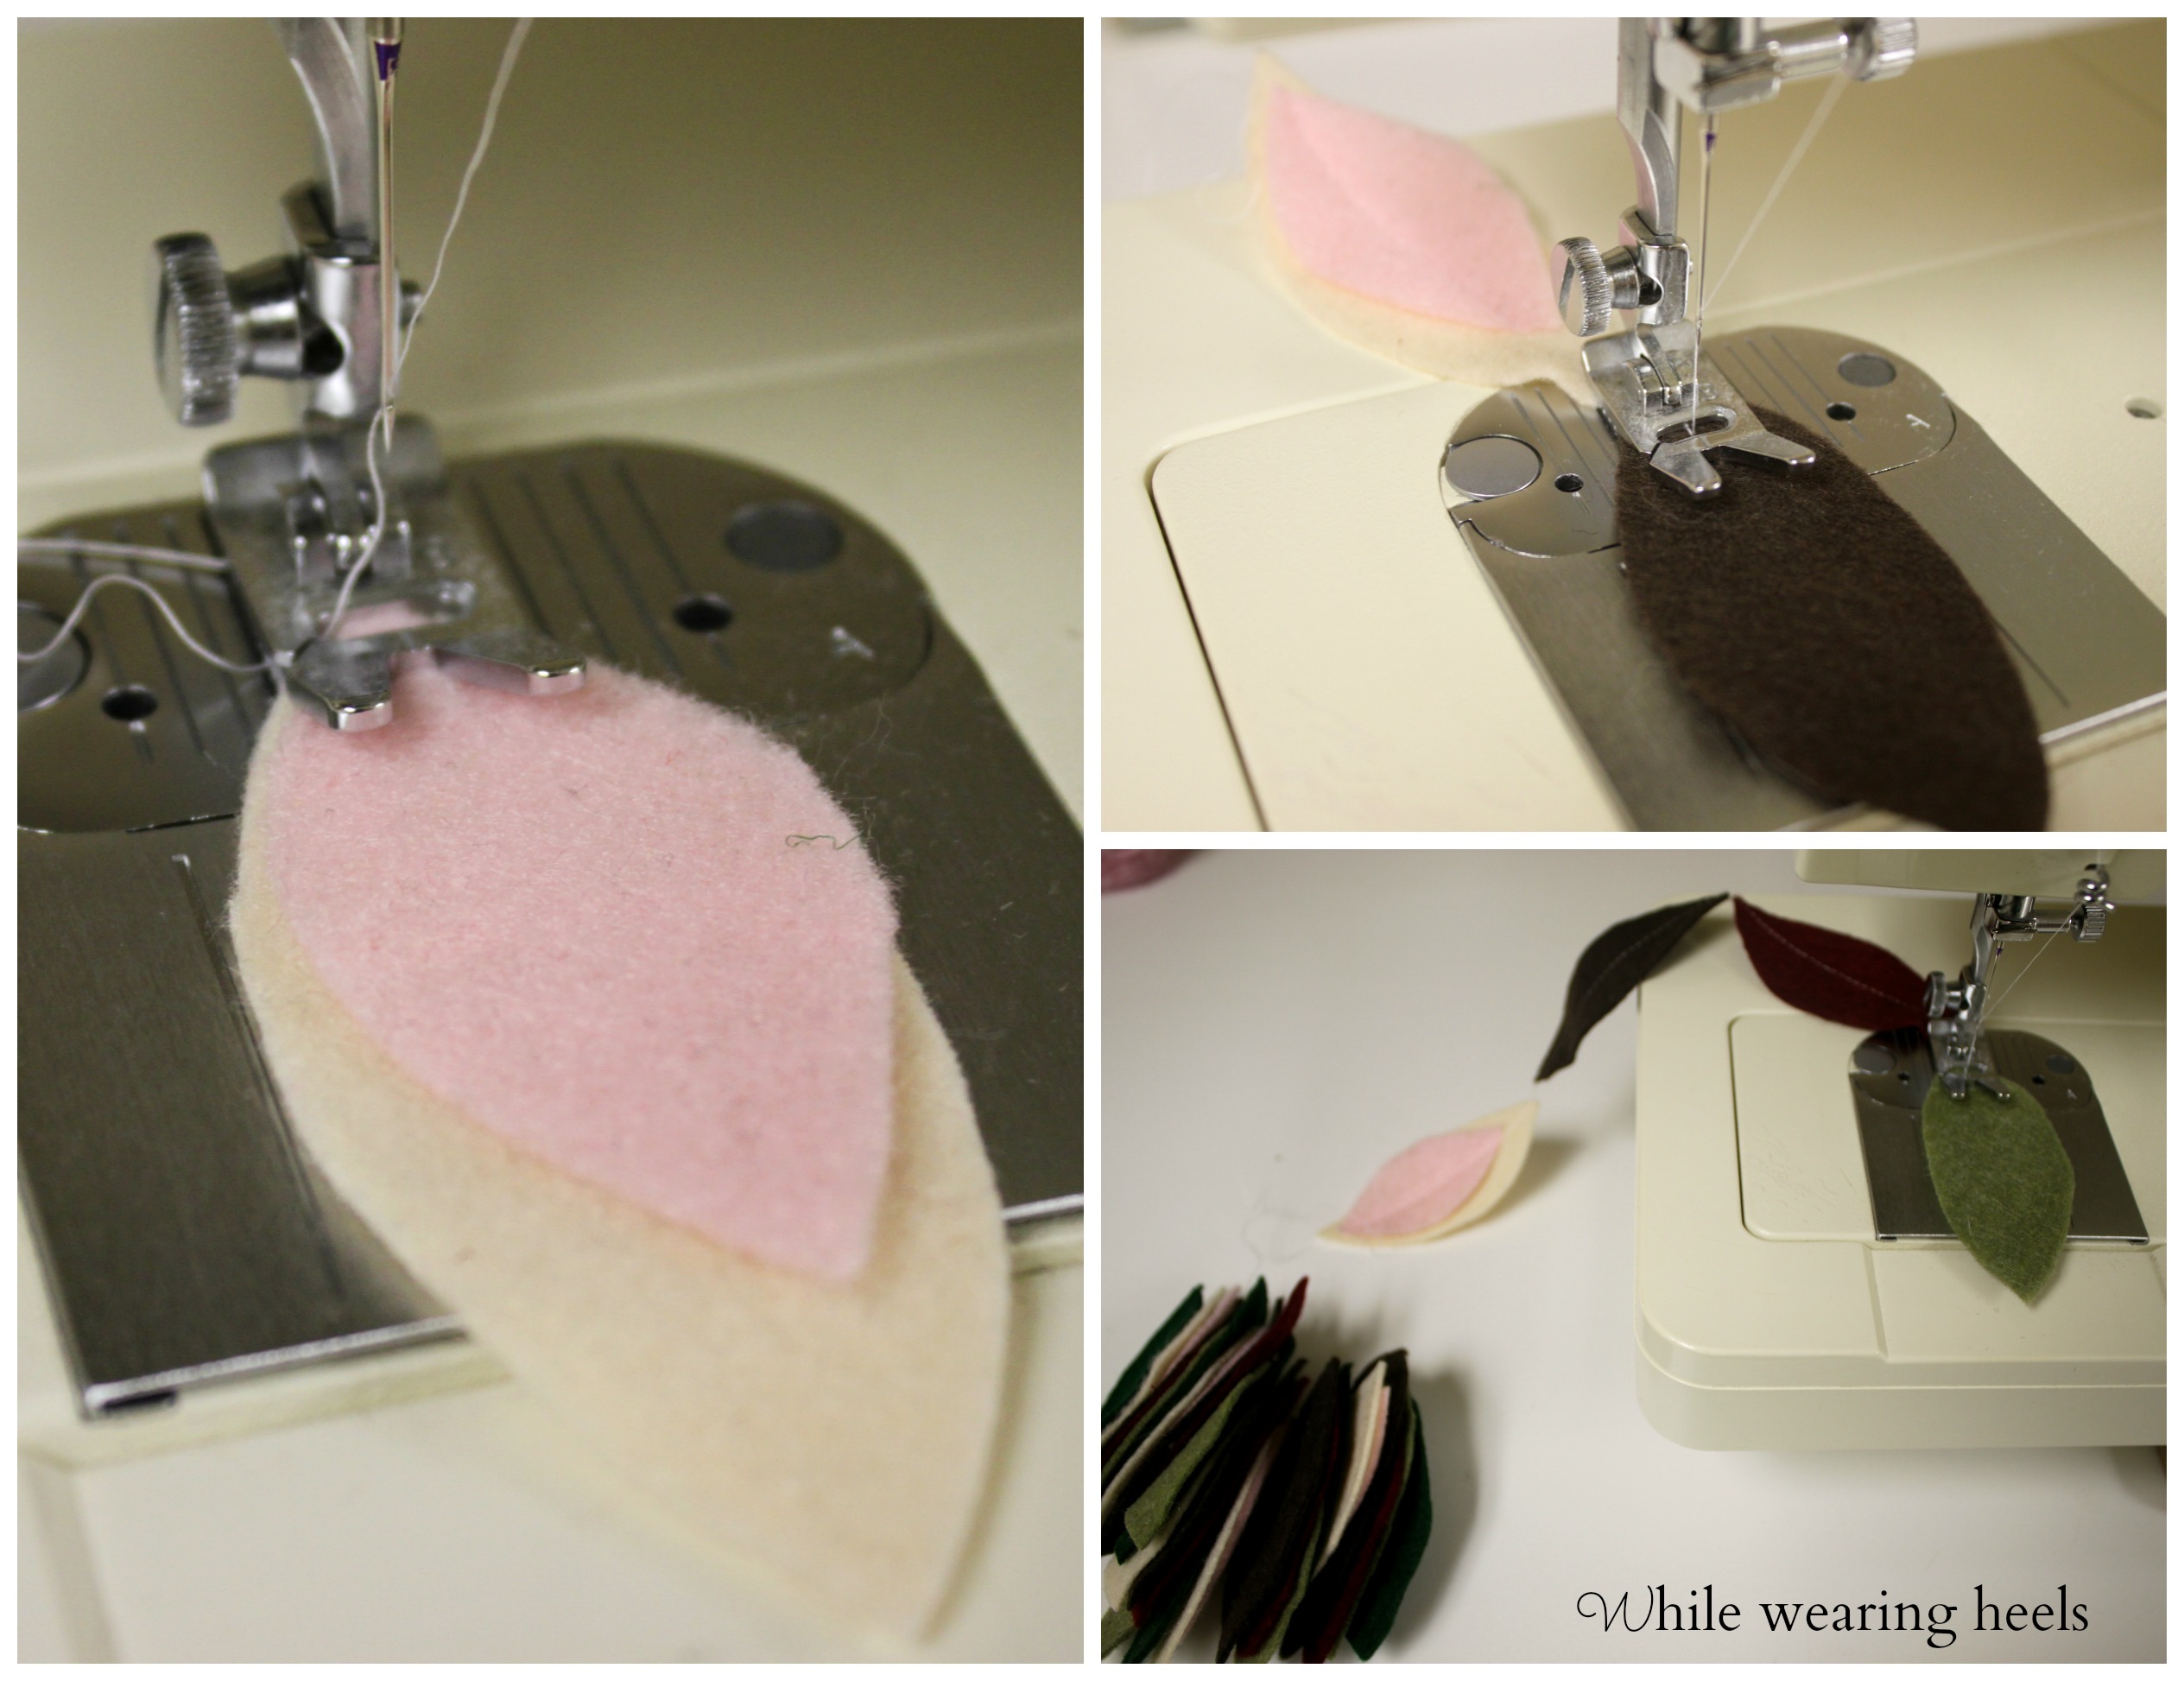
 Then, head to your sewing machine.
Begin by sewing straight through your first leaf. Grab the next leaf from your stack and push it through, as you near the end of the first leaf. If the foot doesn’t catch the next leaf, simply raise the foot and position the next leaf to sew. Continue pushing through the next leaf in the stack until you reach the end of the pile. Lock in your stitch.
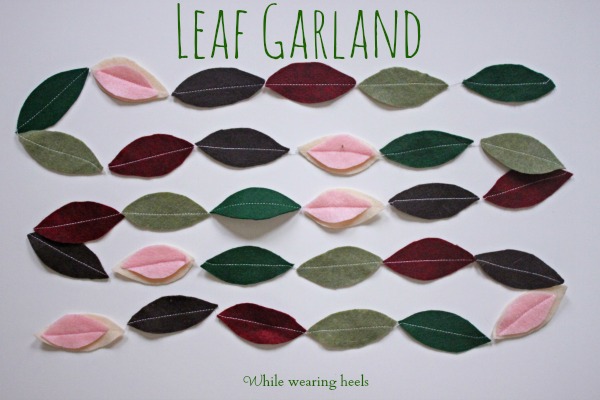
 And, there you have a custom leaf garland.
 The hardest part of this project…deciding where you want to string them…
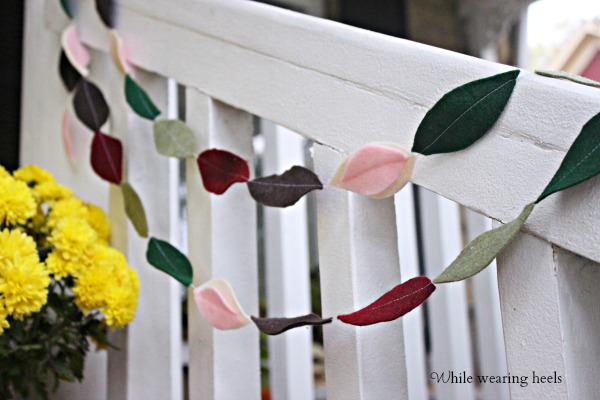
 Or hang them…
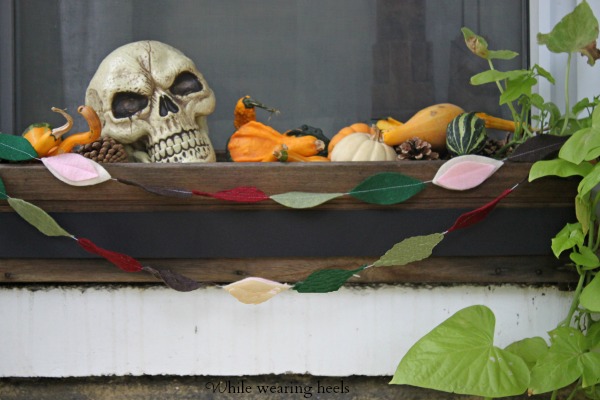
 or place them.
 Wherever you decide to put them, I hope you’ll fall in love with them.
Sadly, I must leaf you now. Until next month.
Happy Sewing!


This is so lovely!
Thank you so much Gypsi!
It’s gorgeous! If us wasn’t spring here I’d want one now! Minus the carpal tunnel 🙂
Thanks Mel! Sometimes, the carpal tunnel is worth it 🙂
This is so gorgeous, Amy! And the fact that it’s felt?!? I love it even more!
Thanks so much Tara. I have a weakness for felt!