
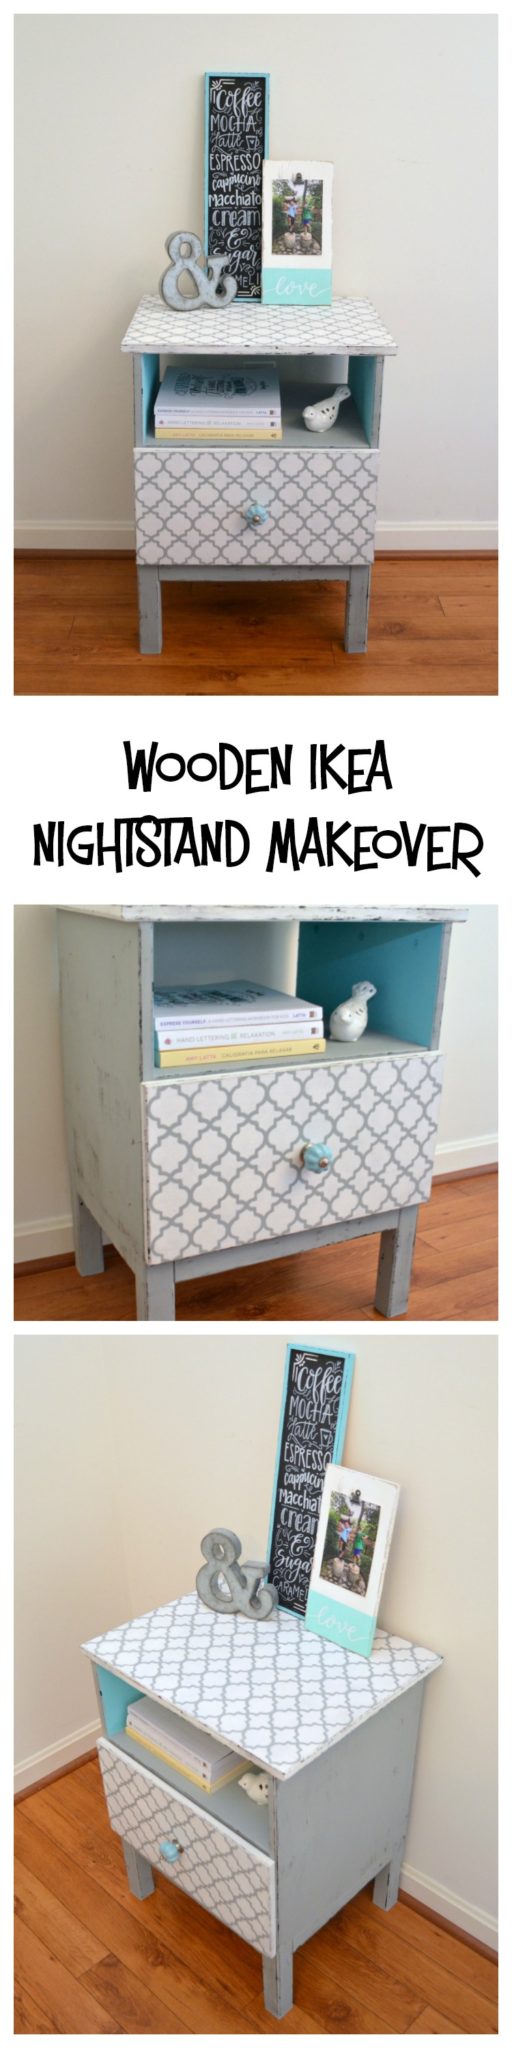
Wooden IKEA Nightstand Makeover
Thanks to Plaid Crafts for sponsoring today’s post; all opinions are honestly my own.
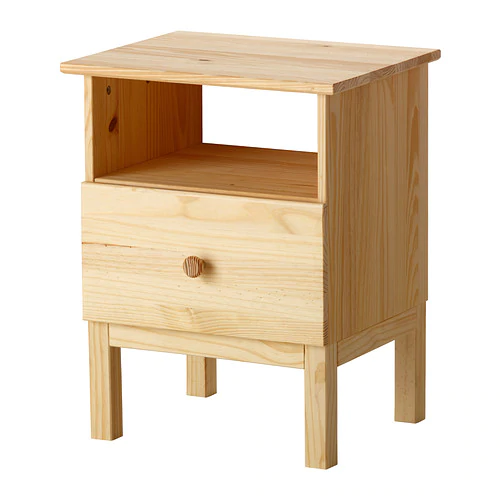
I don’t know about you, friends, but I love a good challenge. This month, my friends at Plaid Crafts sent the same wooden nightstand to each of the Plaid Creators and challenged us to give it a makeover! It’s the TARVA nightstand from IKEA, and originally it’s just plain unfinished pine.
Today, I’m excited to show you what I did to transform mine, and I can’t wait for you to see how differently they all turned out!
Here’s what I used to give mine a totally new look:
Materials:
TARVA nightstand from IKEA
FolkArt Stencil: Handmade Charlotte Laser Stencils Moroccan Tile
FolkArt Home Decor Chalk paint: Silver Shadow, Rich Black
FolkArt Home Decor Texture Chalk paint: Paradise, Whisper White
FolkArt Home Decor Wax: Clear
FolkArt Home Decor Chalk and Wax Brushes
Painters’ Tape
FolkArt Home Decor Layering Wood Block

Step 1: Assemble the nightstand.
Honestly, this was the hardest part for me! I’m an artist, not an assembler, so I had to call in an expert…my dad. He helped me figure out that I had put the sides of the drawer on backwards. Oops. Thanks for saving the day, dad!

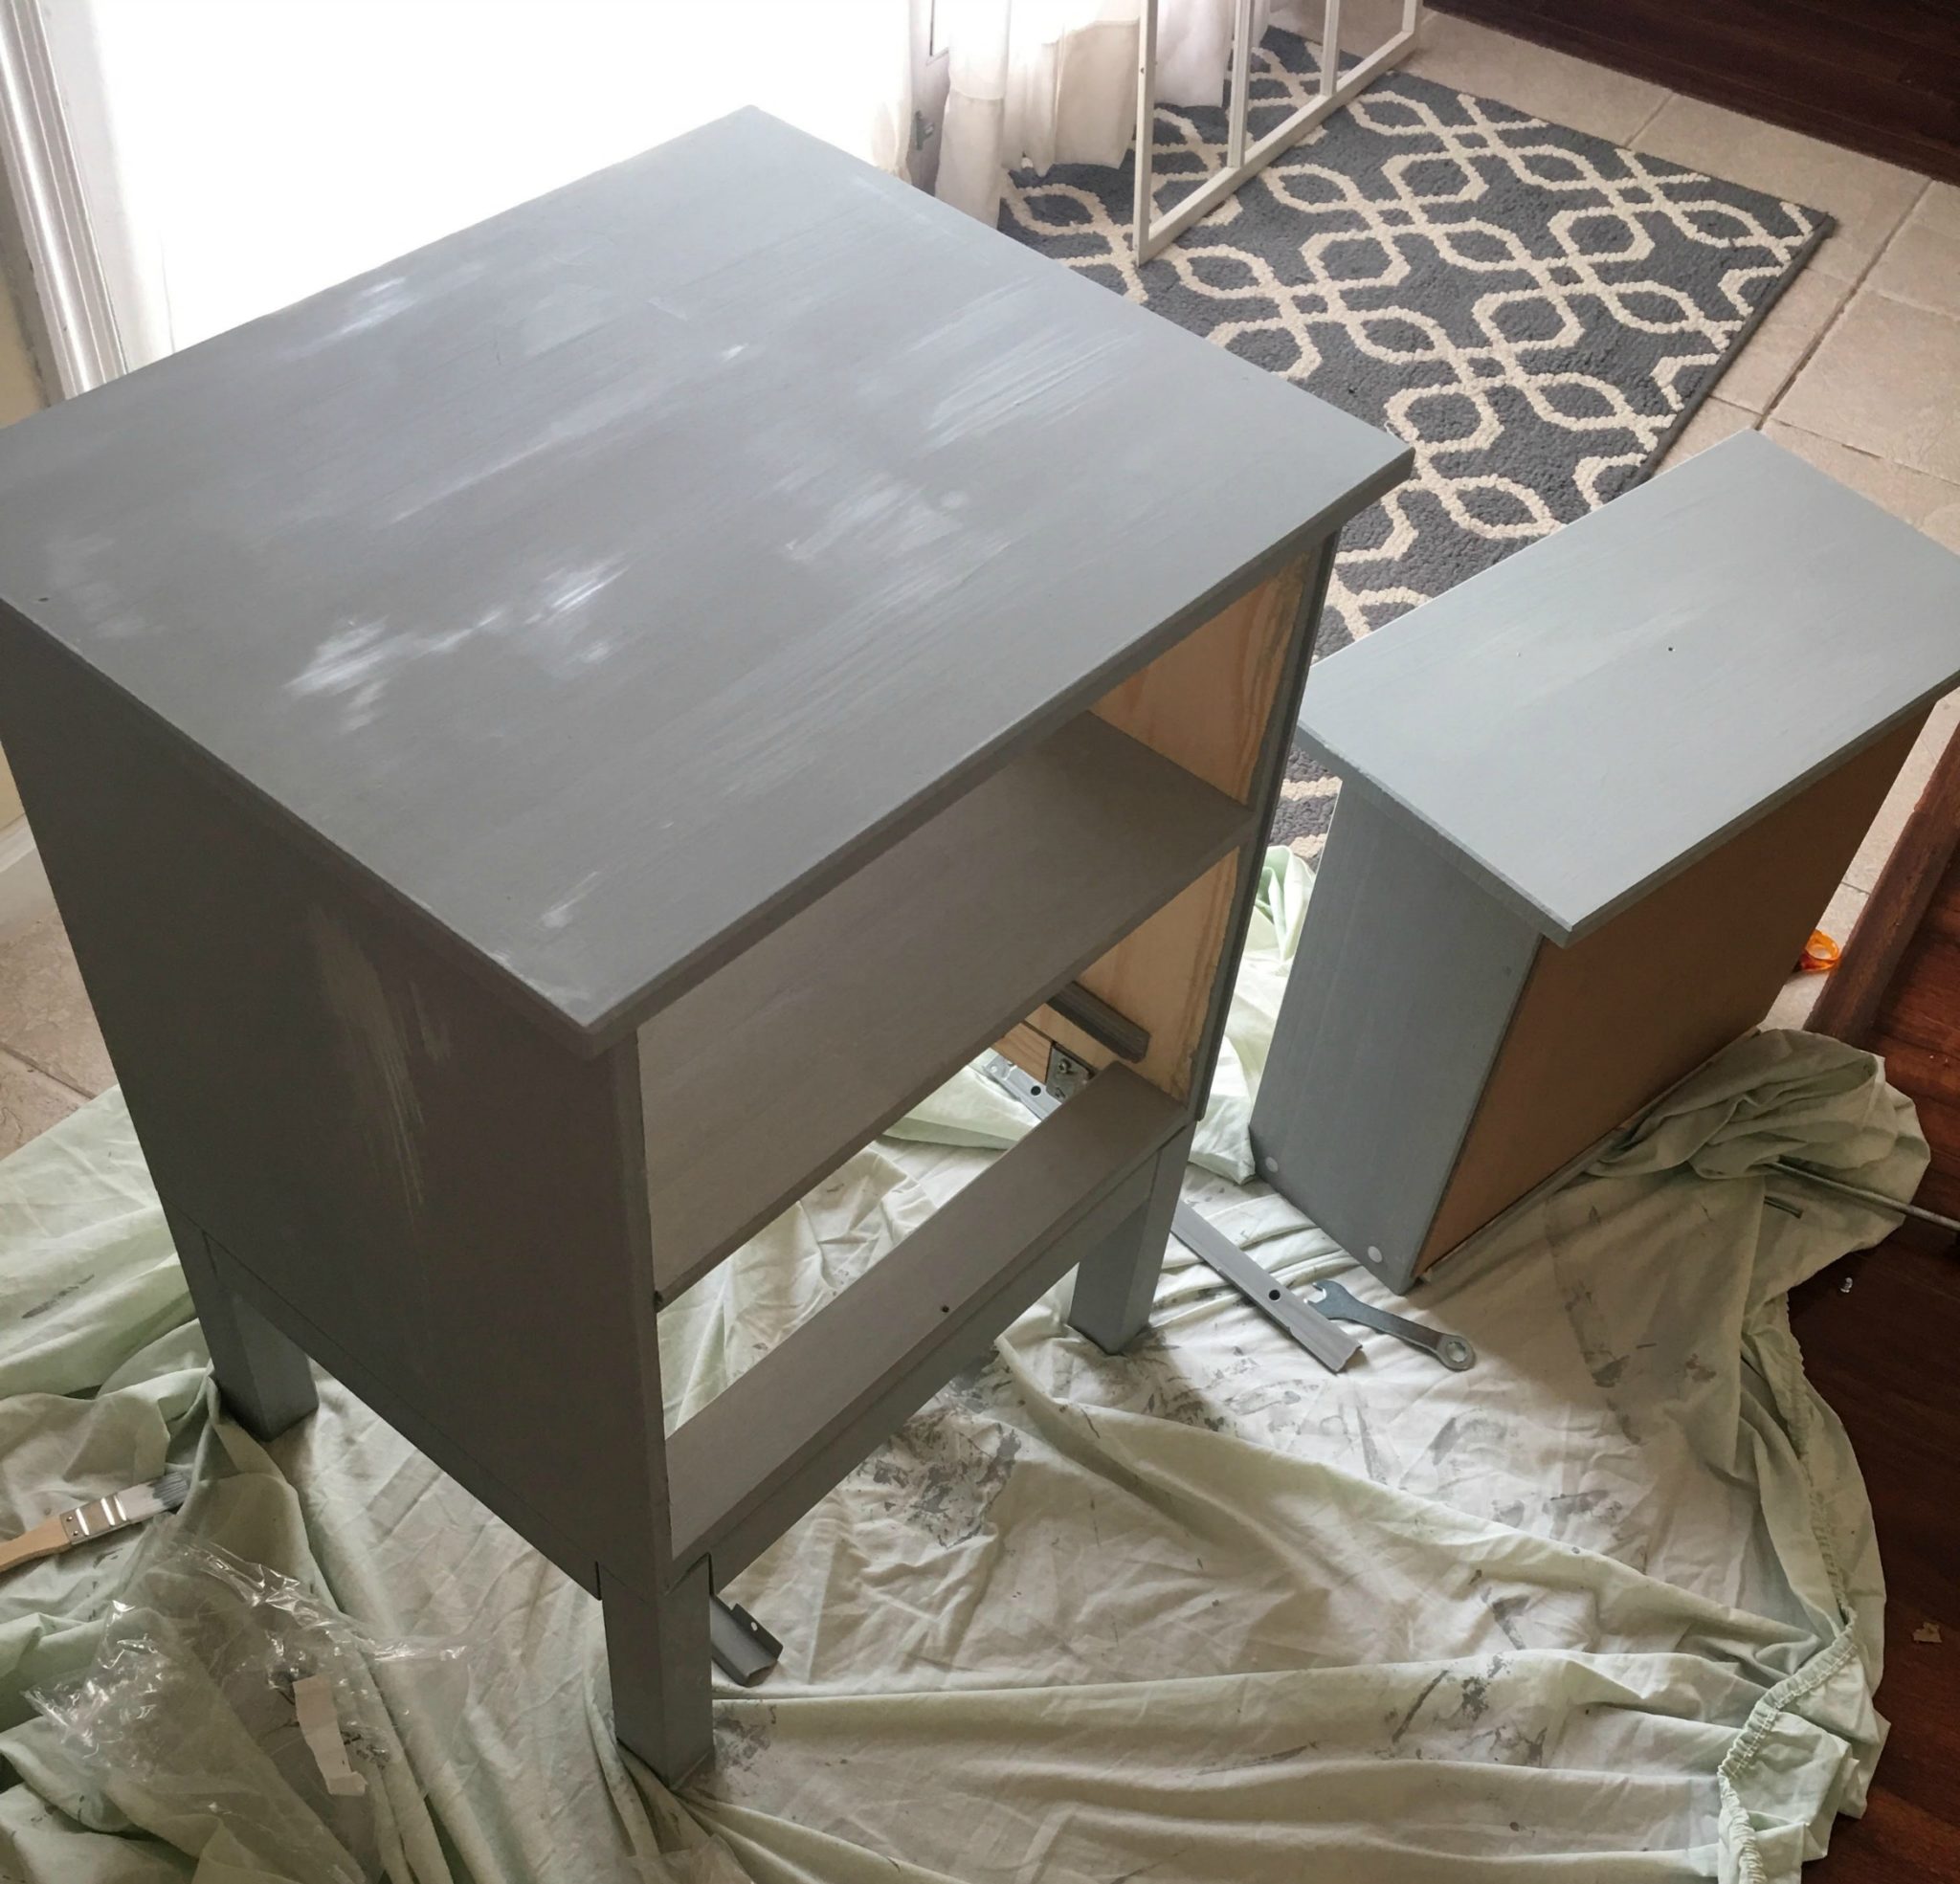
Step 2: Paint the outside of the nightstand with FolkArt Home Decor Chalk Silver Shadow.
FolkArt Home Décor Chalk is a no-prep acrylic paint that dries in minutes and can be layered and sanded to give your projects the perfect distressed look and feel. The ultra-matte chalk finish can be easily applied to furniture, cabinets, walls, decorative glass, metal and more. My favorite part is that there’s no sanding or priming needed before you paint, just apply it to your surface as-is. FolkArt Home Decor Chalk is water-base, non-toxic, and made in the USA. The color I used, Silver Shadow, is one of 8 brand new shades added this year.
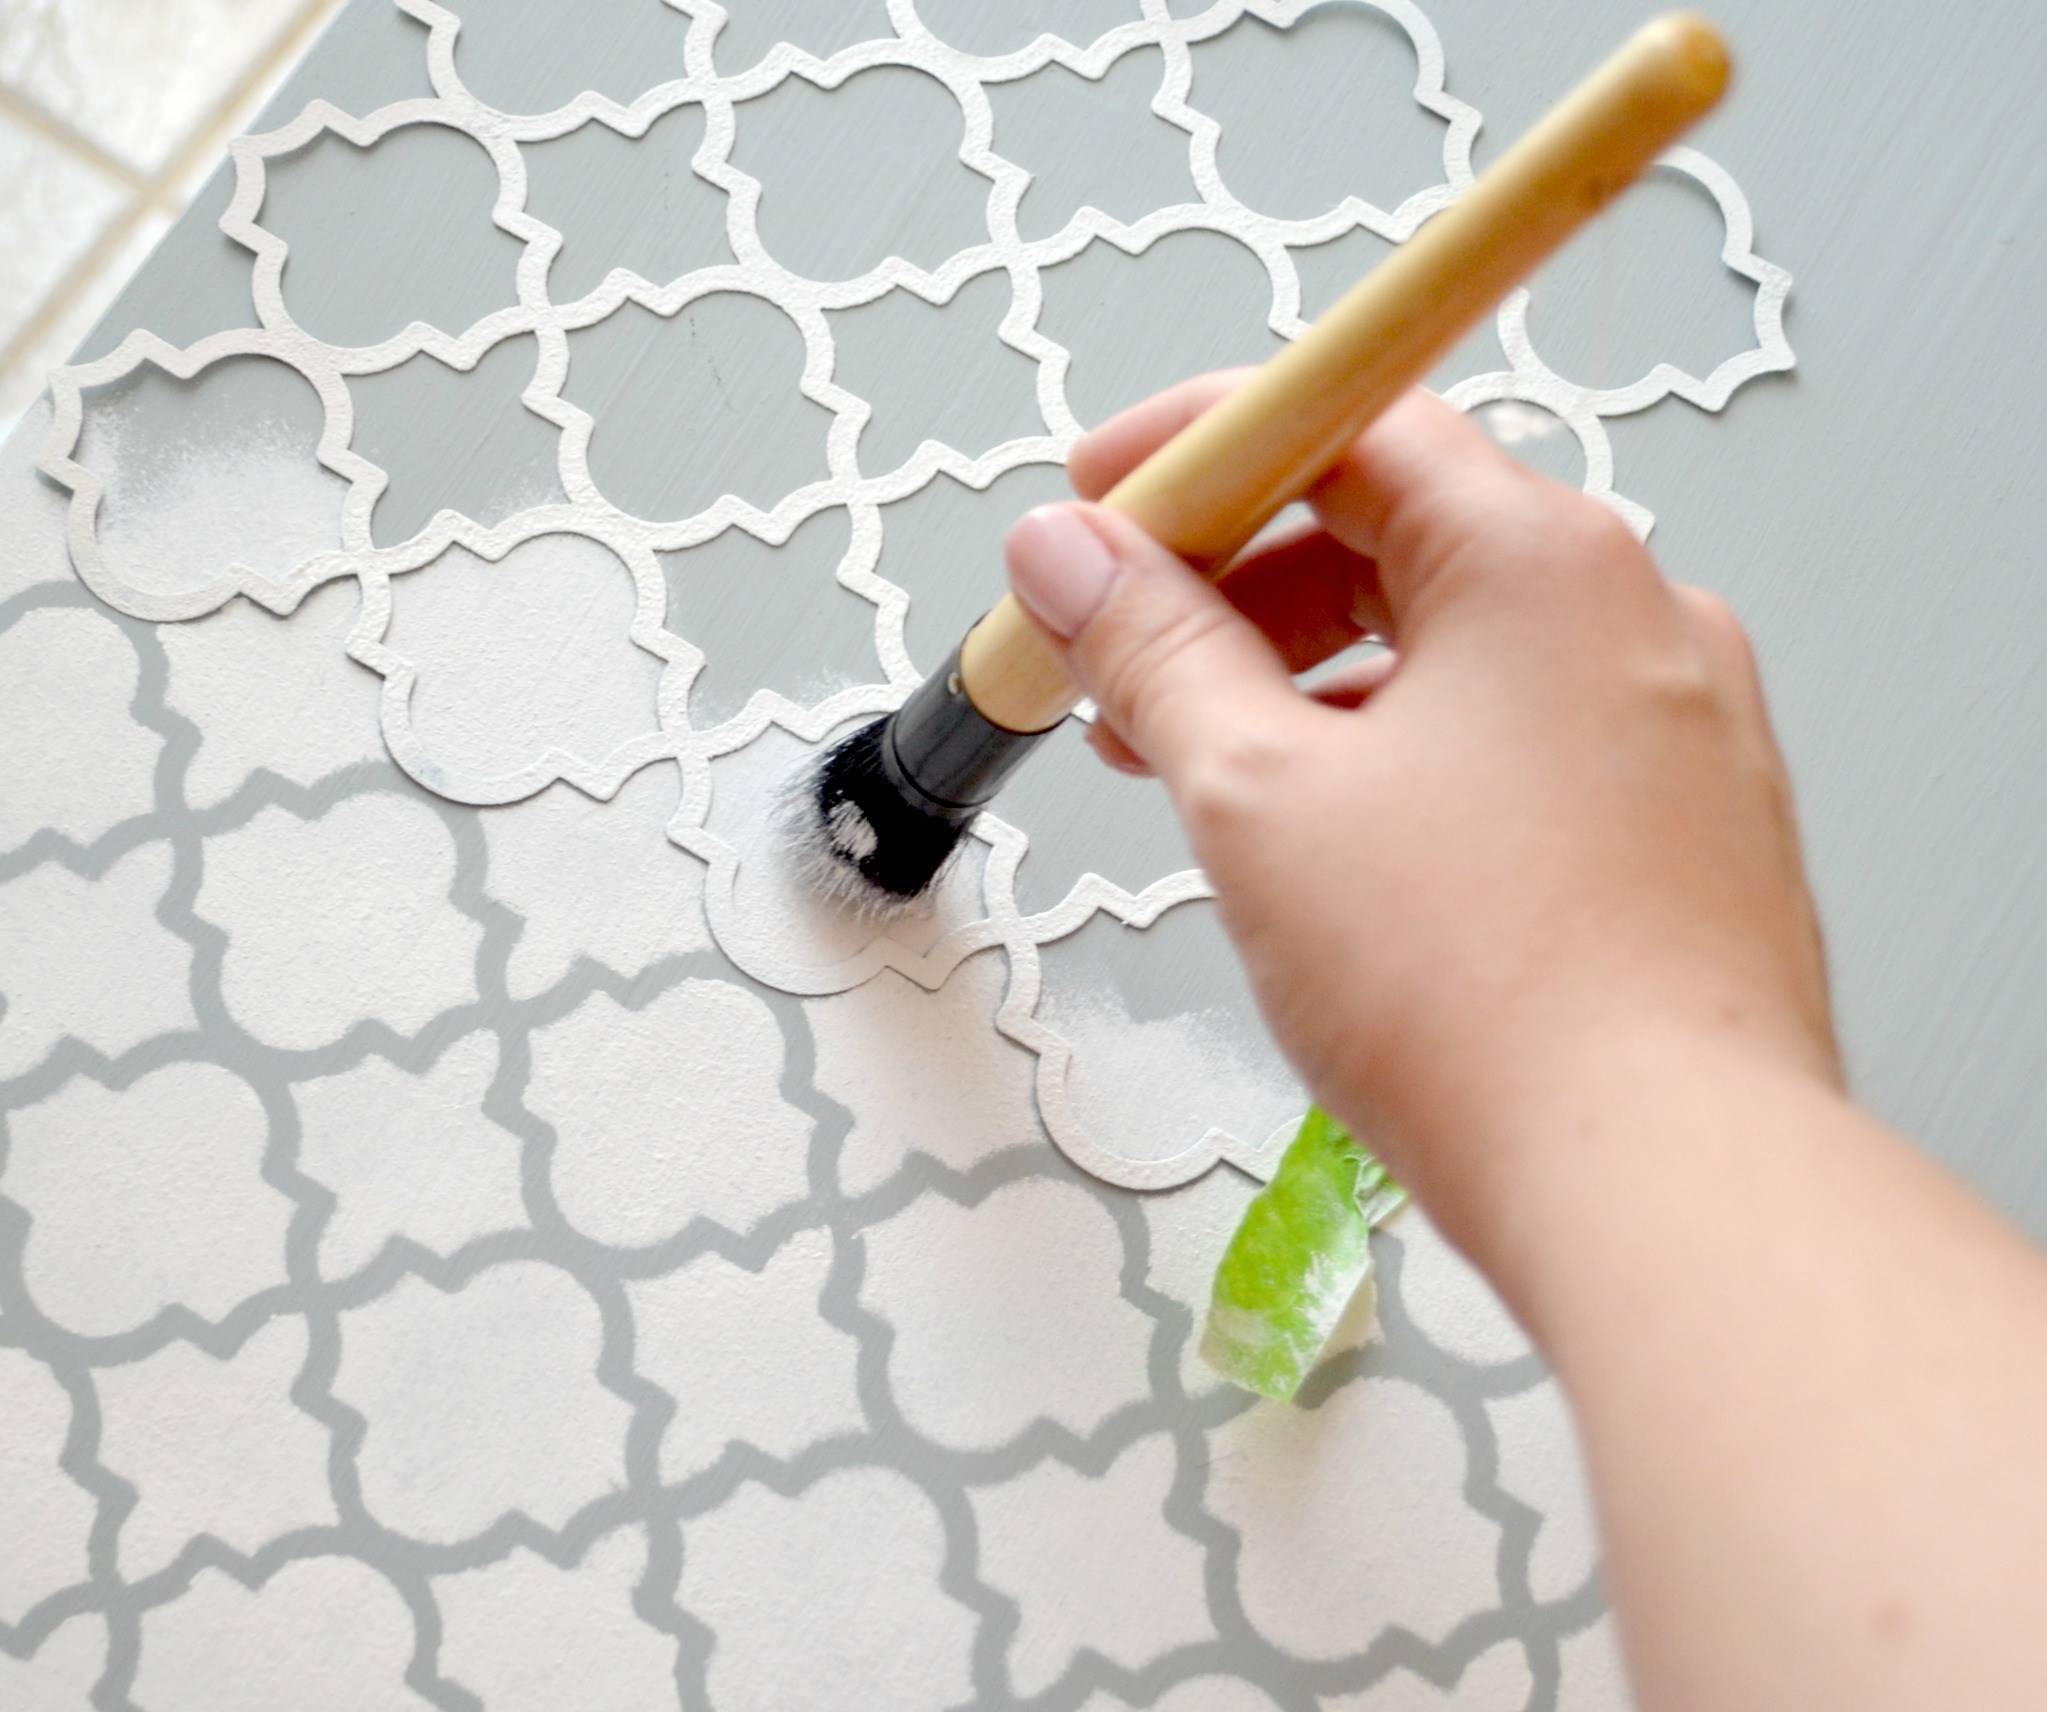
Step 3: Stencil the top of the nightstand and the drawer front.
I used a brand new product for this step, FolkArt Texture Chalk paint. It’s available in 12 colors {I used Whisper White}, and made in the USA. Like the regular Home Decor Chalk paint, this water-based, non-toxic paint requires minimal surface prep and dries to an ultra-matte, chalk-like finish. The difference is that it’s thick and textured, designed to add dimension to any project surface that can be layered, distressed, glazed, and waxed to create a time-worn look. Here’s a look at the color options:
I used the Moroccan stencil and a stencil brush, and I made sure to follow the pro tips for stenciling. I off-loaded my brush so I didn’t have too much paint on it, and applied the paint by gently tapping up and down. For more tips on getting a clean stenciled image, check out this stenciling post!
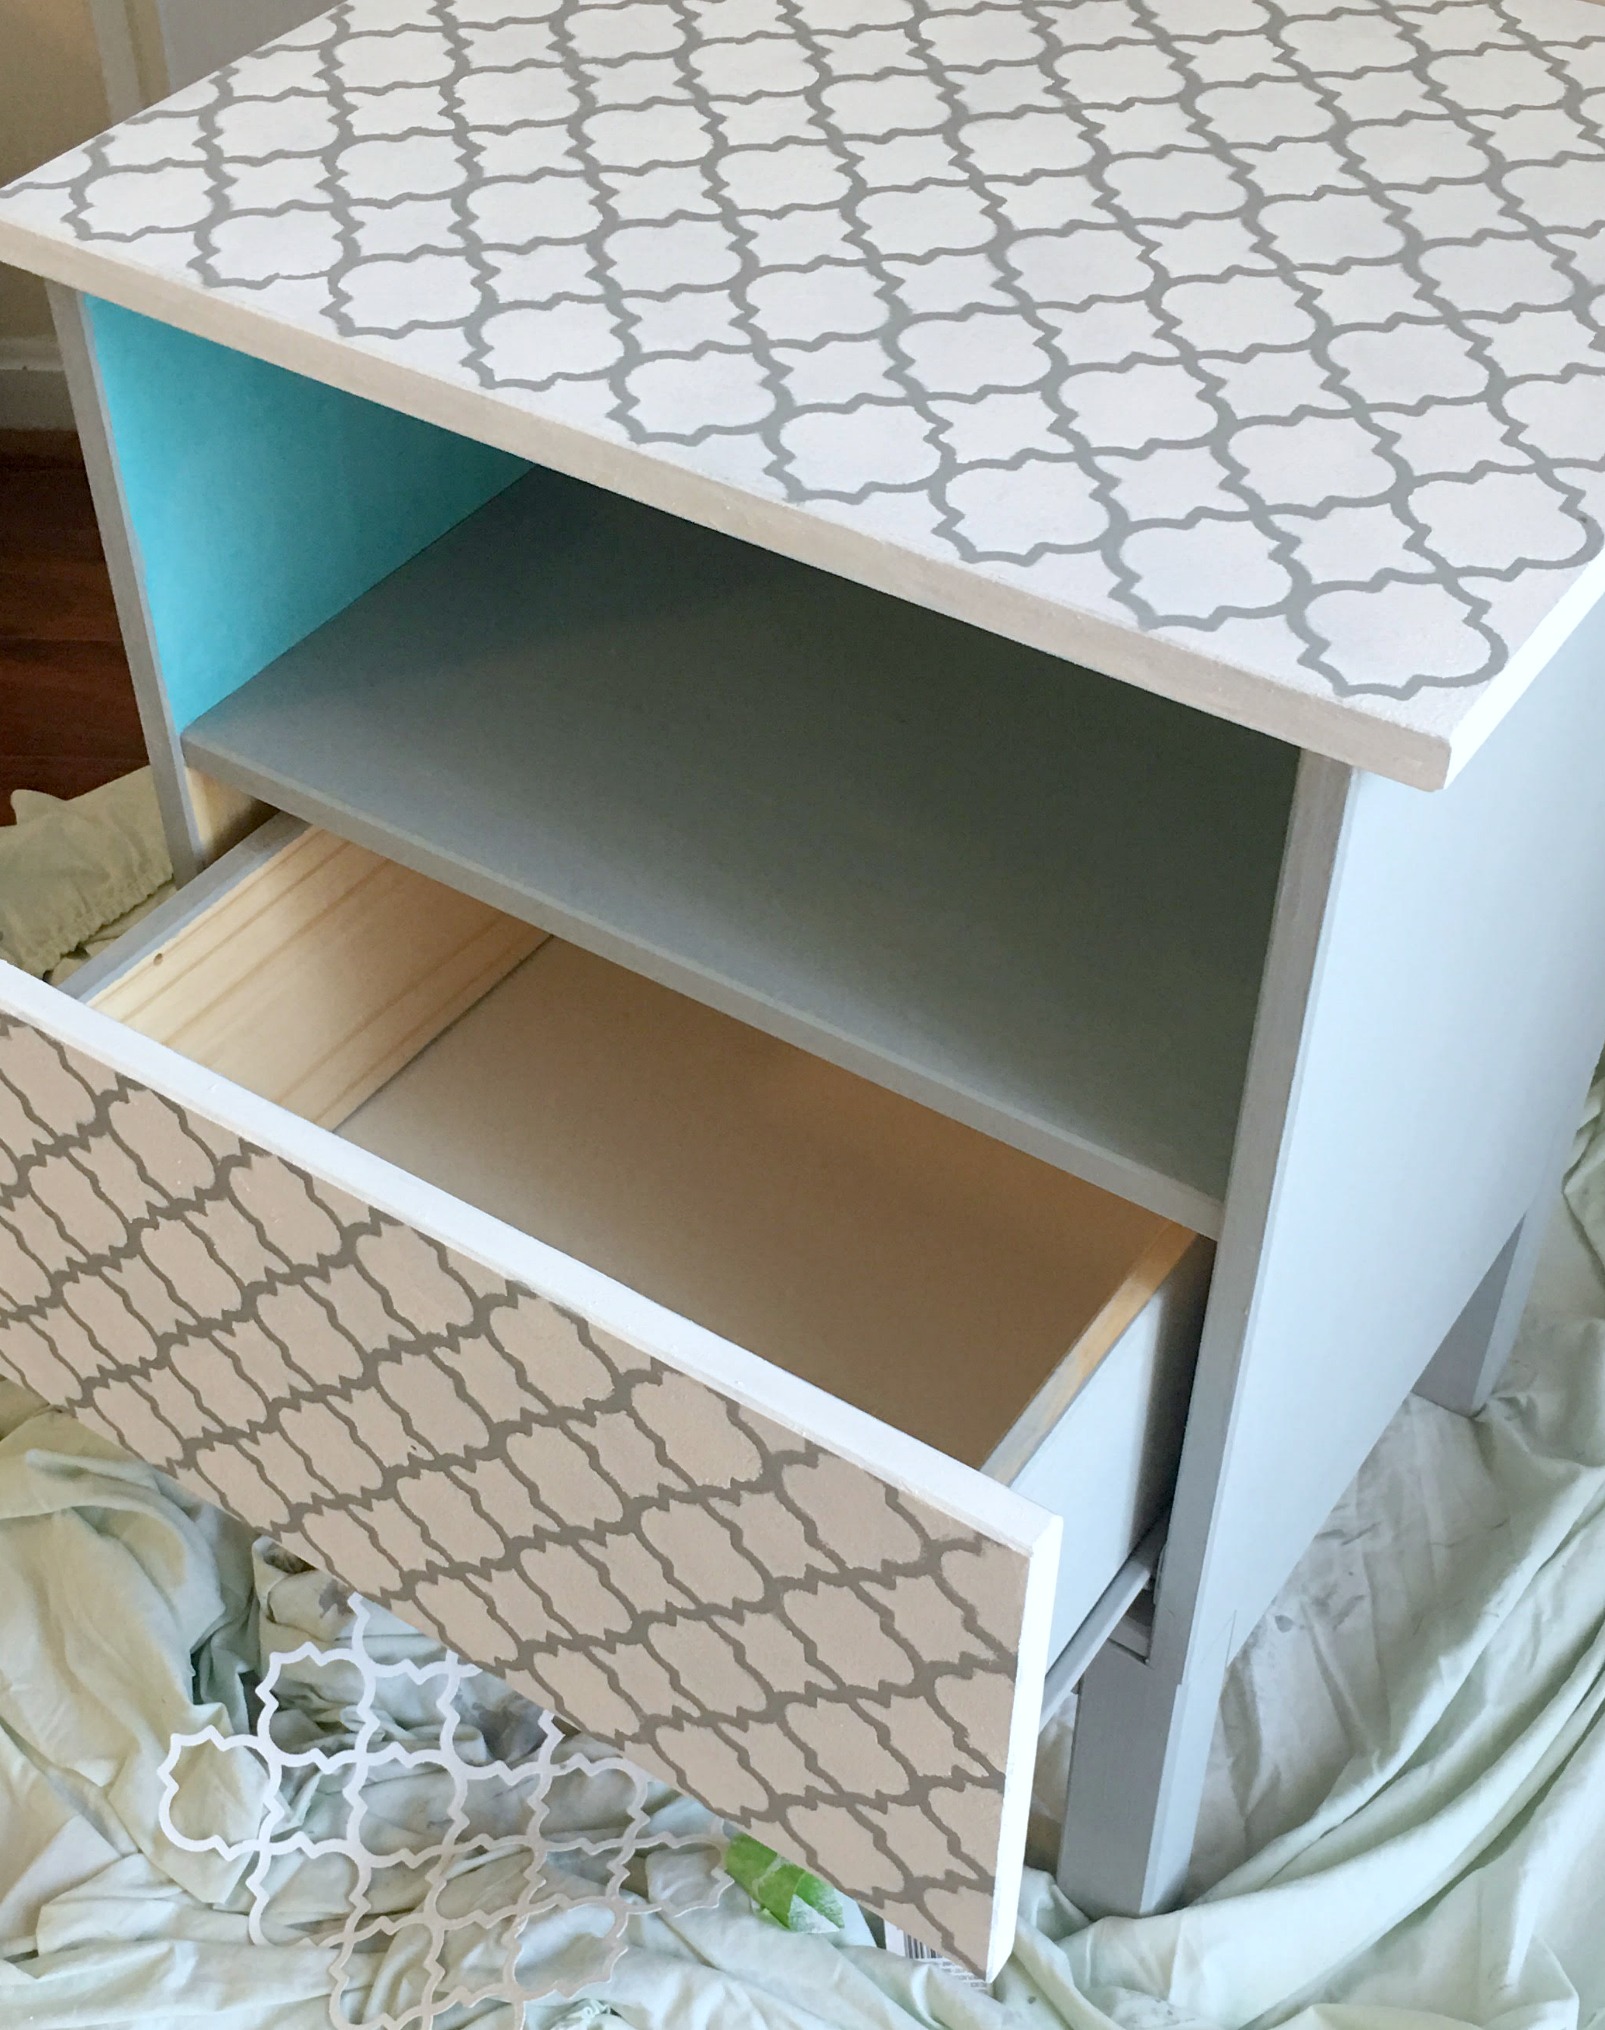
Step 4: Paint the inside of the top section with FolkArt Texture Chalk Paradise.
I love the little pop of color this adds to the piece! It’s fun and unexpected, and it adds a whole different feel to the shelf section.
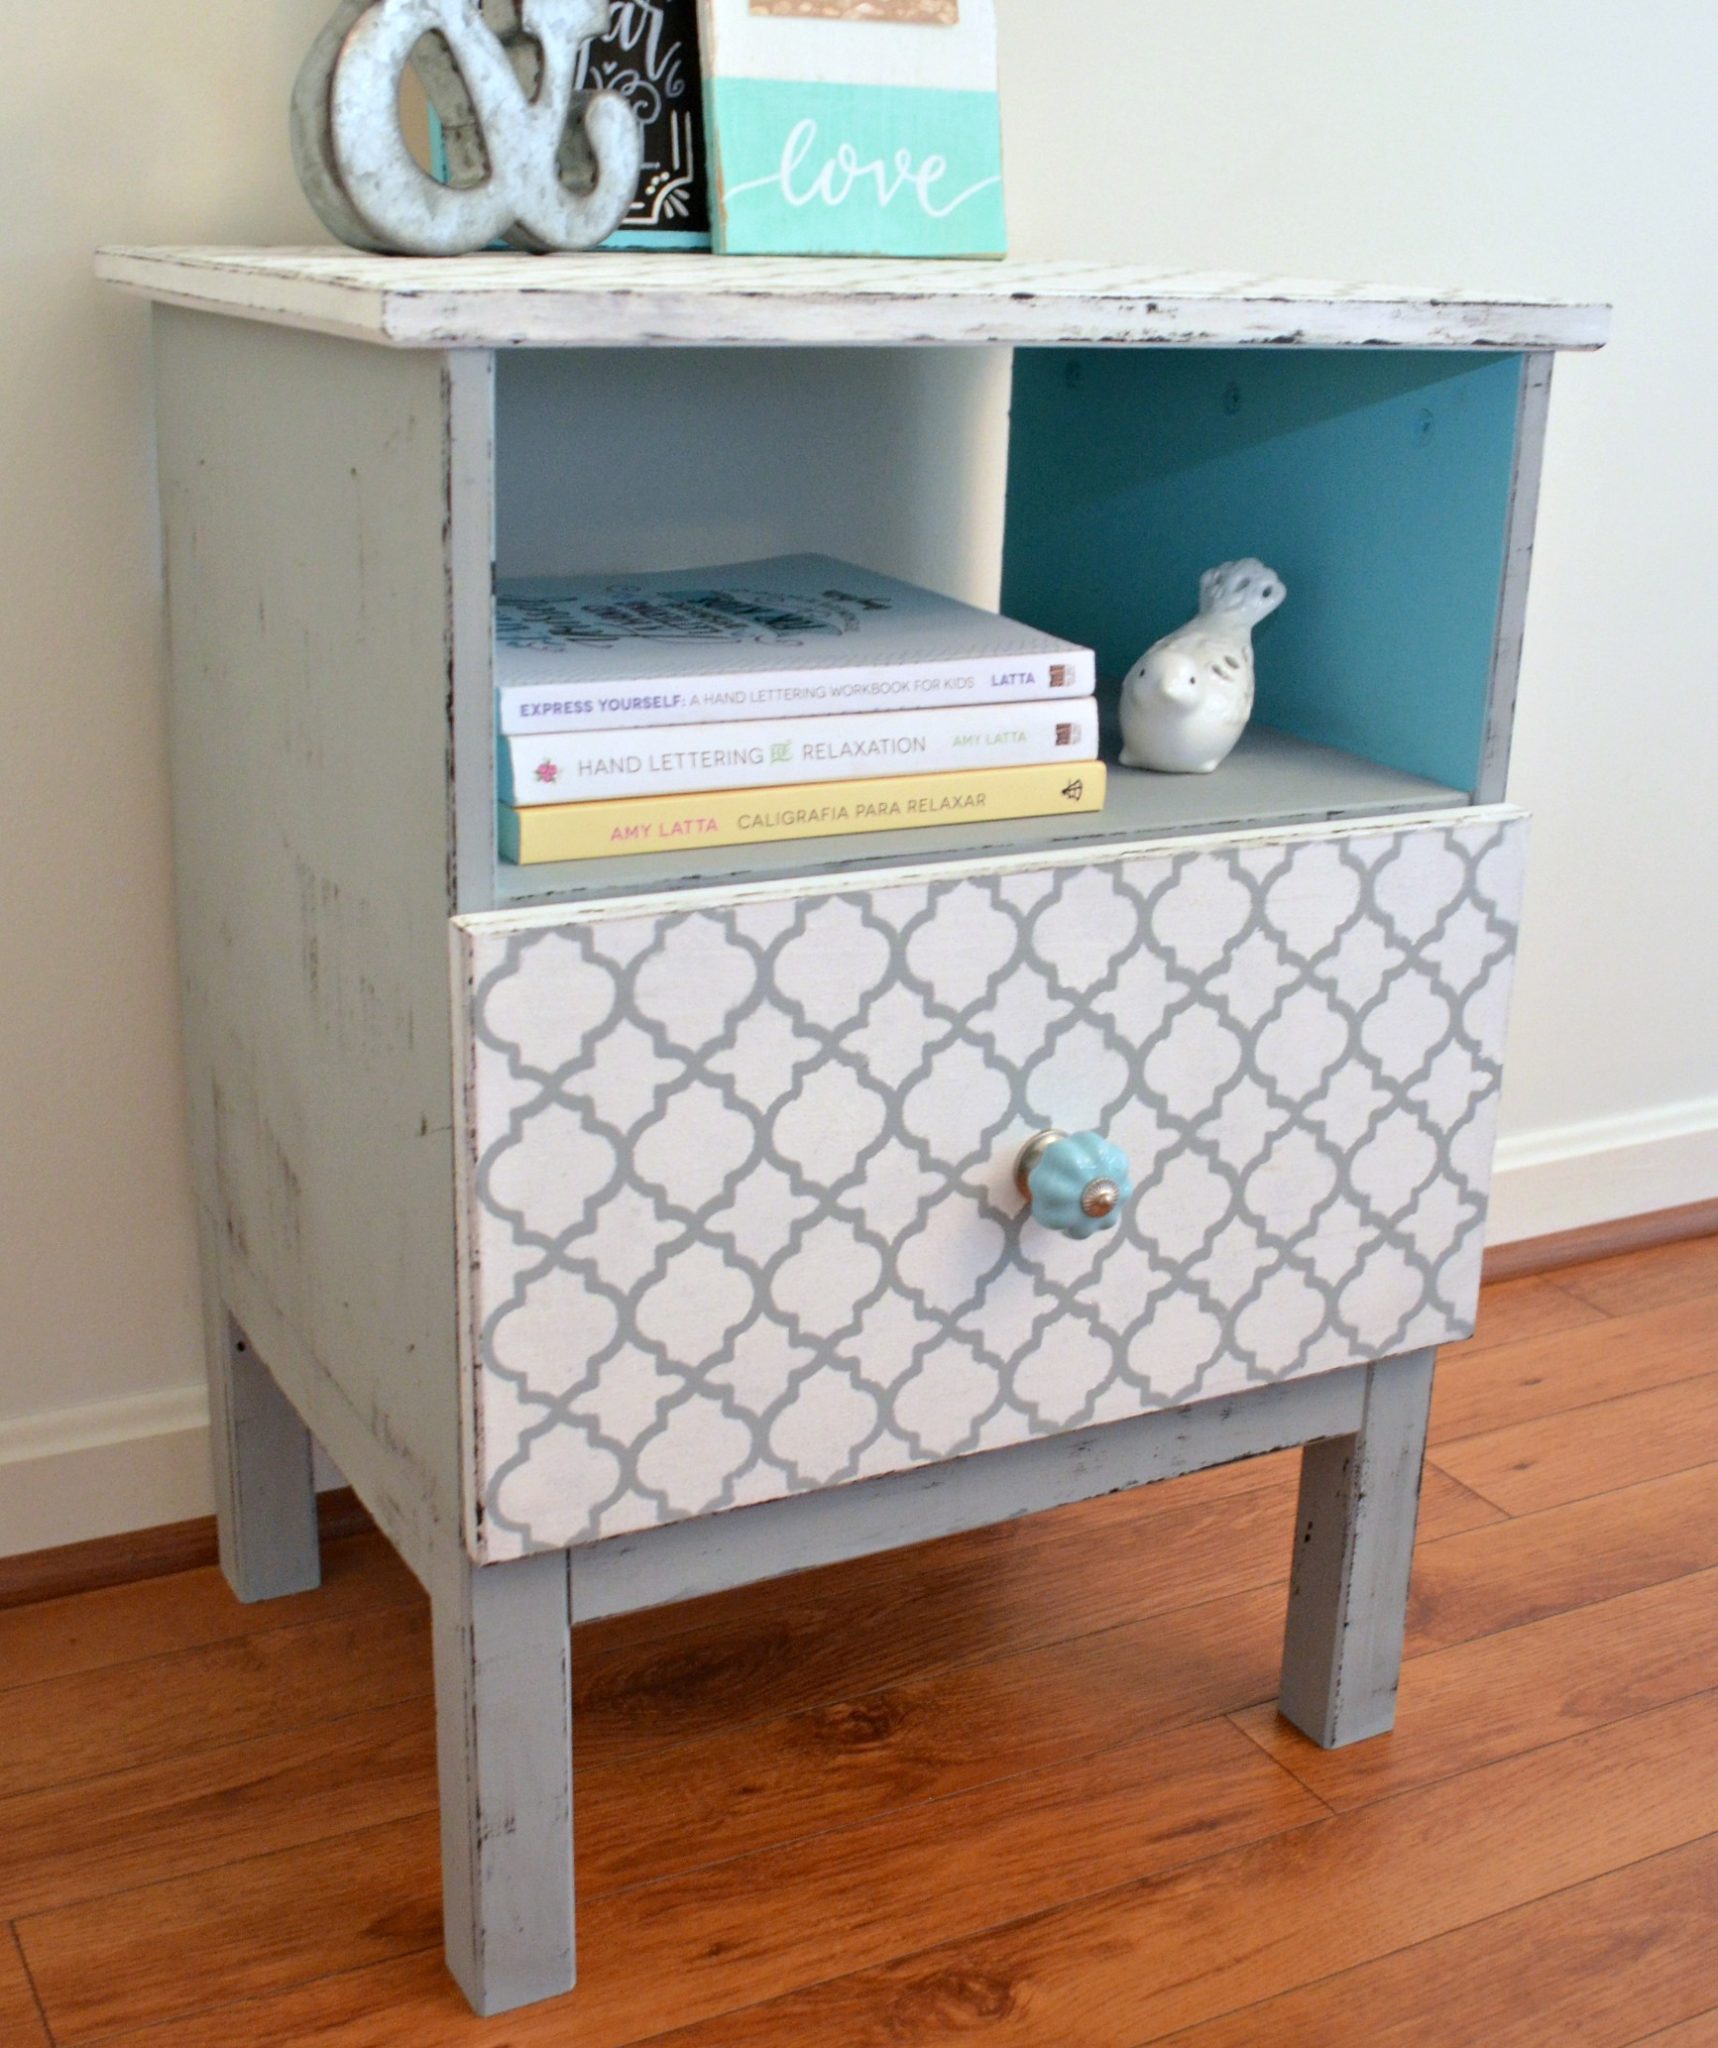
Step 5: Use the layering block to create a “distressed look.”
In the past, I always sanded my pieces to distress them. Not only did that require a lot of effort, it also didn’t always give the look I wanted when the original wood was very light in color like this table was. I learned this alternate method at Plaid HQ this year, and I’m totally obsessed with it. Believe it or not, you actually add paint to create the look of removing it! Here’s how it works. You apply paint to the flat part of the layering block {I used Basic Black}, then brush the block over the edges of your piece, as well as any other areas you want it to appear distressed. Look at the effect it gives!
It’s totally up to you whether you like to distress your furniture or not, and how much or little of it you prefer. Personally, I always go for the distressed look because I have two boys and a cat who have no respect for the things in our house. This way, if something gets scratched, I’ll never know the difference!
Step 6: Apply a coat of FolkArt Home Decor Clear Wax.
Wait until all the paint is totally dry first, then apply a coat of wax using the Wax Brush. This seals and protects your furniture and buffs to a soft, glowing shine.
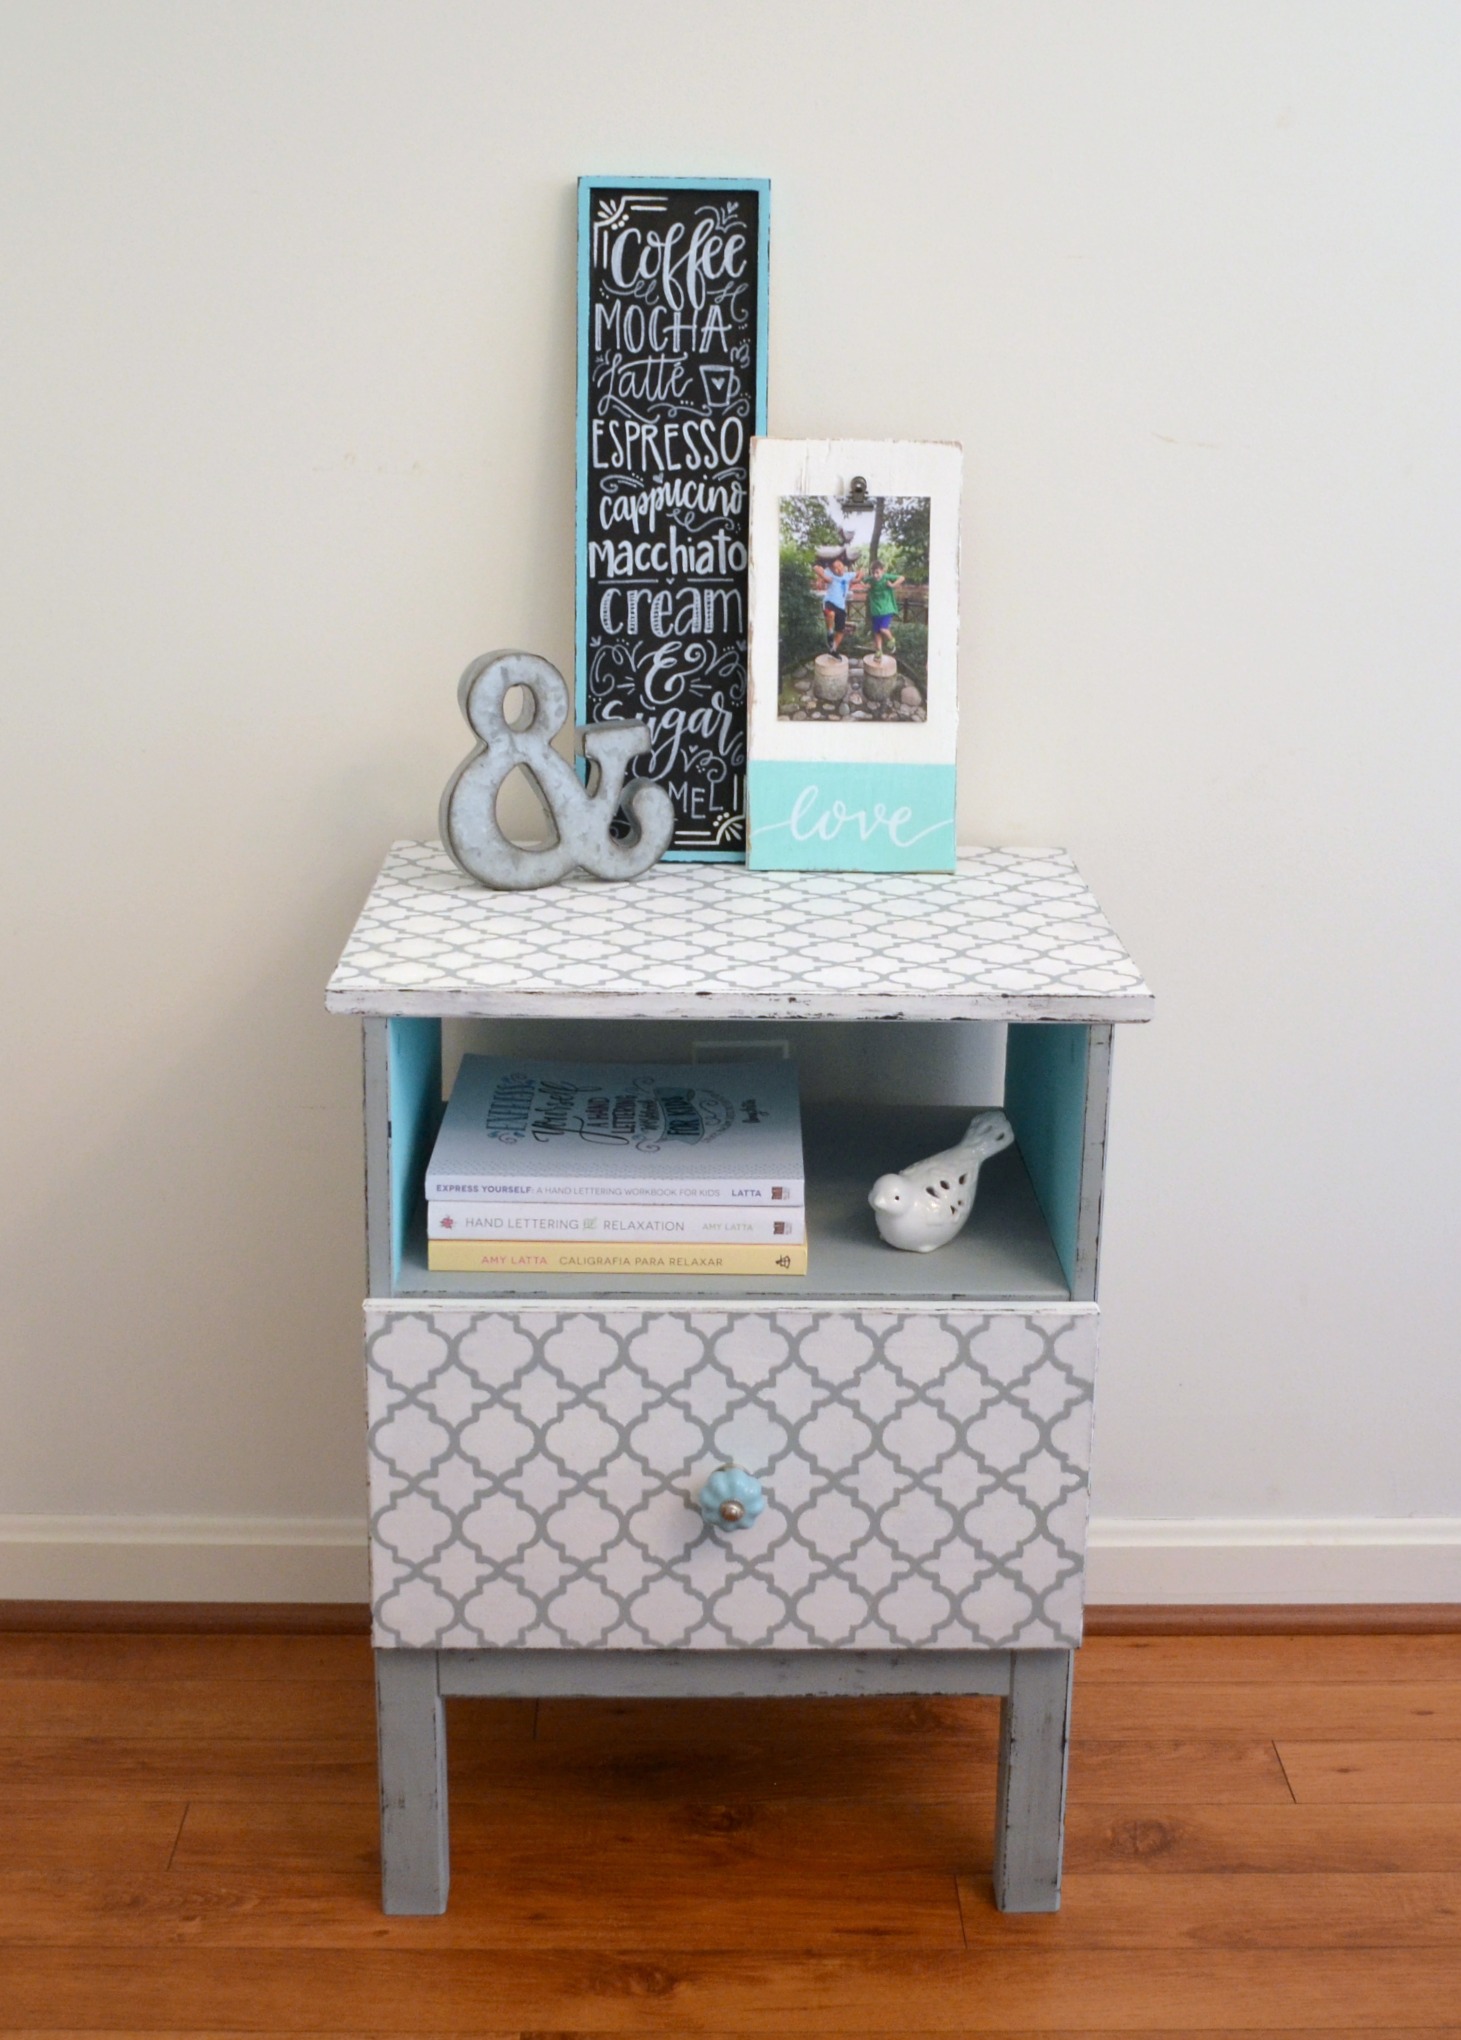
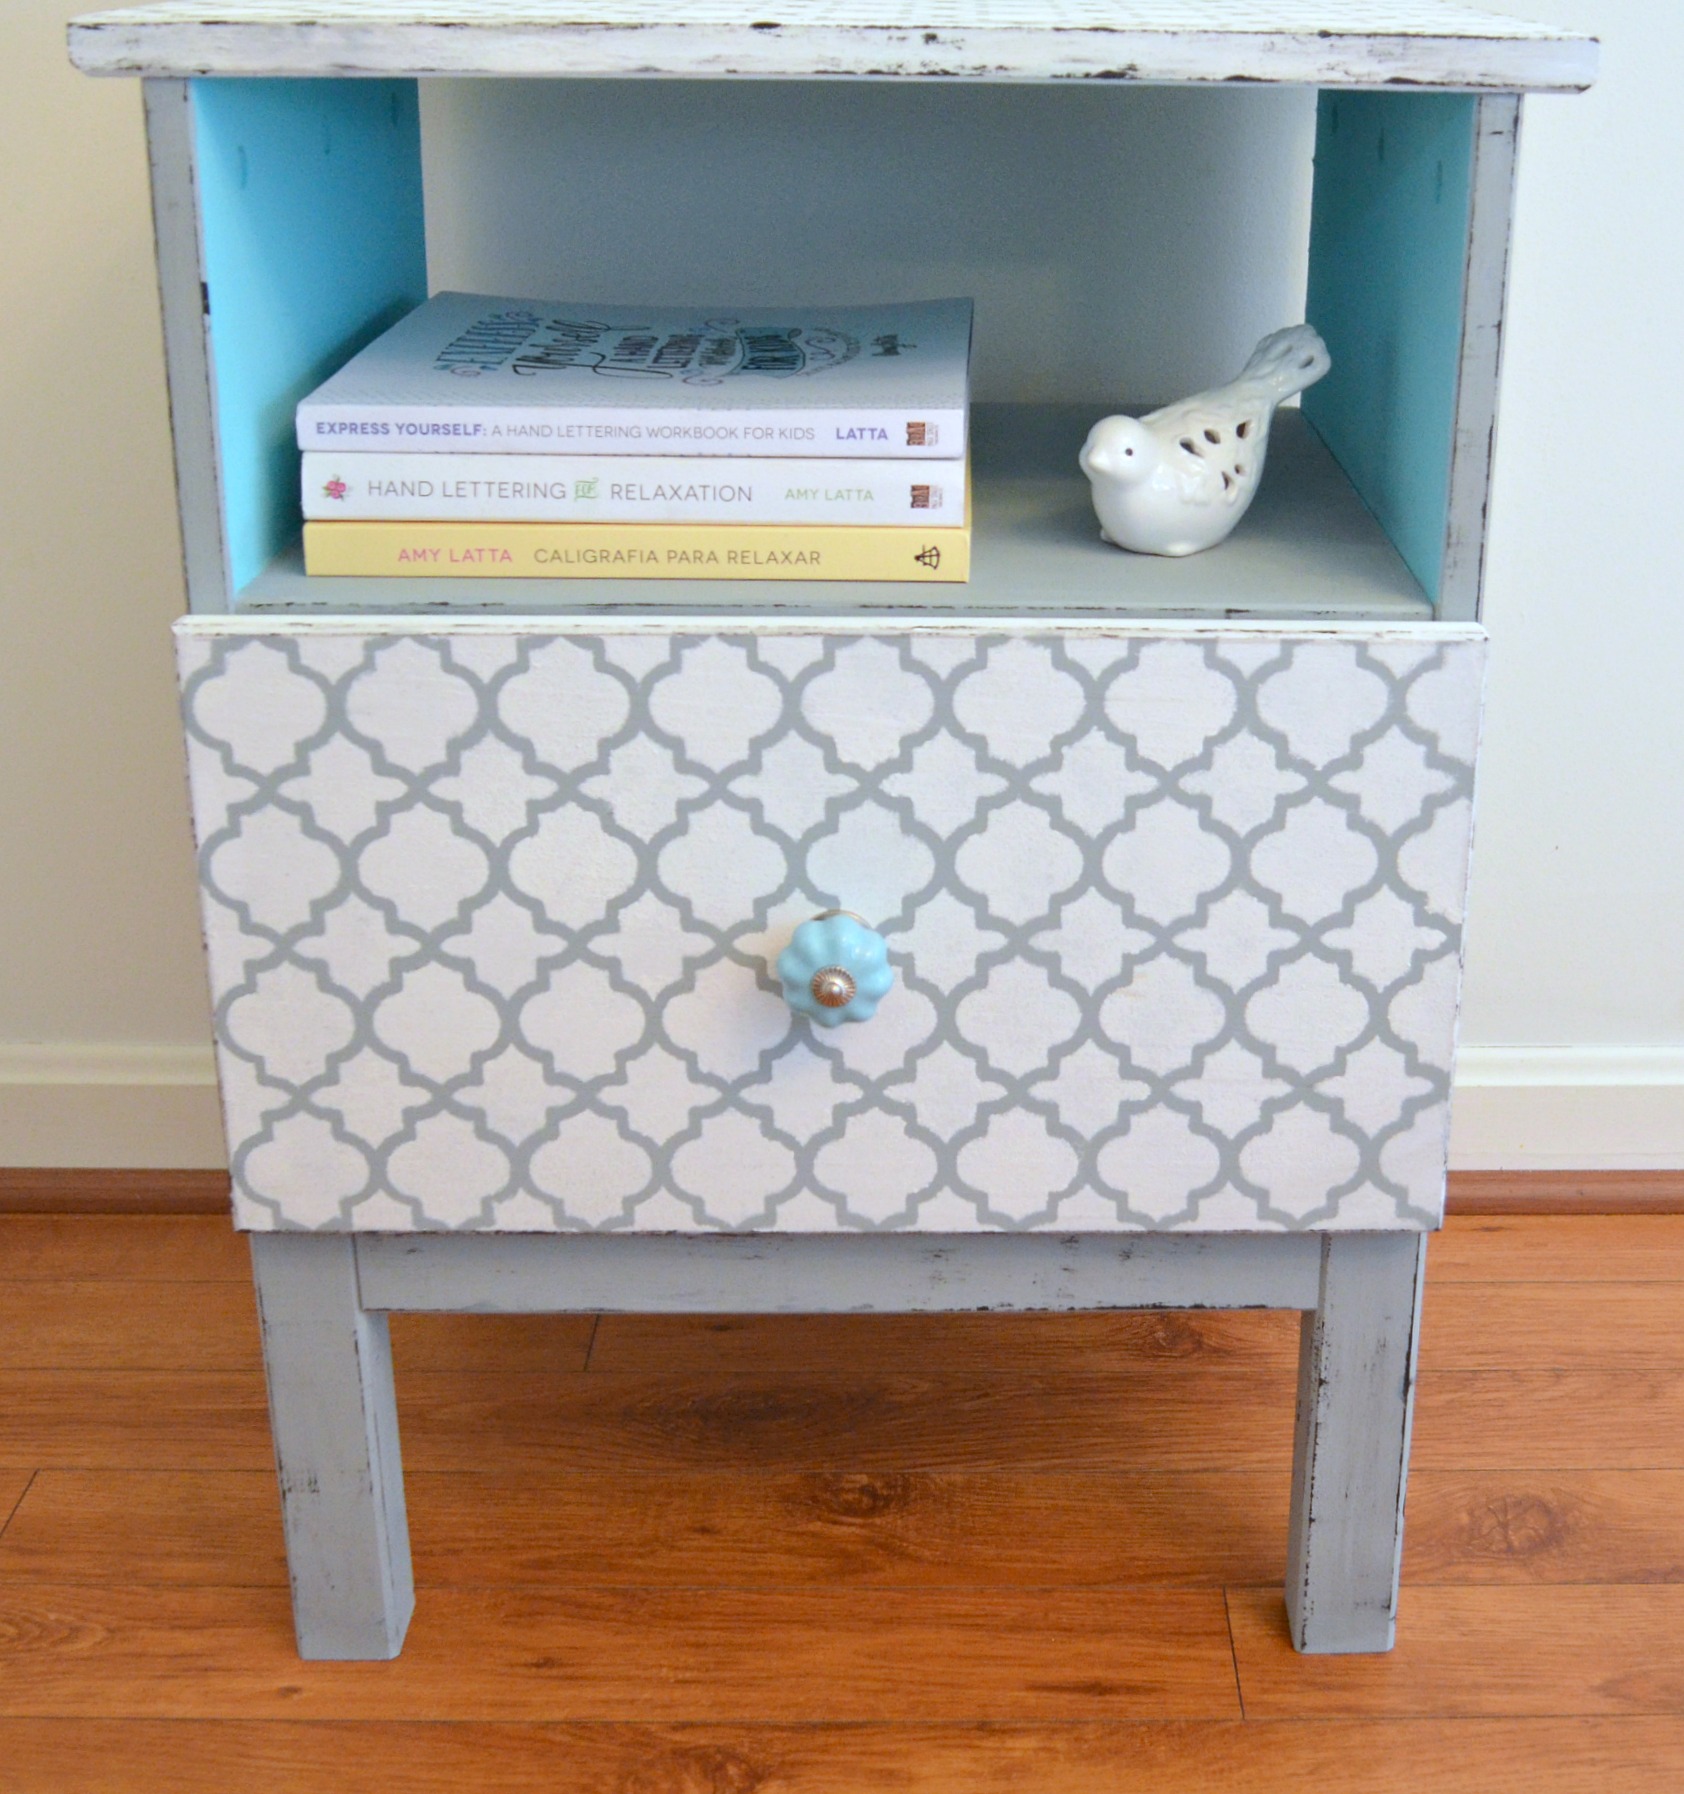
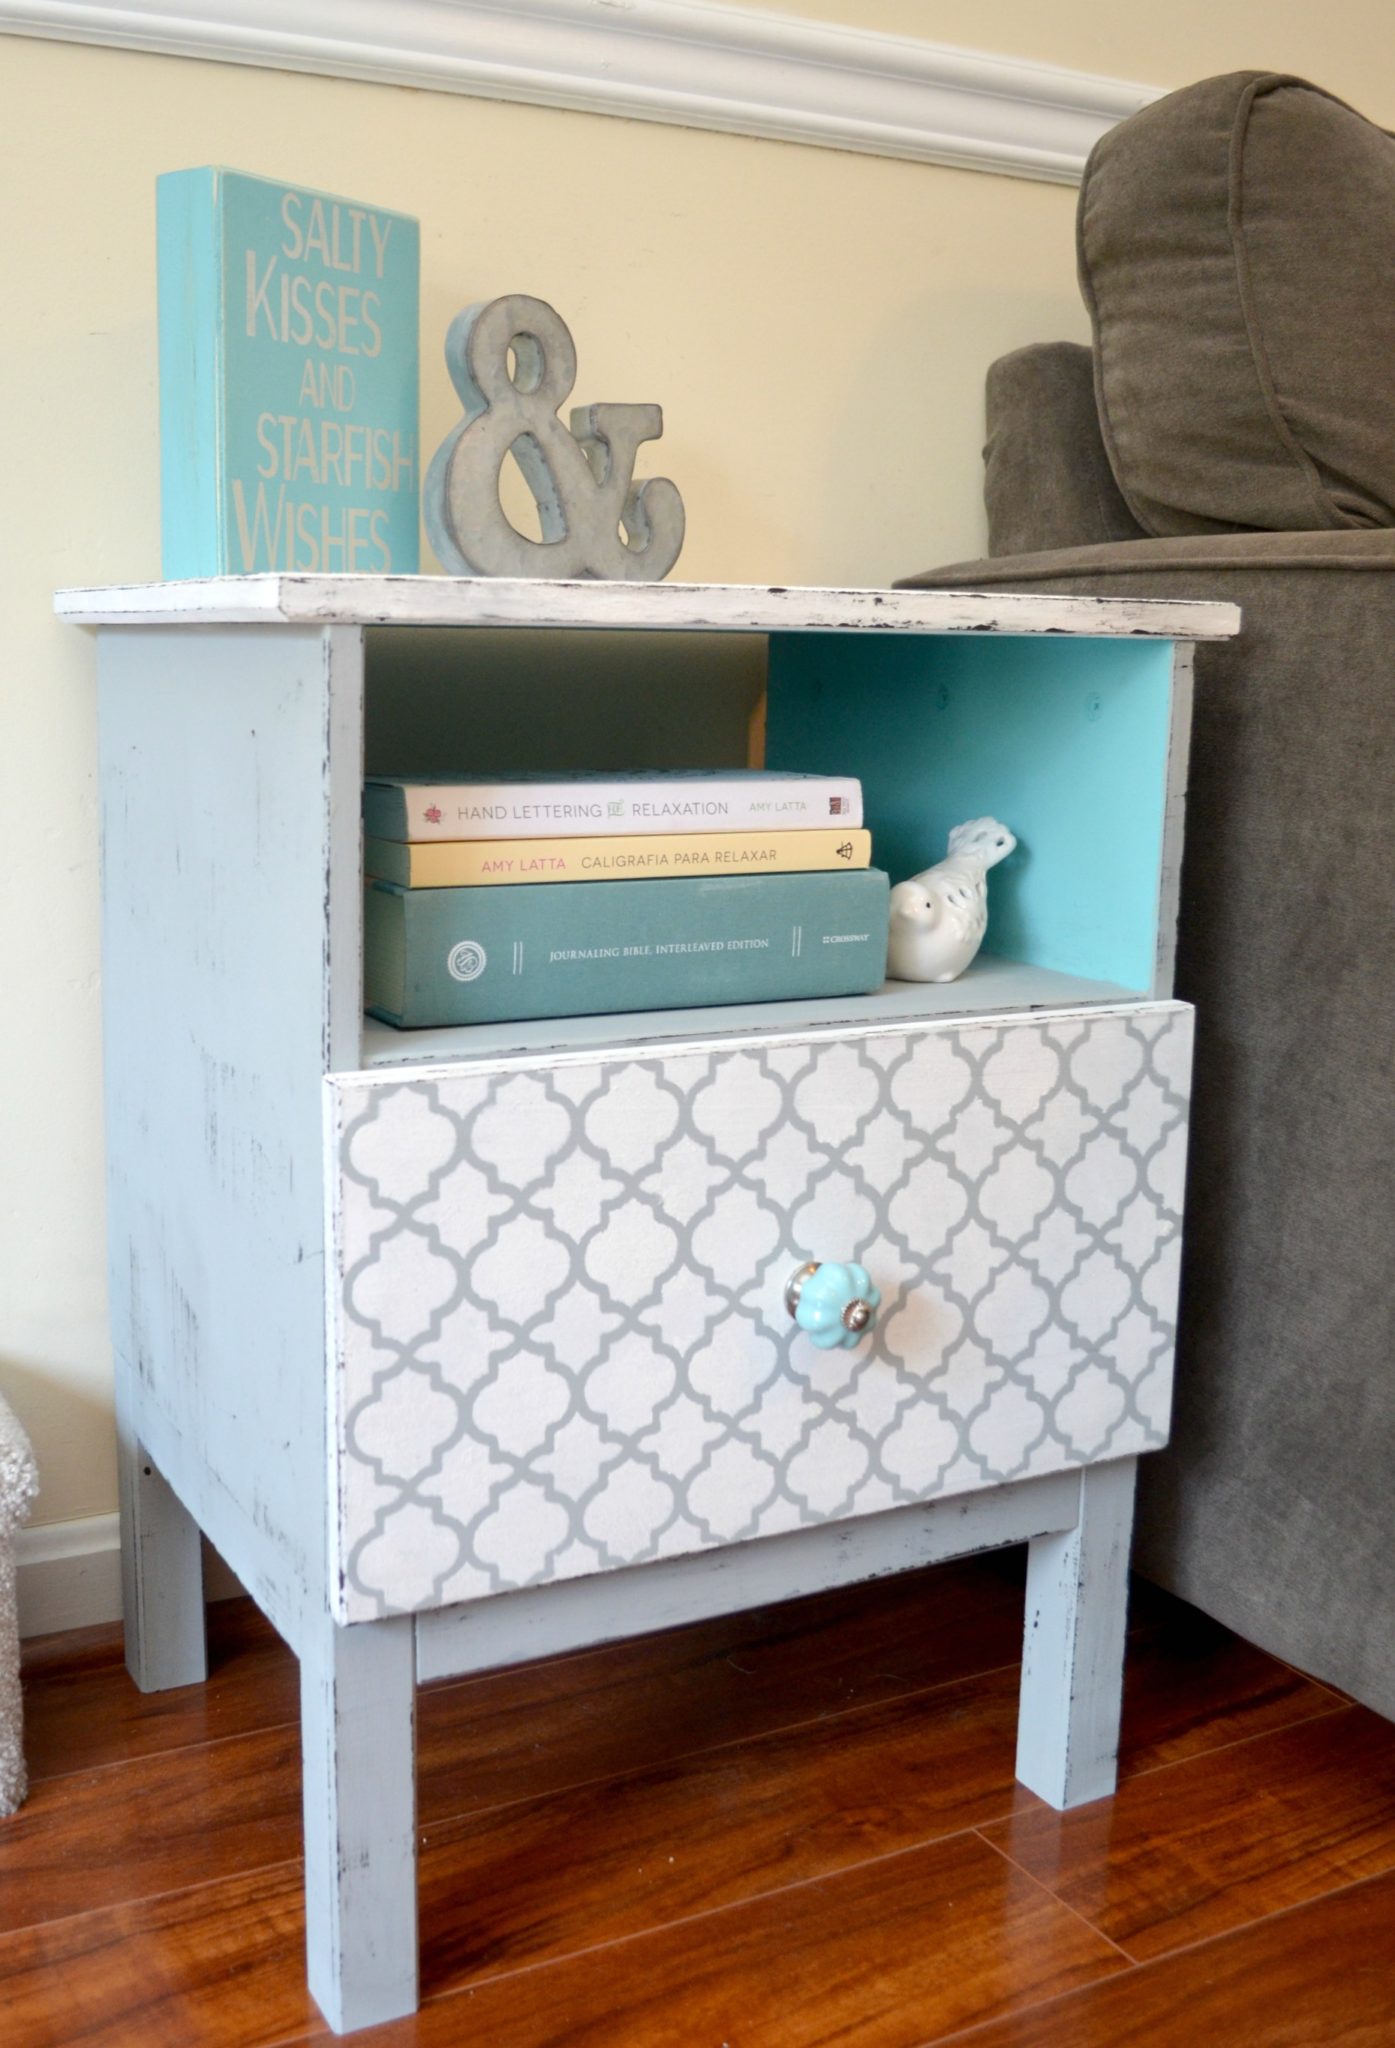
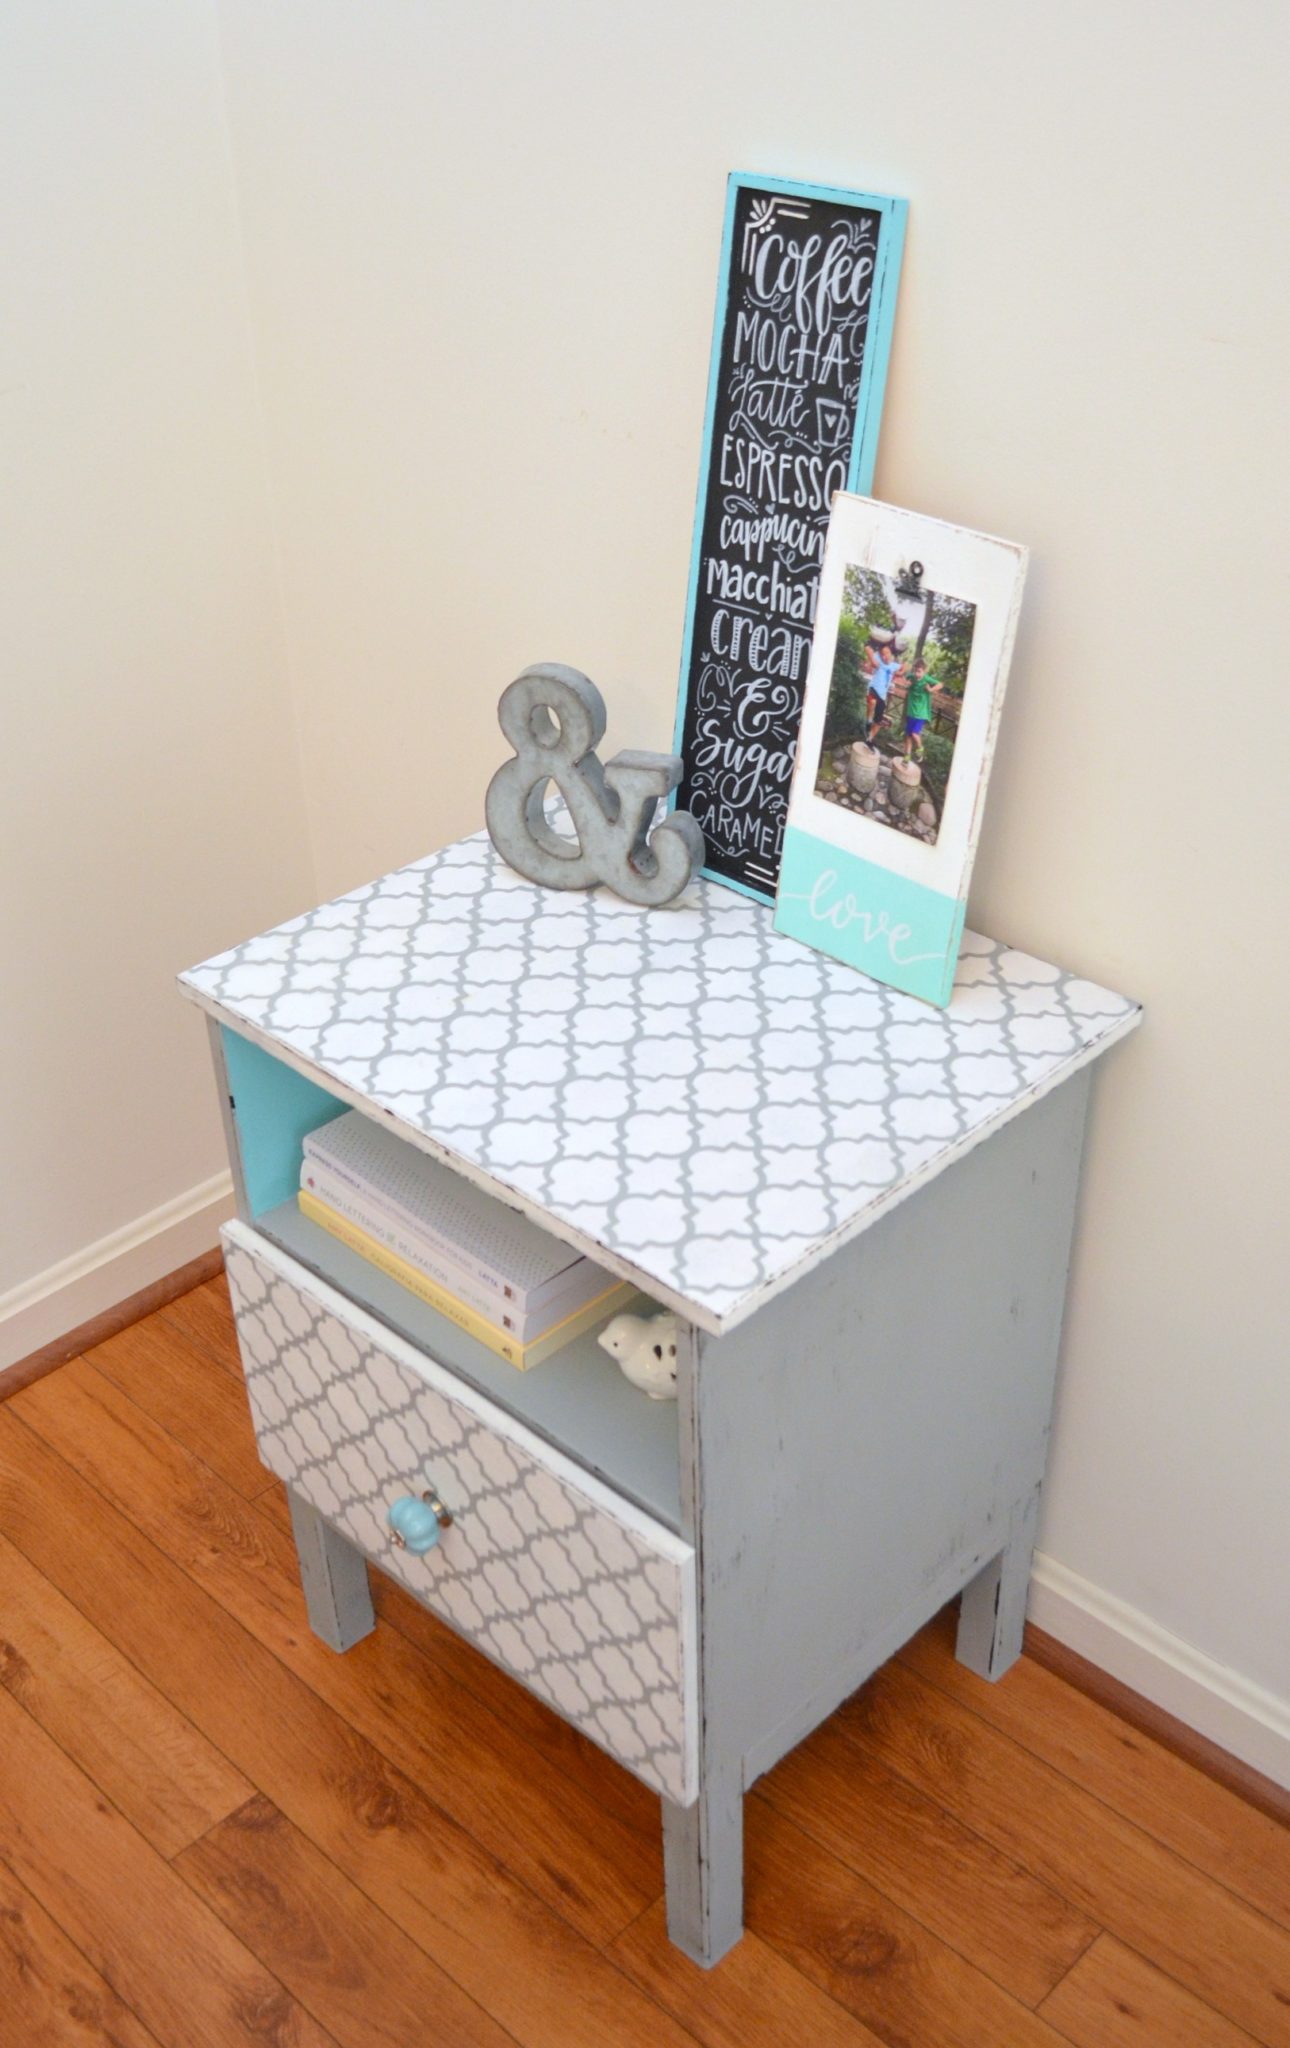
The final step was to attach the pretty coordinating knob I bought, which really pulled everything together and finished off the transformation.
I am thrilled with the finished project, and it makes the perfect little end table! The drawer is just right for holding my hand lettering supplies, and I can store a few of my favorite books on the shelf. I hear the author of those lettering books is pretty fabulous…
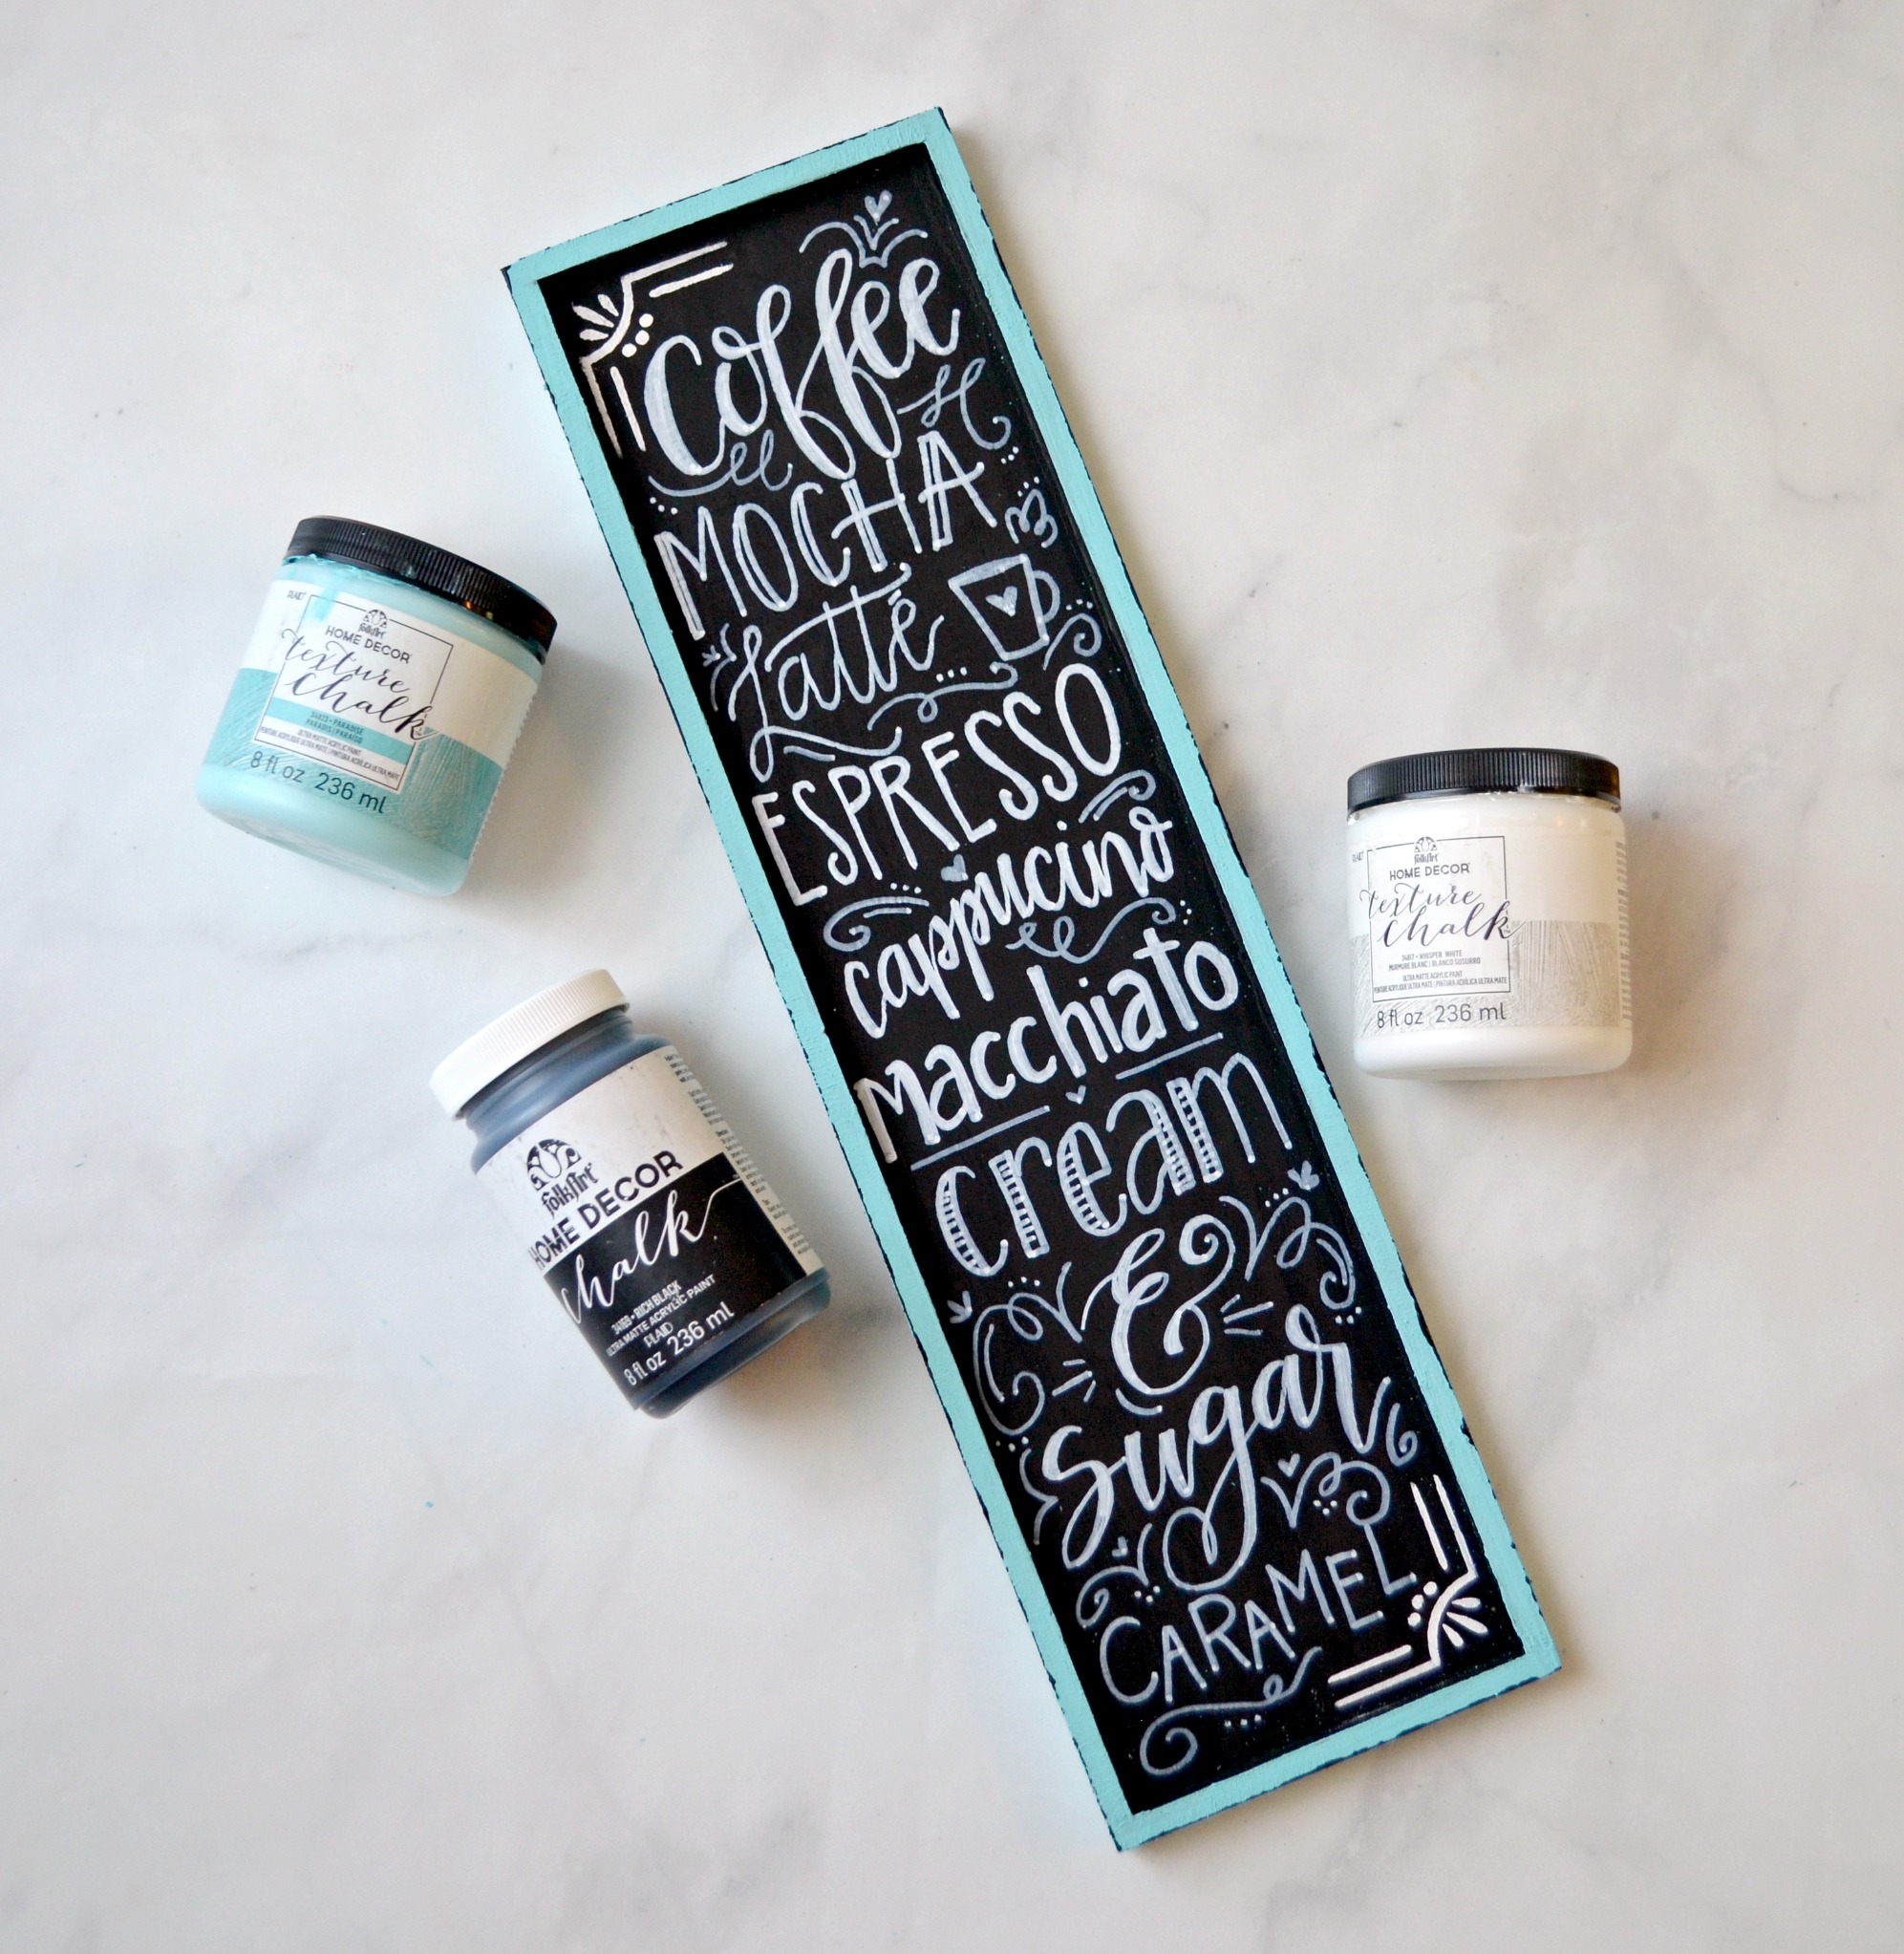
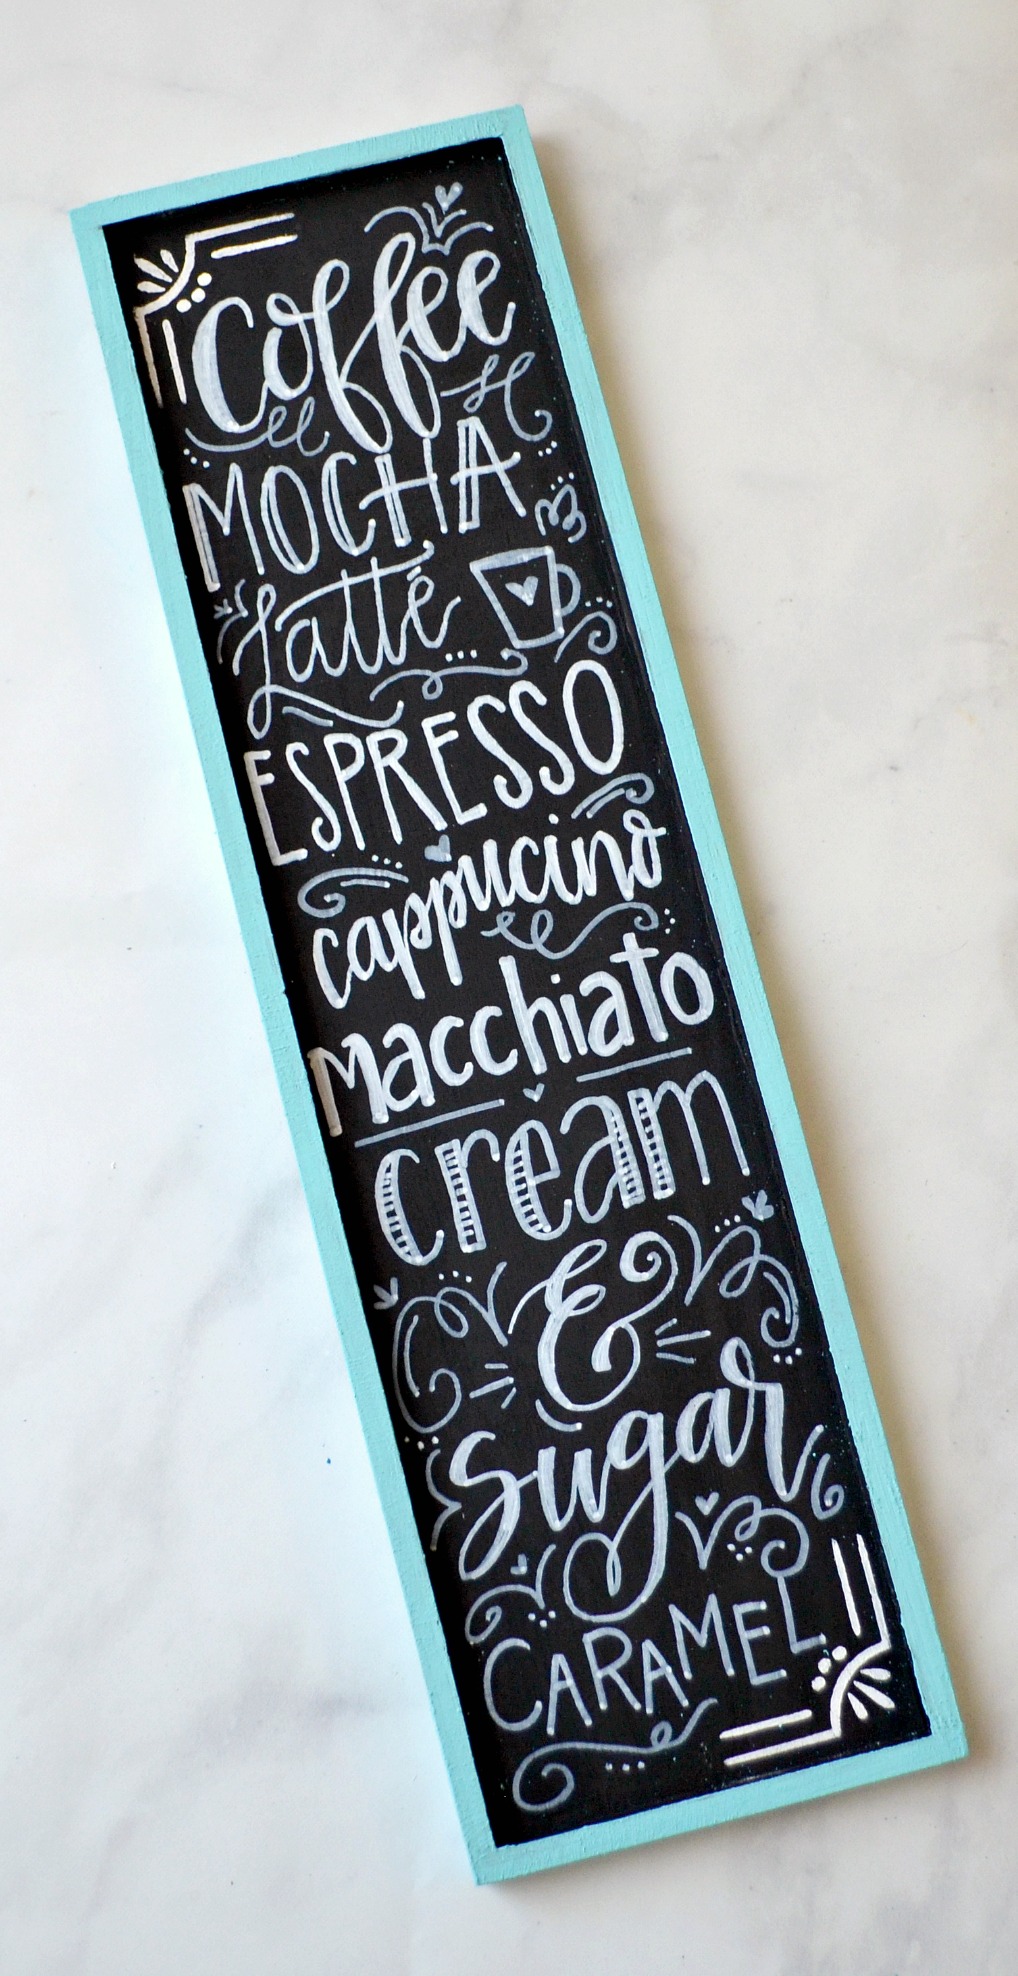
The nightstand itself was only part of the challenge, though! We were also tasked with creating an original piece of wall art that goes with our completed project. Here’s what I made…a chalkboard-inspired ode to my favorite beverage!
You’ll need:
Rectangular Wooden Sign
FolkArt Home Decor Chalk paint: Basic Black
FolkArt Home Decor Texture Chalk paint: Paradise, Whisper White
FolkArt Home Decor Chalk and Wax Brushes
Painters’ Tape
FolkArt Home Decor Layering Wood Block
FolkArt Stencils: Welcome Lily & Val Stencil Pack
White Chalk Marker

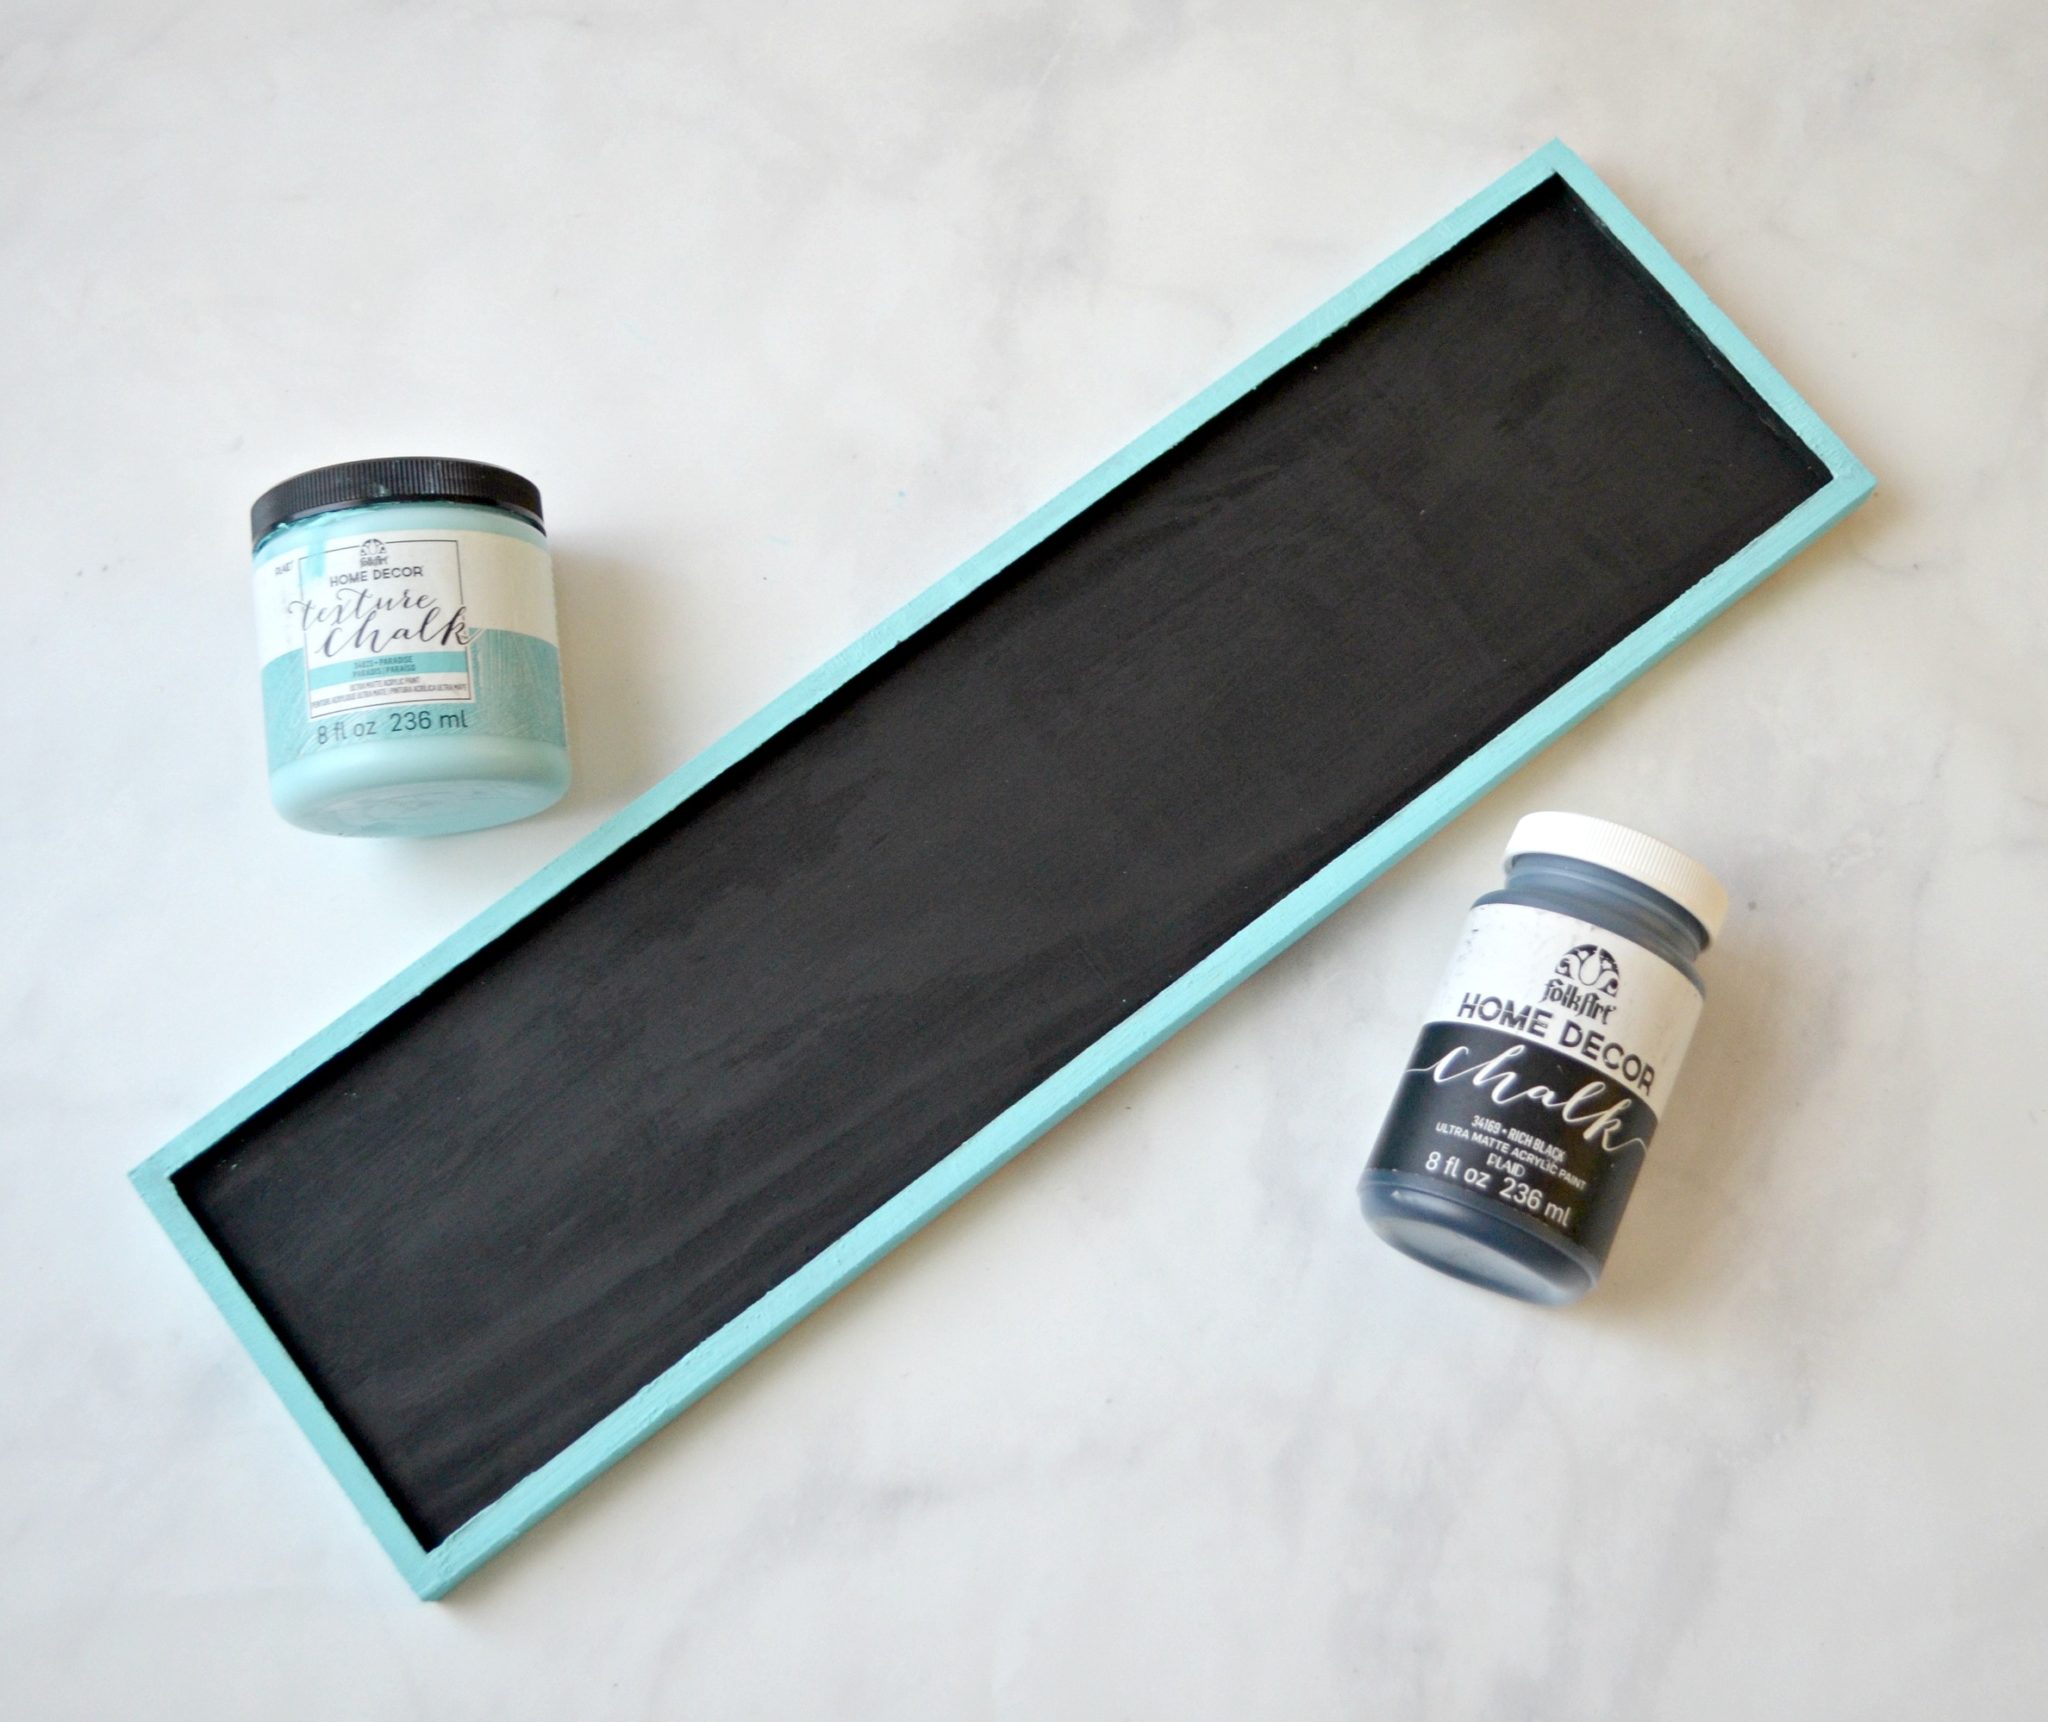
Step 1: Basecoat your sign.
I painted the inside with FolkArt Home Decor Chalk Basic Black and the outer edge with FolkArt Texture Chalk Paradise. One coat of the black was enough for total coverage, but I did two coats of the Paradise to really take advantage of that fabulous texture.
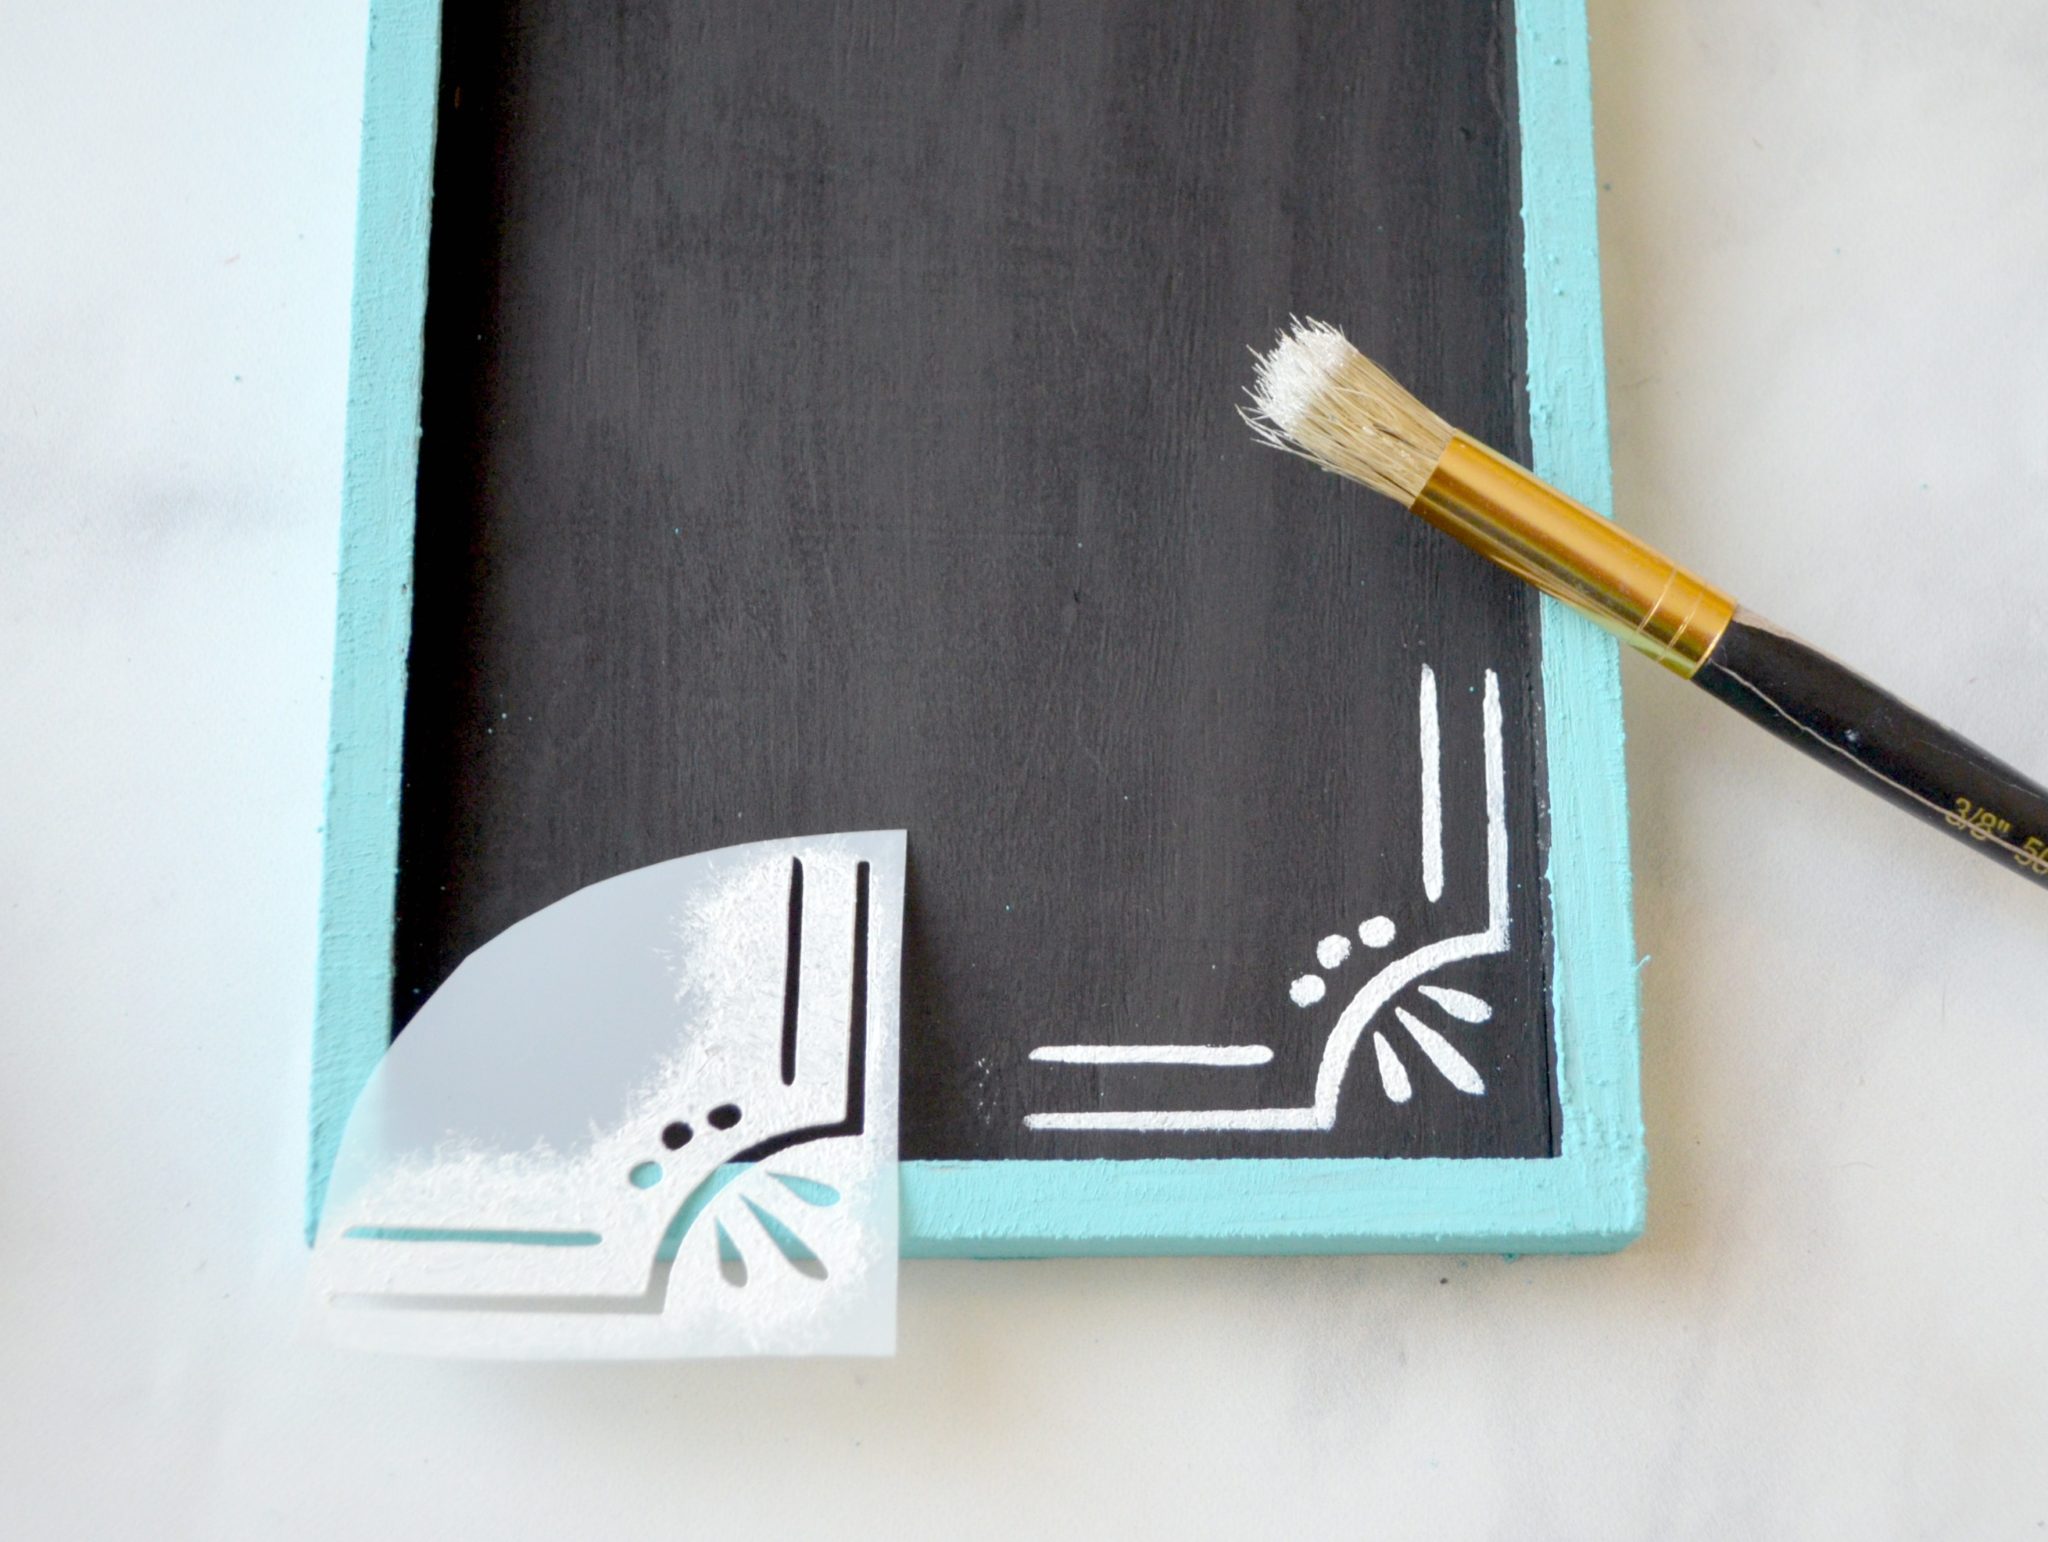
Step 2: Stencil your corners.
I chose my favorite of the Lily & Val corner stencils in the pack and cut it out. Then, I stenciled it twice using Whisper White FolkArt Texture Chalk paint; once in the top left corner, then again in the bottom right. I used the same stenciling technique here that I used for the stencils on the nightstand.
Step 3: Letter your words and embellishments.
I free-handed mine, using a variety of coffee-related words and writing them in different fonts including faux calligraphy, minimalist print, whimsical print, and more. Then, I filled in the empty spaces around the words with swirls and flourishes. For lettering how-to’s, check out these posts as well as my book, Hand Lettering for Relaxation! Of course, you could always use stencils too, like the set my corners are from.
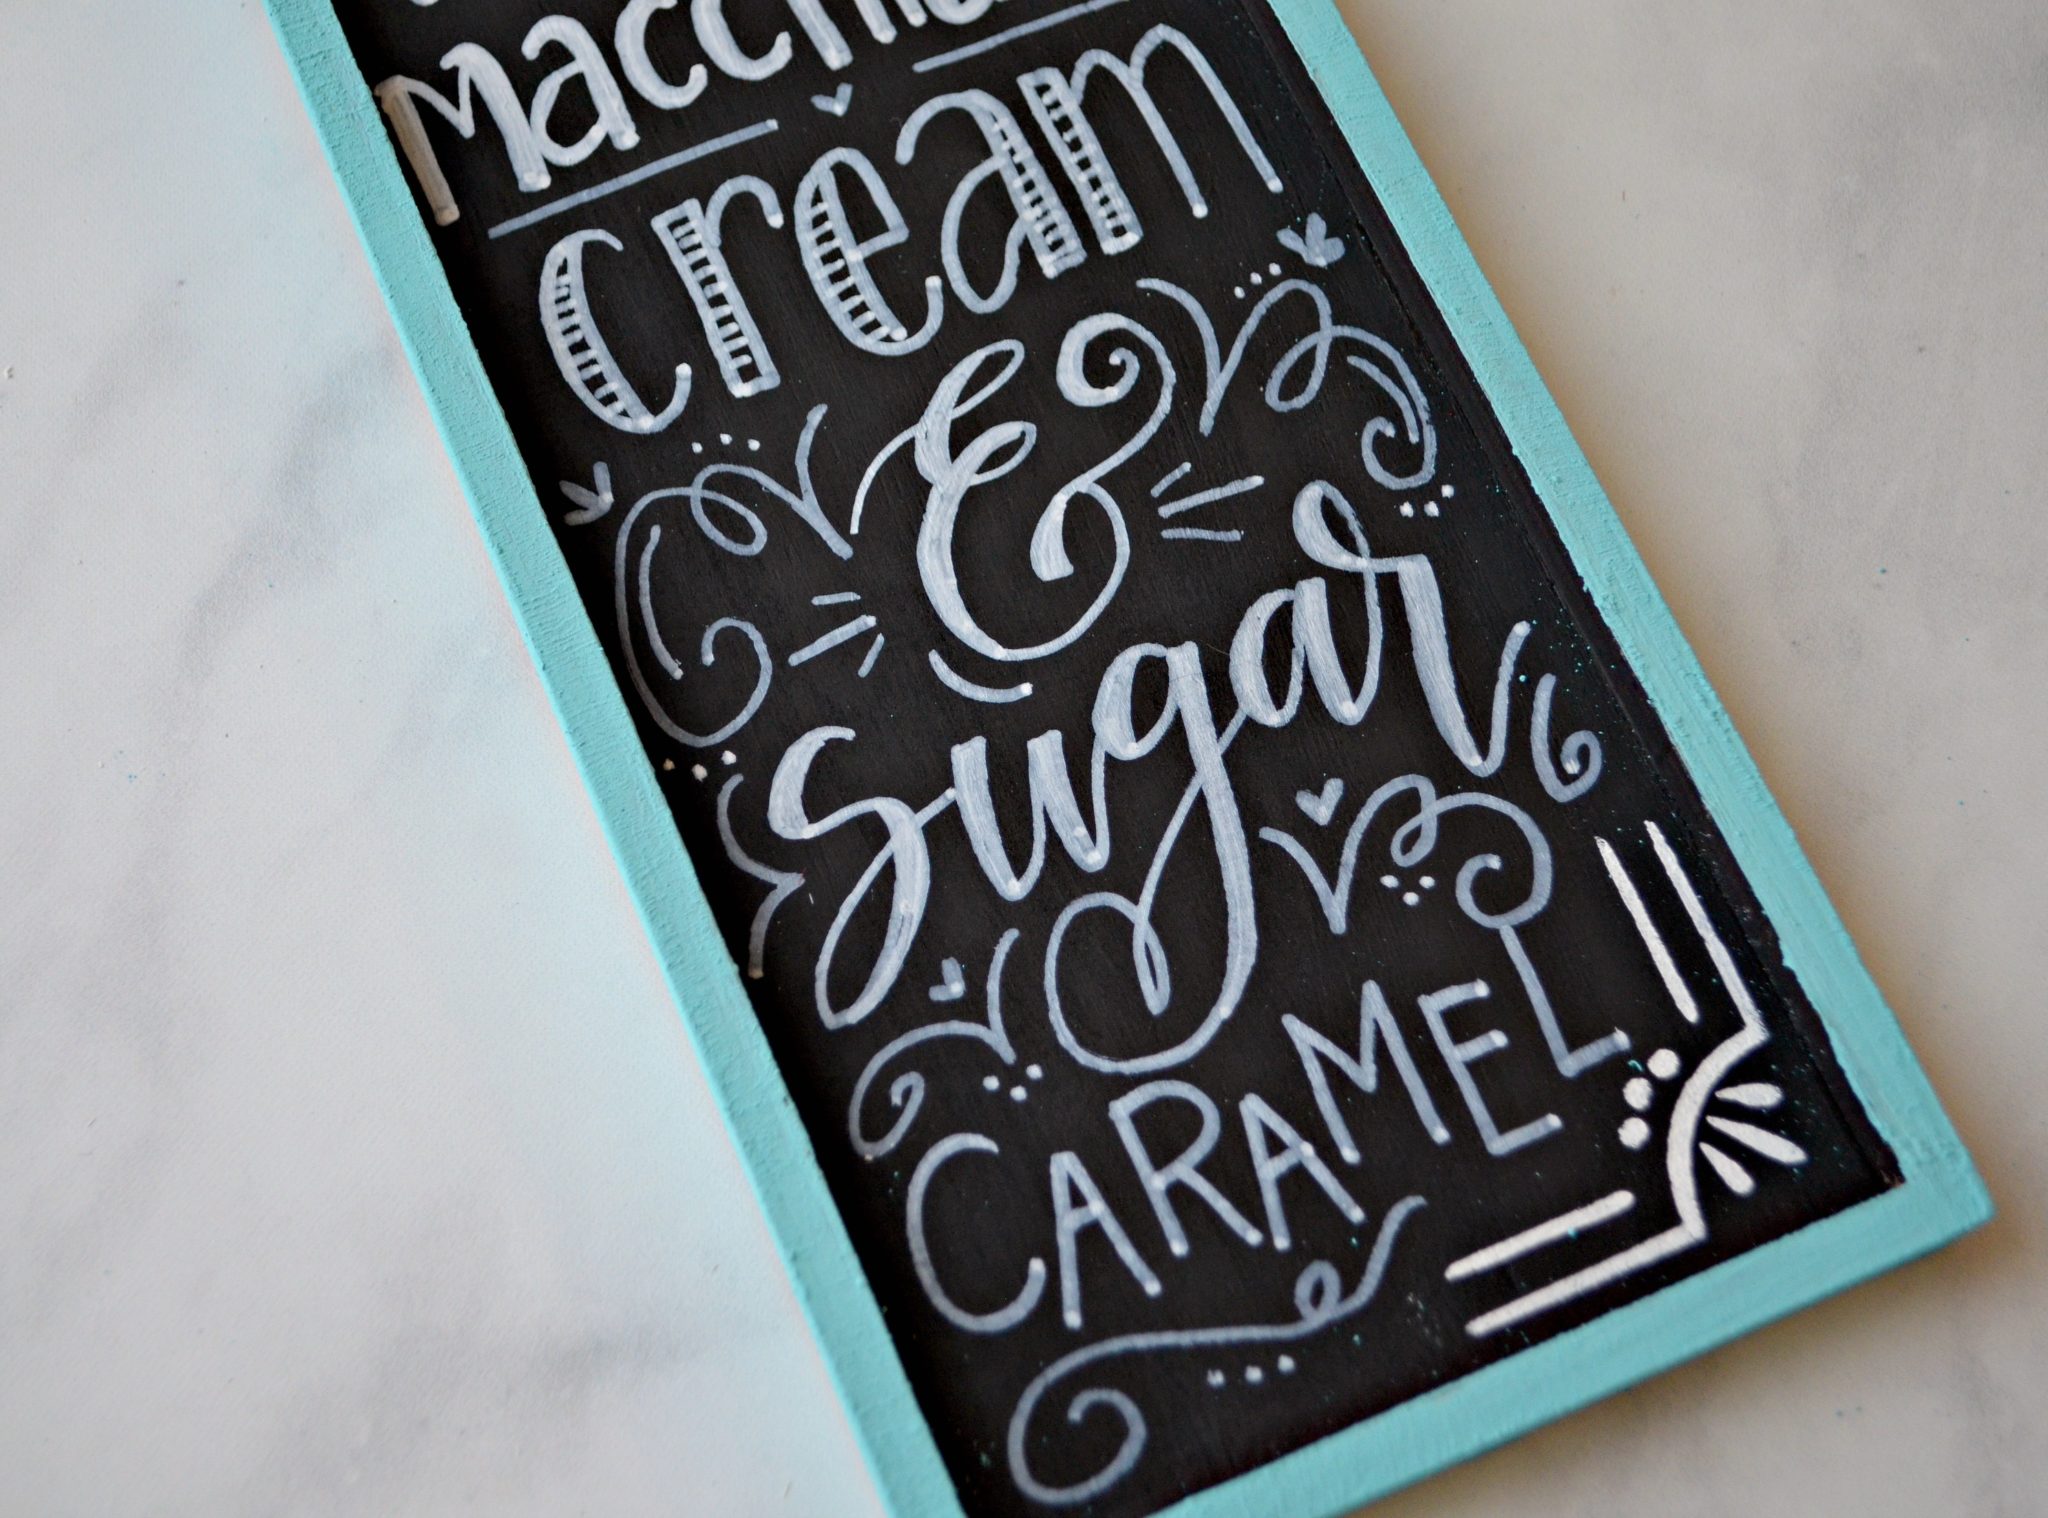
Here’s a look at the sign with all my words and embellishments in place. Of course, you could substitute any words or phrases you wanted to make it totally personalized. Just have fun with it! The beauty of a piece like this is in the fact that it IS hand lettered, so don’t worry about having every letter perfect and every line straight. Let yourself enjoy the process and you’ll end up with something that’s absolutely unique.
Step 4: Distress the edges with the layering block.
This is the same technique I used on the furniture piece, and once again, I can’t get over how adding paint gives the illusion of removing paint instead!
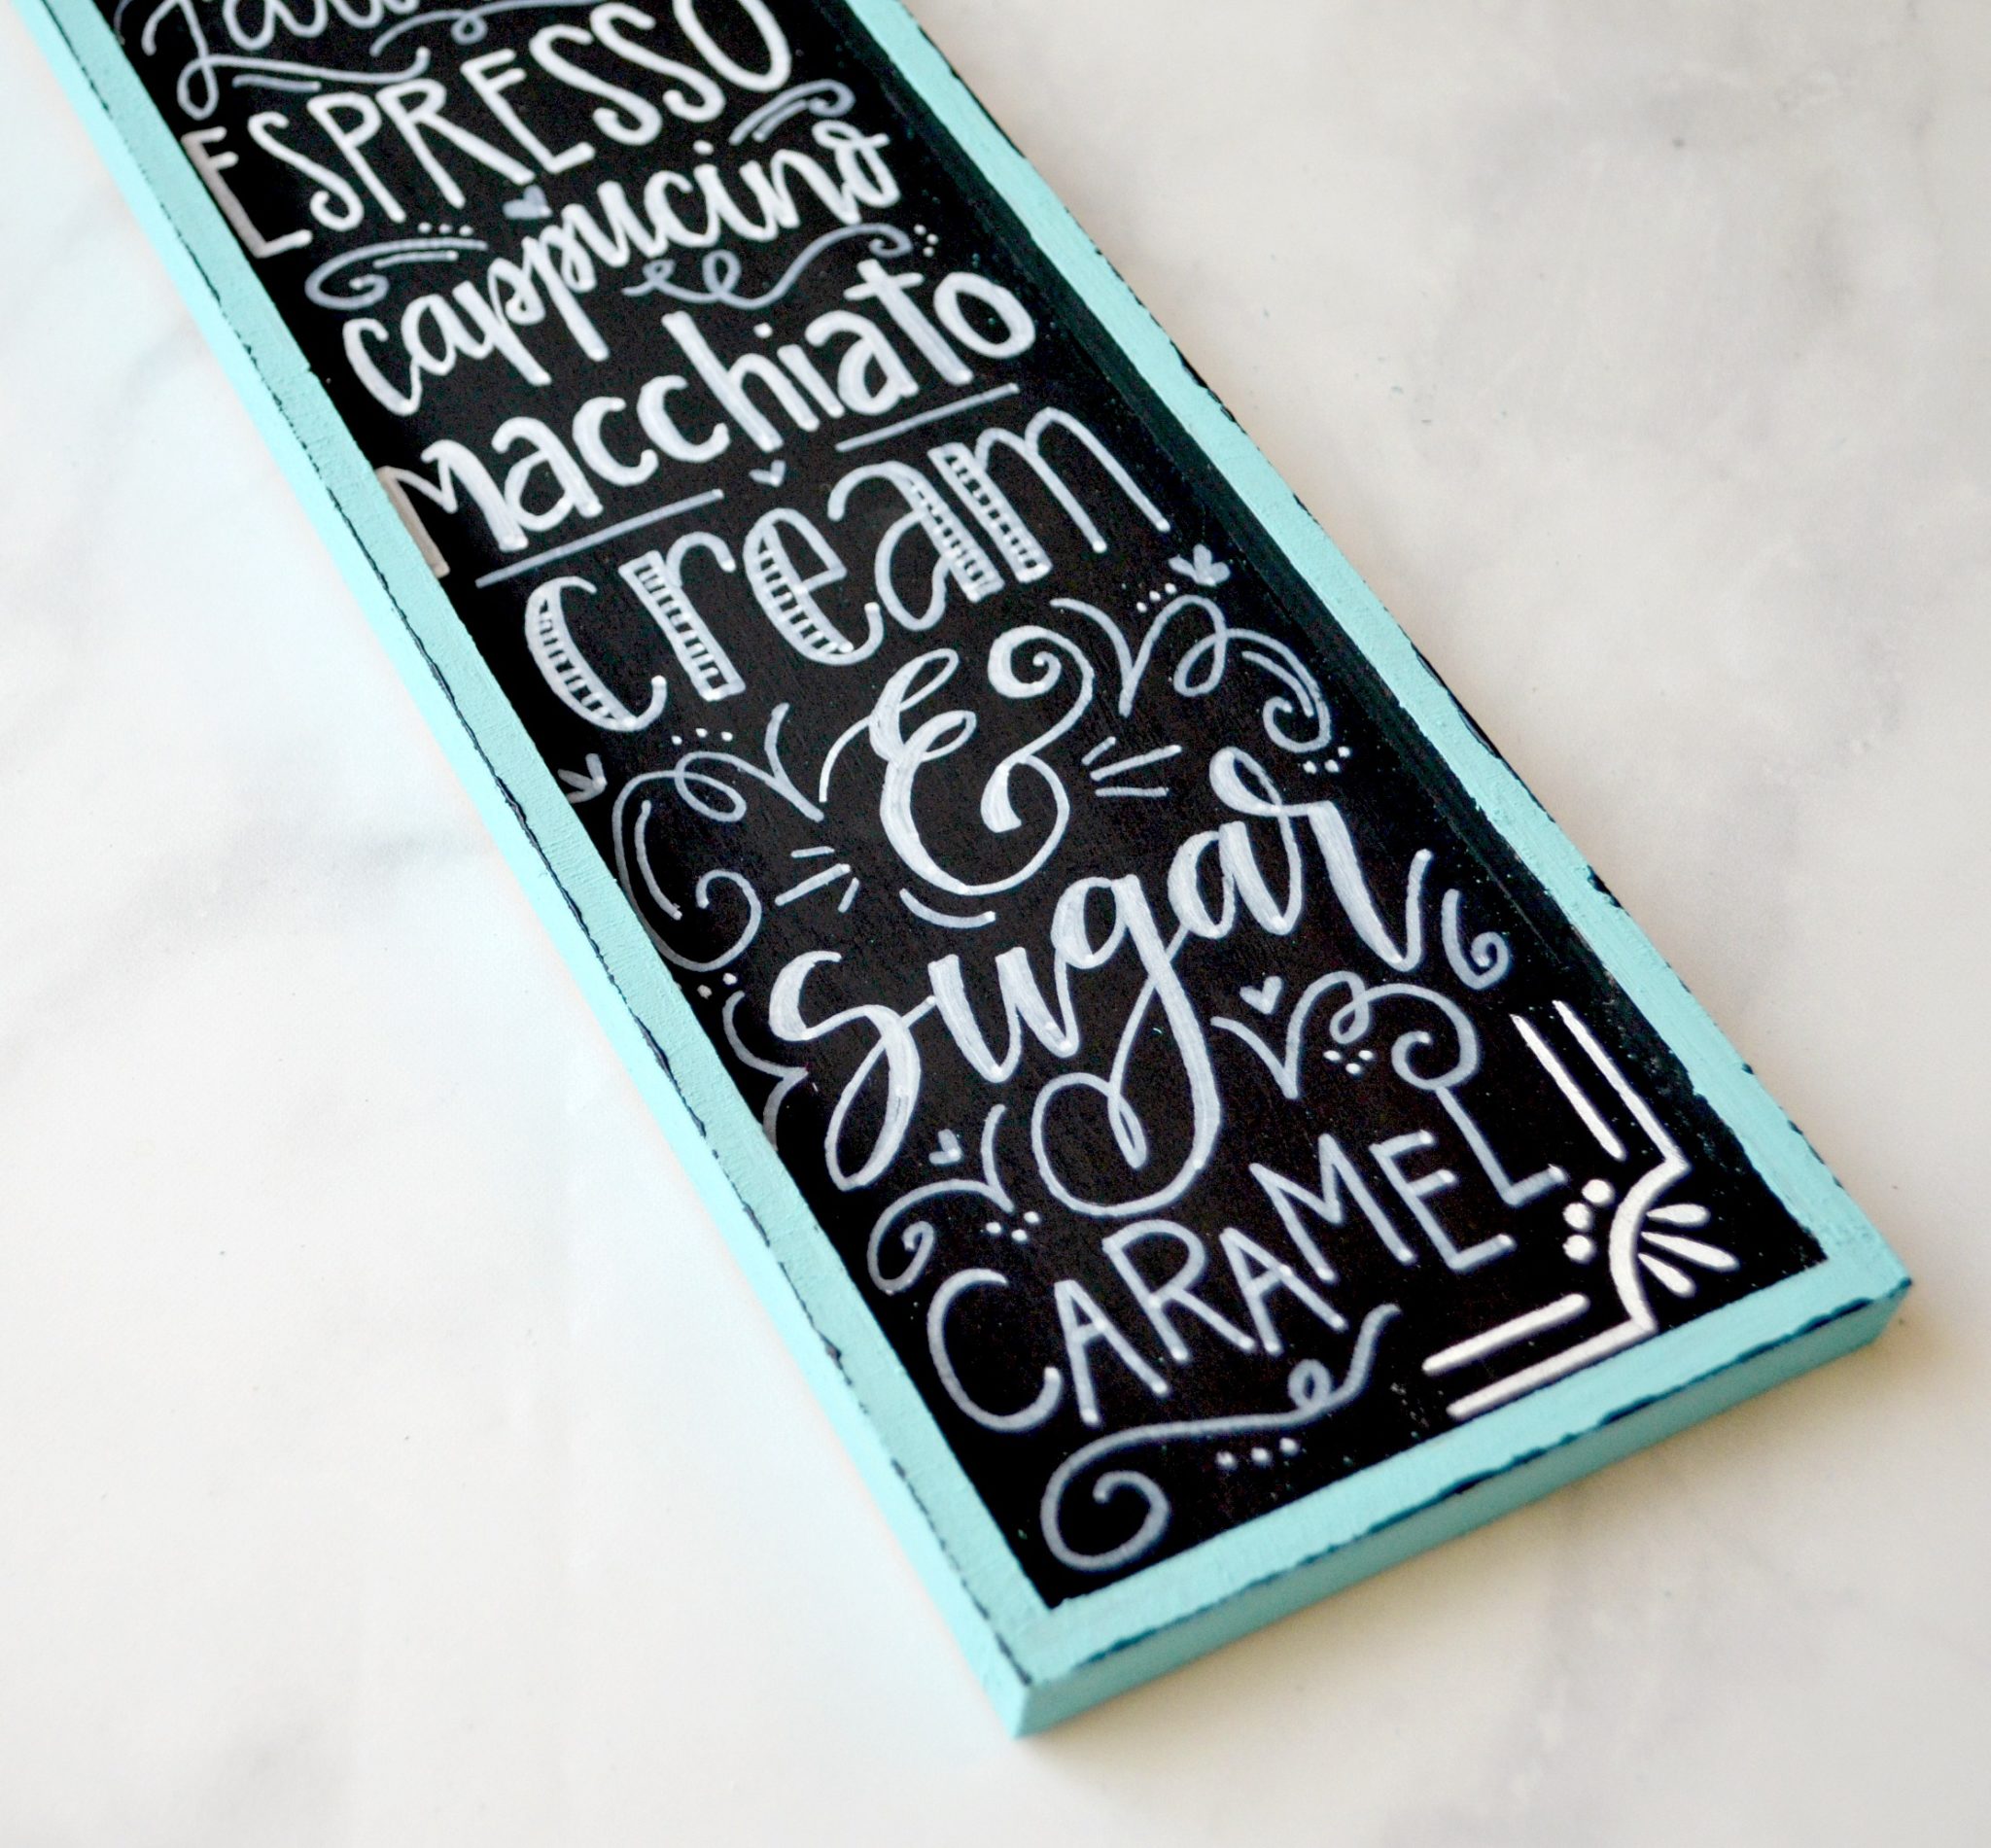
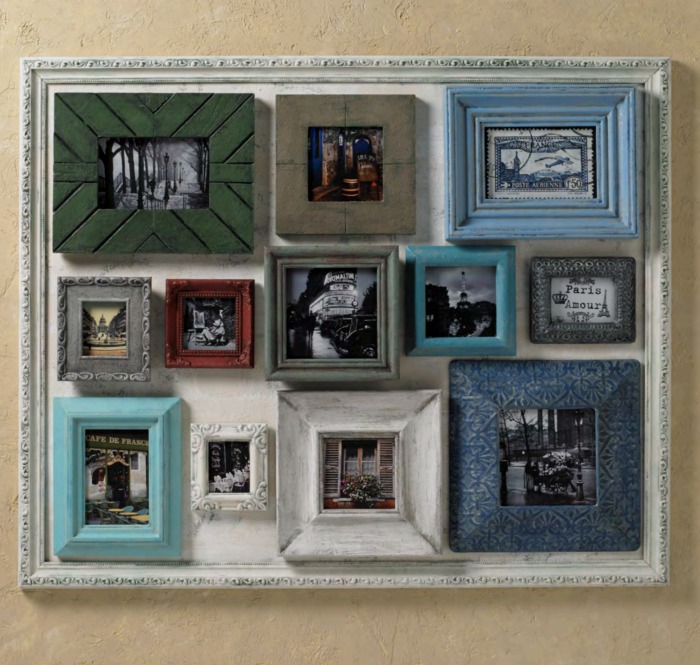
I couldn’t be more pleased with how my little sign turned out! I loosely based it on a pre-made sign I saw in my local craft store, and quite honestly, I like how mine looks even better. It’s just my style, and it’s the perfect complement to my painted nightstand.
What do you think? How would YOU use FolkArt Home Decor Chalk to transform this little table?
Be sure to check out what my fellow Creators did and see which makeover is your personal favorite!
Guest Room NIghtstand – Petticoat Junktion
Ikea Tarva Nightstand Rast Hack – Cherished Bliss
Kids’ Reading Nook – Positively Splendid
DIY Faux Embossed Nightstand – The Pretty Life Girls
IKEA Tarva Nightstand – The Cards We Drew
Dinosaur Nightstand Redo – Made to be a Momma
And don’t forget…if you like it, then you oughta put a Pin on it!


One Comment