Metal Stamping with ImpressArt Artisan Bezel Kits
Thanks to ImpressArt for sponsoring today’s post. All opinions are, as always, my own.
I don’t know about you, friends, but I love creating personal, DIY gifts for my friends and family. One of my favorite ways to do that is by metal stamping, because I can use any combination of letters and design images I want to create jewelry that’s totally unique. Today, I want to show you how you can make gorgeous mixed-metal handmade jewelry using the brand new ImpressArt Artisan Bezel Kits. Take a look…
These new kits allow you to take your stamped jewelry to the next level by stamping on a shaped blank, then adhering it inside a pretty ornamental bezel. They’re available in small and large circles, small and large ovals, rectangles, and squares and can be customized any way you can imagine. Here’s how I created two necklaces; one as a gift for my mom, and one for myself.
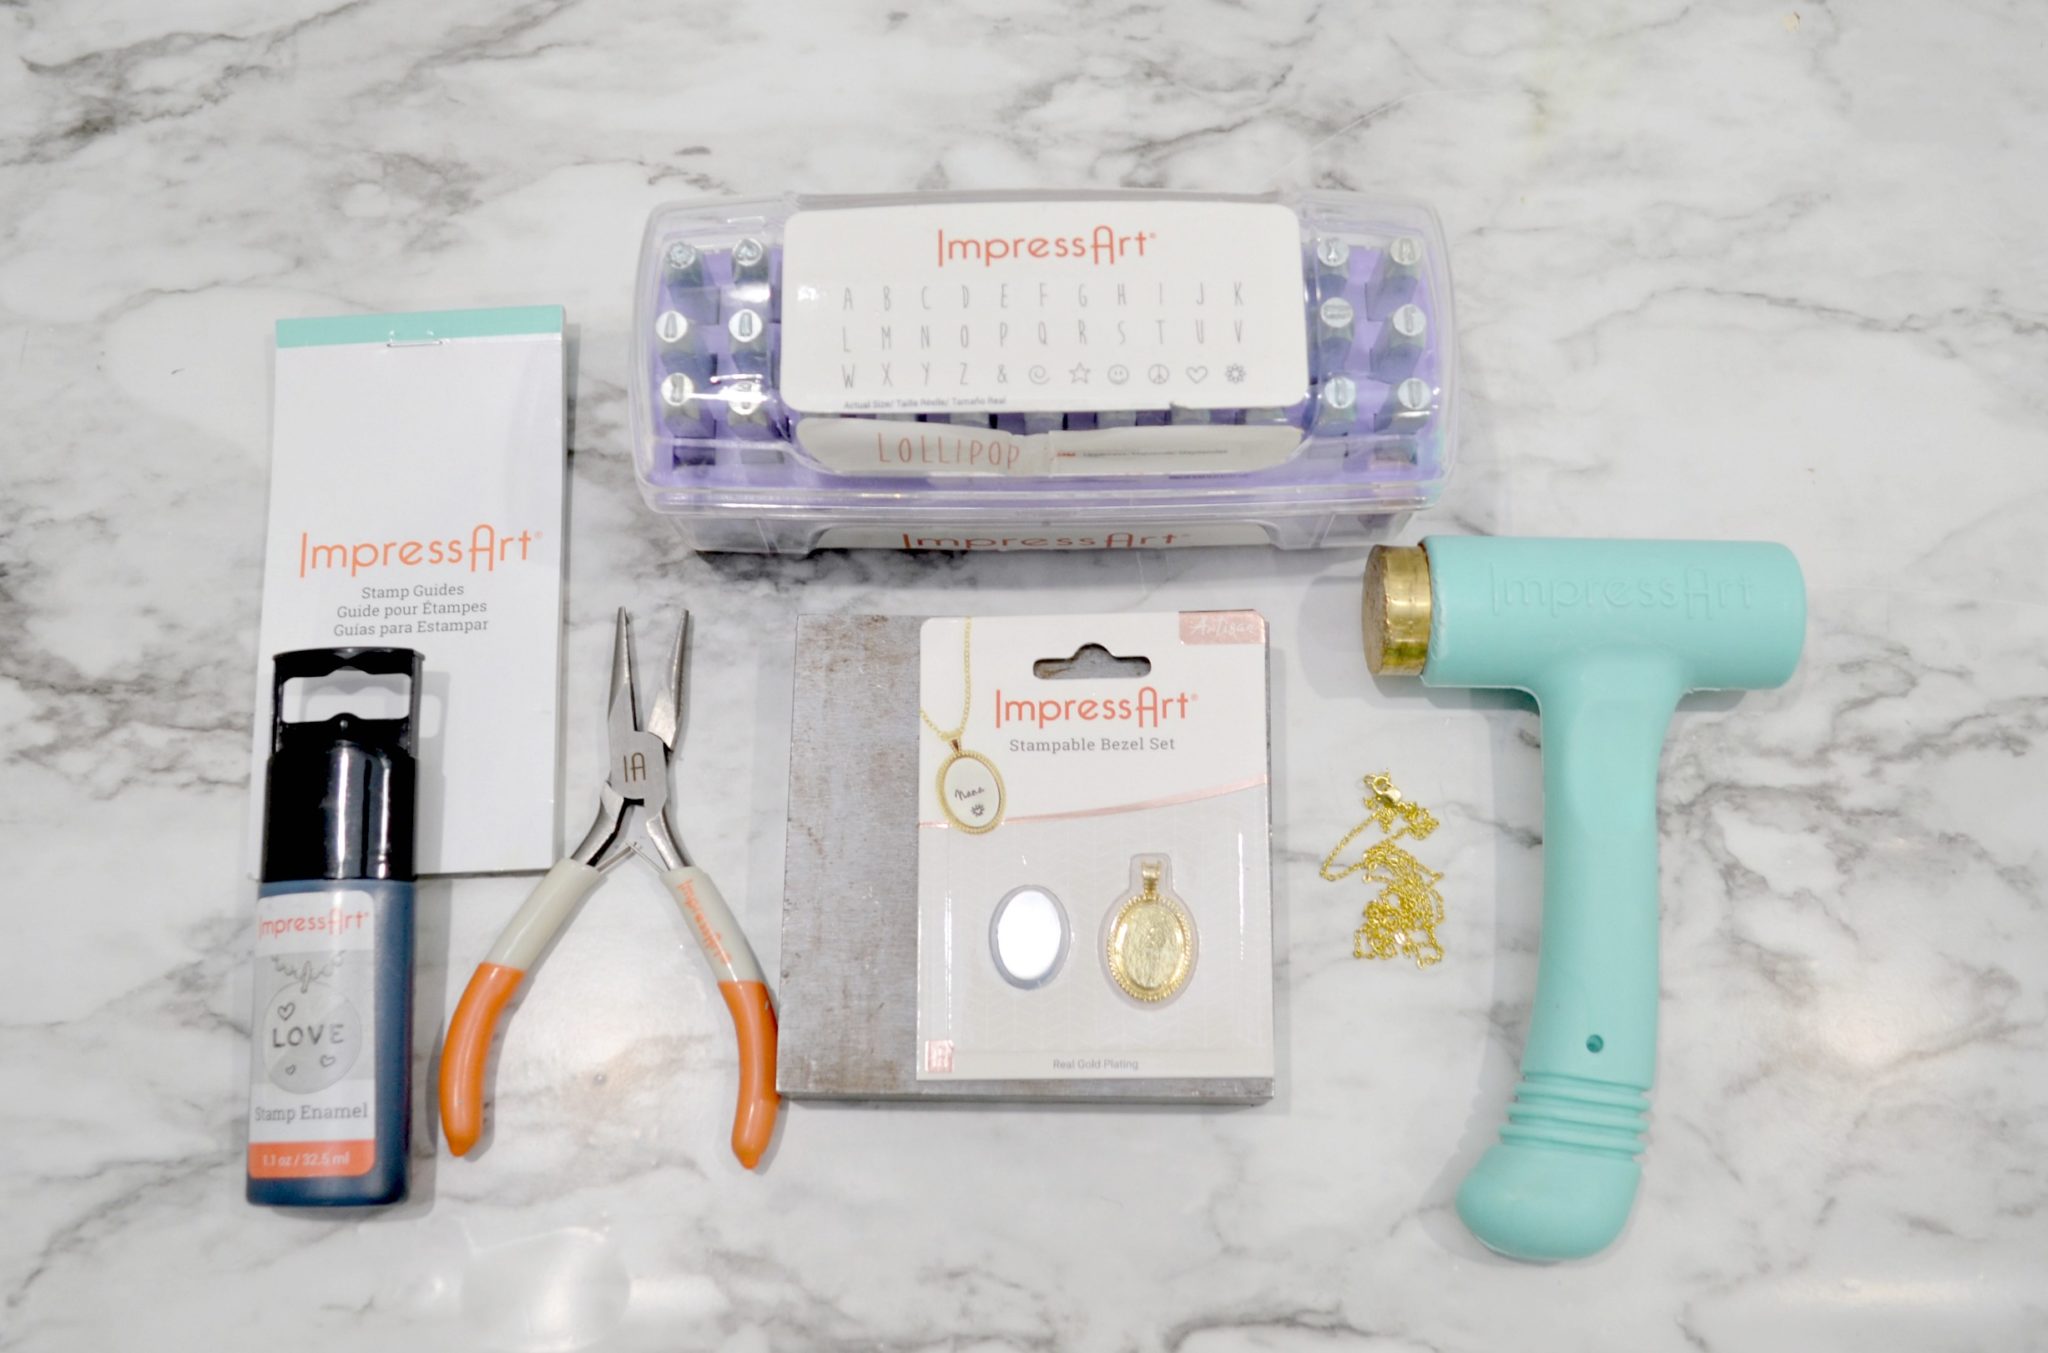
You’ll Need:
ImpressArt Alphabet Stamps {I used Lollipop Uppercase and Juniper Lowercase}
Design Stamps {I used the heart in the Lollipop Uppercase Set and the Mama & Baby Bear Pack}
Soft lint-free cloth
Necklace chain
It may sound like a lot of supplies, but once you have the basic tools, you can make tons of jewelry and other projects really inexpensively, because all you’ll need to buy are the specific blanks you want to use. If you’re just starting out, a good way to get the basics is by ordering the ImpressArt Economy, Original, or Deluxe Metal Stamping Starter Kit, all of which contain everything you need to start this fun hobby!
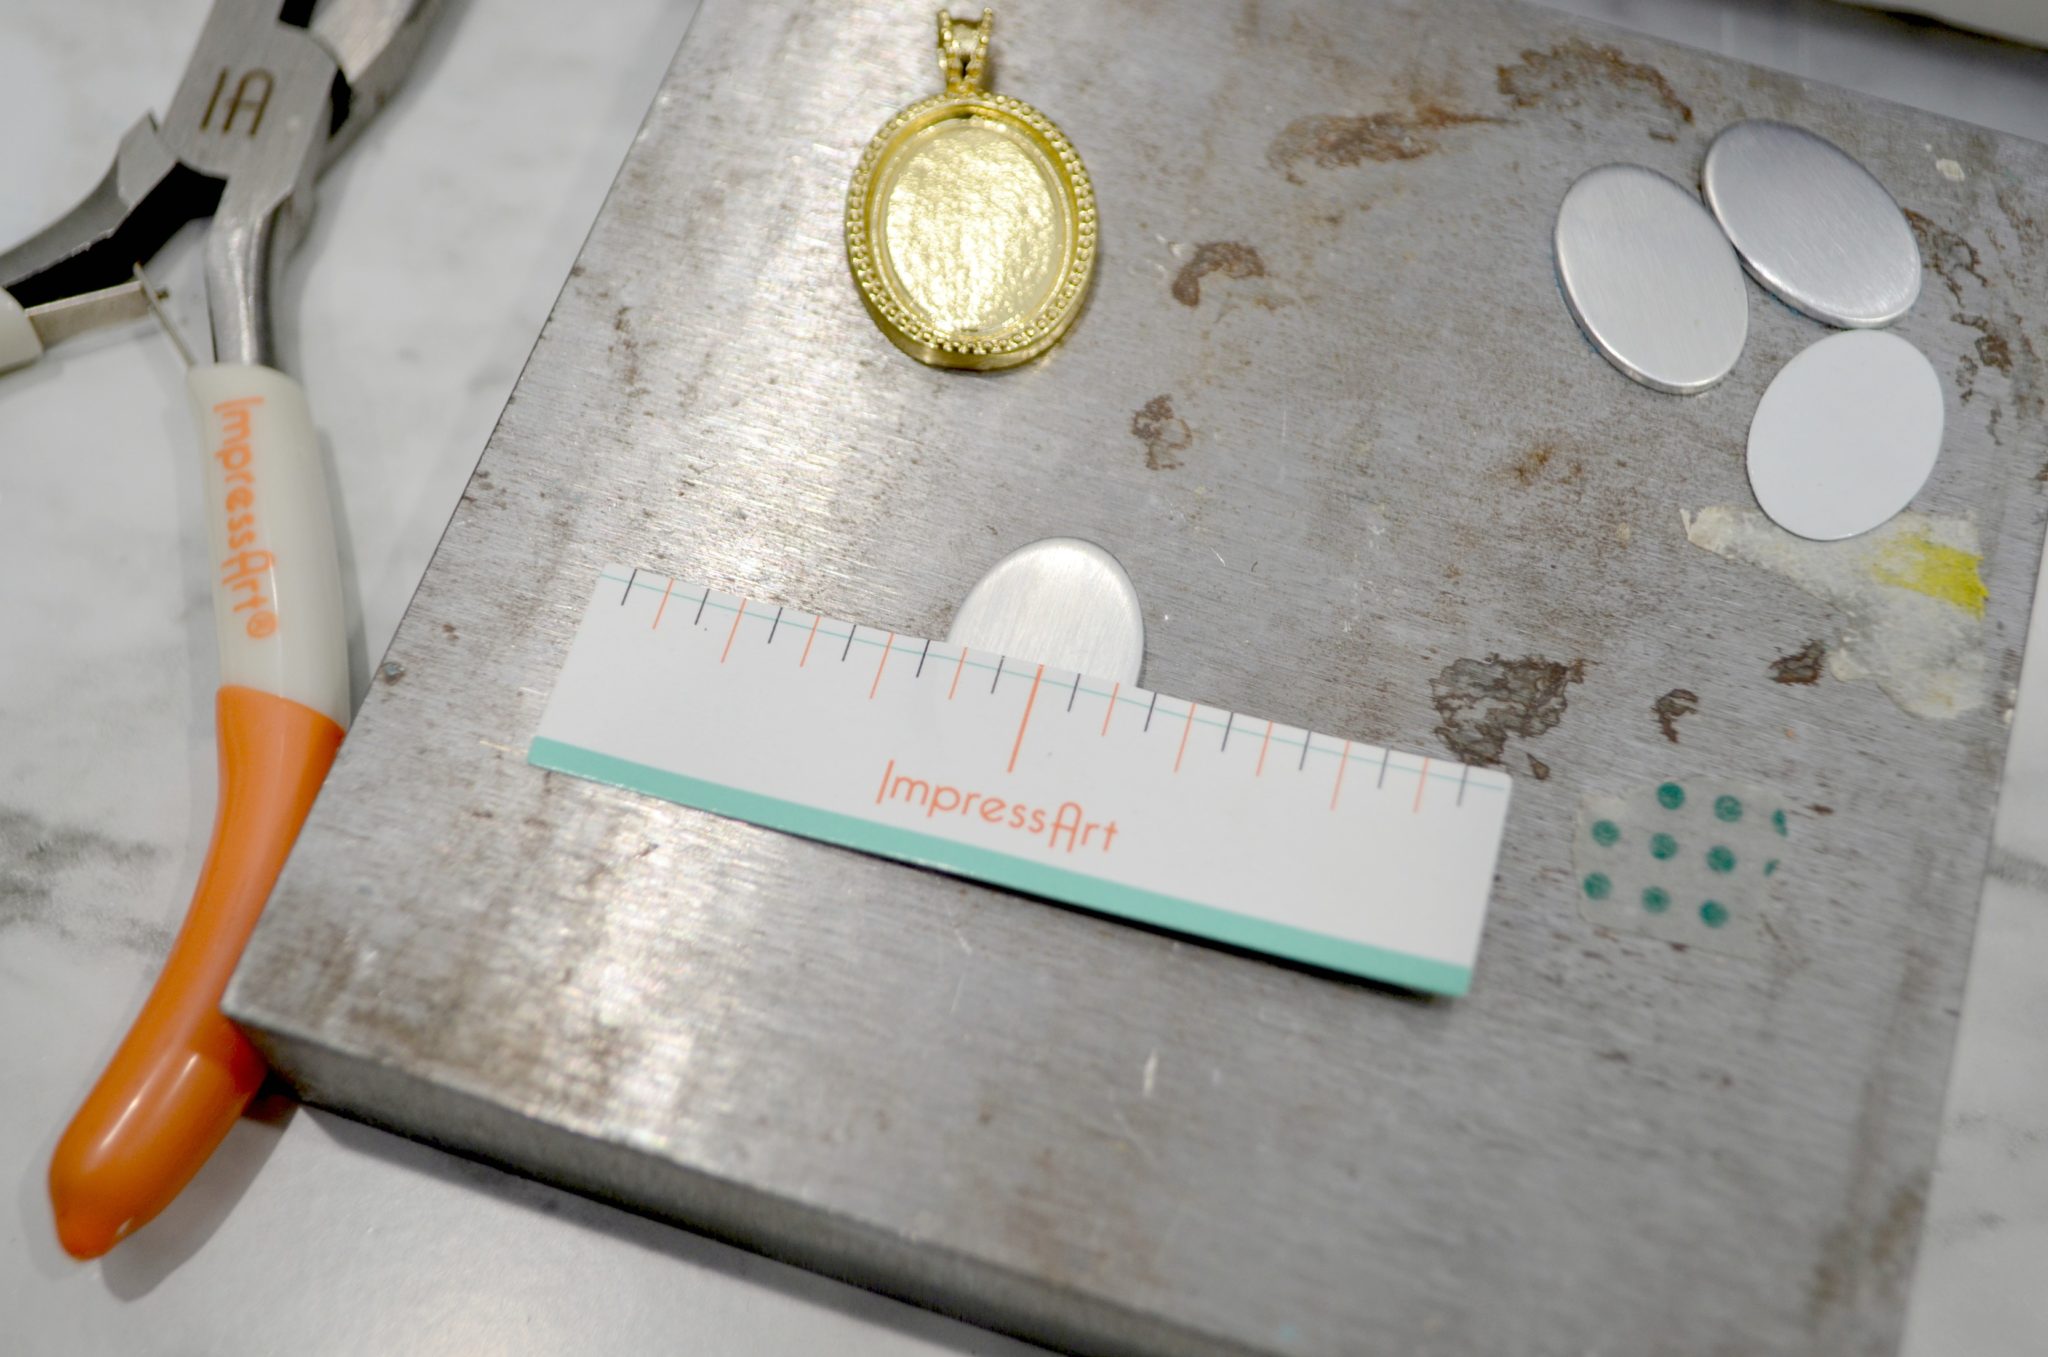
Step 1: Place your blank on a steel block and secure it with a stamp guide.
The Artisan Bezel Kits come with one bezel, three blanks, and a shaped adhesive piece. I love that, because I’m definitely not perfect and have been known to make a mistake while stamping. This way you have three tries to get it right! The Stamp Guide will help you align your letters as well as keep even spacing in between them.
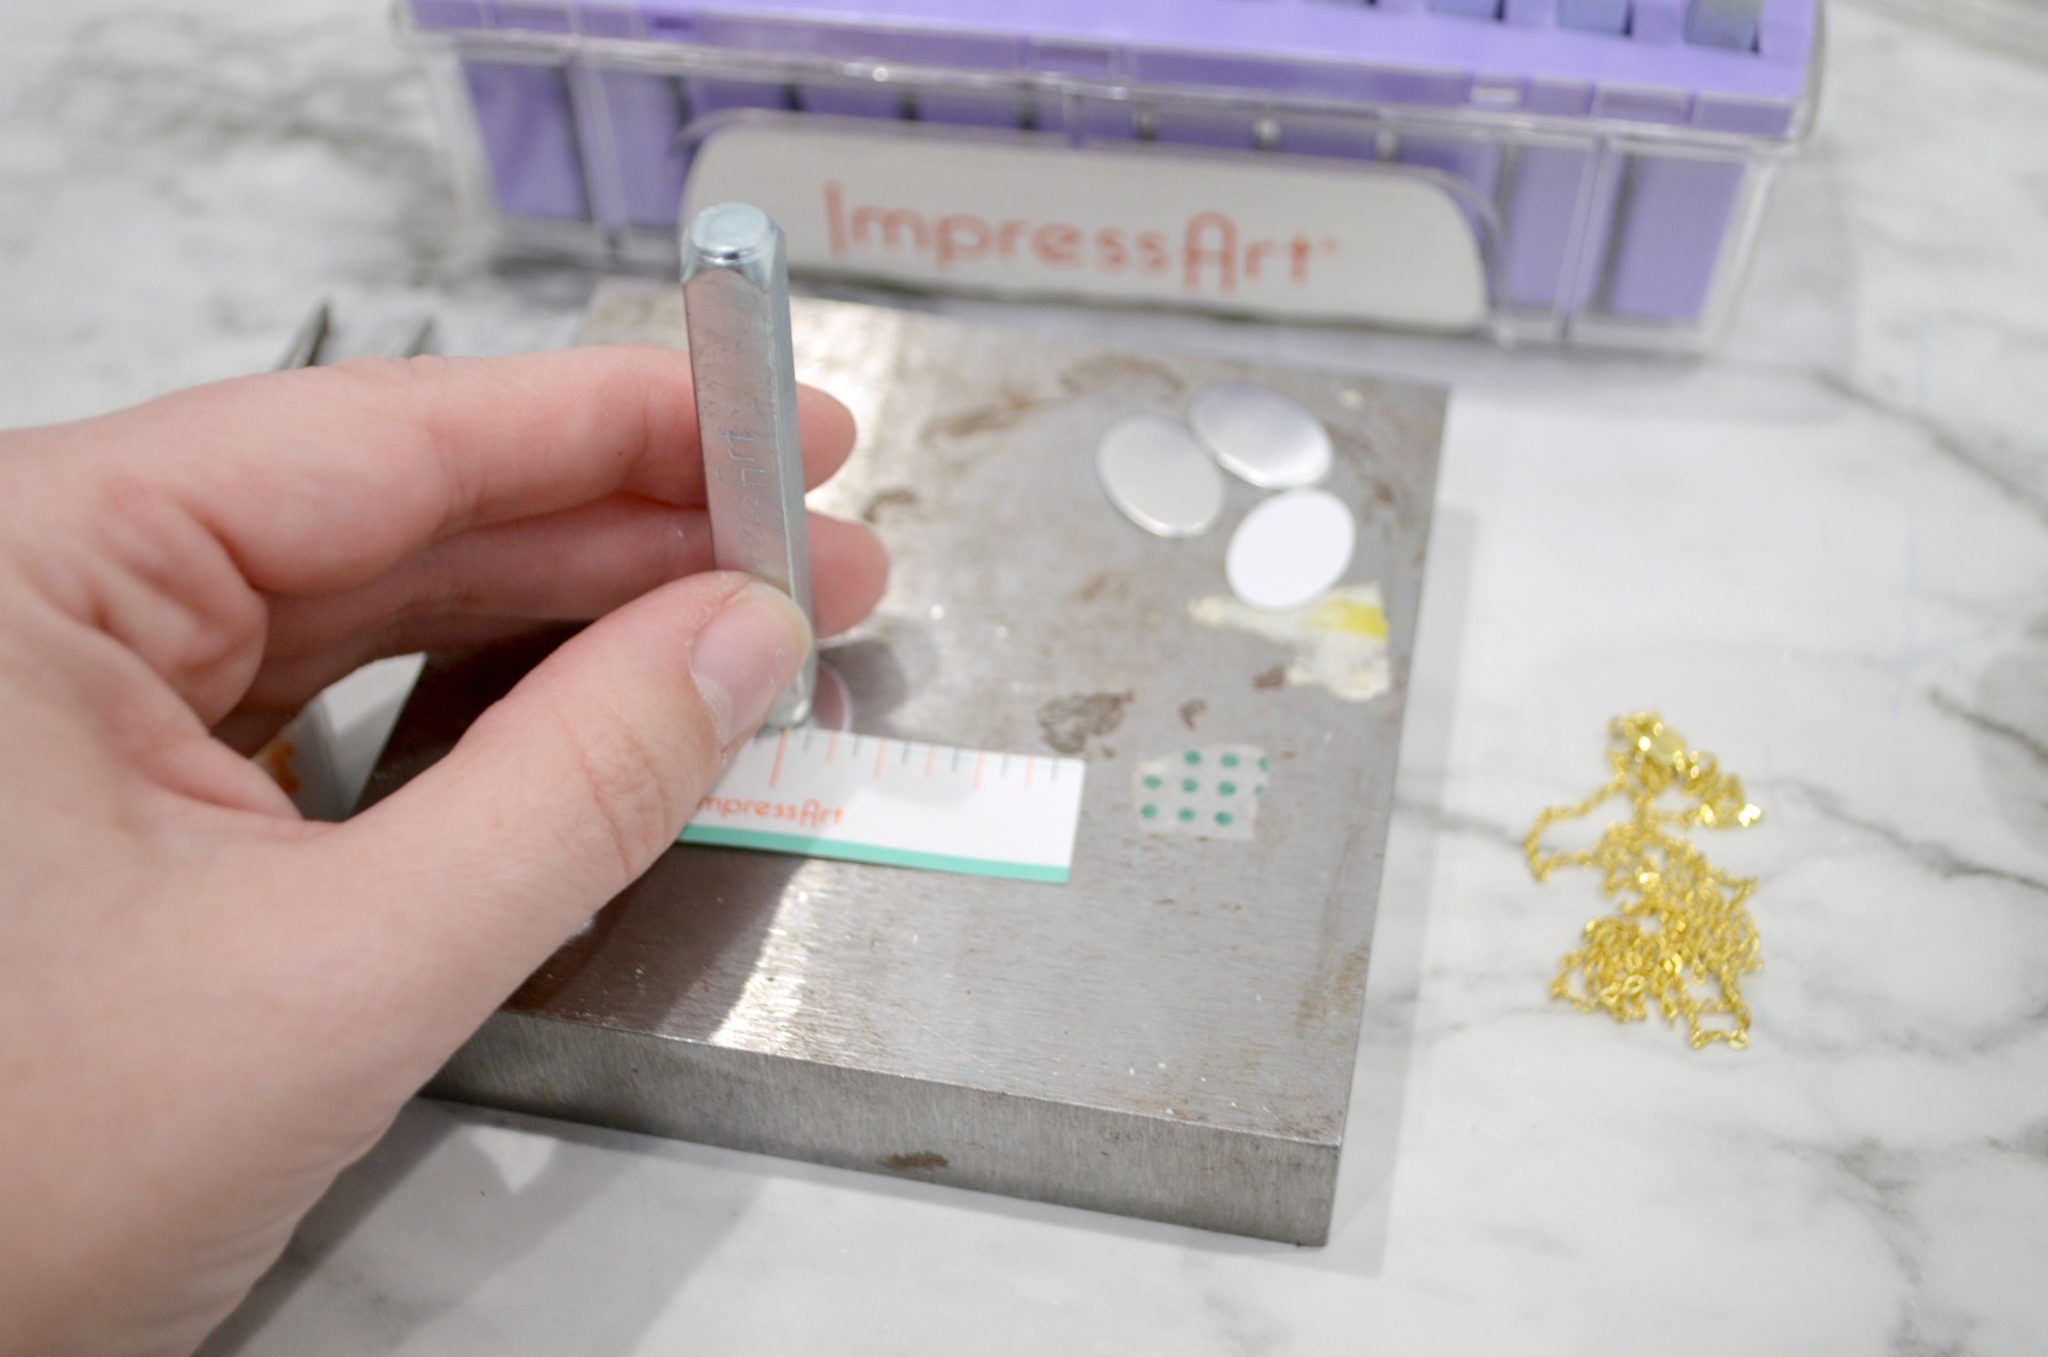
Step 2: Hold each stamp vertically and use a hammer to firmly tap the flat top.
ImpressArt stamps are extra-helpful, because they have the company logo printed on one side. When that side is facing you, you know that your letter will stamp right-side-up. Stamp one letter at a time, using the lines on the Stamp Guide for placement. One tap of the hammer for each letter should be enough to give a clean impression.
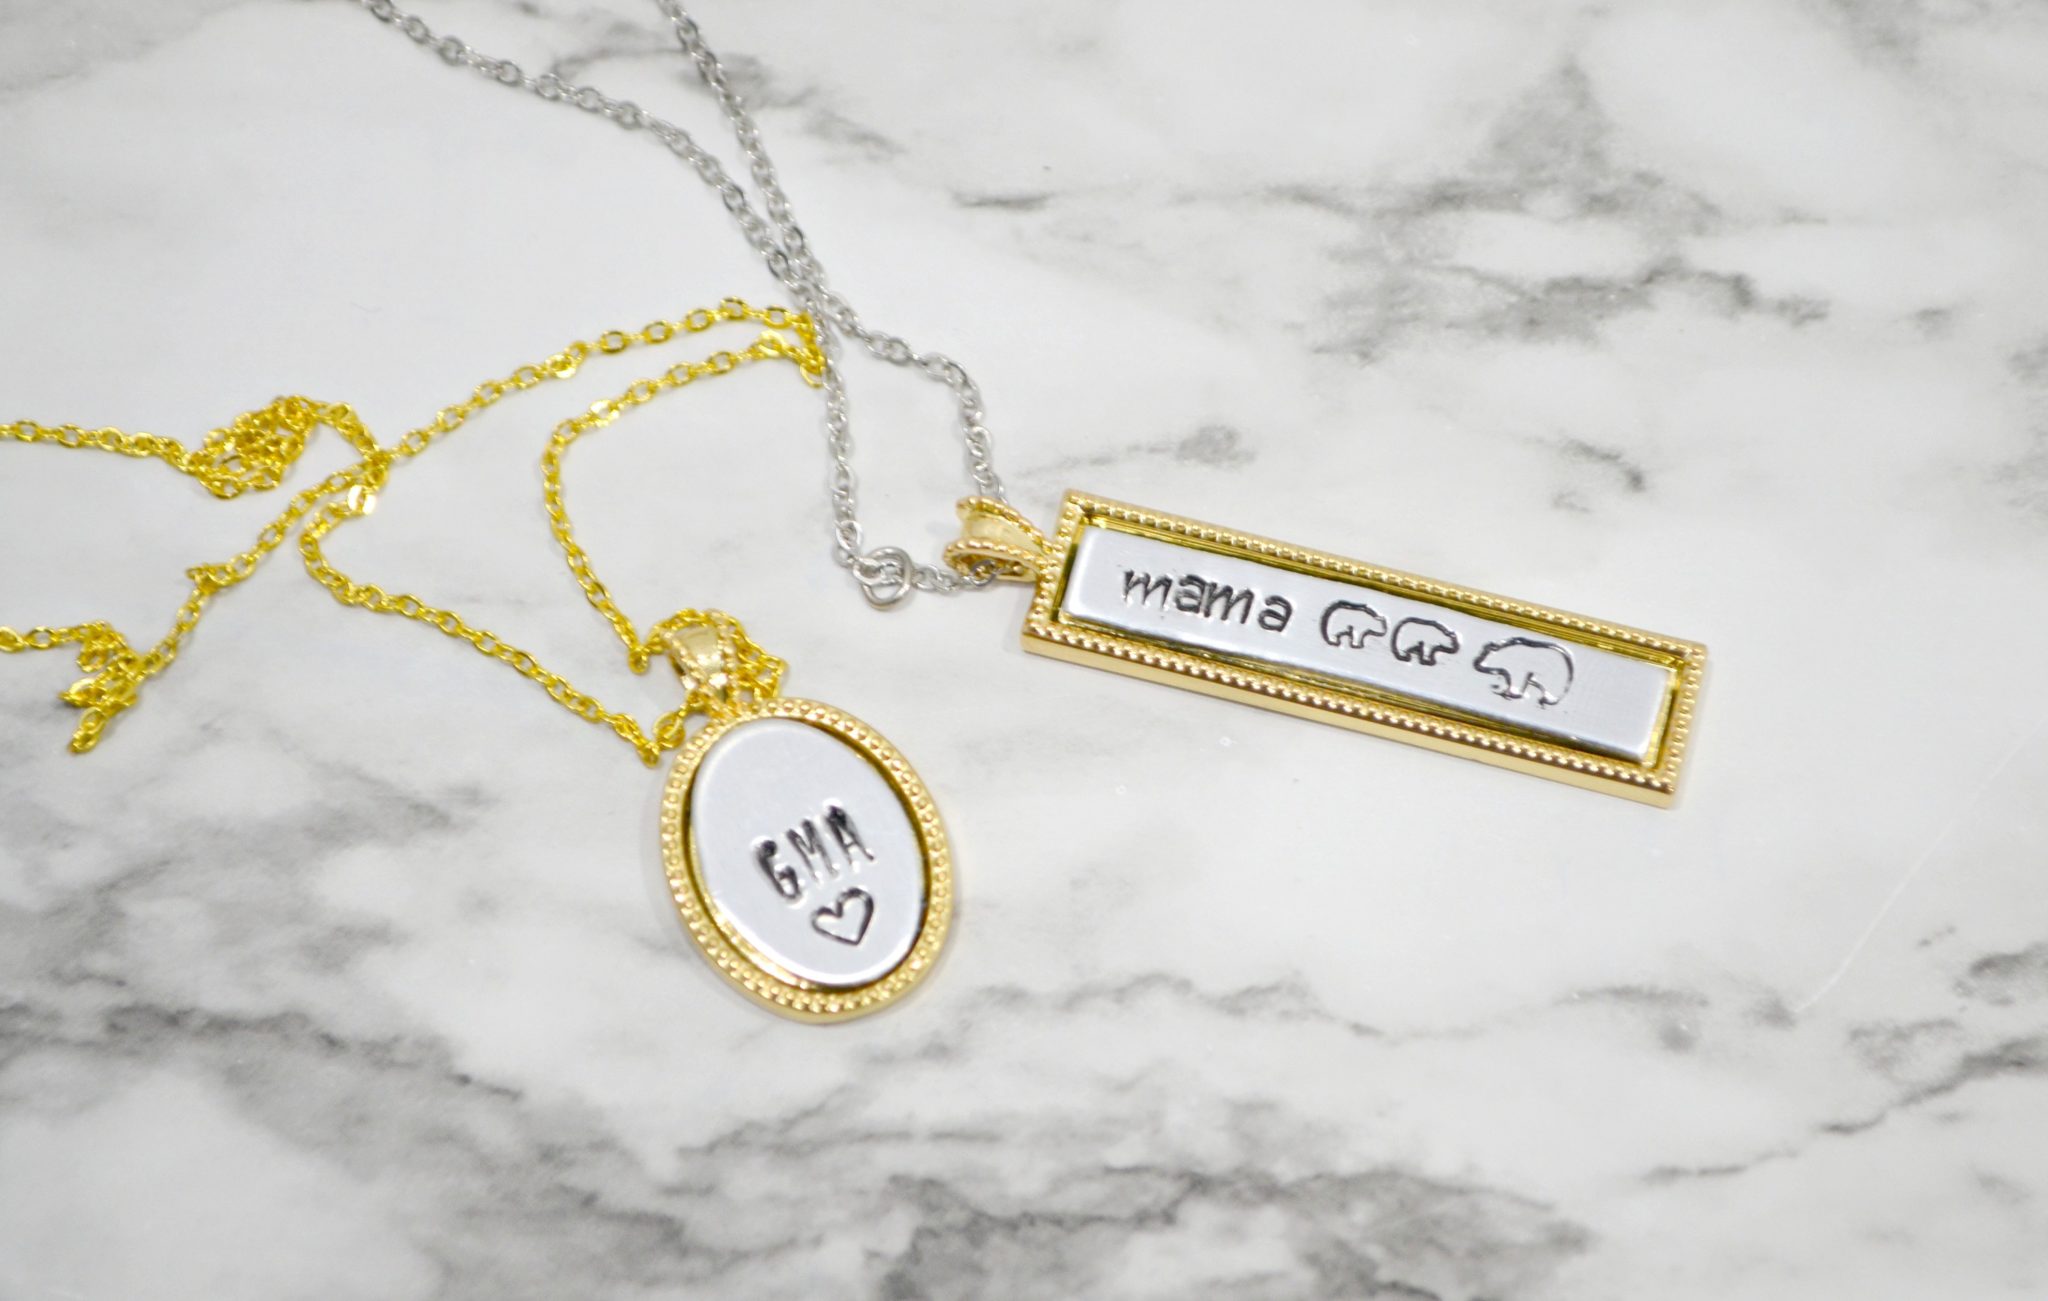
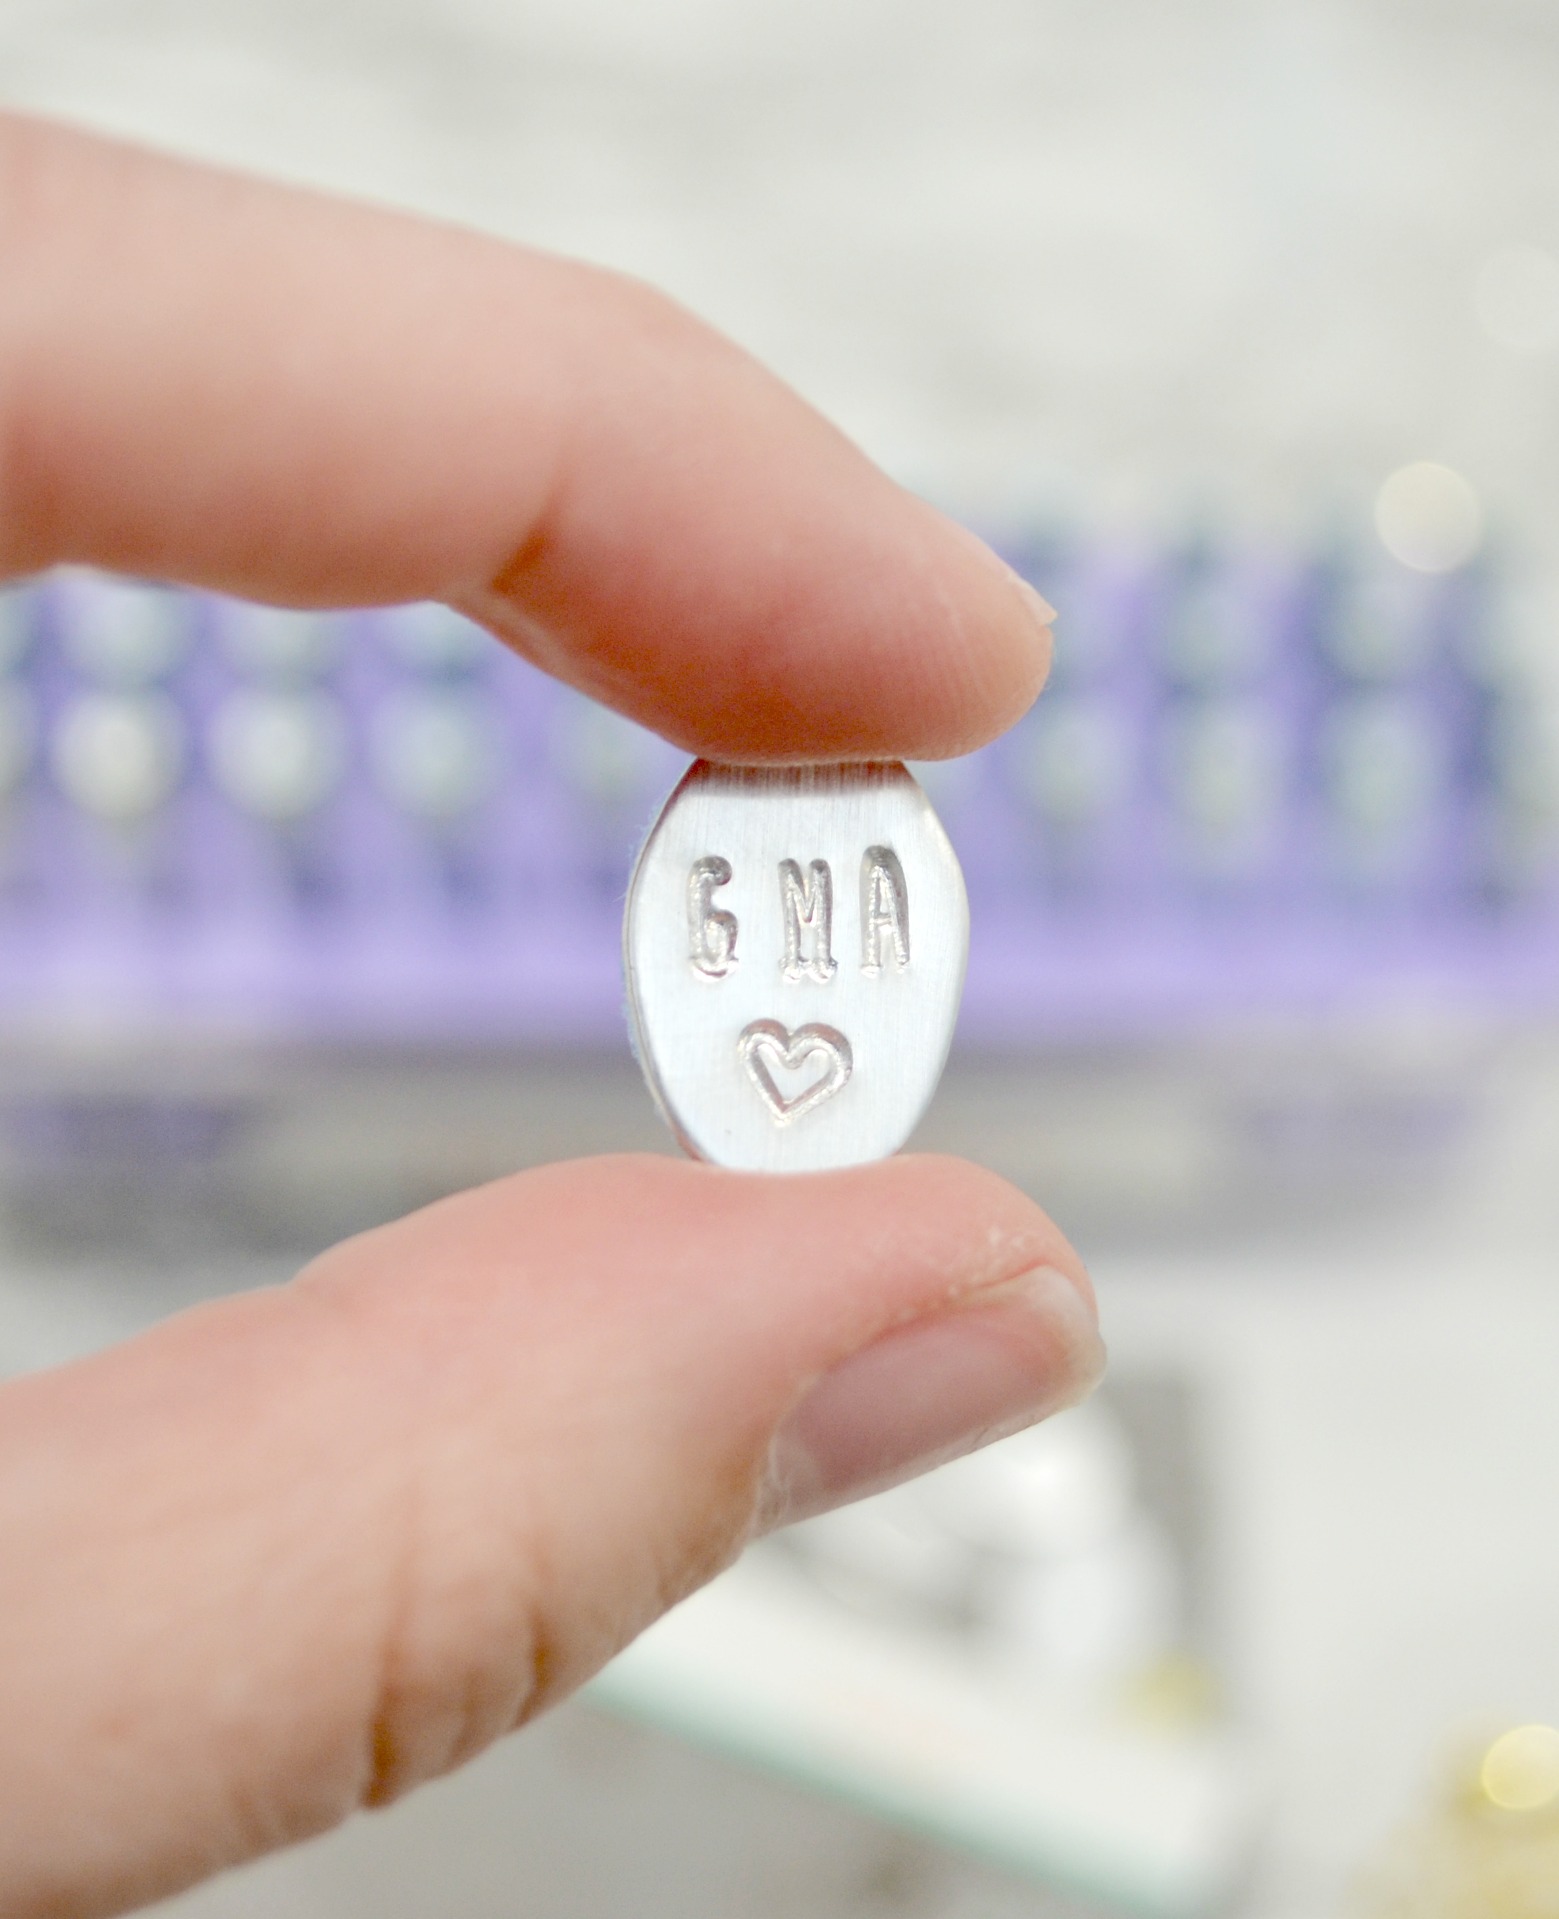
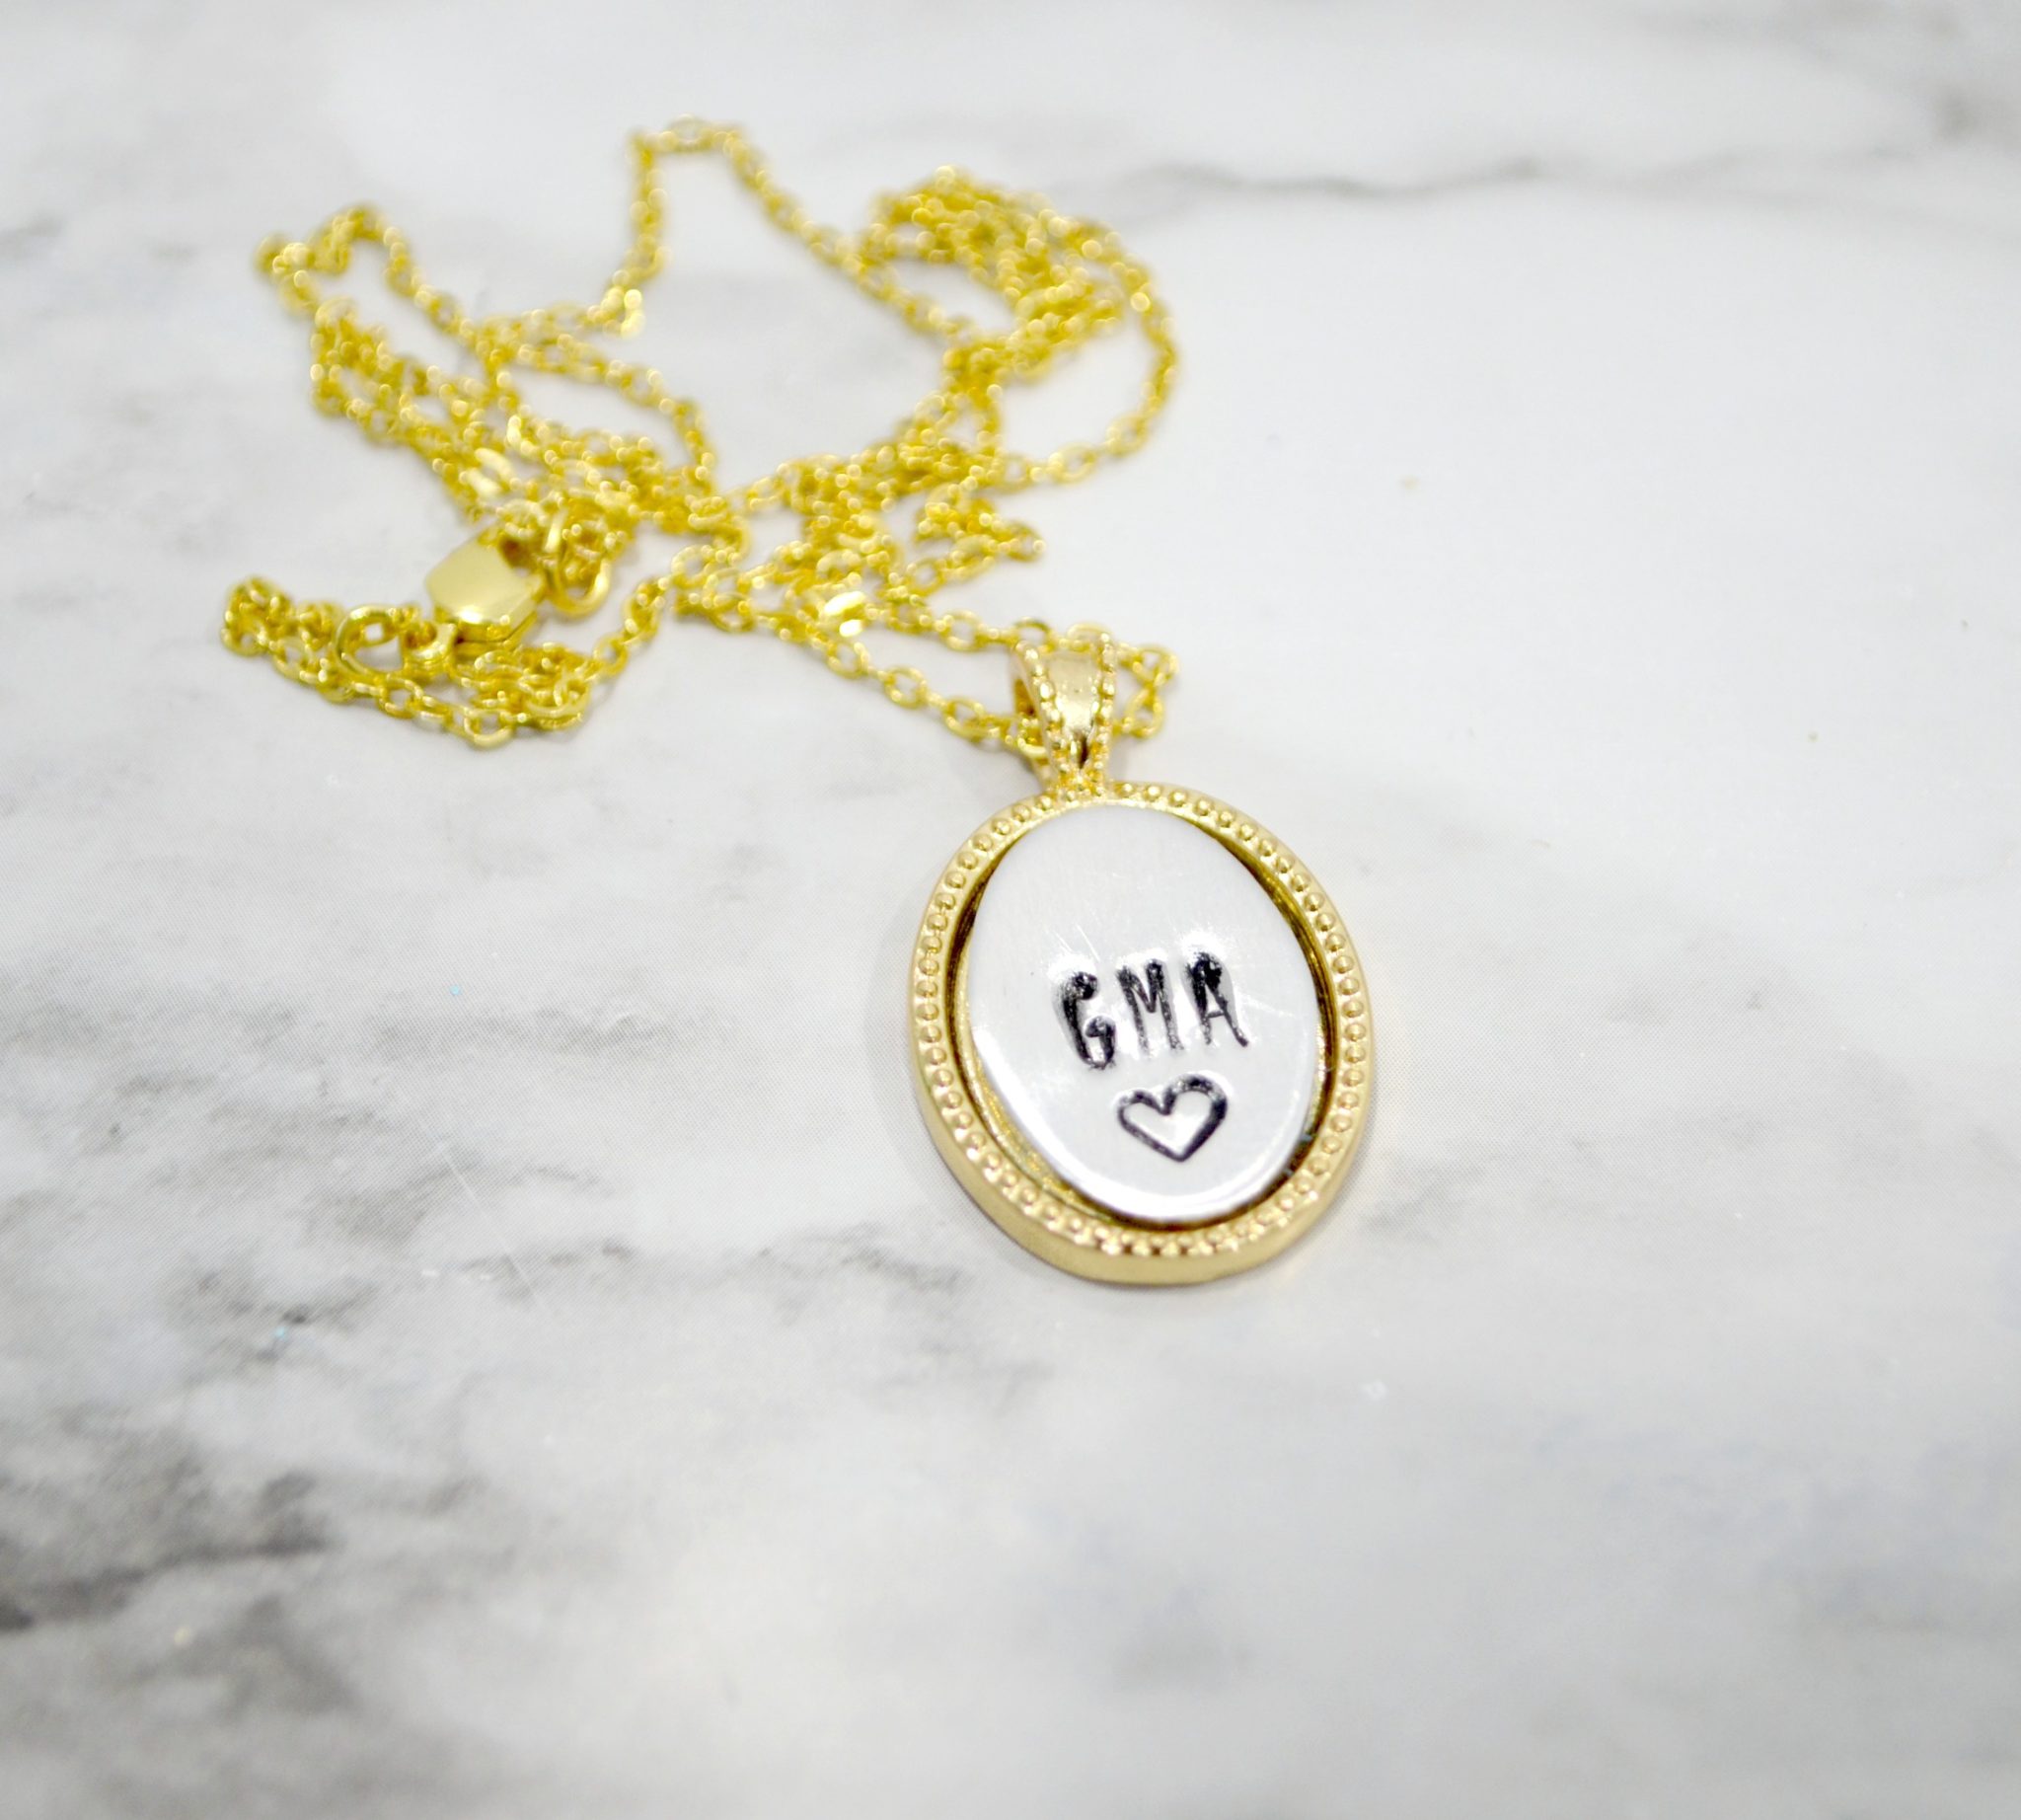
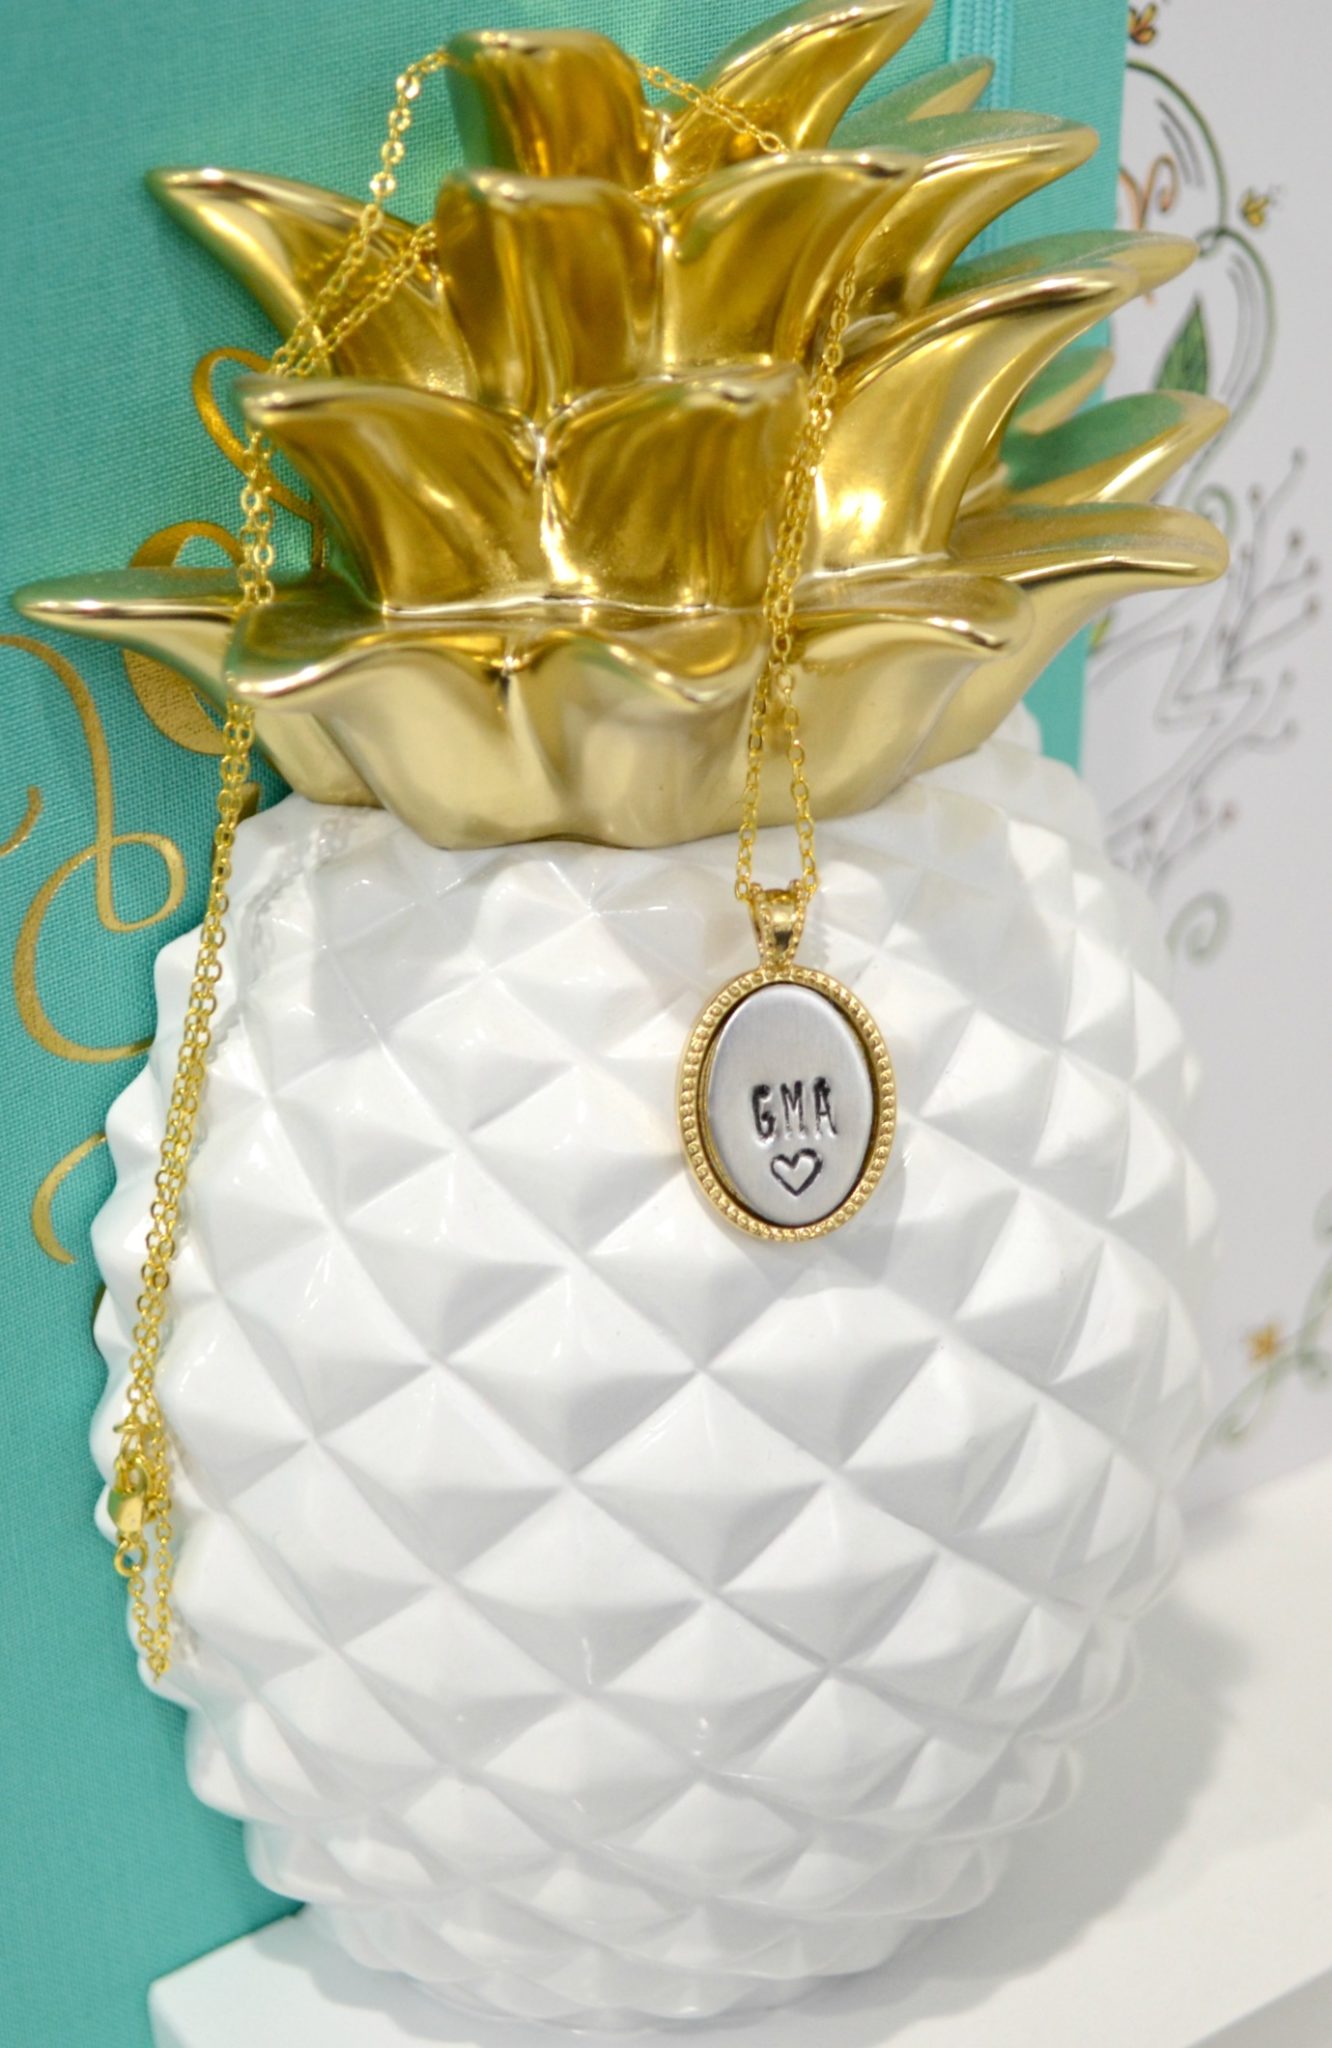
You can stamp anything you like, an initial, a date, a name, a phrase, or a combination. I chose to stamp “GMA” on my mom’s, because it’s what the boys like to call her. She was originally “Grandma,” but years ago, Little Crafter shortened it to just “Gma,” and it stuck. Of course, none of the store-bought grandmother gifts ever use this name, so it’s nice to be able to personalize something for her!
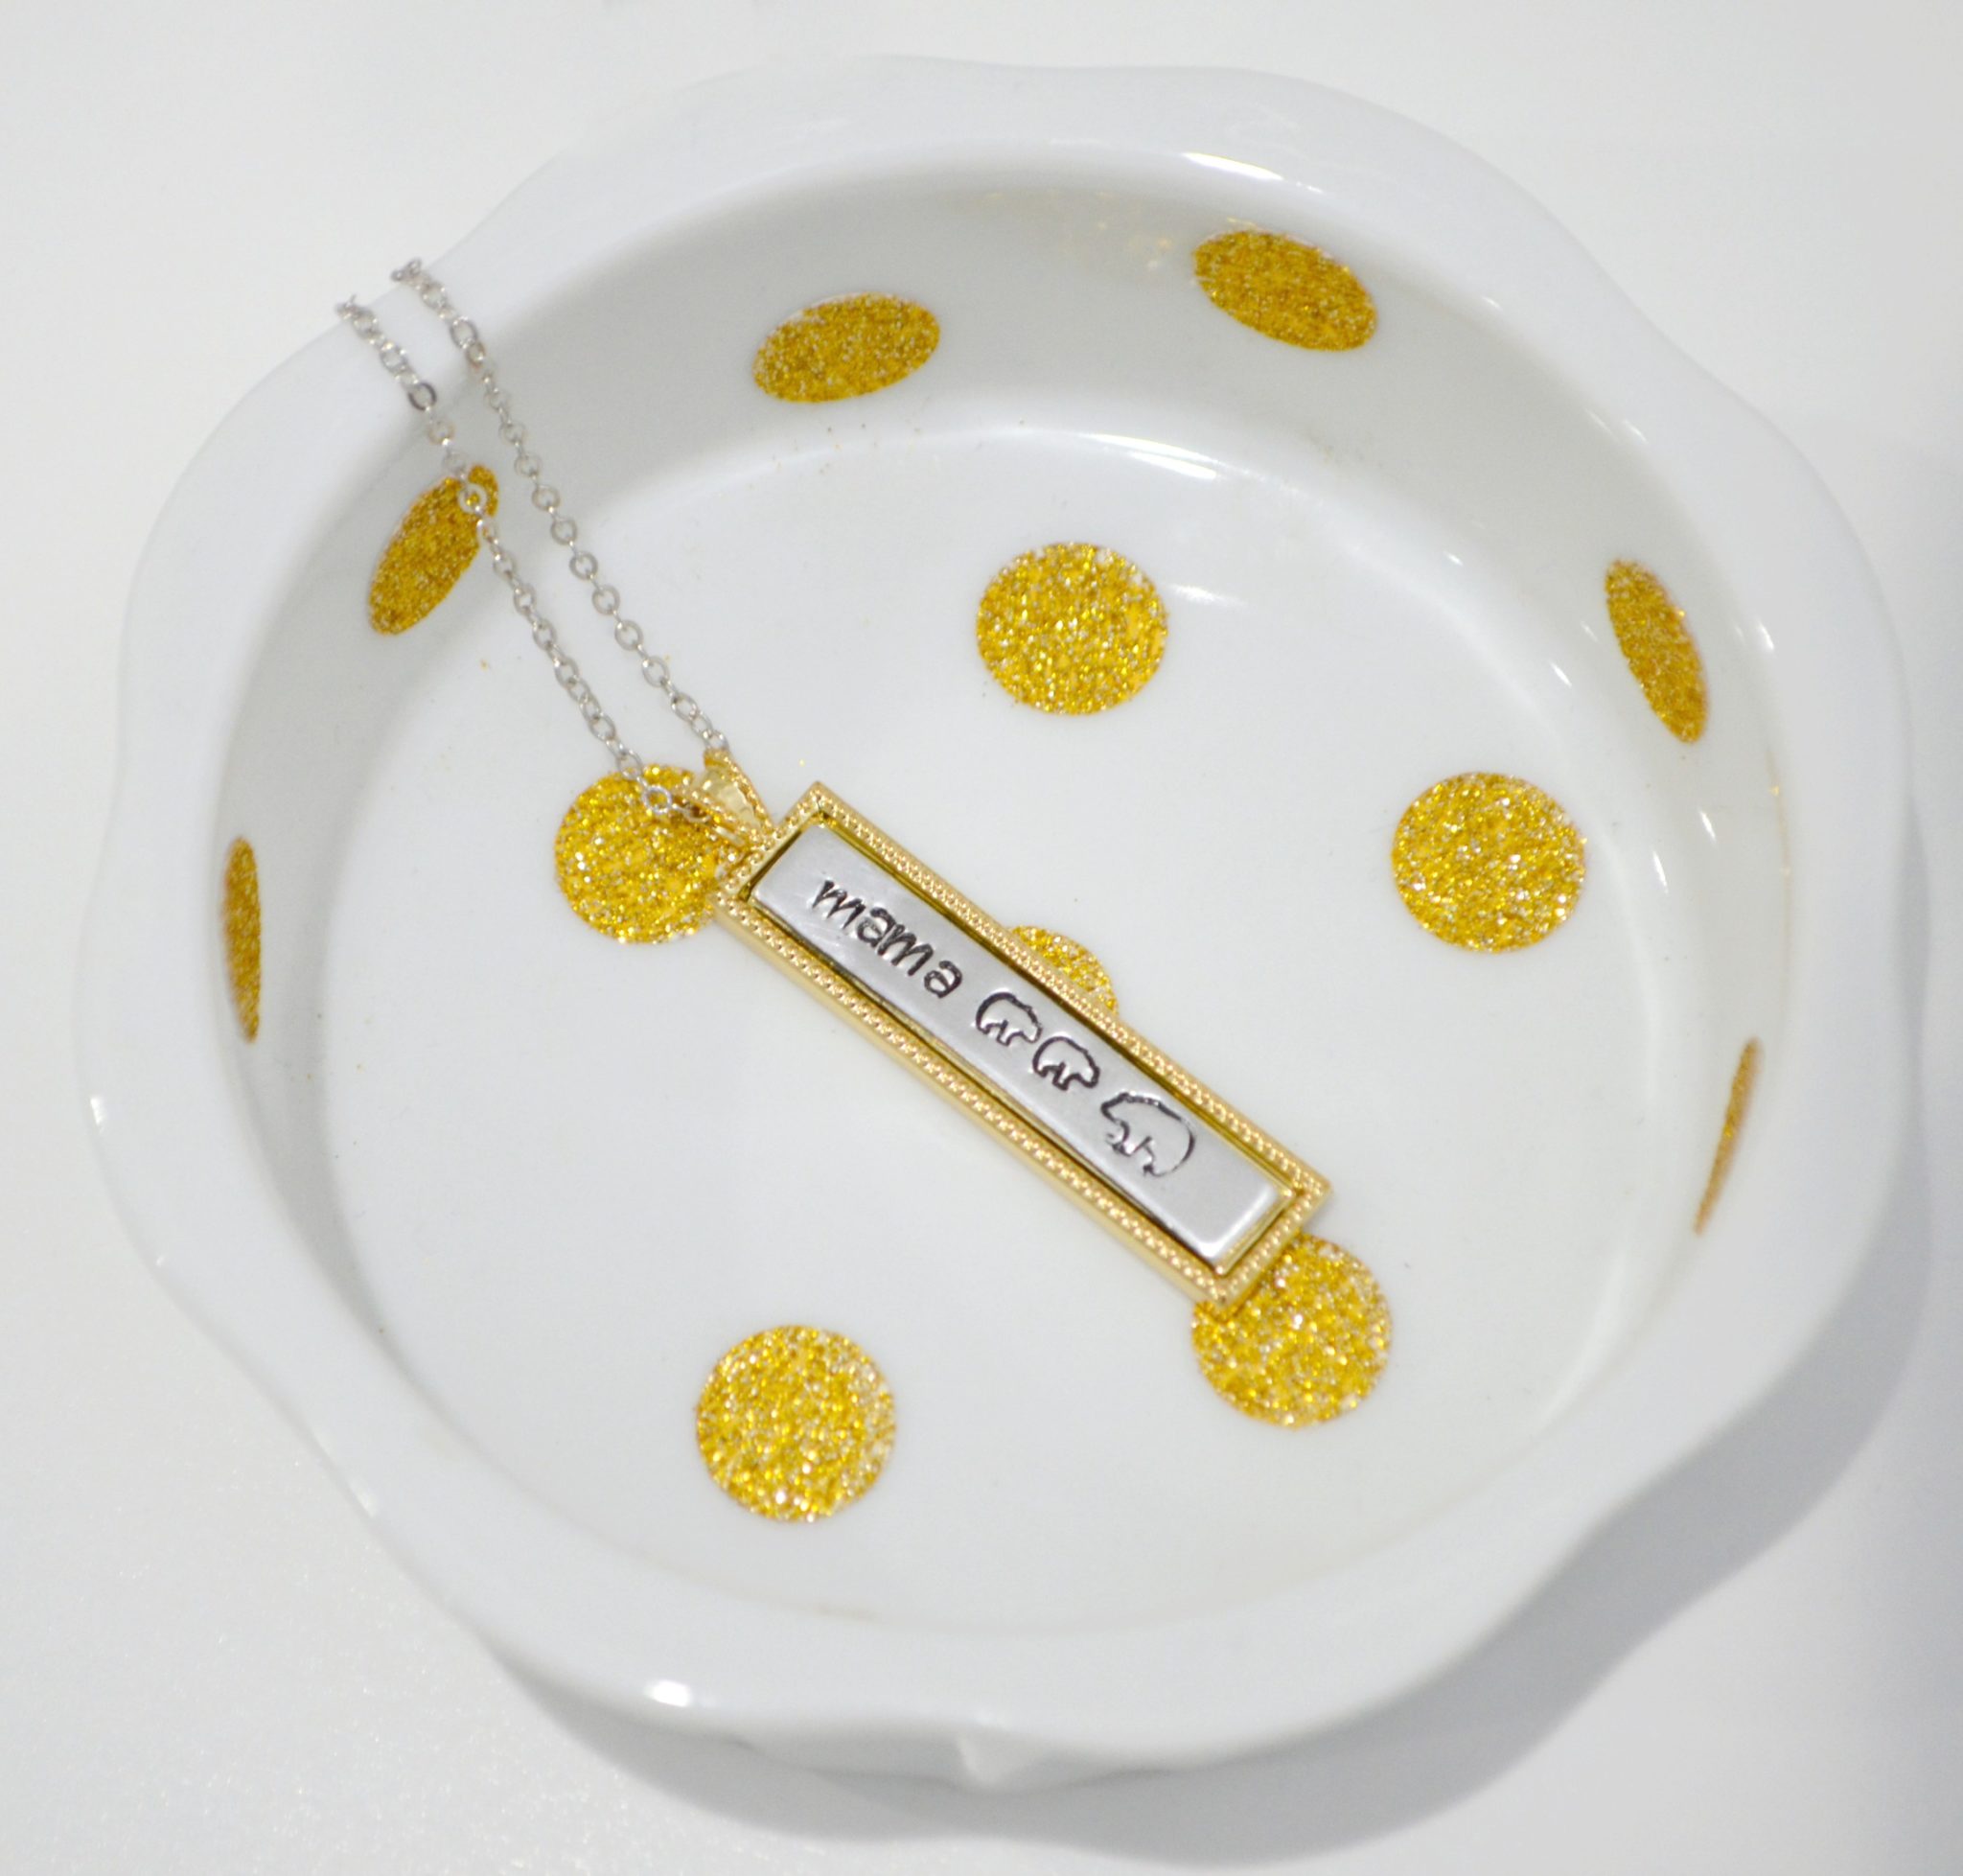
If you’d like, add a design stamp, like I did with the heart below my mom’s name. On my necklace, I stamped two baby bears and a mama bear to represent myself and my two sons. There are tons of design stamps you can get that represent just about every type of hobby you can imagine, as well as all kinds of symbols and even small words.
Step 3: Fill in the stamped areas with Stamp Enamel.
Make sure the enamel gets down into all the cracks and let it sit for a few minutes. Then, wipe off the excess with a soft cloth. Anything on the surface of the blank should come off, and anything down in a groove should remain, making the design easier to see.
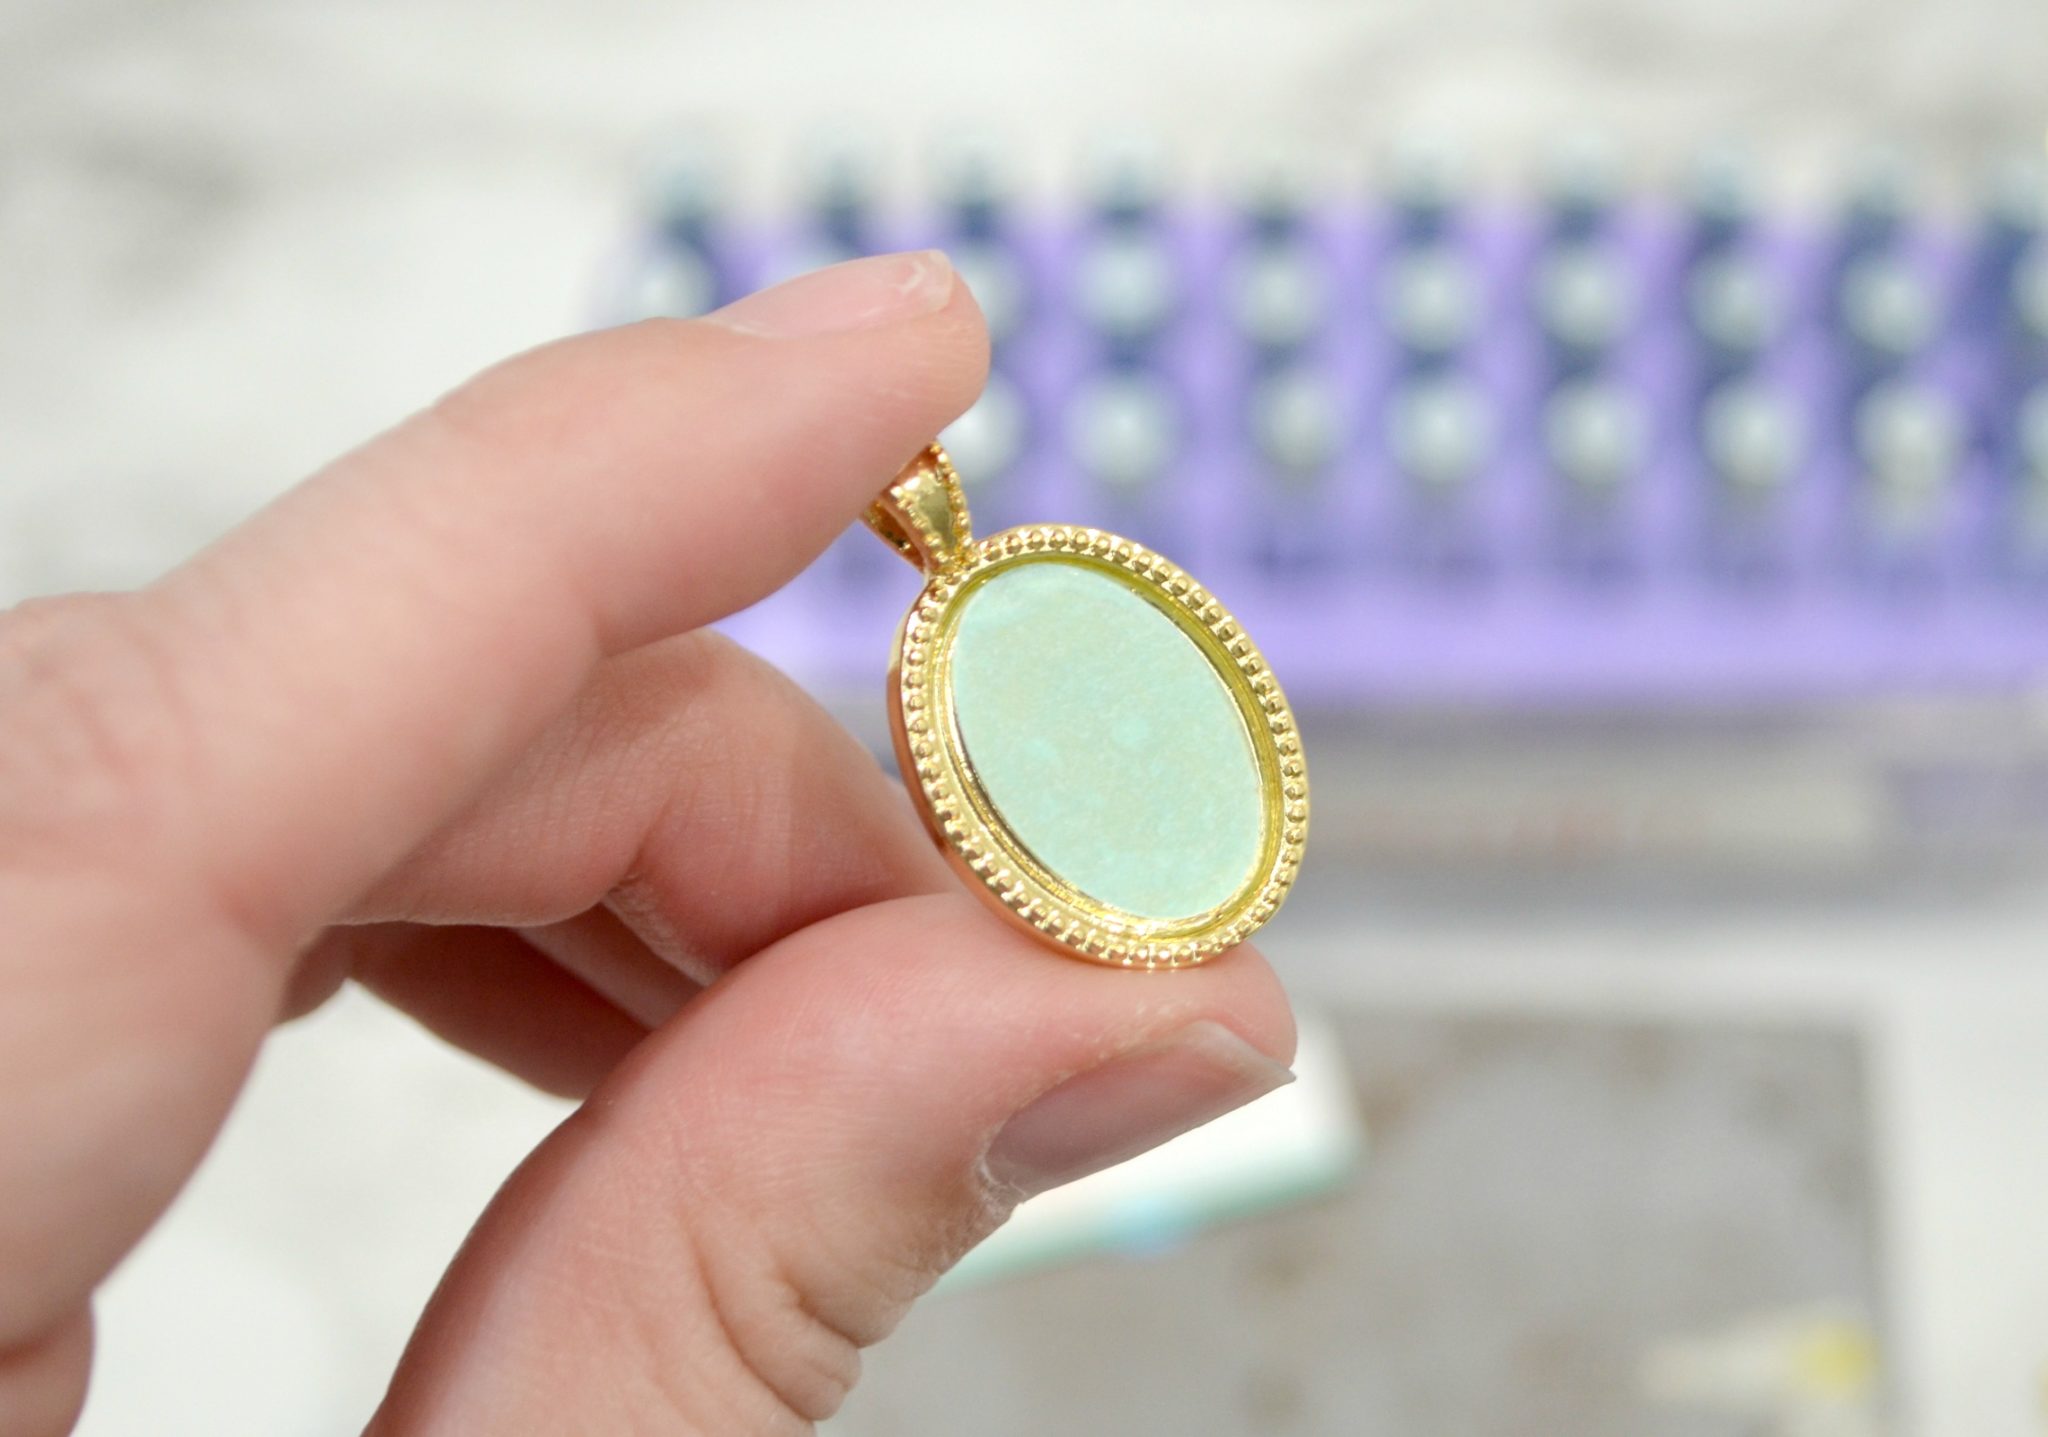
Step 4: Place the adhesive inside the bezel.
This is a very sticky shape with a cover on each side. Remove one cover and attach it to the bezel. then, remove the top cover and press the stamped blank firmly down on top of the adhesive.
All that’s left to do is add a chain! You can buy chains that already have jump rings and clasps attached, which is the easiest way to go. Or, you can cut a piece of chain yourself and add a clasp yourself.
It’s that simple! Really! Once you have the basic supplies, it’s a piece of cake to create meaningful gifts that are incredibly personal. I can’t wait to give this to my mom.
I also love the way mine turned out! I think the little bear stamps are adorable, and I like the mixed-metal look so that I can wear it with either gold or silver earrings.
What do you think? Have you ever tried metal stamping? How do you like these new bezel kits?
Don’t forget, if you like this project, then you oughta put a Pin on it!