
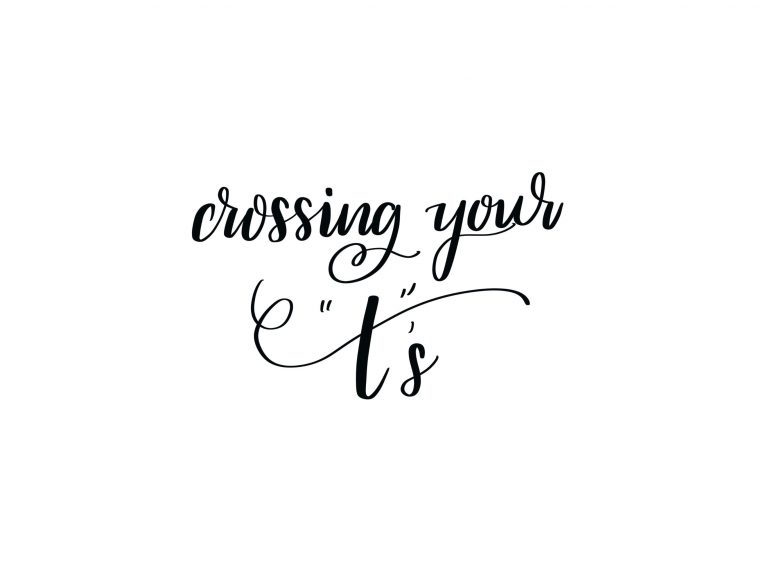
Hand Lettering: The 8 Basic Brush Strokes
Hand lettering is a hobby that allows us to turn written words into beautiful art. It encompasses a number of fonts and styles, the most popular of which is a type of writing called Brush Script. The Brush Script font is distinguished by a combination of thick and thin lines within each letter, like in the example above. To create this effect, you can start by doing something called Faux Calligraphy and artificially thickening some of the lines more than others. The real technique, however, requires a tool called a brush pen. The tip of a brush pen is flexible and responds to pressure. Pressing down as you write will create a thick line, while releasing that pressure will give you a line that’s much thinner. There are 8 basic types of brush strokes you’ll need to learn in order to master Brush Script. Today, we’re going to look at how to form each of those strokes. Then, I have several free printable practice pages for you to use as you work on your skills. Grab yourself a brush pen (my absolute favorite is the Tombow Fudenosuke!) and let’s get started!
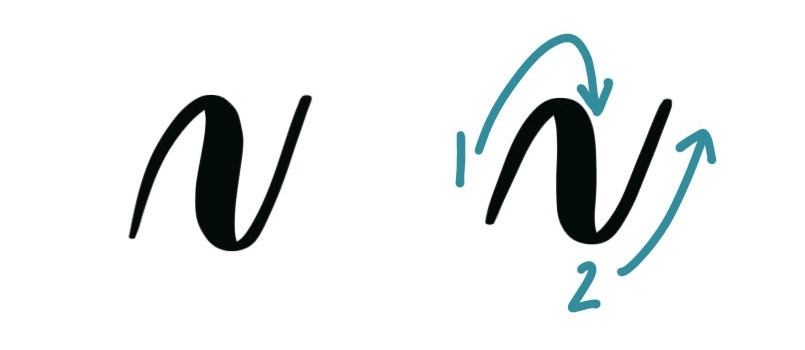
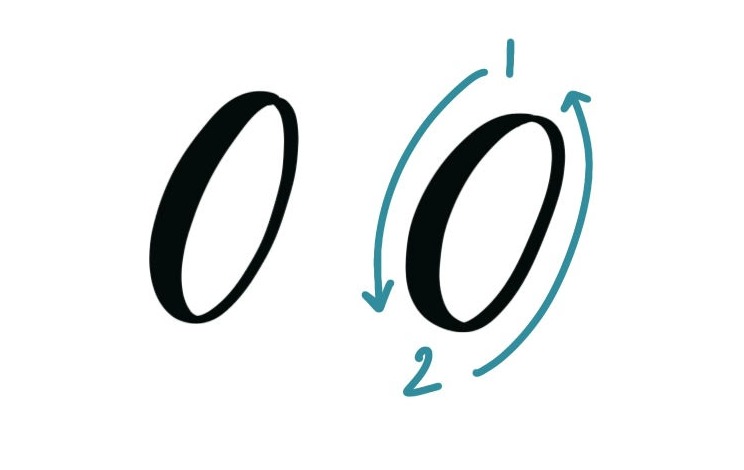
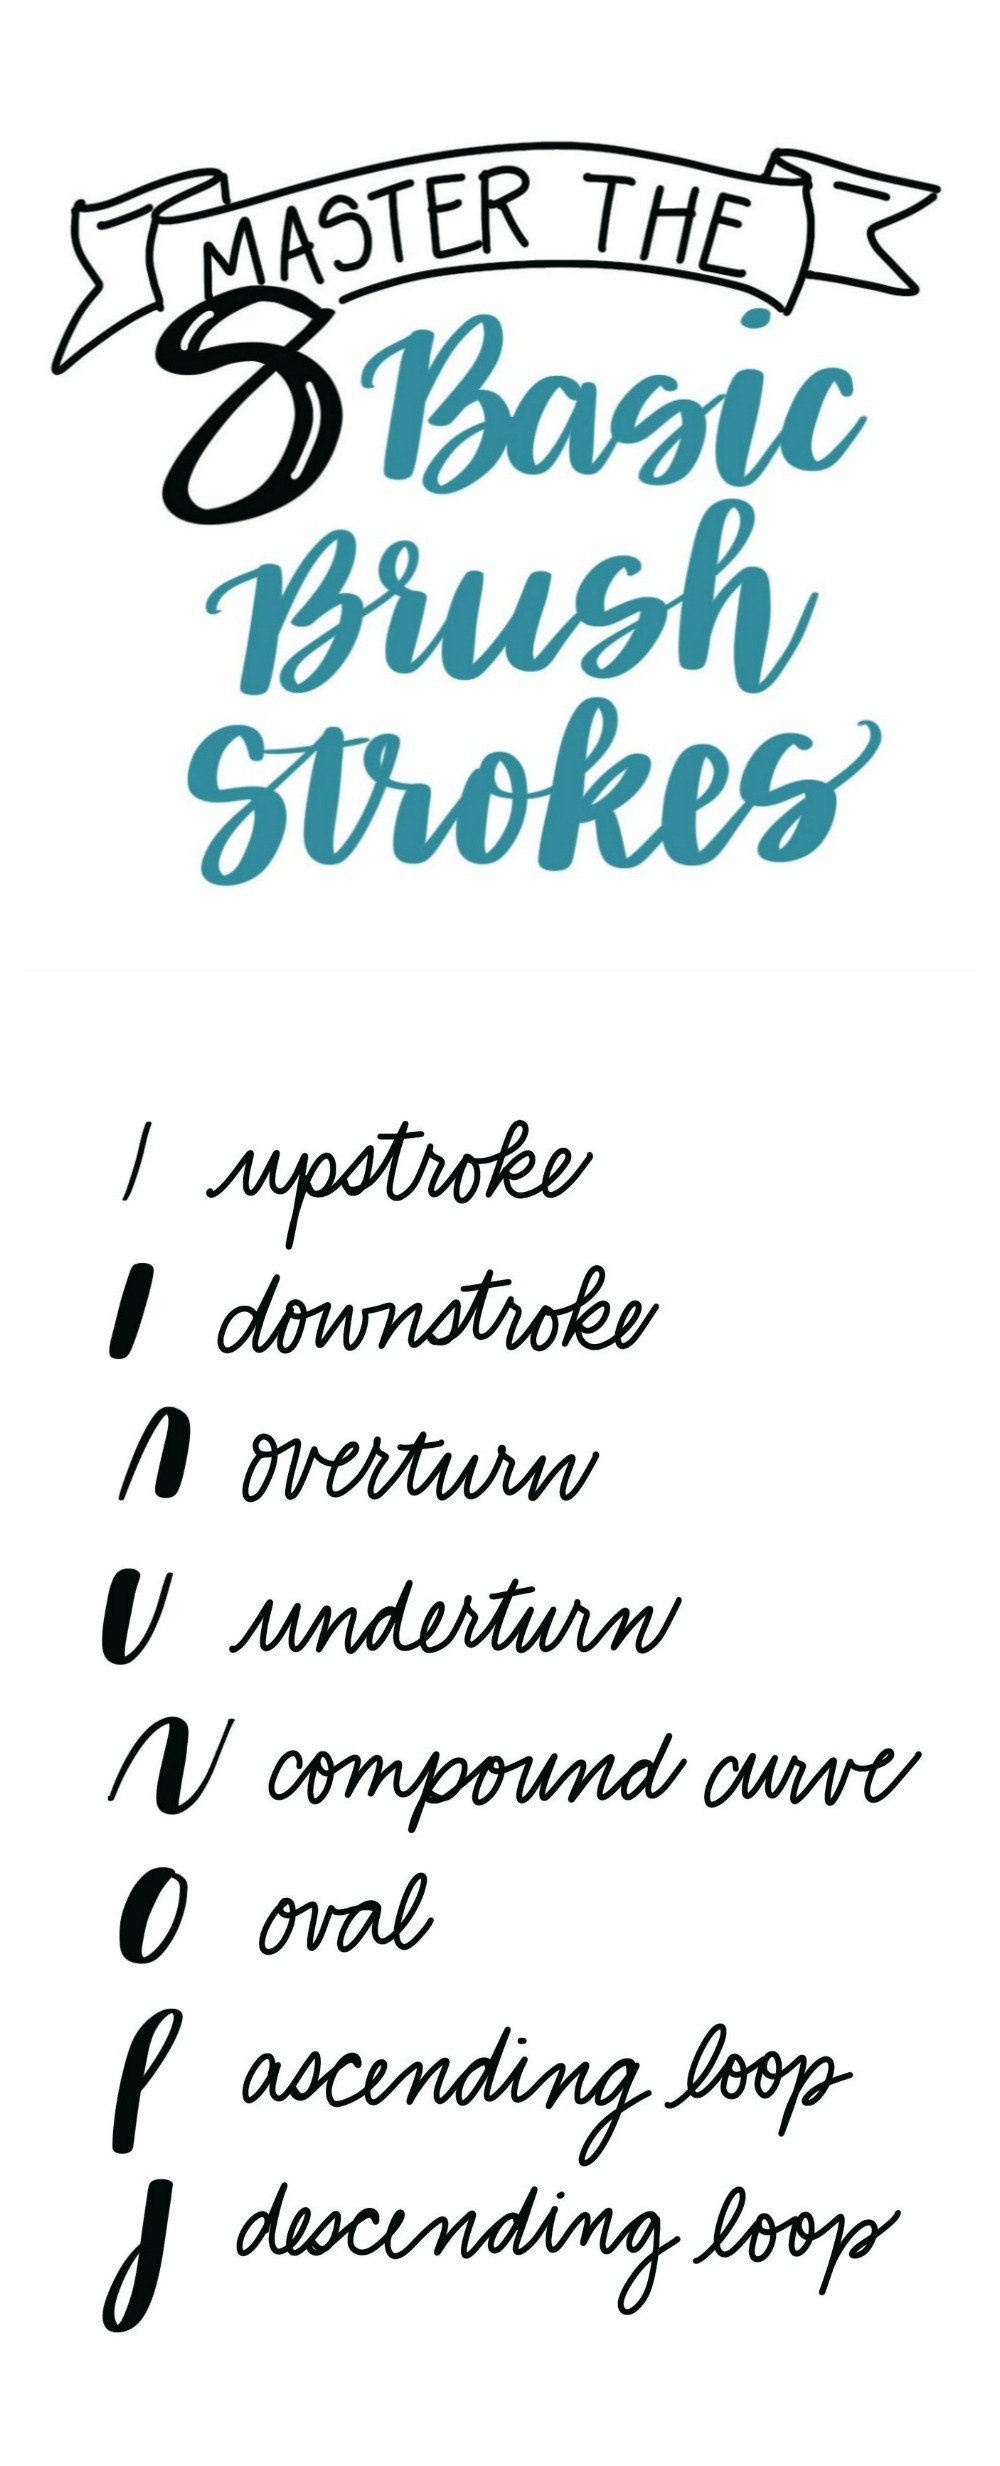
Here’s a quick glance at the 8 basic brush strokes.
This will be a good reference later on. Now, we’re going to break down each stroke one at a time. Once you’ve mastered all 8, you’ll be able to write any letter in the alphabet.
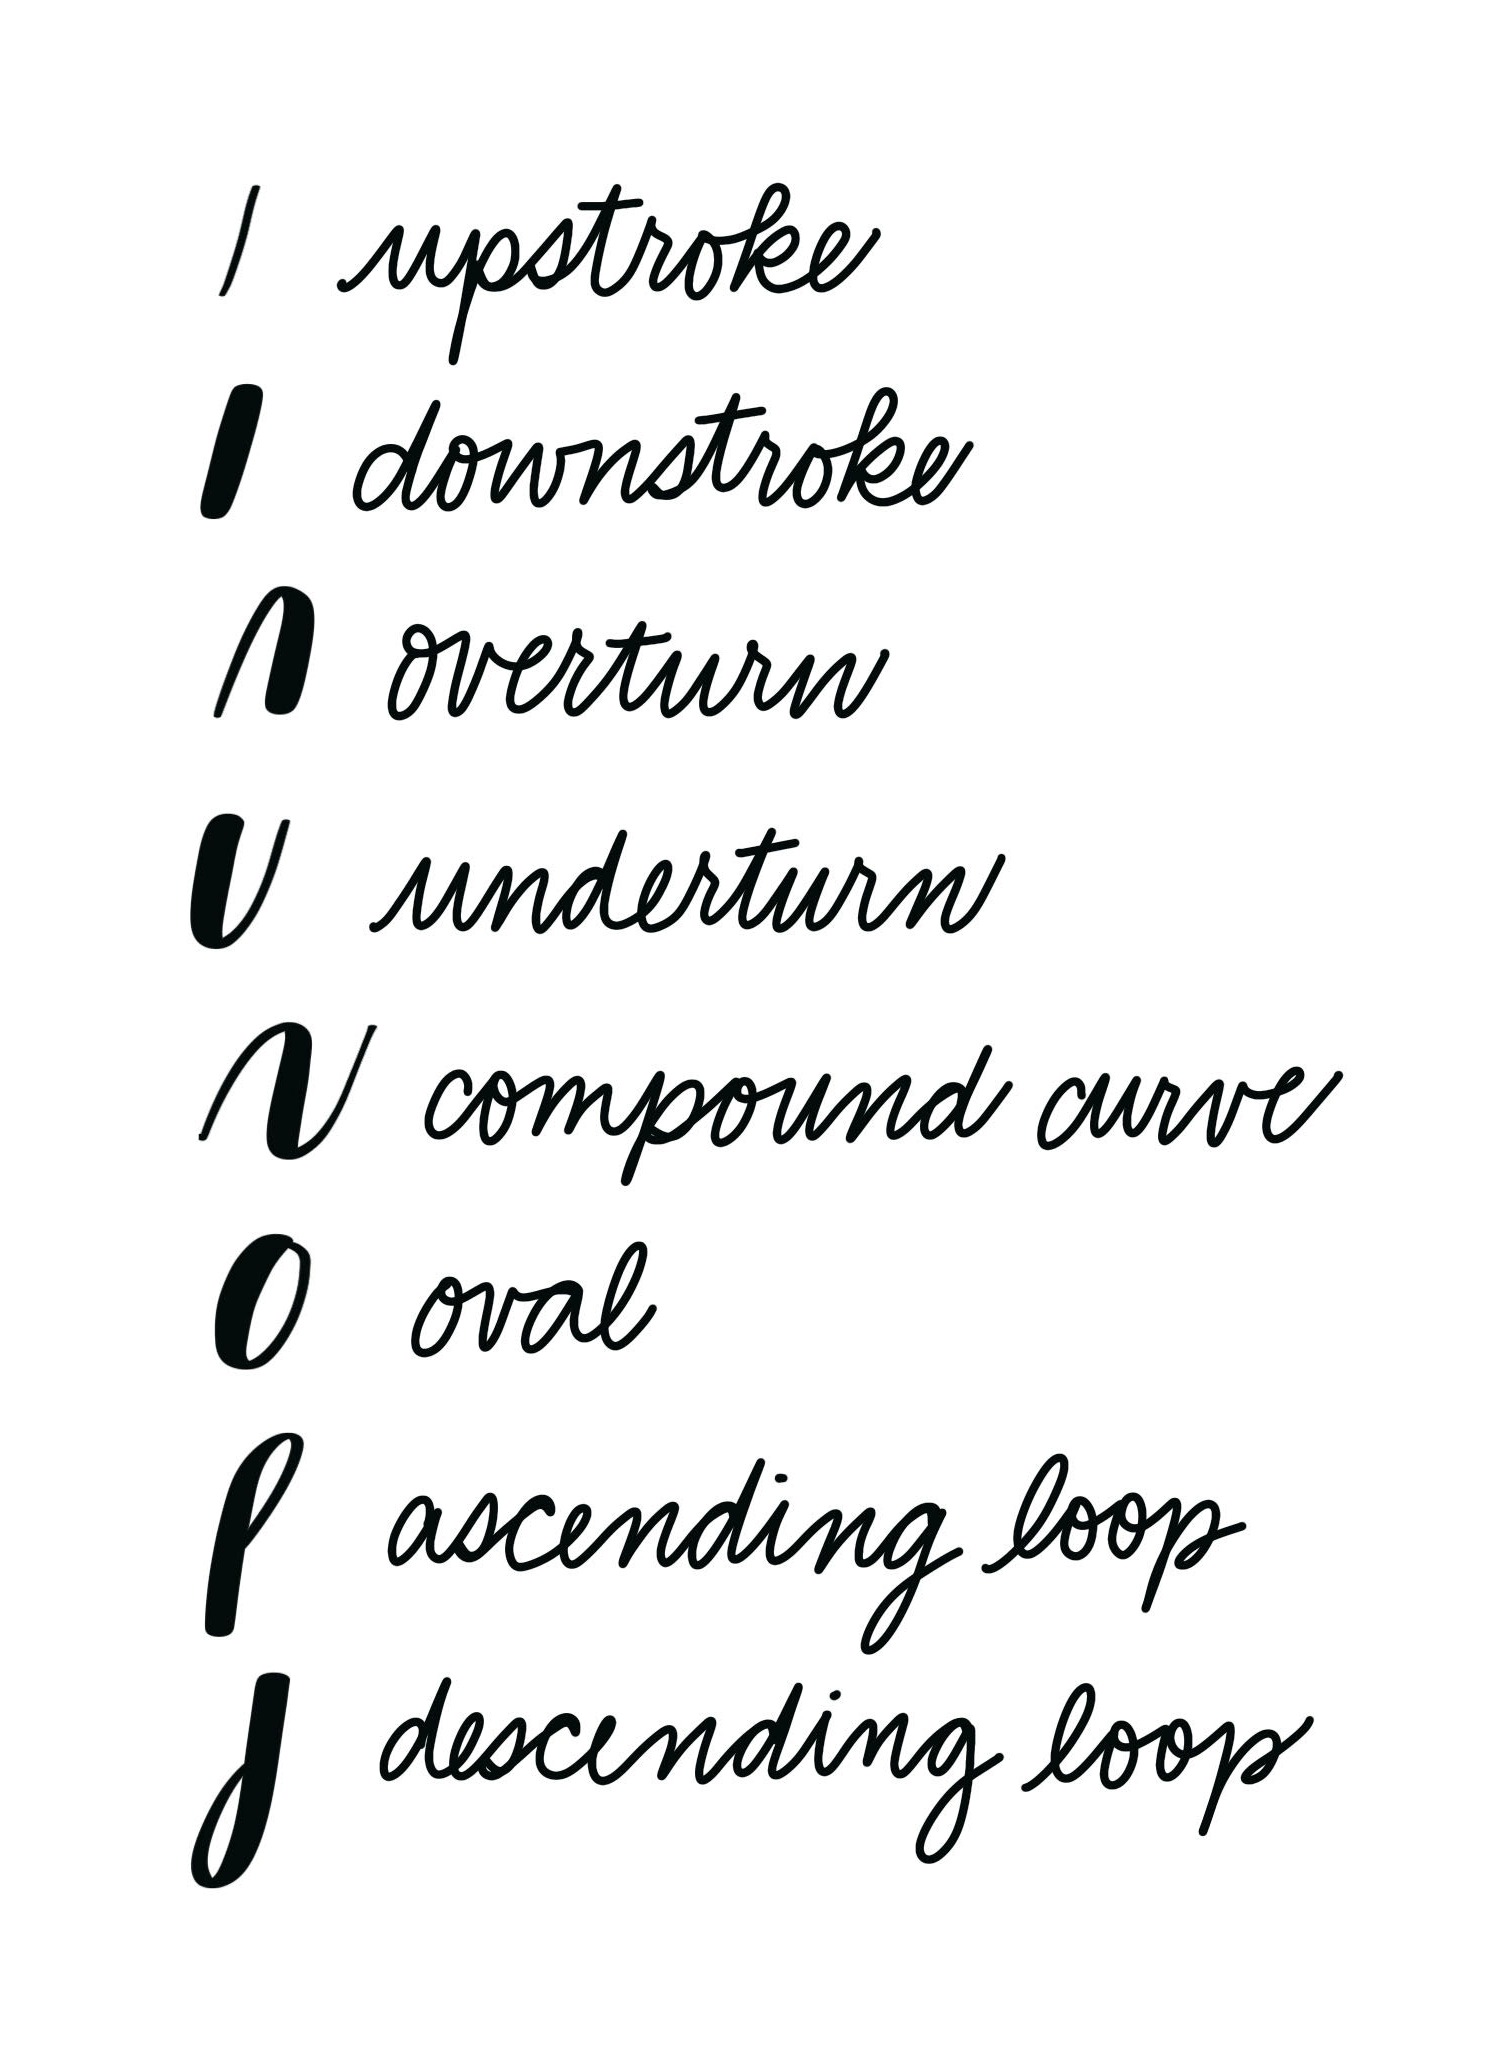
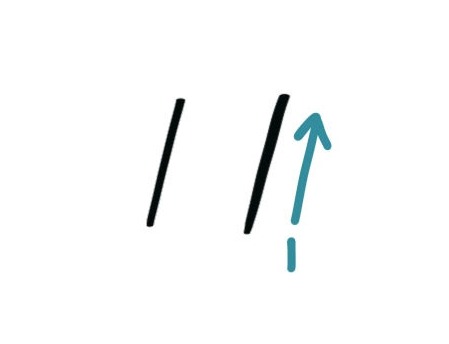
THE UPSTROKE
An upstroke is exactly what it sounds like, the line you make whenever your pen is moving upward (away from your body) on the paper. We want this type of stroke to be thin, so make sure to use a light touch and apply the least pressure possible to your brush pen.
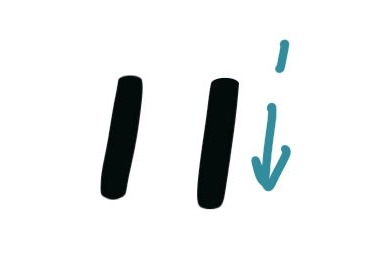
THE DOWNSTROKE
Downstrokes are the exact opposite of upstrokes. They happen anytime your pen is moving downward on the paper. Because we want these to be our thick strokes, you’ll apply pressure to your brush pen while you draw them. Notice the contrast in size between these and the upstrokes.
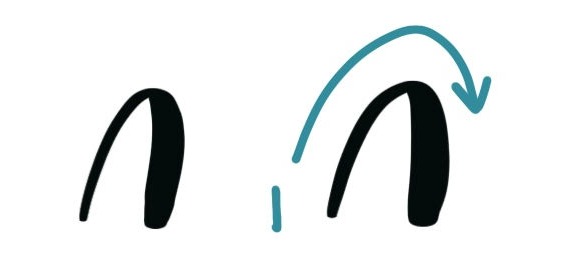
THE OVERTURN
Once you get the hang of upstrokes and downstrokes, it’s time to try combining them without picking up the pen. To form this overturn shape, you’ll begin with an upstroke, then at the top, begin applying pressure and switch to a nice, thick downstroke. This shape will be something you use in script letters like h, m, and n.
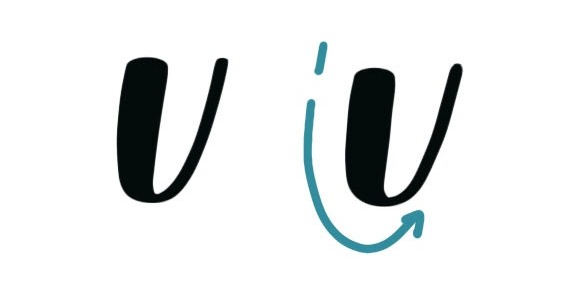
THE UNDERTURN
The shape called an underturn is another way to combine upstrokes and downstrokes without lifting our pen. It’s just the opposite of our overturn; we start with a thick downstroke, then release pressure at the bottom and let our pen travel lightly up in an upstroke. Letters like u and w make use of this shape.
THE COMPOUND CURVE
When we combine the overturn and underturn, we get something called a compound curve. Basically, it’s the technical term for a squiggle. To form this shape, you’ll begin with an upstroke, then switch to a downstroke and finally back to an upstroke. Practicing this compound curve will help you get the hang of changing how much pressure you apply to the pen as you write. Try combining several of these to form a longer squiggle before lifting your pen too.
THE OVAL
Just like its name suggests, the oval is a closed, rounded shape. You’ll begin with a curving downstroke on the left, then switch to a curving upstroke that meets your starting point. This shape will come in handy when you’re writing letters like a, d, g, and o.
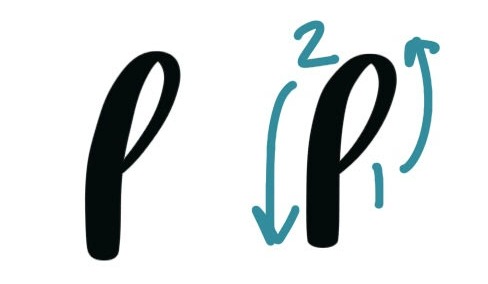
THE ASCENDING LOOP
Letters like b, d, l, and h make use of this ascending loop. To form it, you’ll start with an upstroke, then switch to a downstroke that comes back down on the left side.
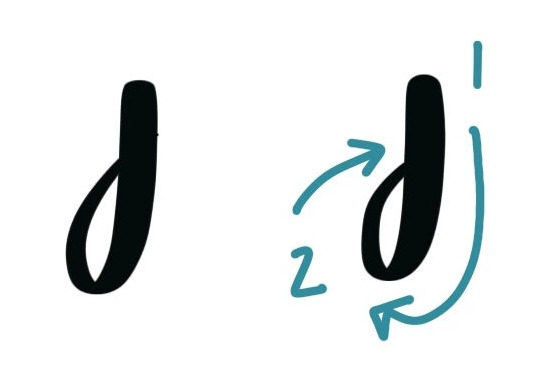
THE DESCENDING LOOP
A descending loop is the opposite of the shape we just made. This time, we begin with a downstroke, then release pressure at the bottom and loop back up. You’ll use this stroke to form letters like g, j, and y.
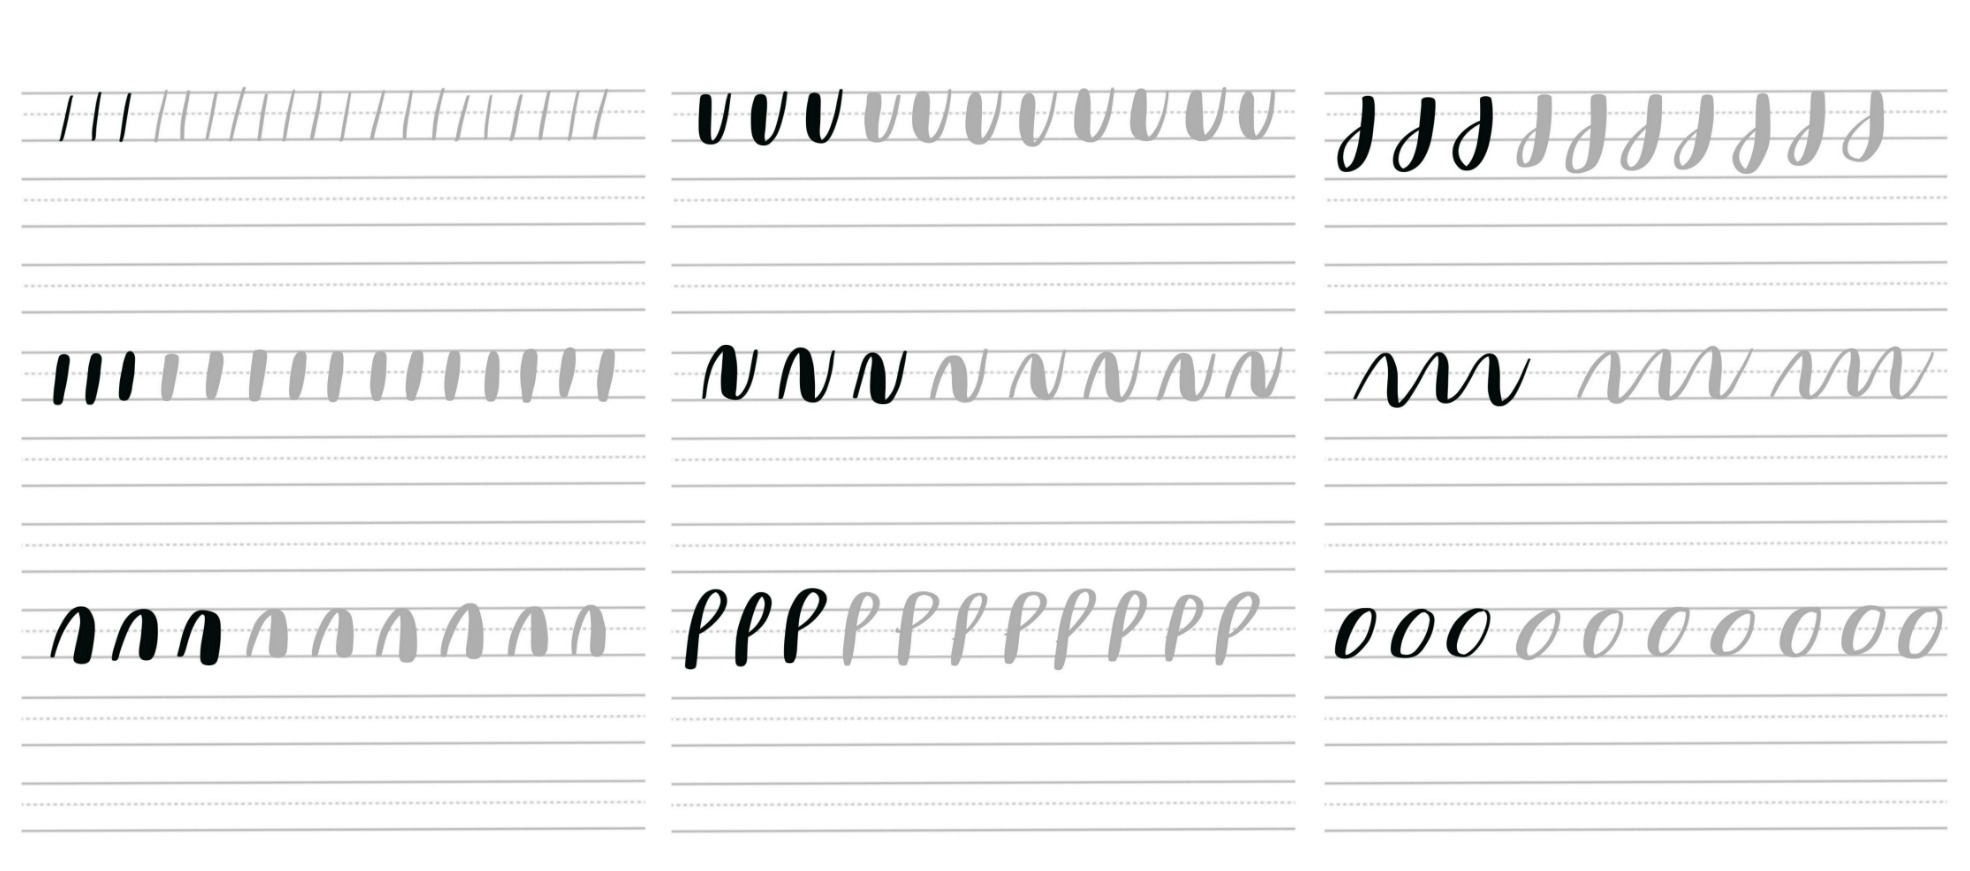
Now that we’ve looked at how to form all 8 basic stroke shapes, it’s time to practice! Believe it or not, hand lettering is something that gets into your muscle memory, just like riding a bike. Once your hand learns what to do, you’ll be able to write without thinking so hard. Repetition is the key to success, and practice always makes progress. So, click below and save the practice pages to your device. Then, print them out, or upload them into your favorite digital lettering software like Procreate. Once you do, feel free to use them as often as you like for your own personal practice.
Download the free practice pages here.
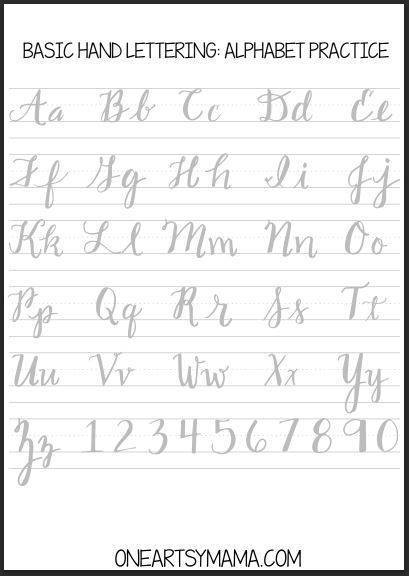
Ready to use these shapes to form letters? Be sure to check out my A-Z Alphabet Series that walks you through how to form each letter of the Brush Script alphabet, one letter at a time. Hope you found this post to be a helpful step in your hand lettering journey. I also have several hand lettering books you might enjoy; you can learn more about them here.
Don’t forget to Pin this post for later and share it with your friends!


Amy! I`m loving all you tips… I`m a fresh begginer…rsrsrs… and I`m having some dificulties with letter “S”. Can you help me please?
Hi, Mariana,
Check out this post all about the letter S: https://www.amylattacreations.com/2019/06/free-hand-lettering-practice-sheets-s.html