
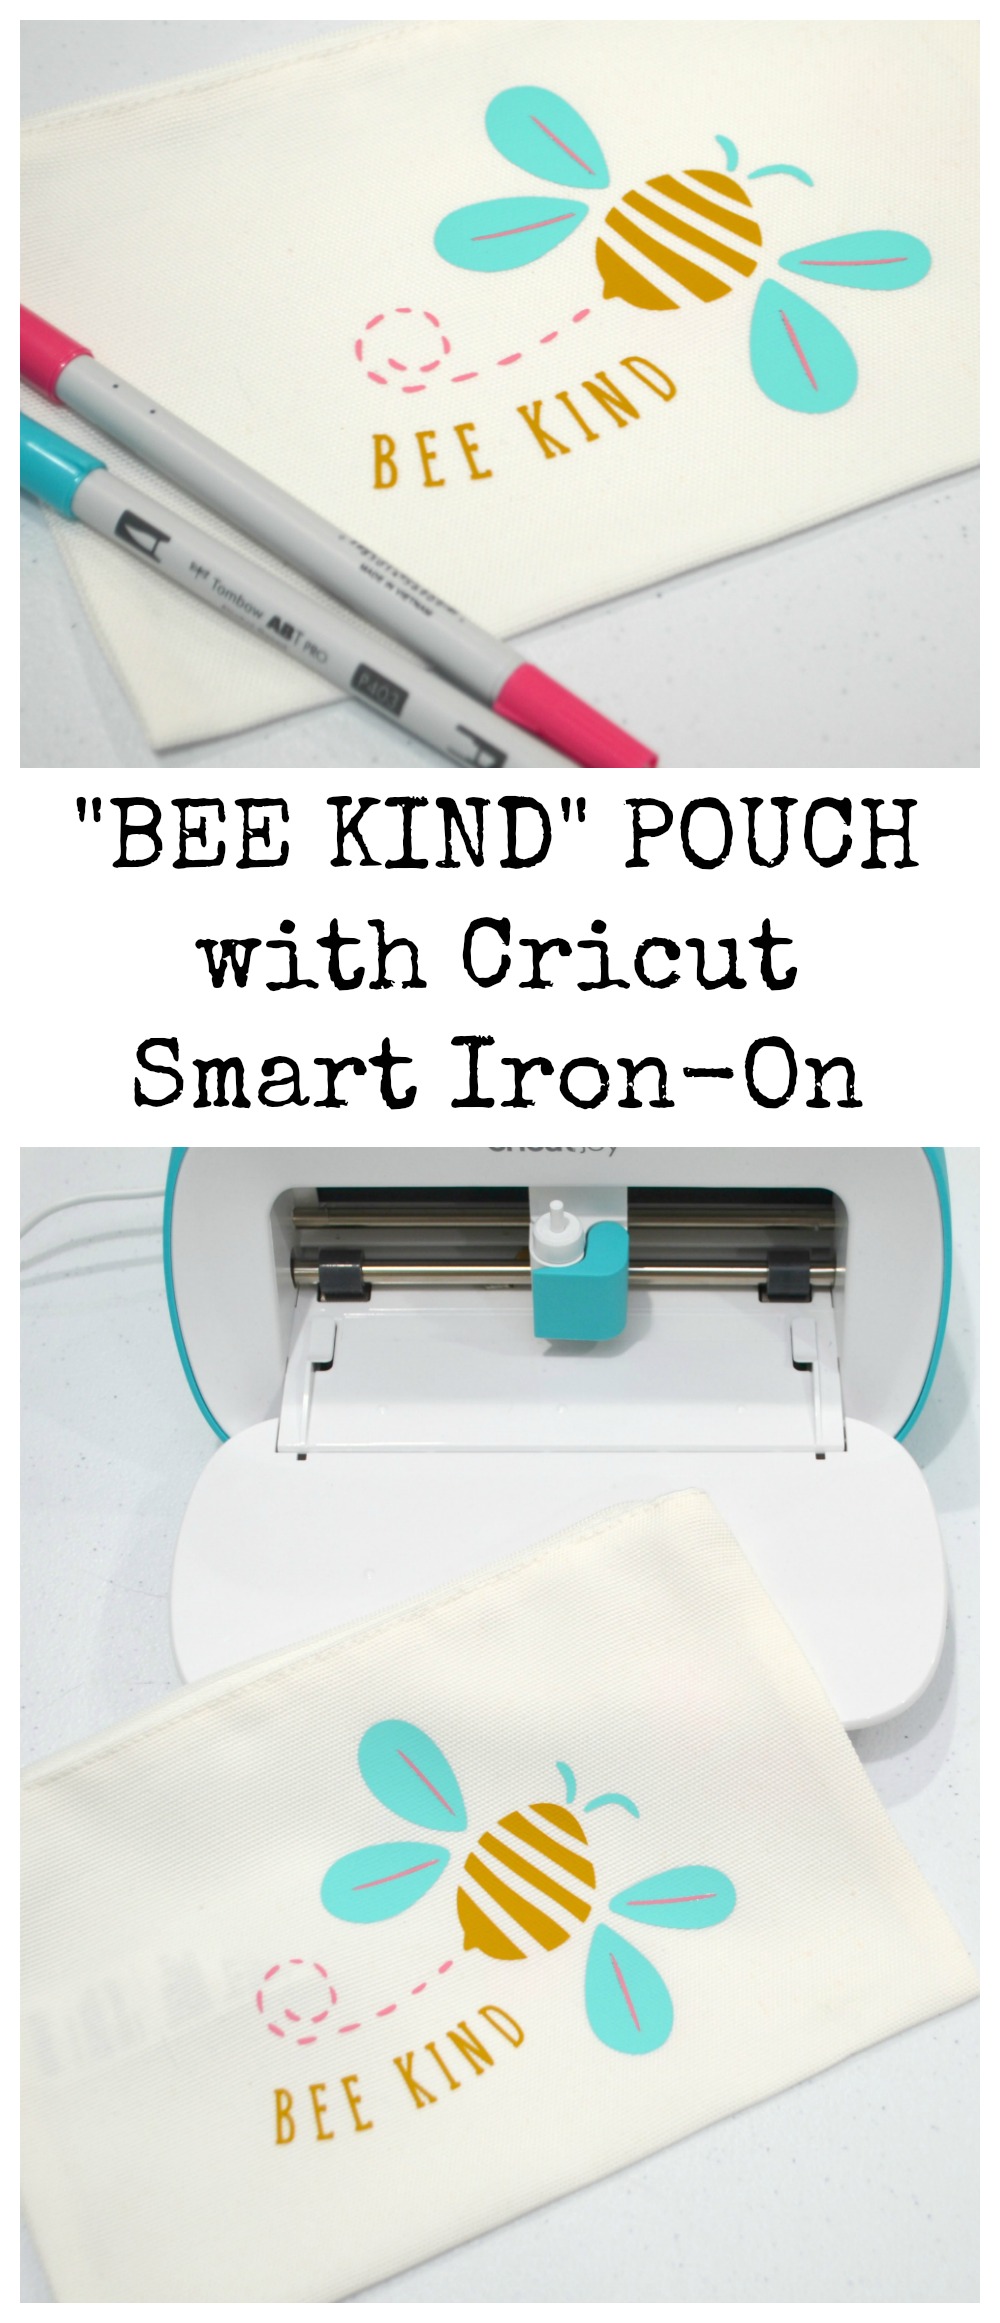
Bee Kind: Iron-On Pencil Pouch
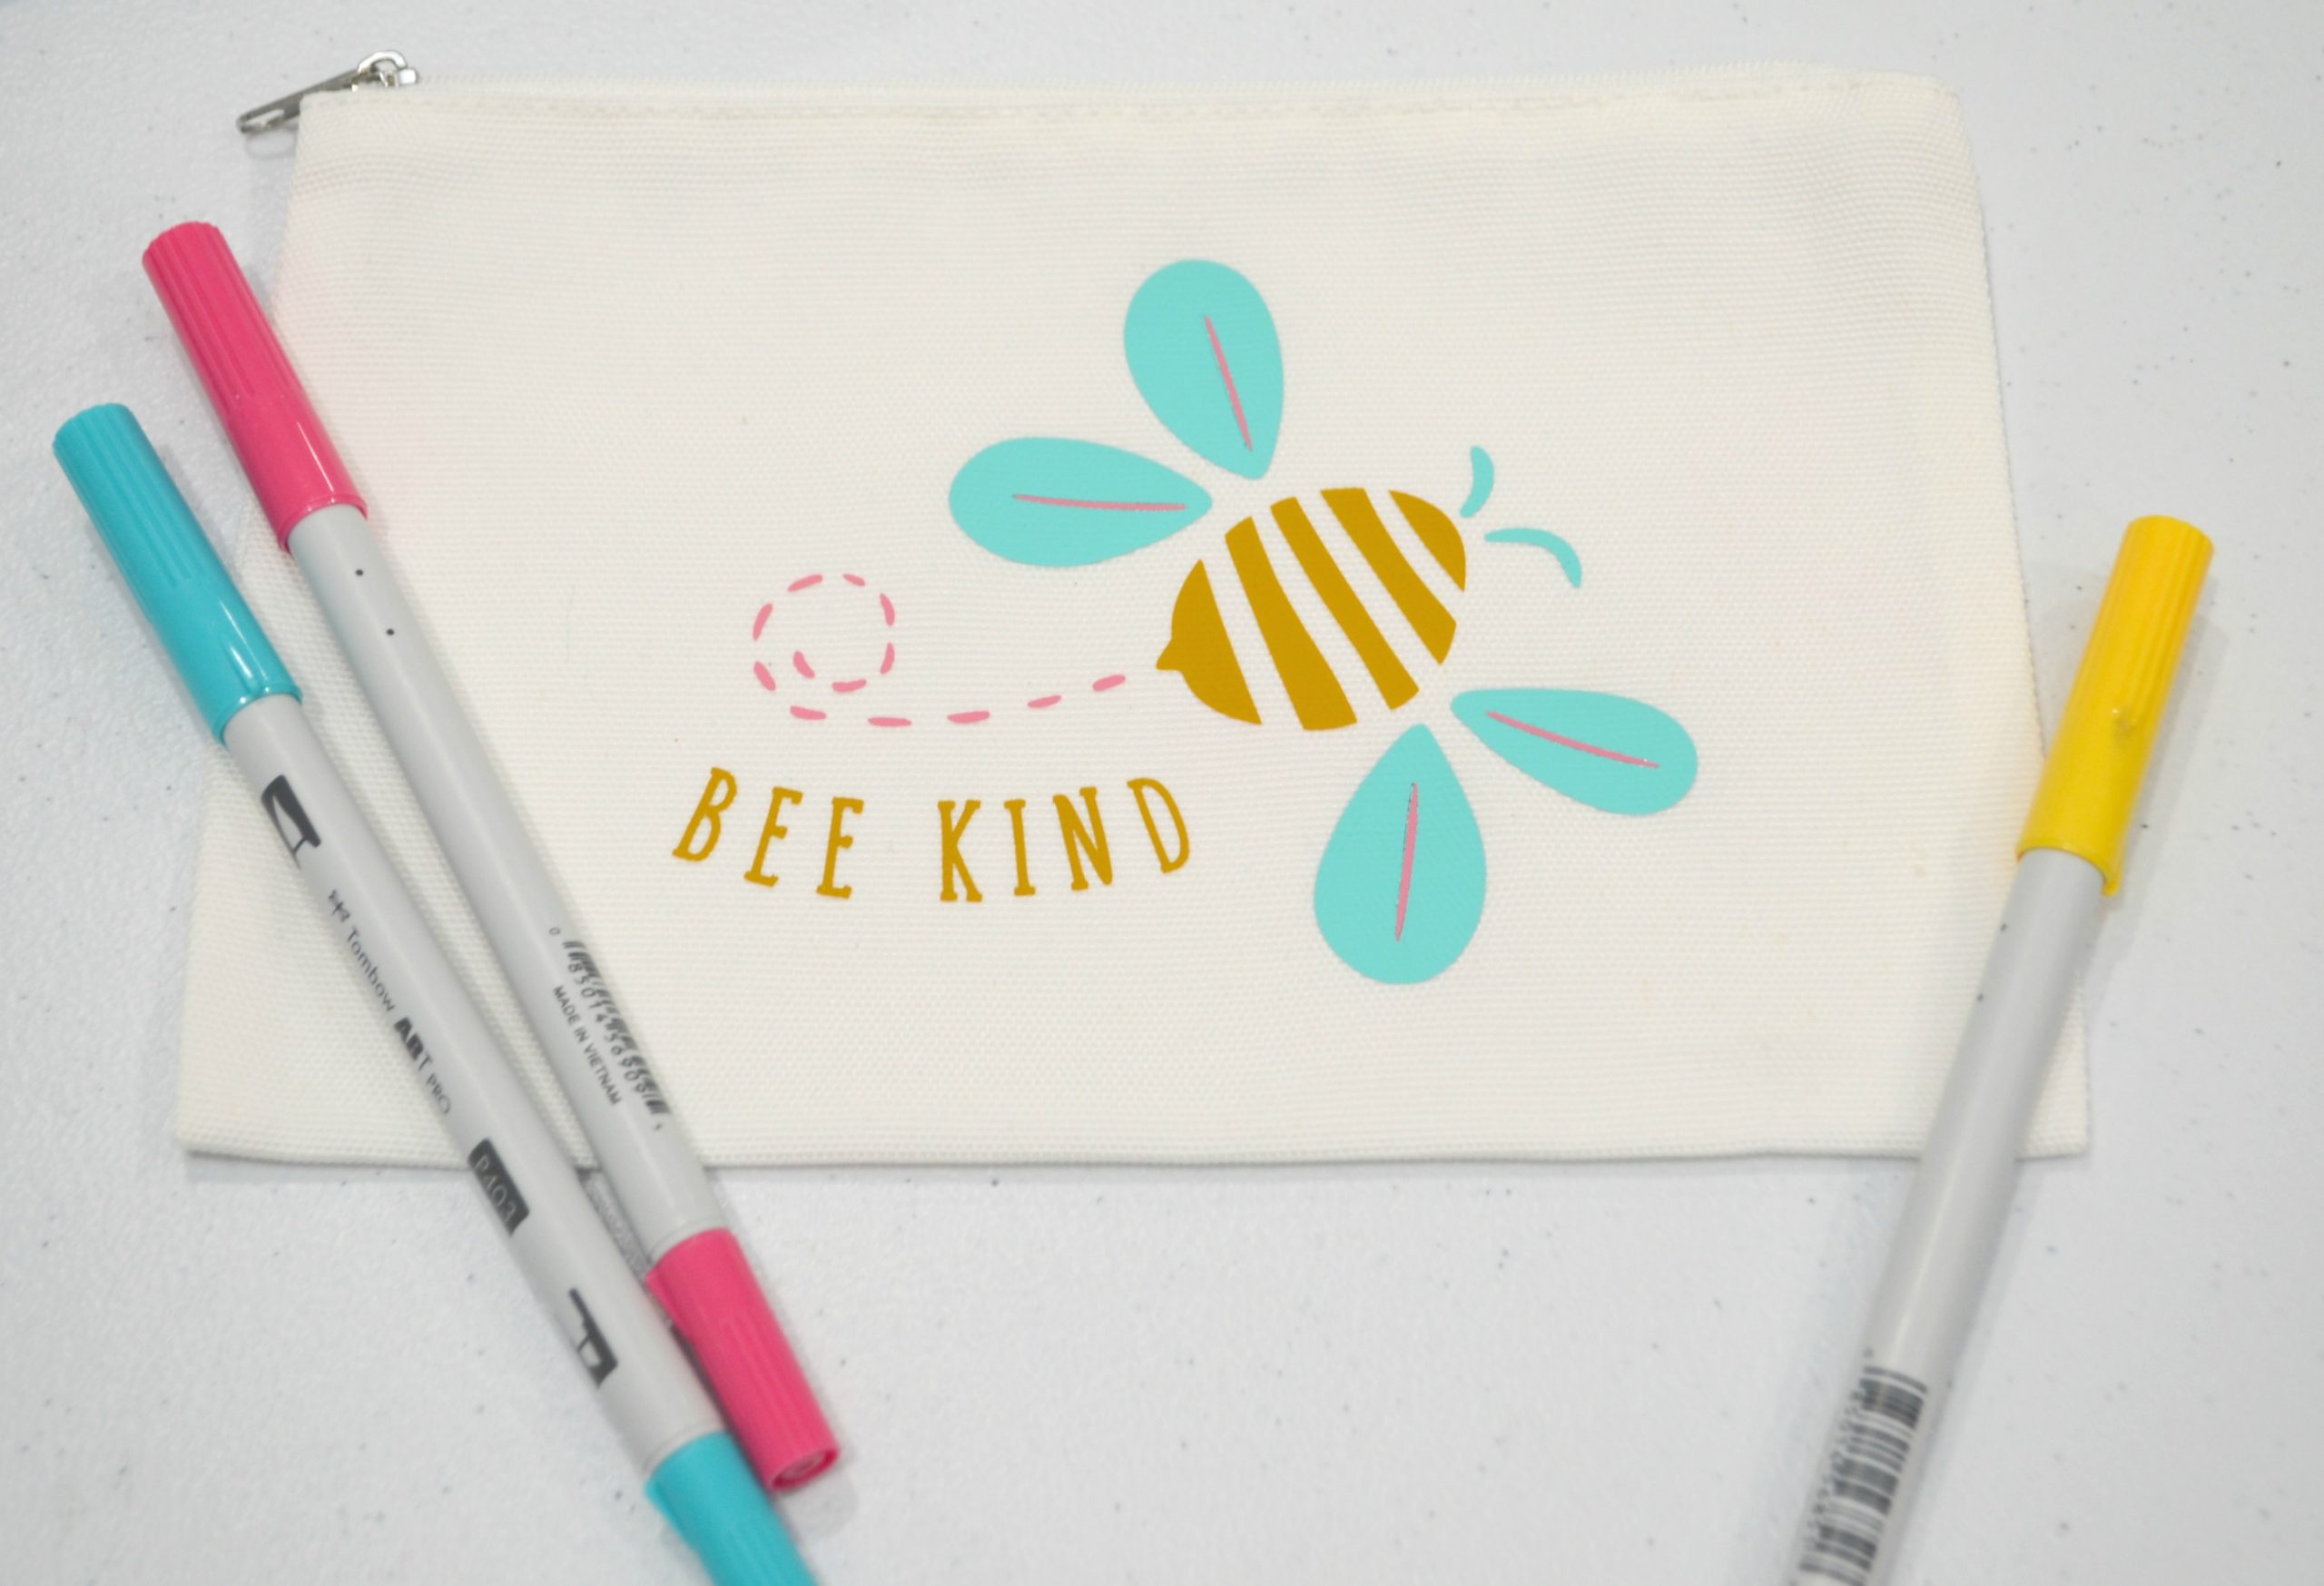
With Anti-Bullying Month just around the corner, I’ve been a busy bee making reminders for my boys (and myself) that kindness is always the best choice. Recently, I shared the Smart Label stickers I made using writable vinyl, the Cricut Joy, and the message, “bee kind.” Here’s another project I created using the same message, but a different design. I used Iron-On vinyl to make this colorful reminder come to life on a plain pencil pouch; here’s how you can do it too!
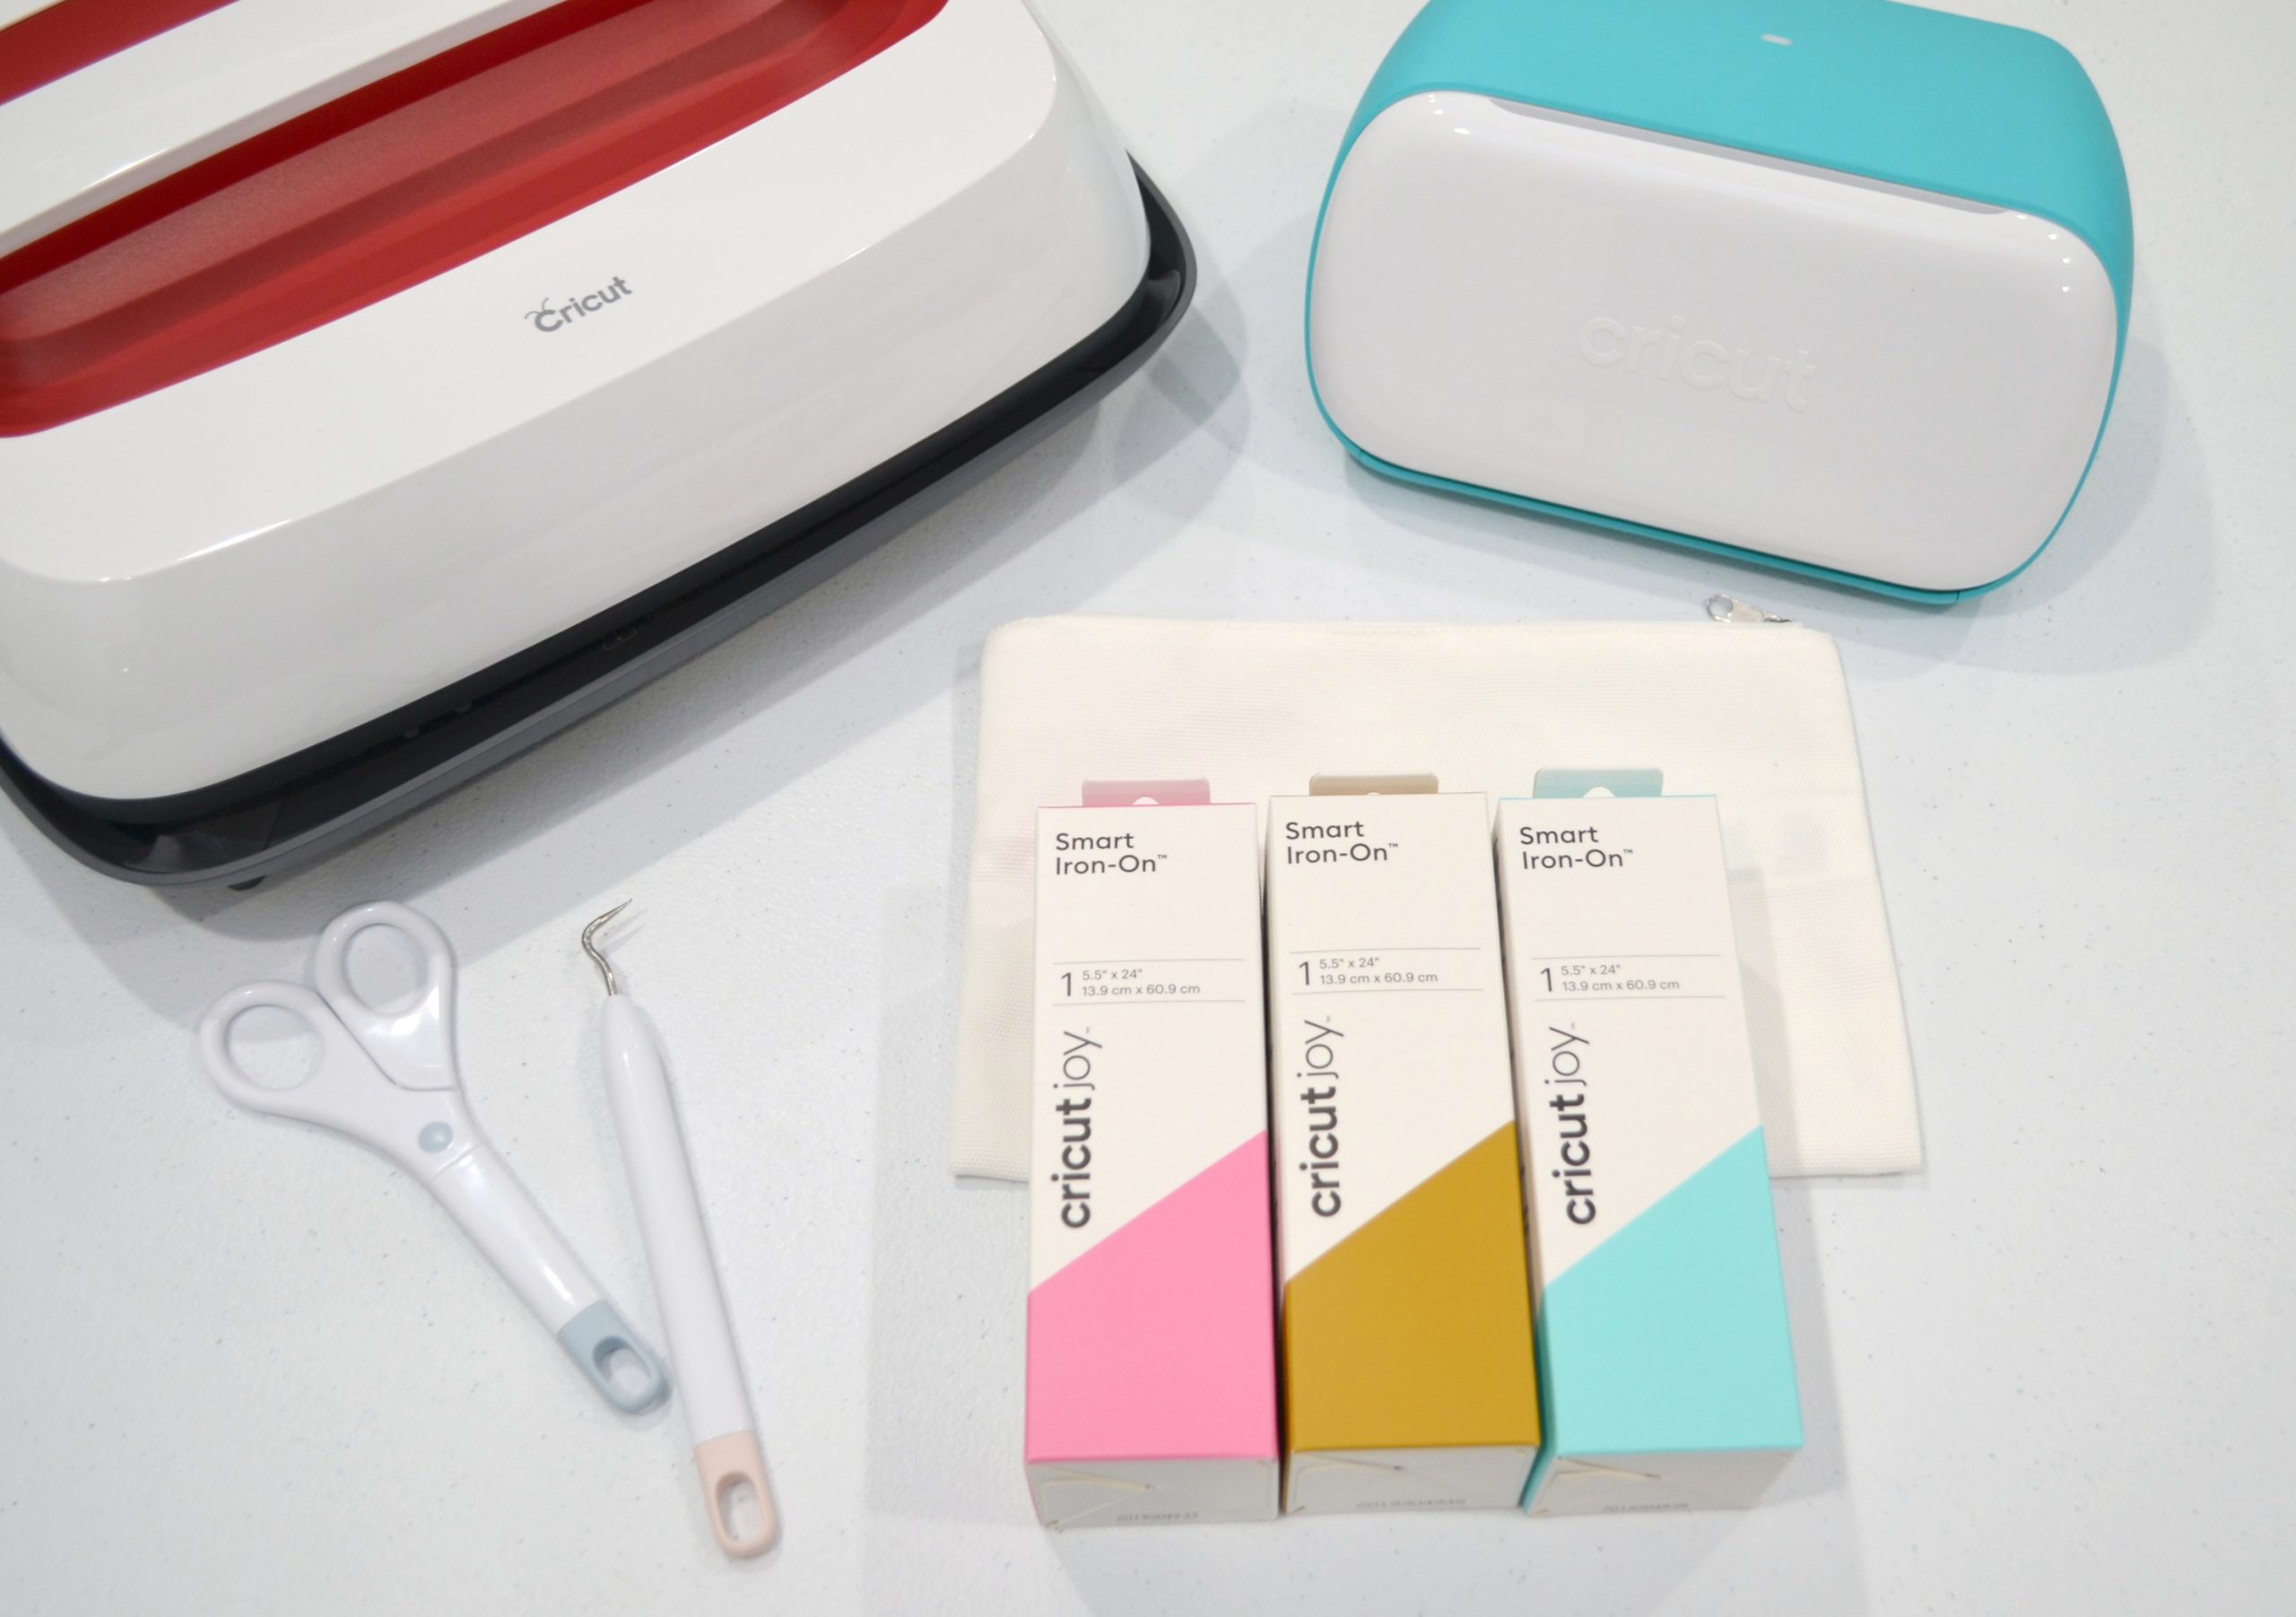
You’ll need:
a fabric pouch (mine is the Cricut Cosmetic Bag Blank)
Cricut Joy™ Smart Iron-On™ (I used Bright Teal, Mustard, and Pink)
Cricut EasyPress™ and Mat
Basic Tool Set (Scissors and Weeder)
Step 1: Choose or create an image in Design Space.
For this project, I used the image “Bee Kind #M144643B8” and sized it to fit my pouch. Feel free to choose any design you like!
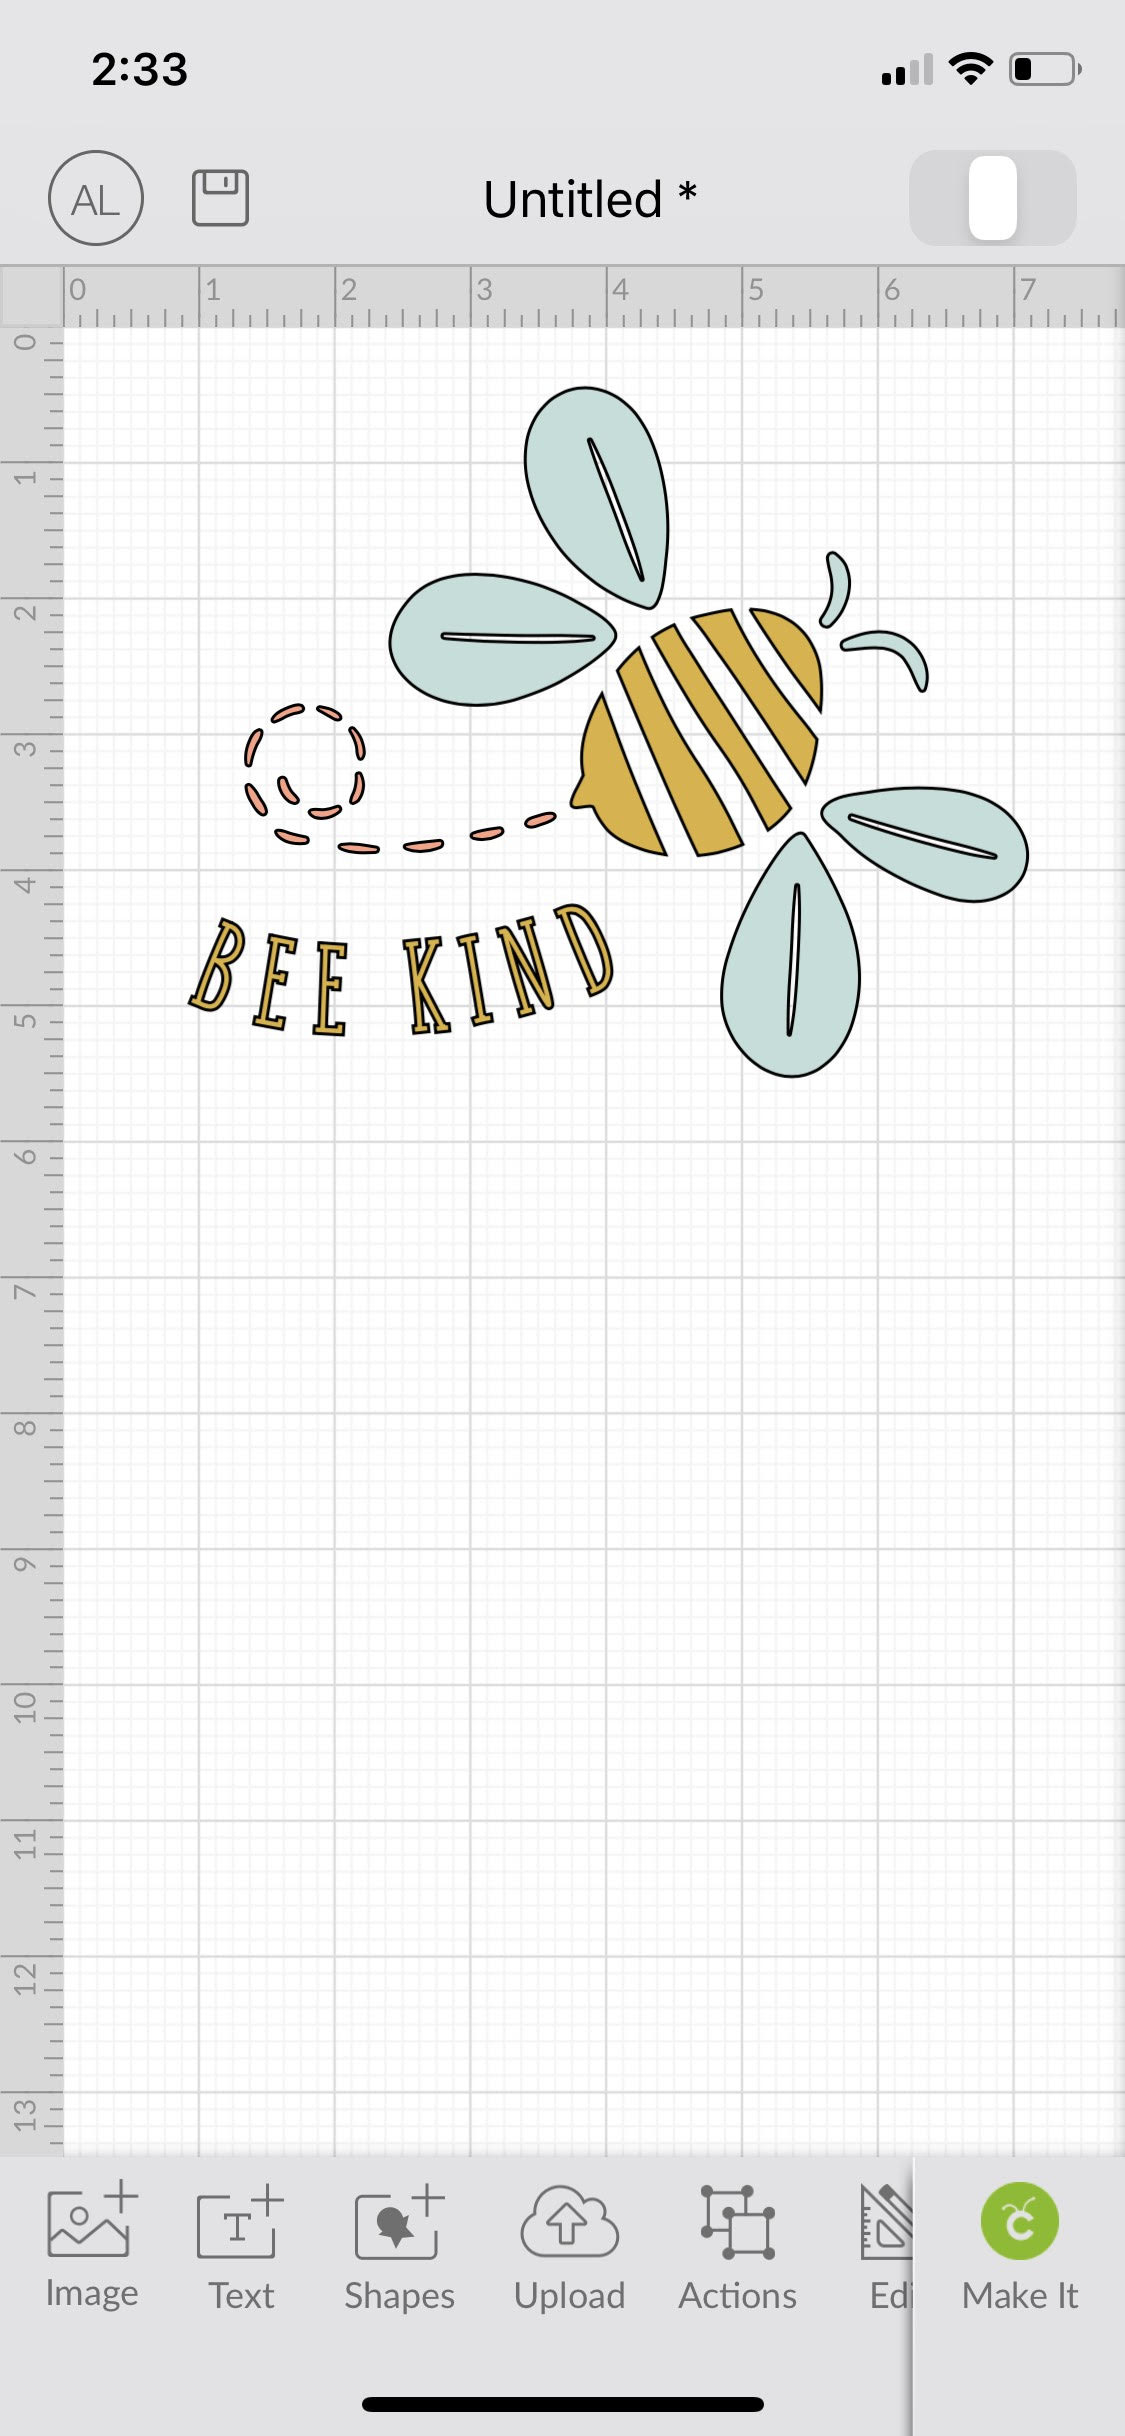
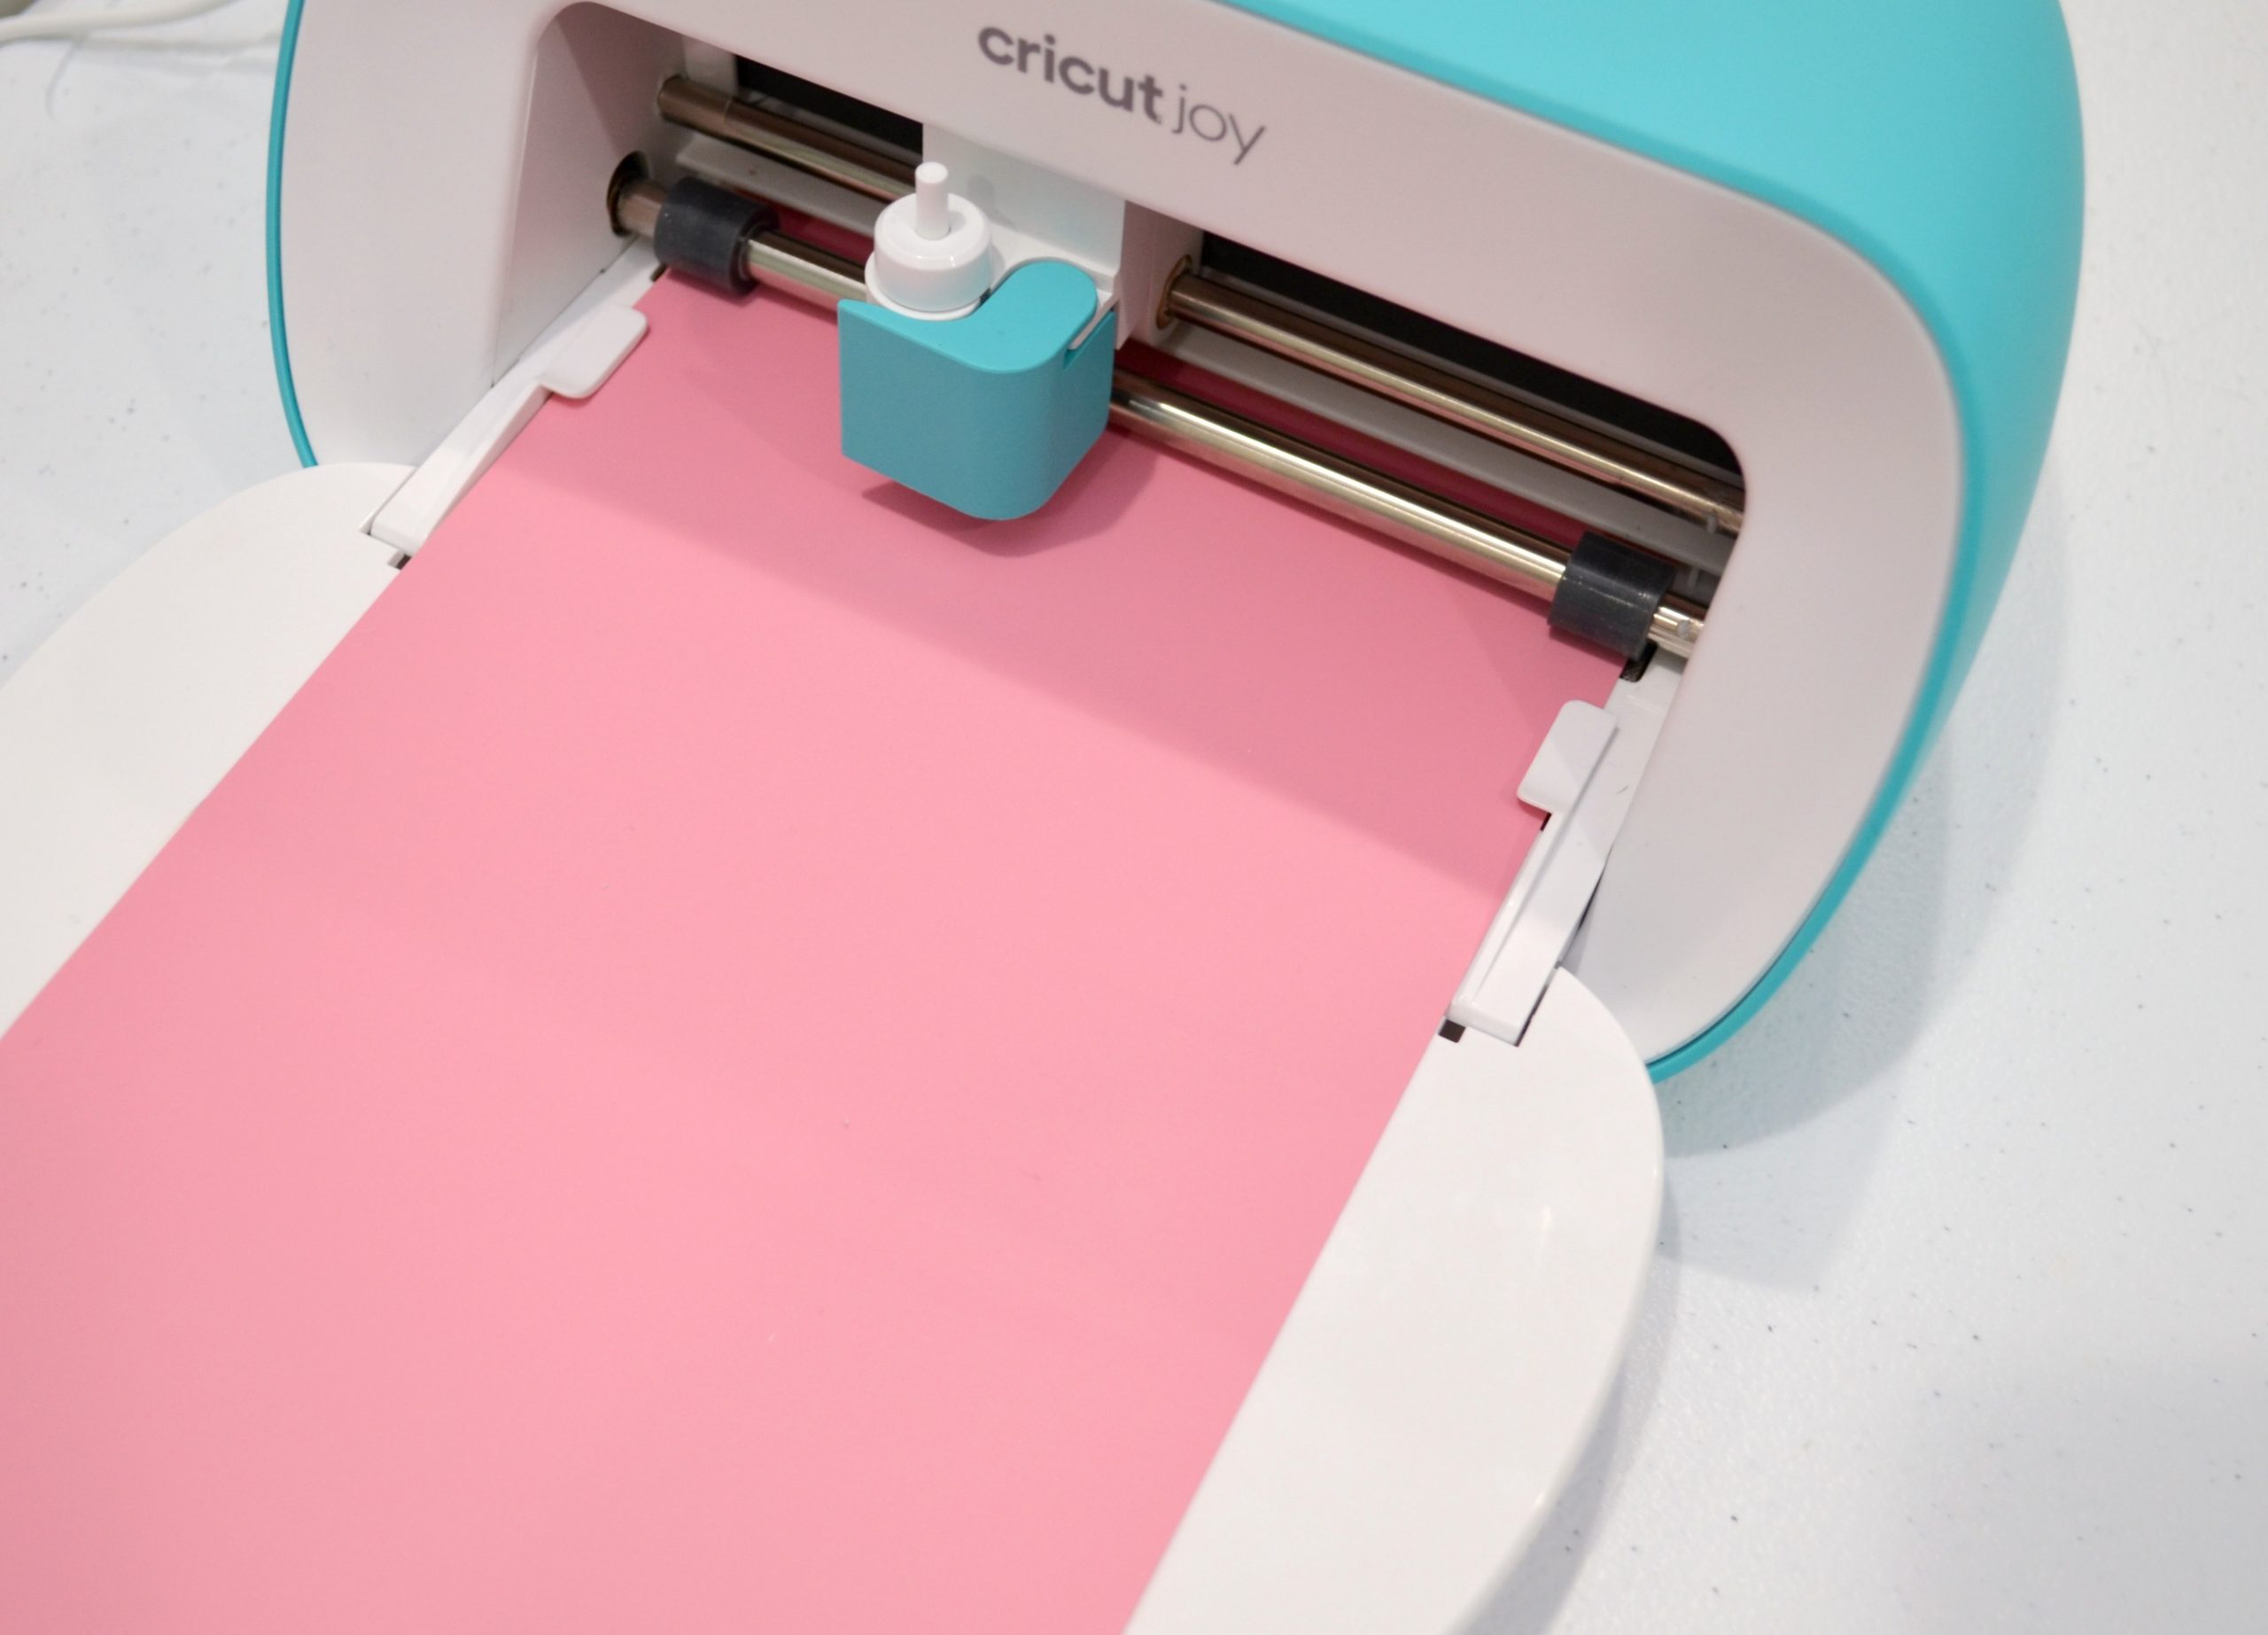
Step 2: Send the design to your Cricut machine.
This is a multi-layer cut, so the software will prompt you to load the Smart Iron-On one color at a time. Make sure before you cut that you’ve selected “mirror on” so the design cuts in reverse, and that you load the vinyl with the shiny side down. Then, press “Go” and let the machine work its magic. Once the first color is cut, follow the prompts to unload and load the other colors of vinyl until the entire cut is complete.
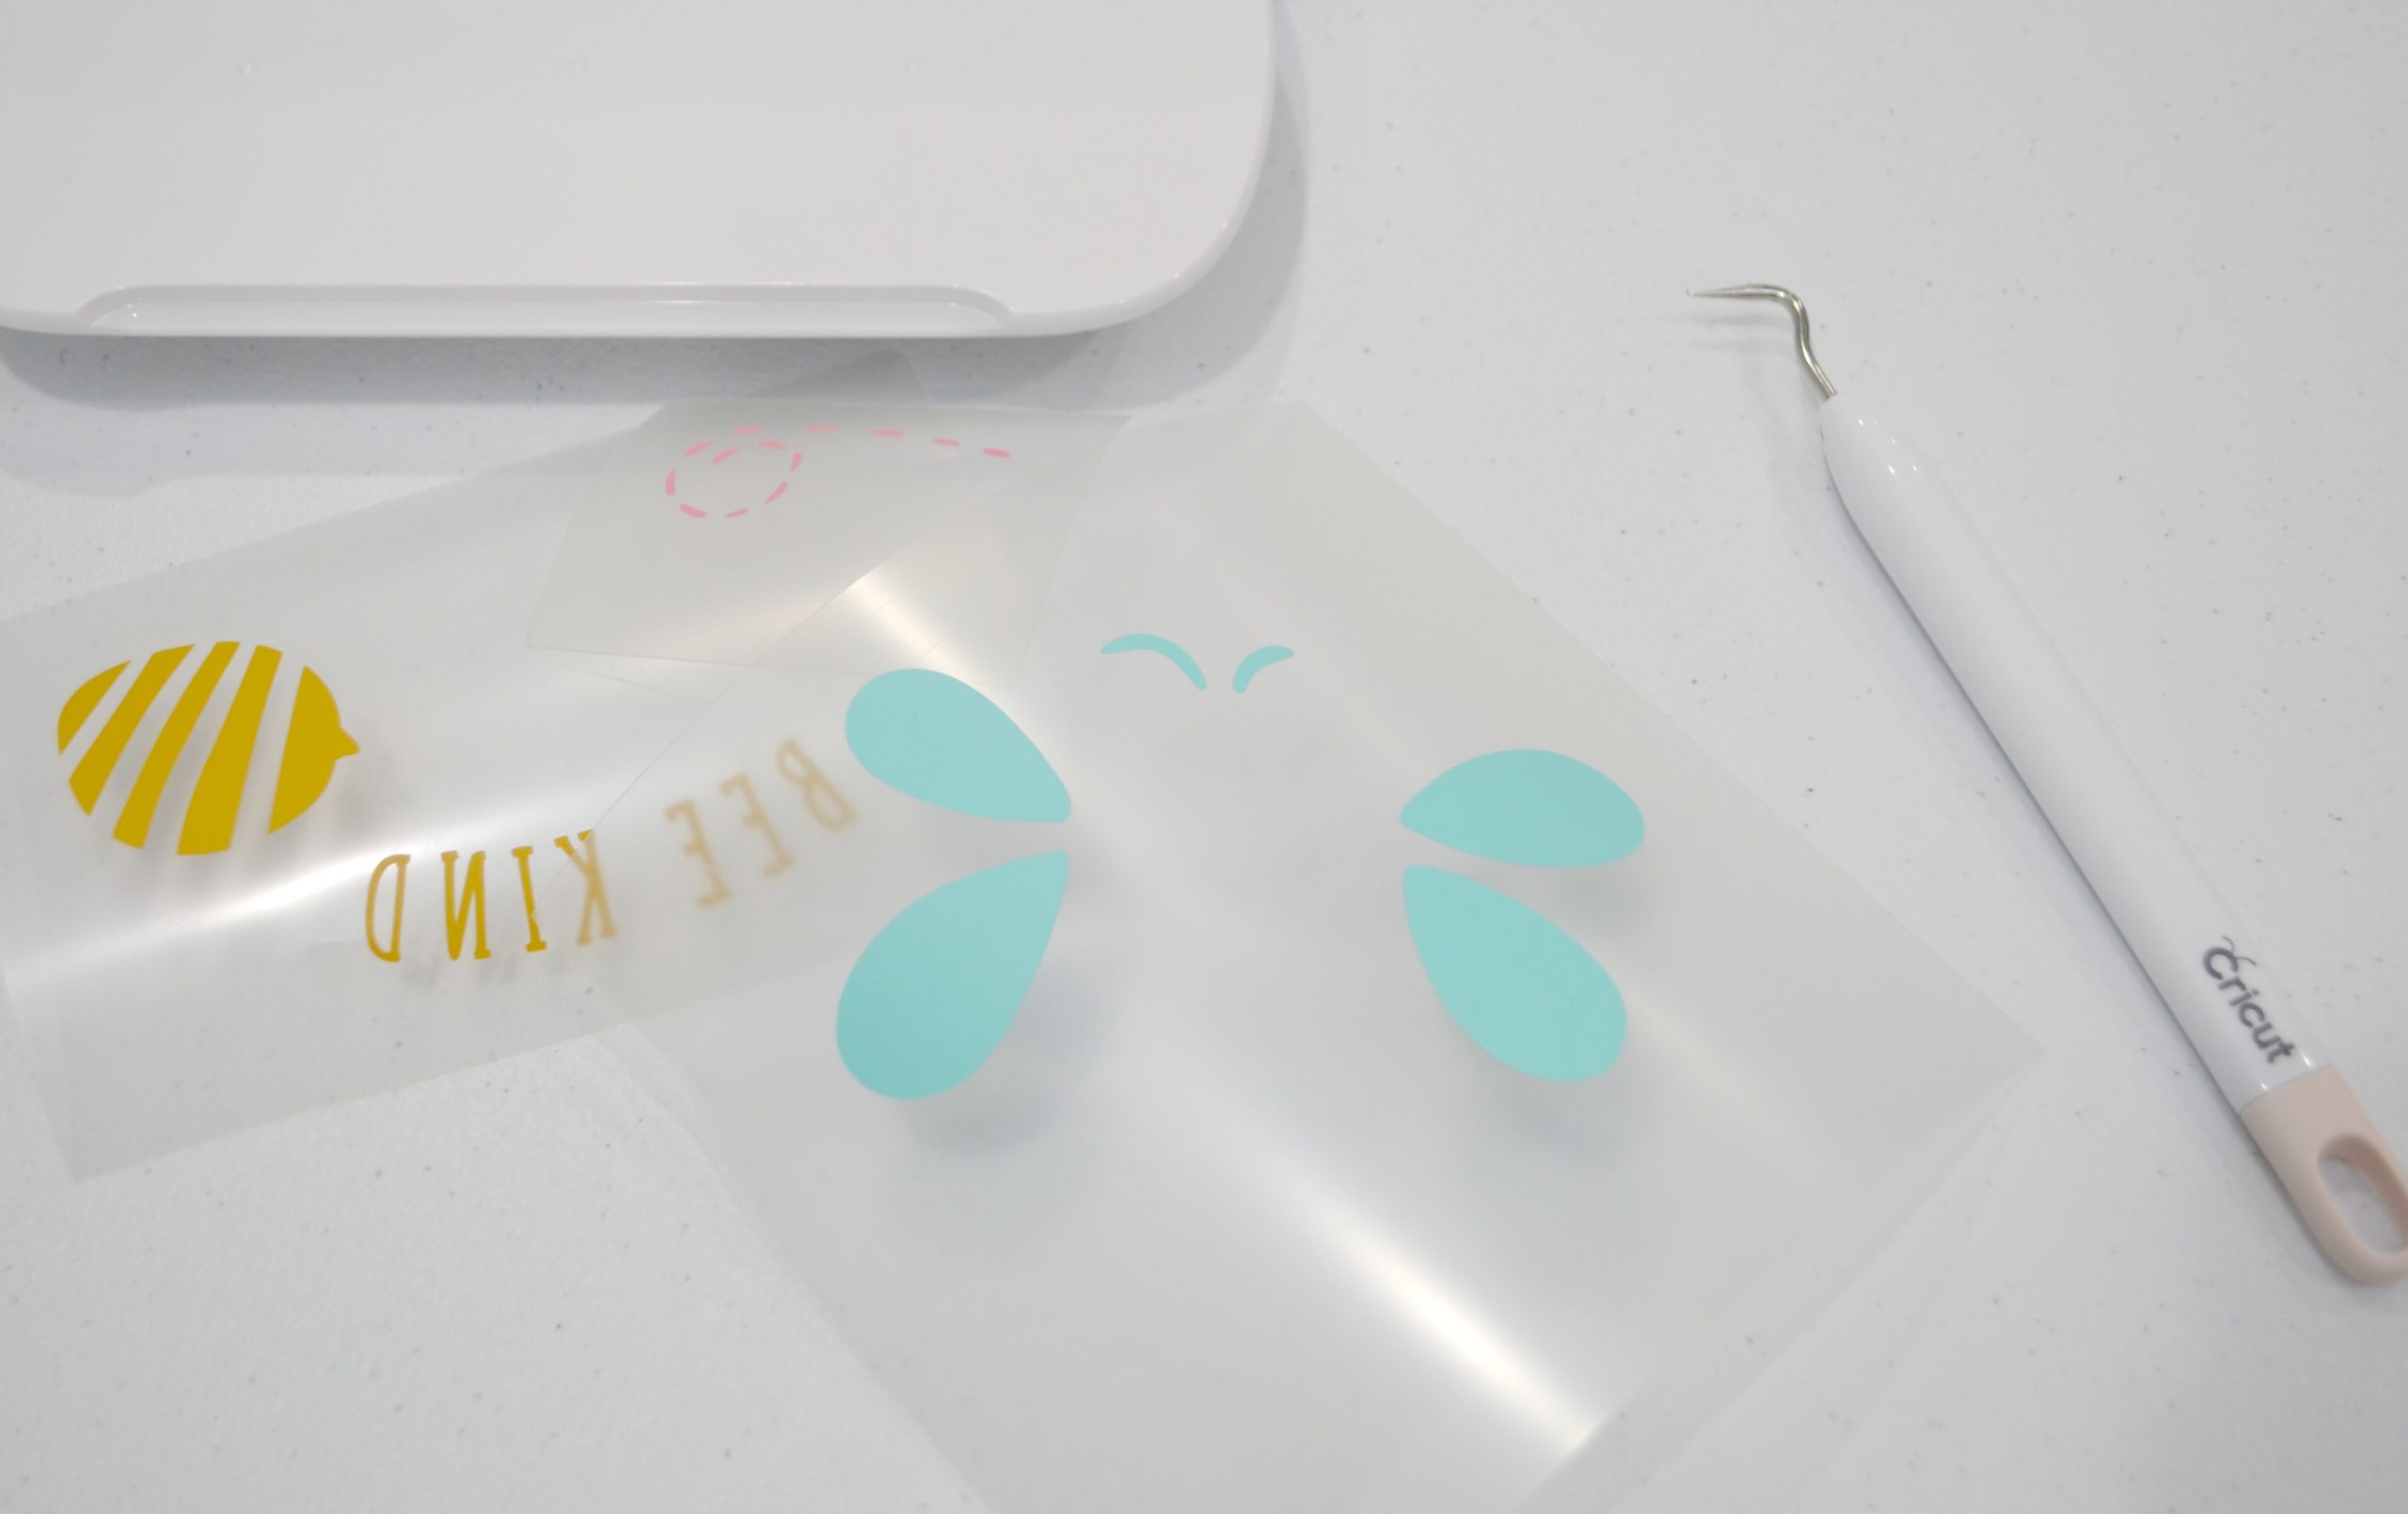
Step 3: Weed your vinyl.
This step involves peeling away all of the excess vinyl that isn’t part of your design. A weeding tool is helpful for small areas, like the centers of letters like “B” and “D.” When you’re finished, the only things left on the adhesive backing should be the things you want to transfer to the pouch.
Step 4: Preheat the EasyPress 2 and the pouch.
Follow the instructions in the Cricut Heat Guide to set the EasyPress to an appropriate temperature and time for the materials you’re using (Mine was 315 degrees for 30 seconds). Place the pouch on top of an EasyPress mat or a clean, folded towel and preheat it for 15 seconds to remove any moisture from the fabric.
Step 5: Apply the design to the front of the pouch and heat set it with the EasyPress 2.
Place the first layer of your design on the pouch with the vinyl touching the fabric and gently press the adhesive areas down to hold it in place. I recommend starting with the layer that says “BEE KIND” and has the body of your bee. Gently press the EasyPress 2 on top of the design and start the timer. After removing the heat, let the design cool off, then peel the plastic backing away.
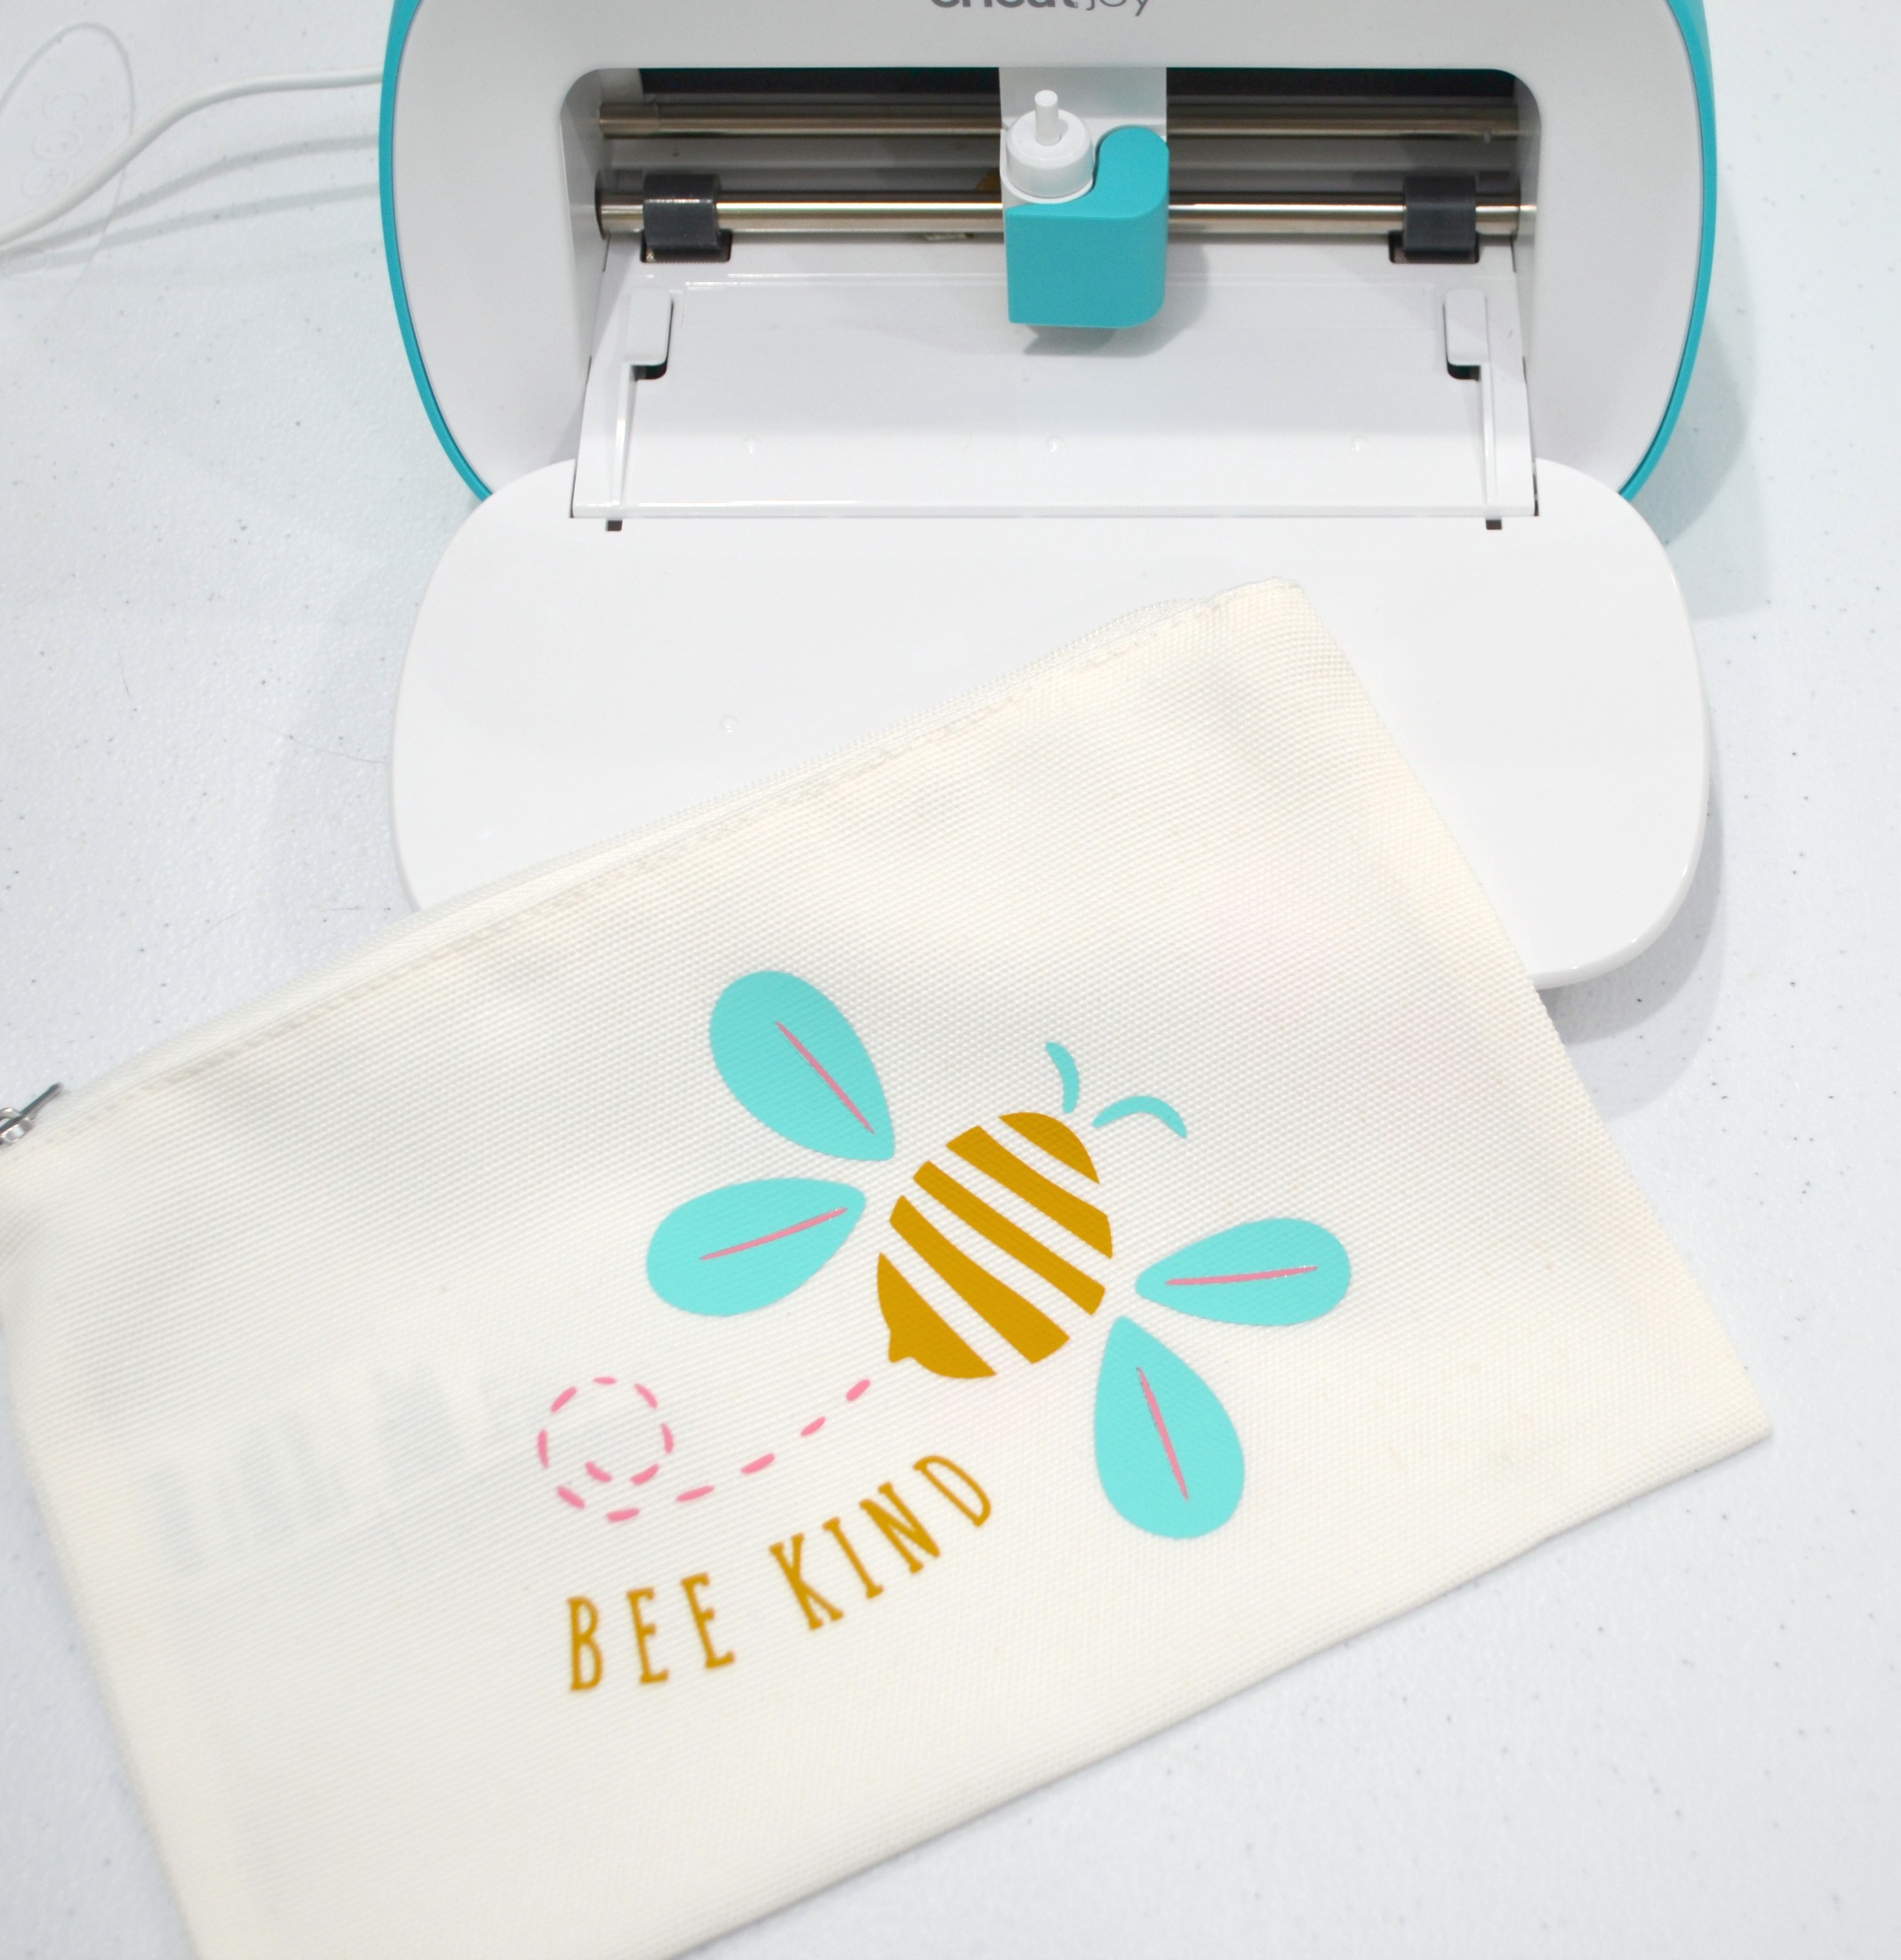
Repeat step 5 with the other two layers, the wings and antennae, then the flight line. Make sure that the whole design (even the layers you’ve already adhered) is always covered up with plastic, or the vinyl will stick to the plate of the heat press.

Once your design is heat set, the pouch is ready to use! Just add your pens and markers, or anything else you want to carry with you, and you’re all set. Good news, this pouch is totally machine washable too, just wait 24 hours after application before the first wash, and turn the pouch inside out while cleaning.

My hope is that by placing these little reminders on things all over our home, all of us will think twice before speaking unkind words that tear others down instead of building them up. Kindness is always the best choice, no matter where we are or who we are around. Is there a pouch, a t-shirt, a pillow, or something else in your home that could use this cute little reminder?
Be sure to join us in the Amy Latta & Friends Facebook group, where you can share photos of all your latest projects so we can all be inspired. And, if you like this project, don’t forget to save it to Pinterest and share with a friend!


2 Comments