MATERIALS:
FABRIC:
Yellow Fabric:
2 – 13” Circles,
1 – 2” x 40.5” Strip
Blue Fabric:
2 – 10”x13” Bird Shape
ADDITIONAL SUPPLIES:
• Yellow and Blue Felt
• Coordinating Thread
• Low Loft Batting (Enough for Bird Shape)
• Black Fabric Pen
• Googly Eye or Button
Poly-Fil – 16 or 20 oz bag (the pattern is on the bag back, including the shapes you’ll need to trace!)

INSTRUCTIONS:
Step 1: Cutting
Trace all pattern pieces onto tissue or other paper and cut out. Cut out 13” circles. Tip: Trace half circle twice.
Pin pattern pieces on the material and cut out.
Pattern can be found on the back of Poly-Fil bags OR you can download the PDF version here.
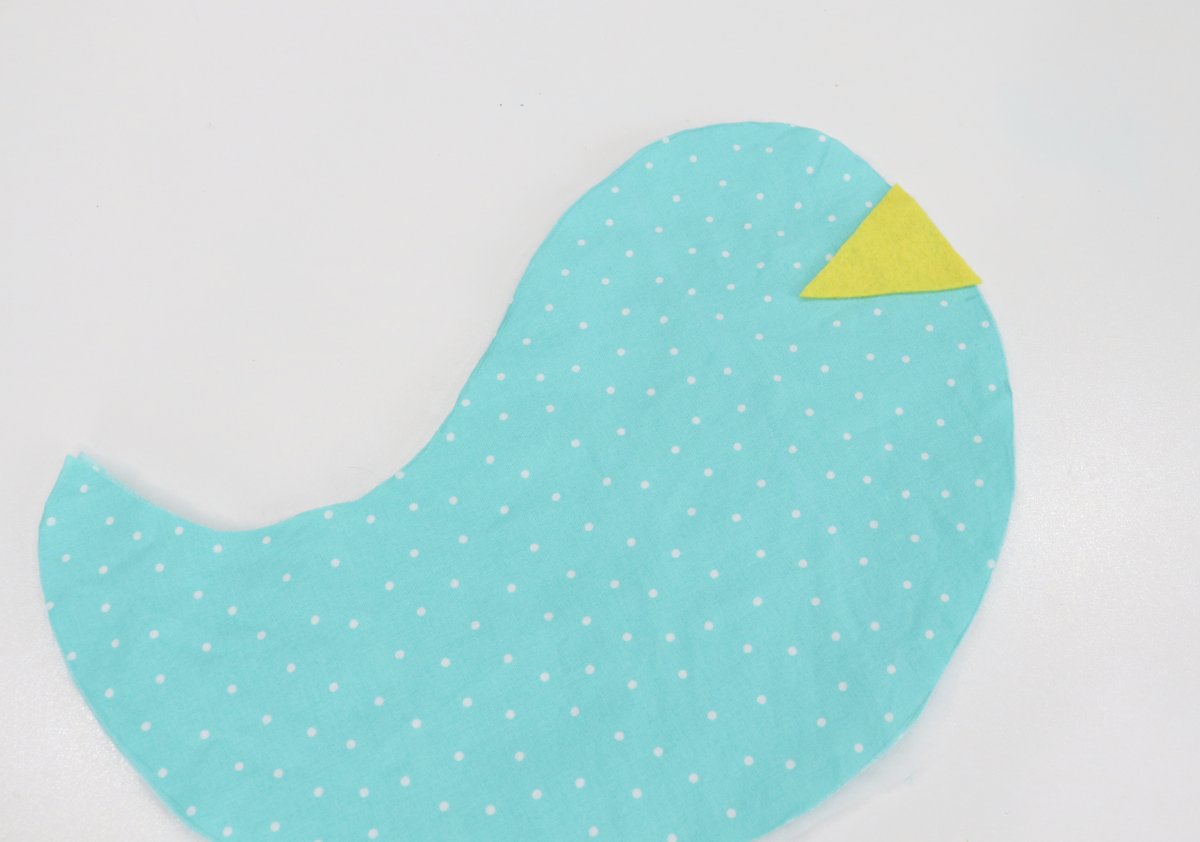
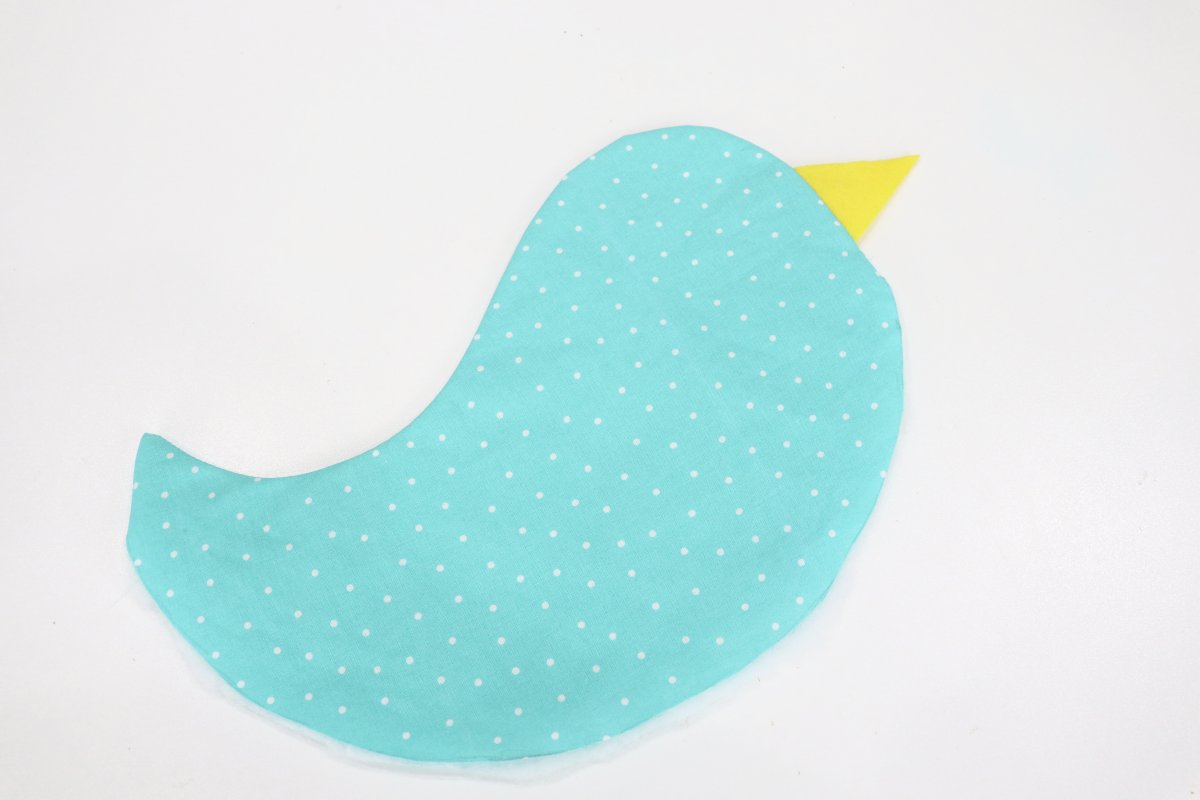
Step 2: Bird Assembly
Place beak on top of the fabric bird (see X markingon the pattern). The beak should point in toward bird’s body.
Place second fabric bird shape on top of bird front and beak, with the right side facing down. Add bird shape cut from batting to the bottom of the pile, and pin all of the layers together.
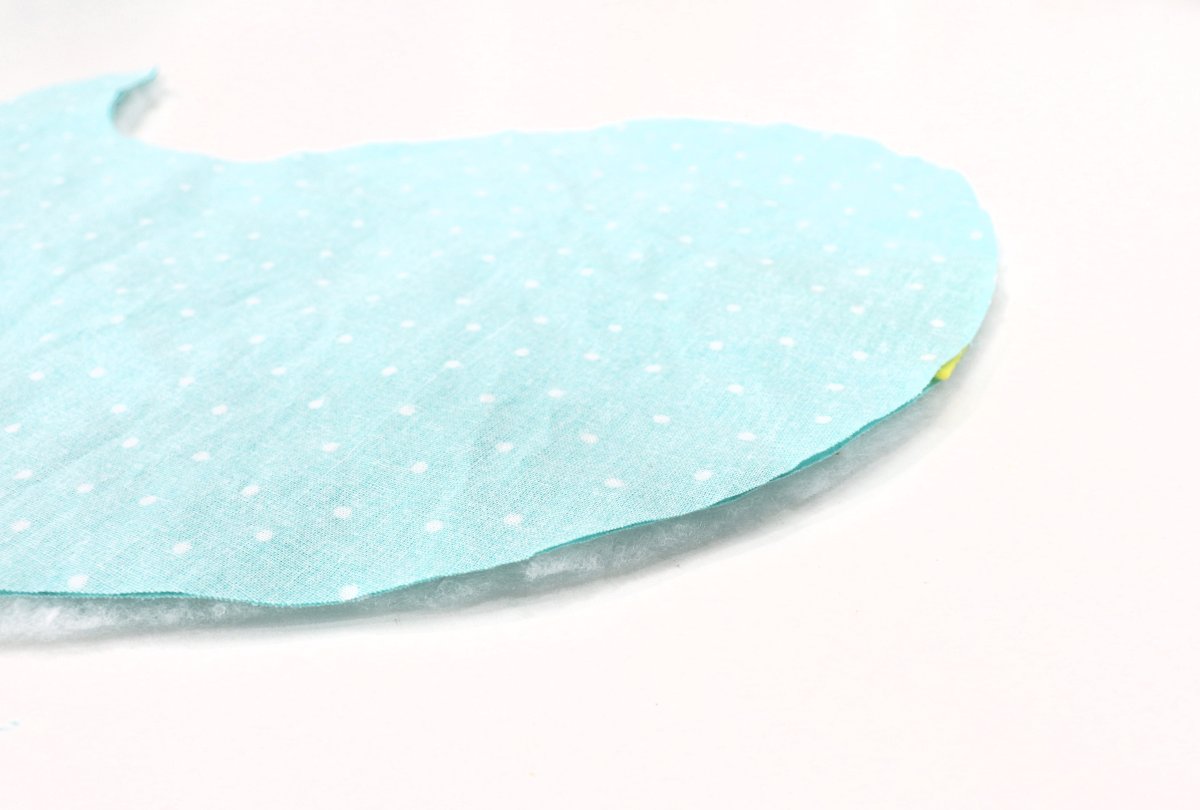
Sew around the top with a 1⁄4” seam. Sew from just under the beak to just under the tail. The bottom will stay open for now. Turn bird right side out and iron.
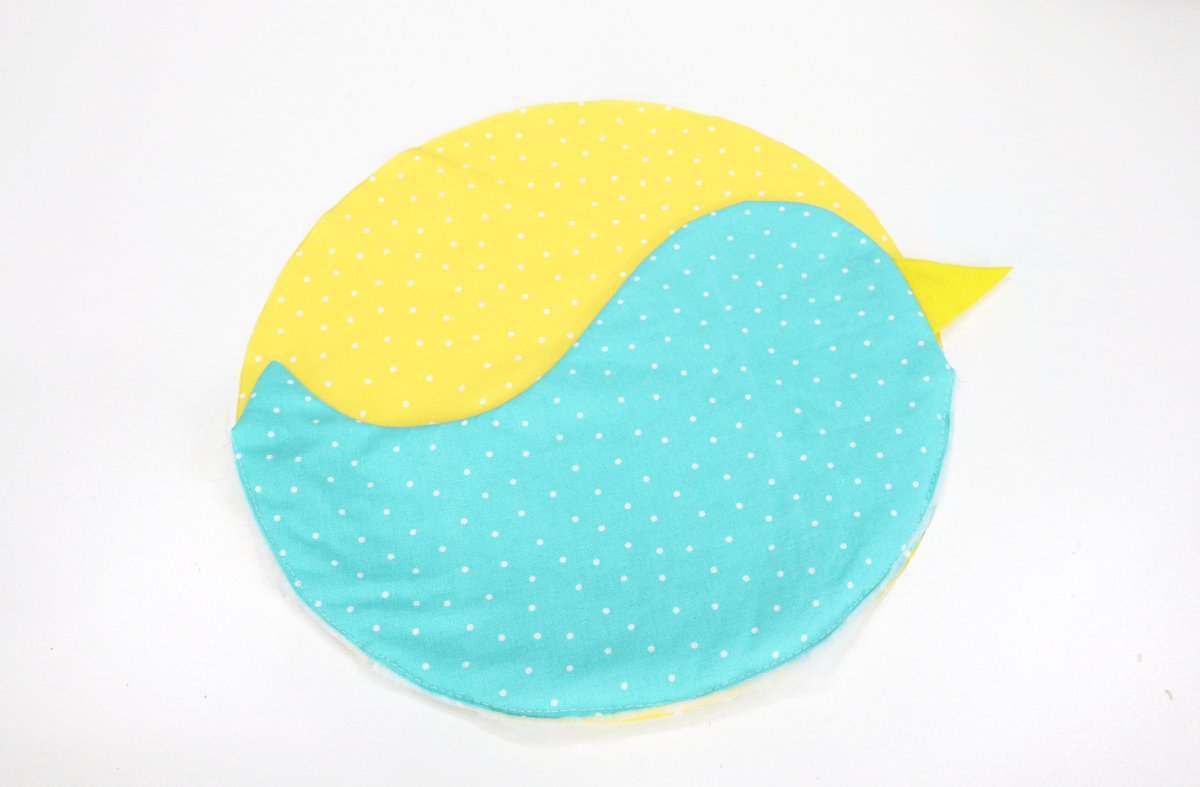
Step 3: Create Pocket
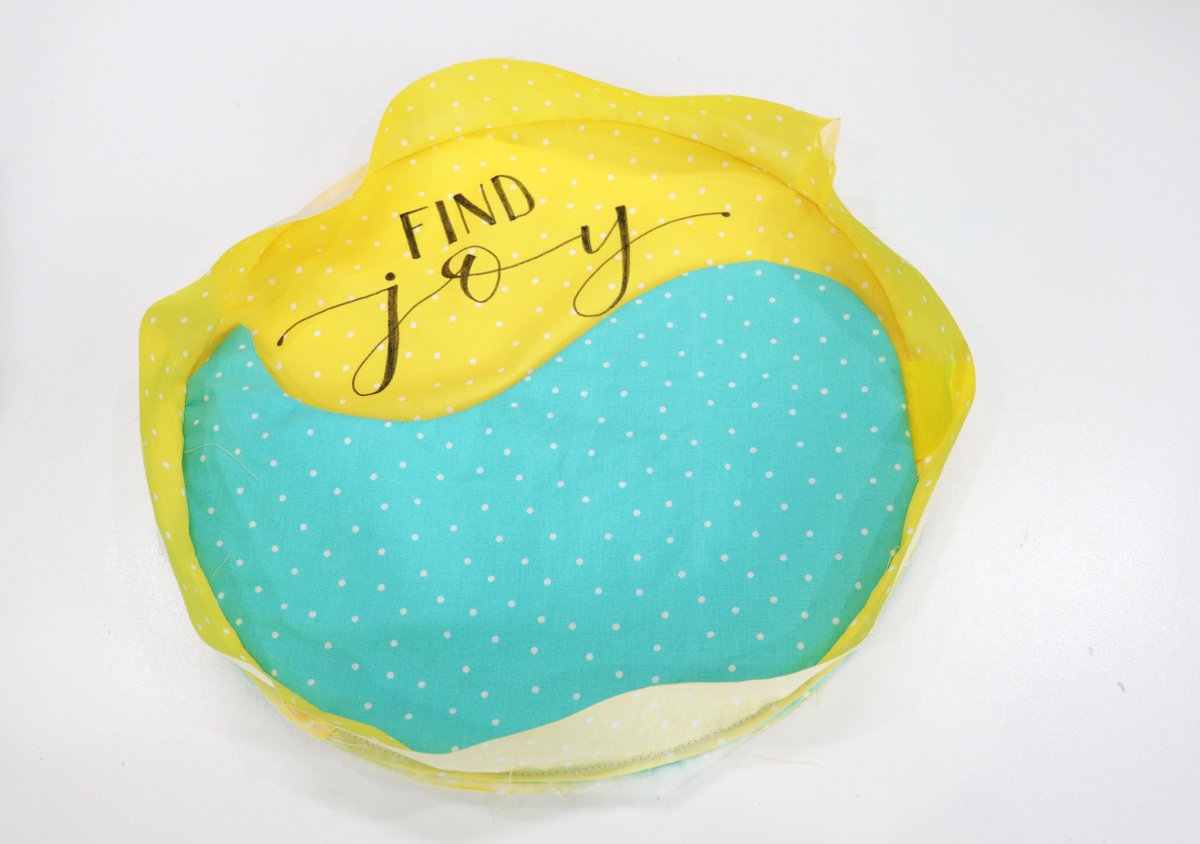
Pin bird to the right side of a 13” circle. Line up bottom of the bird to edge of the circle. Baste in place with a 1/8” seam. This will be your pillow top.
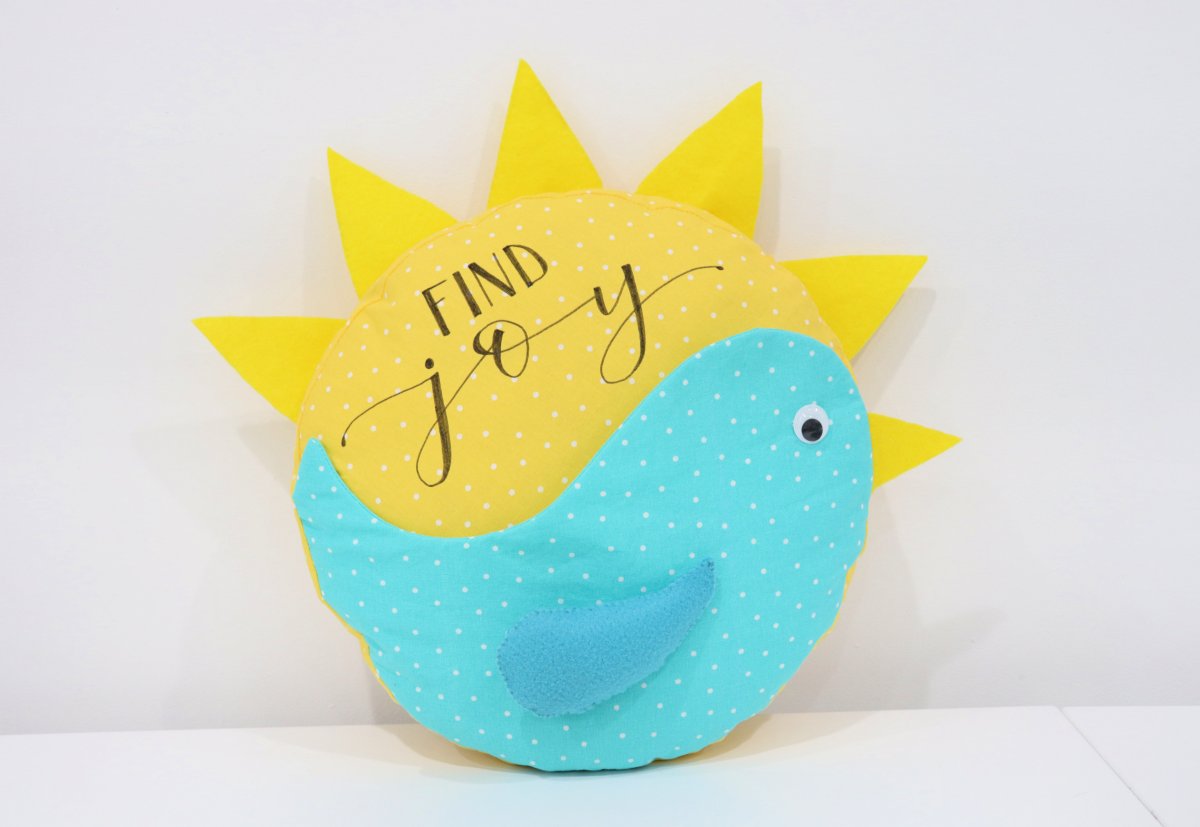
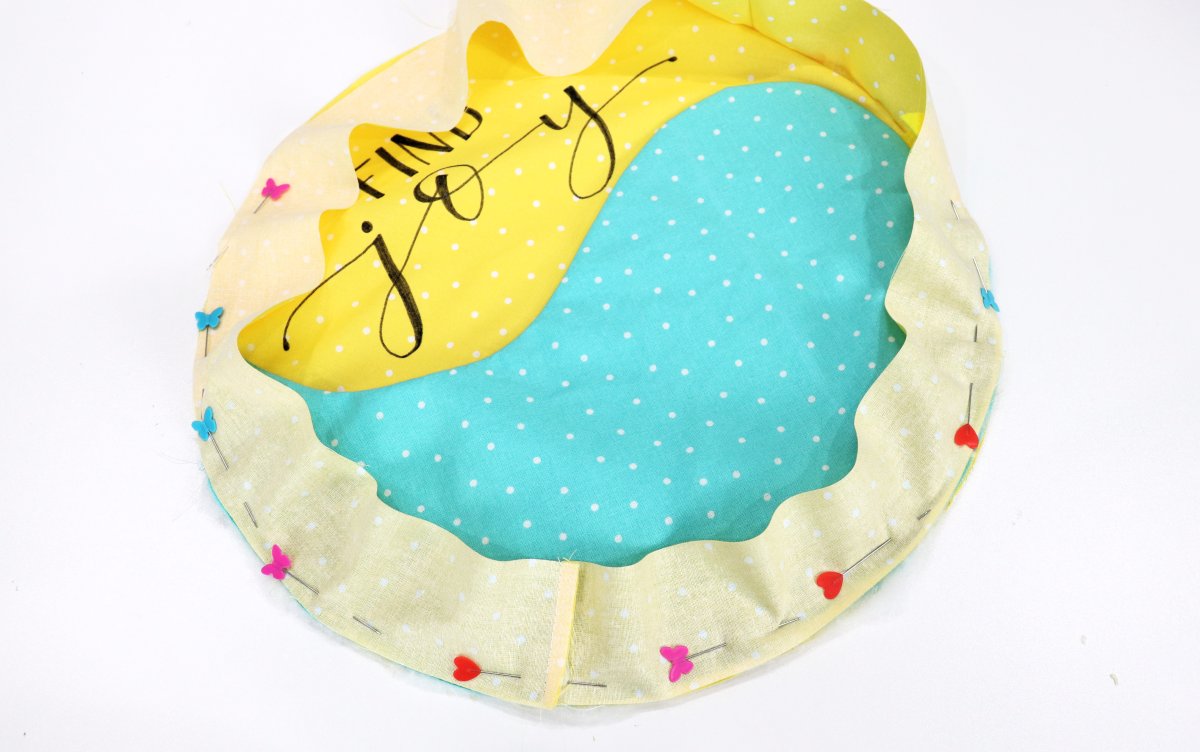
Step 4: Joyfil Message
Use a fabric marker to letter “Find Joy” on pillow top, above the bird. You can do this using your own handwriting/lettering, or trace mine! Download the free traceable lettering message here.

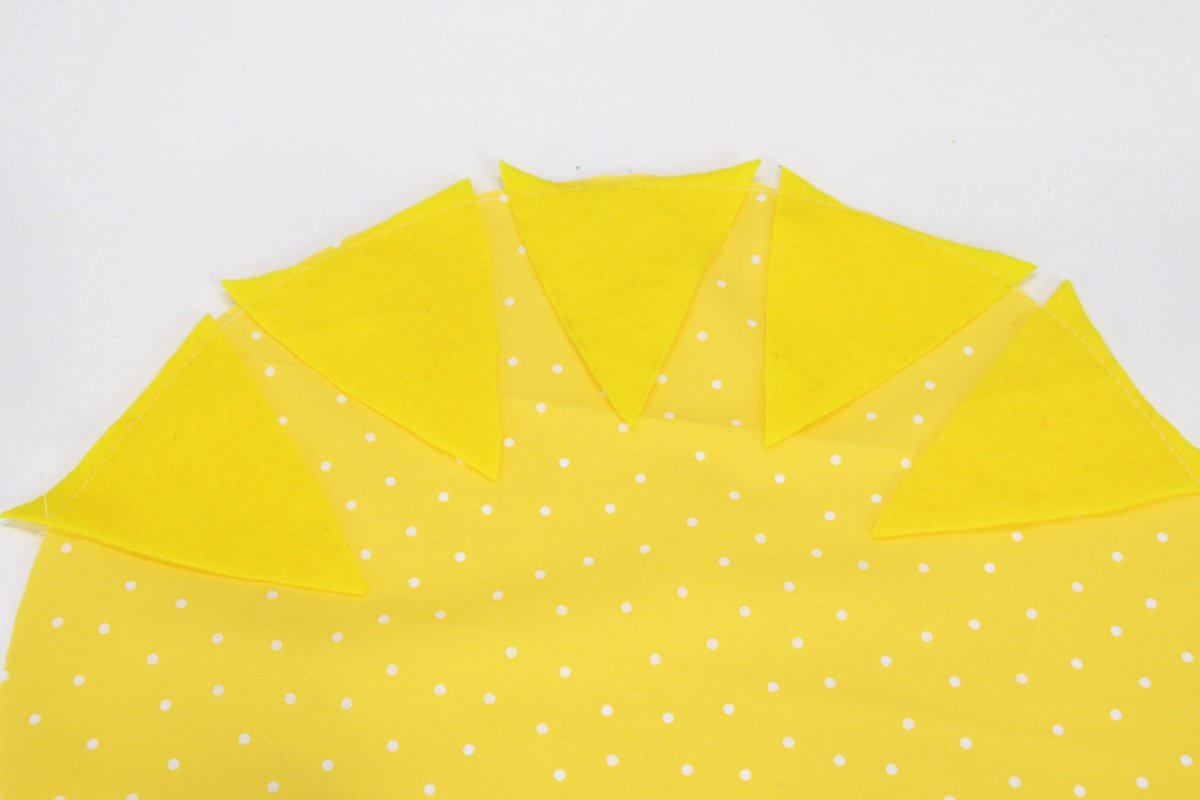
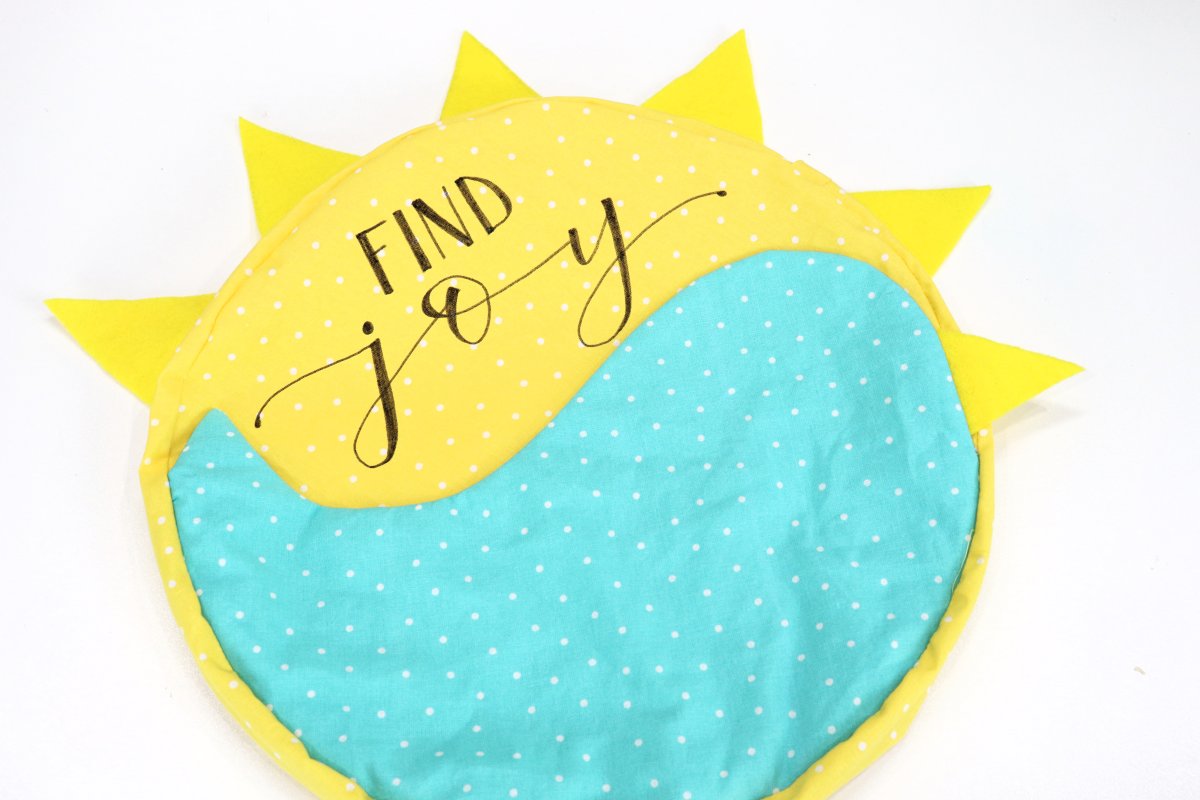
Step 5: Sun Beams
Pin large felt triangles to the right side of the upper half of the back 13” circle, with points facing downward. Baste in place
with a 1/8” seam.
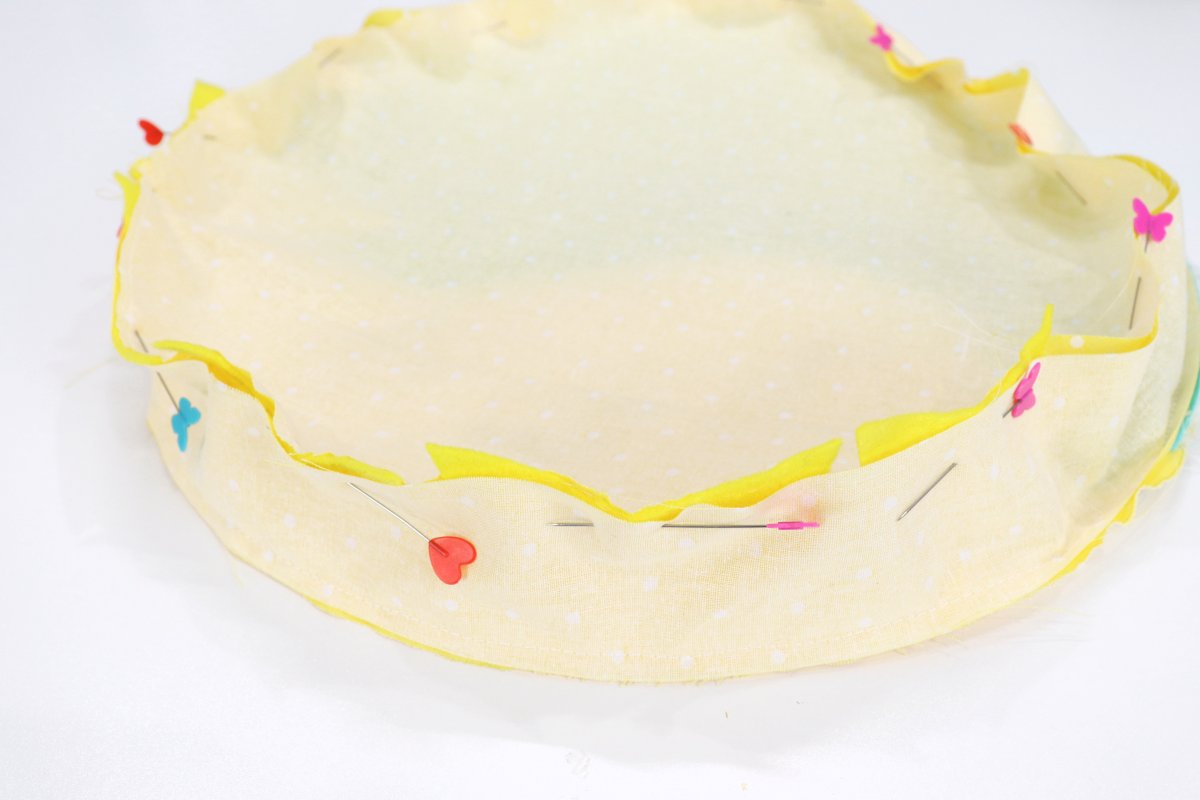
Step 6: Gusset and Pillow Assembly – View video tutorial of how to sew this gusset
Fold the 40.5” strip in half, right sides together, and sew a 1⁄4” seam across the short edge. This will give you a 20.25” loop. Pin one edge of the loop around the edges of the pillow top circle, right sides together, then sew with a 1⁄4” seam, gently easing the straight edge around the curves. Don’t forget to tuck the beak inside so it doesn’t get caught in the seam.
Pin and sew the other edge of the loop around the edges of back circle, right sides together, with a 1⁄4” seam. Leave a 3” opening. Felt sunbeams will be on the top half of the pillow back.
Turn right side out and fill with Poly-Fil. Hand stitch shut.
Step 7: Finish bird assembly.
Hand stitch the two wing shapes together, leaving a small opening. Fill with Poly-Fil, stitch the opening shut. Hand stitch or glue wing to the bird’s body. Add googly eye or button eye.
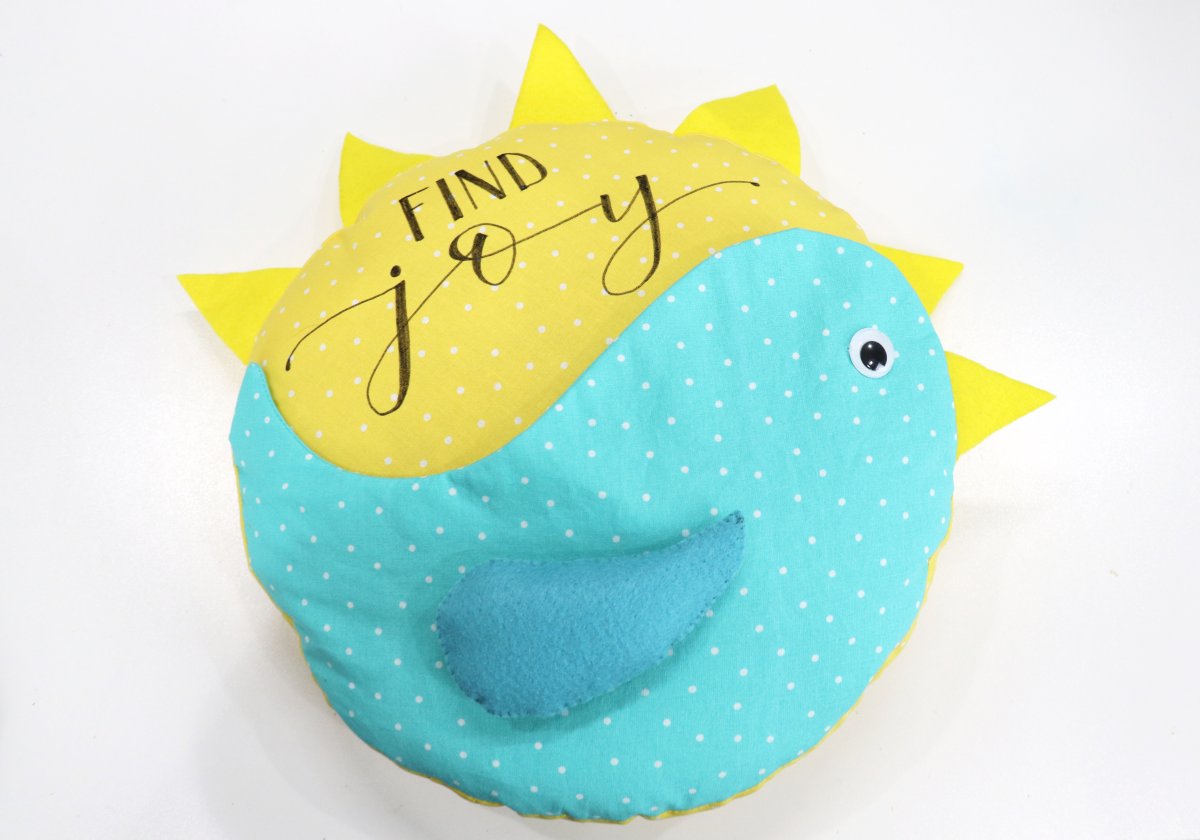
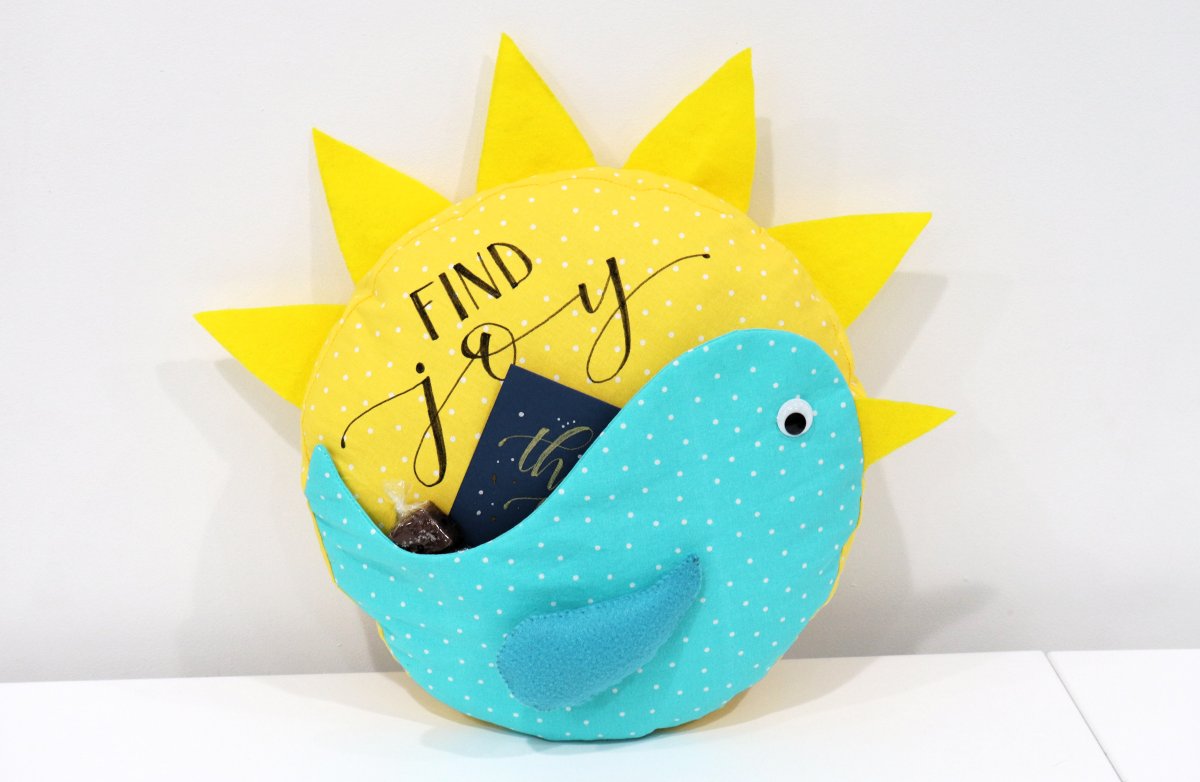
Step 8: Finishing
Now, all that’s left to do is fill the pocket with things that bring joy, like a note, a piece of candy, or other small treasures!