Top 10 Tips for Quilters
Whether you’re new to quilting or are a seasoned pro, I wanted to share my top 10 tips for quilters, just in case there’s something that might help you as you create! Here are 10 things I wish I had known when I started.
1. Use precut fabrics (and find patterns that are precut friendly).
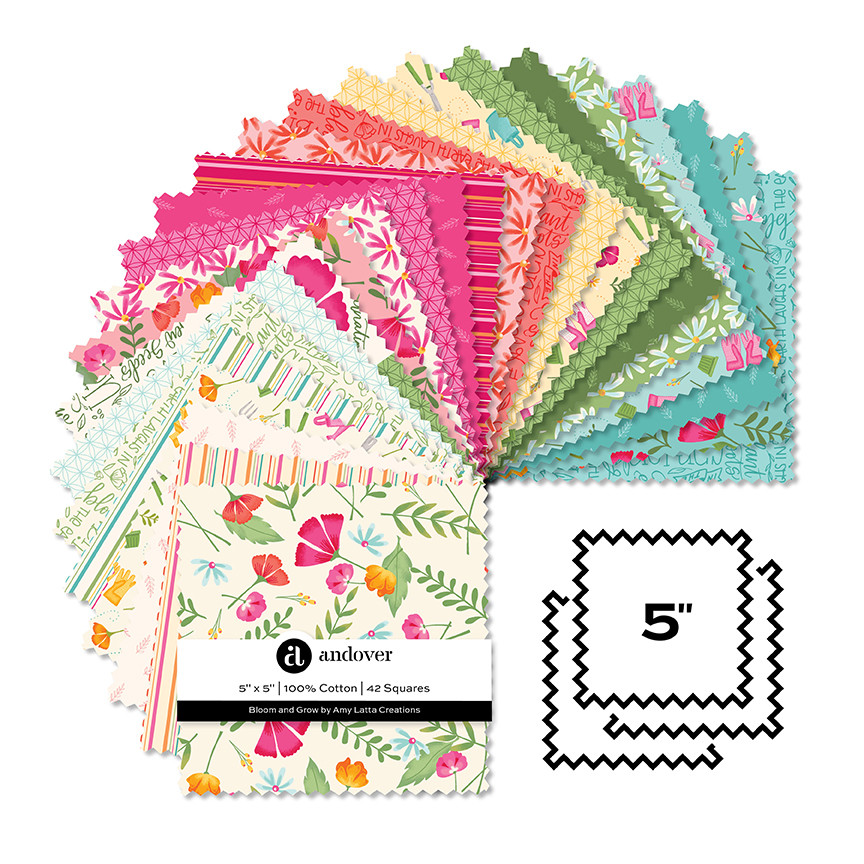
Save yourself a ton of time and effort by using precut fabrics. The standard measurements for these are 5” squares, 10” squares, and 2 1/2” strips. While you may still need to do a bit more trimming, these pieces of fabric have already been cut to sizes that are compatible with many standard patterns. For more about precuts, see our “All About Precuts” podcast.
2. Purchase multiple fabrics from the same collection (or a kit).
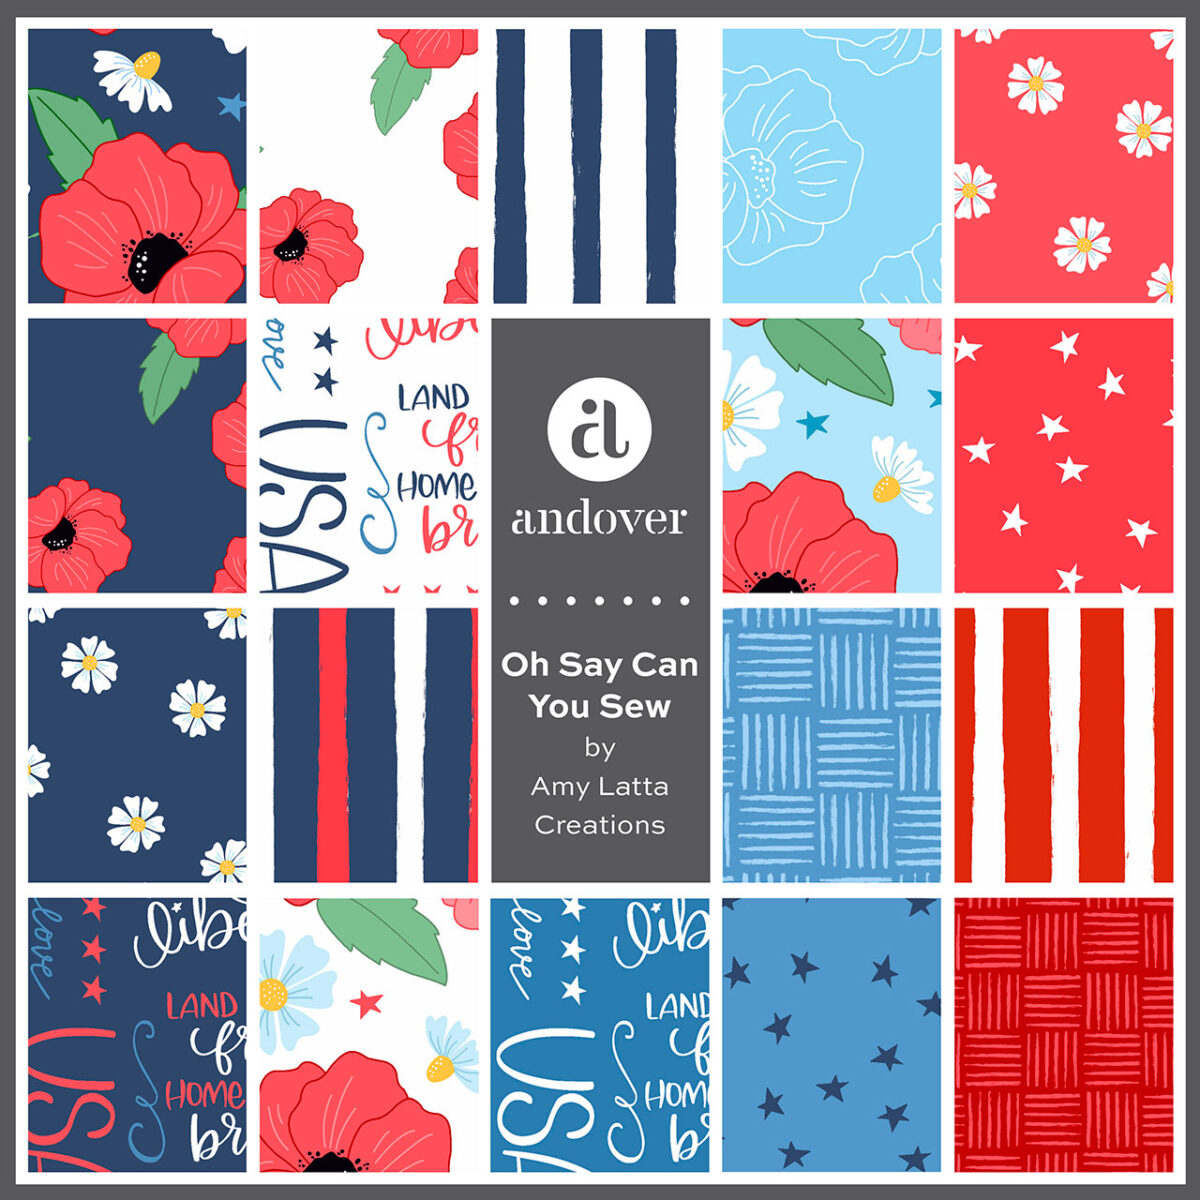
One challenge for many quilters is finding fabrics that complement one another well enough to work together in a pattern. Luckily, fabric designers have taken the guesswork out of it for you. When you purchase fabric from a manufacturer like Andover, Moda, Riley Blake, Free Spirit, etc. at a quilt shop rather than individual fabrics somewhere like Hobby Lobby or Michaels, the designer has created an entire fabric collection full of 12-24 patterns specifically made to work together with a cohesive color palette, repeated motifs, and prints in different sizes and scales. By purchasing precuts or yardage from a particular collection, you can rest easy knowing that your fabrics will play nicely and complement each other in your project.
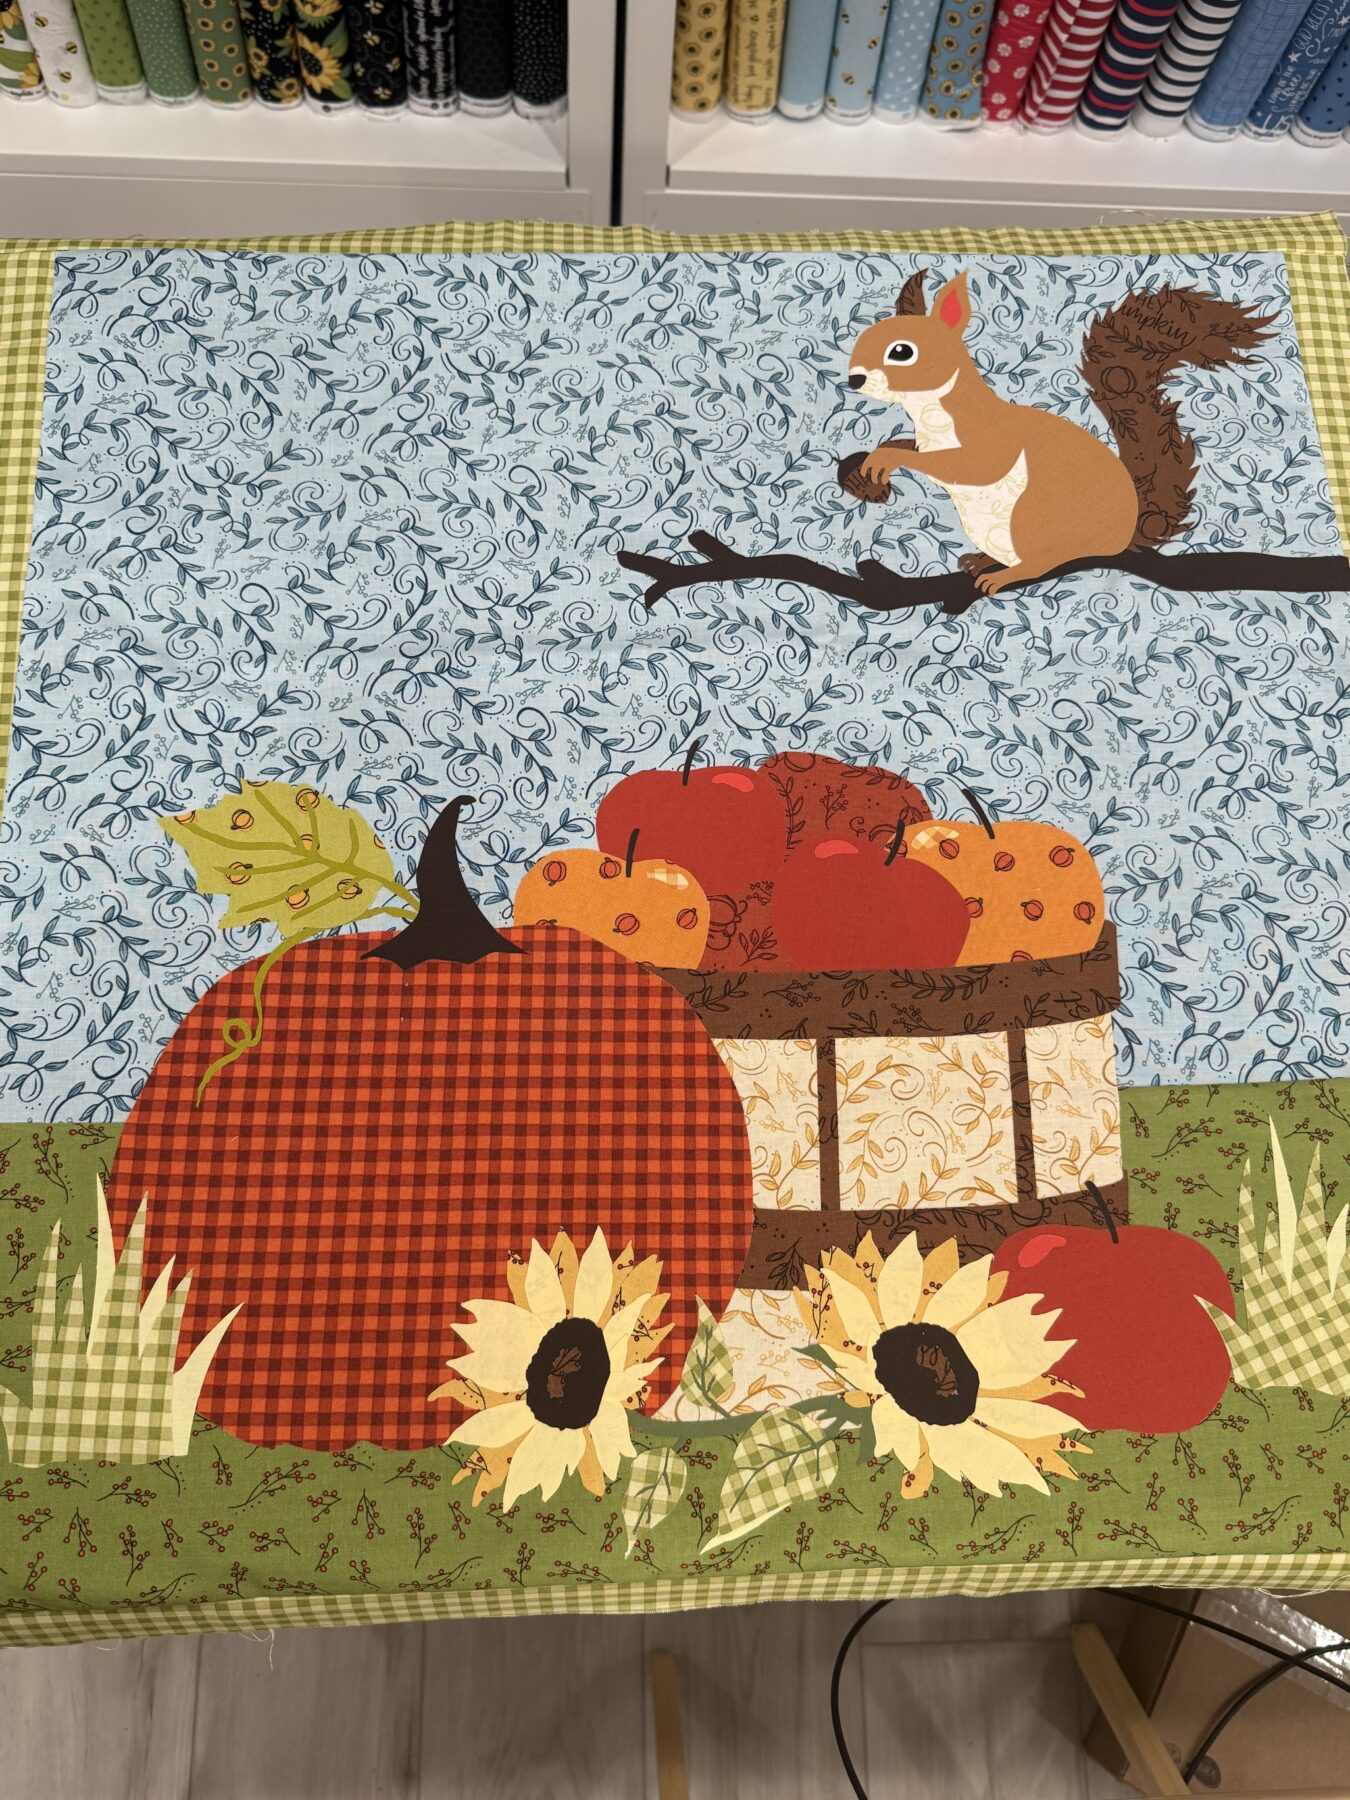
Many quilt shops often choose certain patterns to kit, which means they pre-cut the fabric for you and provide it along with the pattern so that you are ready to start sewing right away. Quilt kits usually cost $150+ because they include all the fabric you need for the quilt top, plus they’ve provided the service of cutting. Some shops also kit smaller projects like table runners and mini quilts, which are a lower price point. I am currently working on a really fun kit called Bountiful Burrow from Laser Cut Quilts that’s made with my Harvest Home collection. The kit ($42) gives you pre-cut applique shapes for the center of the project, but you will need to purchase other required fabrics.
3. Start small and master basic techniques.
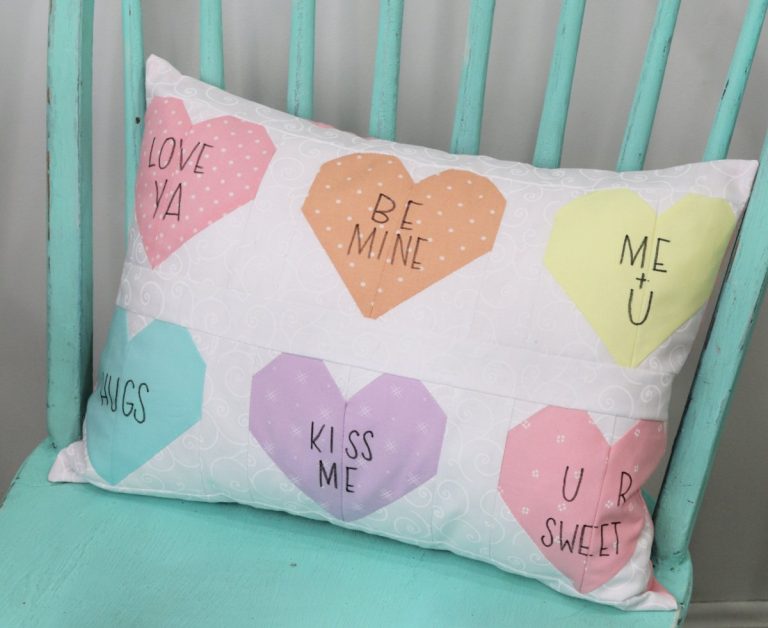
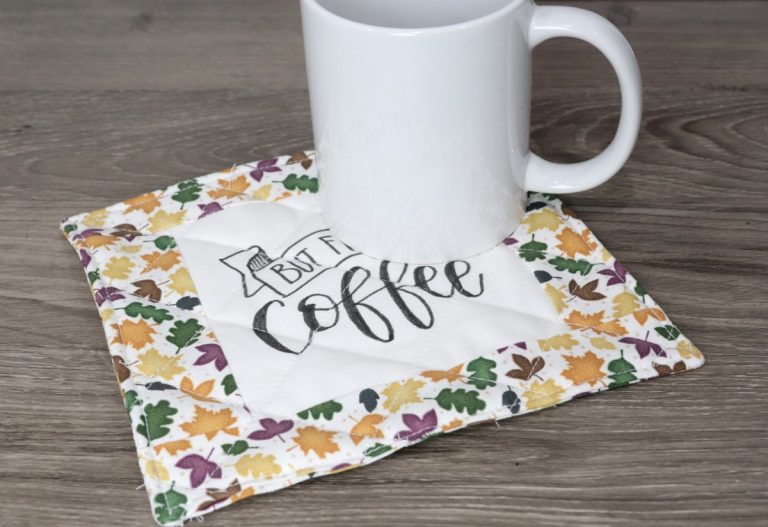
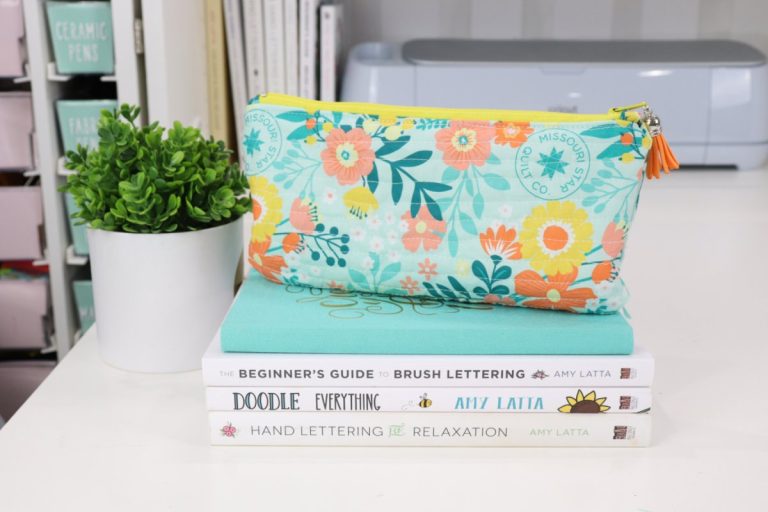
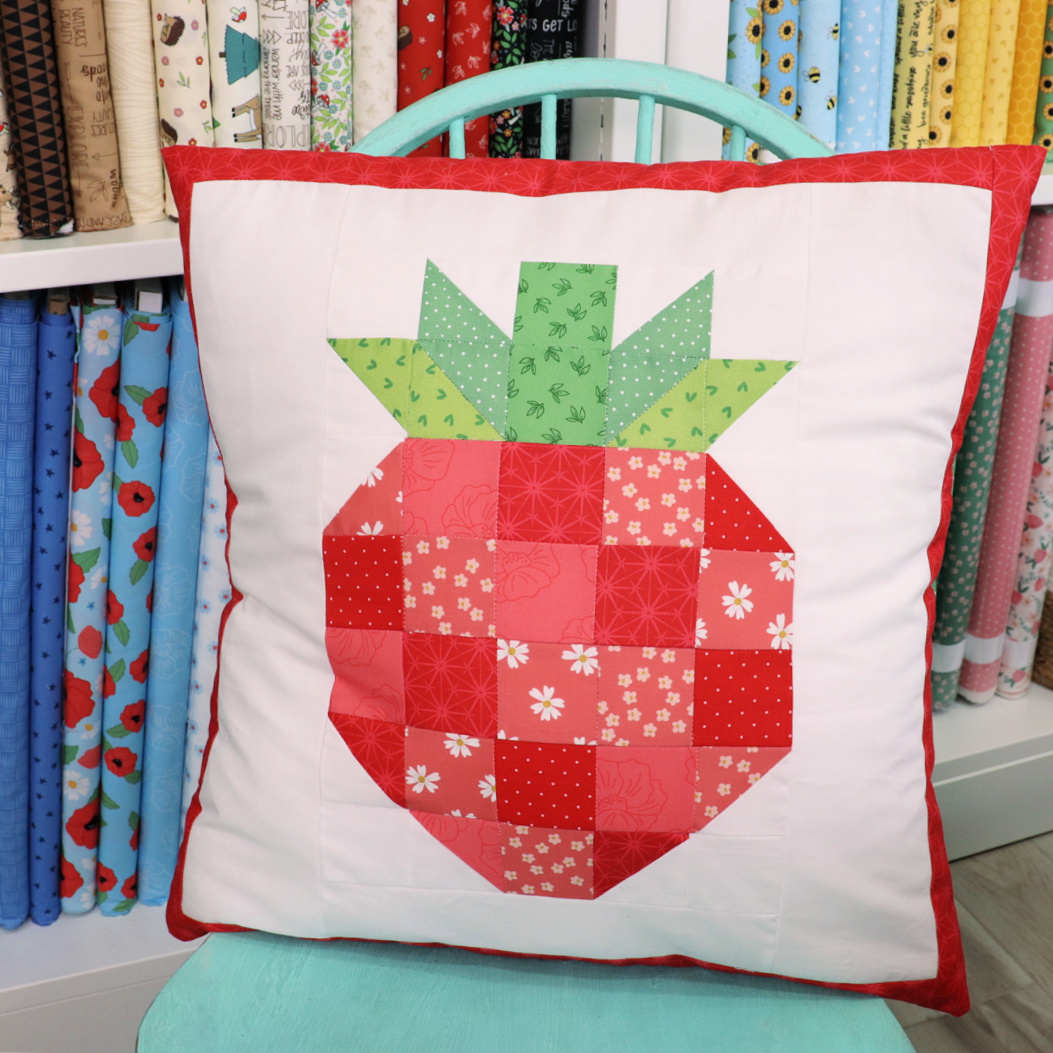
There’s no rule that says your first quilt project needs to cover a bed. Start small with projects like pillows, table runners, and wall hangings, or a mini-quilt. This will give you a chance to learn basic techniques and master them before moving on to a larger project. Get familiar with patchwork, flying geese, half square triangles, and other commonly used block components on a small scale, then they won’t seem so intimidating when you try making a full quilt. Plus, these smaller projects go much faster, so you have something to show for your efforts. Check out my archives for lots of free patterns.
4. Press your seams to the “dark side”.
After sewing your seams, use your iron to press the excess fabric toward whichever of the fabrics is darker. This will help your project to lay flat, and the excess fabric won’t be visible through the darker color.
5. Nest your seams for better matching.
When lining up two rows, try nesting the seams. This is where the seams are pressed in opposite directions and then carefully lined up beside one another. It’s a great way to make sure you get clean points and that everything matches up correctly.
6. Try “chain stitching.”
Rather than cutting your thread and starting fresh each time you need to sew a seam, sometimes we can “chain stitch.” This means that once you have completed a seam, continue running your machine as you feed another set of fabrics through. When you’re finished, all you have to do is snip the little threads connecting one set to the next.
7. Lay out projects on a quilt wall.
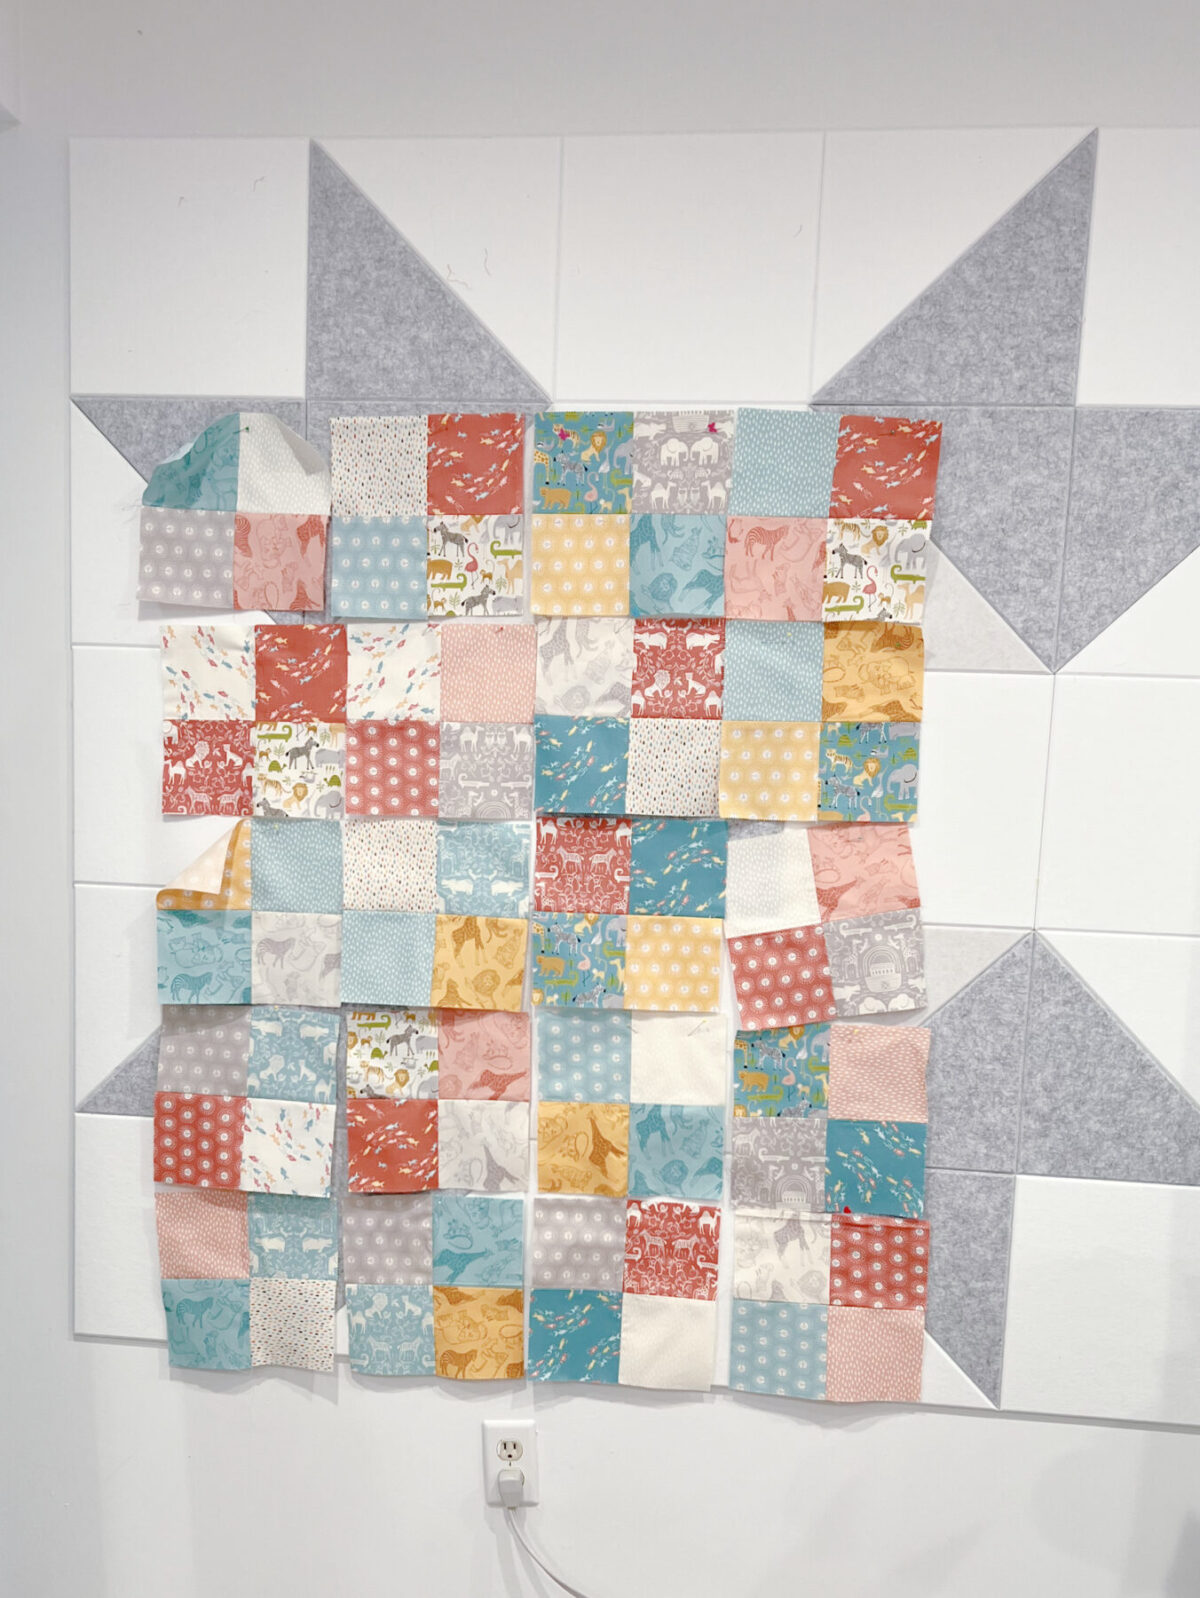
While you can certainly lay out smaller projects on a table, when it comes to larger quilts, the most ideal way to create your layout is by using a quilt wall. You can start with something simple like a cork board and pins, but ultimately you’ll want something made from flannel or felt that the fabric can stick to. Missouri Star has a flannel one for $39.95, or you can invest in something like mine from felt right. All of these options are cleaner than using the floor, and you won’t have to worry about pets or kids running through your layout.
8. Take a photo of your layout.
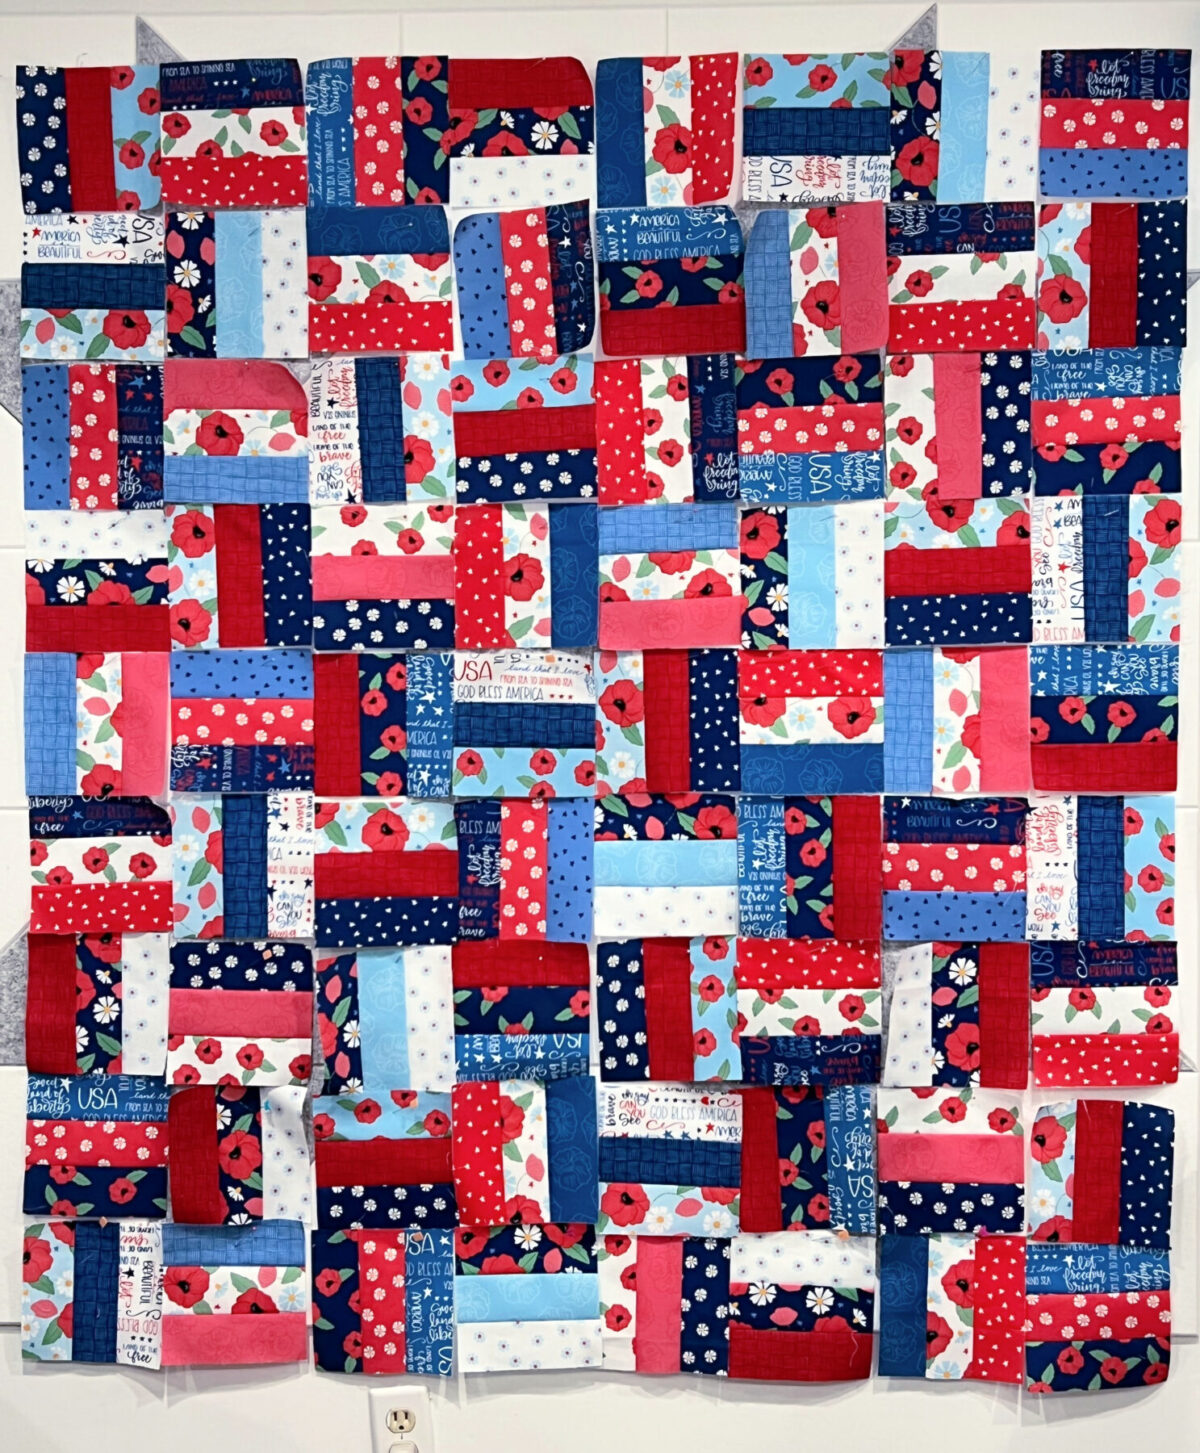
Whether it’s a small project or a king sized quilt, I always recommend taking a photo of your layout once you like it. That way, if you have to stop working and come back to your project, you’ll be able to see exactly where everything goes. It’s easier than you think to get blocks mixed up before, during, and after sewing. A photo is a great resource to remind you of your original plan.
9. Consider outsourcing your quilting.
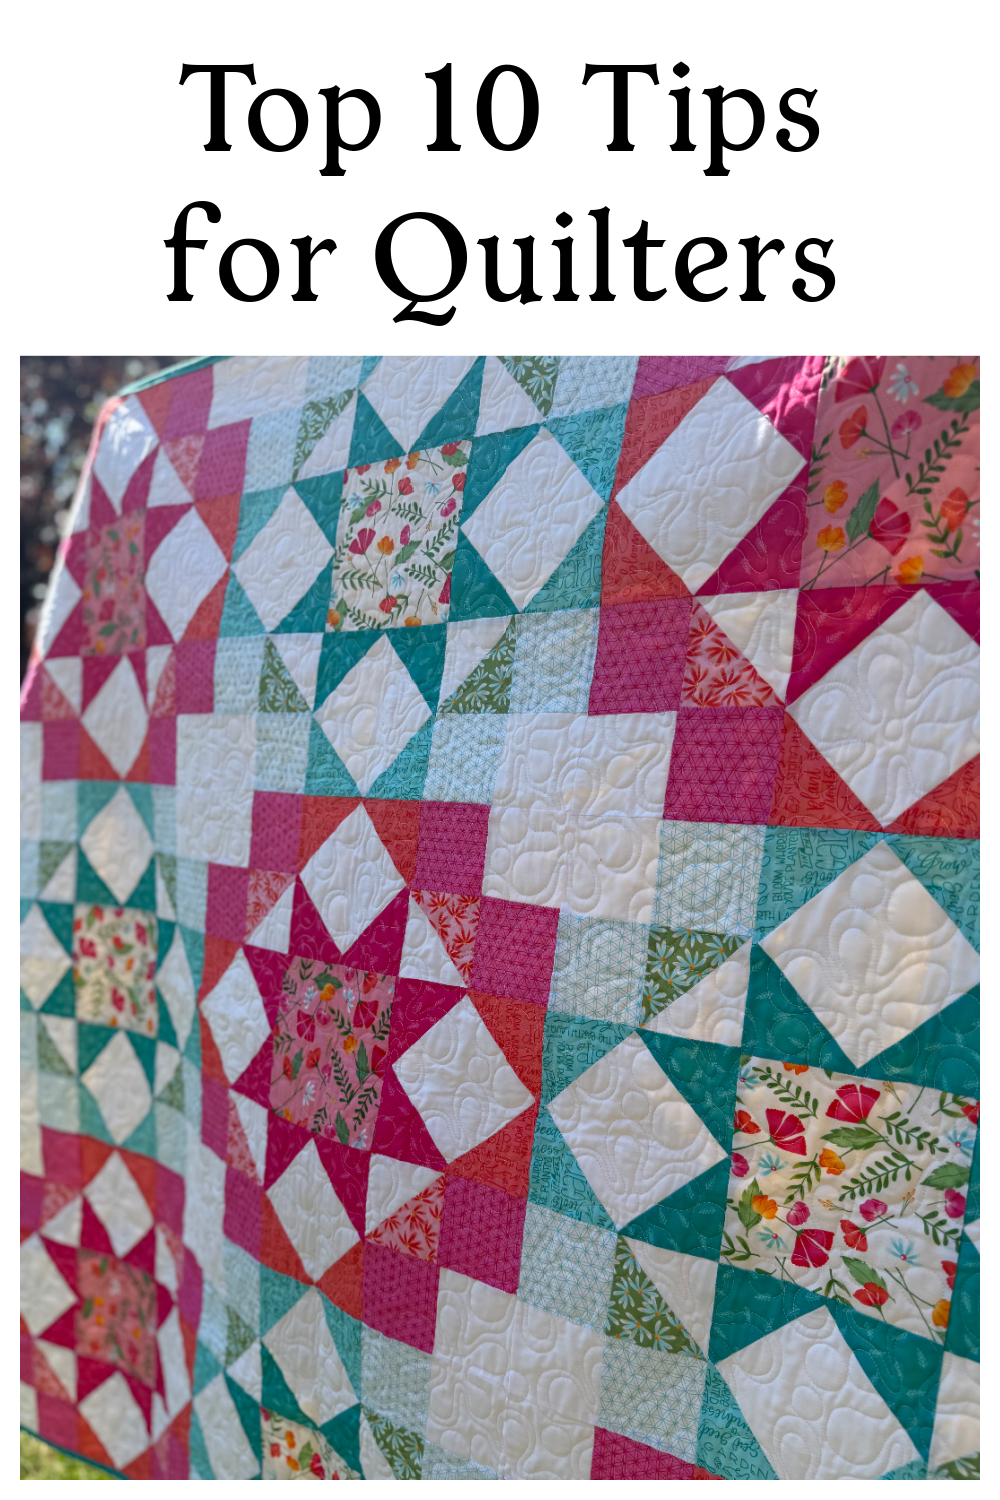
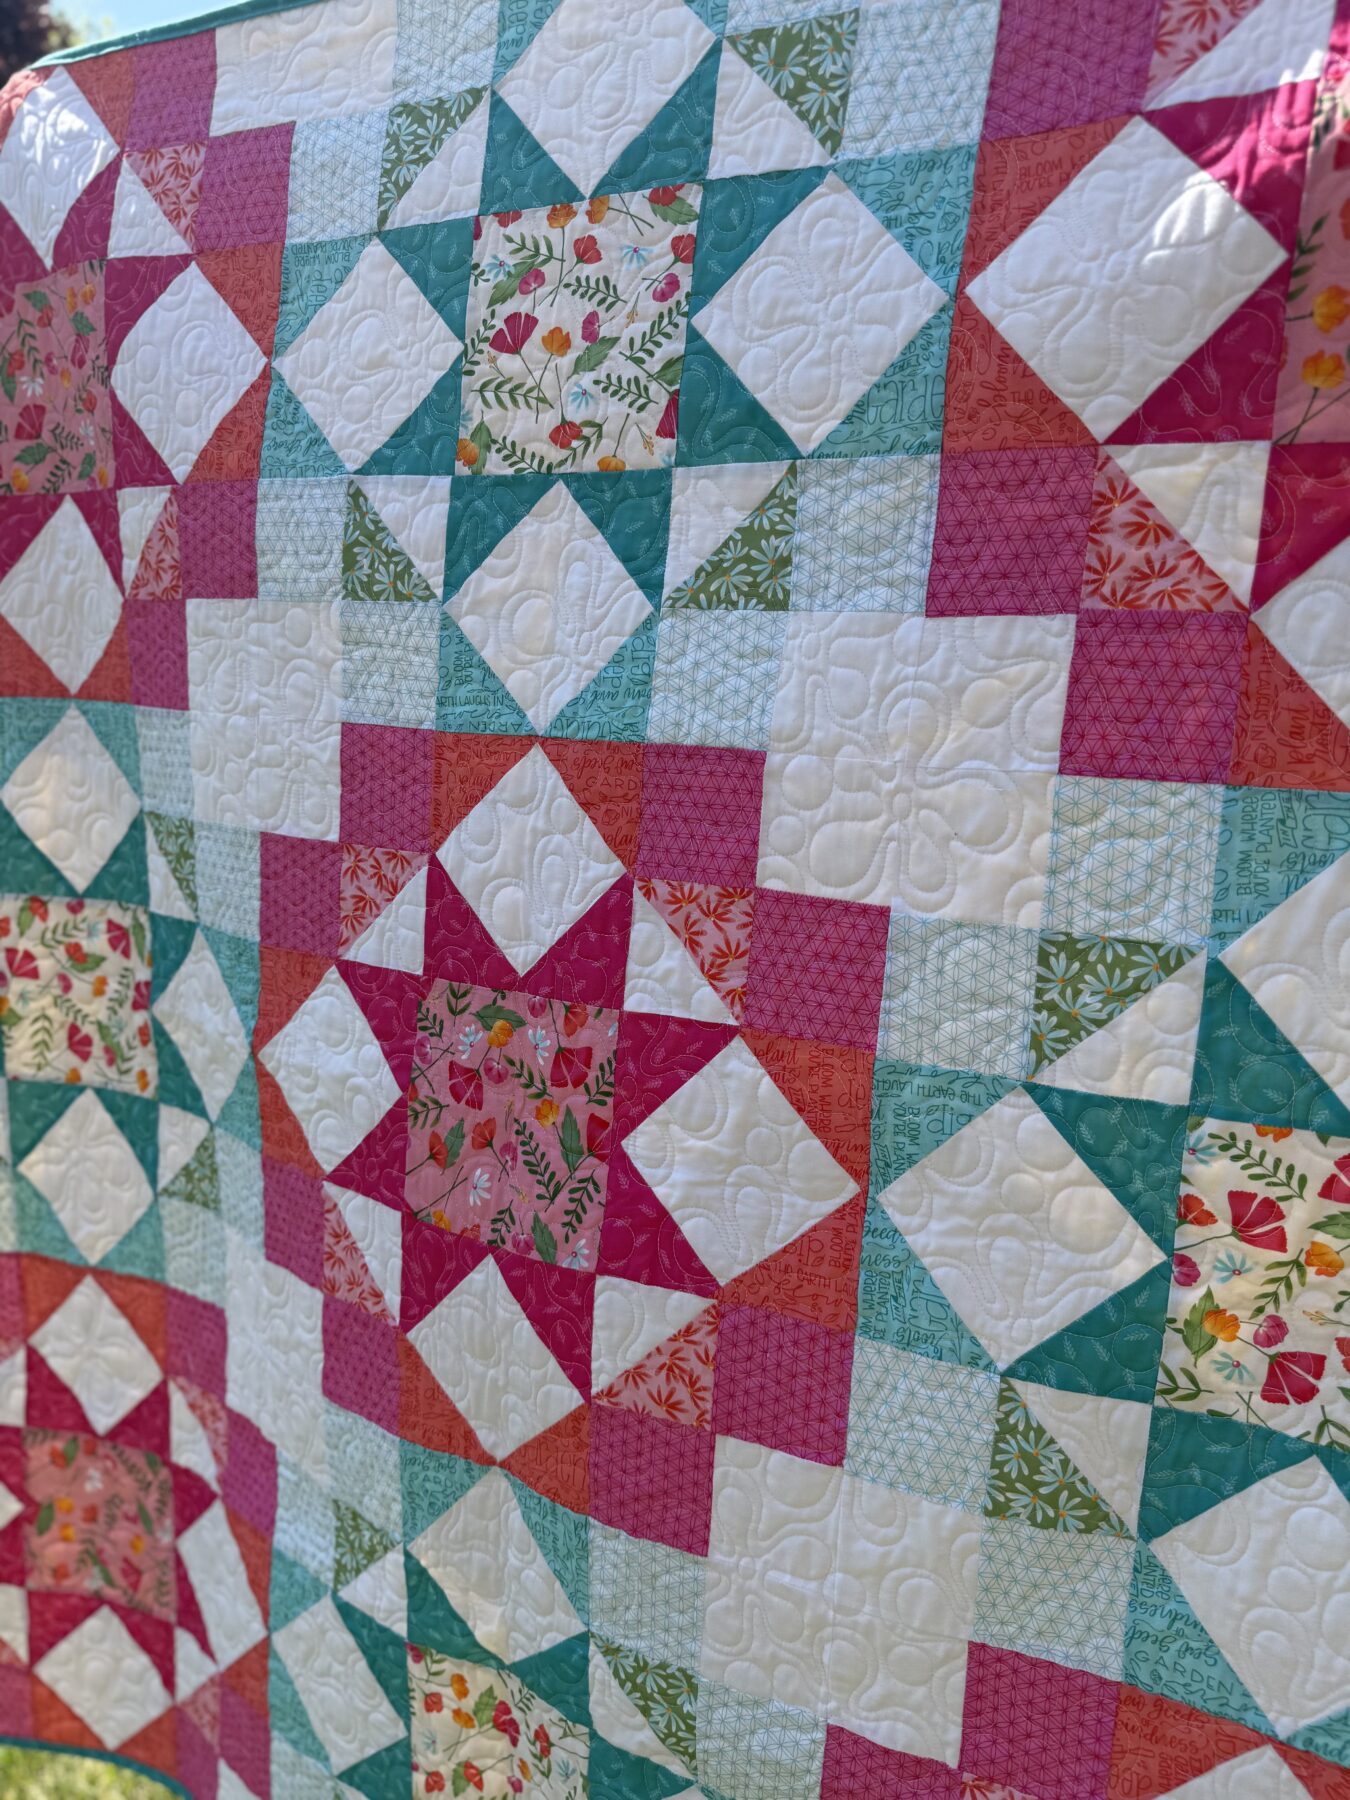
One of the intimidating things about quilting is the actual quilting process itself, when you layer the top, batting, and backing, and stitch decoratively through all three. While small projects can easily be done with basic straight seams on a regular domestic machine, large quilts do best on a longarm machine. You can send your quilt to a company, like Missouri Star, or find a local independent quilter with a longarm business to do this step for you. Usually, the cost is per square inch. You can provide the batting and backing yourself, or they will provide it for an additional cost. I do this with about half of my quilts, depending on the size and the type of quilting I want. As you can see in the photo, the floral quilting pattern on this project could never have been done on a domestic machine.
10. Learn to use the Binding Tool
For me personally, one of the trickiest parts of the quilting process as a beginner was joining the ends of my binding. Then, I was introduced to the binding tool, and once I learned how to use it, everything changed. I no longer dread this step of the process, and it goes perfectly every time. There is a regular size tool for quilts and a smaller one for little projects like table runners.
We hope that whether you’re a beginner or a well-seasoned quilter, you find at least one of these tips helpful in your journey. Make sure to check out our Top 10 Tips for Quilters podcast episode, which goes more in-depth on each tip. You can find us on YouTube or your favorite podcast streaming platform. And don’t forget to join our email list so you don’t miss a thing!