How to Quilt As You Go
Learning to quilt in the fall of 2022 was a real game-changer for me as a creator, because it opened up all kinds of new crafting possibilities to explore. Although I’ve made lots of quilted projects since then, I’m still learning new techniques and skills, the latest of which is something called “quilt as you go.”
How to Quilt As You Go
The standard quilting process involves several specific steps. The first of these is piecing, where you cut fabric into pieces of specific shapes and sizes, then sew them together to create the top/outer layer of your project. Next, you do the actual quilting, which involves stacking your top, a layer of batting, and a piece of fabric for the backing, and stitching a decorative pattern through all of the layers. Finally, you do the binding, which means sewing a strip around the edges of the project that holds all of the layers inside and provides a neat finished edge. Quilt as you go works differently. It allows you to piece and quilt at the same time, making your projects go twice as quickly! This particular project also uses the backing as a fold-over binding, saving even more time.
Materials
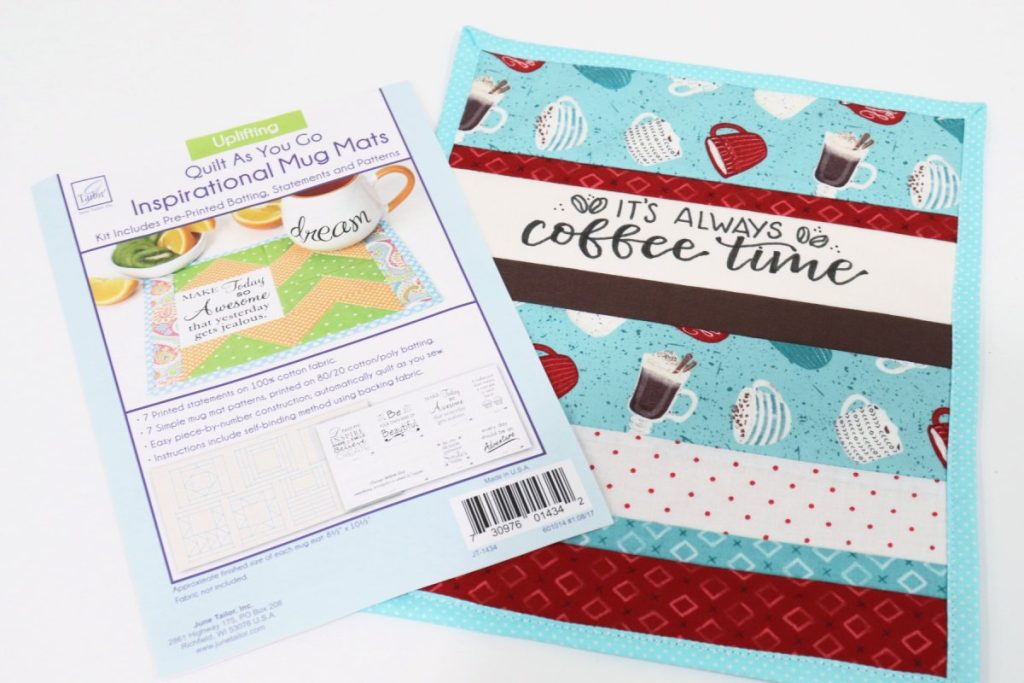
- Quilt As You Go Kit – I used June Tailor Inspirational Mug Mats
- Fabric – your choice of colors/patterns
- Double-Sided Fusible Interfacing
- Iron
- Scissors
- Rotary Cutter and Mat (optional, but highly recommended!)
Instructions
Choose your project and cut fabric strips accordingly.
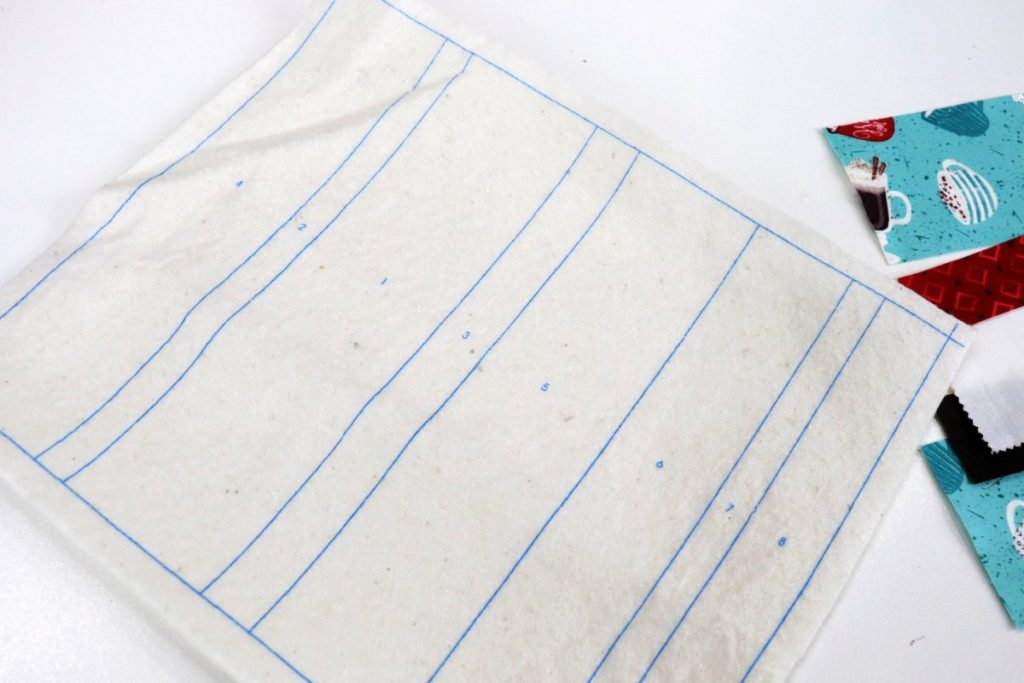
The kit comes with batting that is pre-printed for your project(s). My particular kit contained seven different mug mats, while other kits may be for just one larger project. The instructions in your kit will tell you the exact length and width for each piece of fabric you need. There will be one piece of fabric for each printed numbered section.
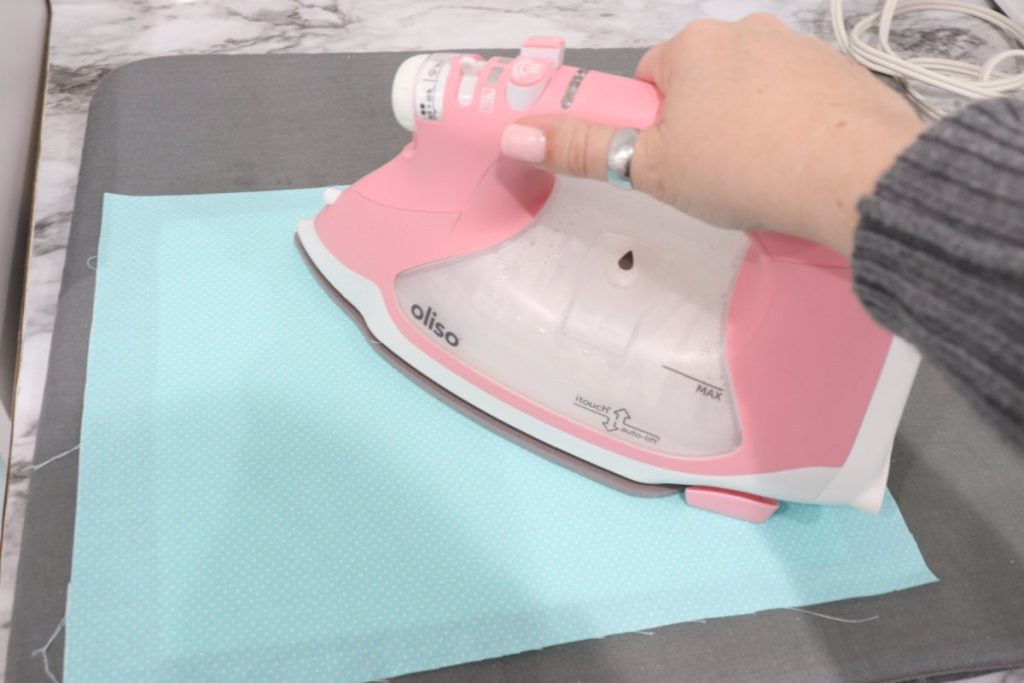
Iron a piece of double-sided fusible interfacing to the back of your project.
This should be the same size as the batting. Once it is adhered, remove the paper backing.
Cut a backing from your choice of fabric that is 1/2” bigger than your project on all sides, and iron it on to the interfacing.
Now, your batting will be securely attached to the backing. Do not trim the excess fabric, because this will become your binding to finish the project.
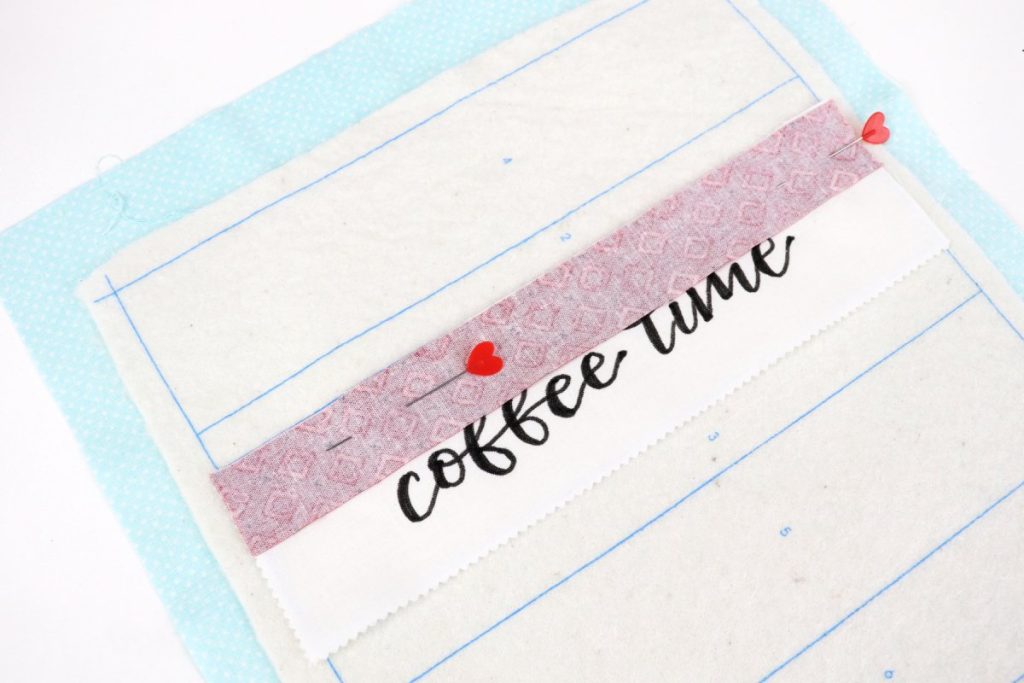
Place piece 1 right side up in the box labeled “1″. Then, place piece 2 face down on top.
The top of piece 2 should be lined up with the line at the bottom of the box labeled 2. After the pieces are sewn and opened up, the top of piece 2 will line up with the top of the labeled box.
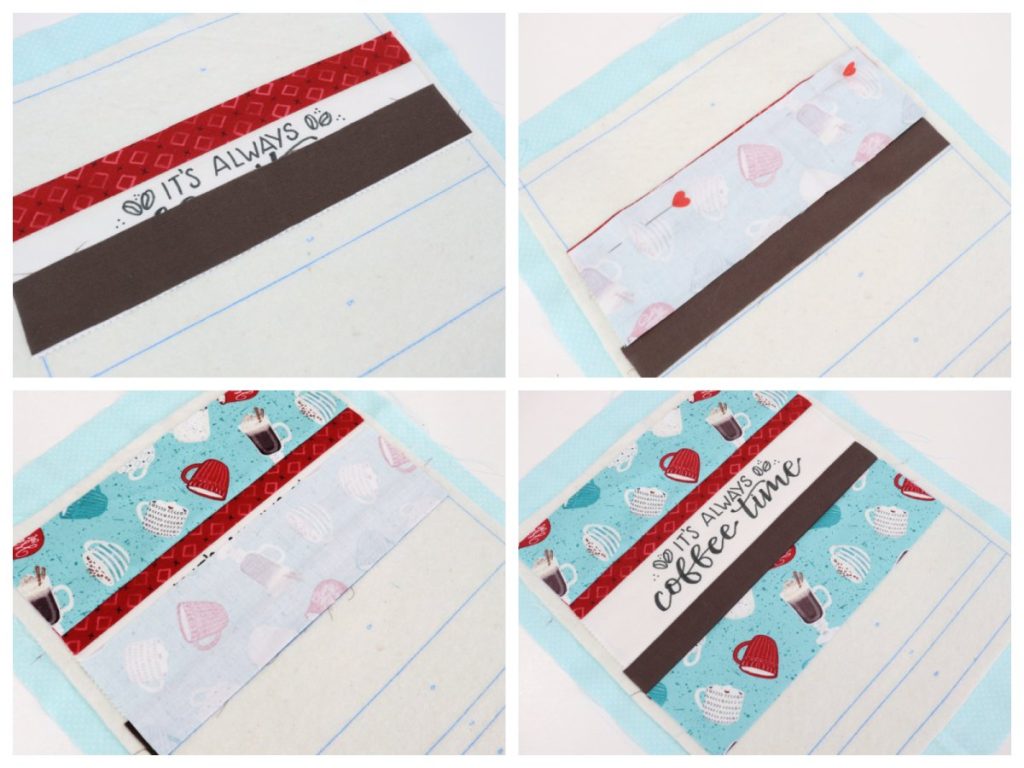
Sew a seam 1/4” from the edge.
Note that the seam does not go where the blue line is, it’s 1/4” inside of the line.
Open and lay the fabric flat so that the boxes labeled 1 and 2 are covered with the fabrics. Then, repeat the same process, starting with box 3 and continuing until you’ve used all of the fabric pieces.
Use the excess backing to create your binding.
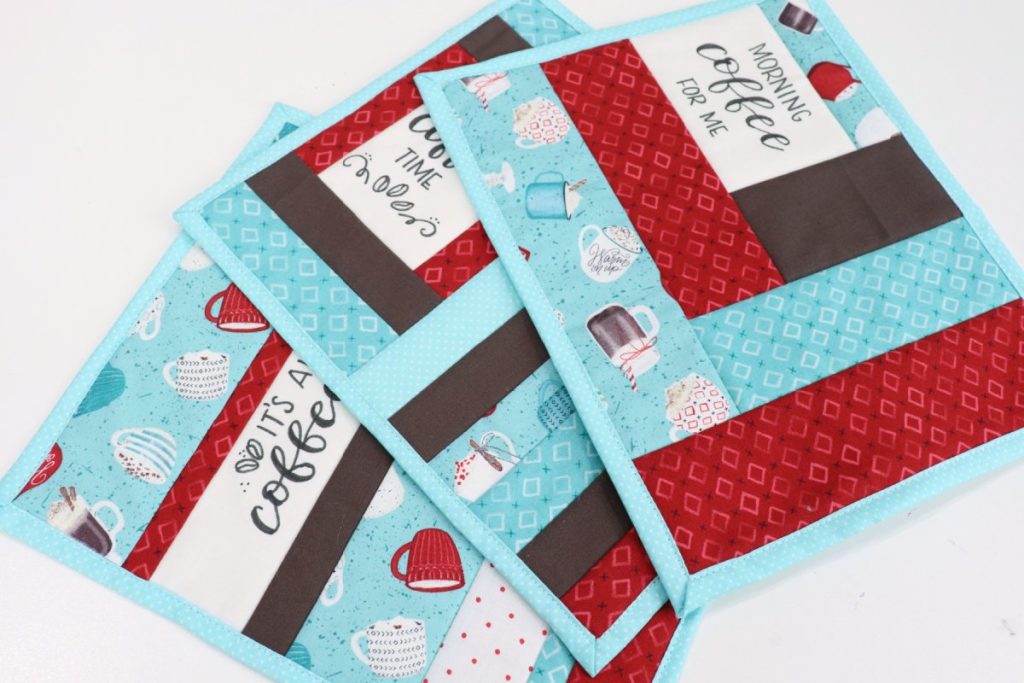
With the project face up, fold the extra backing in half, then fold it over again so that it overlaps the front of your project. Topstitch close to the inside edge.
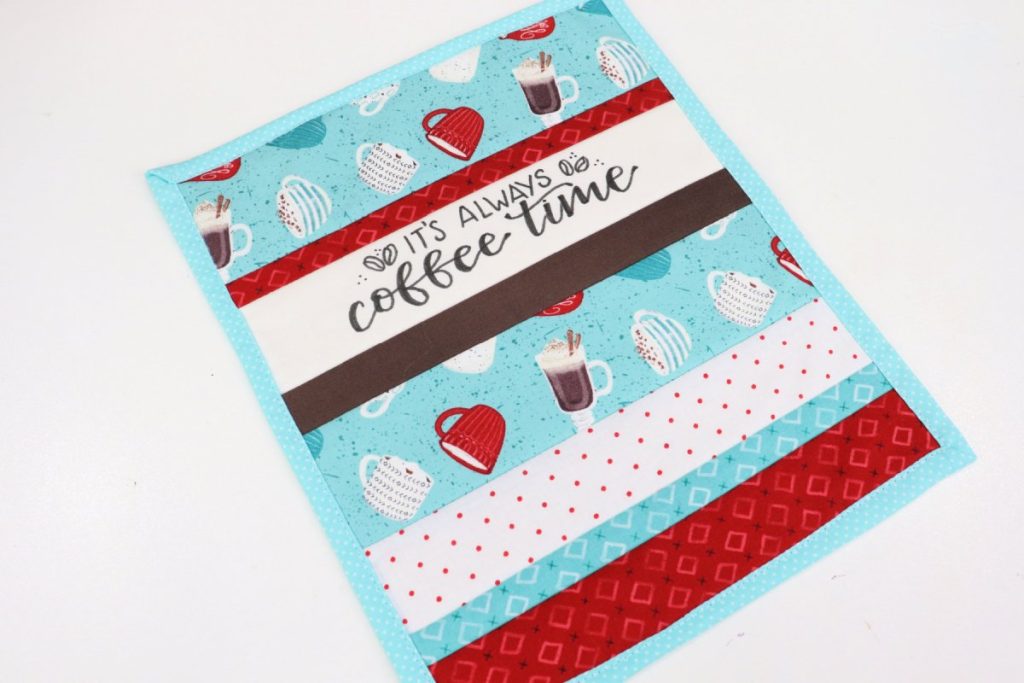
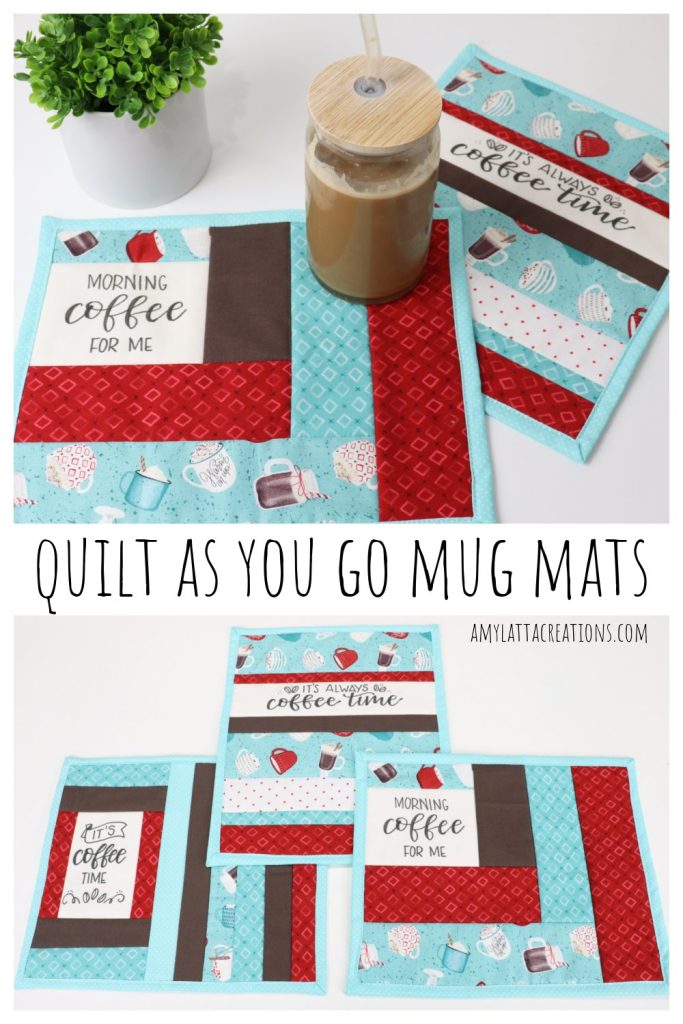
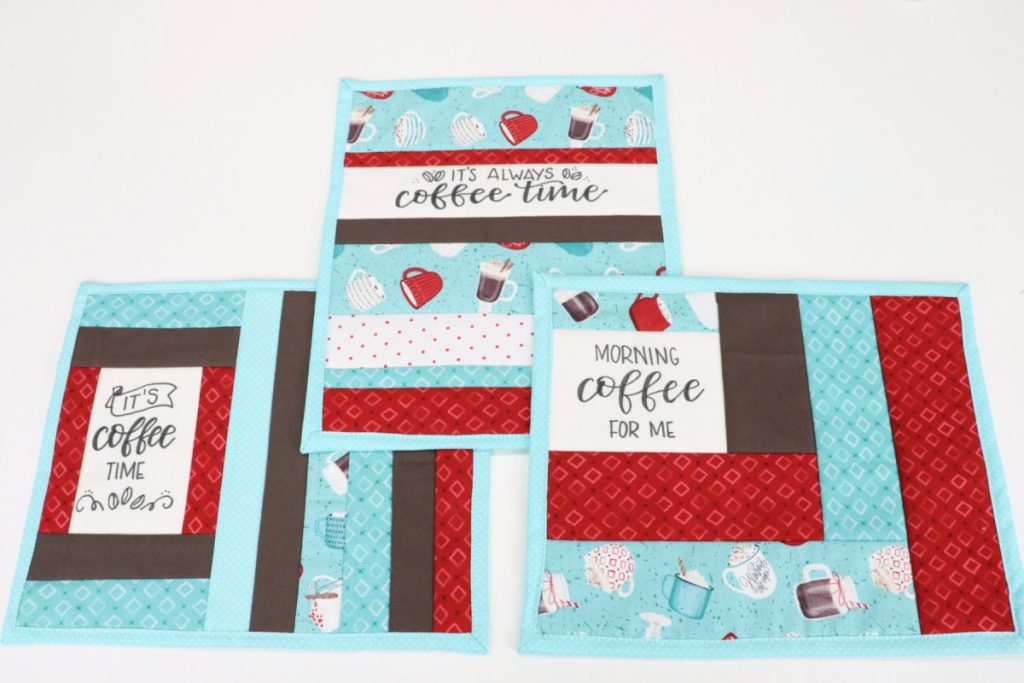
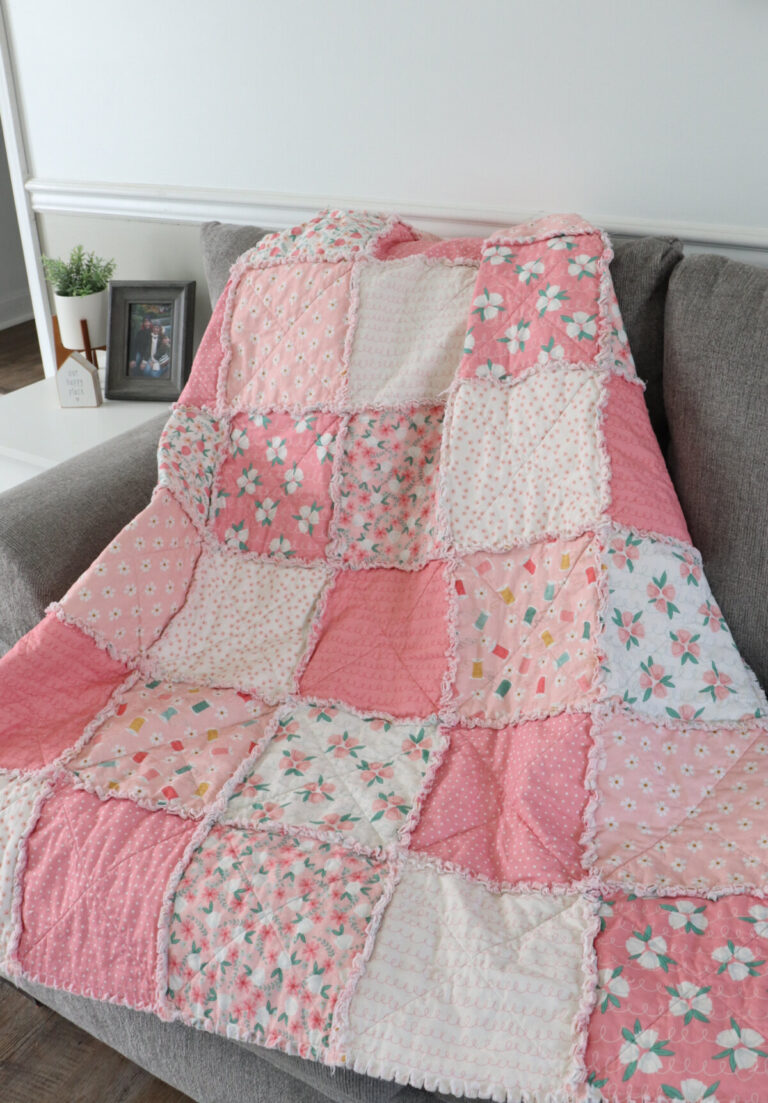
Now, your mug mat is ready to use! The packs come with a variety of different patterns, so you can create as many as seven different mats to keep or to give away as gifts. Each one has a slightly different arrangement, but if you cut the fabric according to the instructions and follow the order of the printed numbers, you’ll have no trouble making them all.

Crafting Tips
- These projects are so easy to customize by using different colors and patterns of fabric. Create a coordinating set, or make each one totally unique.
- The kit comes with a set of pre-printed phrases for you to use, but I chose to hand letter my own so that I could choose the exact quotes I wanted. To do this, just cut pieces of white or light colored cotton fabric and use a fabric marker to write anything you like.
- If you prefer not to have words on your mats, you can just replace those sections with solid or patterned fabric instead.
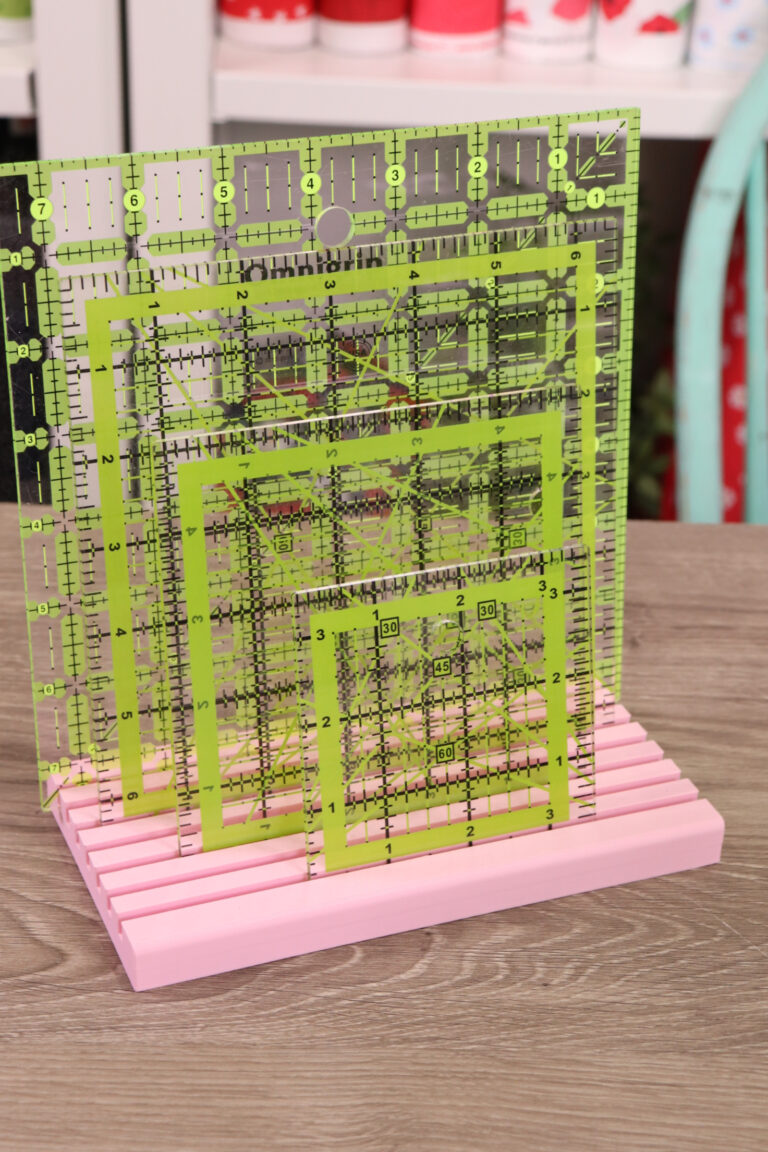
- Using a rotary cutter and quilting ruler makes the cutting process much easier and more precise than scissors.
Frequently Asked Questions
My fabric is from the Cocoa Sweet collection by Wilmington Prints, available at Missouri Star Quilt Company.
You can find quilt as you go kits online at Missouri Star Quilt Company. The one I used is June Tailor Inspirational Mug Mats. There are also stockings, totes, placemats, and more.
Check out this post for a quick and easy tutorial on Faux Calligraphy! Or, check out one of my books, like Hand Lettering for Relaxation.
More Quilting Projects
If you enjoyed this project, take a look at these other tutorials for sewing and quilting projects.

If you try these mug mats, or any other quilt as you go project, I’d love to see your finished work. Make sure you’re part of the Amy Latta & Friends Facebook Group so you can share your photos and we can all inspire each other. Hope to see you there!