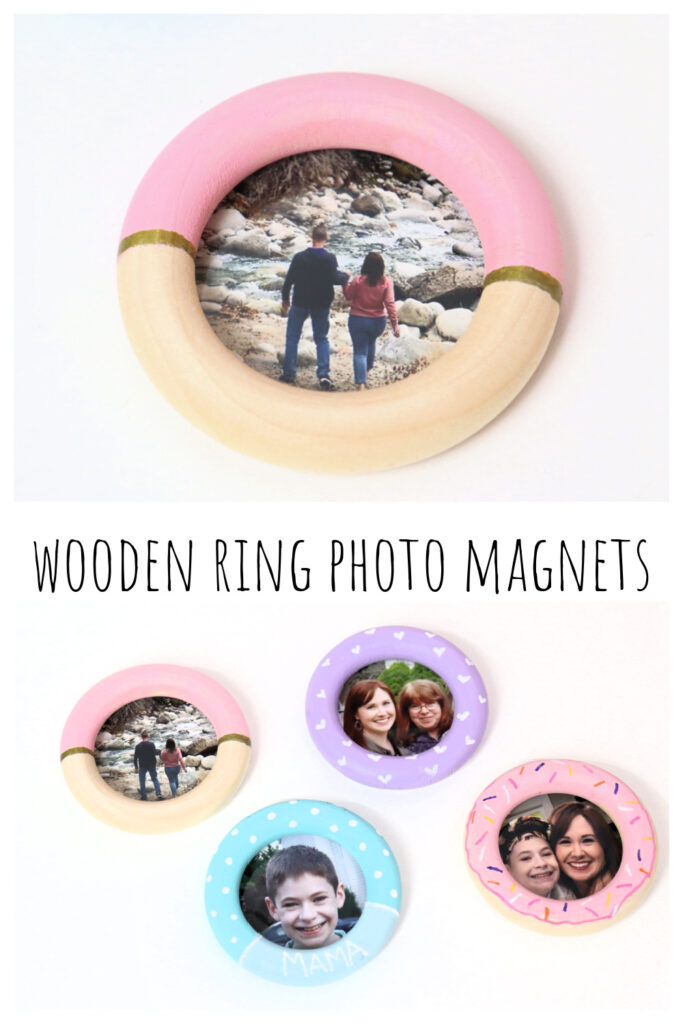
Wooden Ring Photo Magnets
I don’t know about you, friend, but I love craft projects that are quick, cheap, and easy! These Wooden Ring Photo Magnets are all three of those things, plus they make the perfect little gift for the special people in your life. Let’s create some together.
How to Make Wooden Ring Photo Magnets
My favorite thing about this project is that each magnet can be totally unique! There are endless possibilities for personalizing them, and the project is easy enough that even very young crafters can join in the fun. Just grab the supplies below (you probably already have most of them in your stash already) and let’s get started.
Materials
- wooden craft rings
- acrylic or multi-surface craft paint
- paintbrush (I used a sponge brush)
- paint pens (I recommend an extra-fine tip)
- magnet tape or craft magnets
- adhesive/glue
- scissors
- pencil
- photo(s)
Instructions
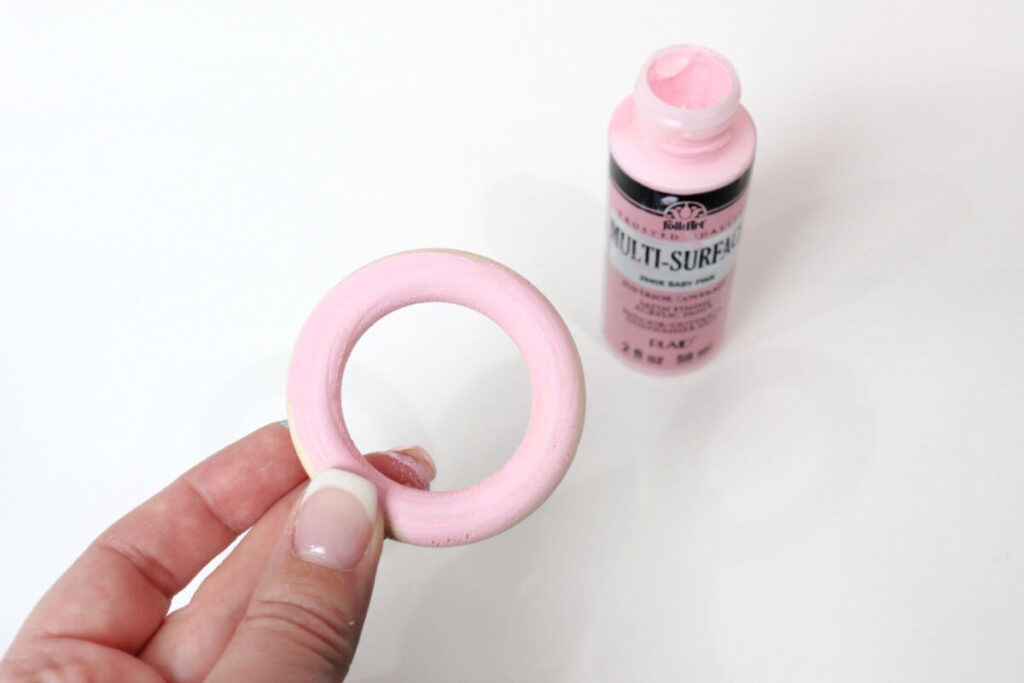
Paint your base coat.
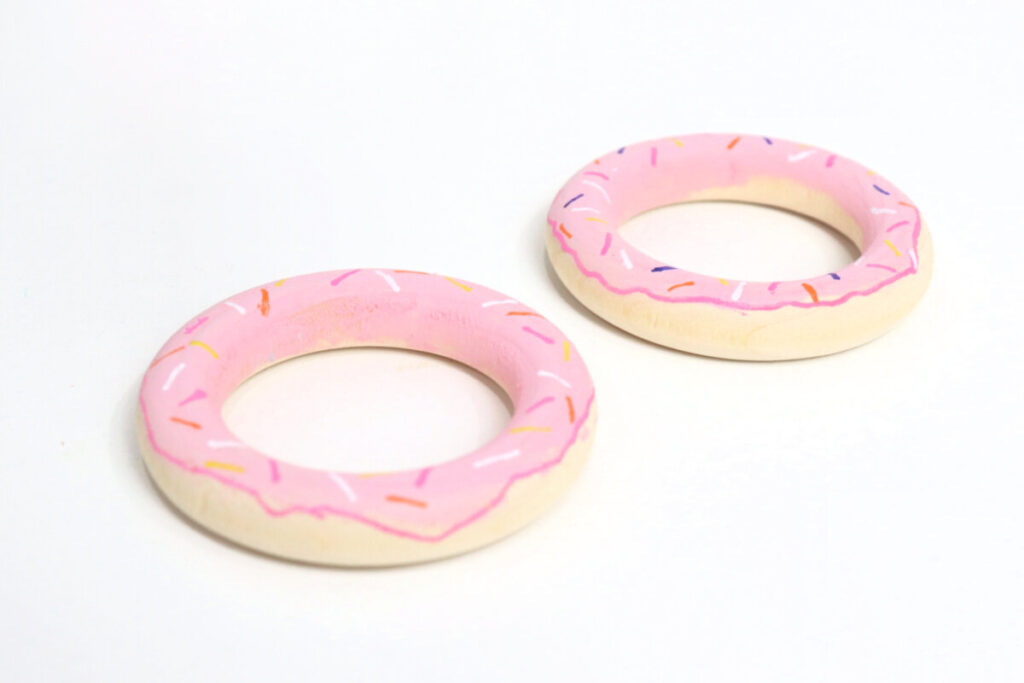
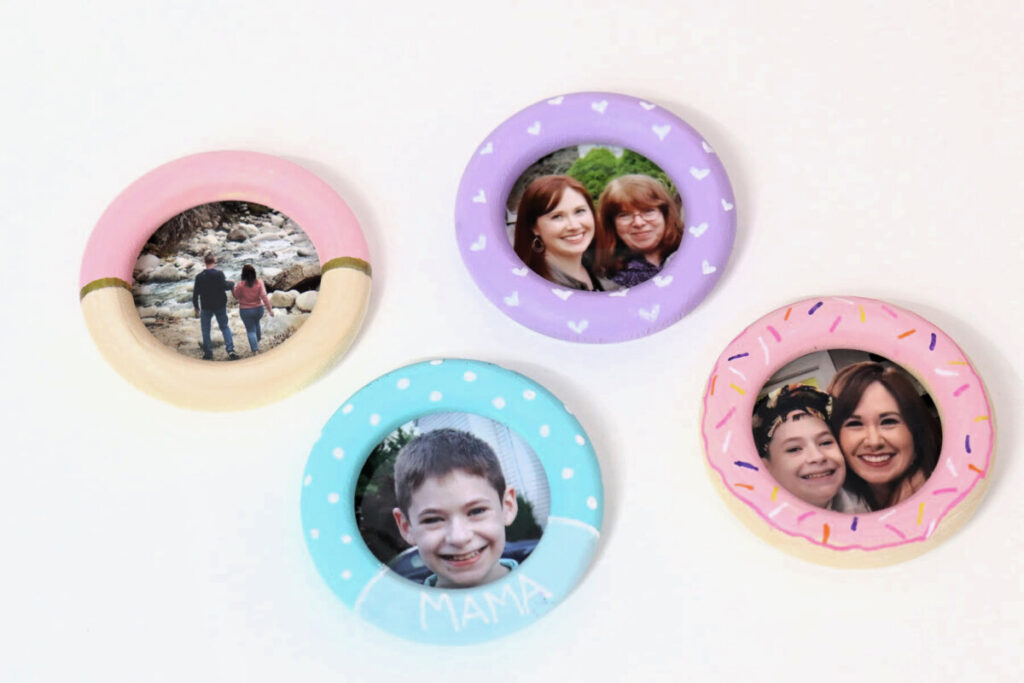
It’s totally up to you how you’d like to paint your ring. You can paint the entire thing, or you can paint certain sections, leaving the rest with the natural wood finish. If you want to turn your ring into a donut, just apply the frosting color to the top part and leave the bottom unpainted to represent the color of the donut itself.
Use extra fine tip paint markers to add details.
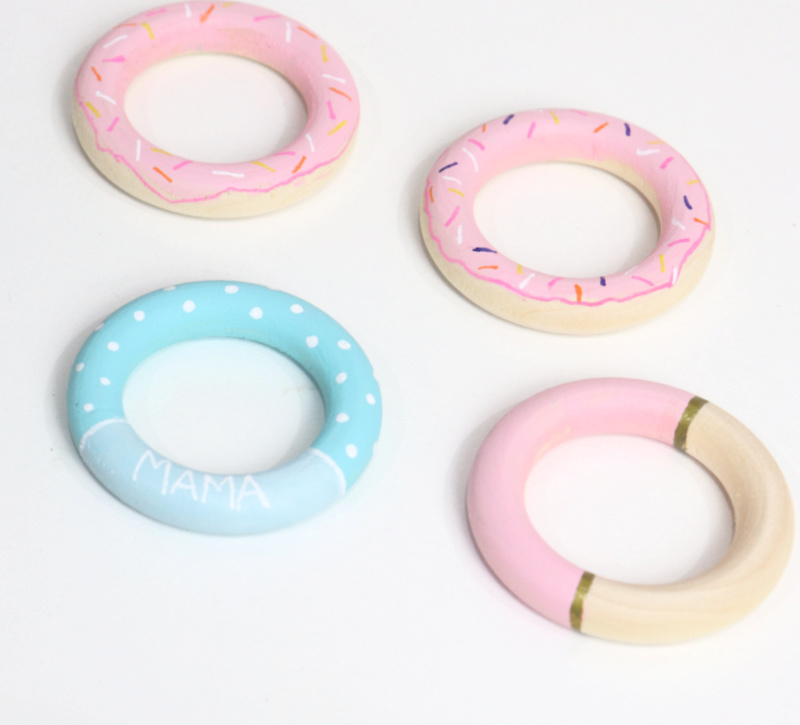
For a donut, that means adding sprinkles and tracing the outline of the frosting. For other designs, you can add polka dots, small hearts, metallic accents, and even words.
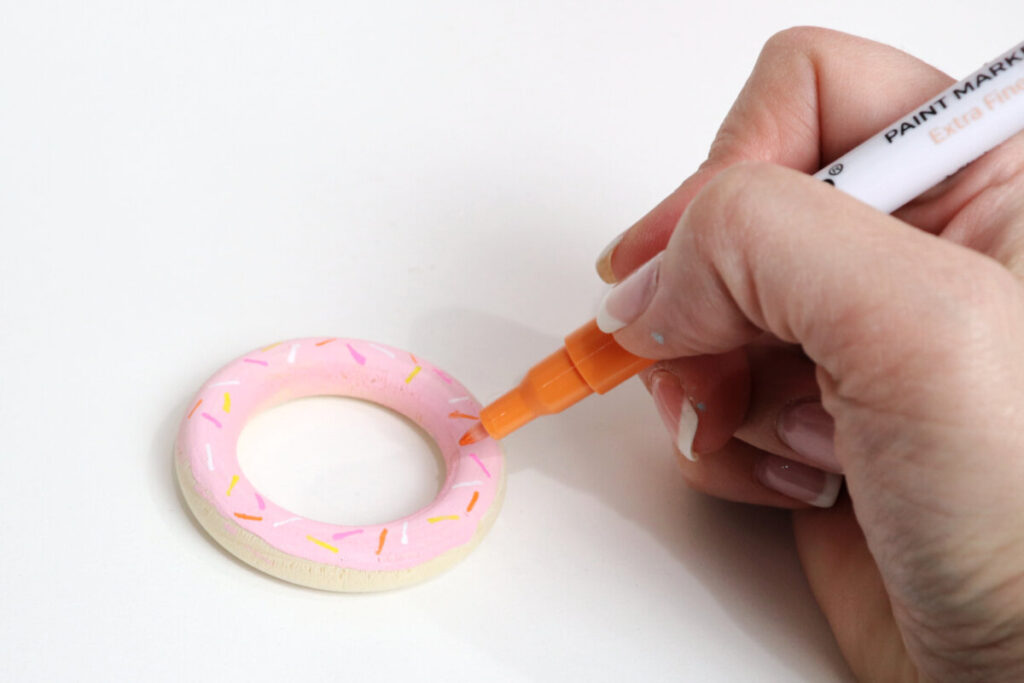
Make sure your base coat is dry before adding your details, then let the whole thing dry again before moving on to the next step.
There’s no wrong way to paint your rings; use whatever colors and designs you like!
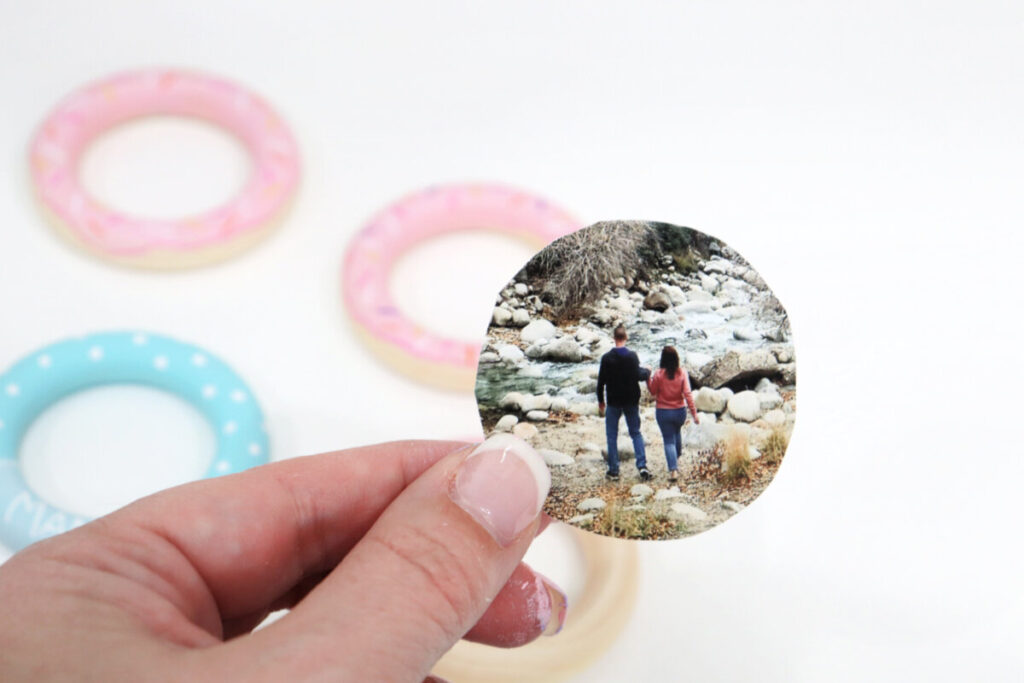
Trace and cut out your photo.
Place a ring on top of your photo and center the image you want to use inside the circle. Use a pencil to trace around the ring, then cut around your pencil line.
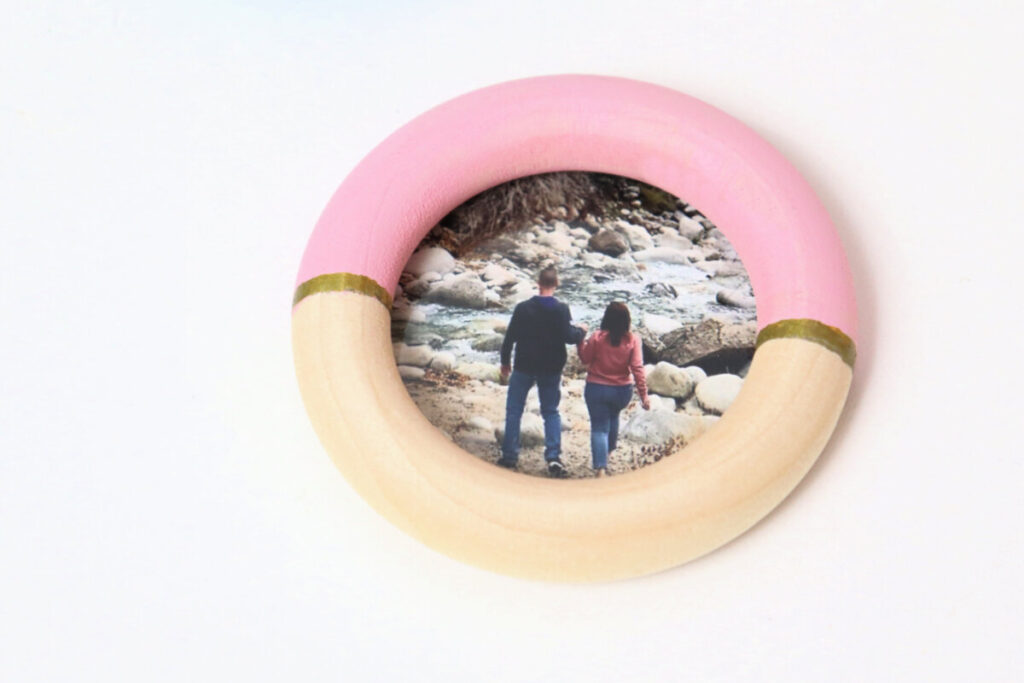
Glue your photo to the back of the wooden circle.
You can use any type of glue or adhesive you have on hand. I used Tombow Xtreme Adhesive Tape. I recommend applying the adhesive to the back of the wooden ring, then pressing the photo face down on top.
Attach a magnet.
Cut a strip of magnetic tape or use a round magnet. Most craft magnets already have an adhesive side, so you just have to peel off the paper backing and stick them onto the project. If yours doesn’t, you can glue it in place.

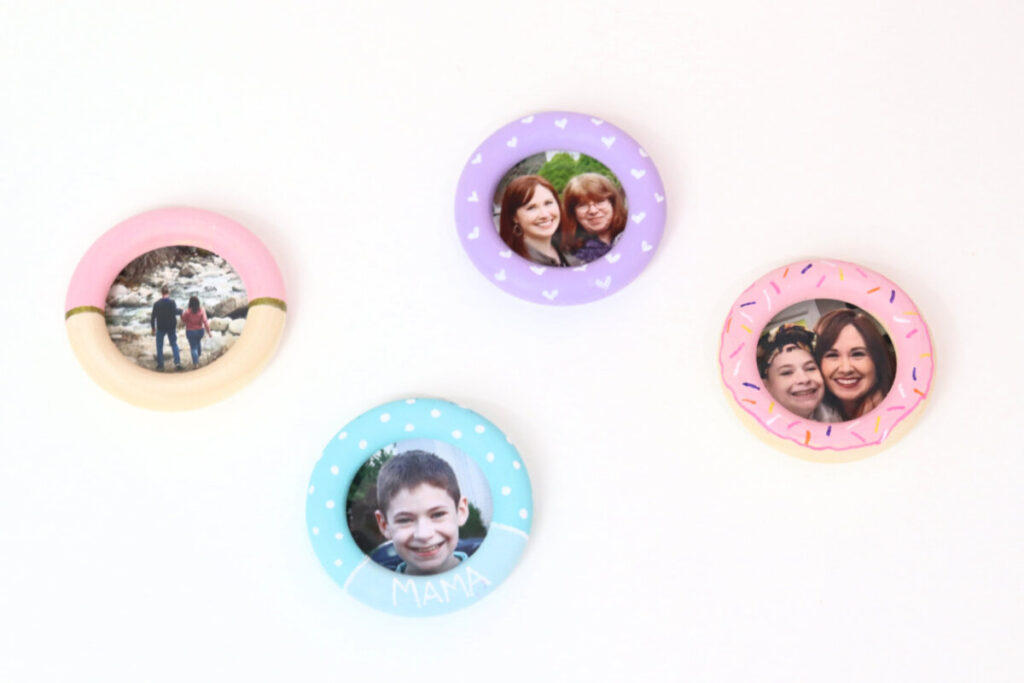
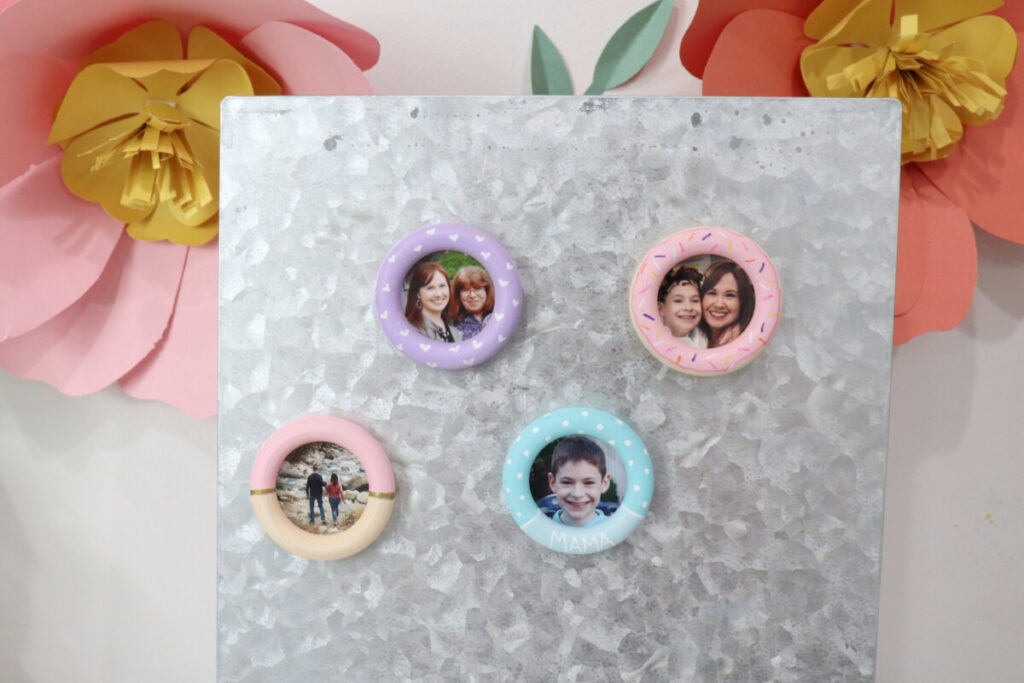
That’s all there is to it! Now your wooden circle photo magnet is ready to display on any magnetic surface.
These little magnets are incredibly easy and inexpensive to make. The entire pack of 20 rings only cost me $8.99 on Amazon. Since I already had the paint, adhesive, and magnet tape in my supply stash, this project cost me less than 50 cents per magnet! They are so fun to personalize, and they make fantastic gifts for the special people in your life. Try gifting these little magnets for Mother’s Day, Father’s Day, Teacher Appreciation Day, or just to bring some extra cheer!
Crafting Tips
- Experiment with colors and patterns to create your own totally unique magnet designs!
- If you want your magnets to have a glossy appearance, you can add a coat of glossy Mod Podge or sealer before adding the photo.
- If you want to have the option of swapping out your photos, use a removable adhesive to attach them to the ring.
- No photo? No problem. Write a favorite quote or cut out a magazine picture of a favorite character or object to frame.
Frequently Asked Questions
My wooden rings are 2.1”, with a 1.3” opening in the center for the photos. However, if you’d like to make yours larger or smaller, you can find the same type of rings ranging in size all the way from 0.6” to 6”!
Absolutely! Even the littlest of crafters can enjoy decorating the rings. Very young kiddos may need help with cutting the photo, but older kids should be able to do the whole project independently.
More Project Ideas
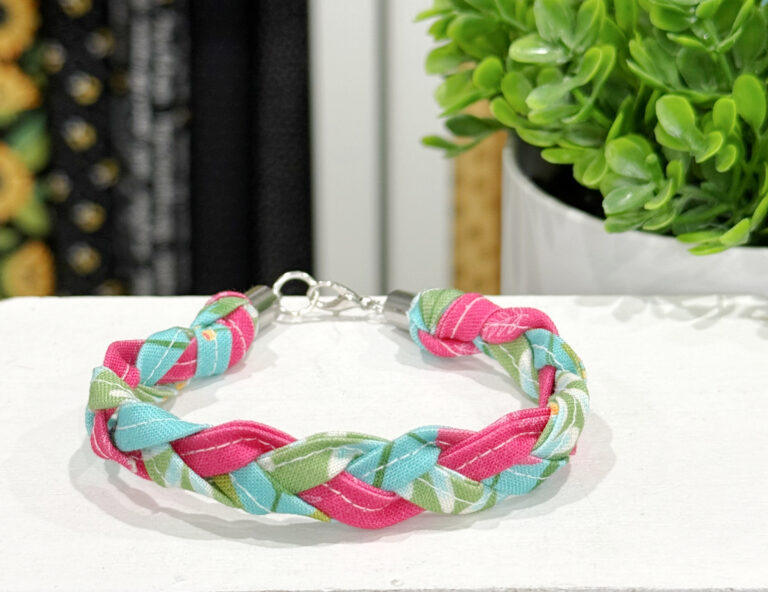
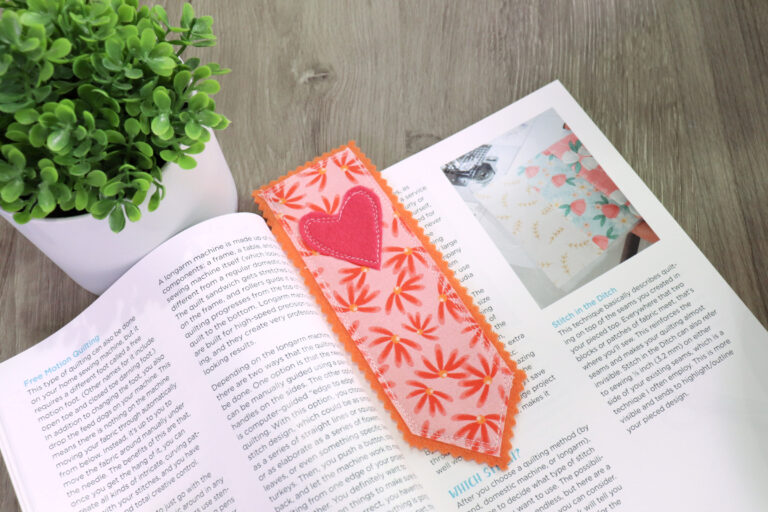
If you enjoyed this project, here are some other fun craft ideas to inspire you.

If you try making your own Wooden Circle Photo Magnets, I would absolutely love to see how they turn out! Make sure you’re a part of the Amy Latta & Friends Facebook Group so you can share photos of your latest crafts and we can all inspire each other. Hope to see you there.

Wooden Circle Photo Magnets
Equipment
- scissors
- pencil
- paintbrush
Materials
- wooden craft rings
- acrylic or multi-surface paint
- paint pens (extra fine tip)
- photo
- magnet tape or craft magnets
- adhesive
Instructions
- Paint your base coat.
- Use paint pens to add details.
- Trace & cut out your photo.
- Adhere your photo to the back of the painted ring.
- Attach a magnet to the back of the photo.