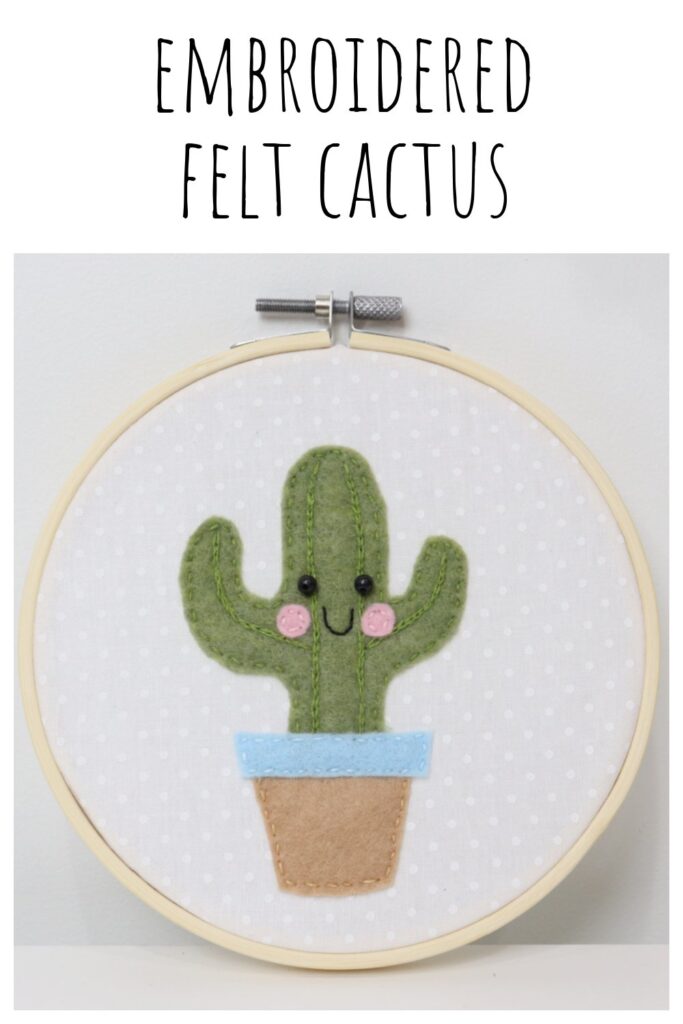
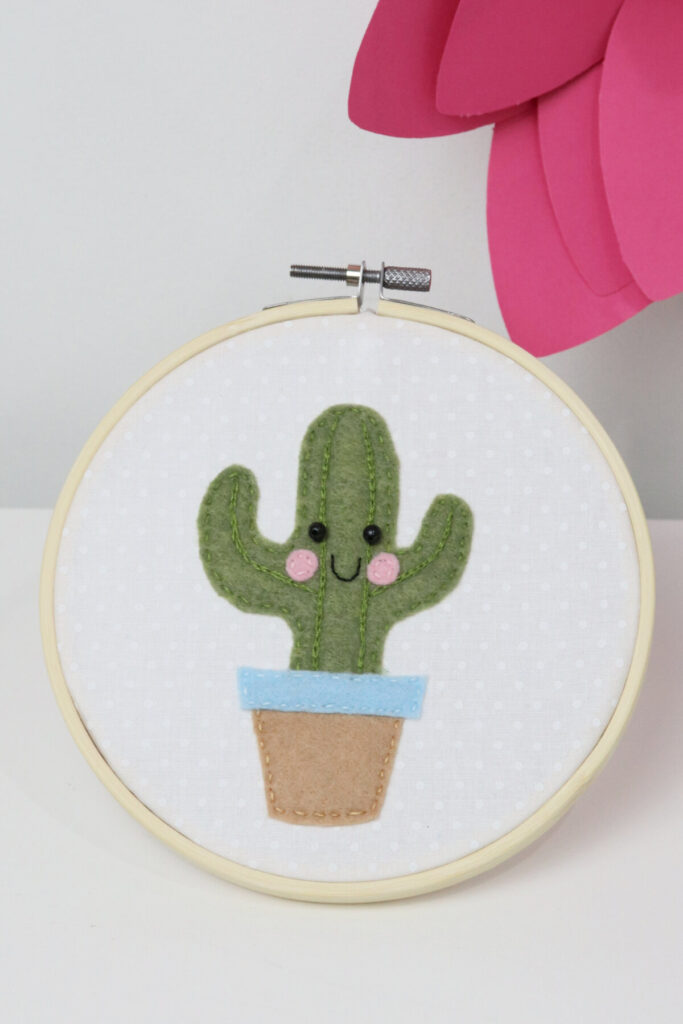
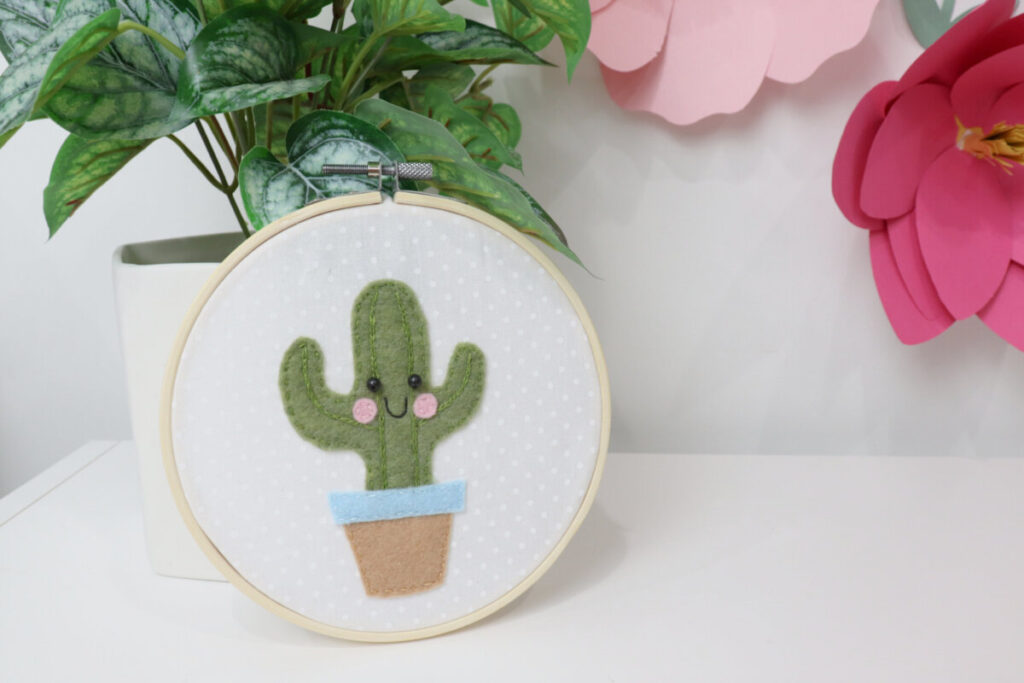
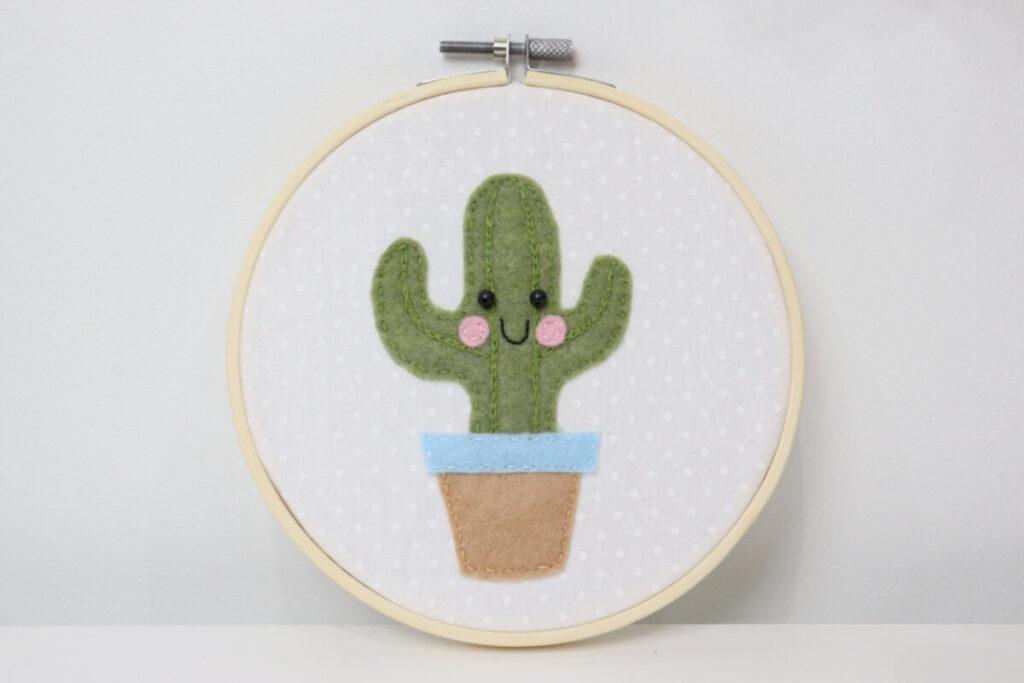
Embroidered Felt Cactus (free printable pattern)
It’s no secret that I love to doodle, and lately I’ve been looking for ways to take my drawings off the page and turn them into other types of projects. One of the first things I came up with is this adorable Embroidered Felt Cactus, and I couldn’t be happier with how it turned out. Here’s how you can make your own.
How to Make an Embroidered Felt Cactus
You’ll only need a few basic supplies to create this project, and I’m hoping to make it extra-easy by giving you a free printable pattern. Of course, you can freehand your own cactus if you like, but if you want to use my doodle as your guide, I’ve got you covered! Just grab the materials listed below, and let’s get started.
Materials
- 6” embroidery hoop
- white fabric
- felt: green, brown, pink, and/or any other colors you choose
- embroidery floss: green, brown, pink, black
- small black beads
- scissors
- embroidery needle
- free printable cactus pattern
Instructions
Secure the white fabric in your embroidery hoop.
To do this, unscrew the hoop and separate it into two pieces. Lay the smaller circle down and place your fabric on top of it, right side up. Slide the larger circle down on top of the fabric and the smaller hoop. Tighten the top screw to hold the hoop in place.
Print out the cactus pattern and cut your felt pieces.
The pattern is sized to fit an 8.5”x11” sheet of paper. Print at 100%, then your cactus will fit inside the 6” hoop. While I recommend green for the cactus and pink for the cheeks, feel free to use any colors you like for the base and rim of the flowerpot.
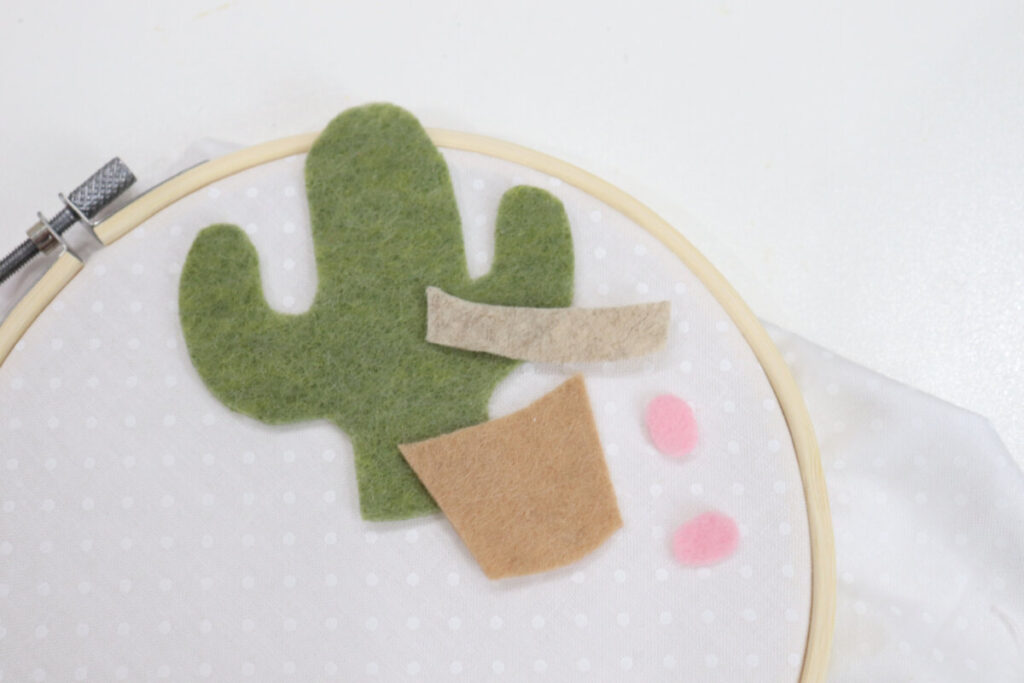
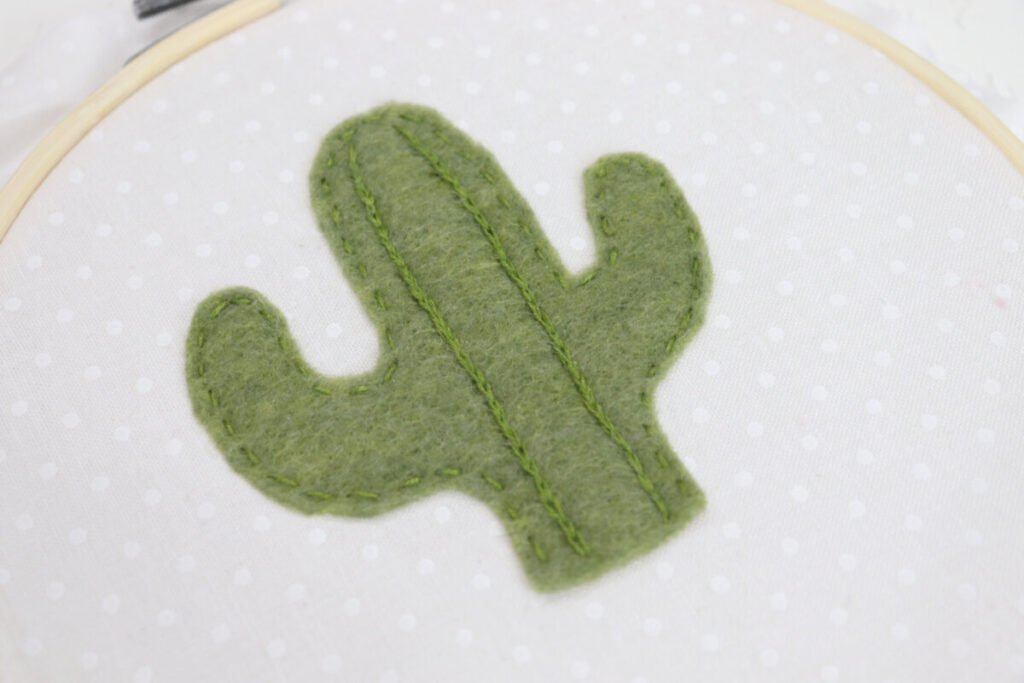
Position the cactus and embroider a running stitch around the edges.
Place your cactus in the center of the hoop, making sure to leave enough space for the flowerpot. If you like, you can use a few straight pins to hold it in place. Then, using two strands of green embroidery floss, go around the edges of the shape with a simple running stitch.
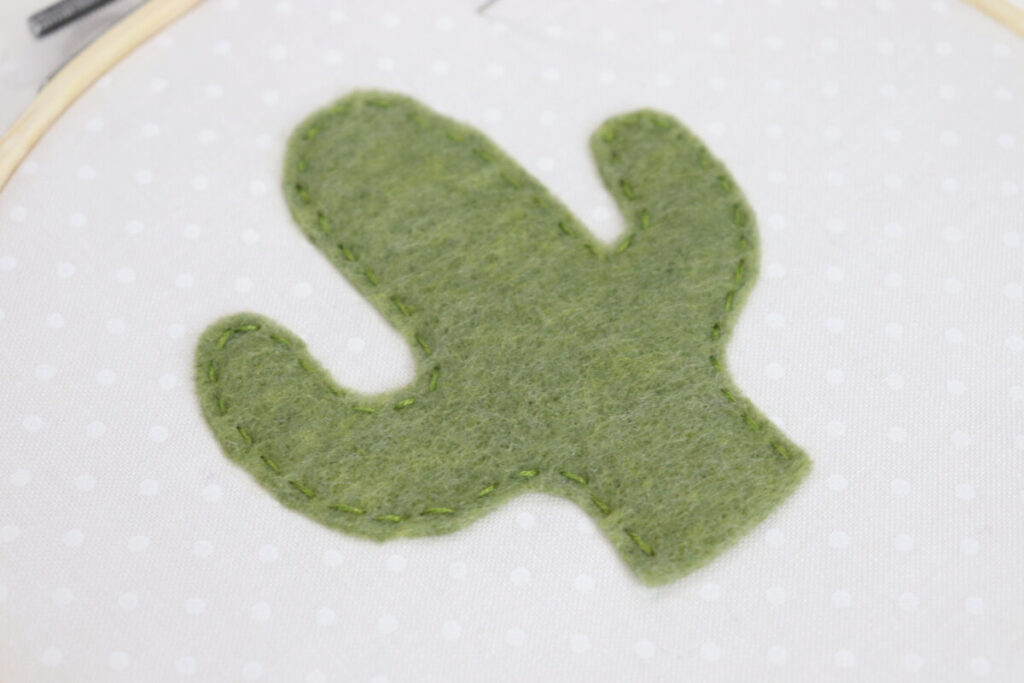
Use a reverse chain stitch to embroider texture lines inside the cactus shape.
I did two lines in the center, and one on each arm of the cactus. If you’re not familiar with the reverse chain stitch, you can do a backstitch instead. Or, you can skip this part entirely and move on to the next step.
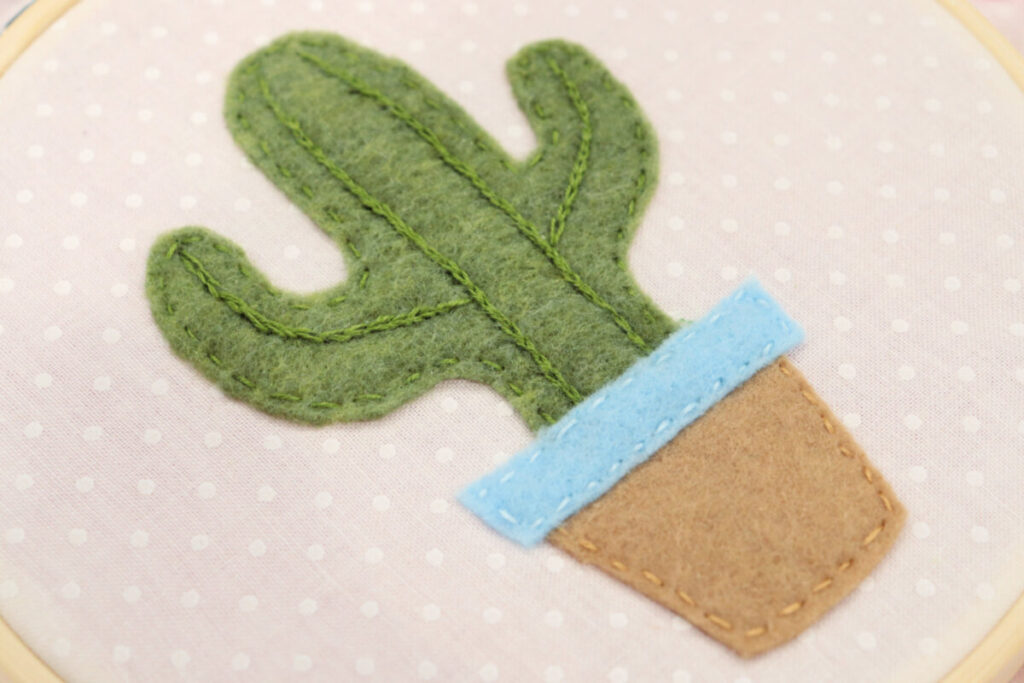
Position the base of the pot, then embroider a running stitch around the edges.
I used two pieces of tan floss, but you can use whatever color matches your base. The base of the pot should slightly overlap the bottom of the cactus.
Position the rim of the pot, overlapping both the base and the cactus, and embroider a running stitch.
I chose to use a blue rim to add an extra pop of color to my project, but feel free to use your favorite color, or the same color as your base.
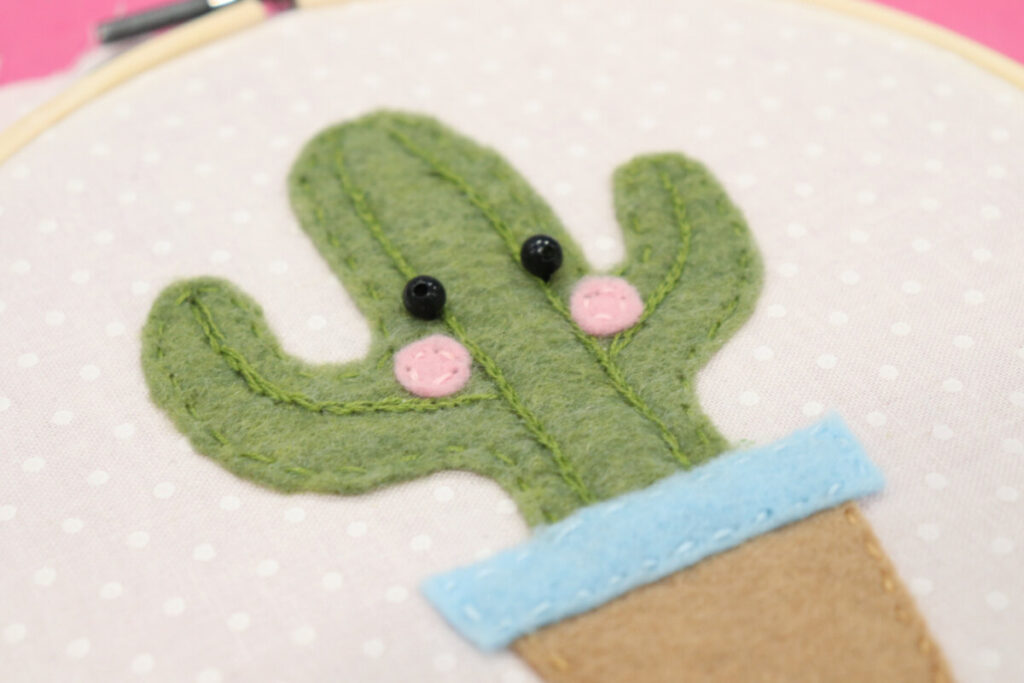
Sew two black beads onto the cactus for eyes.
Alternatively, you can use french knots to create the eyes, but they won’t be as large.
Stitch the cheeks in place below the eyes.
Use a backstitch to create a “u” shaped smile.
I used two strands of black embroidery floss.
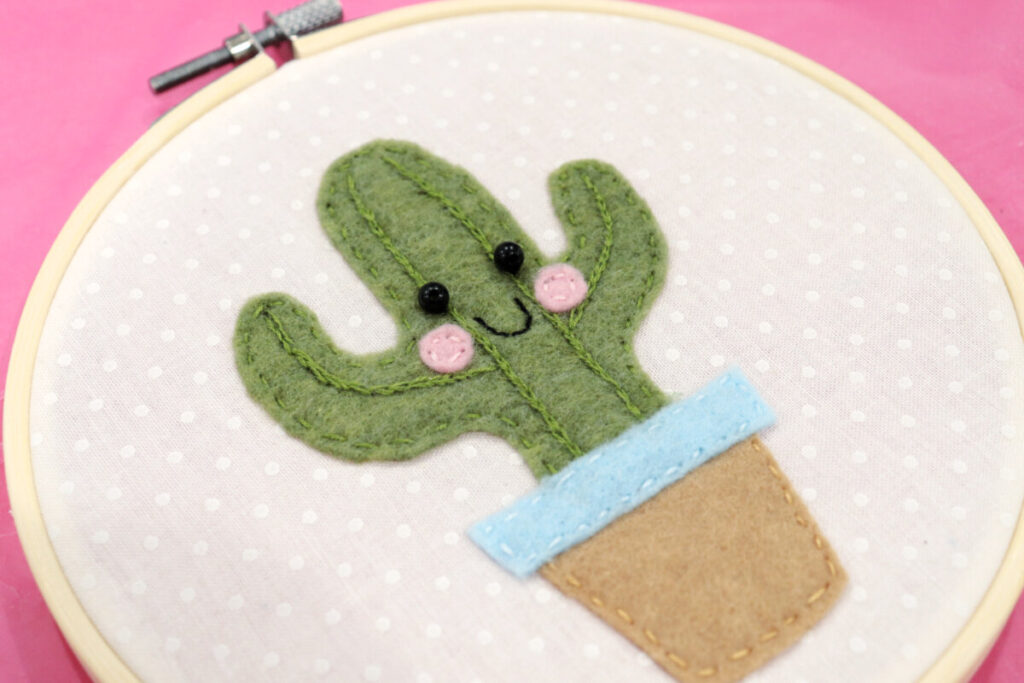
Trim the excess fabric close to the back of the hoop.
Or, if you prefer to display/use your cactus in a different way, you can remove the fabric from the hoop and work with it as an 8” square. This could be turned into a pillow, a pouch, or anything else you like.
Crafting Tips
- Try making a larger or smaller version of the same project by using a different size hoop and adjusting the size of your felt pieces.
- You can use any fabric you like as the background! Try experimenting with a different color or a fun print pattern.
- For even more personalization, add words using a fabric marker and/or embroidery. I think, “hug me” might be a great saying for a cactus, don’t you?
Frequently Asked Questions
This is the easiest of all the embroidery stitches. Here is a quick tutorial.
Here is a great backstitch tutorial.
See a full tutorial here.
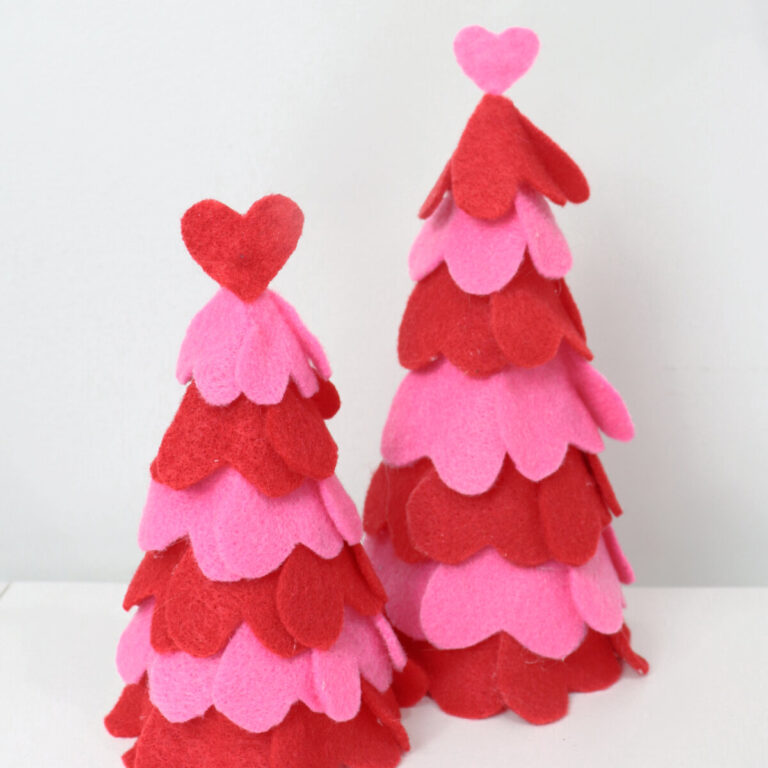
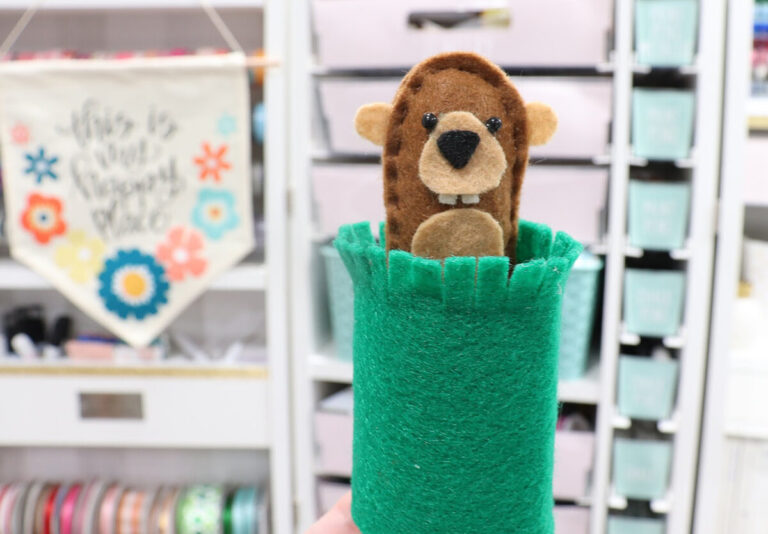
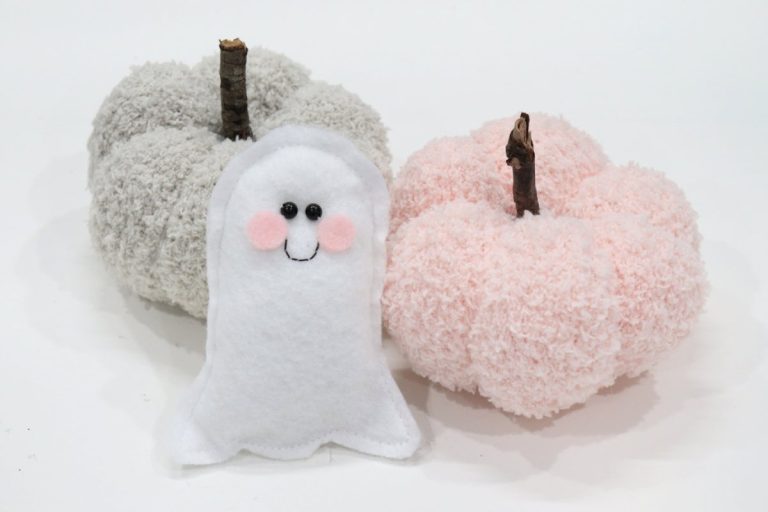
More Felt Projects
If you enjoyed this craft, here are some other fun and easy projects you can create using felt!

If you try this project, I’d love to see your finished cactus! Make sure you’re part of the Amy Latta & Friends Facebook Group so you can participate in our weekly show and tell thread and share your latest project photos. Hope to see you there!

Embroidered Felt Cactus
Equipment
- scissors
- embroidery needle
- free printable cactus pattern
Materials
- 6” embroidery hoop
- 8” fabric square
- felt: green, pink, brown, and/or your choice of colors
- embroidery floss in coordinating colors
- small black beads
Instructions
- Secure the white fabric in your embroidery hoop.
- Print out the cactus pattern and cut your felt pieces.
- Position the cactus and embroider a running stitch around the edges.
- Use a reverse chain stitch to embroider texture lines inside the cactus shape.
- Position the base of the pot, then embroider a running stitch around the edges.
- Position the rim of the pot, overlapping both the base and the cactus, and embroider a running stitch.
- Sew two black beads onto the cactus for eyes.
- Stitch the cheeks in place below the eyes.
- Use a backstitch to create a “u” shaped smile.
- Trim the excess fabric close to the back of the hoop.