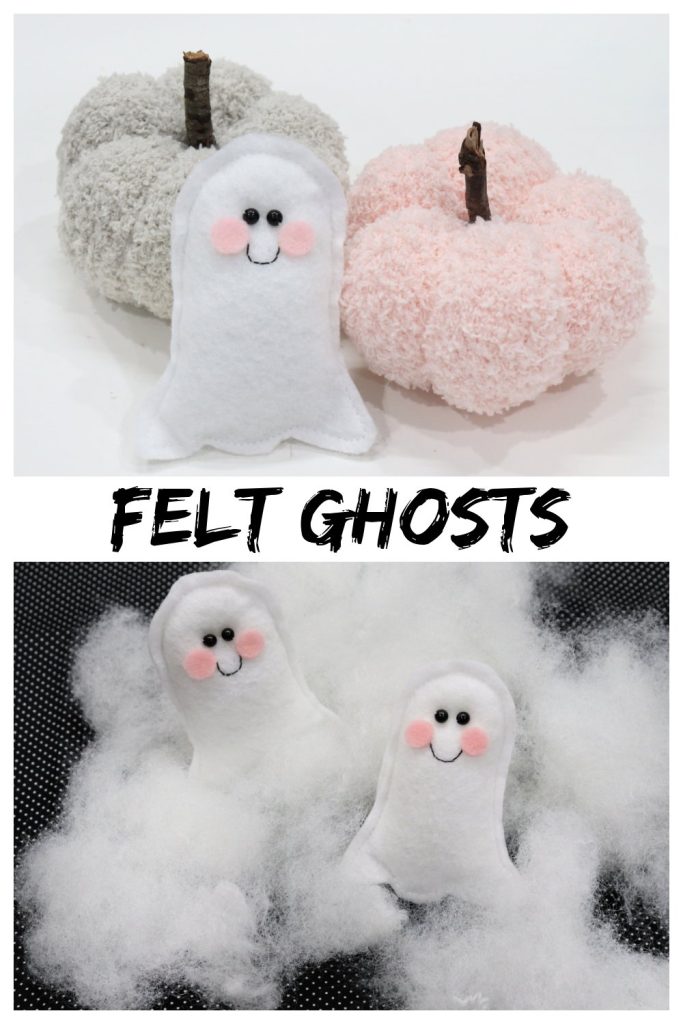
Felt Ghosts
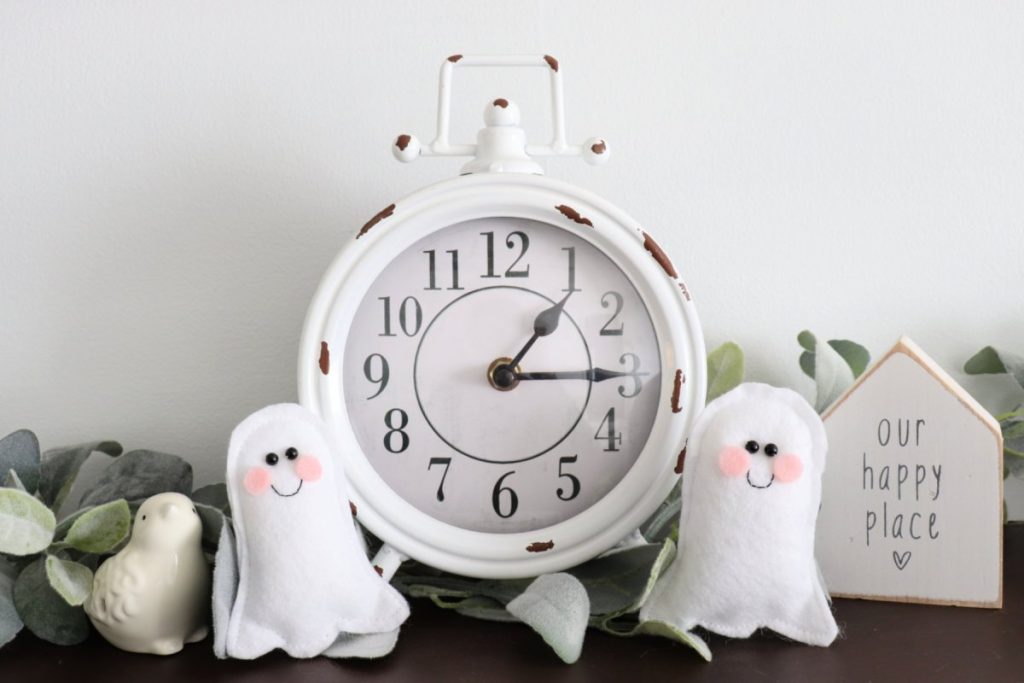
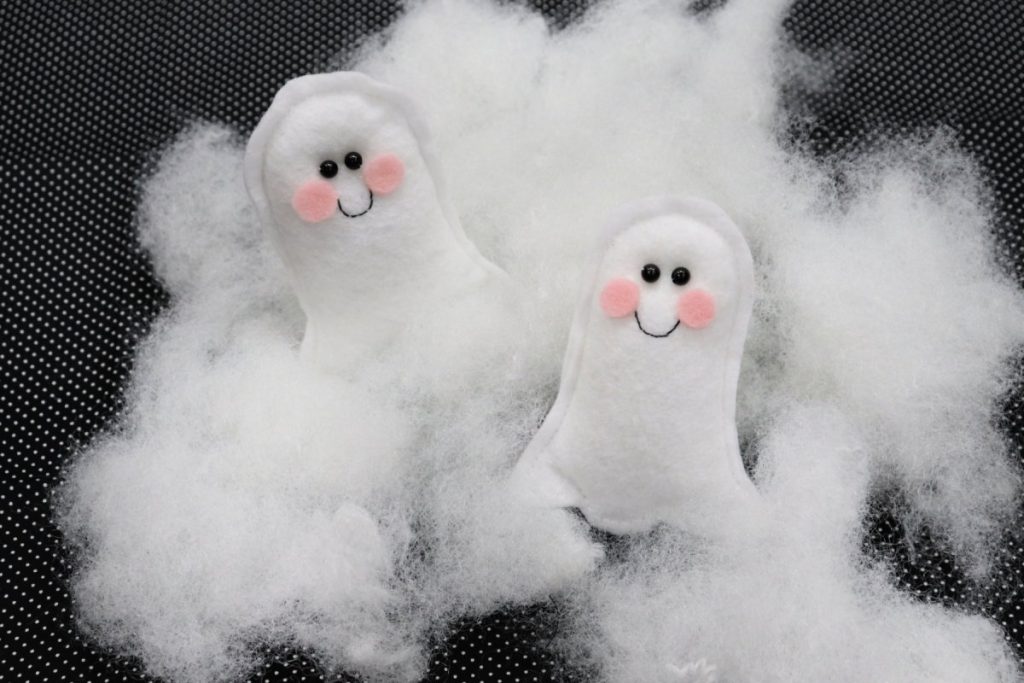
BOO! Get ready for Halloween by creating these adorable little felt ghosts to add to your decor.
How to Make Felt Ghosts
It’s quick and easy to create your own felt ghosts. Just print out the free pattern, gather the basic craft supplies listed below, and let’s get started! I sewed my project, but there are also alternate instructions if you prefer to glue instead.
Materials
- craft felt (white, light pink)
- free pattern
- scissors
- sewing needle and thread (black, white)
- hot glue gun and glue
- small black beads
- Poly-Fil

Instructions
Use the free pattern to cut body and cheek pieces from felt.
You will need two identical pieces for the body, and two pink circles (optional) for the cheeks.
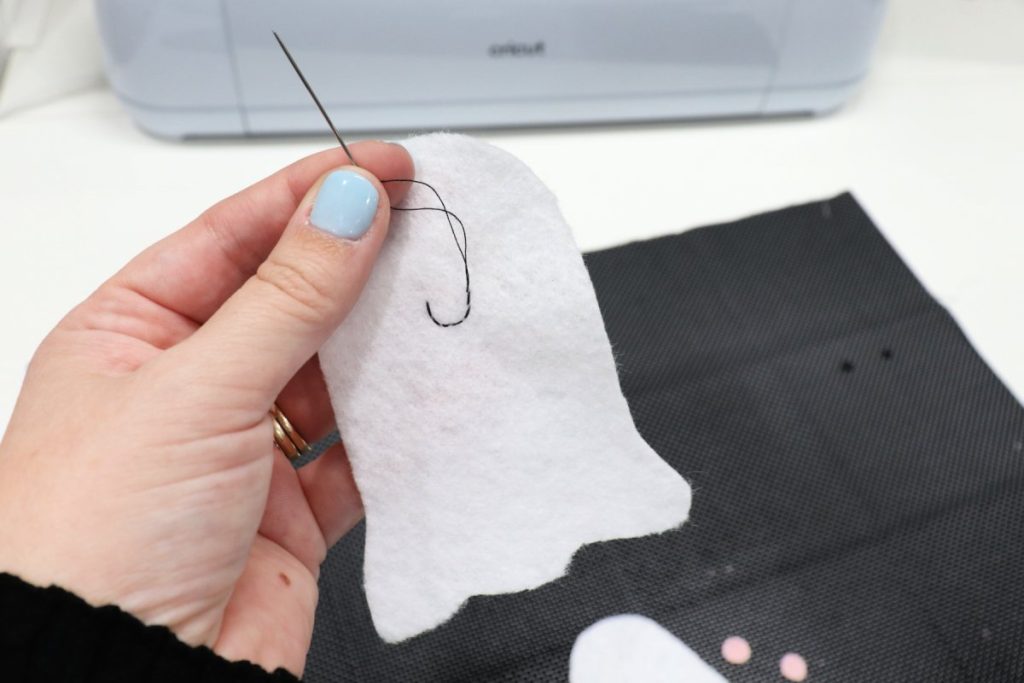
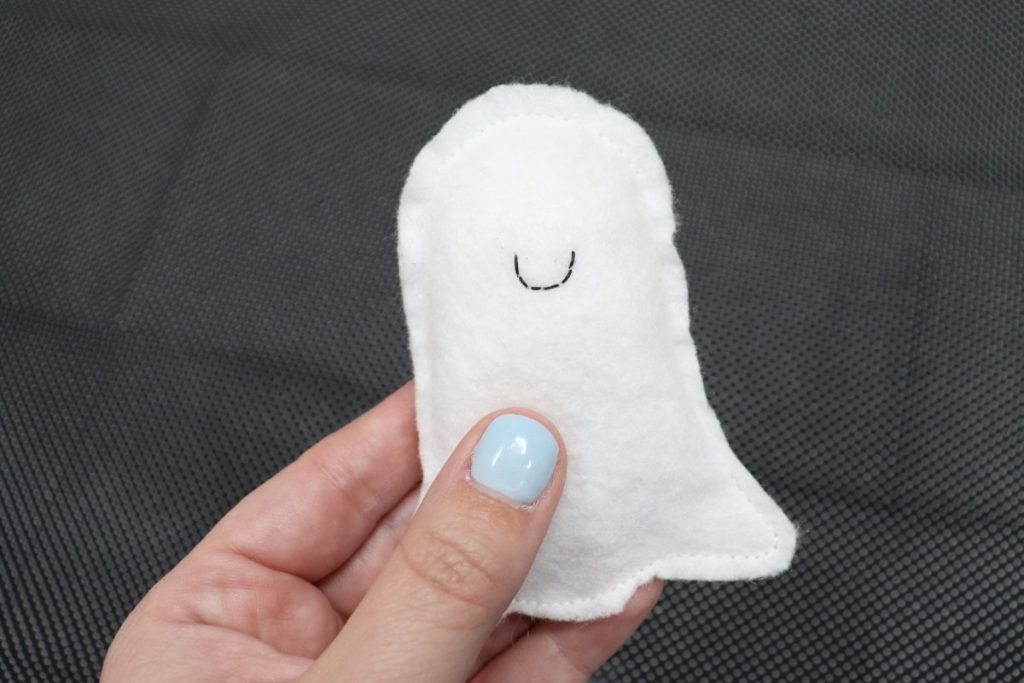
Stitch a small smile on one body piece.
If you prefer, you can use puff paint to create the smile, or you can cut out an oval shape from black felt and glue it on for a classic surprised ghost mouth.
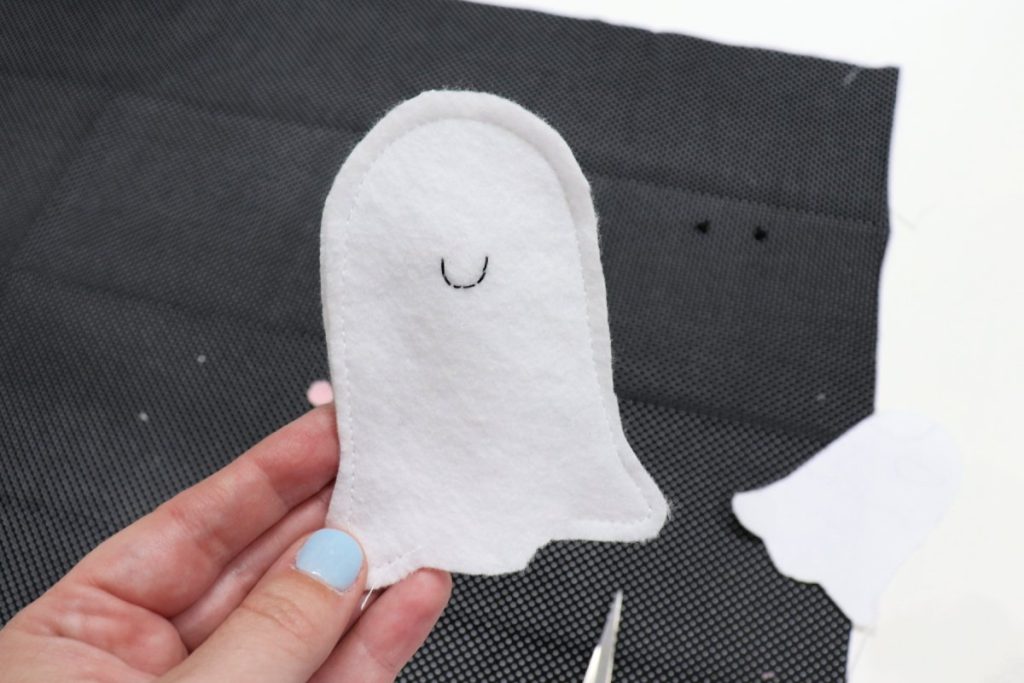
Sew the two body shapes together around the outside edges, leaving an opening.
You can choose whether you prefer to hand stitch or machine stitch. I used my machine, but either method works. If you’re not a sewist, you can use hot glue instead, just make sure you keep the glue around the outside edges. No matter which method you use, remember to leave an opening in the bottom so you can stuff your ghost!
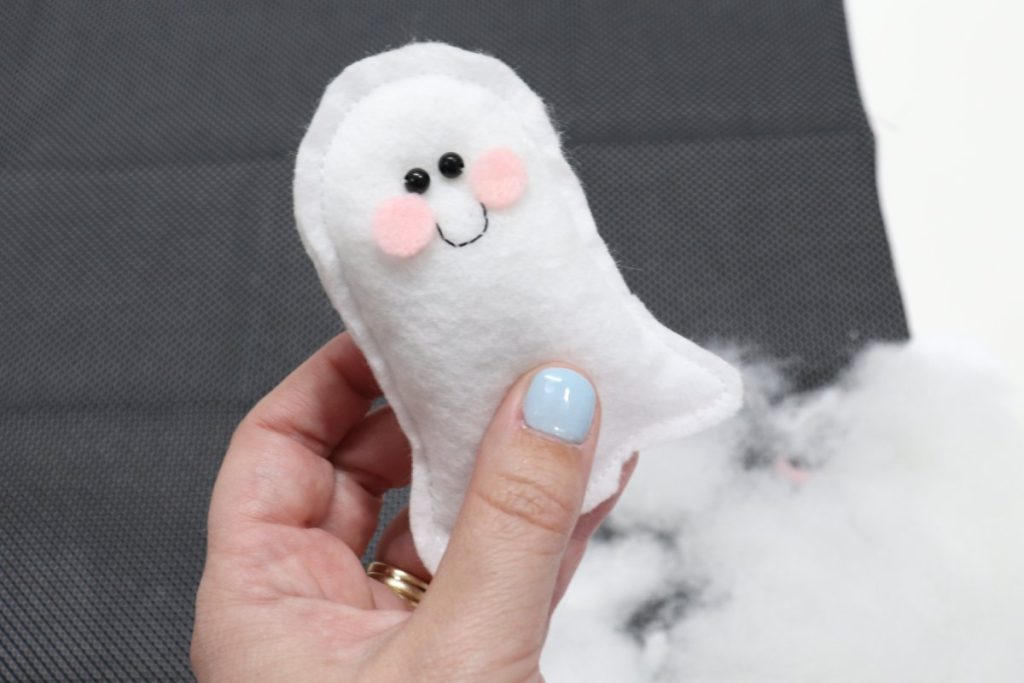
Stuff with Poly-Fil.
Then, sew or glue the opening shut.
Glue cheeks on either side of the smile.
I love using my Surebonder Mini Cordless Hot Glue Gun for projects like this, because of the small detail tip. It’s the perfect size and allows me to get just the right amount of glue. The cordless feature lets me craft anywhere in my studio, too!

Add eyes.
I used small black beads, and sewed them onto my ghost. You can also use googly eyes, buttons, or small felt circles if you prefer.
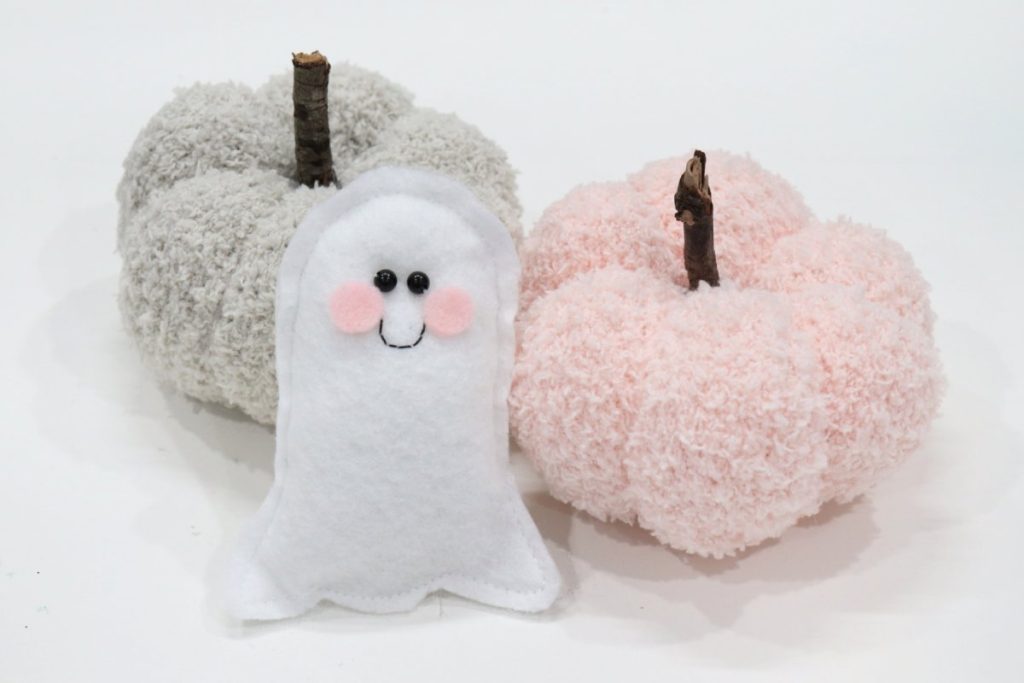
All that’s left to do is display your cute creation as part of your decor.
Crafting Tips
- If you want your ghosts to hang instead of sit, just add a loop of ribbon or twine to the top!
- Try giving your ghosts different facial expressions by using a felt oval instead of the smile or stitching a different mouth shape. You can also try different eyes to get other expressions.
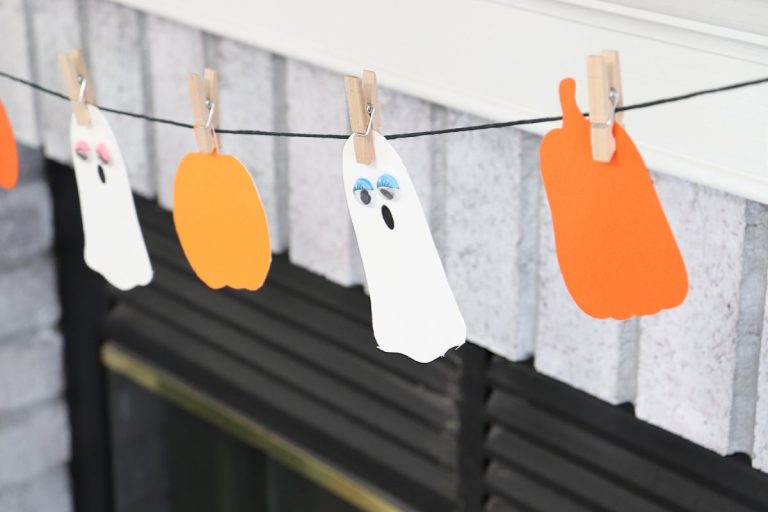
- Make a dozen of these felt ghosts and clip or glue them to a piece of twine to form your own ghost garland!
Frequently Asked Questions
Absolutely! Younger kids will probably want to glue rather than sew, just make sure to provide supervision for the hot glue gun or use fabric/craft glue instead.
You can enlarge the pattern, or freehand your own simple ghost shape!
Head to the Surebonder website!
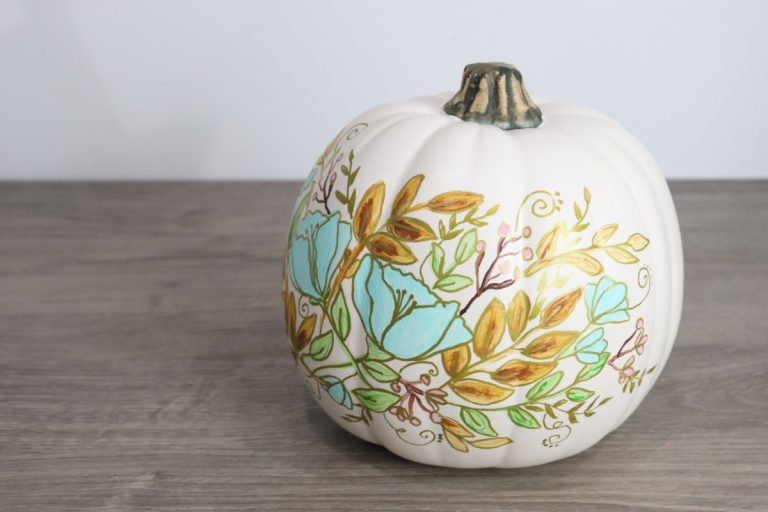
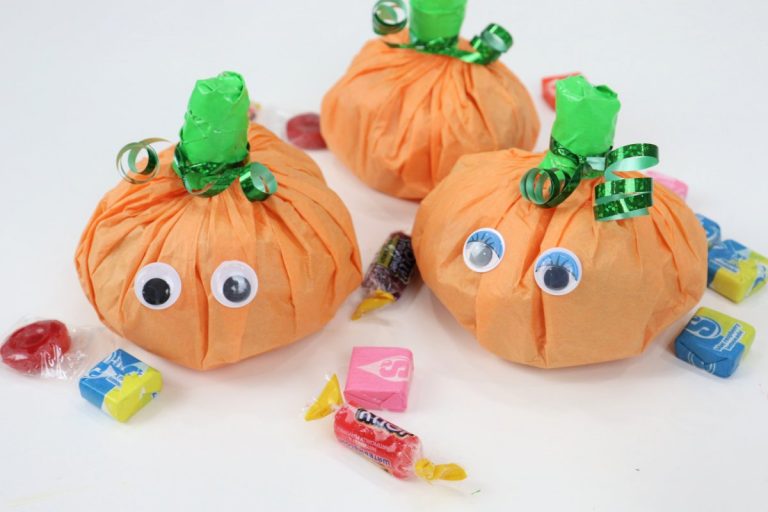
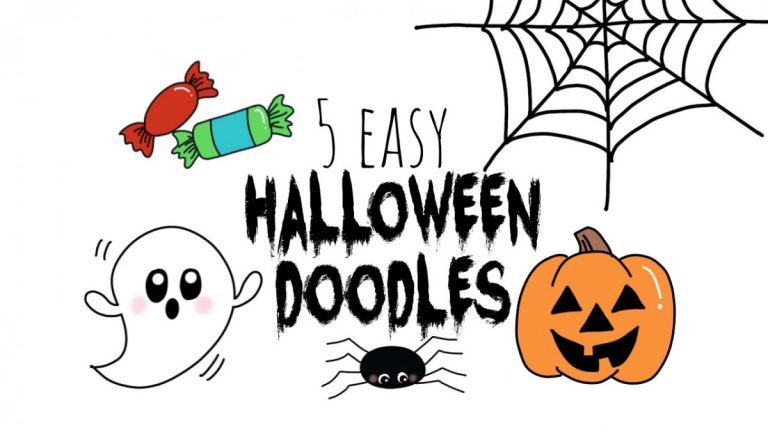
More Halloween Projects
If you enjoyed this craft, here are some other quick and easy, not-so-spooky Halloween projects for the whole family.


If you try making these felt ghosts, or any of the other projects, I’d love to see your creations! Make sure you’re following along in the Amy Latta & Friends Facebook Group where we can all share inspiration. Hope to see you there!

Felt Ghosts
Equipment
- pair of scissors
- sewing needle
- sewing machine (optional)
- hot glue gun and glue sticks
- free pattern
Materials
- white and pink felt
- Poly-Fil
- black and white thread
- small black beads or other eyes
Instructions
- Cut your felt pieces: 2 body shapes and 2 cheeks
- Stitch a smile on one body piece.
- Sew or glue the body pieces together around the edges, leaving an opening.
- Stuff with Poly-Fil and sew/glue opening shut.
- Add cheeks and eyes.