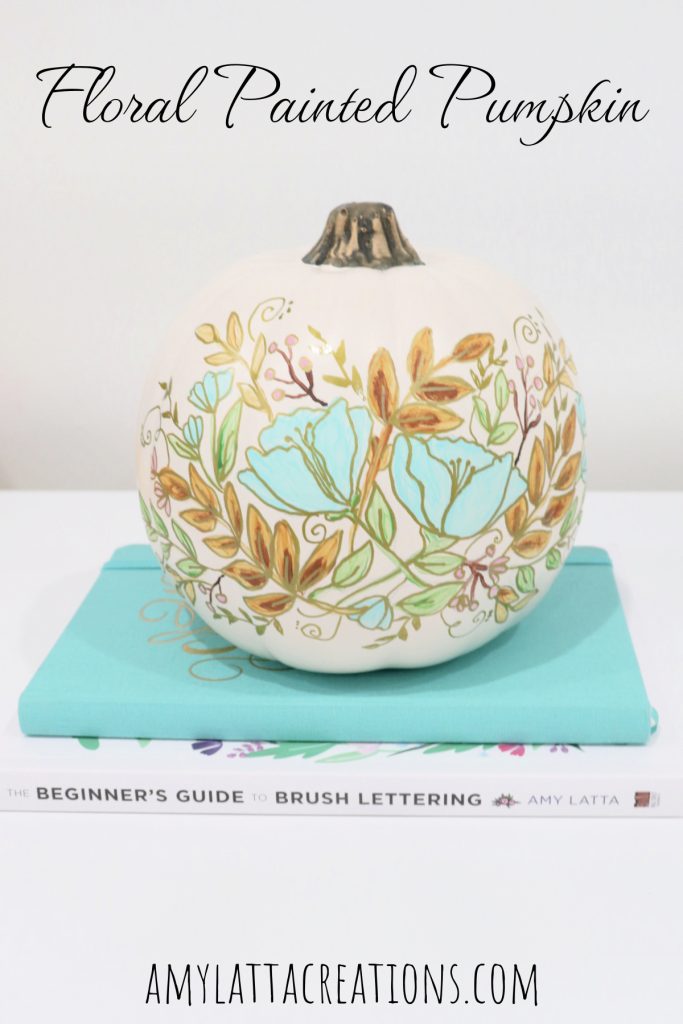
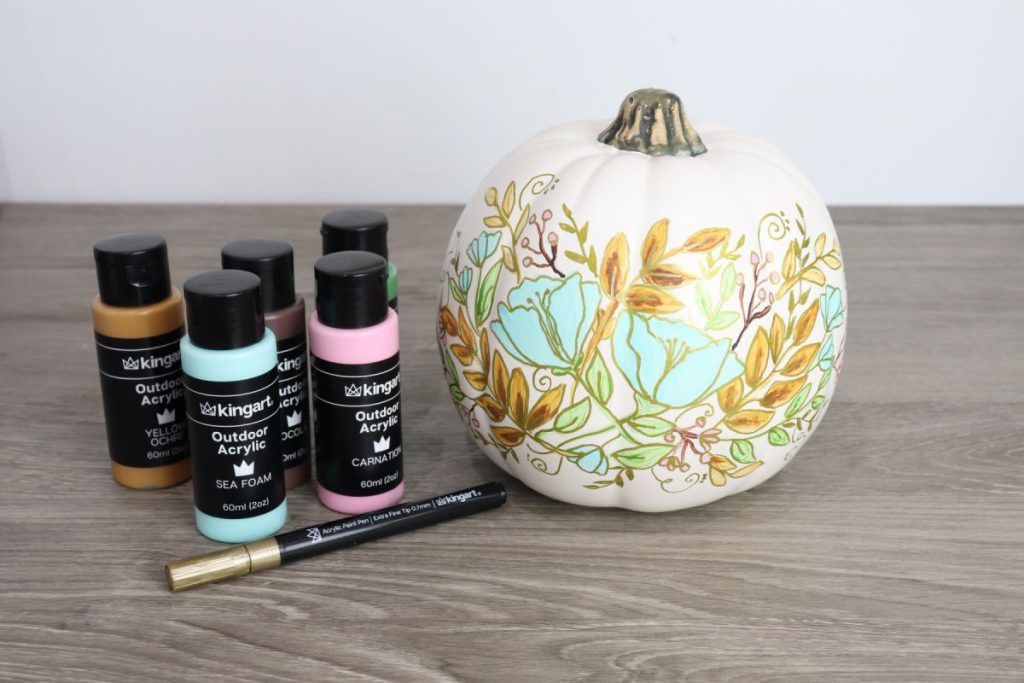
Floral Painted Pumpkin
Looking for a no-carve way to decorate your pumpkins this year? I was challenged by KINGART to make a painted pumpkin for their 2023 Pumpkin Gallery, and I absolutely love the way it turned out! Here’s how I created a Floral Painted Pumpkin that will be part of my decor all season long (and for years to come).
How to Make a Floral Painted Pumpkin
I decided to paint a faux pumpkin instead of a real one, so that it will last forever. Then, I chose a color palette that matches my craft studio decor. However, feel free to whatever size and type of pumpkin you like, and to adapt this project to incorporate your own favorite color scheme for fall.
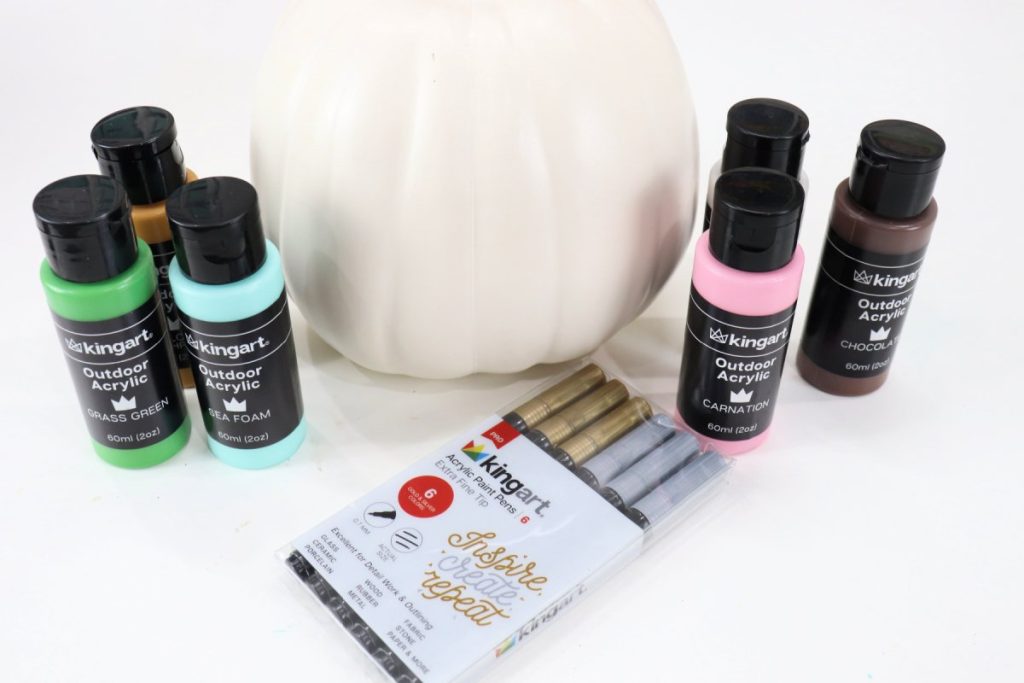
Materials:
- real or faux white pumpkin
- KINGART Waterproof Outdoor Acrylic Paint: Carnation, Sea Foam, Grass Green, Chocolate, Yellow Ochre
- KINGART Metallic Acrylic Paint Pens, Extra Fine Tip
- Small paintbrushes
- Pencil
- Free Printable Tracing Pattern (optional)
Instructions
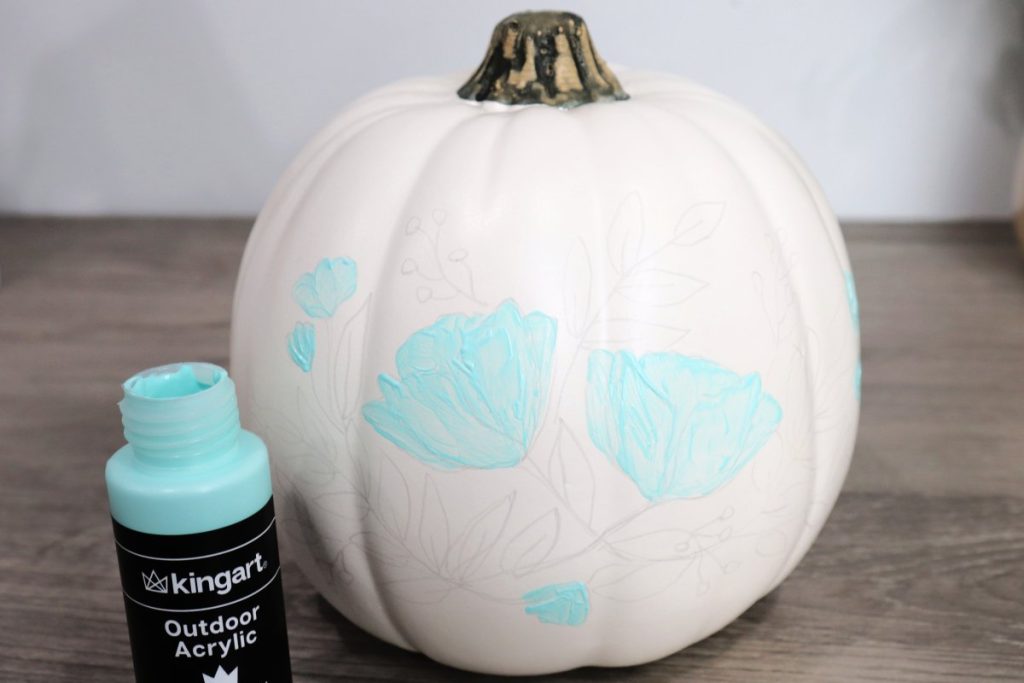
Use a pencil to lightly sketch your design onto the surface of the pumpkin.
I sketched two large flowers in the center with crossing stems. Then, I added several leafy branches, along with a few flower buds and branches with berries.
Feel free to sketch your own floral design, or if you prefer to trace mine, you can download the printable here and resize it to fit your pumpkin. To easily transfer it, flip the paper over and trace the lines with your pencil on the back of the paper. Then, place the back of the paper against your pumpkin and trace the design again from the front. This will apply the pencil that was on the back of the paper to the surface of your pumpkin.

Paint your flowers.
I used Sea Foam to paint the two large flowers as well as the buds on the sides and below.
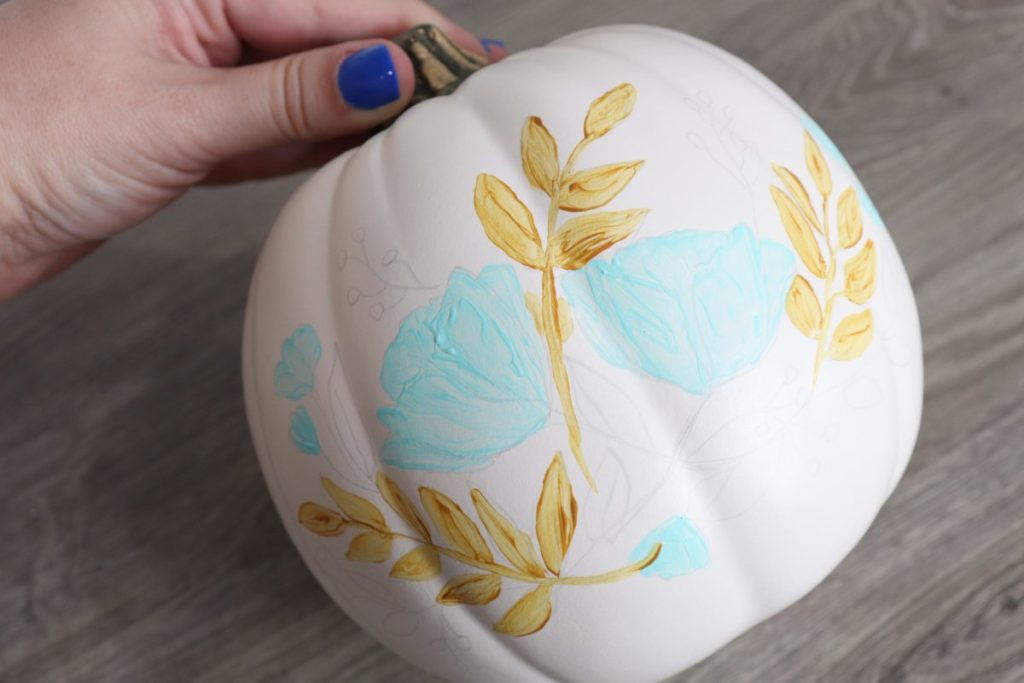
Paint the leafy branches.
I used yellow ochre for this, then later (after the paint was dry) added chocolate to the center of each leaf for contrast.
Paint your other leaves and stems.
I used grass green for these, but if you prefer to stick with a more autumnal color palette, you can use brown, orange, red, etc.

Paint the branches and berries.
I chose to use carnation for the berries, and chocolate for the branches themselves.
Use the gold metallic paint pen to outline and add detail to your illustrations.
I started by outlining everything, then went back to add veins inside the leaves. Then, I added a few gold swirls, dots, and small leaves to fill any open spaces in the design.
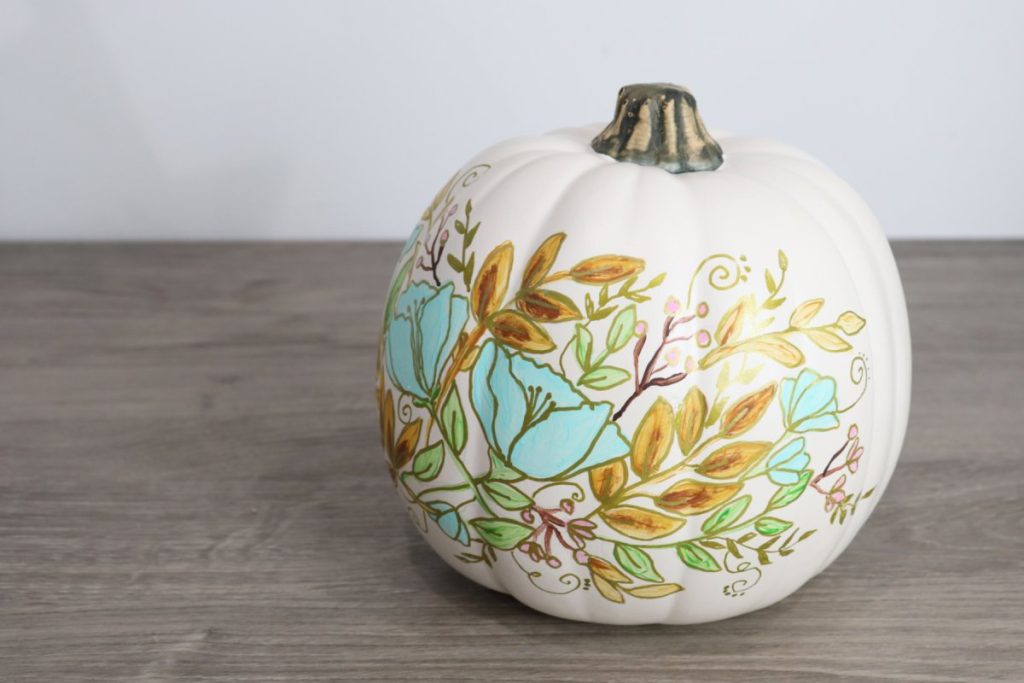
Now, your pumpkin is ready to display all season long! Looking for more painted pumpkin inspiration? Check out the rest of the entries in the KINGART Pumpkin Gallery.
Crafting Tips
- Feel free to experiment with different kinds of flowers, colors, and designs. You can find more inspiration in the KINGART Pumpkin Gallery.
- Although you can certainly paint an orange pumpkin white, it’s much easier to purchase a white faux or real pumpkin and save yourself that step!
- Make sure to prime your paint pen before using it! Just shake, remove the cap, and press down onto a piece of scrap paper until the ink starts flowing.
Frequently Asked Questions
Yes! Since we used Outdoor Acrylic paints, your pumpkin can withstand the weather. If you like, you can also apply a clear sealer.
Of course, just keep in mind that the lighter colors, like Sea Foam and Carnation, will look very different. You’ll want to consider a darker color palette and several coats of paint to ensure that your design still pops.
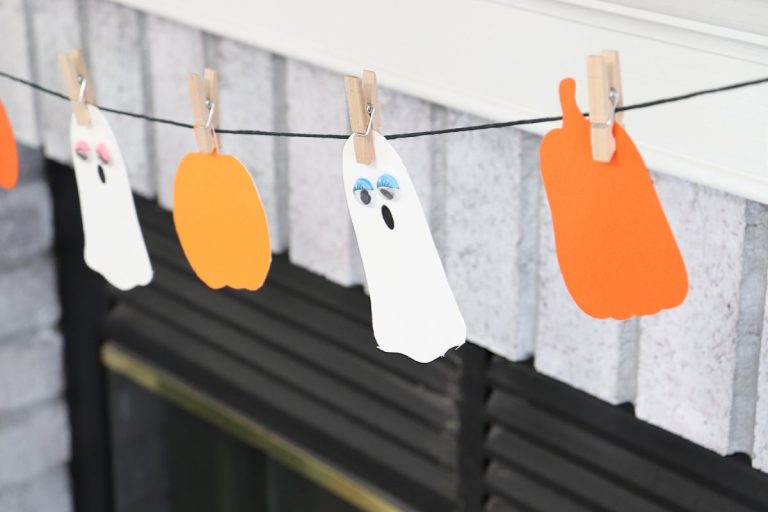
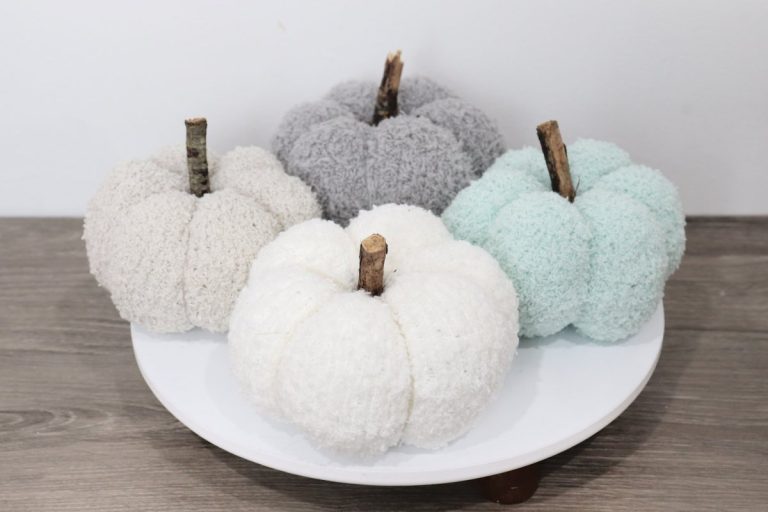
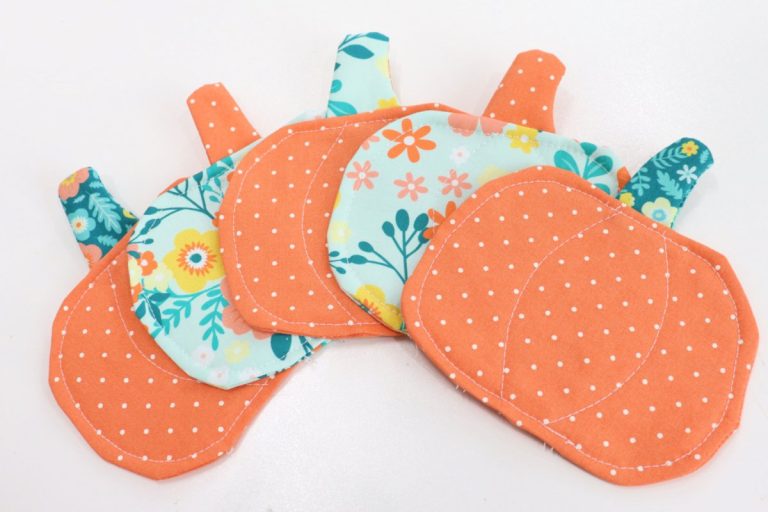
More Pumpkin Projects
If you enjoyed this project, be sure to check out these other fun craft ideas featuring pumpkins!


If you paint your own pumpkin or try any of these projects, I’d love to see your version! Make sure you’re part of the Amy Latta & Friends Facebook Group so you can share your photos and we can all be inspired. See you there!