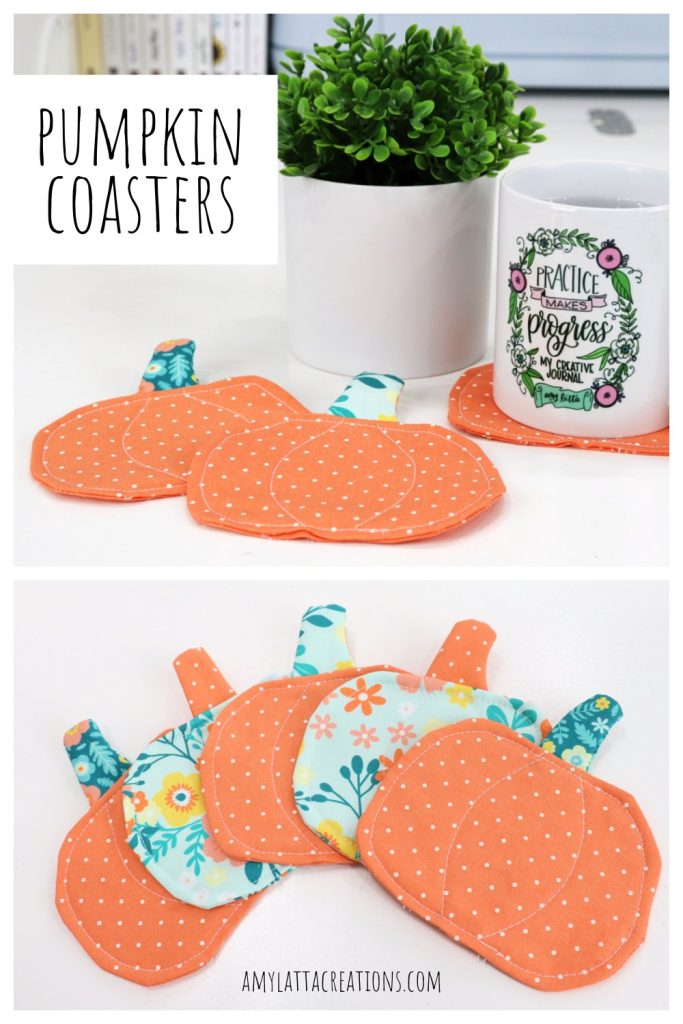
Pumpkin Coasters
If you enjoy seasonal decorating, you’re going to love this easy sewing project! Let’s create a set of Pumpkin Coasters to use in your home throughout the fall.
How to Make Pumpkin Coasters
Each pumpkin coaster takes less than 10 minutes to make, so you’ll find yourself with a set in no time. All you need is a sewing machine and a few basic supplies, and you’re ready to get started. You may even find yourself wanting to make more to give as gifts!
Materials
- fabric – 1/4 yard of the main color will make 3 coasters, scraps will work for the stems
- batting or interfacing (I used Fairfield World Low Loft Quilt Batting)
- scissors
- pins
- pumpkin pattern – free download
Instructions
Cut your fabric and batting.
Download and print the free pattern here. Fold your fabric in half and cut 2 pumpkin shapes from the main color. Cut 2 stem shapes from your coordinating fabric scrap. Also, cut 1 pumpkin and 1 stem shape from your batting.
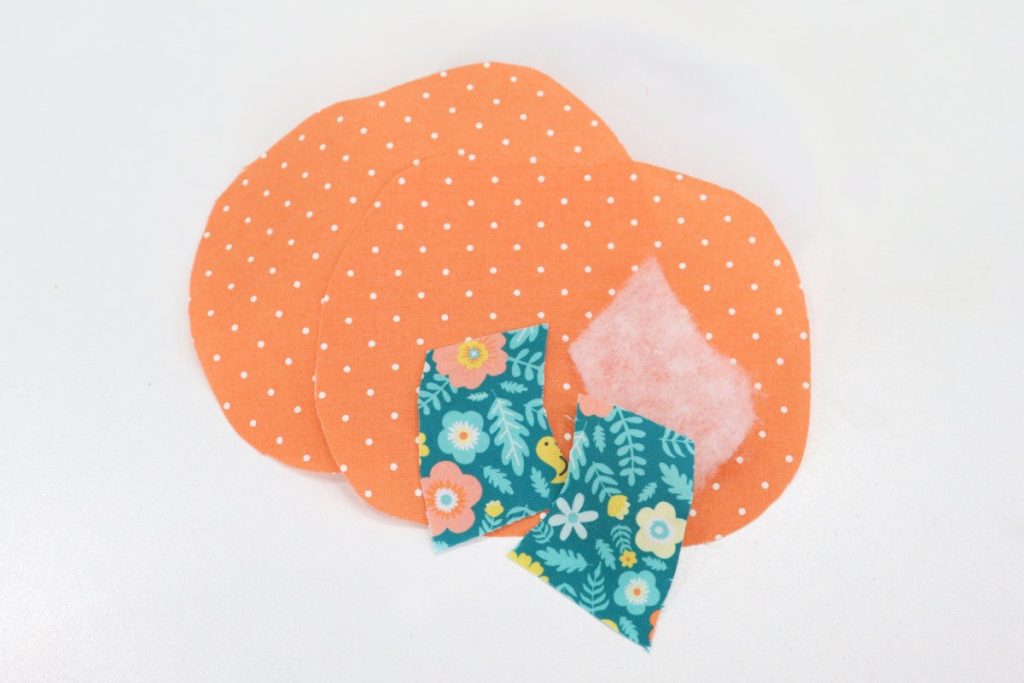
Layer and sew your stem pieces, leaving the bottom open.
Place your fabric stem pieces right sides together, and place the batting on the bottom. Sew a 1/4” seam around three sides of the stem, leaving the bottom open.
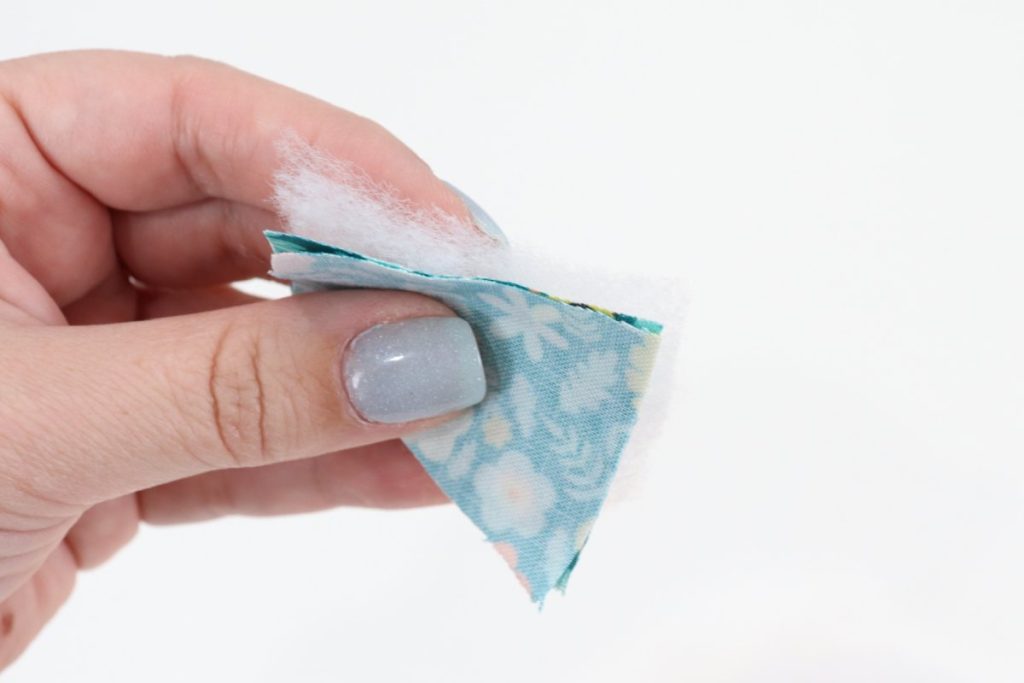
Turn the stem right side out.
Layer and sew the rest of the pumpkin.
Place your fabric pumpkin pieces right sides together with the stem in between. The stem should be right side out, with the top facing down into the pumpkin and the open bottom lined up with the top of the pumpkin pieces. Add the batting on the bottom.
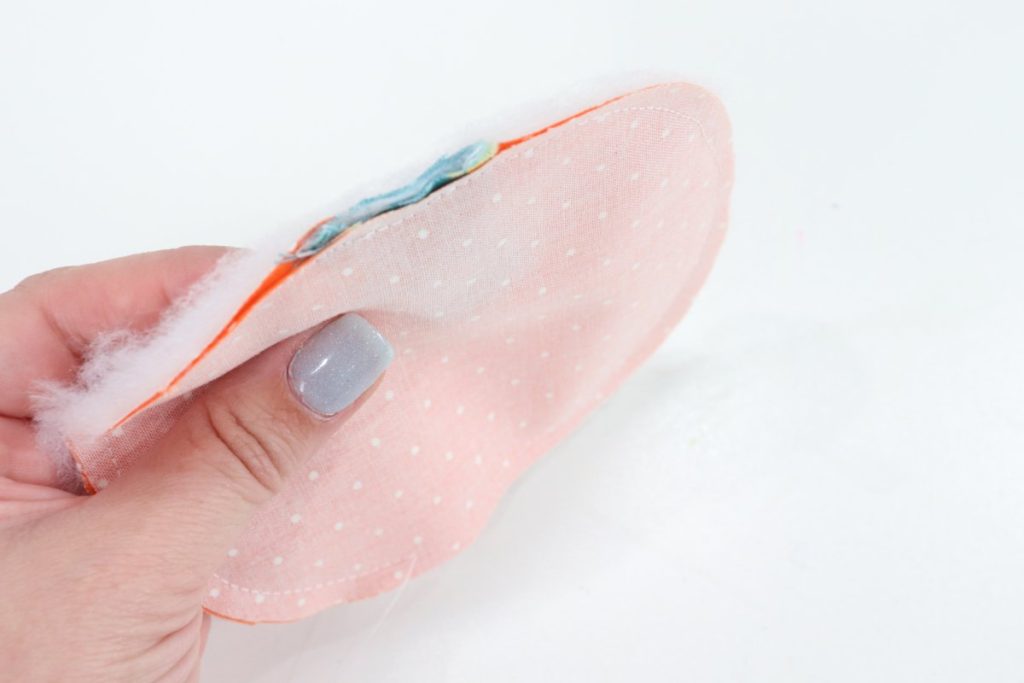
Sew around the pumpkin shape with a 1/4” seam, leaving a 2” opening in the bottom.
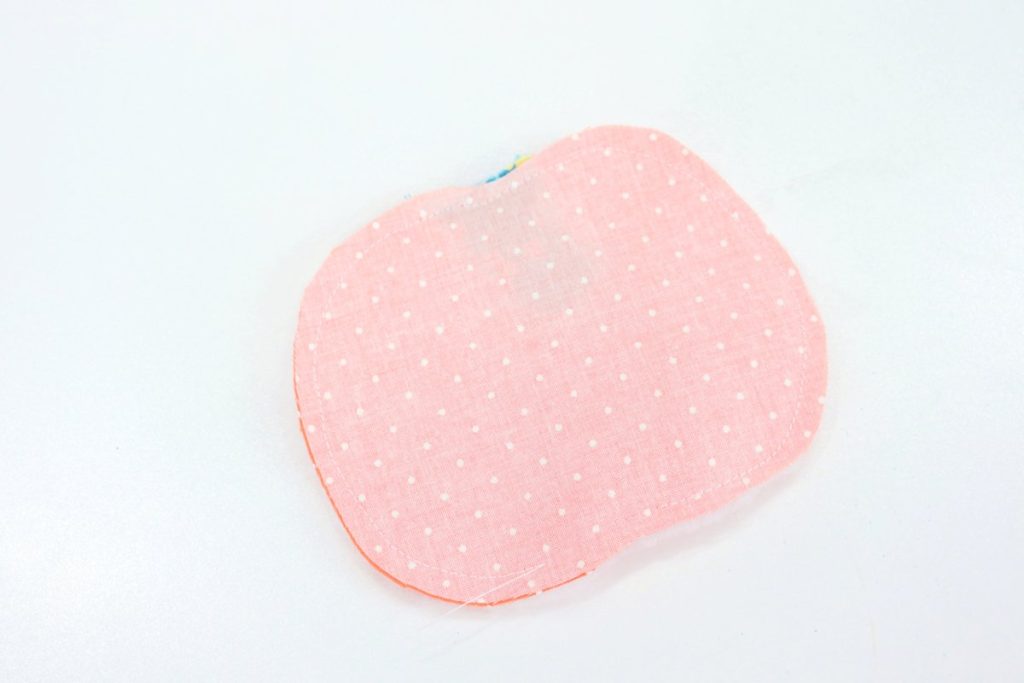
Turn the pumpkin right side out.
Use the opening in the bottom and push the fabric through until the right sides are on the outside.
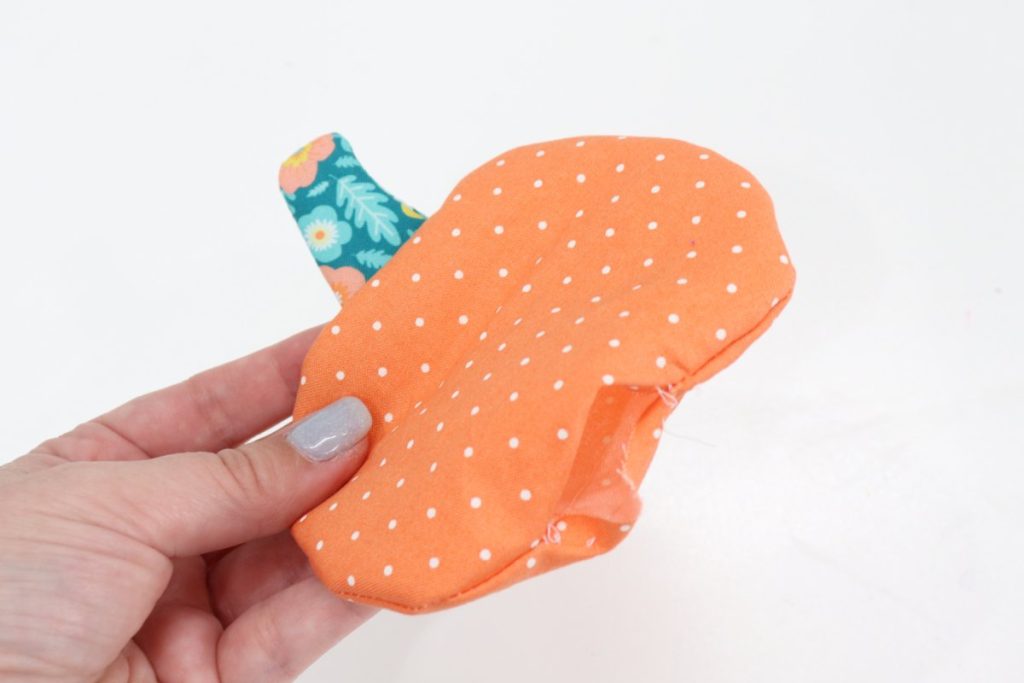
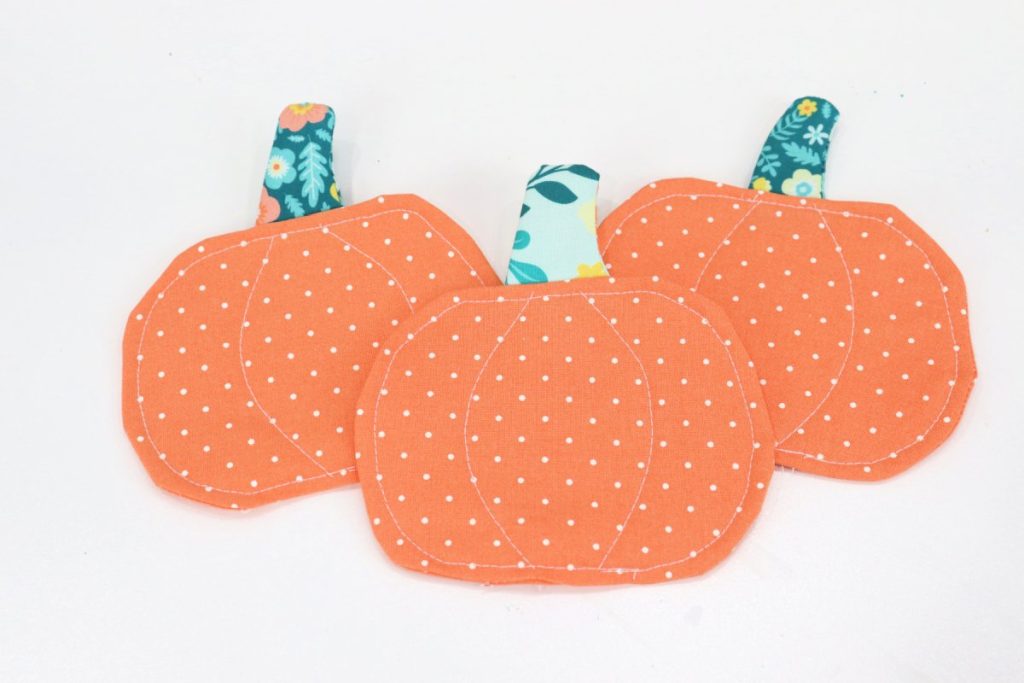
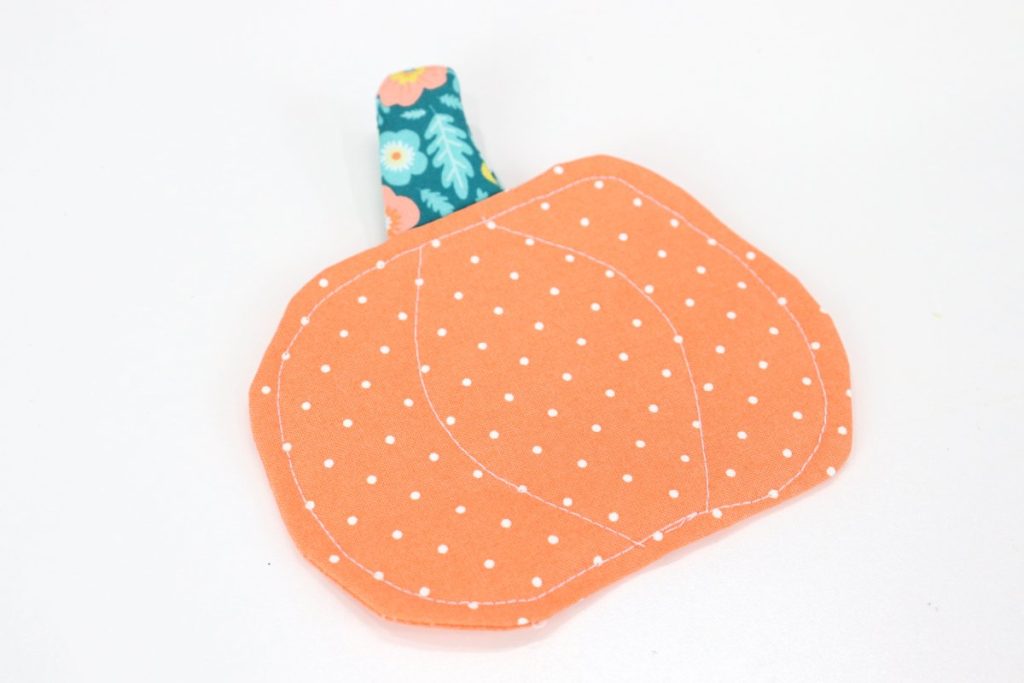
Top stitch around the pumpkin and add detail lines.
Tuck the open edges inside, then sew a 1/8” seam around the entire pumpkin shape from the outside. You can also stitch curving lines to add texture to your pumpkin. I just eyeballed mine, but if you prefer, you can use a heat erase pen to sketch them, then iron your project to erase after your stitching is done.
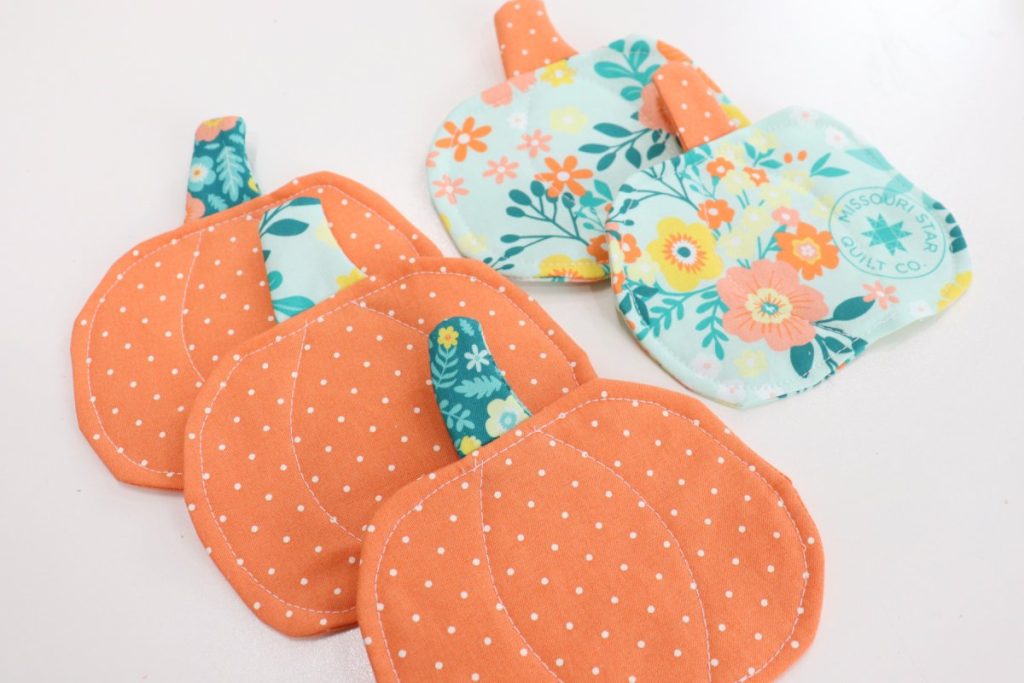
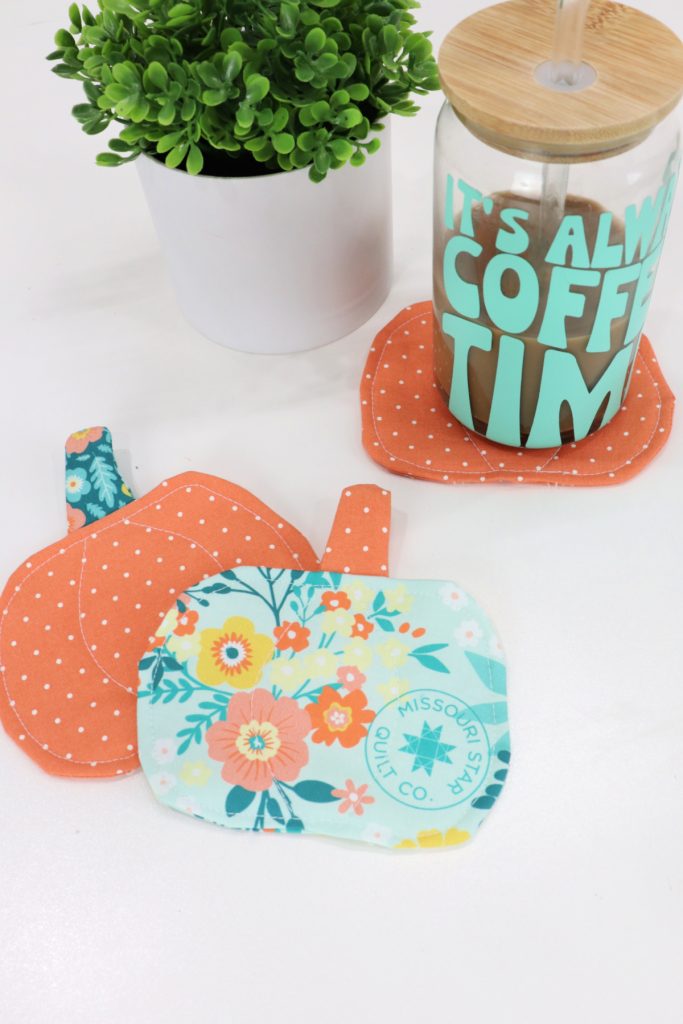
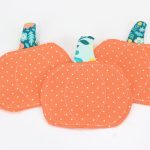
I started out by making orange pumpkins with coordinating stems, then I decided to try switching the fabrics for a different effect.
Crafting Tips
- Before you turn the coaster right side out, clip a series of small cuts around the curved sections (don’t cut quite as far as the seam!) to help the fabric lay flat.
- I used low loft batting for my coaster, but if you’d like yours to be thicker, you can use medium or high loft instead.
- If you use an extra large mug or glass, you can enlarge the pattern for a bigger coaster.
Frequently Asked Questions
Missouri Star Quilt Company! You can save 15% on any purchase with the code AMYSUMMER15.
Orange – Tula Pink True Colors Tiny Dots: Peachy
Coordinating – Quilt Town: Missouri Star Large Floral Mint, and Quilt Town: Missouri Star Medium Floral Teal
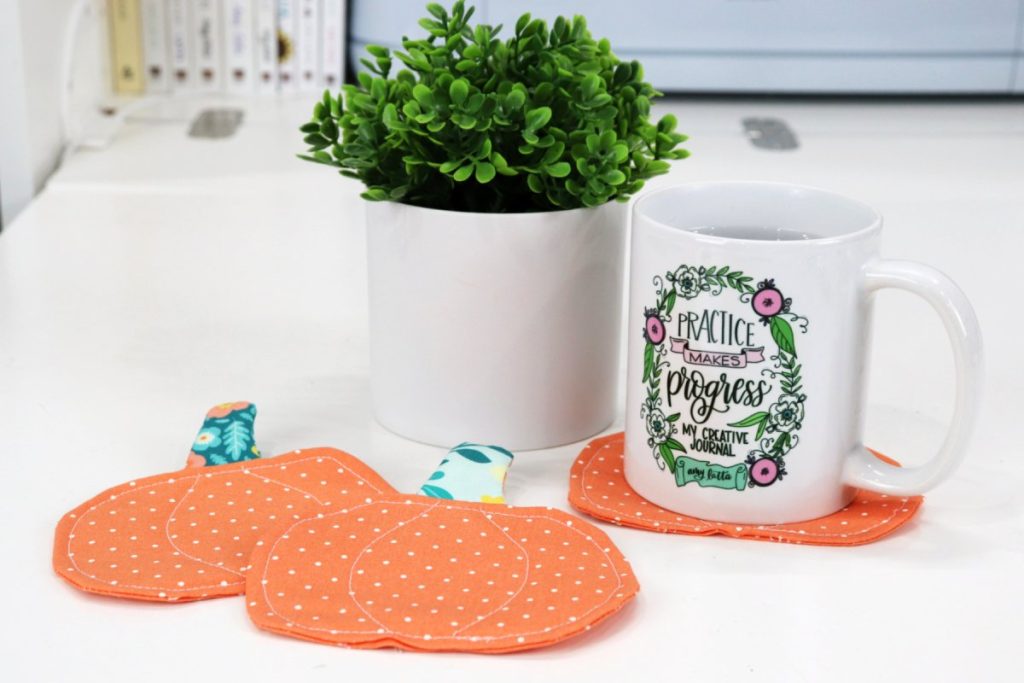
Counting the stem, mine are about 4 3/4” wide and 5” tall.
More Fall Projects
If you enjoyed this project, make sure to check out these other ideas for fun fall crafting!


If you try this project, I’d love to see how your pumpkin coasters turn out! Be sure you’re part of the Amy Latta & Friends Facebook group so you can share your latest project photos and we can all be inspired. See you there!
Pumpkin Coasters
Equipment
- sewing machine
- scissors
- straight pins
Materials
- fabric
- batting
- free pattern
Instructions
- Cut your fabric and batting using the free pattern download.
- Layer your stem fabric pieces right sides together with the batting piece on top and sew around 3 edges with a 1/4” seam, leaving the bottom open.
- Turn stem right side out.
- Layer the pumpkin fabric pieces right sides together with the stem in between, facing downward.
- Add the batting layer on the bottom, then sew around the pumpkin with a 1/4” seam. Leave a 2” opening.
- Turn right side out.
- Top stitch around the pumpkin with a 1/8” seam. Add detail lines.