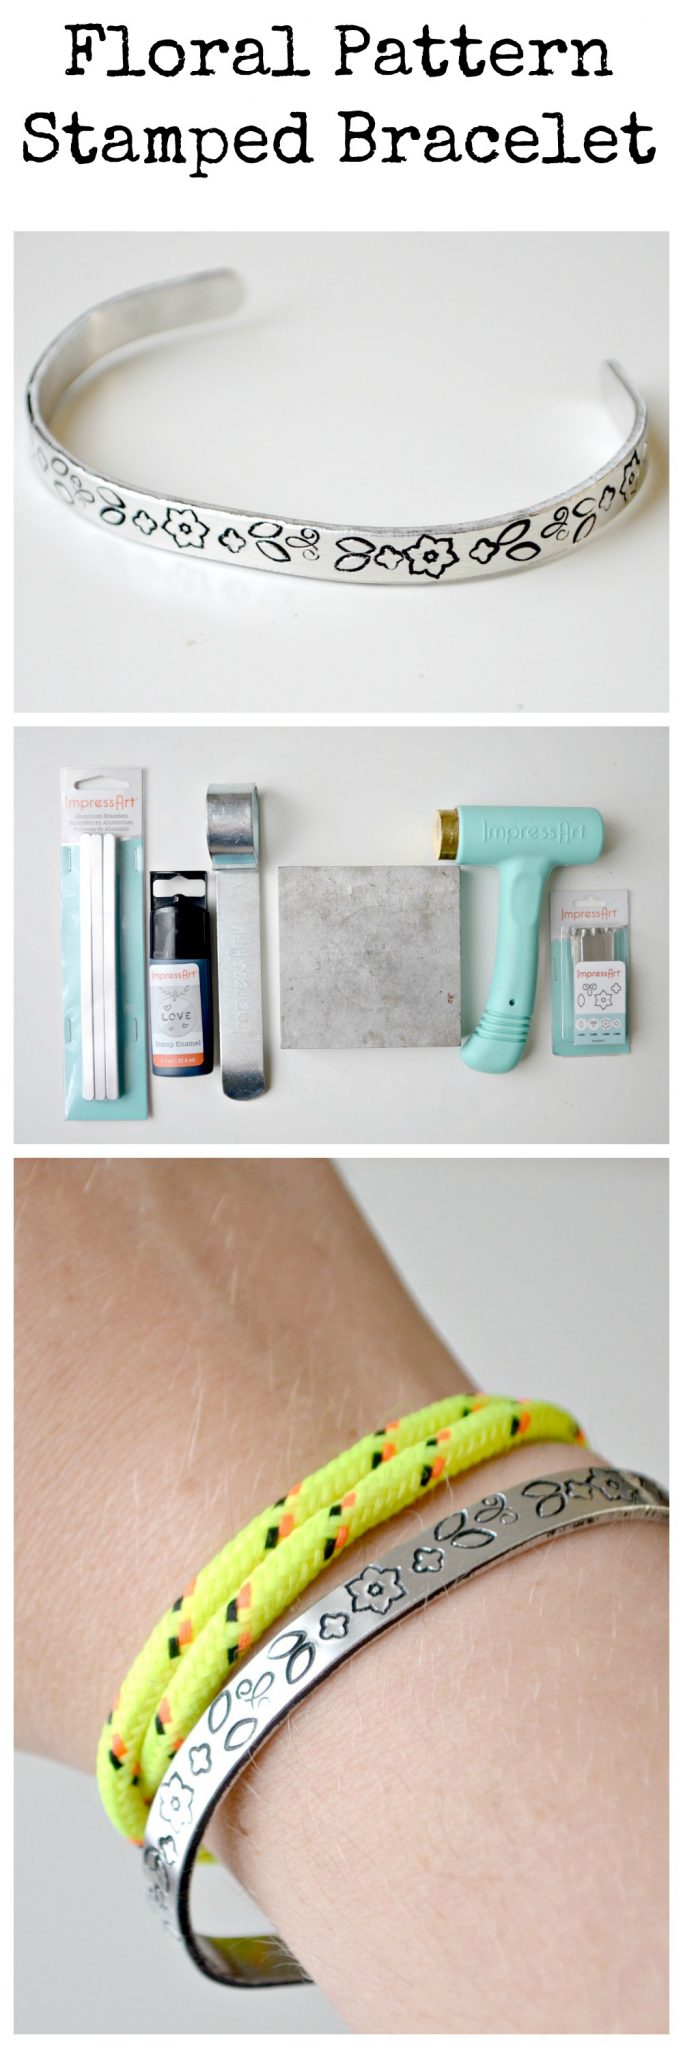
Floral Pattern Bracelet
Thanks to ImpressArt for sponsoring today’s post; all opinions are my own.
I absolutely love creating my own jewelry. I enjoy wearing it, and it also makes a great gift idea for family, friends, teachers, and more. One of my favorite types of jewelry to make is metal stamped. Recently, ImpressArt, my go-to supplier for all my blanks and tools, released a bunch of fun new stamps I couldn’t wait to try! I got my hands on a few of them and used them to make this pretty patterned cuff bracelet. Here’s how I did it in just 5 minutes and you can too.
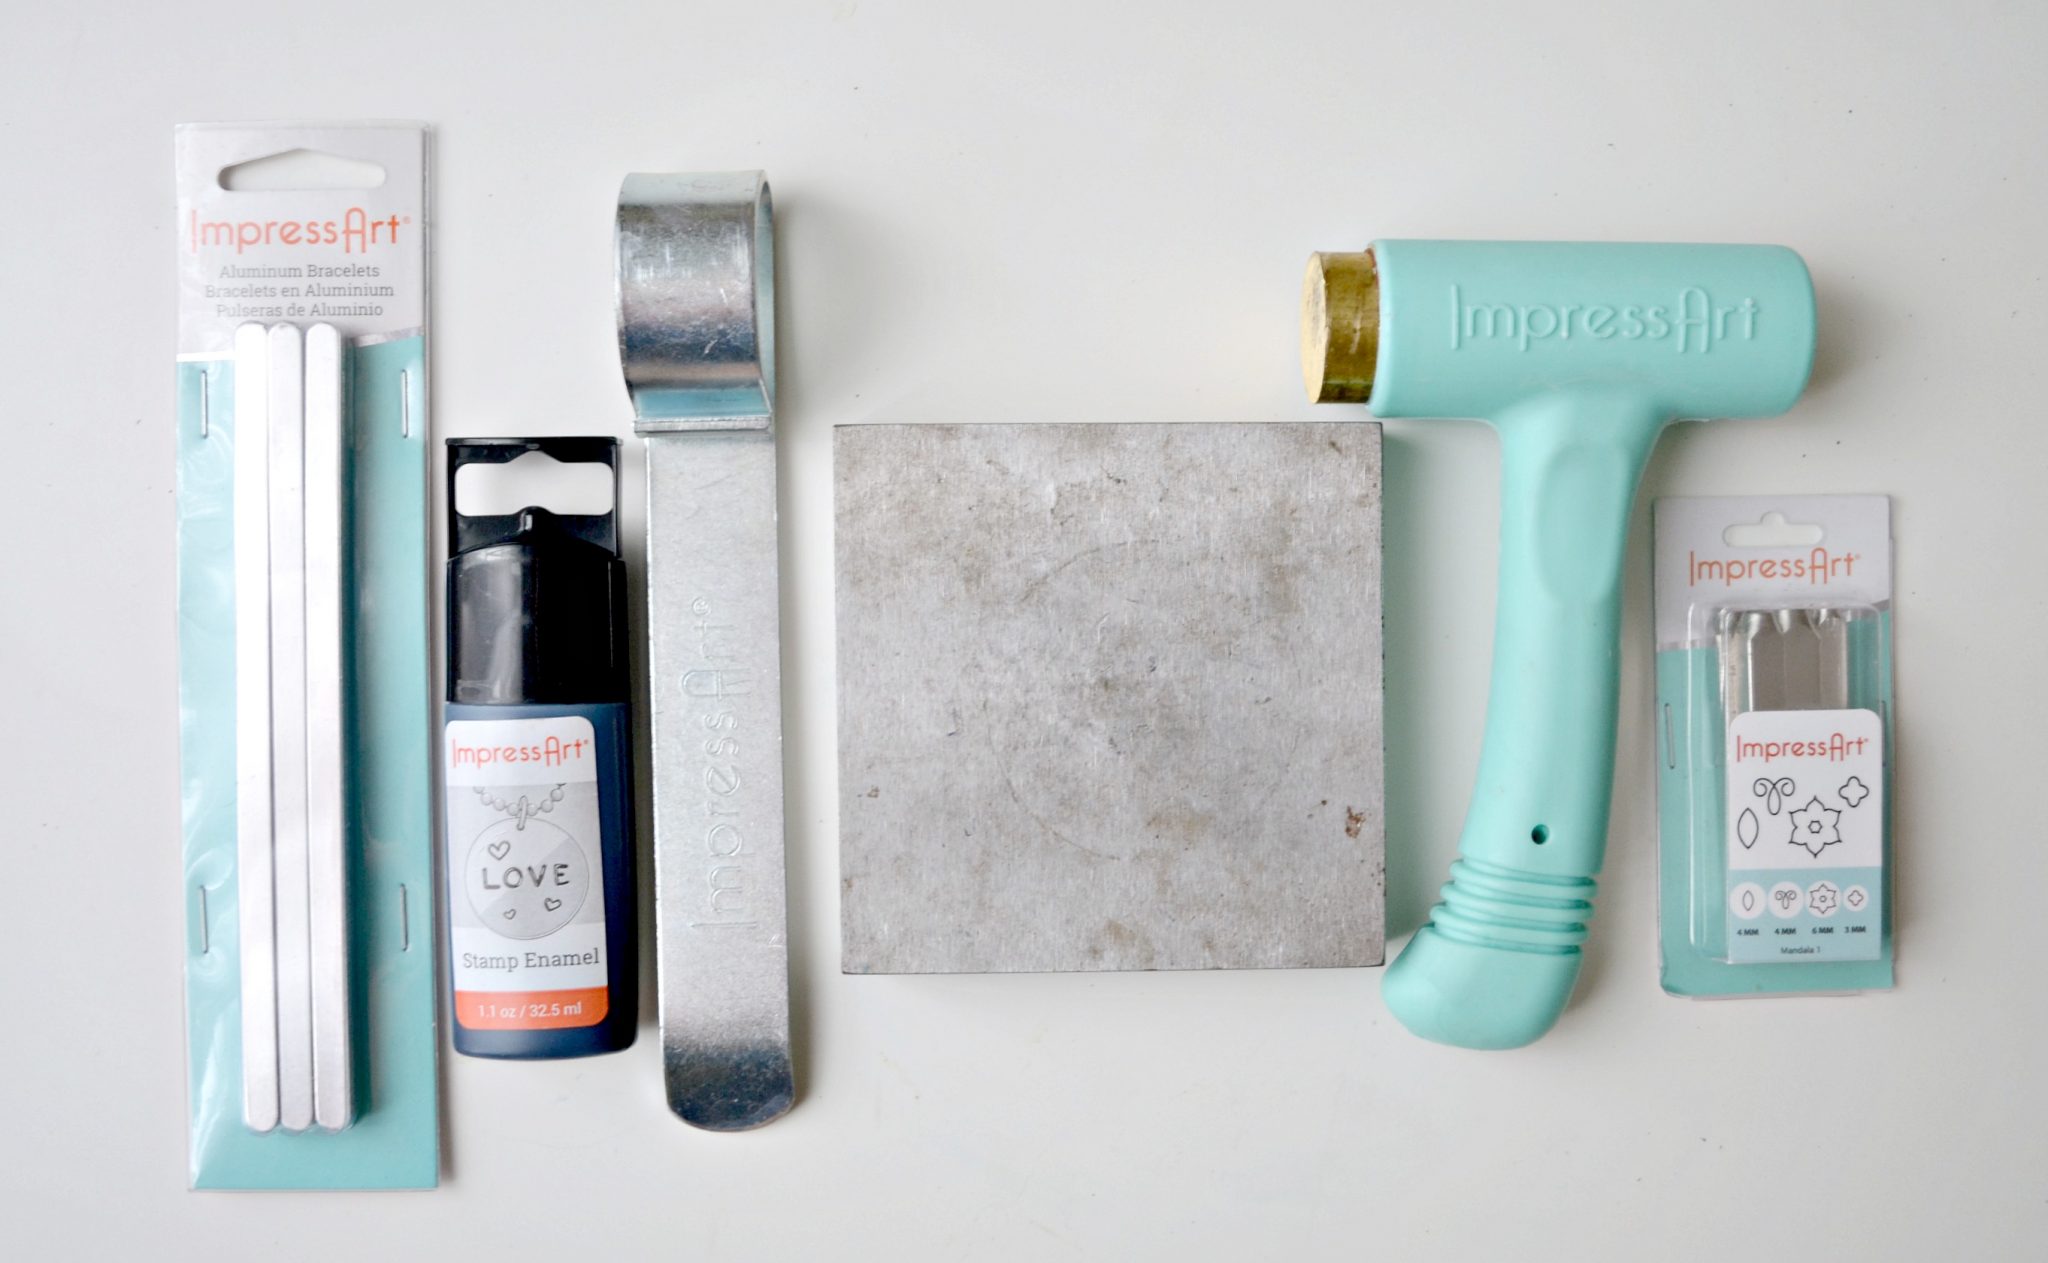
You’ll need:
ImpressArt Aluminum Bracelet Blank 1/4″ x 6″
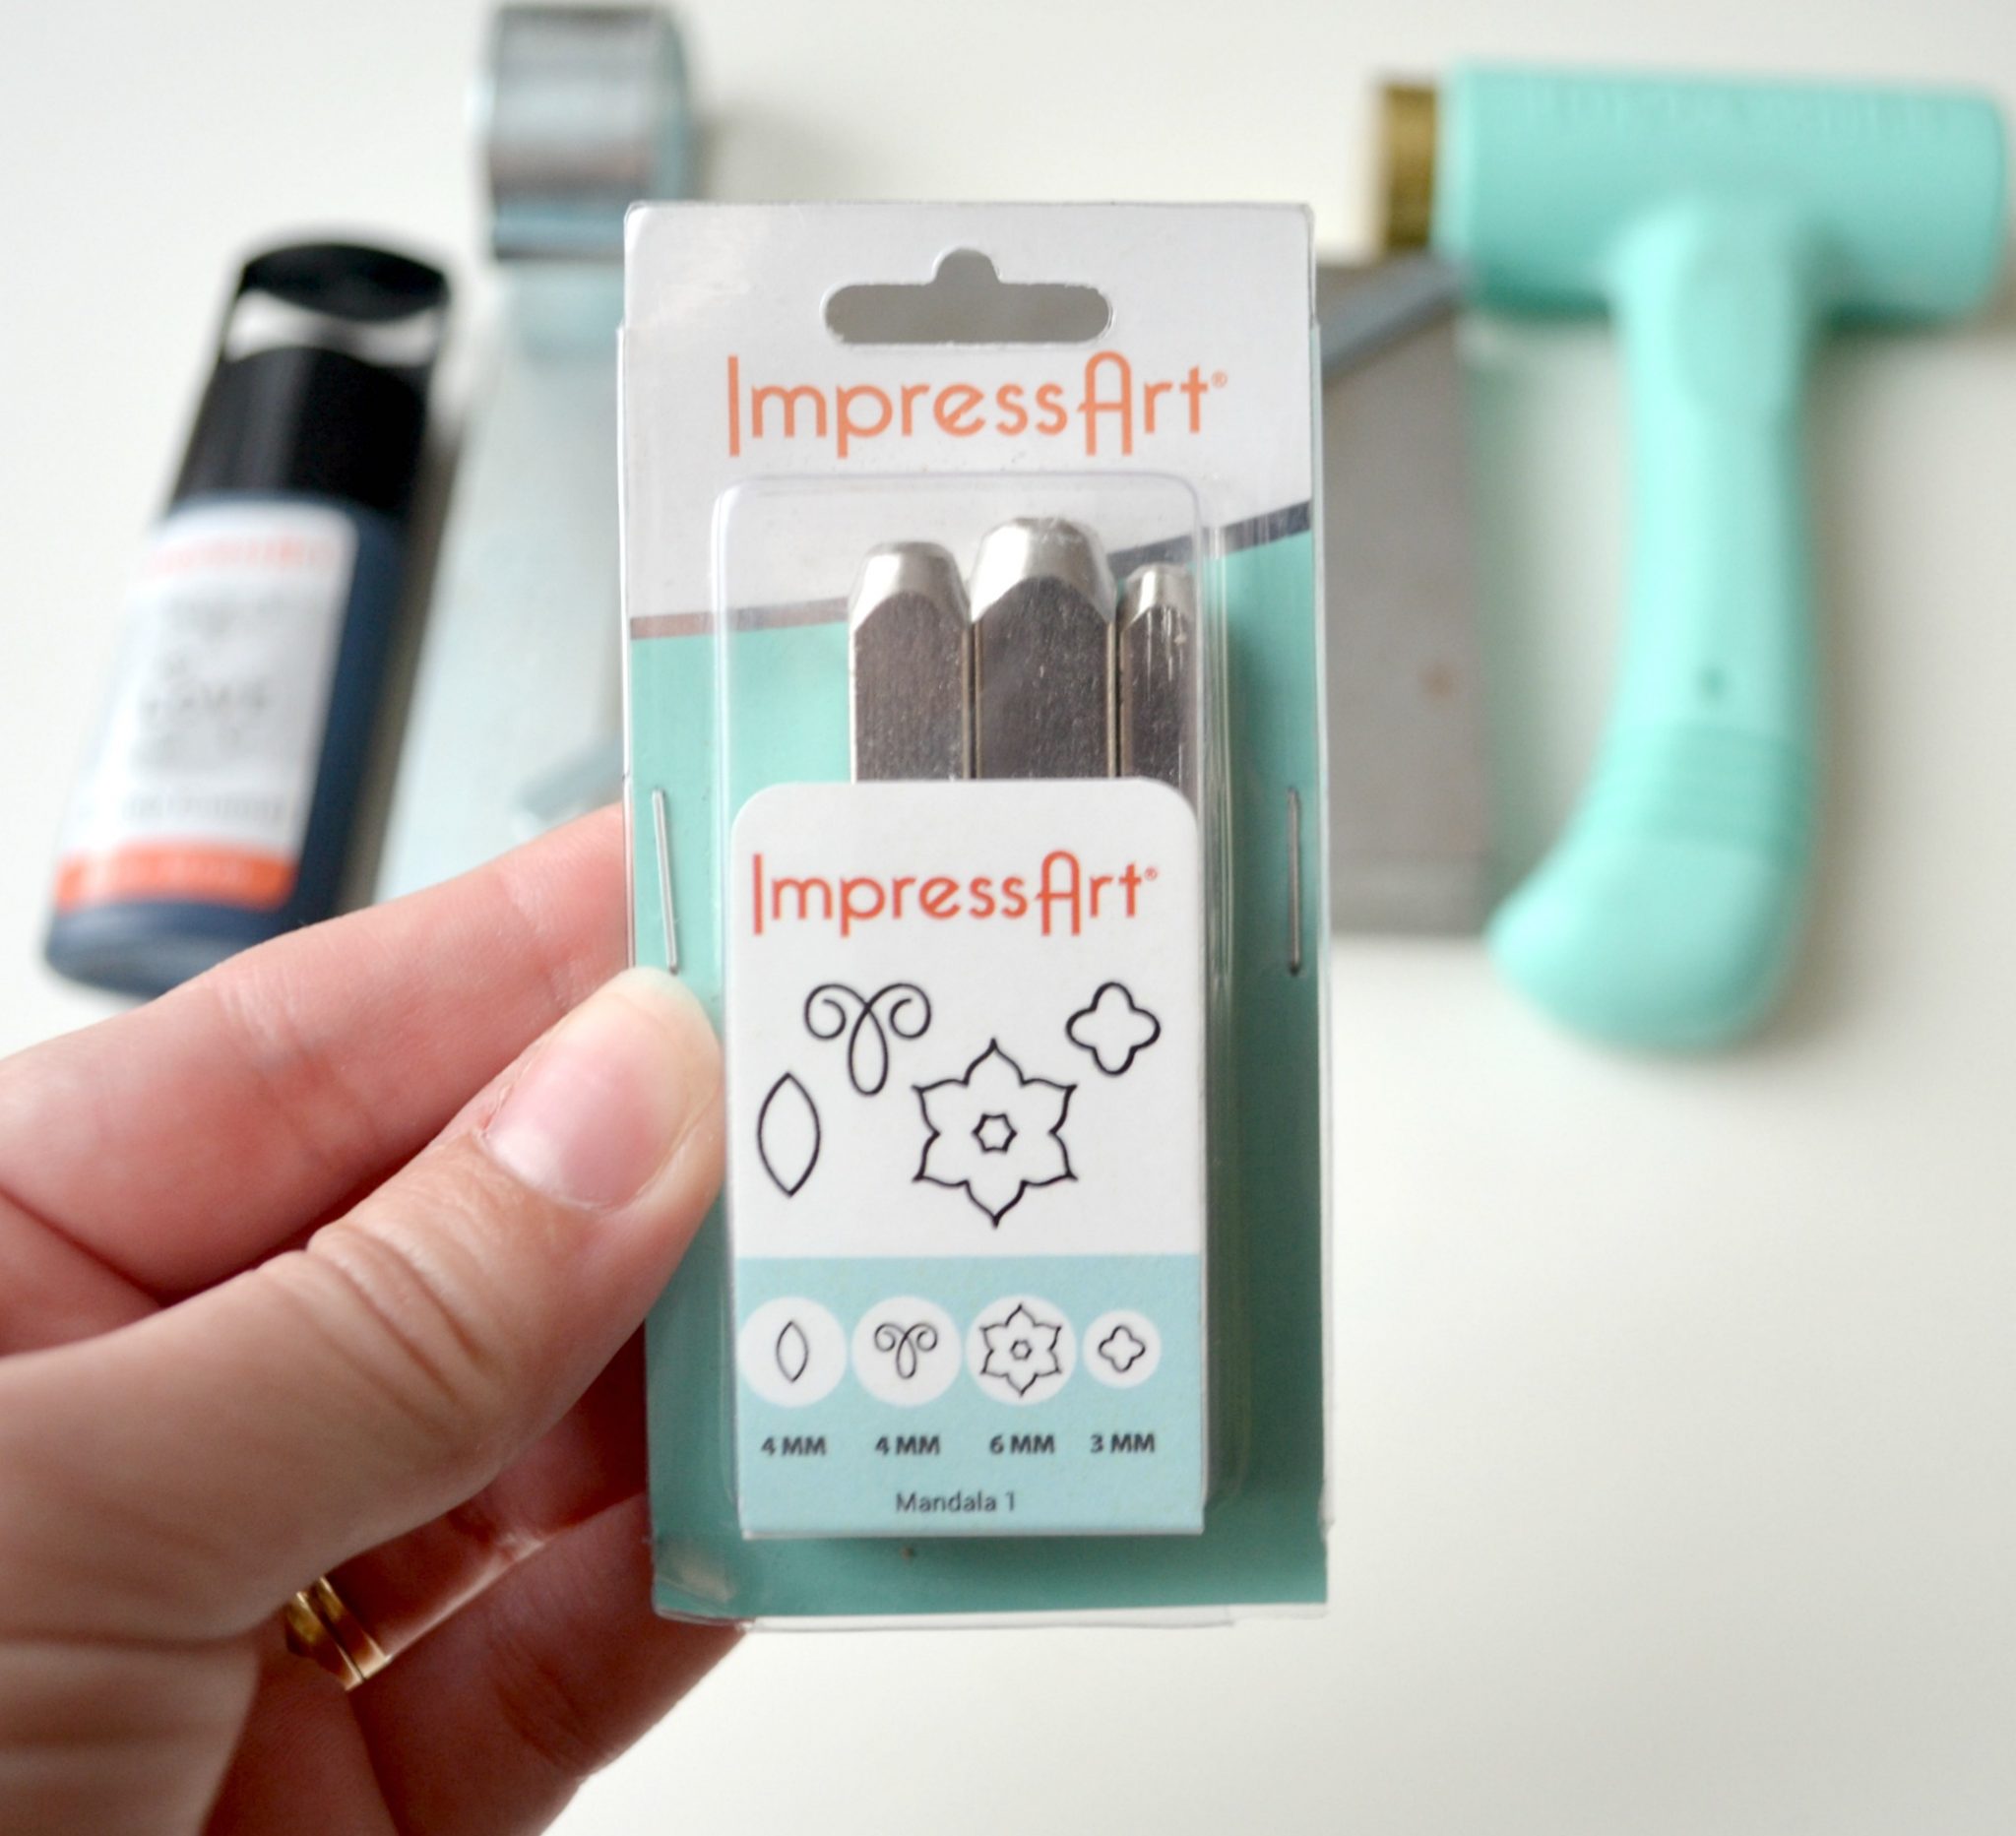
ImpressArt Design Stamps: Mandala Stamp Pack Series 1
Steel Stamping Block
Metal Stamping Hammer
Bracelet Bending Bar
ImpressArt Stamp Enamel
Soft, lint-free cloth or paper towel
Here’s the stamp set I was excited to play with…it’s four coordinating images that you can use to create any kind of pattern you can think of! They vary in size and can be combined to make whatever image you want.
Creating your cuff
Step 1: Design your pattern.
Figure out how you want to combine and organize the stamps on your bracelet blank. You can sketch it out if you like. You can replicate my pattern or come up with your own.
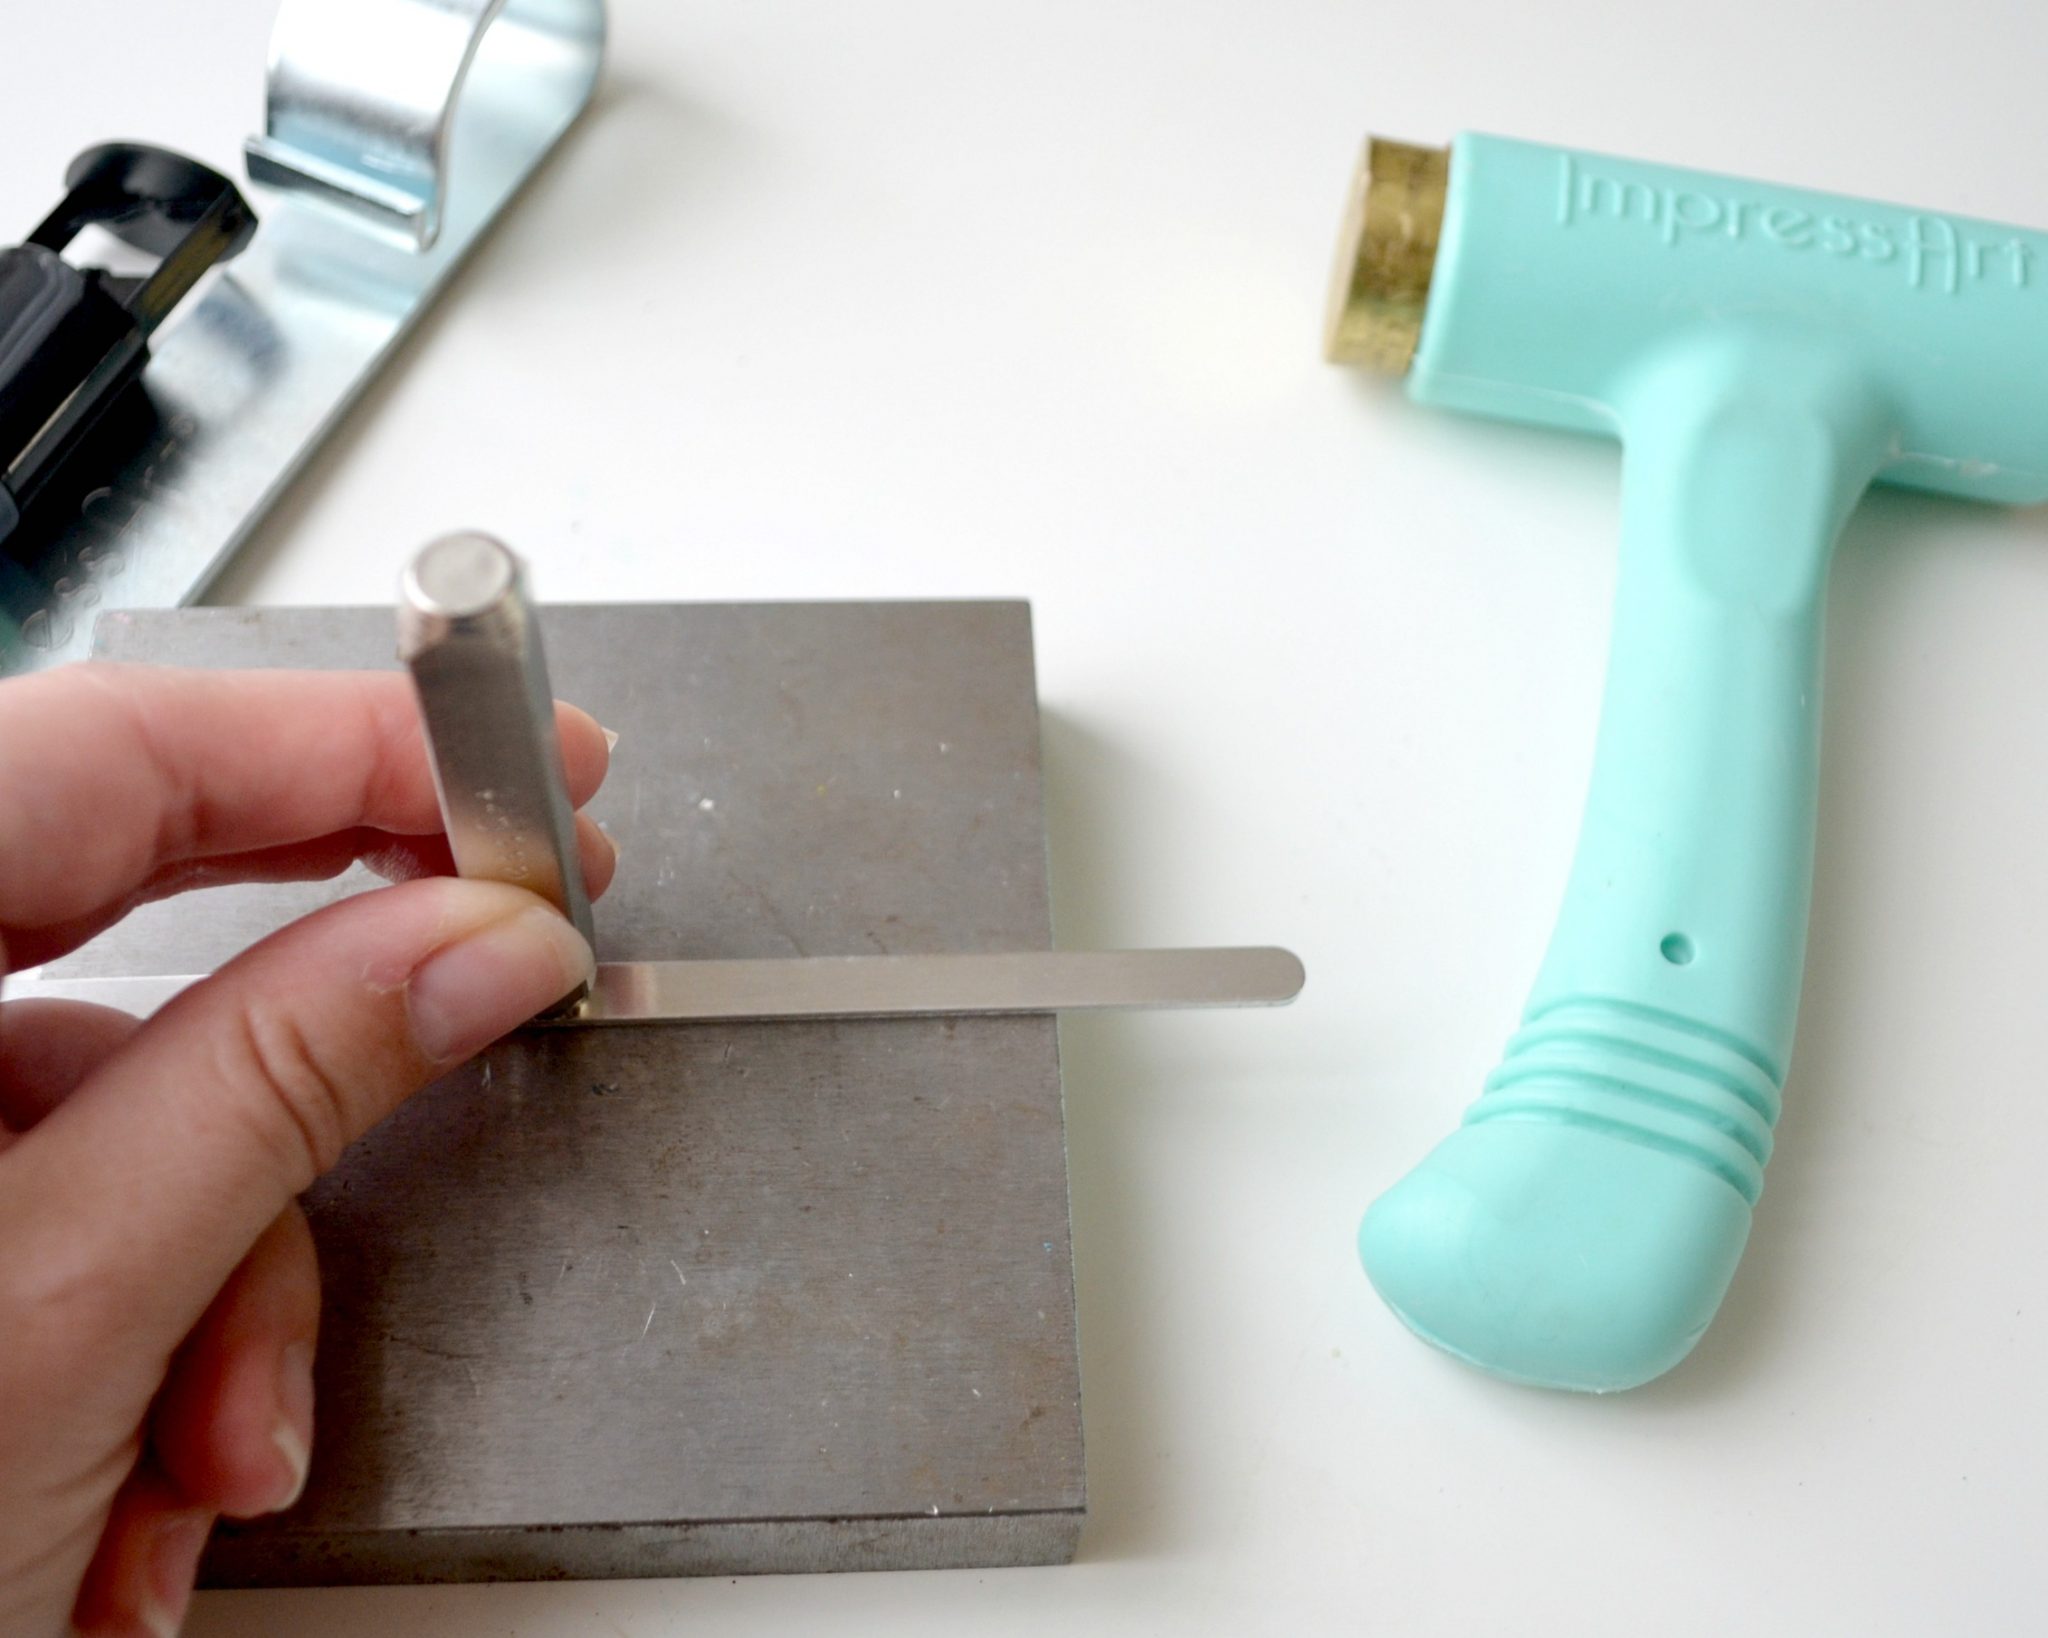
Step 2: Place your blank on the stamping block.
Feel free to secure it with painters’ tape so it doesn’t move around on you if you like.
Step 3: Beginning with your center image, place each stamp one at a time and give it a firm tap with the hammer to create a clean impression.
If you’re new to stamping, check out my beginner tutorial for more info about this step.
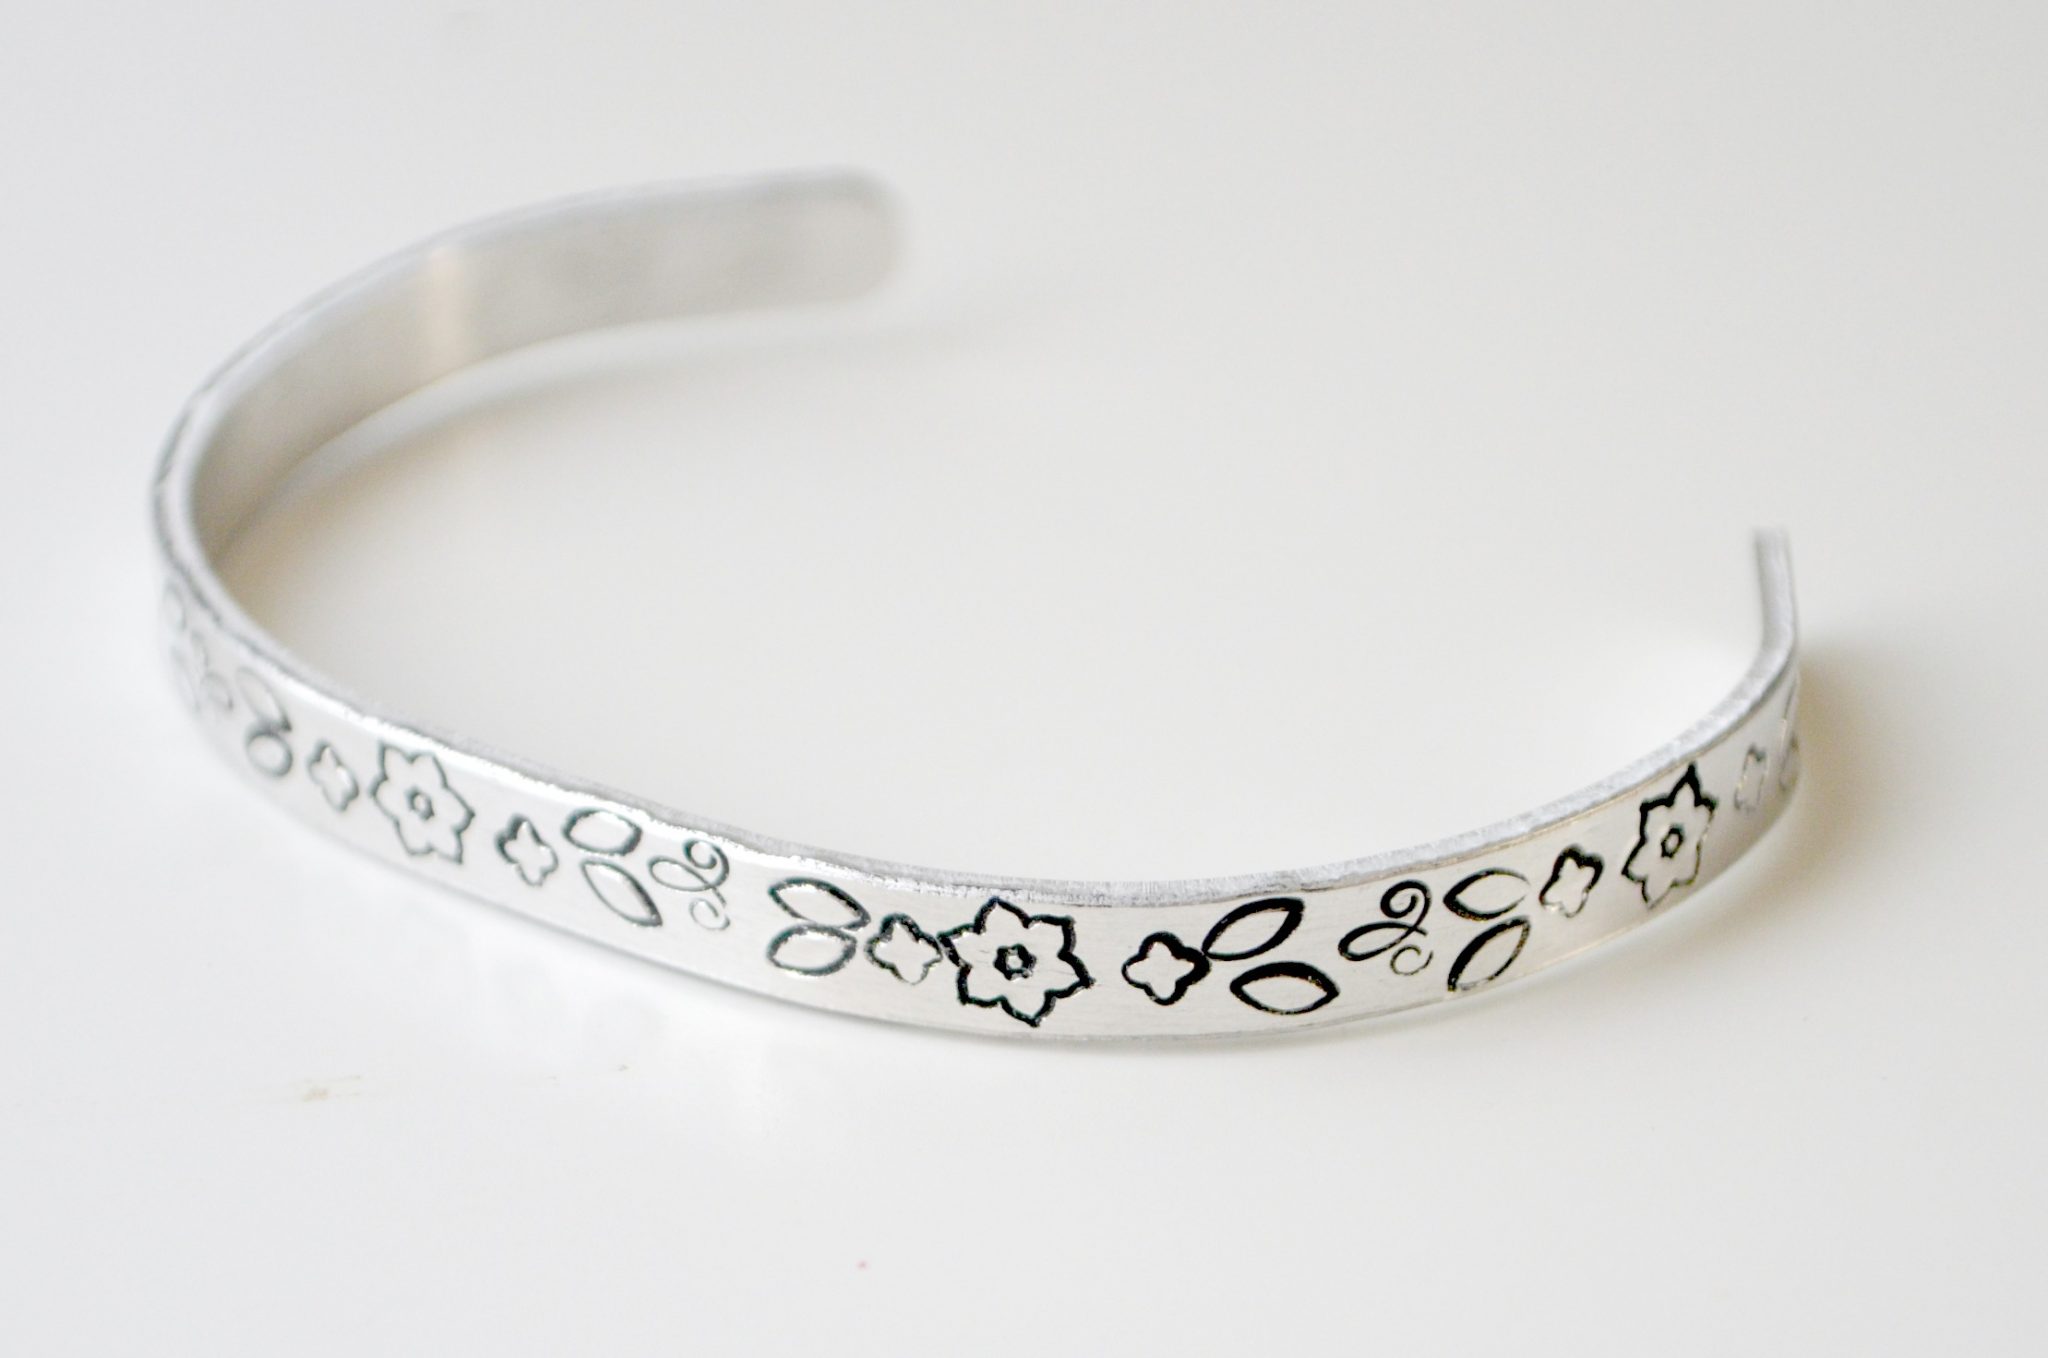
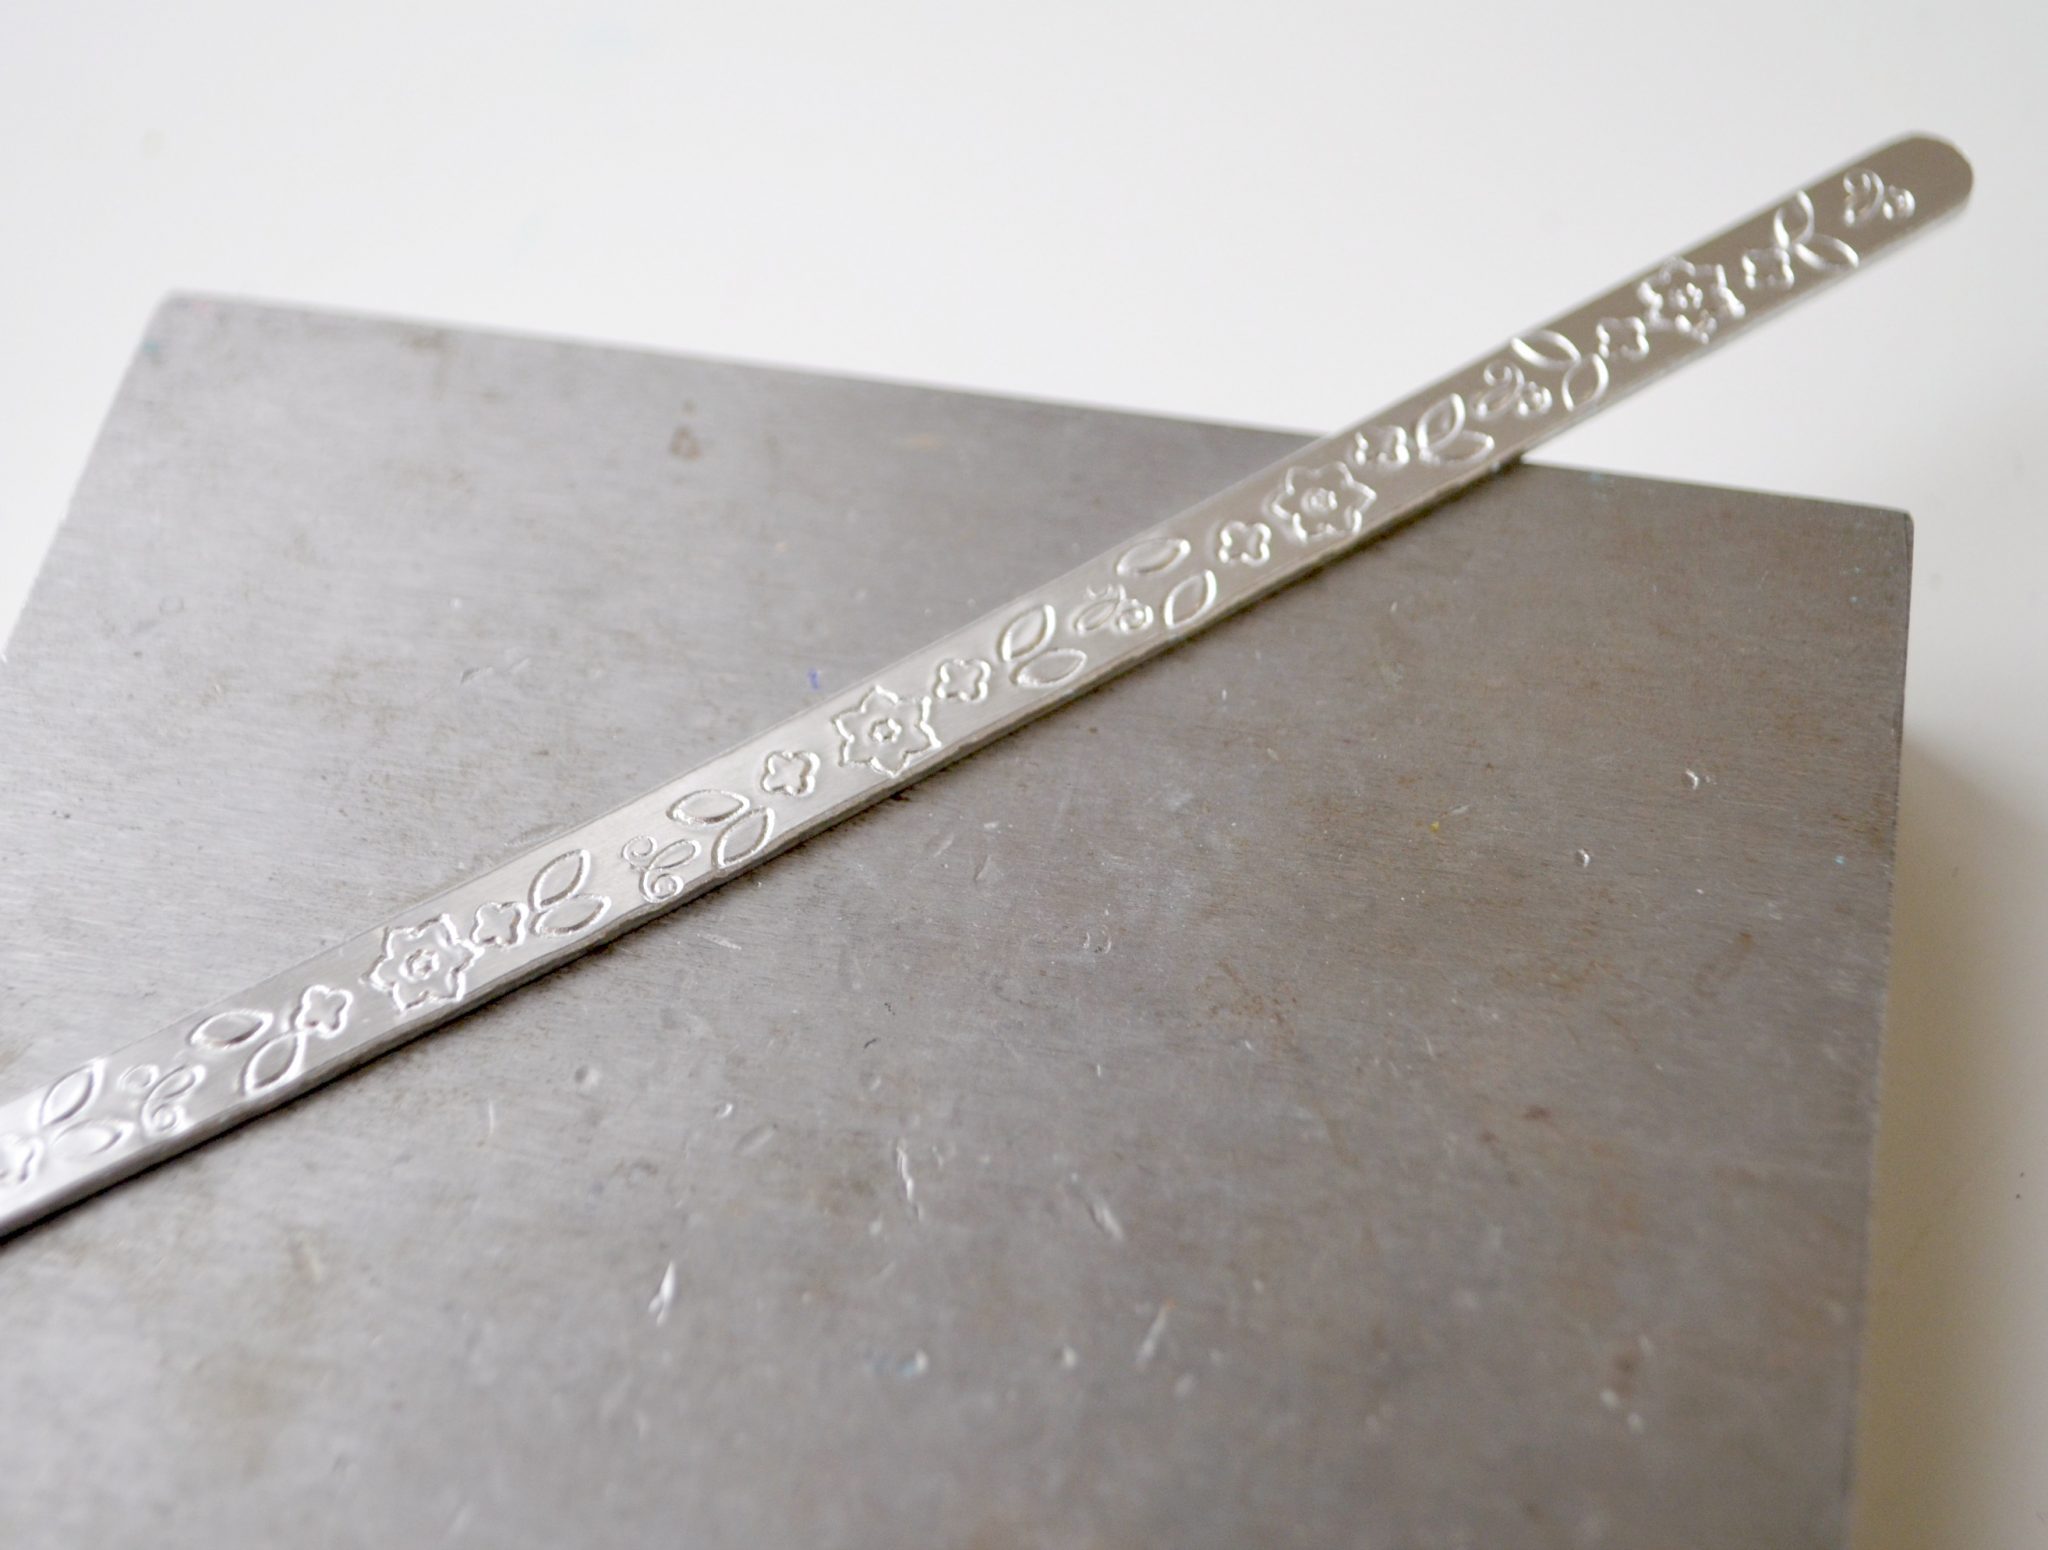
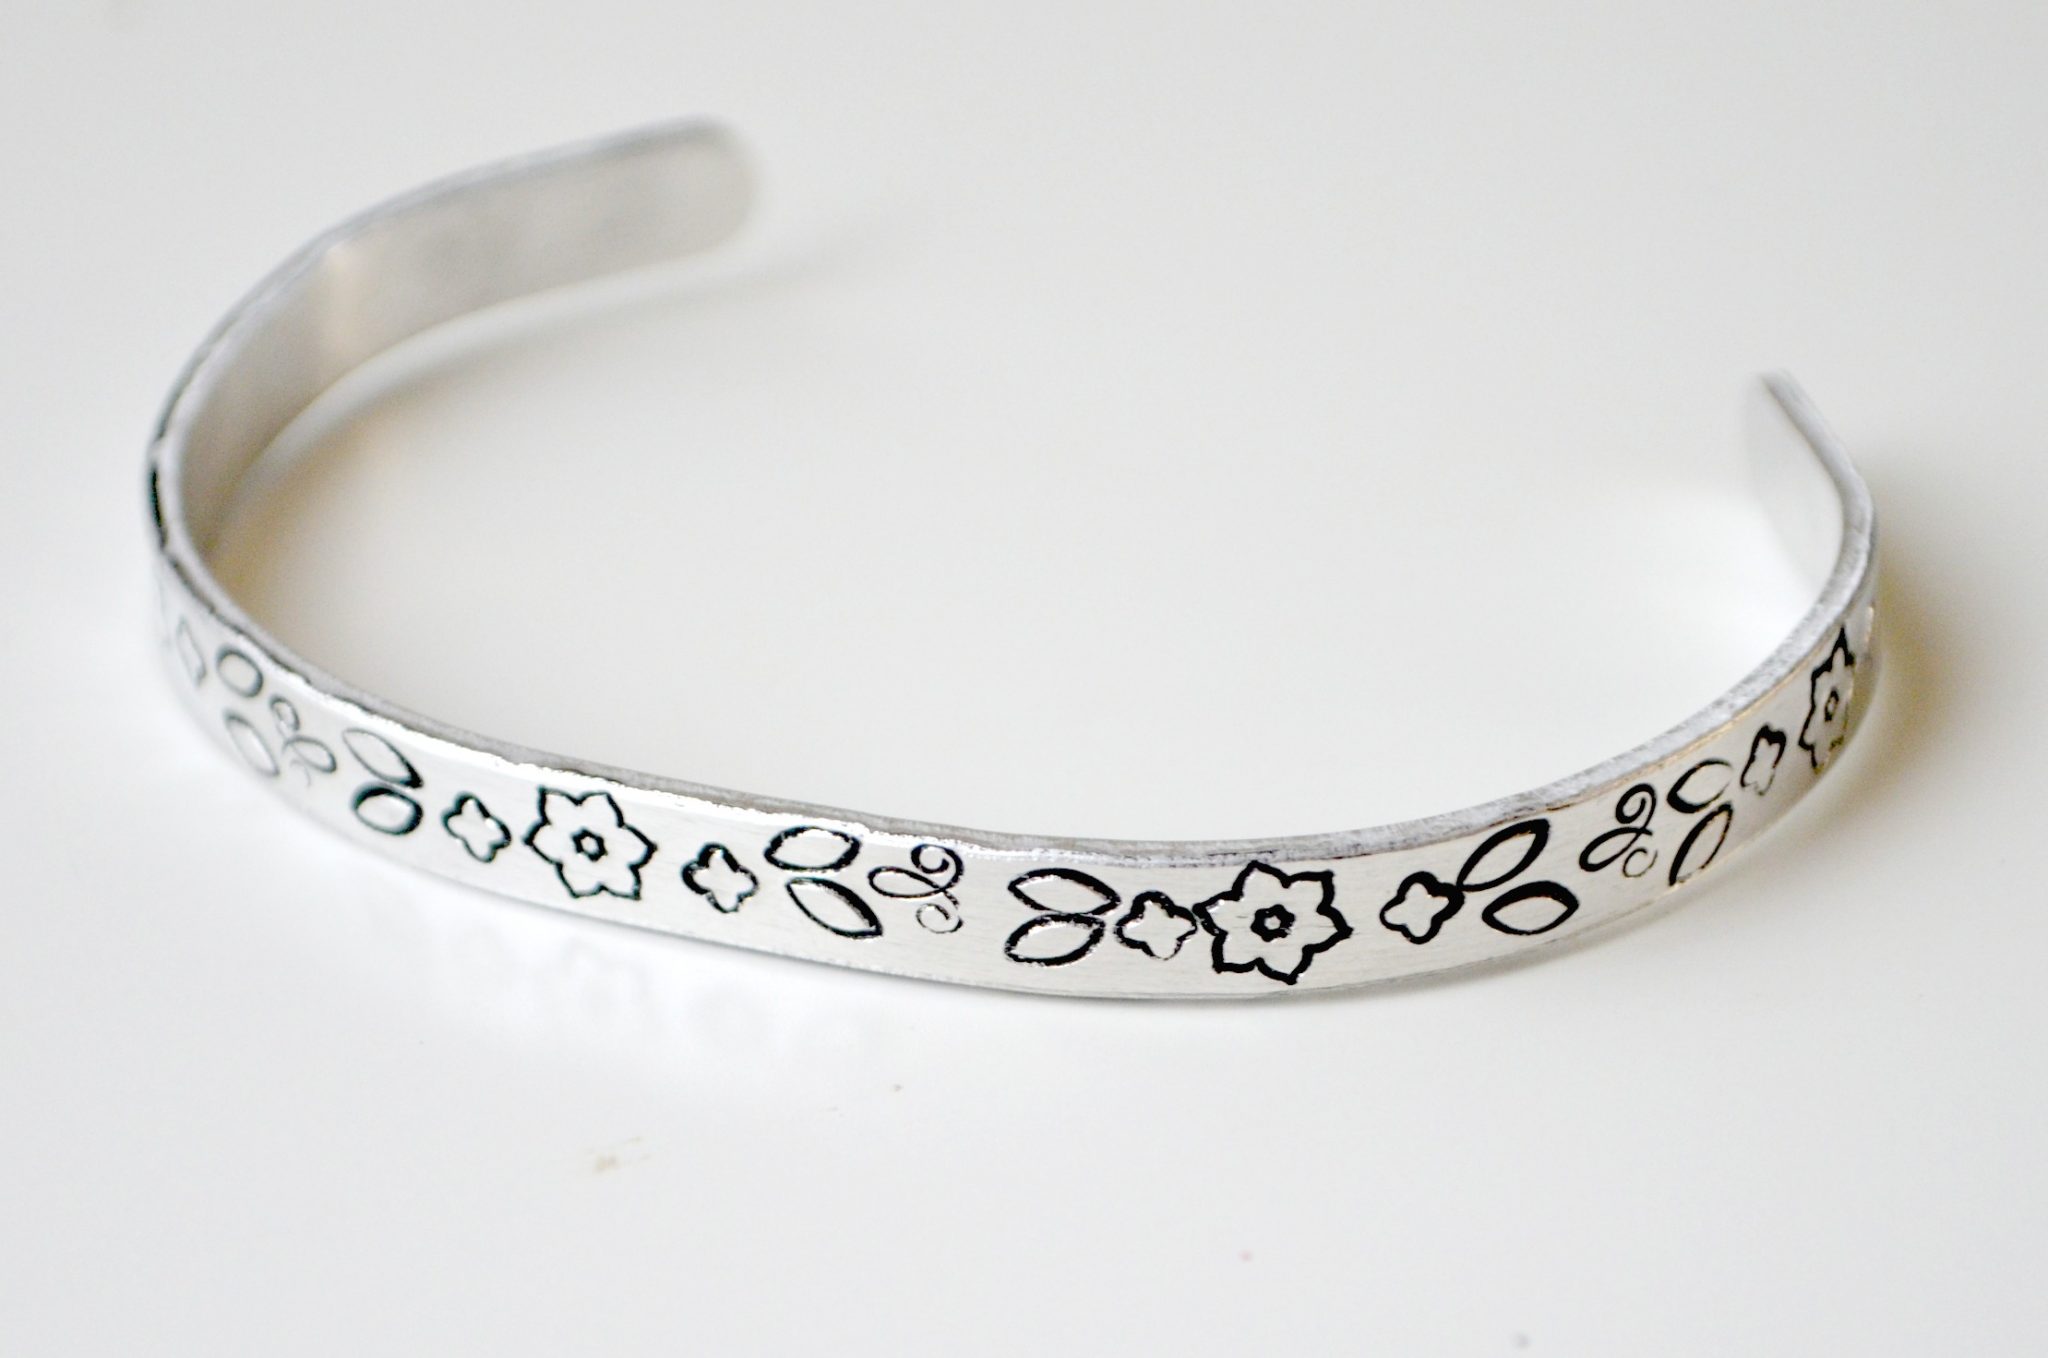
Continue stamping your pattern until the blank is filled. My pattern is shown below…a large flower in the center with a tiny flower on either side. I followed that with two leaves and an embellishment, then worked my way backwards.
Step 4: Apply ImpressArt Stamp Enamel to the stamped surface.
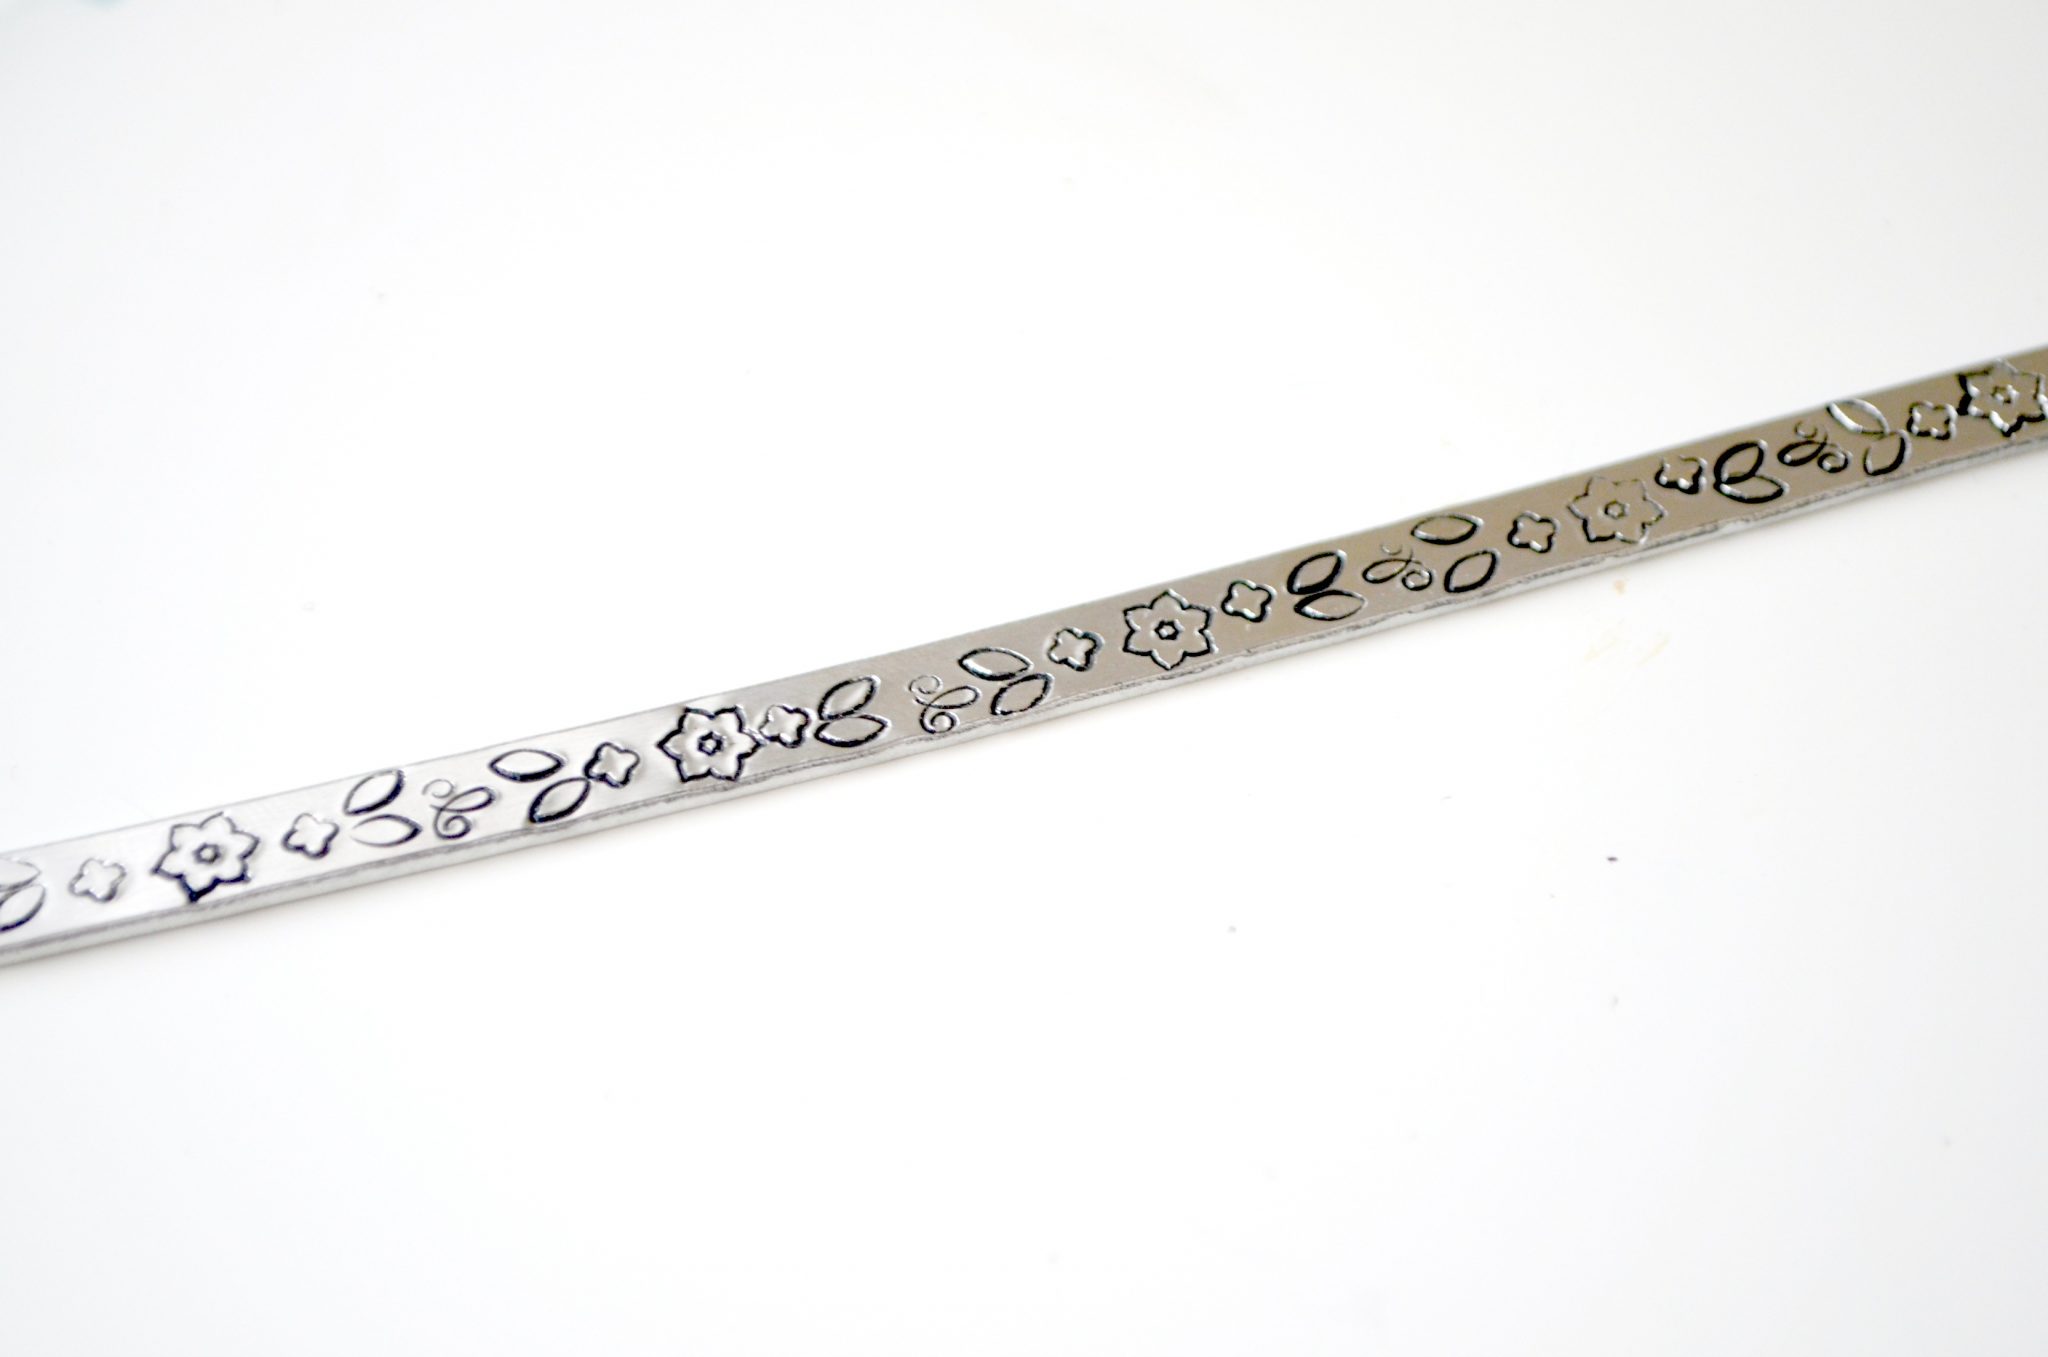
Let it dry for 10-30 seconds, then wipe off the excess with a soft cloth or paper towel.
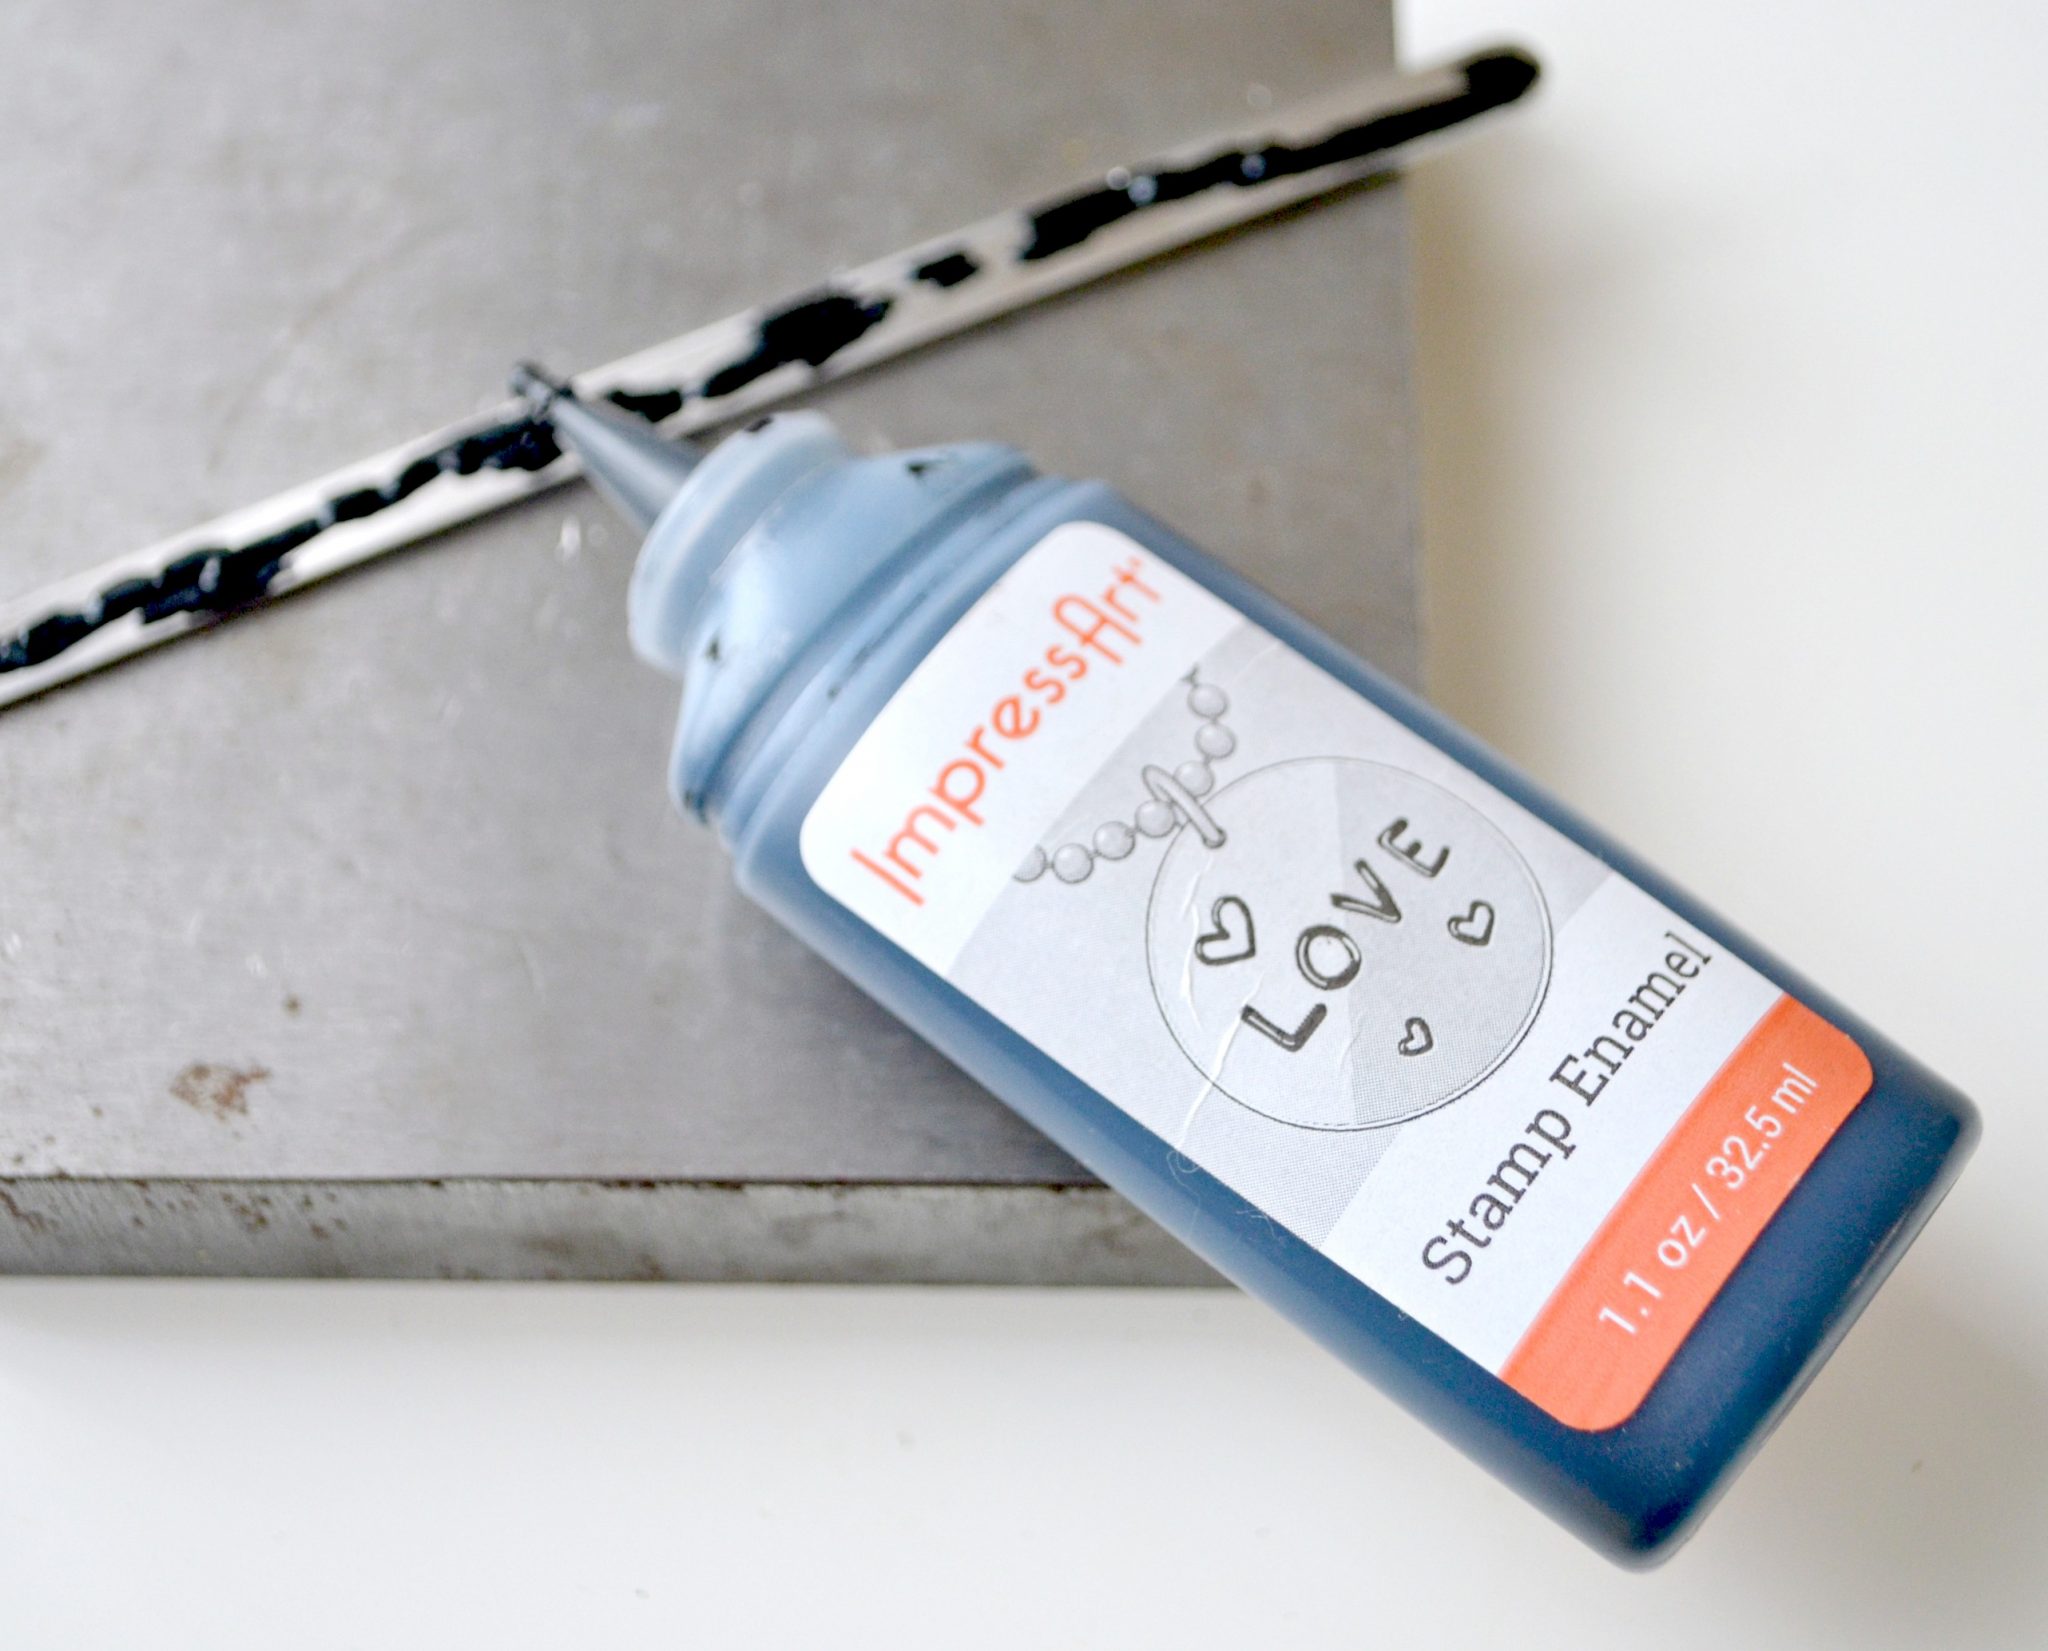
The enamel will settle into the stamped areas, darkening the design and making it easy to see.
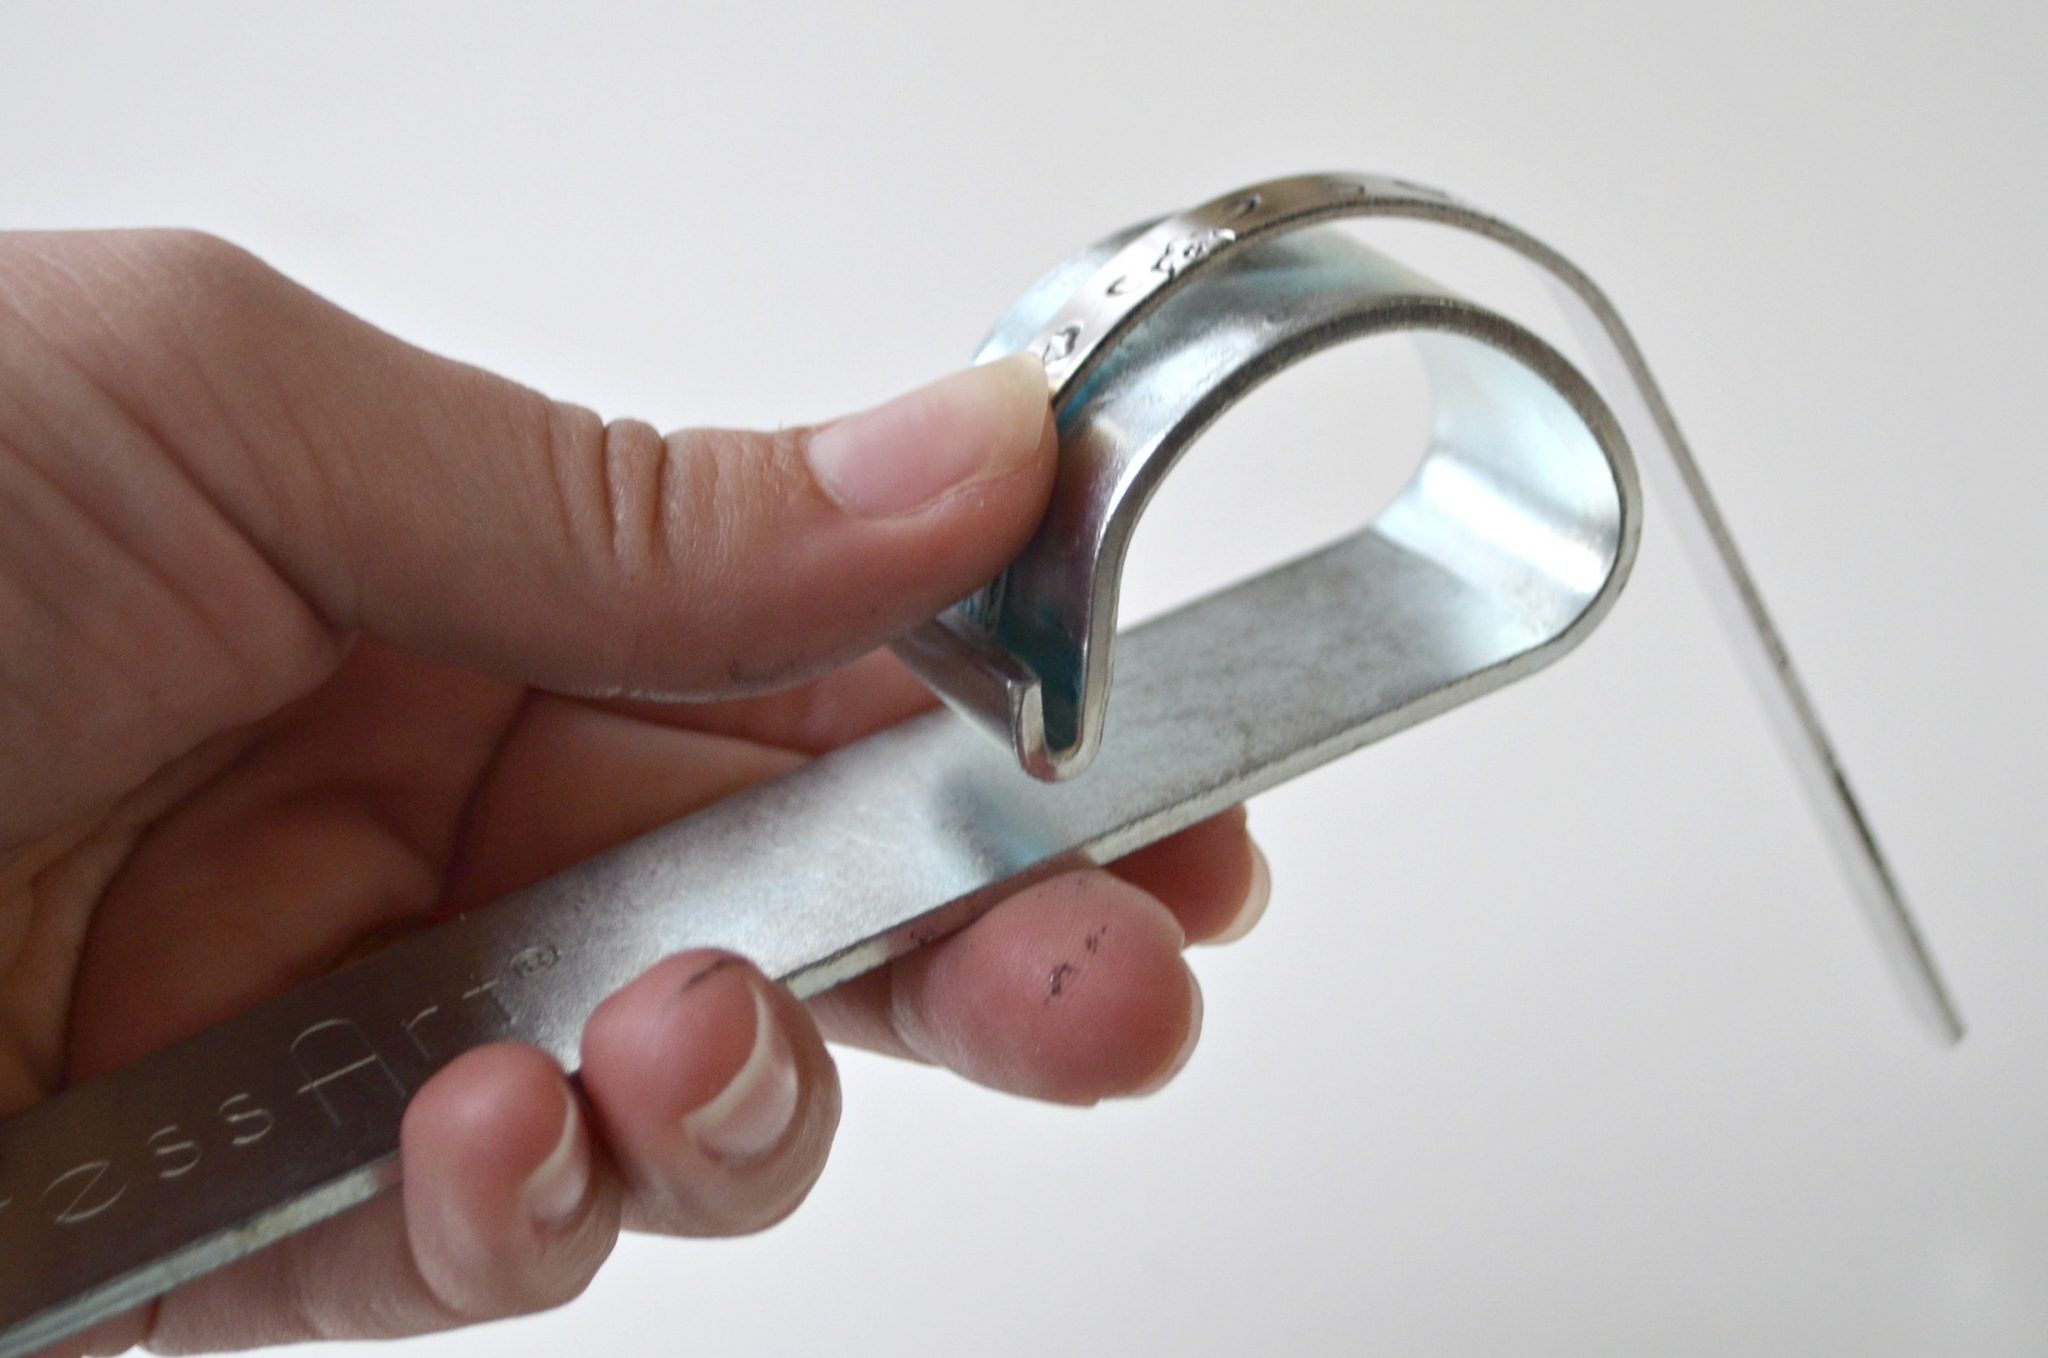
Step 5: Shape your cuff using a bracelet bending bar.
Simply place one end in the groove with your design facing up and gently press on the bracelet blank to form it to the curved shape of the bar. Then, flip it over and repeat with the other end.
That’s all there is to it! Your bracelet is ready to wear.
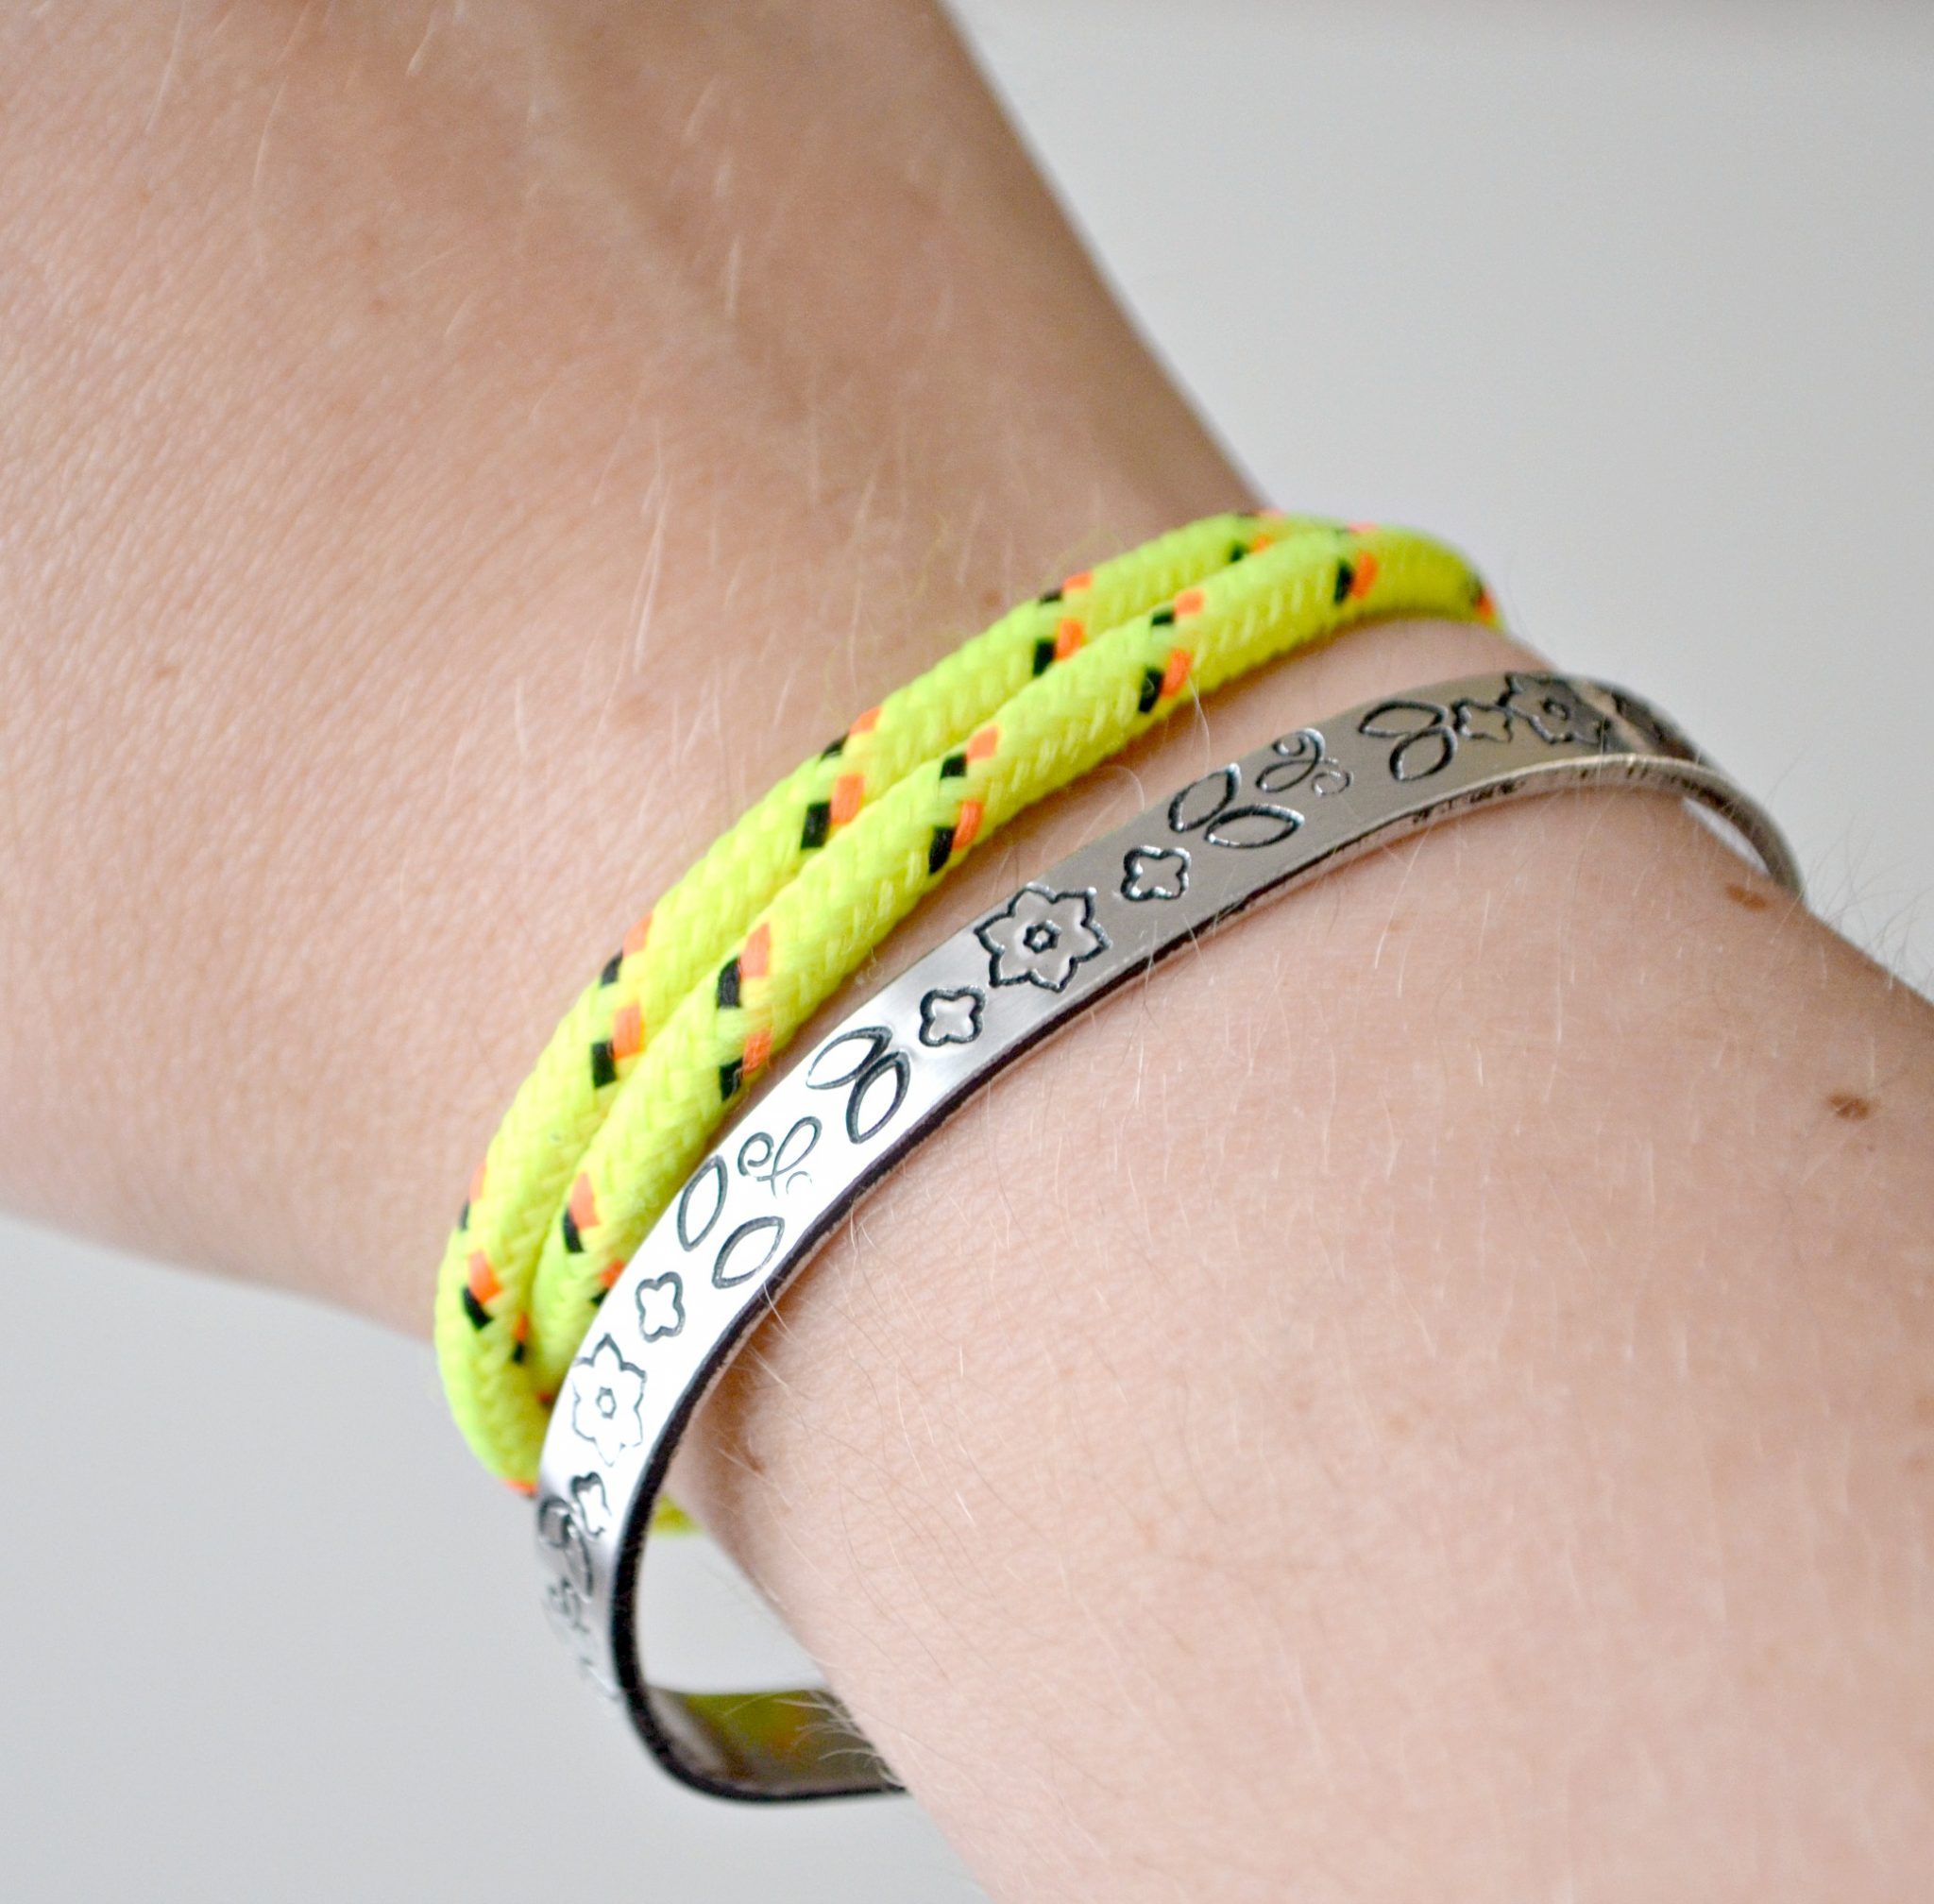
I love the size of these new 1/4″ blanks; they’re great for wearing alone or for stacking. Here, I’m wearing mine along with a very special friendship bracelet from Little Crafter. He won tickets at a local entertainment arcade and used them to buy a bracelet for me, so I’ve been wearing it nonstop ever since.
This is a great stamping project for all skill levels because it allows you to use your creativity to form any pattern you like and since there are no words involved, it doesn’t require anything to be perfectly straight! Is this something you’d like to try?


Your bracelet is lovely. I’ve got to try stamping and bracelet making. Maybe Santa will bring me supplies. Lol.