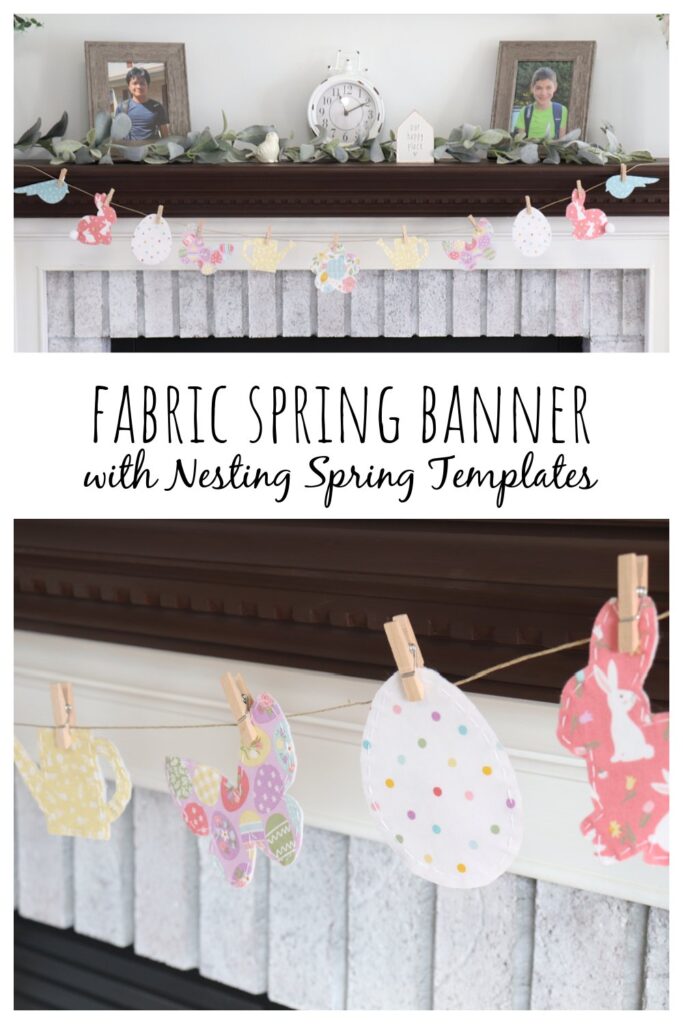
Fabric Spring Banner
I love creating seasonal banners to display on our mantel throughout the year. As soon as I saw the brand new Nesting Spring Templates from Missouri Star – a bunny, an egg, a butterfly, a watering can, a flower, and a bird – I knew they were exactly what I needed to create a cheerful banner for spring. Here’s how I created my fabric spring banner and you can too!
How to Make a Fabric Spring Banner
This project is quite simple to make, and you can customize it by using your favorite spring fabrics. I chose to use fabric from the Bunny Trail collection, and the templates fit perfectly onto precut 5” squares. To create your own banner, grab the materials below, and let’s get started. Clicking any of the MSQC shopping links in this post will get you a 25% discount on any order you place at Missouri Star (automatically applied in your cart at checkout).
Materials
- Bunny Trail 5” Stackers (or your choice of fabrics) – I used twelve 5” squares
- Missouri Star Nesting Spring Template Bundle
- Double Sided Fusible Interfacing/Adhesive
- Felt (I used white)
- Scissors
- Heat Erasable Pen (optional, but recommended)
- Needle and white thread
- Twine
- Tiny clothespins
- Iron
Instructions
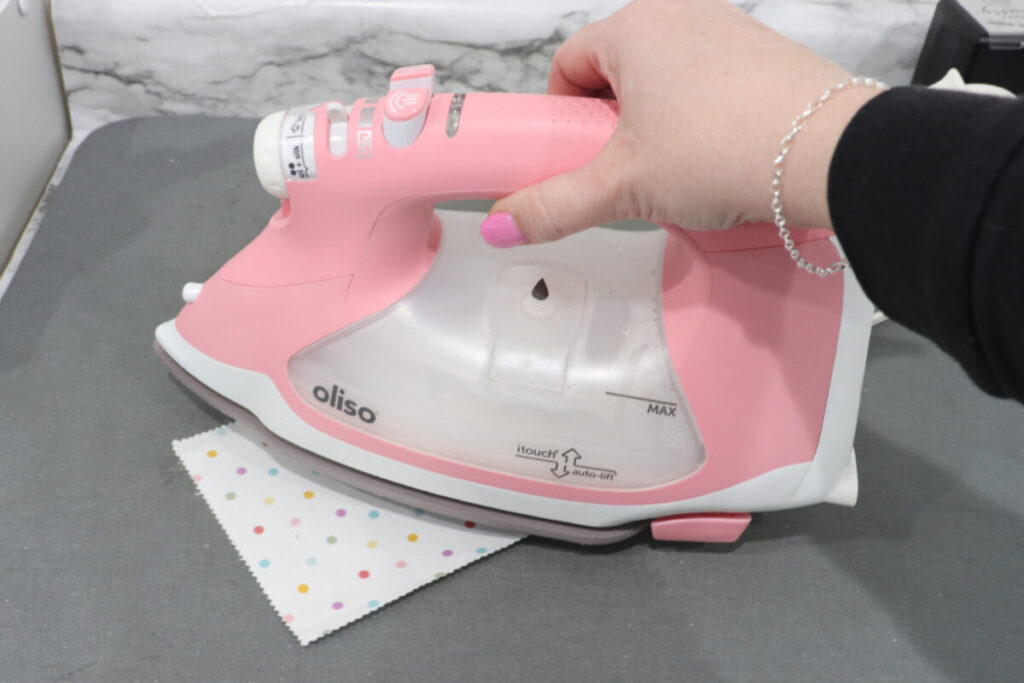
Iron a 5” square of fusible adhesive/interfacing to the backs of twelve 5” fabric squares.
If you want a longer or shorter banner, you can adjust the number of squares you use. I chose six different fabrics, and used two squares of each. Follow the instructions on the adhesive for ironing it to the fabric. The rough/bumpy side should be touching the back of your fabric, and there will be a paper backing on the other side.
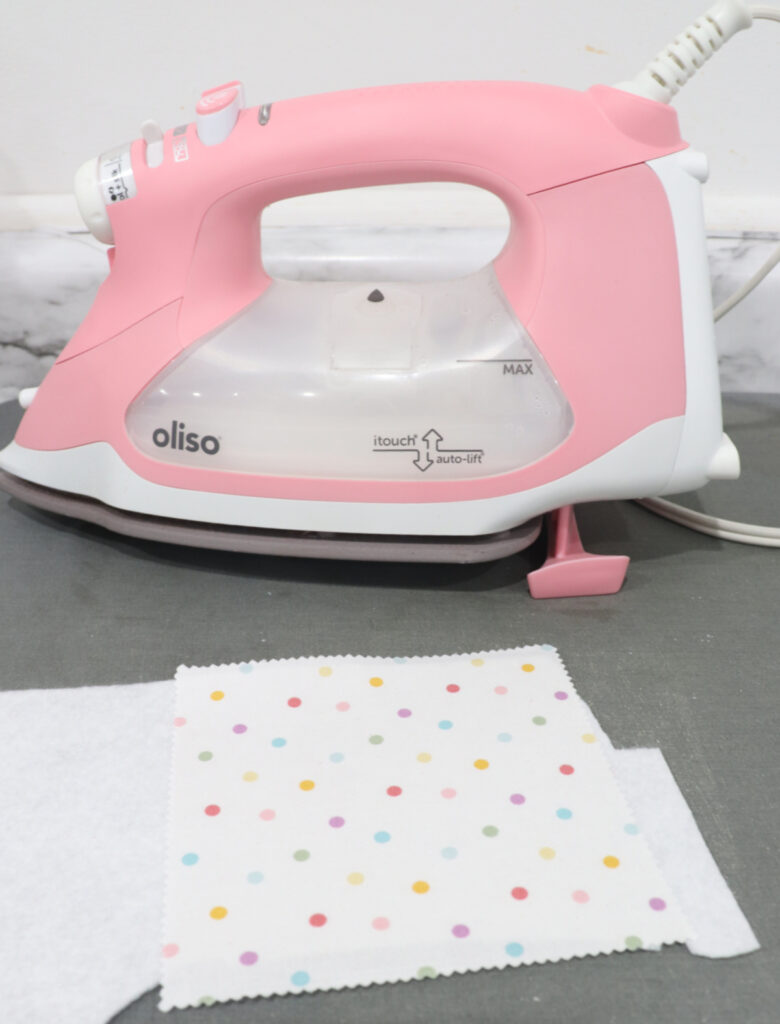
Peel off the paper backing, then iron the fabric and adhesive onto a piece of felt.
This will give you a “sandwich” of fabric, adhesive, and felt.
Pro tip: You can, of course, use any iron you have, but my personal favorite for crafting and quilting is the Oliso Smart Iron. I call it my “magic” iron, because when you touch it, it lowers to the surface of the project, then when you remove your hand, it automatically raises up – you don’t have to stand it up on its end!
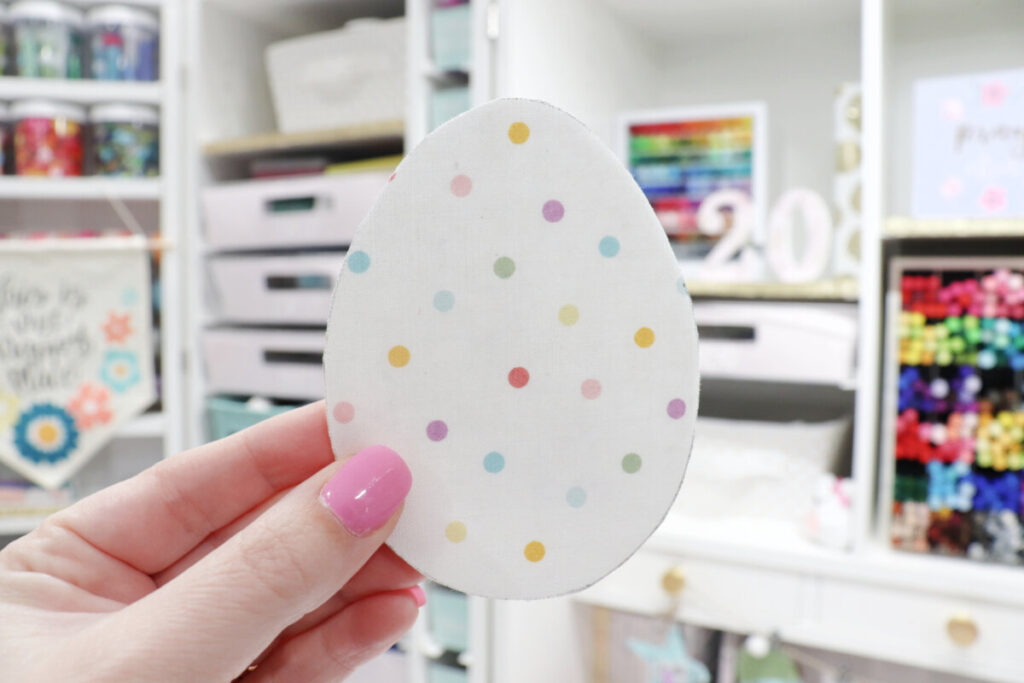
Trace your templates onto the fabric/felt squares.
I made two of each shape, except for the flower. I only traced one flower for the center of the banner. For the shapes that are directional, like the bird, bunny, and watering can, I traced one facing each direction.
The templates are also available individually, in addition to in the bundle, so if you prefer to stick with just one or two of the shapes, you can!
Pro Tip: My favorite tool for tracing is a heat eraseable pen, because once you cut your shape, you can iron it and the heat makes the pen marks magically disappear! If you don’t have one, though, I recommend tracing your template on the felt side where it won’t show on your finished banner.

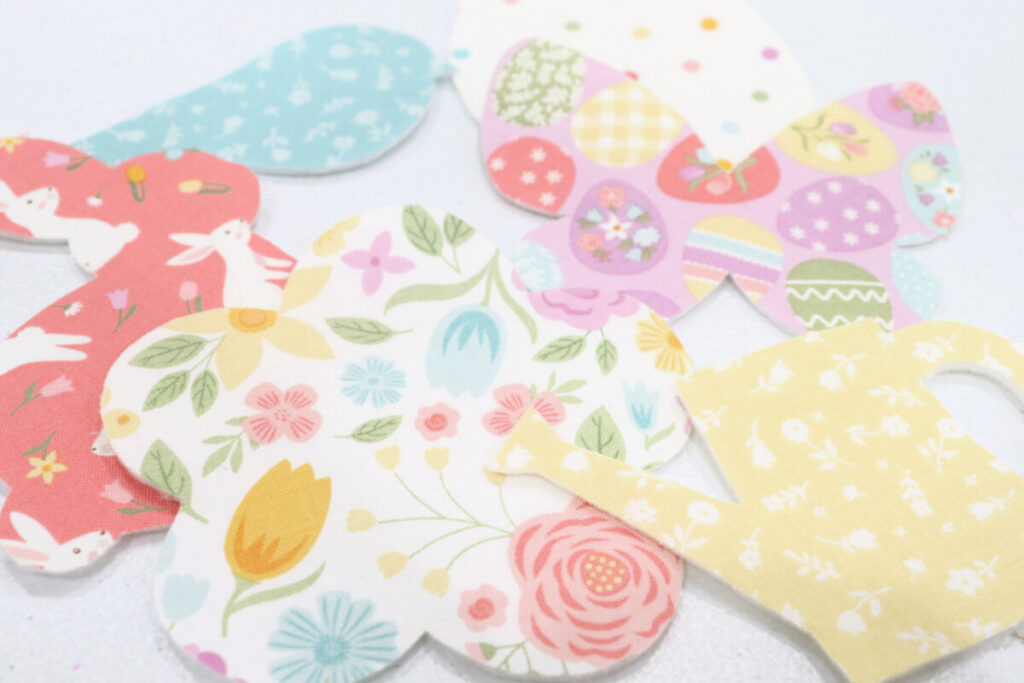
Cut out your shapes.
If you used a heat erasable pen for tracing, iron the shapes to make any remaining marks disappear.
You should have a total of 11 shapes. If you don’t enjoy hand sewing, you can call them finished and move on to the step of assembling your banner. Personally, though, I prefer to hand stitch around the edges for a more finished look.
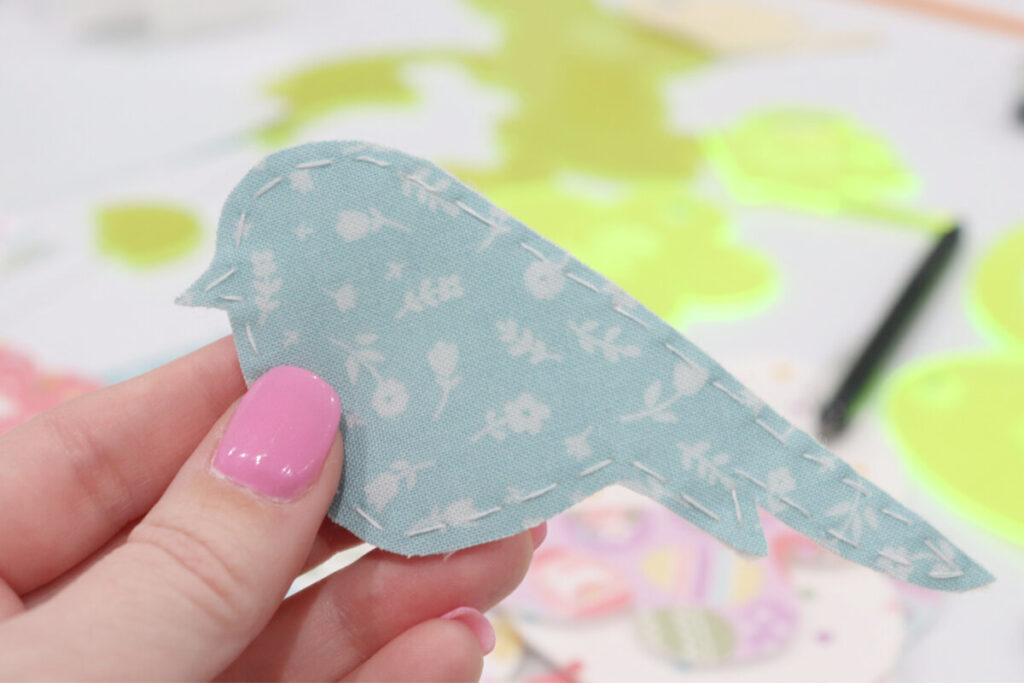
Hand stitch around the edges of each shape to give it an outline.
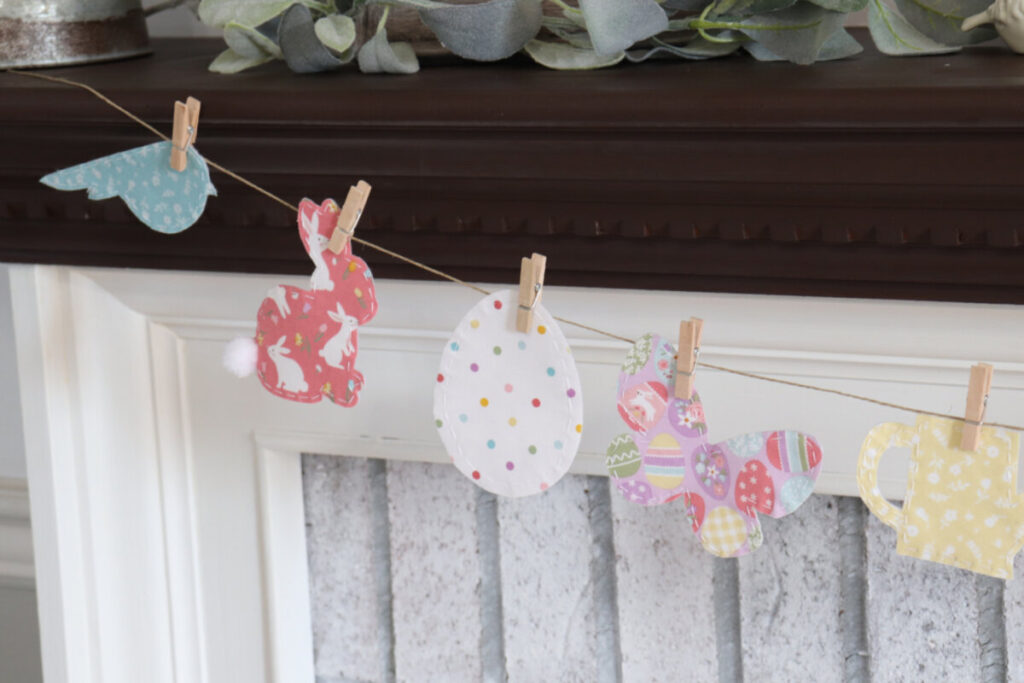
I used white thread, but feel free to use anything that coordinates with your fabrics. You can also add details like gluing pom-pom tails on the bunnies.
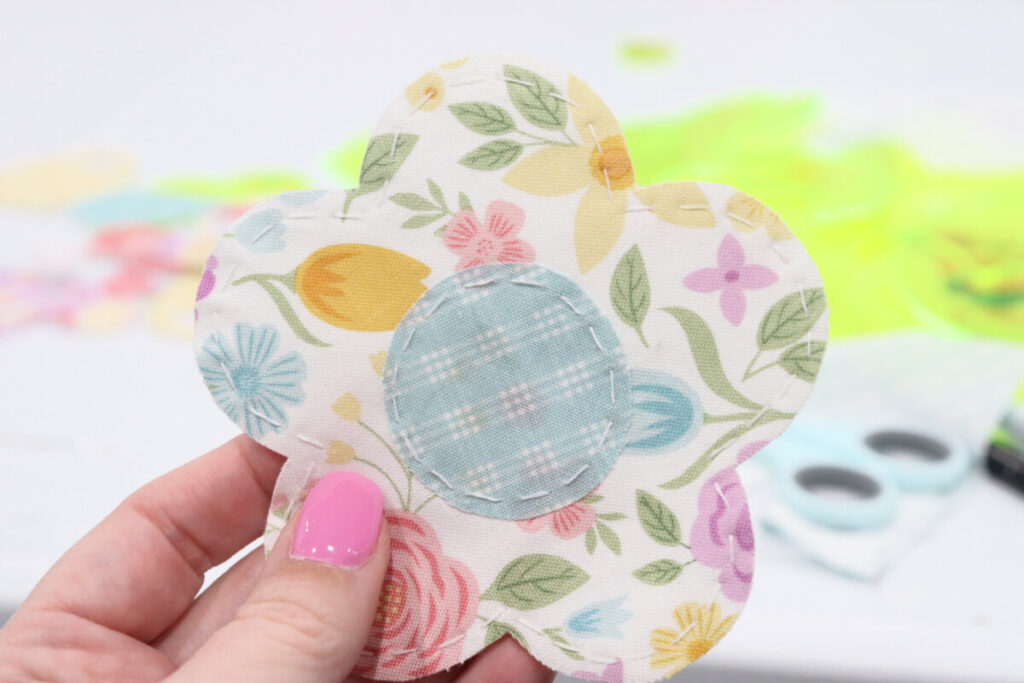
To make the flower more interesting, I cut a circle from blue fabric and applied fusible adhesive. Then, I adhered it to the center of my flower and stitched around it.
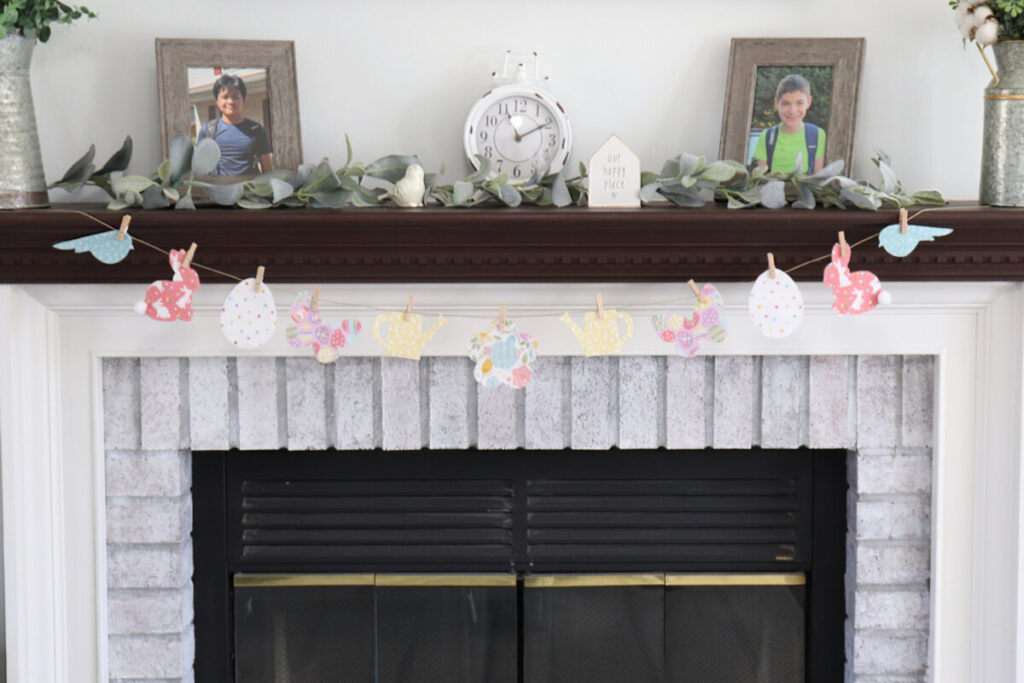
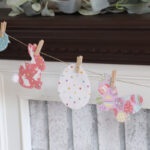
Assemble your banner.
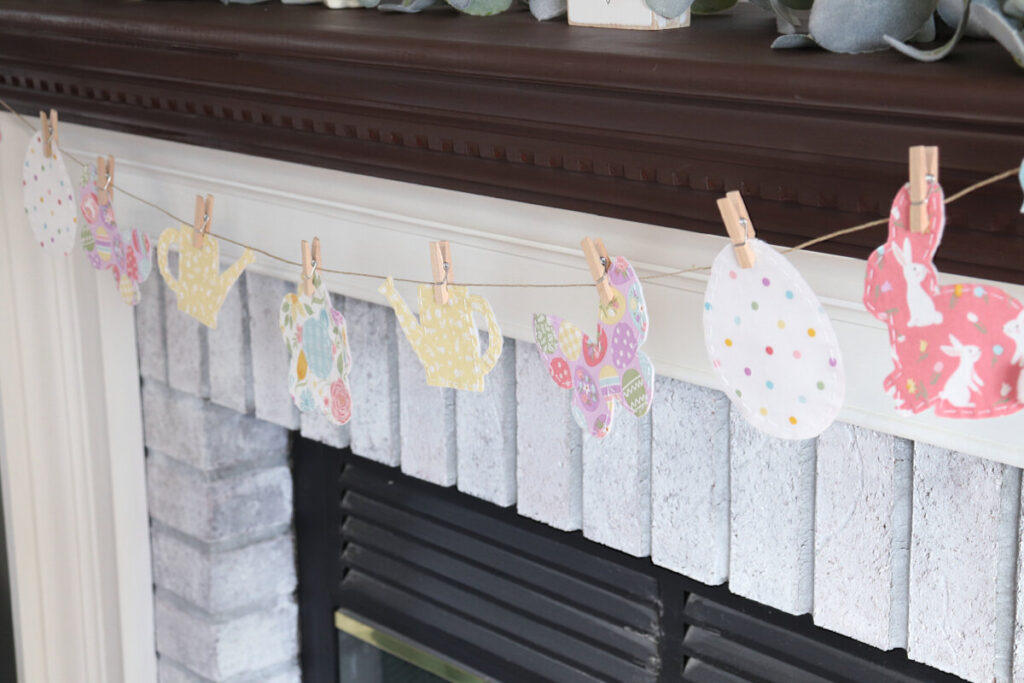
Use tiny clothespins to attach your spring shapes to a piece of twine, spacing them out as evenly as possible.
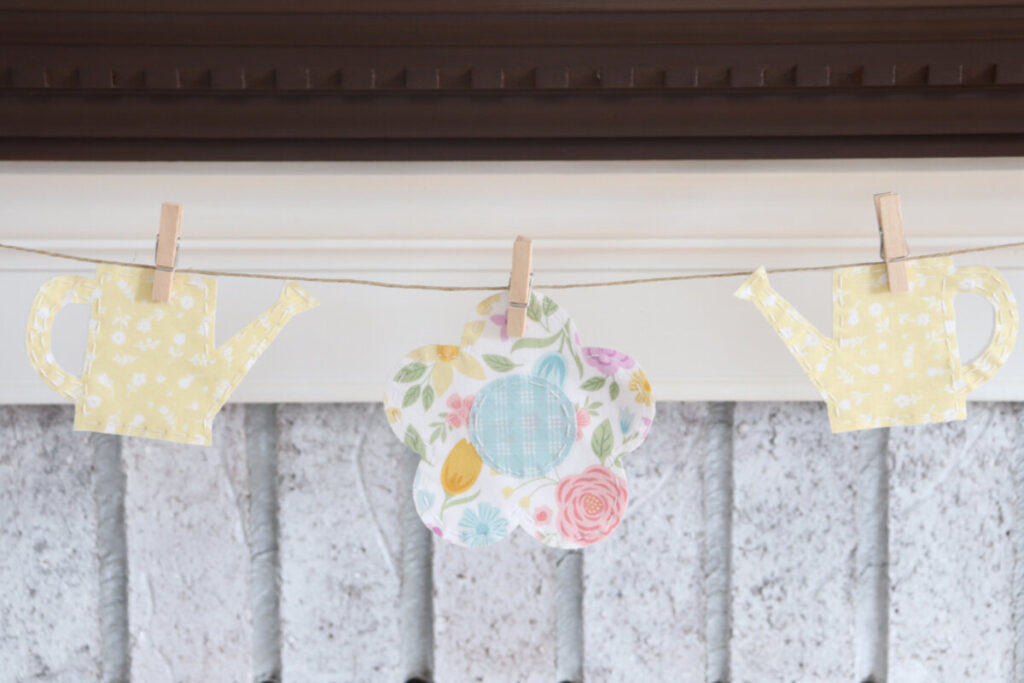
I created a pattern where I placed the flower in the middle, then worked my way out to the sides symmetrically with the other shapes. However, you can feel free to create any pattern you like!
Because these fabric shapes are just clipped on and not glued, you can rearrange them until you find a pattern you love. It also means that when the seasons change, you can just unclip them for easy storage and hang up something new for summer. See how I changed out this same banner for Halloween and Valentine’s Day!
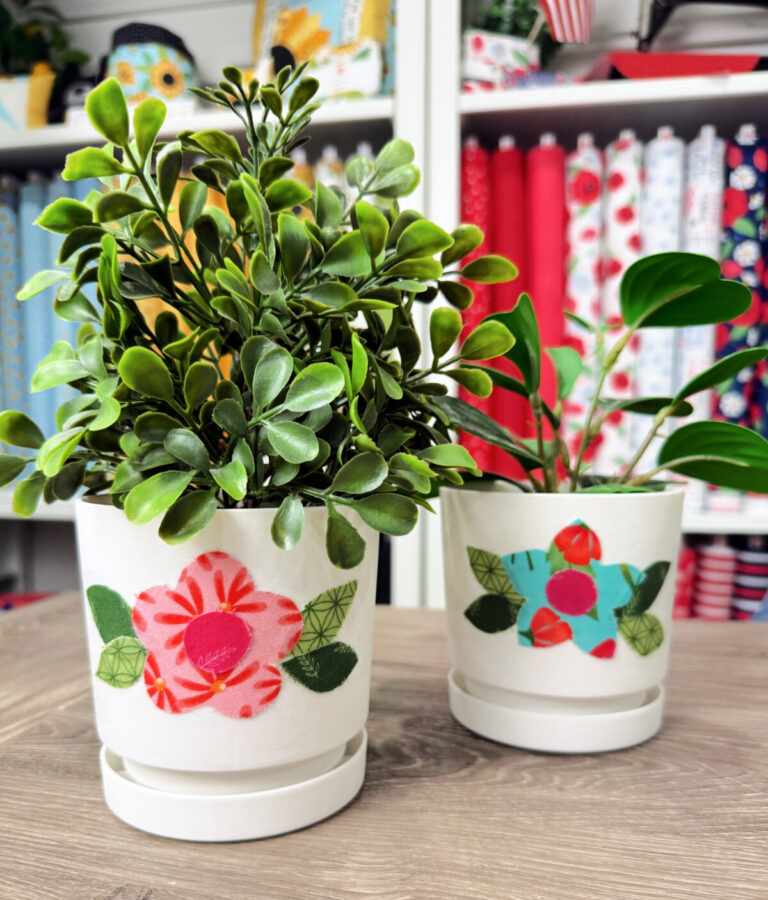
I had so much fun creating this project, and I love the way it brings a touch of spring cheer to my home. These templates are also great for making coasters, pillows, table runners, and more (stay tuned for more ideas)! If you try making your own fabric spring banner, I’d love to see how it turns out. Make sure to tag me at @amylattacreations and share your photos in the Amy Latta & Friends Facebook Group so we can all inspire each other!
Crafting Tips
- Try this same technique to create banners for other seasons, using different templates with seasonal shapes.
- Although wool felt is more expensive than craft felt, it is also thicker and more sturdy, which will provide more structure for your fabric shapes.
- Feel free to add extra decorations to your shapes, like eyes for the birds and bunnies, and other detail on the butterfly wings and eggs. Get as creative as you like!
Frequently Asked Questions
These six seasonal templates are only found at Missouri Star Quilt Company. They are actually nesting templates, which means each one contains two shapes. I used the smaller shapes for this project, but you also get large shapes that are perfect for bigger projects like pillows, quilts, and more. You can find them here.
If you access the MSQC website from any of the links in this post, an automatic 25% discount will be applied to your order when you check out. You will see the deduction in your cart.
More Spring Projects
If you enjoyed this banner, here are more ideas for projects to get your home ready for spring.


Fabric Spring Banner
Equipment
- scissors
- sewing needle
- MSQC Nesting Spring Templates
- heat erasable pen
- iron
Materials
- fabric – twelve 5” squares
- double-sided fusible adhesive/interfacing
- felt
- twine
- tiny clothespins
Instructions
- Iron a 5” square of fusible adhesive/interfacing to the backs of twelve 5” fabric squares.
- Peel off the paper backing, then iron the fabric and adhesive onto a piece of felt.
- Trace your templates onto the fabric/felt squares.
- Cut out your shapes.
- Hand stitch around the edges of each shape to give it an outline.
- Assemble your banner.

One Comment