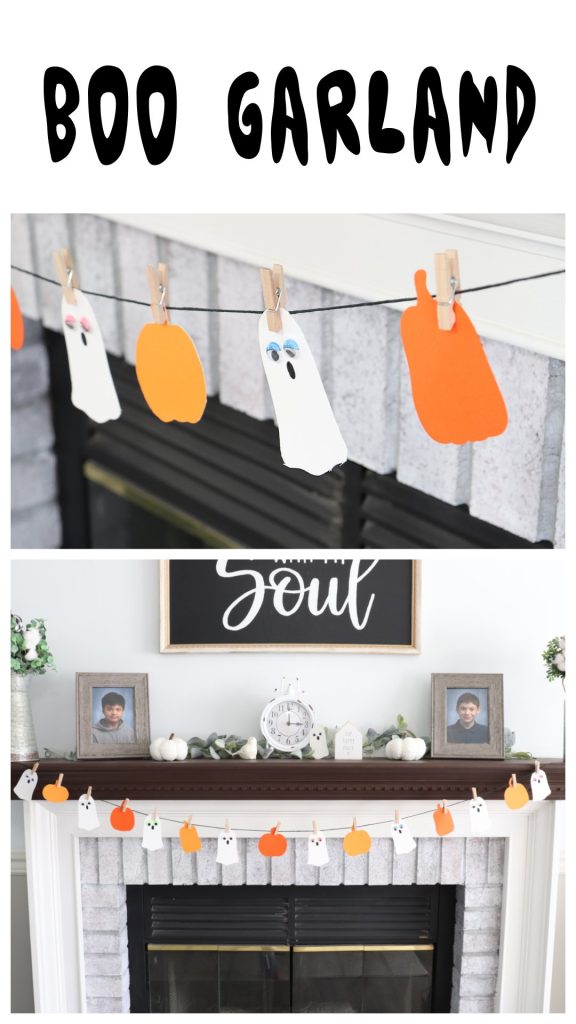
Boo Garland
If you’re looking for festive ways to decorate this fall, here’s a quick and easy idea: make a BOO Garland for your mantel! It only requires a few basic supplies, and you can create your own in less than 30 minutes. Let’s get started.
How to Make a Boo Garland
This project is quick and simple, and you only need a few basic craft supplies. I’ve saved the cut files as a public project in the Cricut app, Design Space, so you can cut out the exact same shapes I used.
Materials
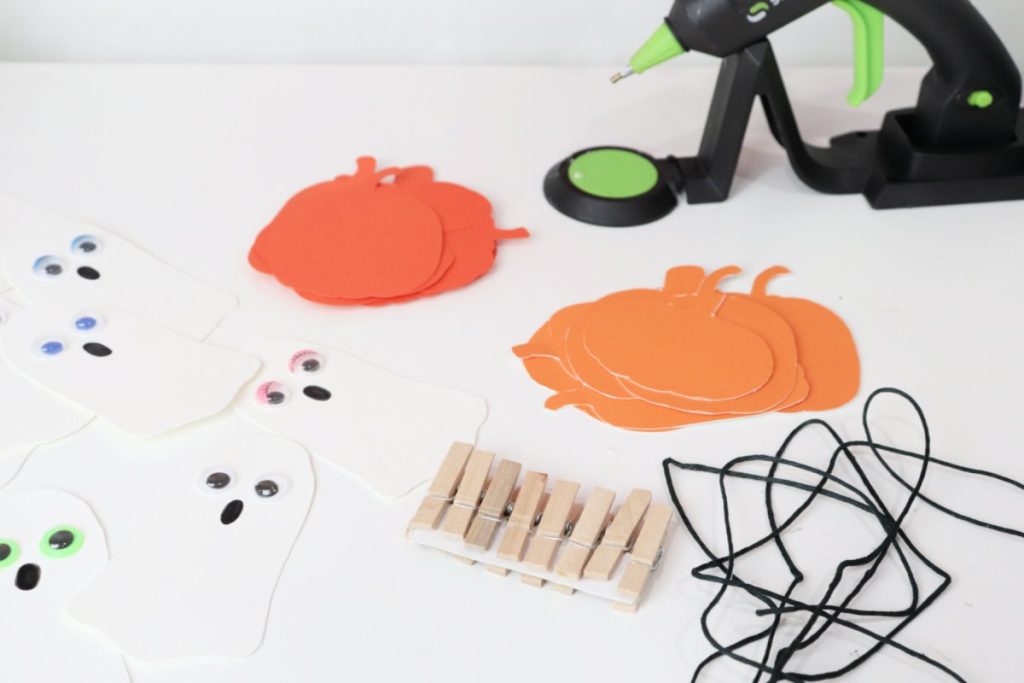
- cardstock (I used white and two shades of orange)
- google eyes
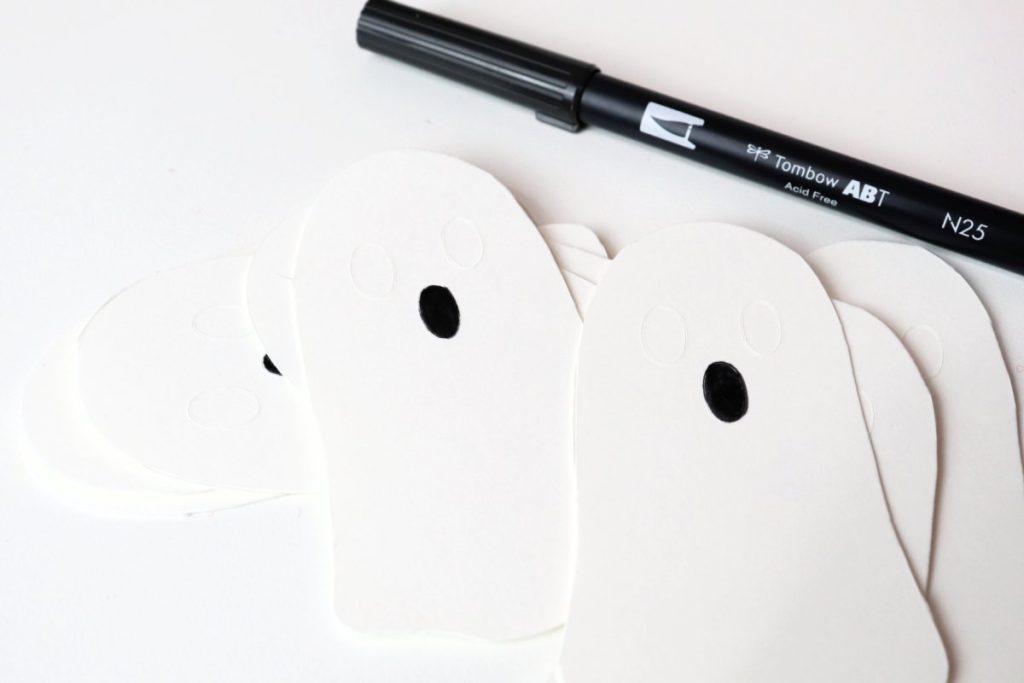
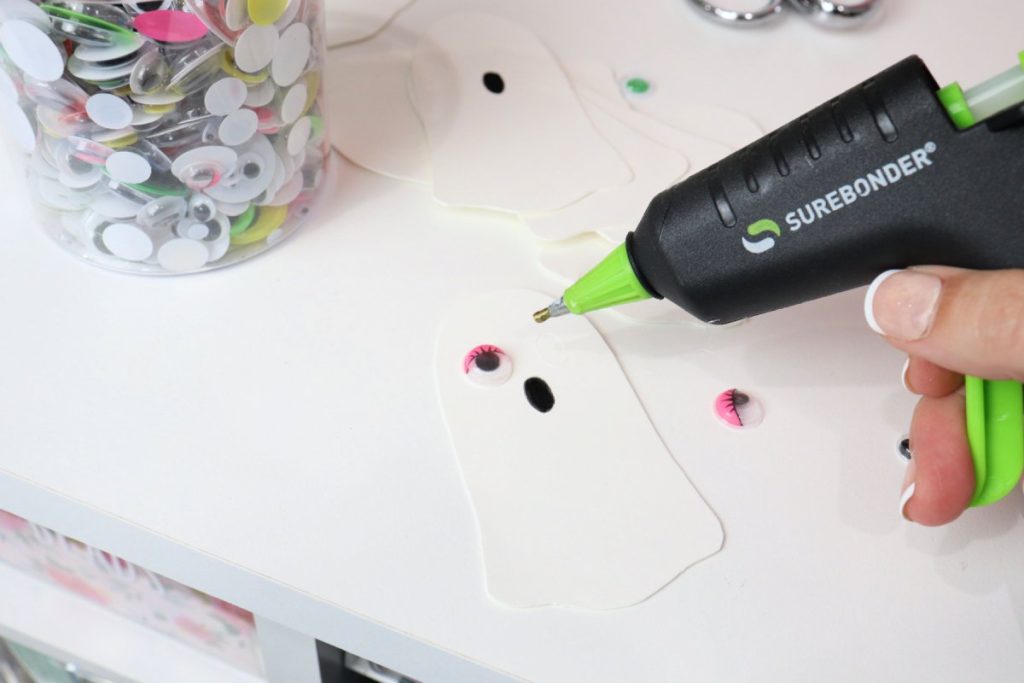
- black marker
- hot glue gun and glue sticks (I used my Surebonder Mini Cordless Hot Glue Gun)
- mini clothespins
- twine (I used black)
- scissors
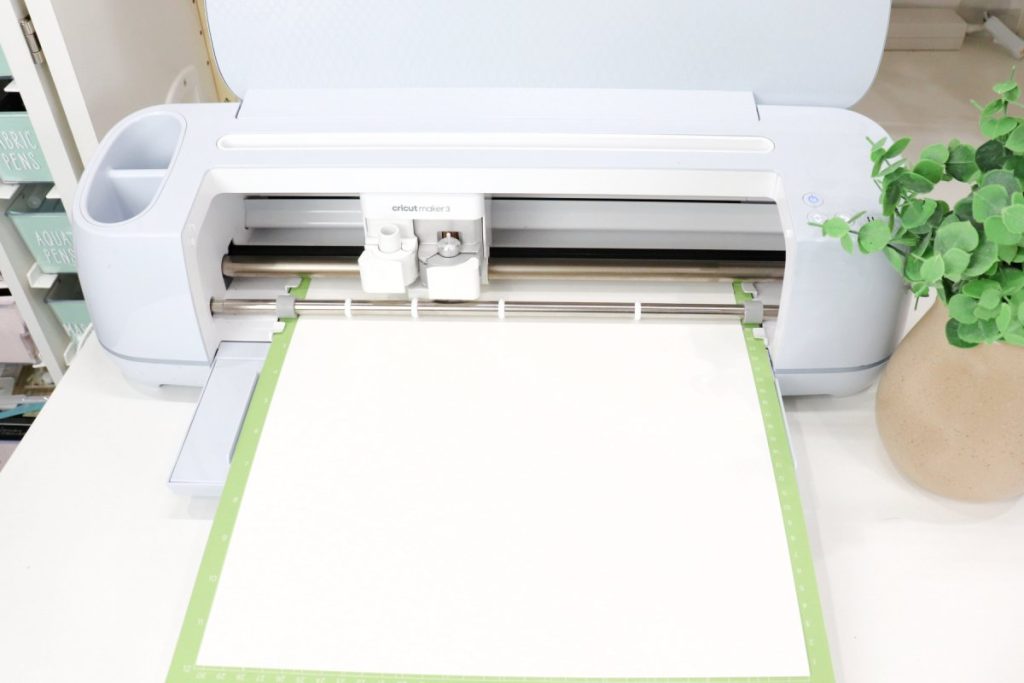
- Cricut Maker 3 or other electronic cutting machine
- Boo Garland Cricut cut files
Instructions
Open the project cut file in Design Space.
Just use this link or search for Boo Garland in the app.
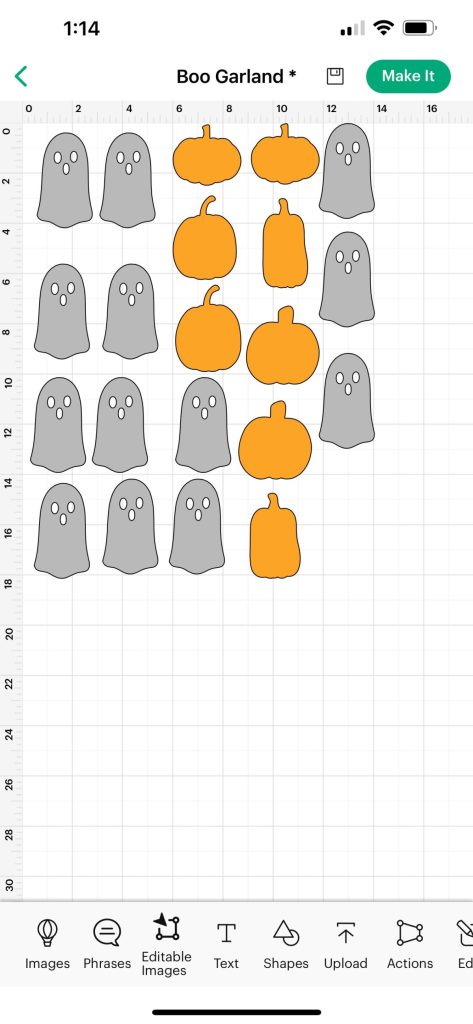
Use the Cricut to ghost and pumpkin shapes from white and orange cardstock.
Just follow the prompts in the app to load, run, and unload the machine.
Color the mouth area black (optional).
You can also just punch the cut piece out and leave it open.
Glue google eyes to the ghosts.
You can use any size and style you like. I used some plain eyes and others that had colorful eyelids and eyelashes. My Surebonder Mini Cordless Hot Glue Gun was ideal for this project, because the small detail tip was a perfect size. Plus, the cordless feature allows me to work anywhere in my craft space.
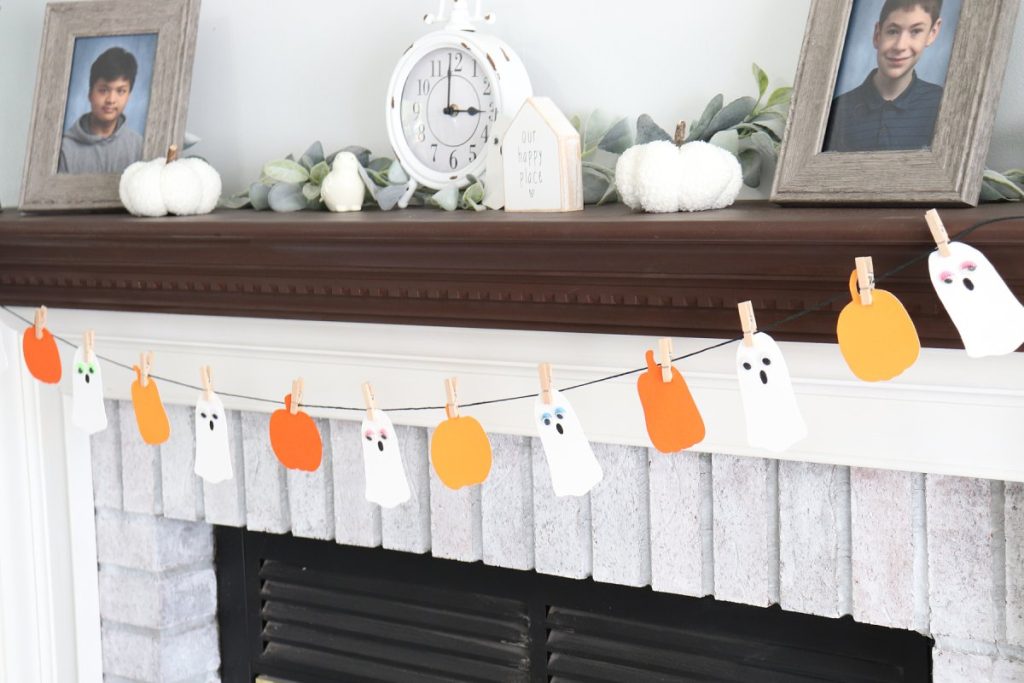
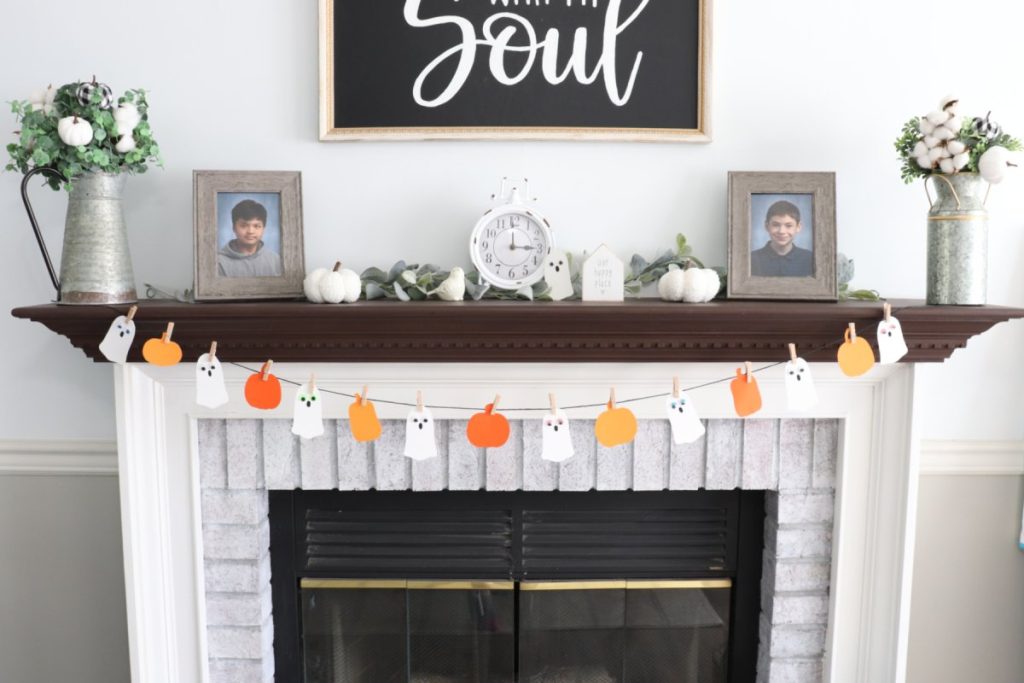
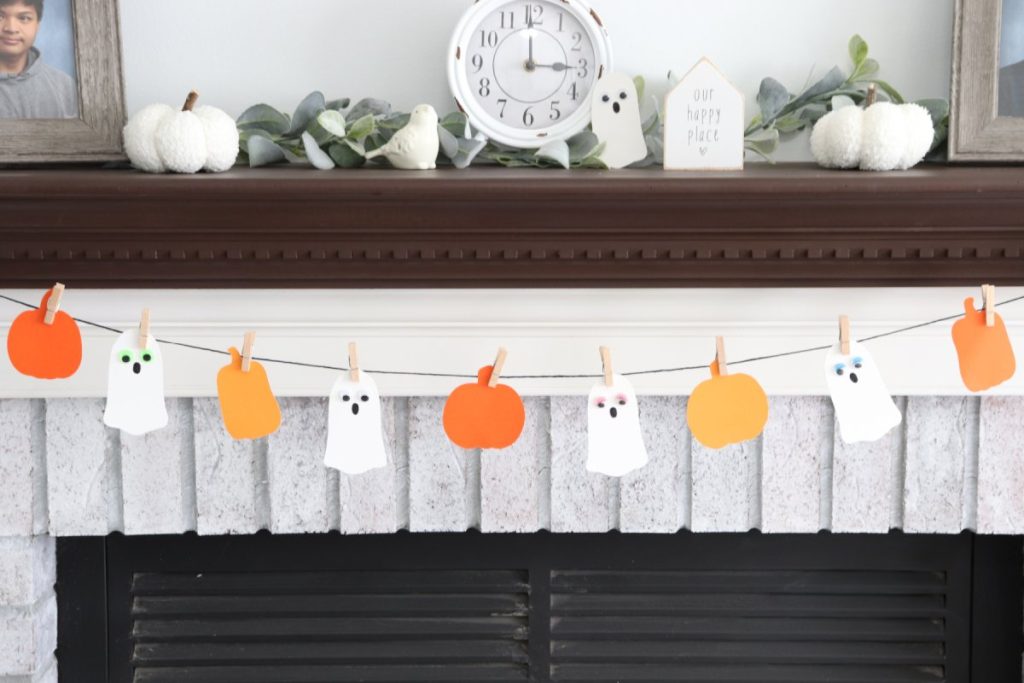
Cut your twine and clip your shapes onto it with small clothespins,
I alternated ghosts and pumpkins, as well as alternating dark and light orange pumpkins. Feel free to arrange yours in whatever pattern you like. I ended up using 8 ghosts and 7 pumpkins, so I even had a few shapes left over to use for other projects.
All that’s left to do is hang your garland across the mantel or anywhere else in your house! Then, when Halloween is over, you can unclip the ghosts and just leave the pumpkins (and/or add more!) for the rest of the fall season.
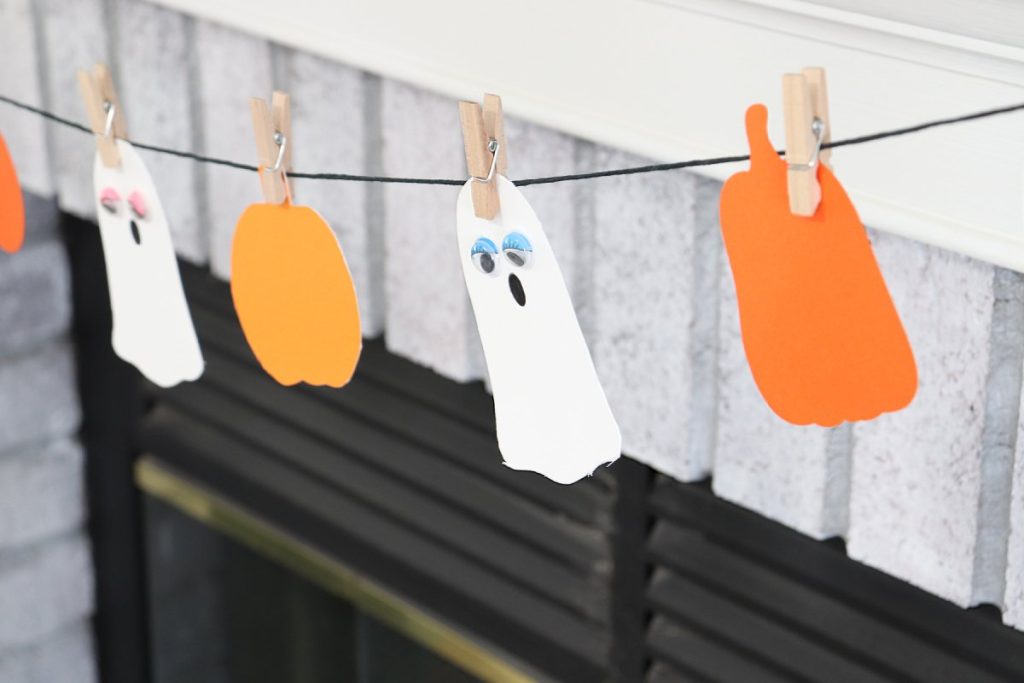
This Boo Garland is such an easy way to add a festive touch to your home decor, and it’s also really quick and inexpensive to create.
Crafting Tips
- Use any extra ghost and pumpkin shapes for other projects! Glue them to the front of a piece of cardstock to make a Halloween card, or attach a lollipop/other candy for a festive sweet treat to give away.
- For an even more decorative effect, you can paint the clothespins or decorate them with seasonal washi tape.
- Personalize your garland by writing names, the word “boo” or other messages on the cutout shapes.
Frequently Asked Questions
As long as you want or need it to be! Just measure the area where you’ll be displaying it, then cut your twine slightly longer. A longer garland just requires a few more cutout shapes than a shorter one.
You can certainly draw or trace pumpkin and ghost shapes onto cardstock and cut them by. hand using scissors.
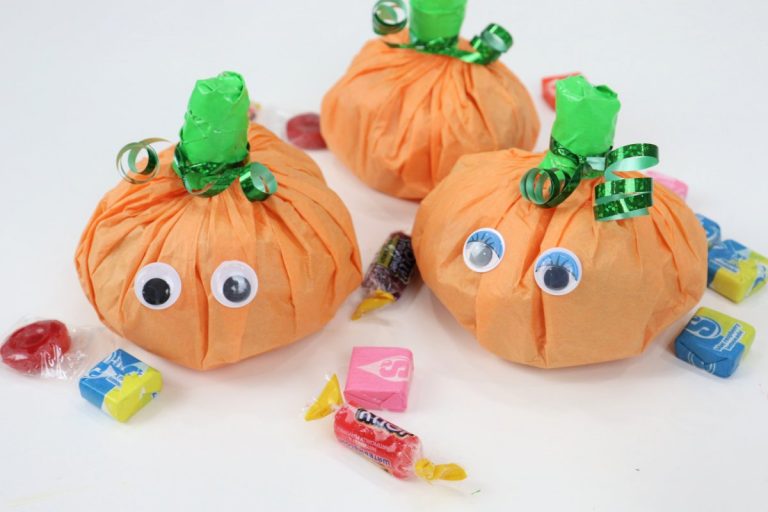
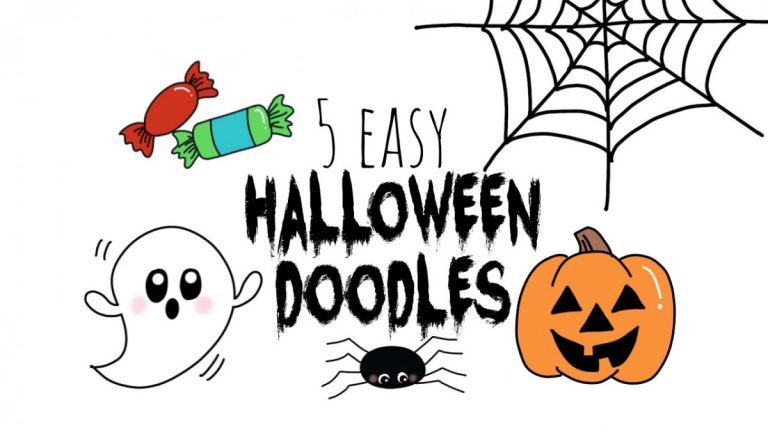
More Halloween Projects
Enjoy this project? Check out these other Halloween craft, costume, and doodle ideas!


If you try any of these projects, I’d love to see your finished masterpieces! Make sure you’re part of the Amy Latta & Friends Group on Facebook, where you can share your latest photos and we can all inspire one another. See you there.

Boo Garland
Equipment
- scissors
- hot glue and glue gun
- Cricut Maker or other cutting machine
Materials
- orange and white cardstock
- google eyes
- black marker
- twine
- mini clothespins
- Boo Garland Cricut cut files
Instructions
- Open the project cut file in Cricut Design Space.
- Use the Cricut to ghost and pumpkin shapes from white and orange cardstock.
- Color the mouth black (optional)
- Add google eyes to ghost shapes.
- Clip shapes to twine with mini clothespins.


One Comment