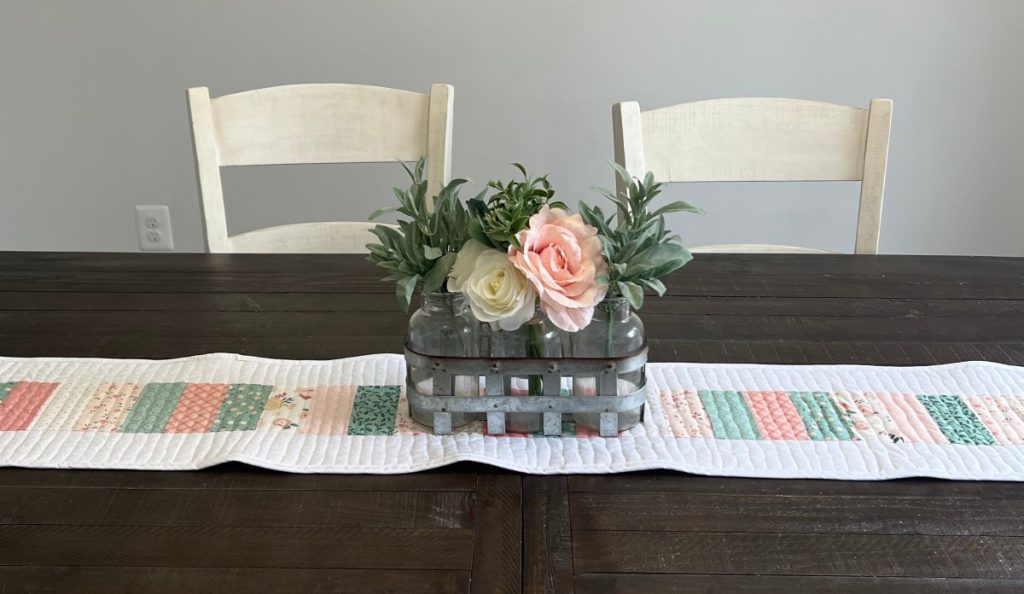
Spring Table Runner Pattern
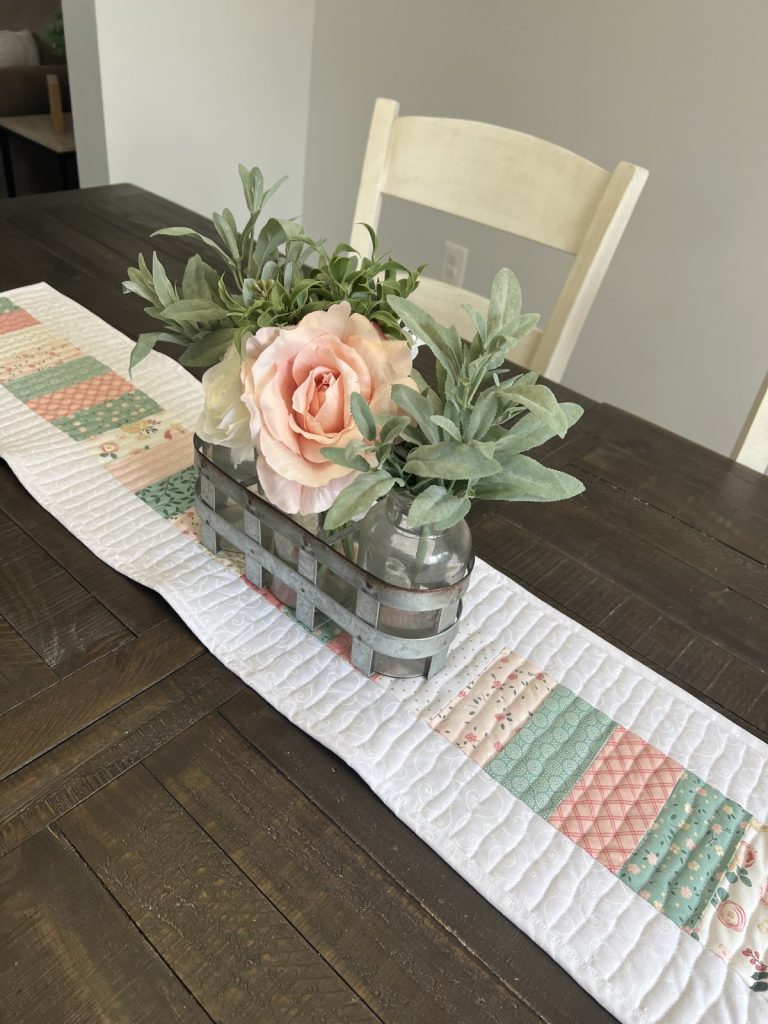
Here’s a quick and easy table runner that will bring a touch of spring to your home. It’s the perfect use for a charm pack (precut 5” fabric squares), a jelly roll (precut 2.5” fabric strips), or small scraps of fabric you have left from other projects. It’s also simple to adjust to whatever length works best for your particular table.
Take a look at this quick video, then full instructions are below.
You’ll need:
2.5” x 5” patterned/colorful fabric rectangles (see size chart below for how many you’ll need)
(2) 3” strips of white fabric (see size chart for length) – you may need to sew several strips together to get the desired length
backing fabric: 11” x length from chart – you may need to sew two pieces together for longer runners
batting: same size as backing fabric
binding fabric: several strips 2 1/2” x WOF (width of fabric) to equal the length on the chart
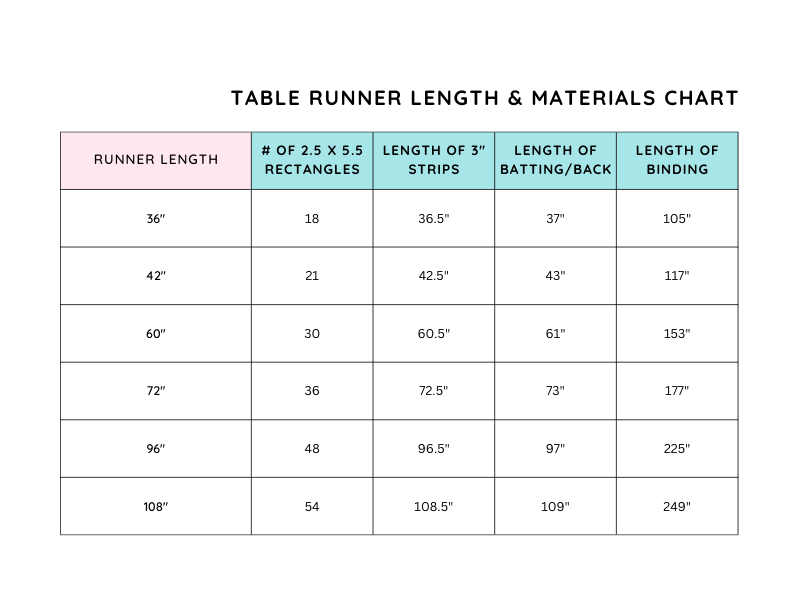
Here’s a chart to help you determine the sizes and amounts of pieces you’ll need.
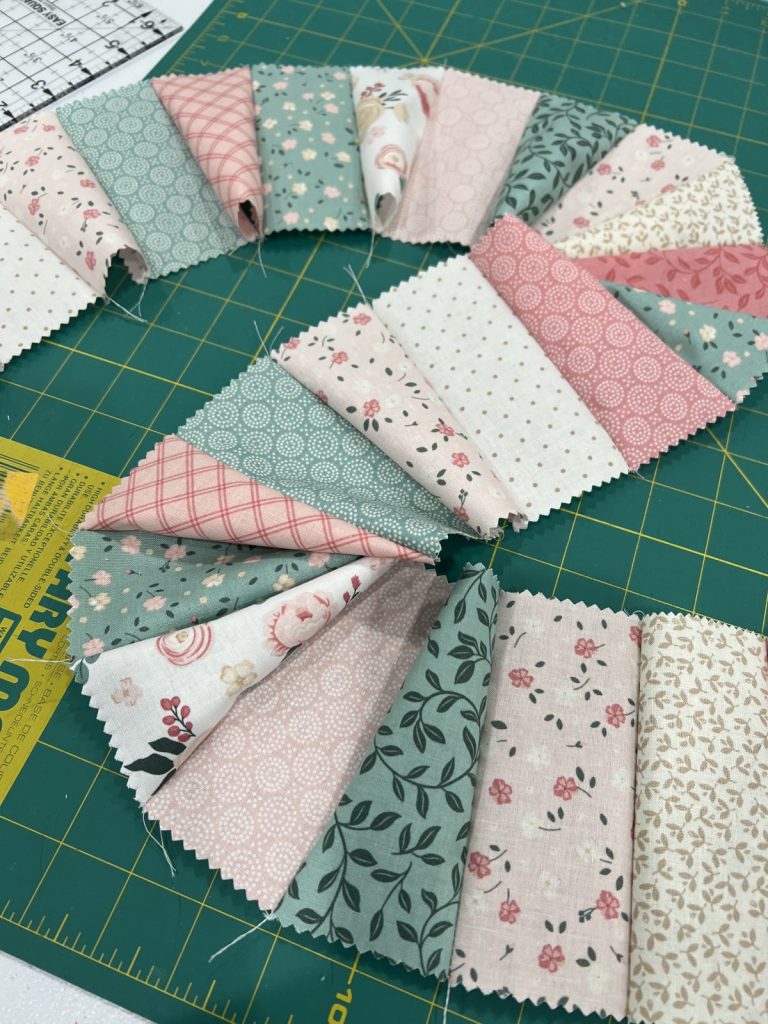
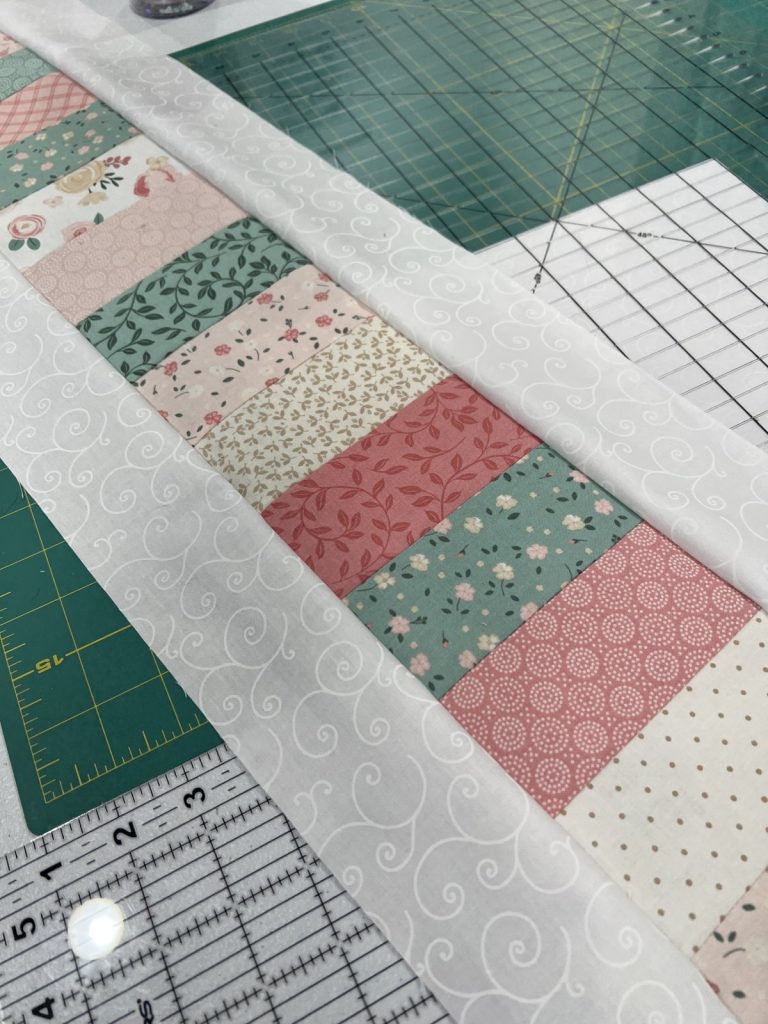
Step 1: Lay out your patterned pieces.
Create a pattern you love, laying your 2.5” x 5” pieces side by side. You can use any combination of fabrics you like. Many of mine were from the At First Sight charm pack by Riley Blake. (Check out charm packs and other fabrics here and you can save 15% with the discount code AmyLatta15).

Step 2: Sew your rectangles together with 1/4” seams to form one long strip.
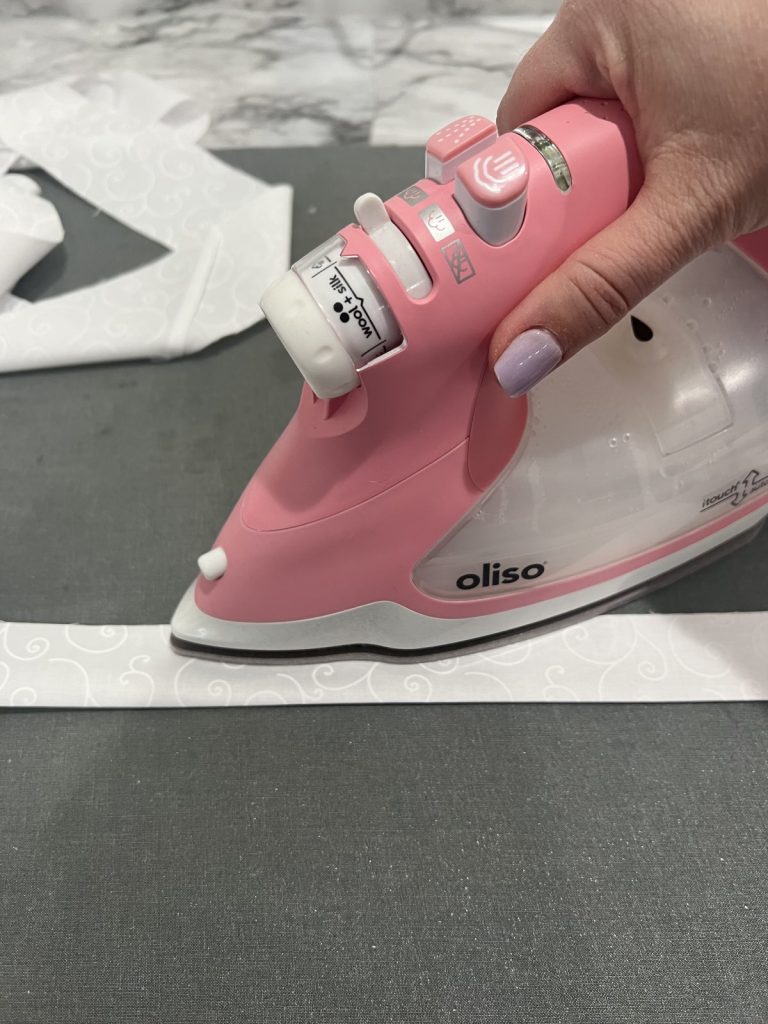
Press the seams so that your fabric lays flat.
Step 3: Sew one 3” wide white strip to each side of your colored strip using 1/4” seams.
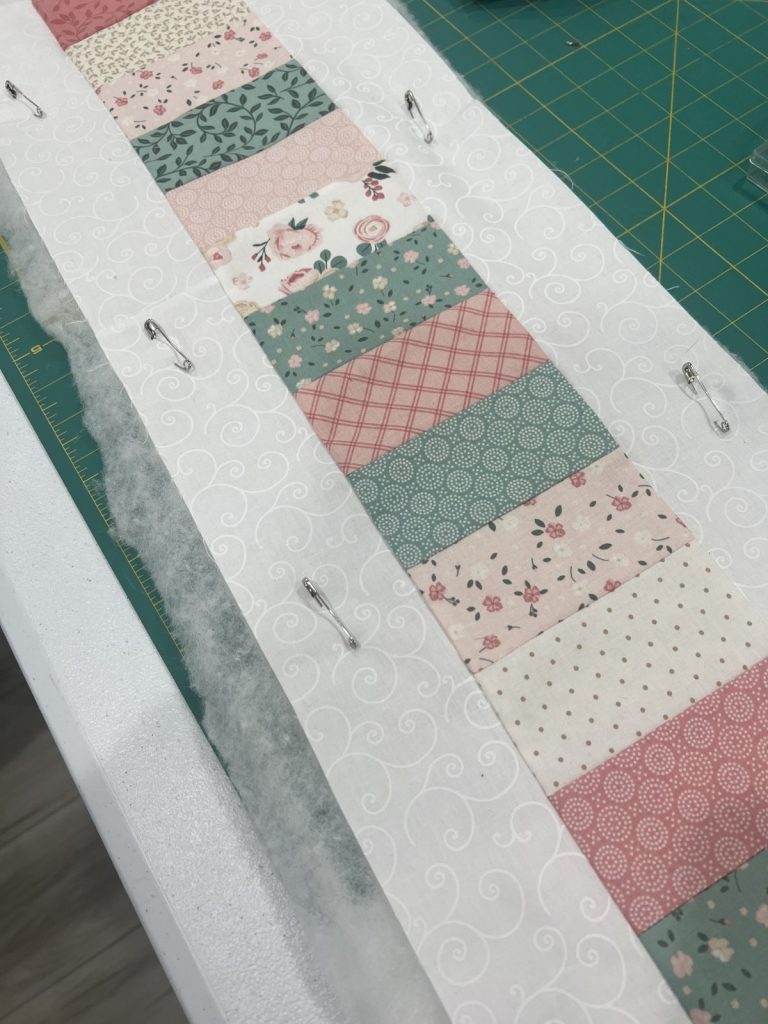
Step 4: Pin your backing, batting, and top together.
This is called making the “quilt sandwich.” The backing should be right side facing down, then the batting goes on top of it. Finally, add your top piece right side facing up. Use quilting pins to hold the three layers together. Your backing and batting will be slightly larger than the top piece to allow for shifting during the quilting process.
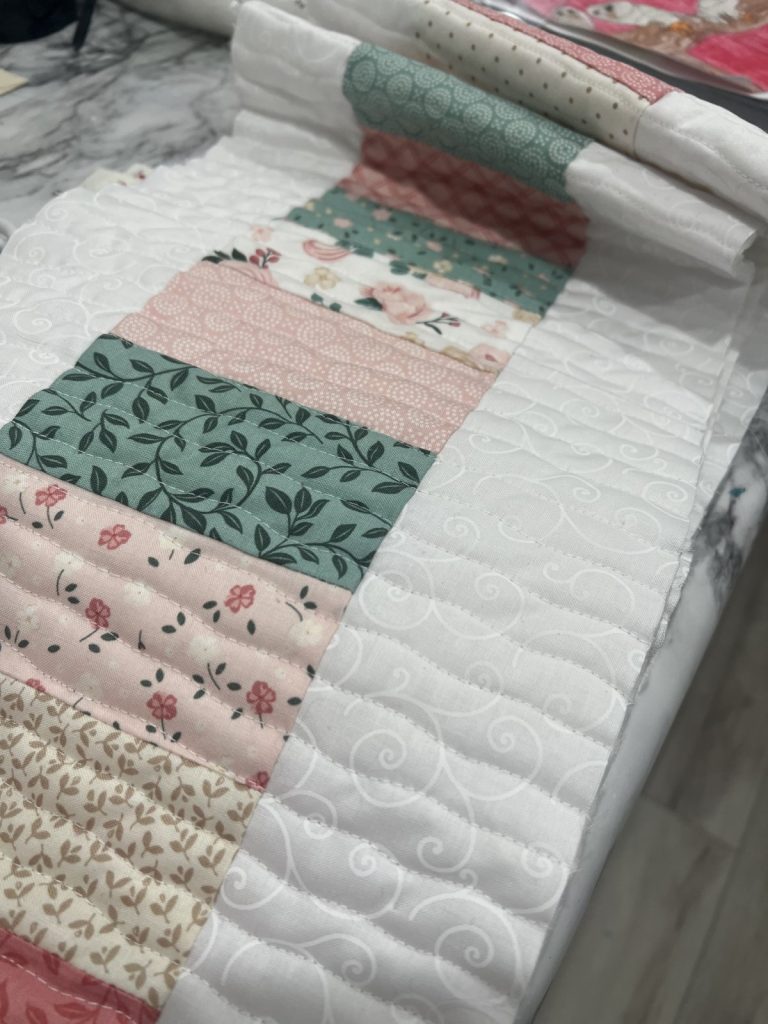
Step 5: Quilt your runner in any way you like.
This means you’ll sew through all three layers, as much or as little as you prefer. I chose to quilt using wavy vertical lines that run from one white strip through the colored part, then finish at the bottom of the other white strip. Personally, I like using wavy lines rather than straight ones, because then I don’t have to worry about visible imperfections! When you’re finished, trim off any excess batting and backing.
Step 6: Prepare your binding.
Take your 2.5” wide strips and sew them together until you have a strip that is 10” longer than the perimeter of your table runner. (To get the perimeter, add up the lengths of all four sides). Fold the strip in half and press it. Open it back up, then fold both edges in toward the center crease and press again. Finally, fold it along the center crease, and now you have your binding.
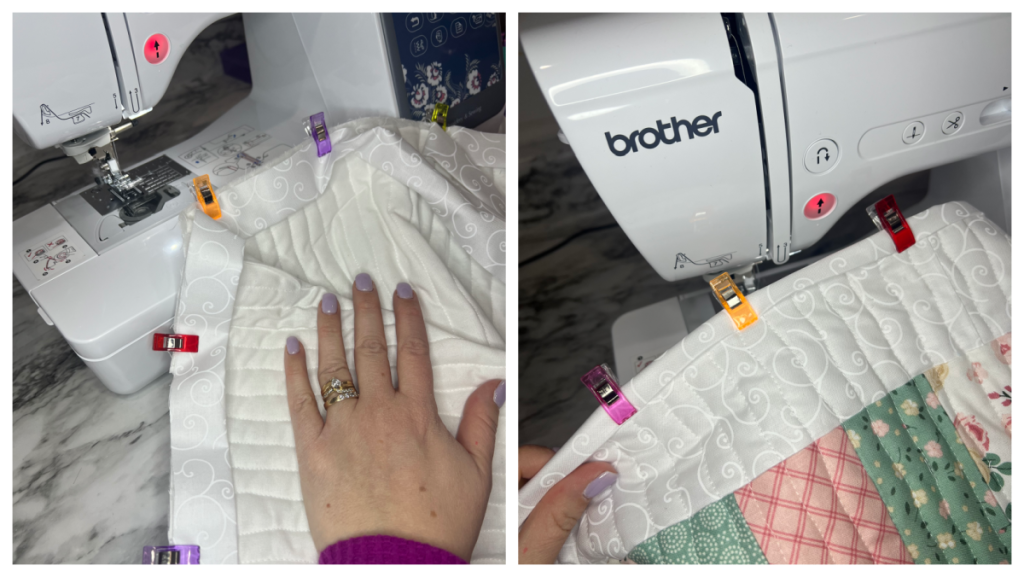
Step 7: Clip, then sew your binding around the edges of your runner.
First, you’ll clip the strip to the back of your runner, lining up the open edge with the edge of the fabric. Sew around the runner using a 1/4” seam. For tips on how to do the corners, check out this video! Then, flip the runner over and fold the binding piece over to the front side. Clip, then sew it in place. If you’re new to quilting, this video will be super helpful for the binding step!
Once your binding is sewn, your runner is ready to iron, then place on your table!