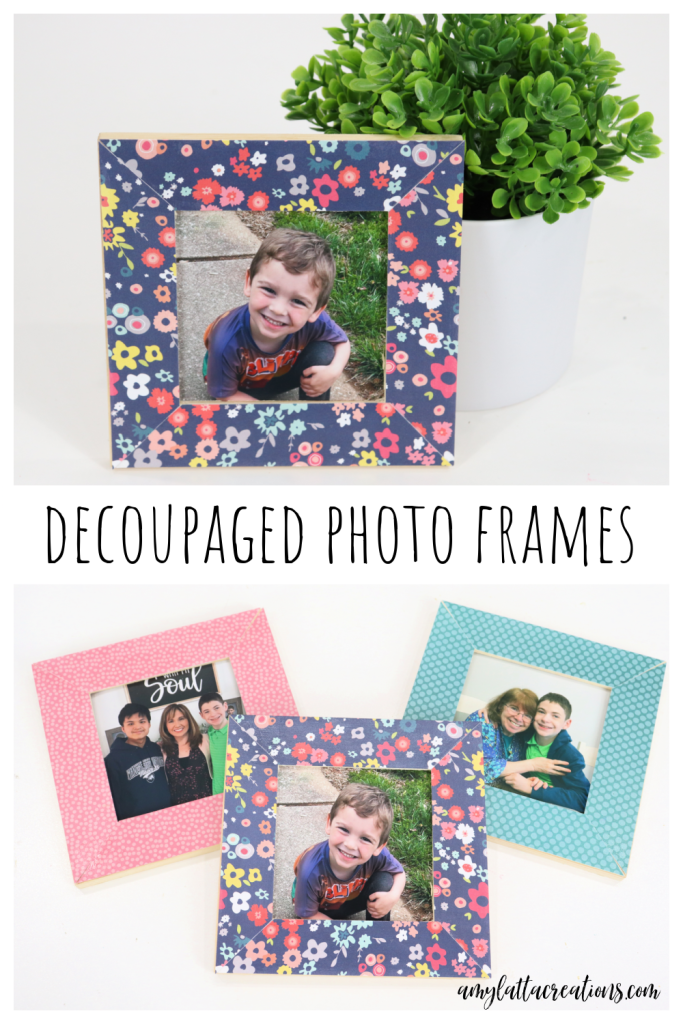
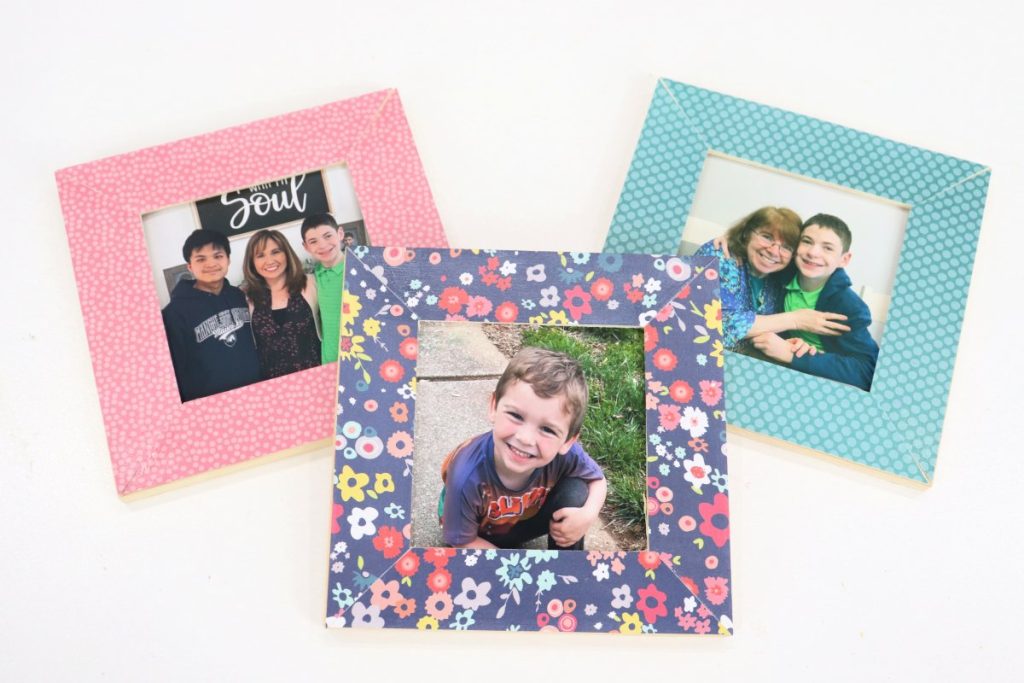
Decoupaged Photo Frames
If you’re looking for a meaningful DIY gift idea that’s perfect for Mother’s Day or any day, try this simple decorated photo frame. It only takes a few basic supplies, and less than half an hour to create.
How To Make A Decoupaged Photo Frame
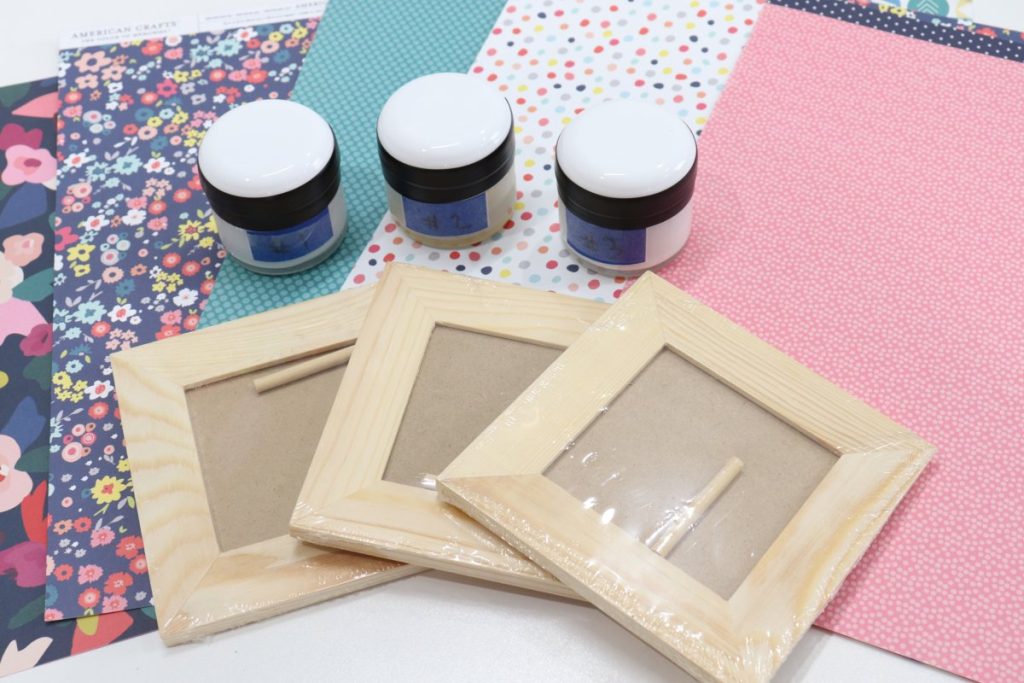
Supplies:
unfinished wood photo frame(s)
scrapbook paper
paper cutter and/or scissors
paintbrush
Mod Podge or other decoupage formula in your choice of finish (glossy, matte, glitter, satin, etc)
Instructions
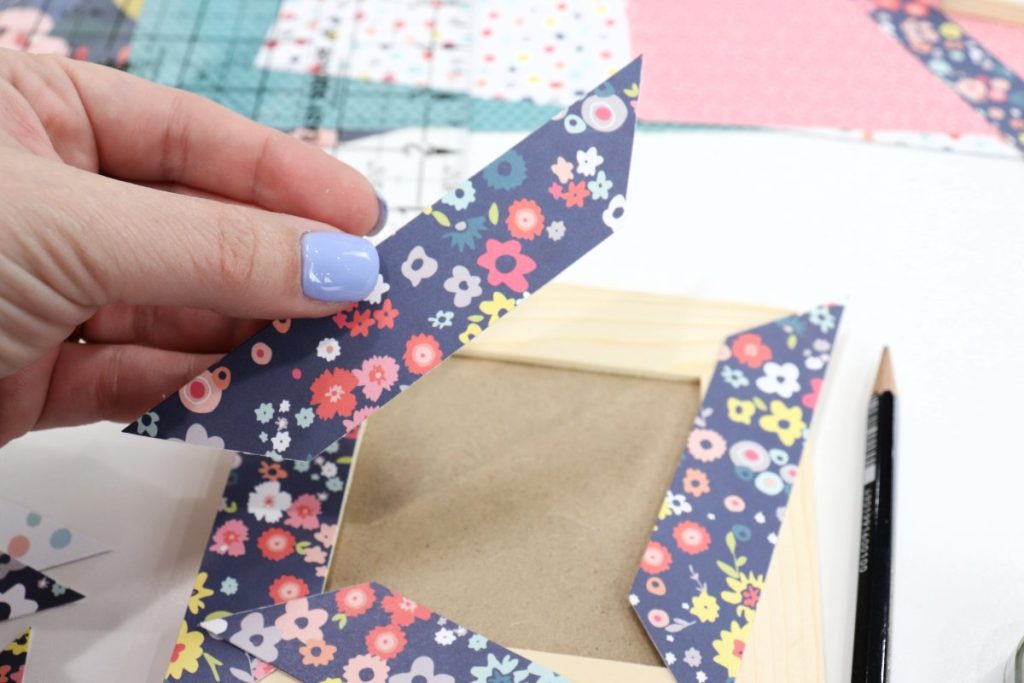
Step 1: Cut your scrapbook paper.
For my particular frames, I measured the wooden sides, then cut four strips of paper that were the same size, 1” x 5” each. Then, I used the frame as a guide and trimmed the corners on a diagonal so the strips would fit together to form a square. If your frame is a different size, just measure the width and length of each side and trim your paper accordingly.
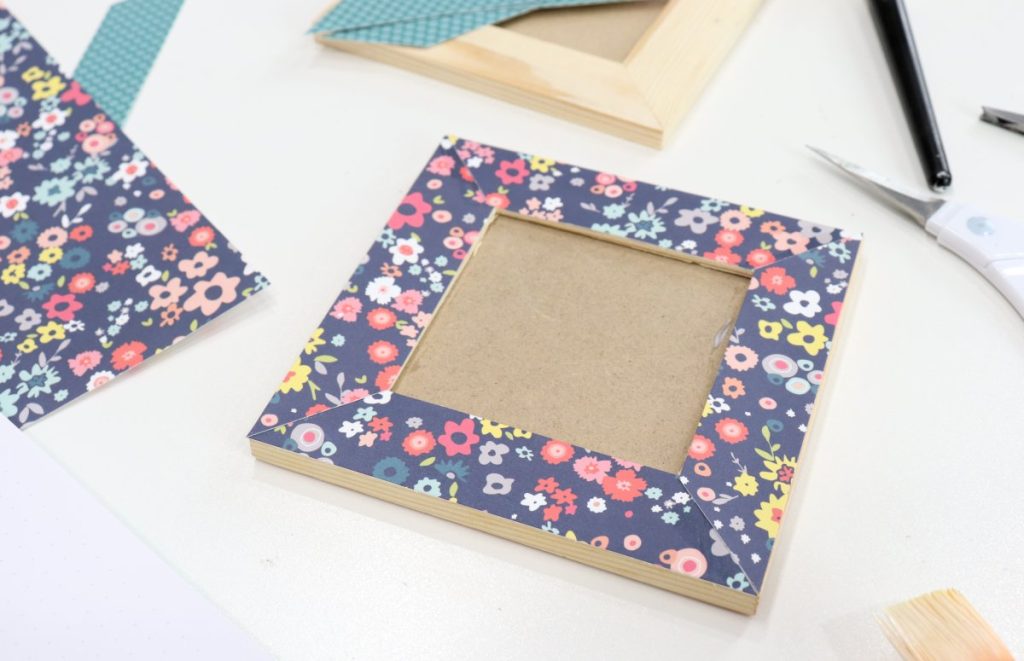
Step 2: Adhere your paper.
Use a paintbrush to apply a thin layer of Mod Podge to the wooden frame and place the scrapbook paper on top, pressing gently to adhere. A little decoupage formula goes a long way; using too much will cause the paper to warp and curl. Allow this to dry completely.
Step 3: Apply a top coat.
Add a very thin layer of decoupage formula on top of the paper. Once again, less is more. Using too much will cause the paper to bubble. Let it dry.

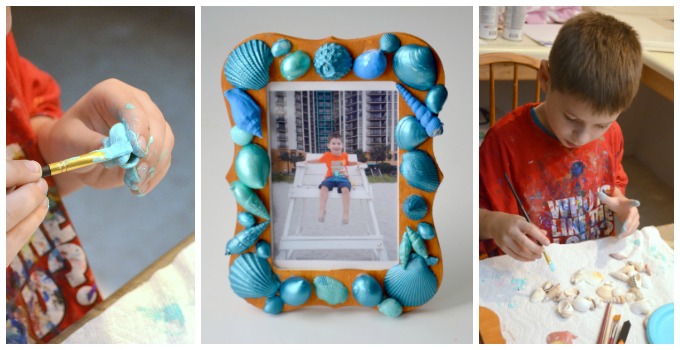
Step 4: Add your photo.
Trim your photo to fit inside the frame, then insert it.
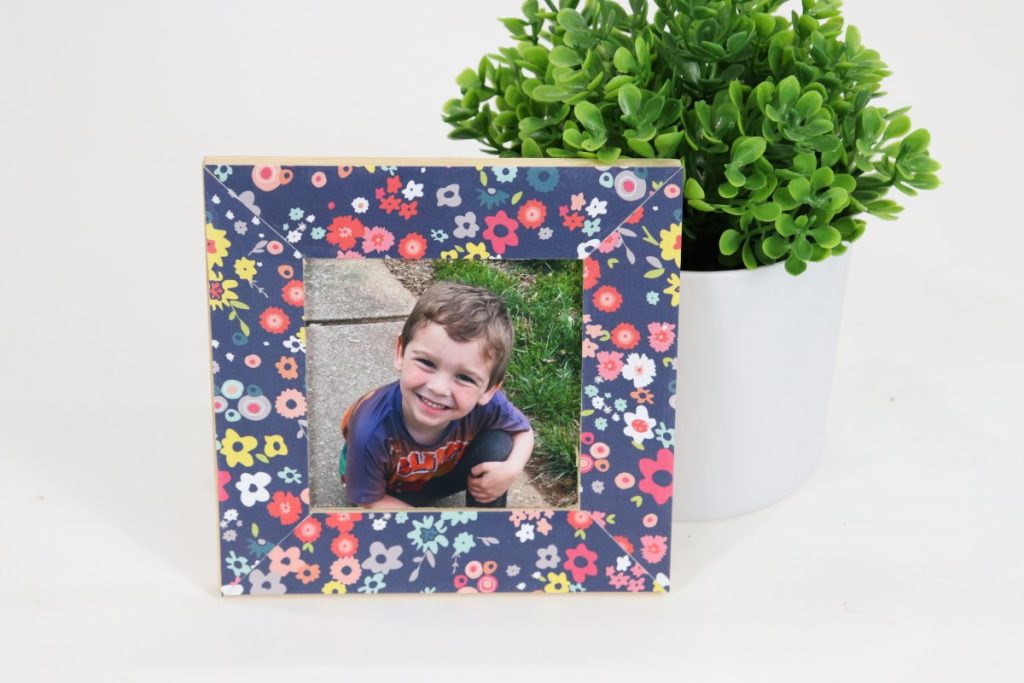
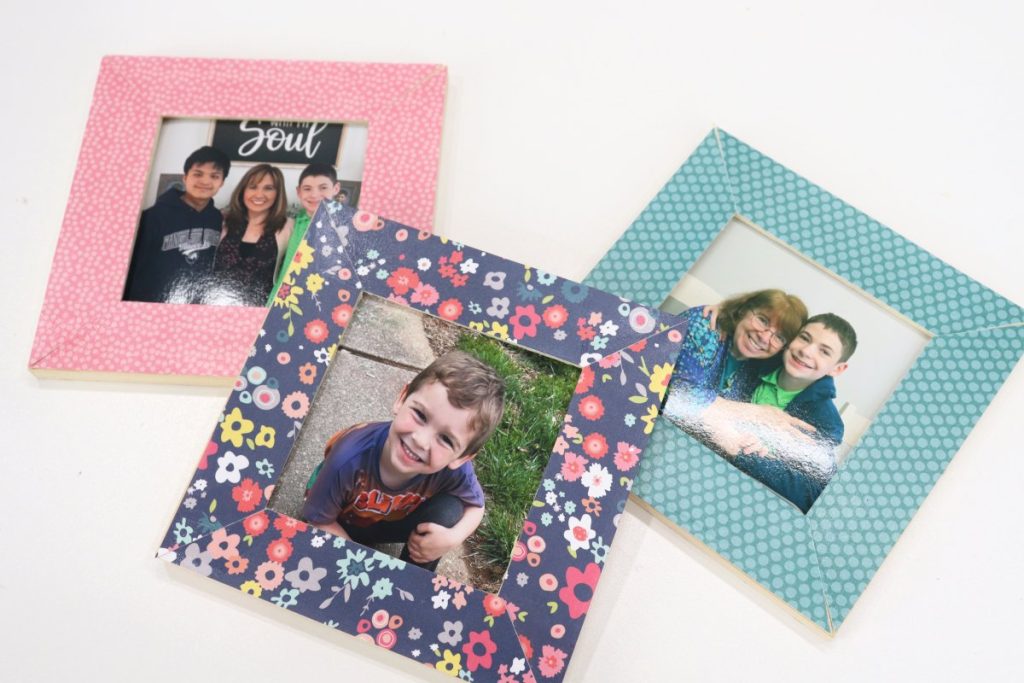
Now, it’s ready to display, or to give as a gift to a special person in your life! These are so simple to create, and even the little crafters in your life can help. Choosing different papers makes every frame look totally unique, so you can customize it for your decor, for someone’s favorite color, or in any way you like. Plus, it’s really inexpensive. The frames cost me $1 each, and the scrapbook paper was less than 25 cents per sheet.

Who in your life would love to receive one of these as a gift? If you create some, I would love to see how they turn out! Make sure you’re part of the Amy Latta & Friends Facebook Group so you can share your latest projects and we can all be inspired. See you there.