Amy Latta Creations

  • Home
  • About Me
    • The Girl Behind the Markers
  • Blog
  • Projects
    • Hand Lettering Tutorials
    • Lettering Projects
    • Free Practice Pages
    • Craft Projects
      • Holiday Ideas
      • Honestly Doable
      • Honestly Edible
      • Honestly Wearable
      • Honestly Teachable
  • Where do I start?
    • I’m a Newbie
    • I’m in the Middle
    • I’m a Pro
    • I’m Not Creative at ALL!
  • My Books
    • Hand Lettering for Relaxation
    • Express Yourself: A Hand Lettering Workbook for Kids
    • Hand Lettering for Laughter
    • Caligrafia Para Relaxar
  • What I Do
    • Conference Speaking
    • Workshops
    • Custom Designs
  • Contact
    • Privacy Policy

Chalkboard & Glitter Ornament

November 22, 2015 by dancers4life 3 Comments

Chalkboard Glitter Ornament

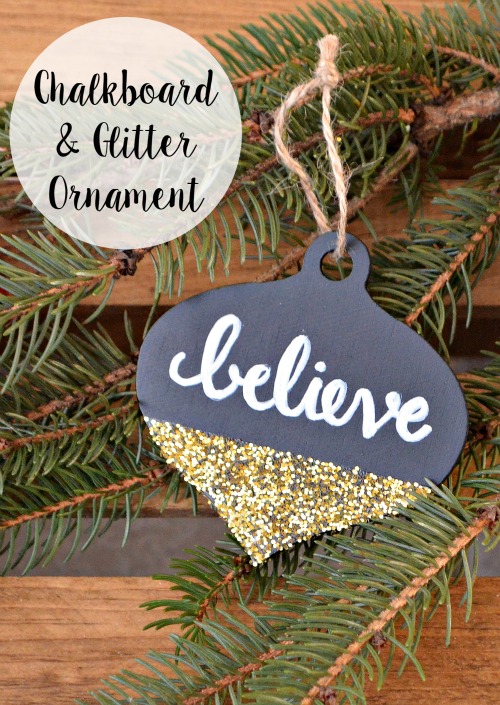
Friends, as many of you know, here at One Artsy Mama we have an annual ornament exchange when Christmas time rolls around. Lots of you signed up to participate again this year {if you missed it, be sure to watch for sign-ups at the beginning of  next November!}, and I like to play along too! My partner, Cate, loves glitter and gold, so I decided to combine them in one fun and festive ornament.

Chalkboard Glitter Ornament

Materials:
Chalkboard ornament {or wooden ornament and chalkboard paint}
David Tutera Chalk Pen
Mod Podge or glue
Painter’s Tape
Gold Glitter

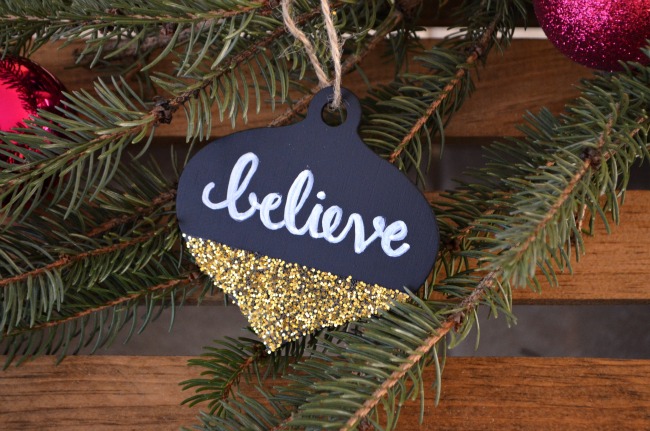
Step 1: Write your message on the top part of the ornament.
I chose the word, “believe,” but you can use anything you like. If you use a name, this could easily double as a gift tag!

Glitter and Chalkboard Ornament

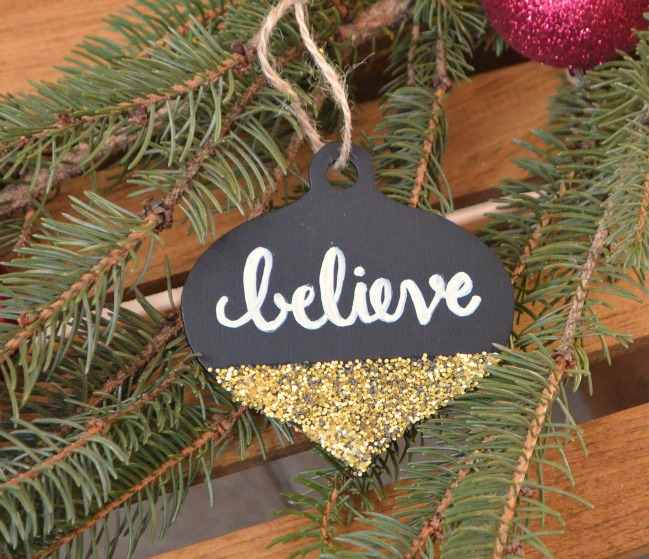
Step 2: Place a piece of painter’s tape across the ornament where you want the glitter to stop.
Try not to let the tape touch the chalk.  I actually folded my tape in half to make it thinner.

Step 3: Apply Mod Podge to the bottom section of the ornament, then shake glitter on top.
You may want to do this step outdoors or over a trash can so that you don’t end up with excess glitter everywhere.

Chalkboard and Glitter Ornament

That’s it! One easy-peasy and pretty ornament all ready to hang on the tree or send to your friend!

0 Shares

MORE FROM AMYLATTACREATIONS

Filed Under: Uncategorized Tagged With: Christmas, ornament

« Easy DIY Hand Lettered Gift Tag
Merry & Bright Chalkboard Wreath Project »

Comments

  1. Julie Tucker-Wolek says

    November 22, 2015 at 8:27 AM

    So gorgeous! LOVING the glitter!

    Reply
  2. Cate says

    December 2, 2015 at 3:27 AM

    I love it! It’s going on our tree as soon as we finish getting everything out! I have a vase of flowers on my desk in our office that I put the Noel ornament on. It looks great! I’ll take a picture of them both and tag you on instagram! Thanks so much for the great ornament and I can’t wait for you to get yours!

    Reply

Trackbacks

  1. Invitations Blog says:
    August 23, 2017 at 3:22 PM

    Gift Tagsnoel Chalkboard Gift

    […] end to use my text or images, please link back to this blog and give credit to t […]

    Reply

Leave a Reply Cancel reply

Your email address will not be published. Required fields are marked *

This site uses Akismet to reduce spam. Learn how your comment data is processed.

One Artsy MamaOne Artsy MamaOne Artsy MamaOne Artsy Mama

HI! I’M AMY!

Lover of all things creative. Passionate about Jesus and my family. Married to my best friend, mama to our 10 year old Little Crafter and 11 year old Scout. Author of Hand Lettering for Relaxation, Express Yourself, Hand Lettering for Laughter, & Caligrafia para Relaxar. Addicted to Starbucks.

My Latest Videos!

NEWSLETTER SIGNUP

Copyright © 2019 · amylattacreations.com

Get more ideas & inspiration in our free weekly newsletter!
Your information will *never* be shared or sold to a 3rd party.