Personalized Pouch with Cricut Infusible Ink
Thanks to Cricut for sponsoring this project. All opinions are 100% my own.
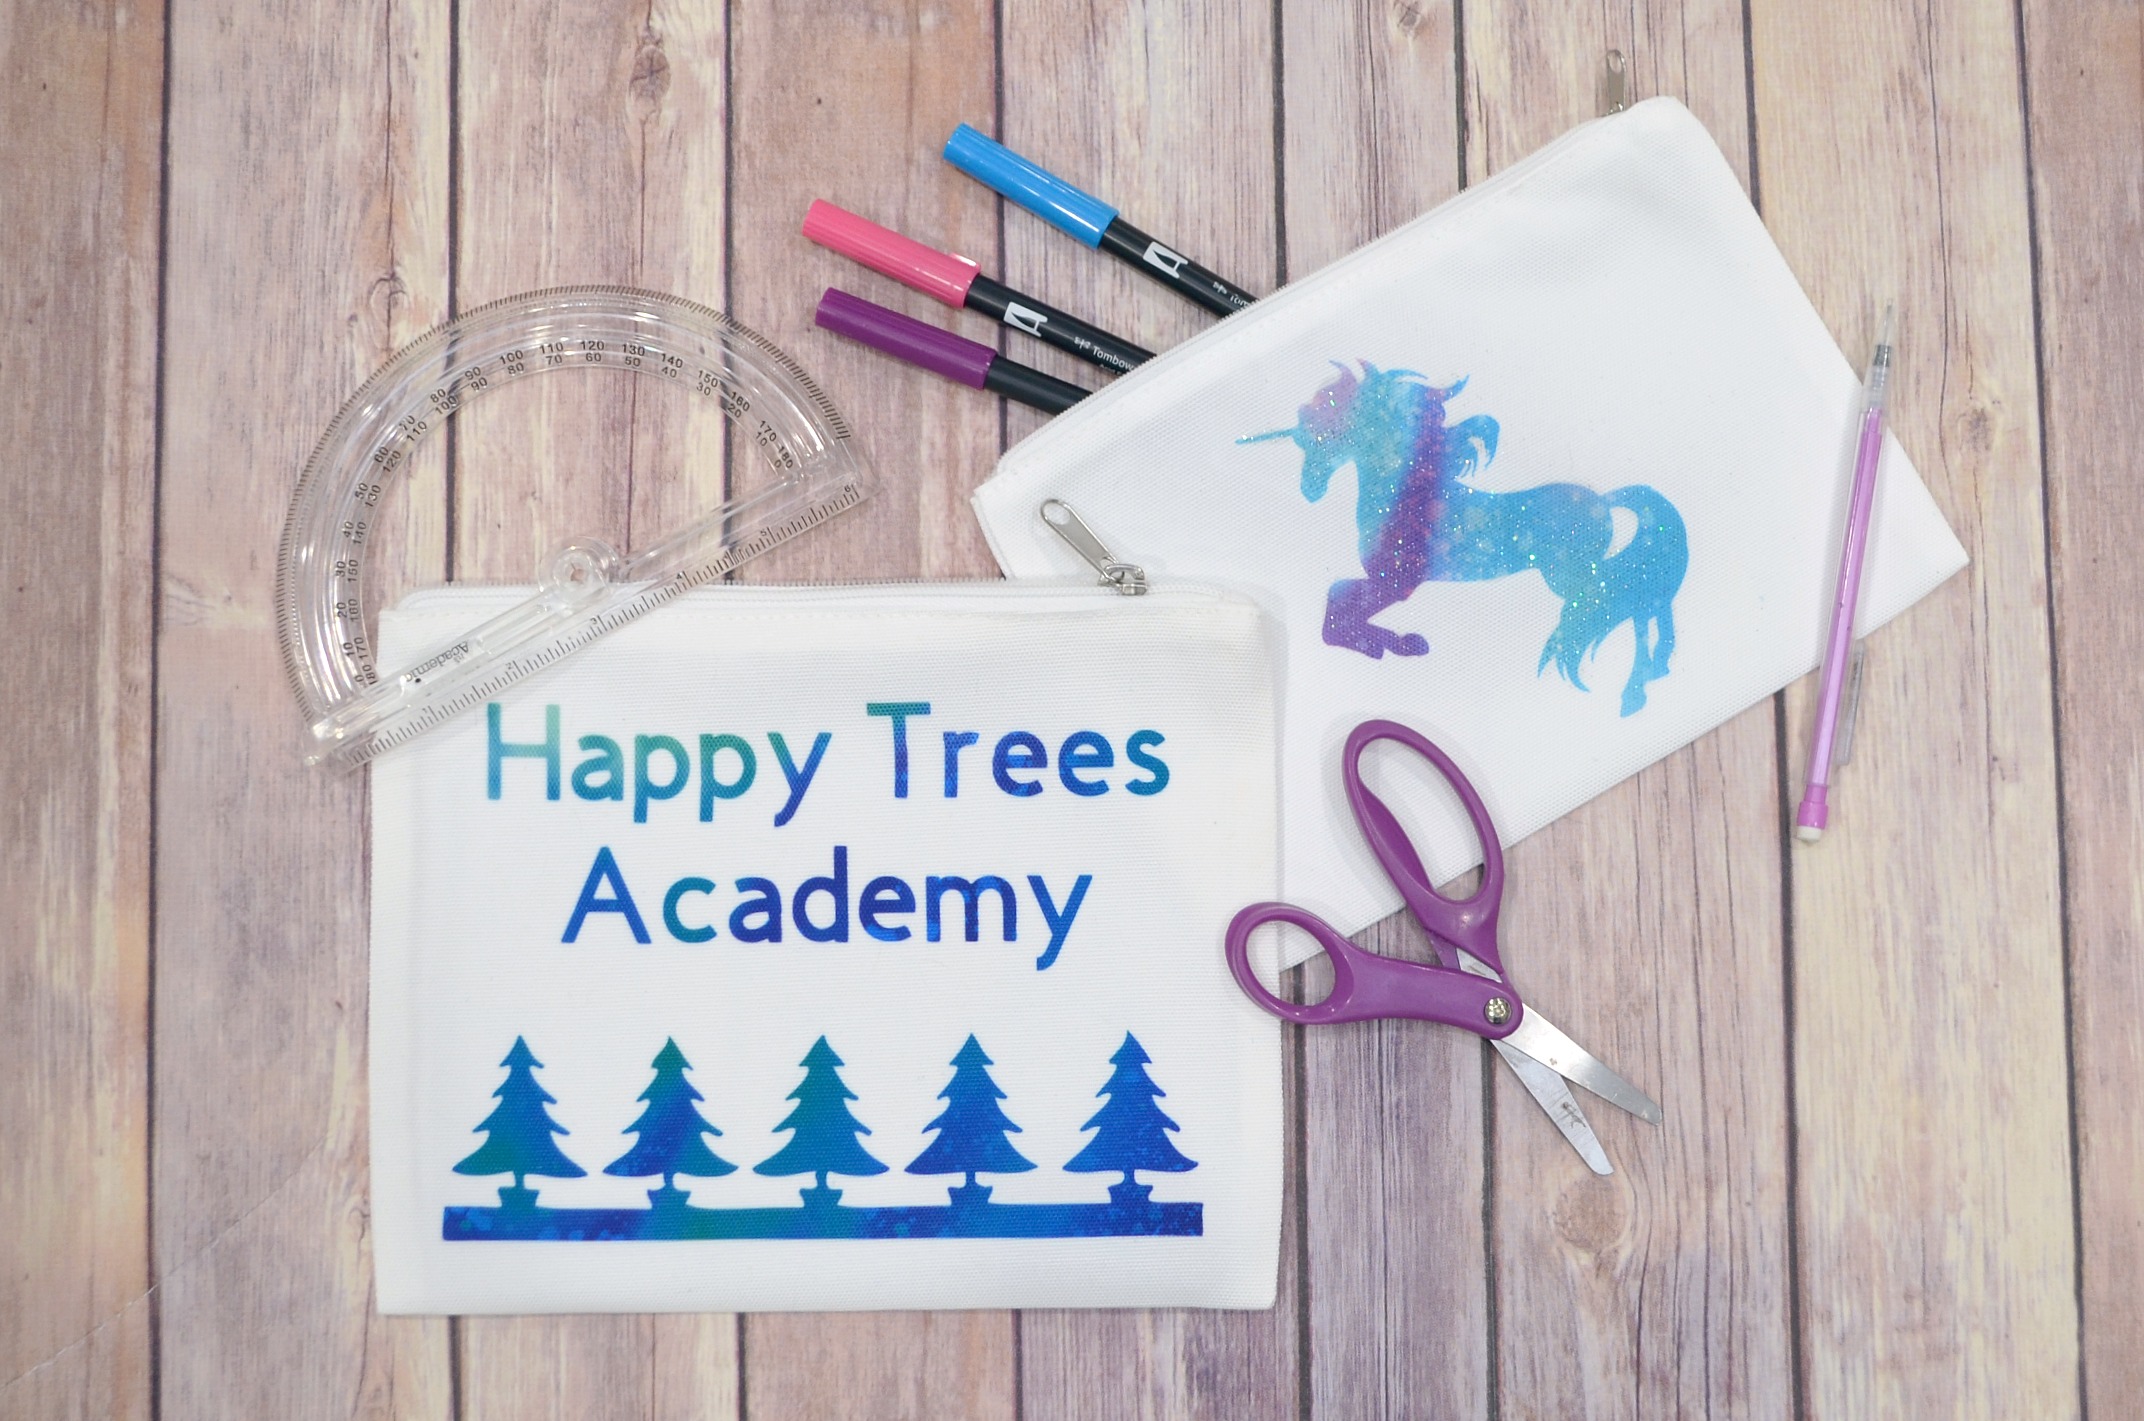
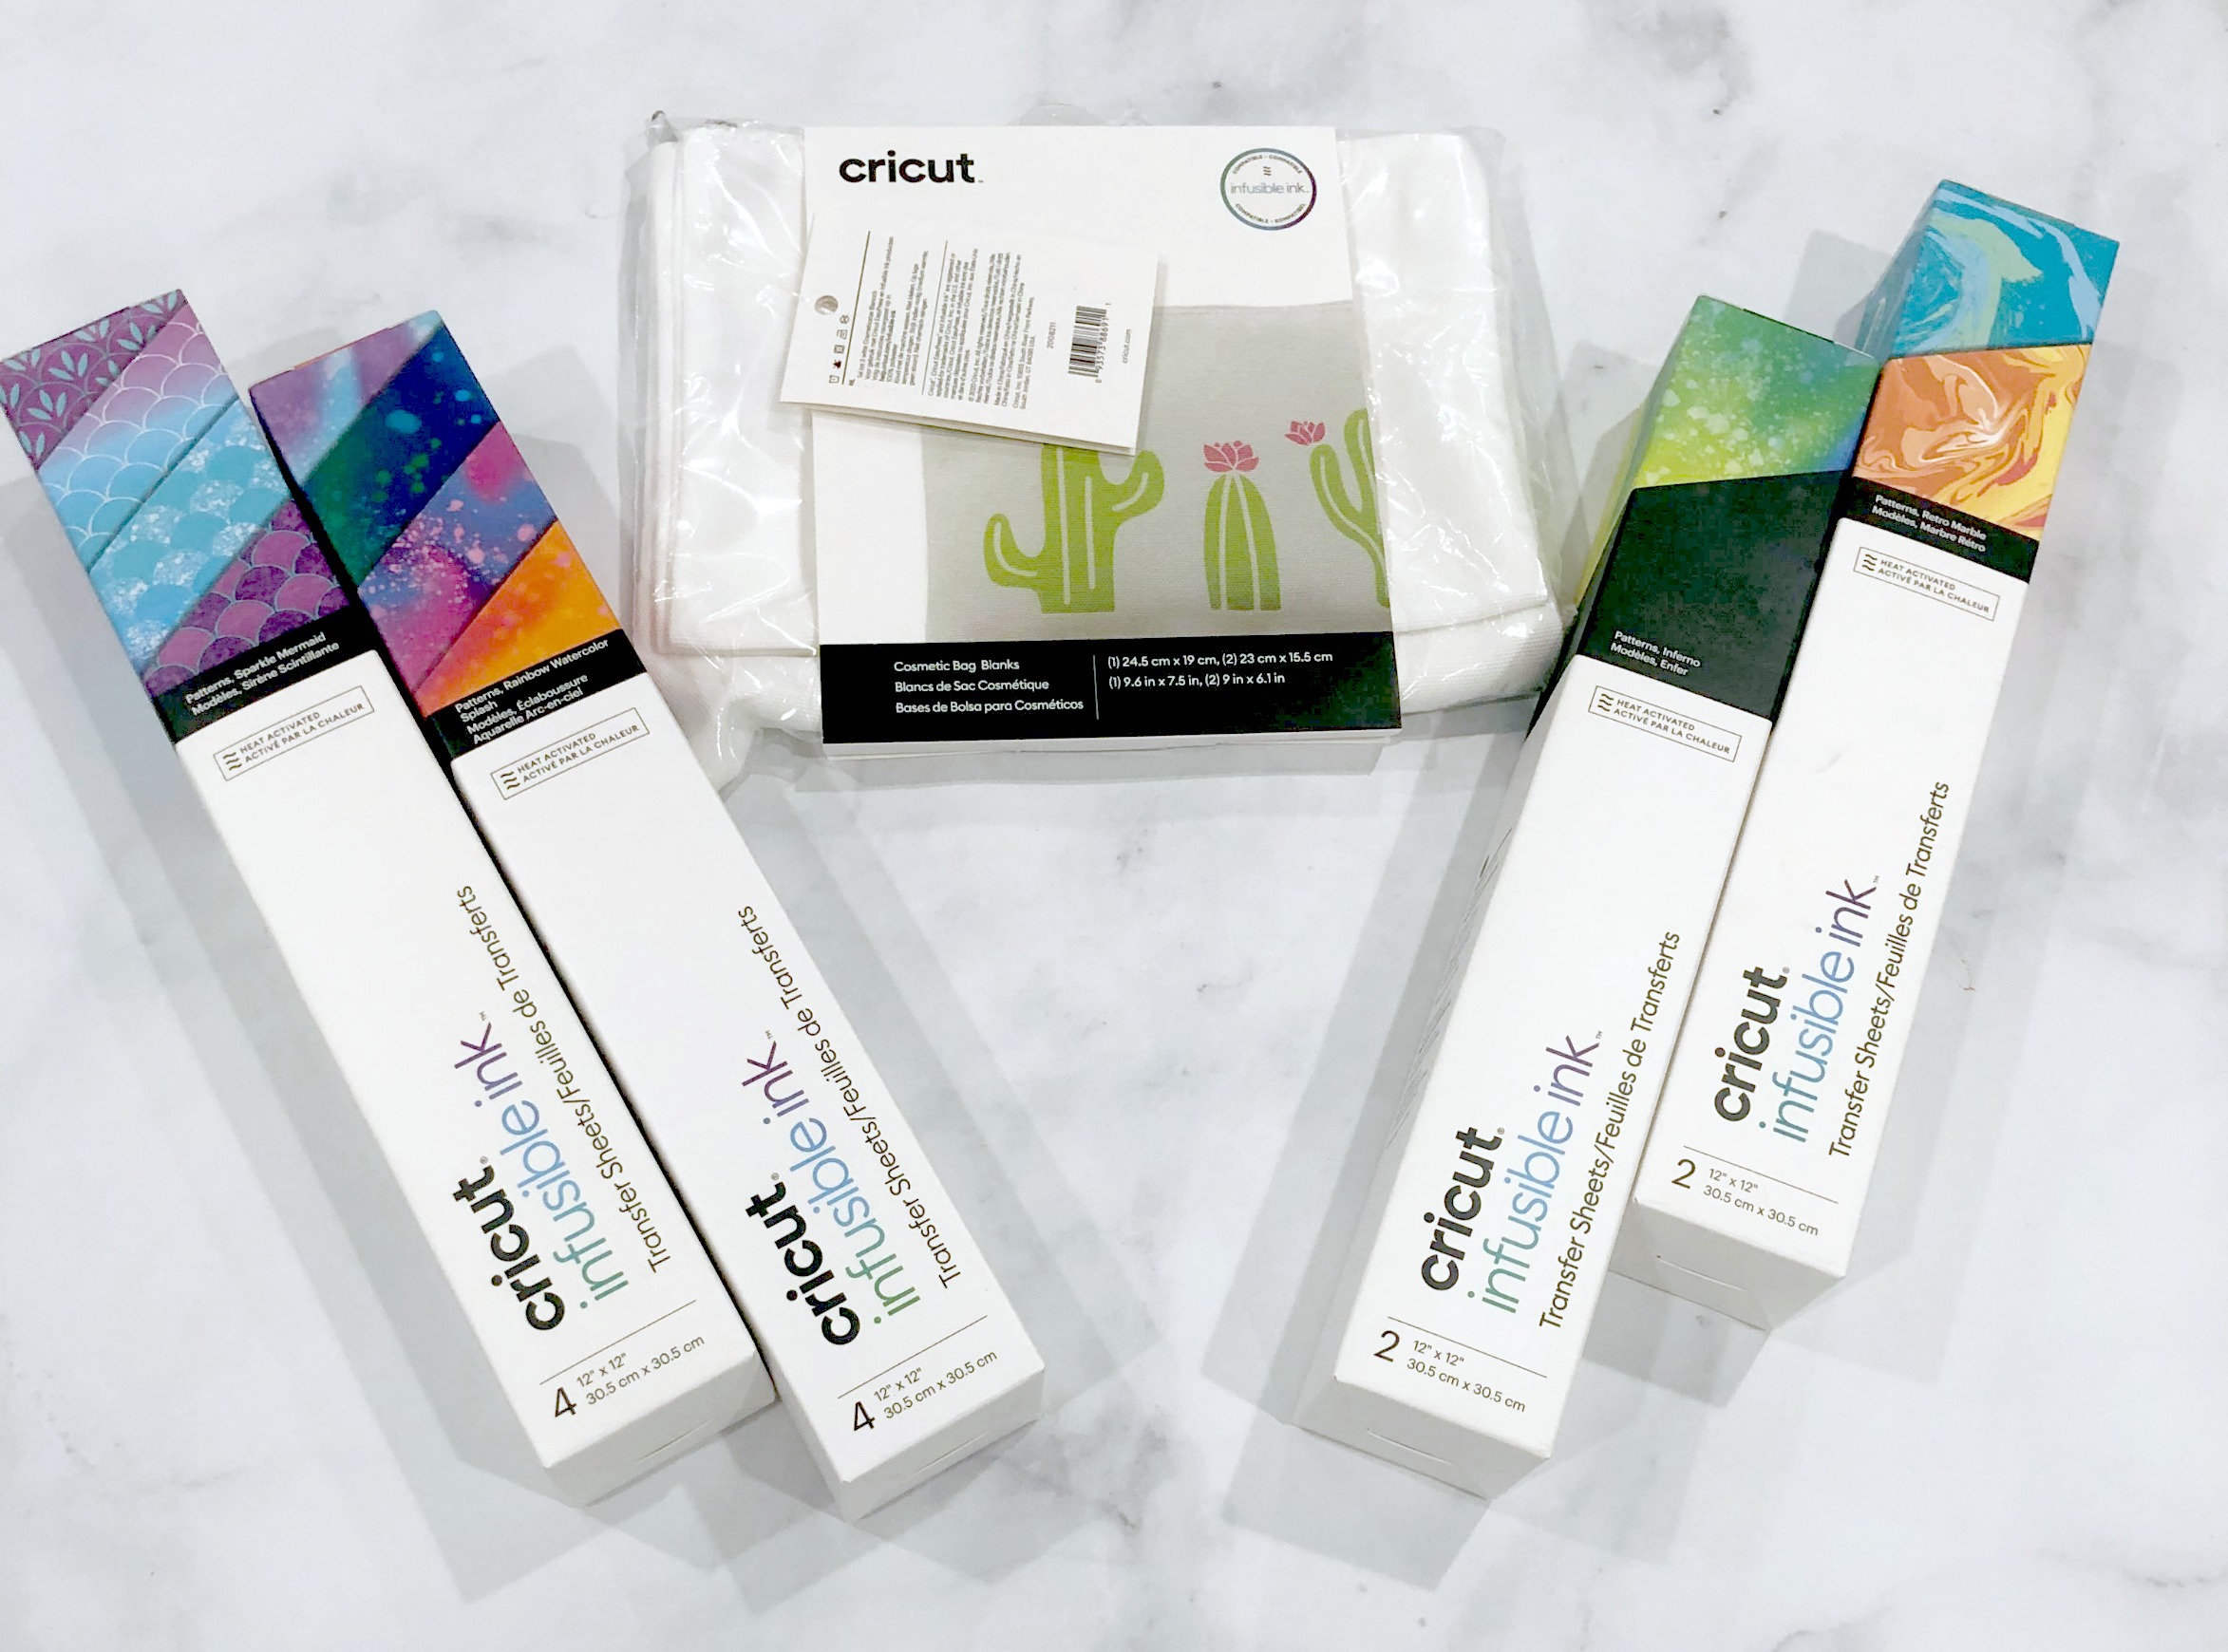
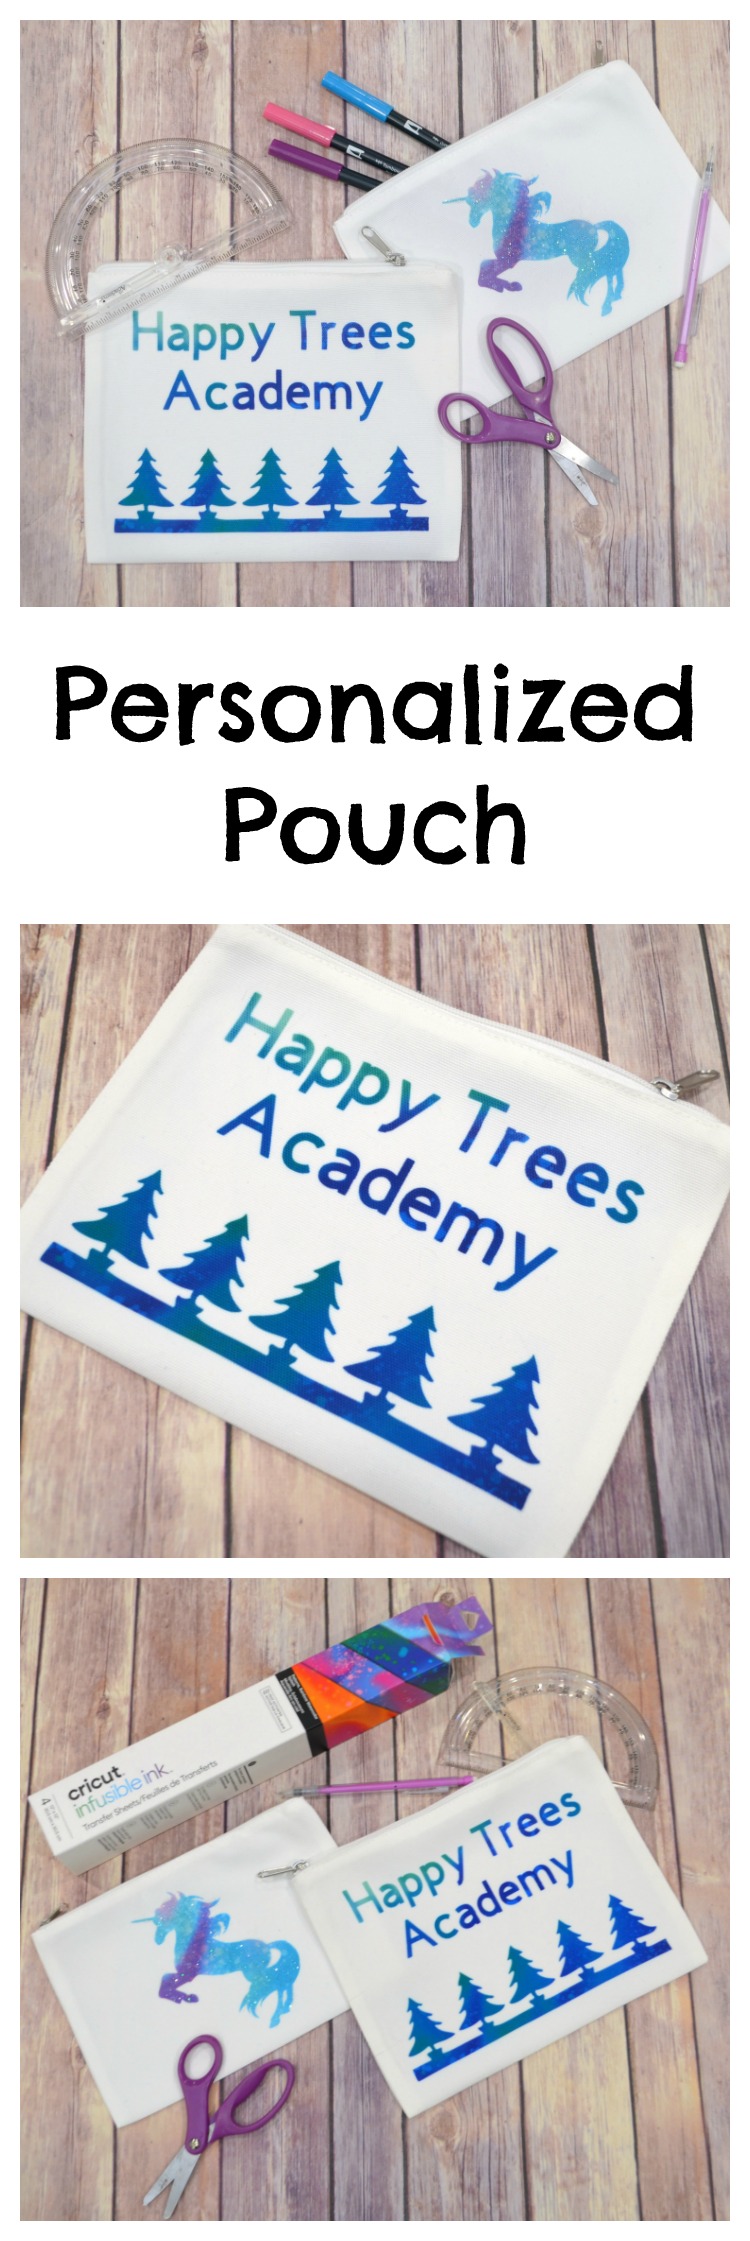
School is starting very soon here in our house, so we have been working hard to craft ourselves some personalized, DIY supplies. Not only will they help keep us organized, it’s a way to get the kids excited about what’s surely the most unusual school year they’ve ever experienced. This summer, in addition to their original line of Infusible Ink blanks, Cricut released several brand new ones: cosmetic bags, wine bags, pillow covers, and toddler-size shirts. The cosmetic bags, which come in a pack of three, are perfect for storing all kinds of school supplies. We decided to personalize a few, and so can you! Take a look…
You’ll need:
Cricut Infusible Ink Transfer Sheets, Rainbow Watercolor Splash
Scissors
Lint Roller
Clean Towel or EasyPress Mat
Optional: Glitter Fabric Paint and Paintbrush
I love using Infusible Ink when I can, because unlike an iron-on transfer or vinyl application, where the artwork sits on top of the surface of the project, the Infusible Ink heat transfer actually becomes one with the material itself. The ink fuses down into the fibers and fabric stays completely flexible. When you use Cricut’s compatible Infusible Ink blanks, you get vibrant, permanent, pro-quality heat press transfers. The designs are bright, beautiful, seamlessly smooth, and best of all, they’re flake-proof, peel-proof, and wash-proof.
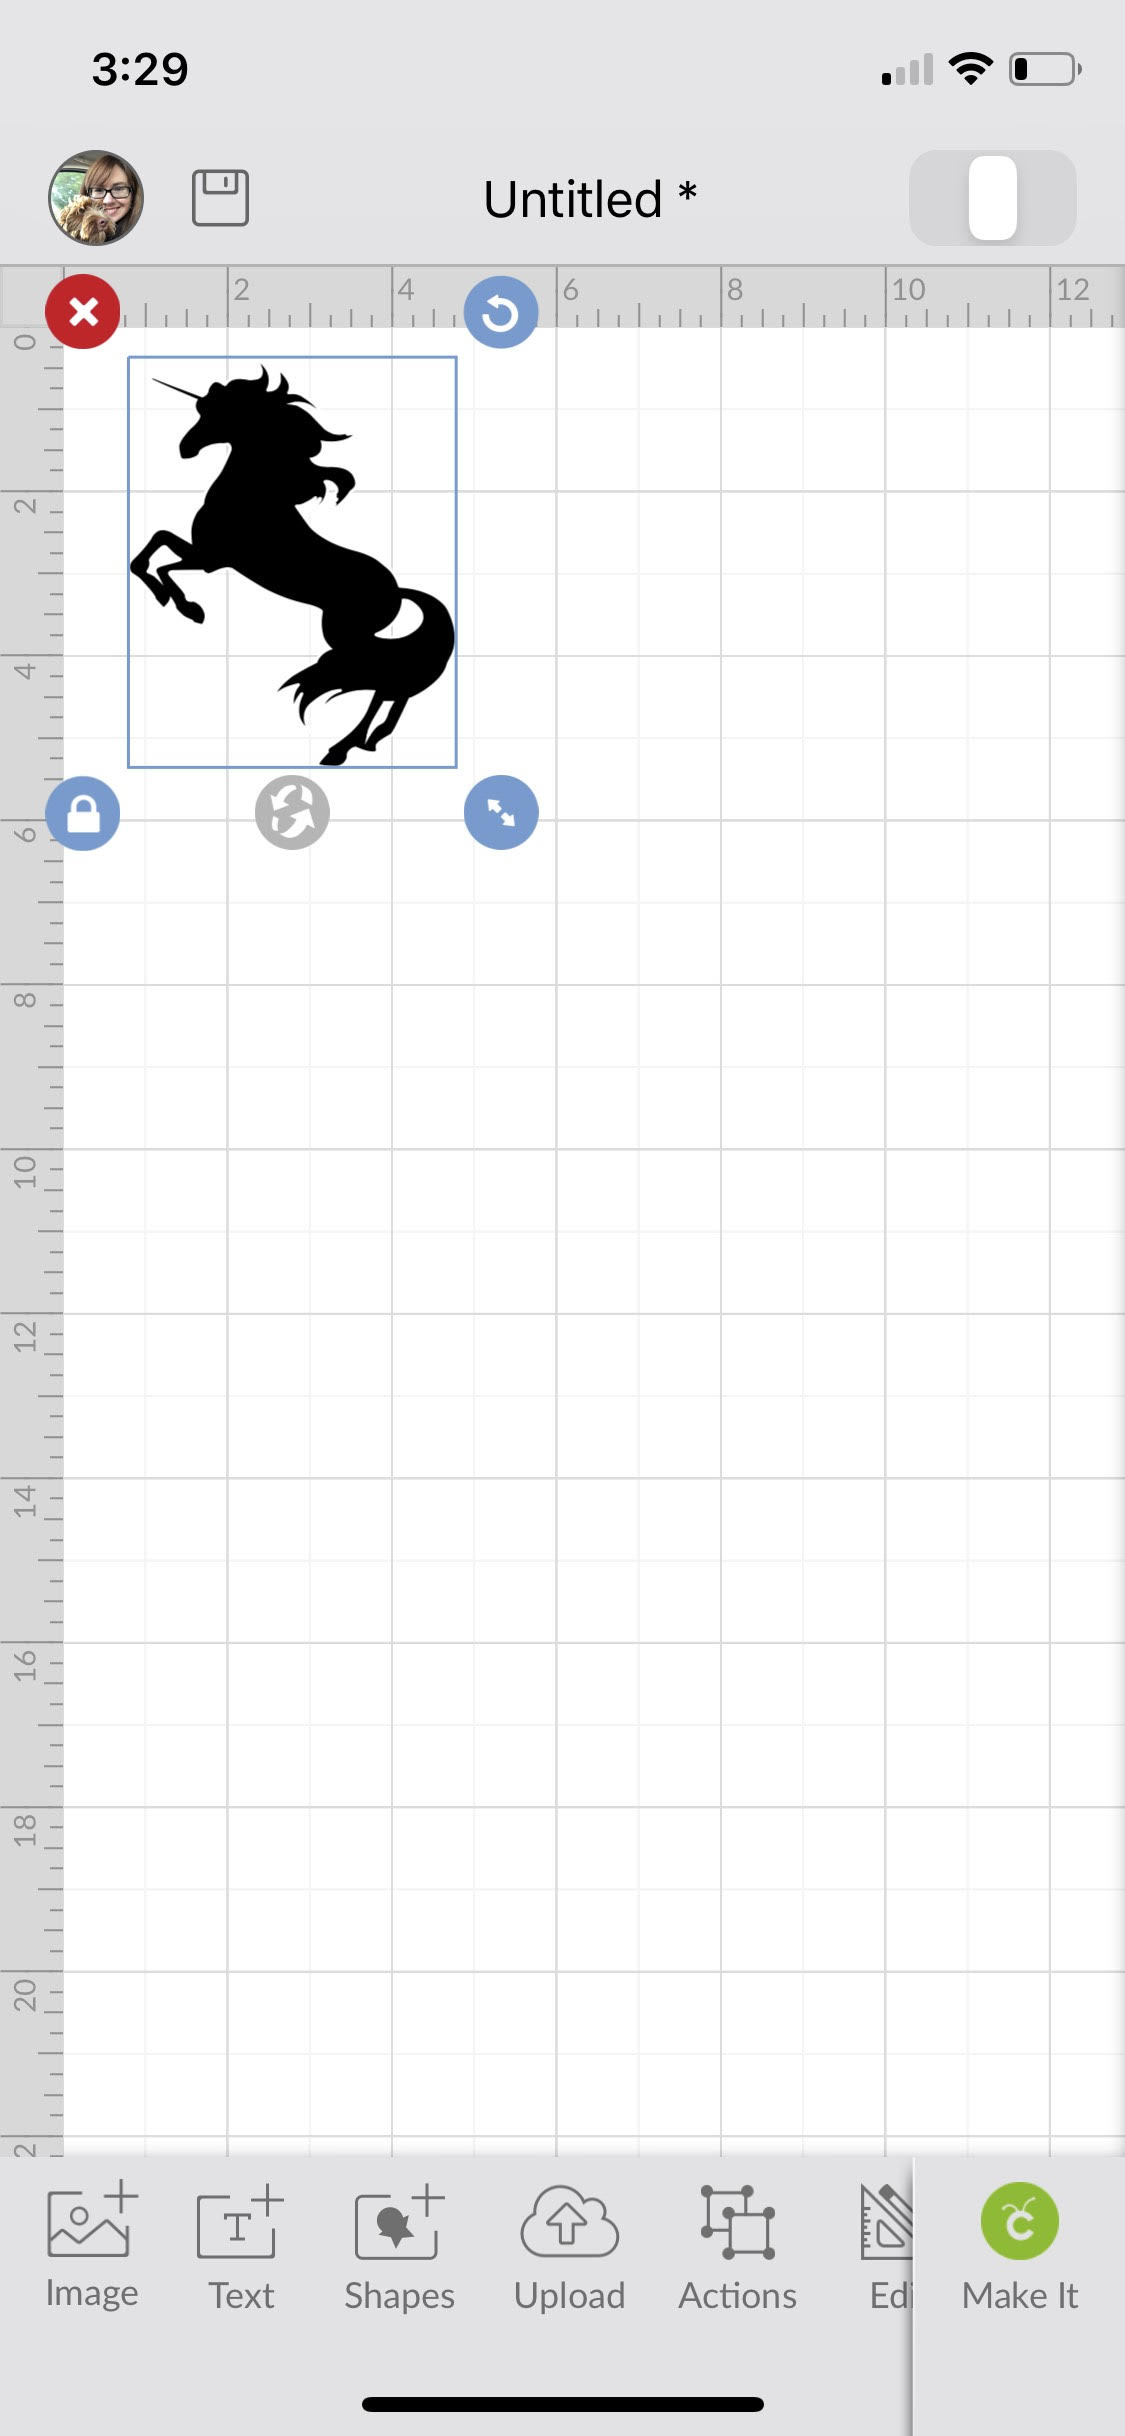
Step 1: Choose a design and size it to fit your pouch in Design Space.
I chose the silhouette of a unicorn for mine, while my son decided to combine an image of a line of trees with the typed words “Happy Trees Academy.” (Any guesses who his favorite big-haired artist is?)
Step 2: Cut the image from your favorite Infusible Ink Transfer Sheet.
To do this, place the sheet ink side up on a cutting mat and load your machine. Make sure the mirror option is turned on in Design Space and that the machine knob is set to “custom.” Choose Infusible Ink as your material in the software, then let the machine work its cutting magic.
Step 3: Weed the design.
This means you’ll want to peel away everything that is not part of your design (including small pieces like the centers of letters like “e” and “o”) so that only your desired image is left on the adhesive backing. The colors of the transfer will look different from the images on the box before they’re heated; don’t worry, they’ll become incredibly vibrant after you apply heat.

Step 3: Preheat the pouch.
Use your EasyPress (or an iron) set to 385 degrees. Insert a piece of cardstock inside the pouch to keep the transfer from going through to the back side. Place a piece of butcher paper on top of the pouch, then cover it with the EasyPress for 15 seconds. This will remove any excess moisture. Use a lint roller to remove any fibers or hairs that may have gotten on the surface of the pouch before moving to the next step.
Step 4: Place your design, ink side down, on the pouch and apply heat.
Apply the design exactly where you want it, then cover it with butcher paper and place the EasyPress on top. Press down firmly for 60 seconds at 385 degrees. Lift the EasyPress straight up and carefully remove the butcher paper and adhesive. The paper backing will also come off and the ink will have transferred into the fibers of the pouch.
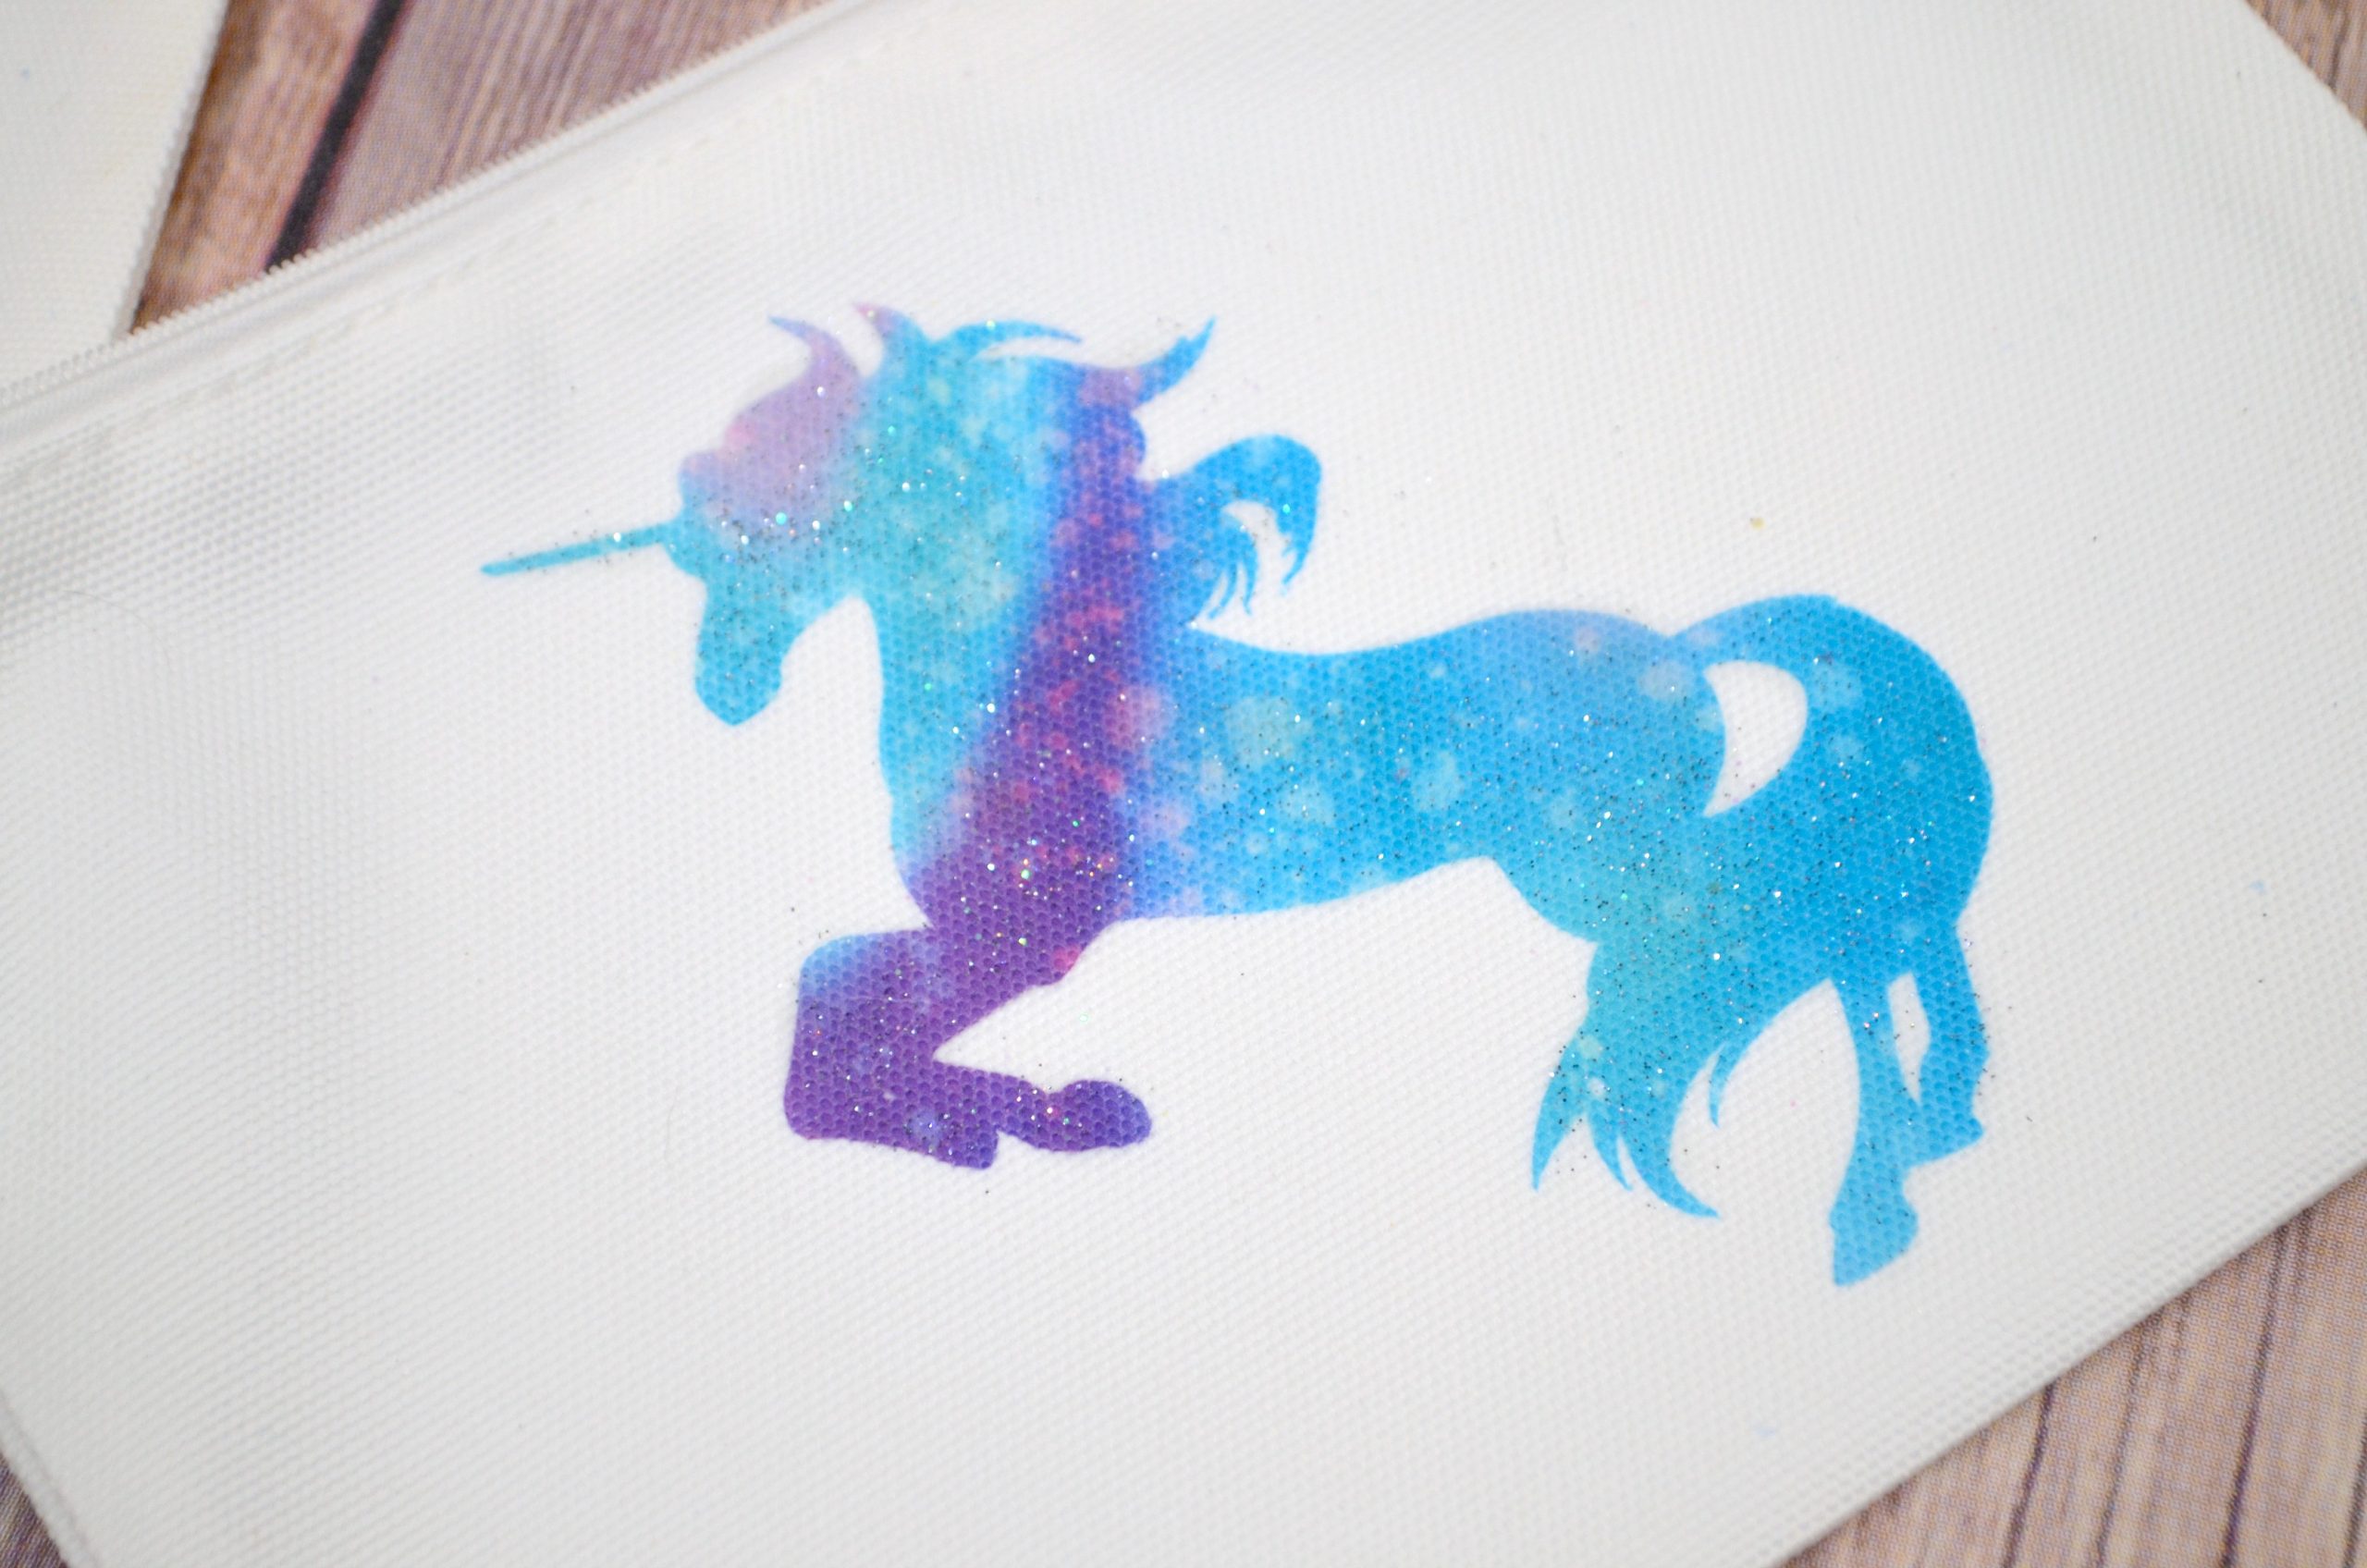
Step 5 (optional): Add glitter fabric paint.
I wanted my unicorn to have a little extra sparkle, so I used a paintbrush to apply glitter fabric paint on top of the design.
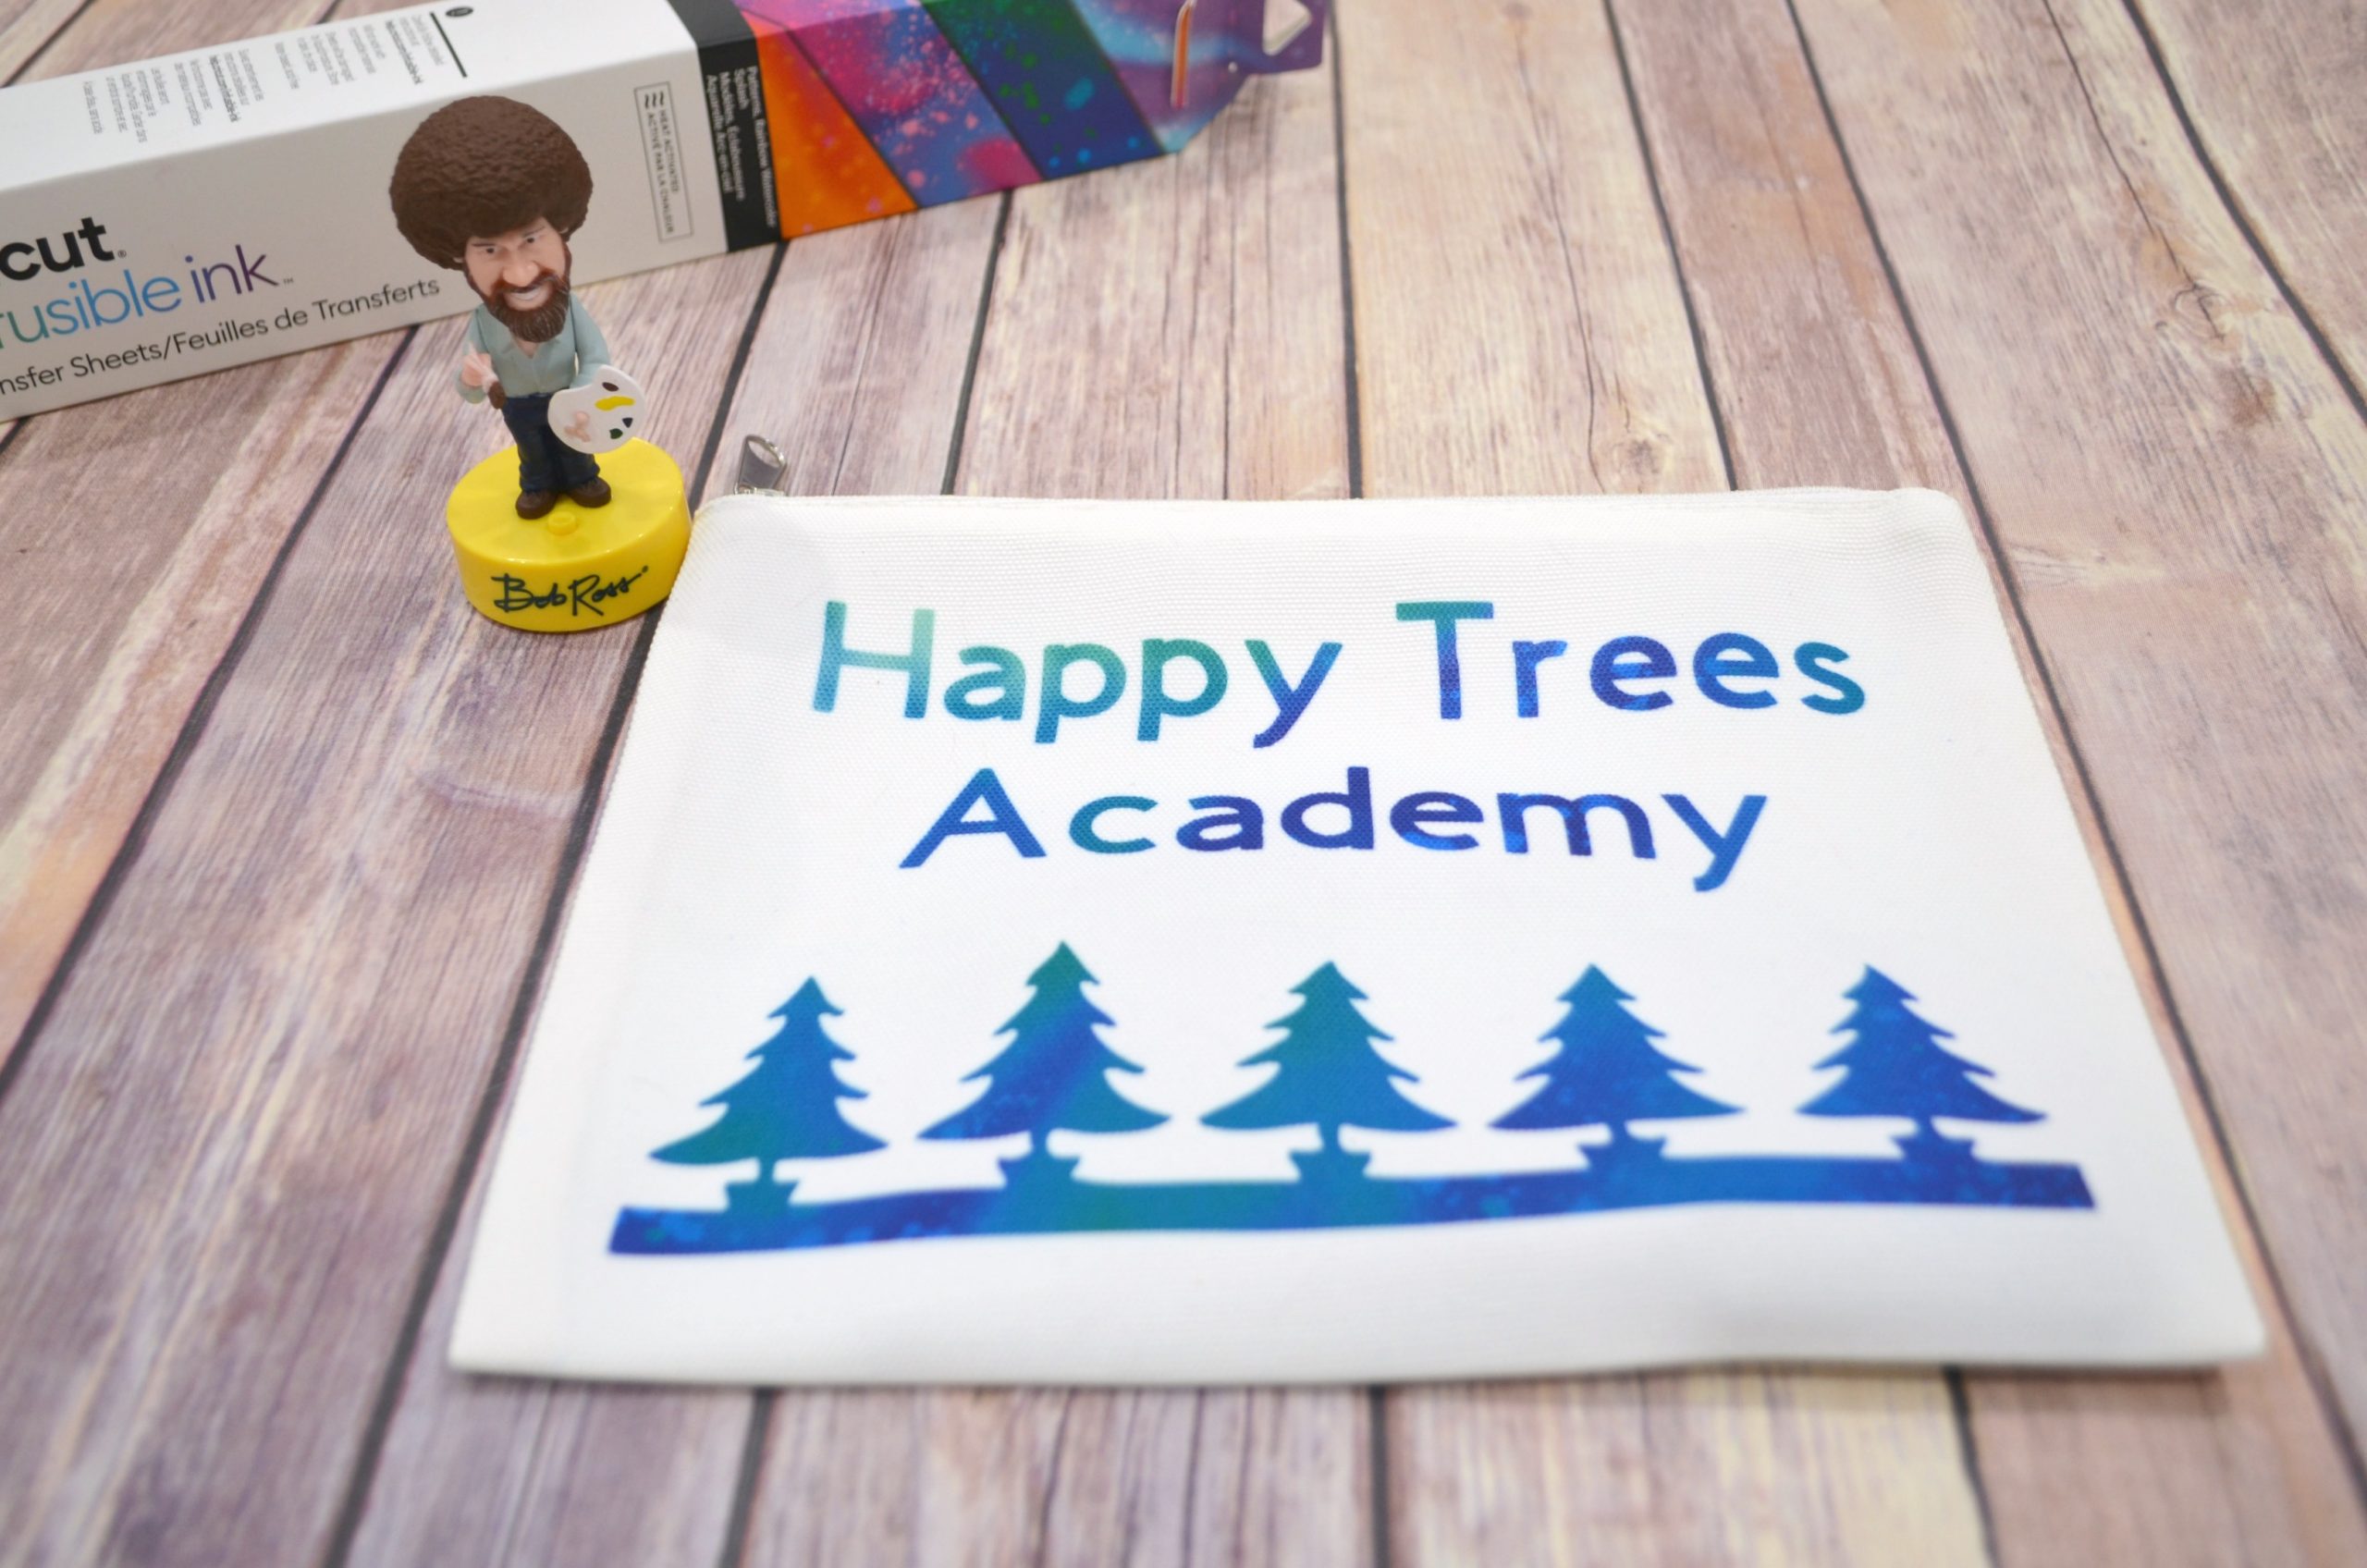
Here’s a look at how my son’s pouch turned out. He opted not to add glitter.

Both of us absolutely love our new pouches! He has already filled his with some “must-haves” for school, like earbuds, a flash drive, a protractor, and a few other supplies. I think his favorite artist would approve.
I’m not sure yet if mine is destined for school use for to hold cosmetics. I may even use it as a place to store clean cloth masks when they come out of the washing machine.

This project was so easy to do; we finished in less than an hour and were ready to put our pouches to use. The huge variety of patterns and colors of Infusible Ink Transfers, plus the many choices of images in the Design Space library make it easy to create something truly unique. What would you put on your pouch?
Don’t forget, if you like this idea, Pin it for later or share with a friend!
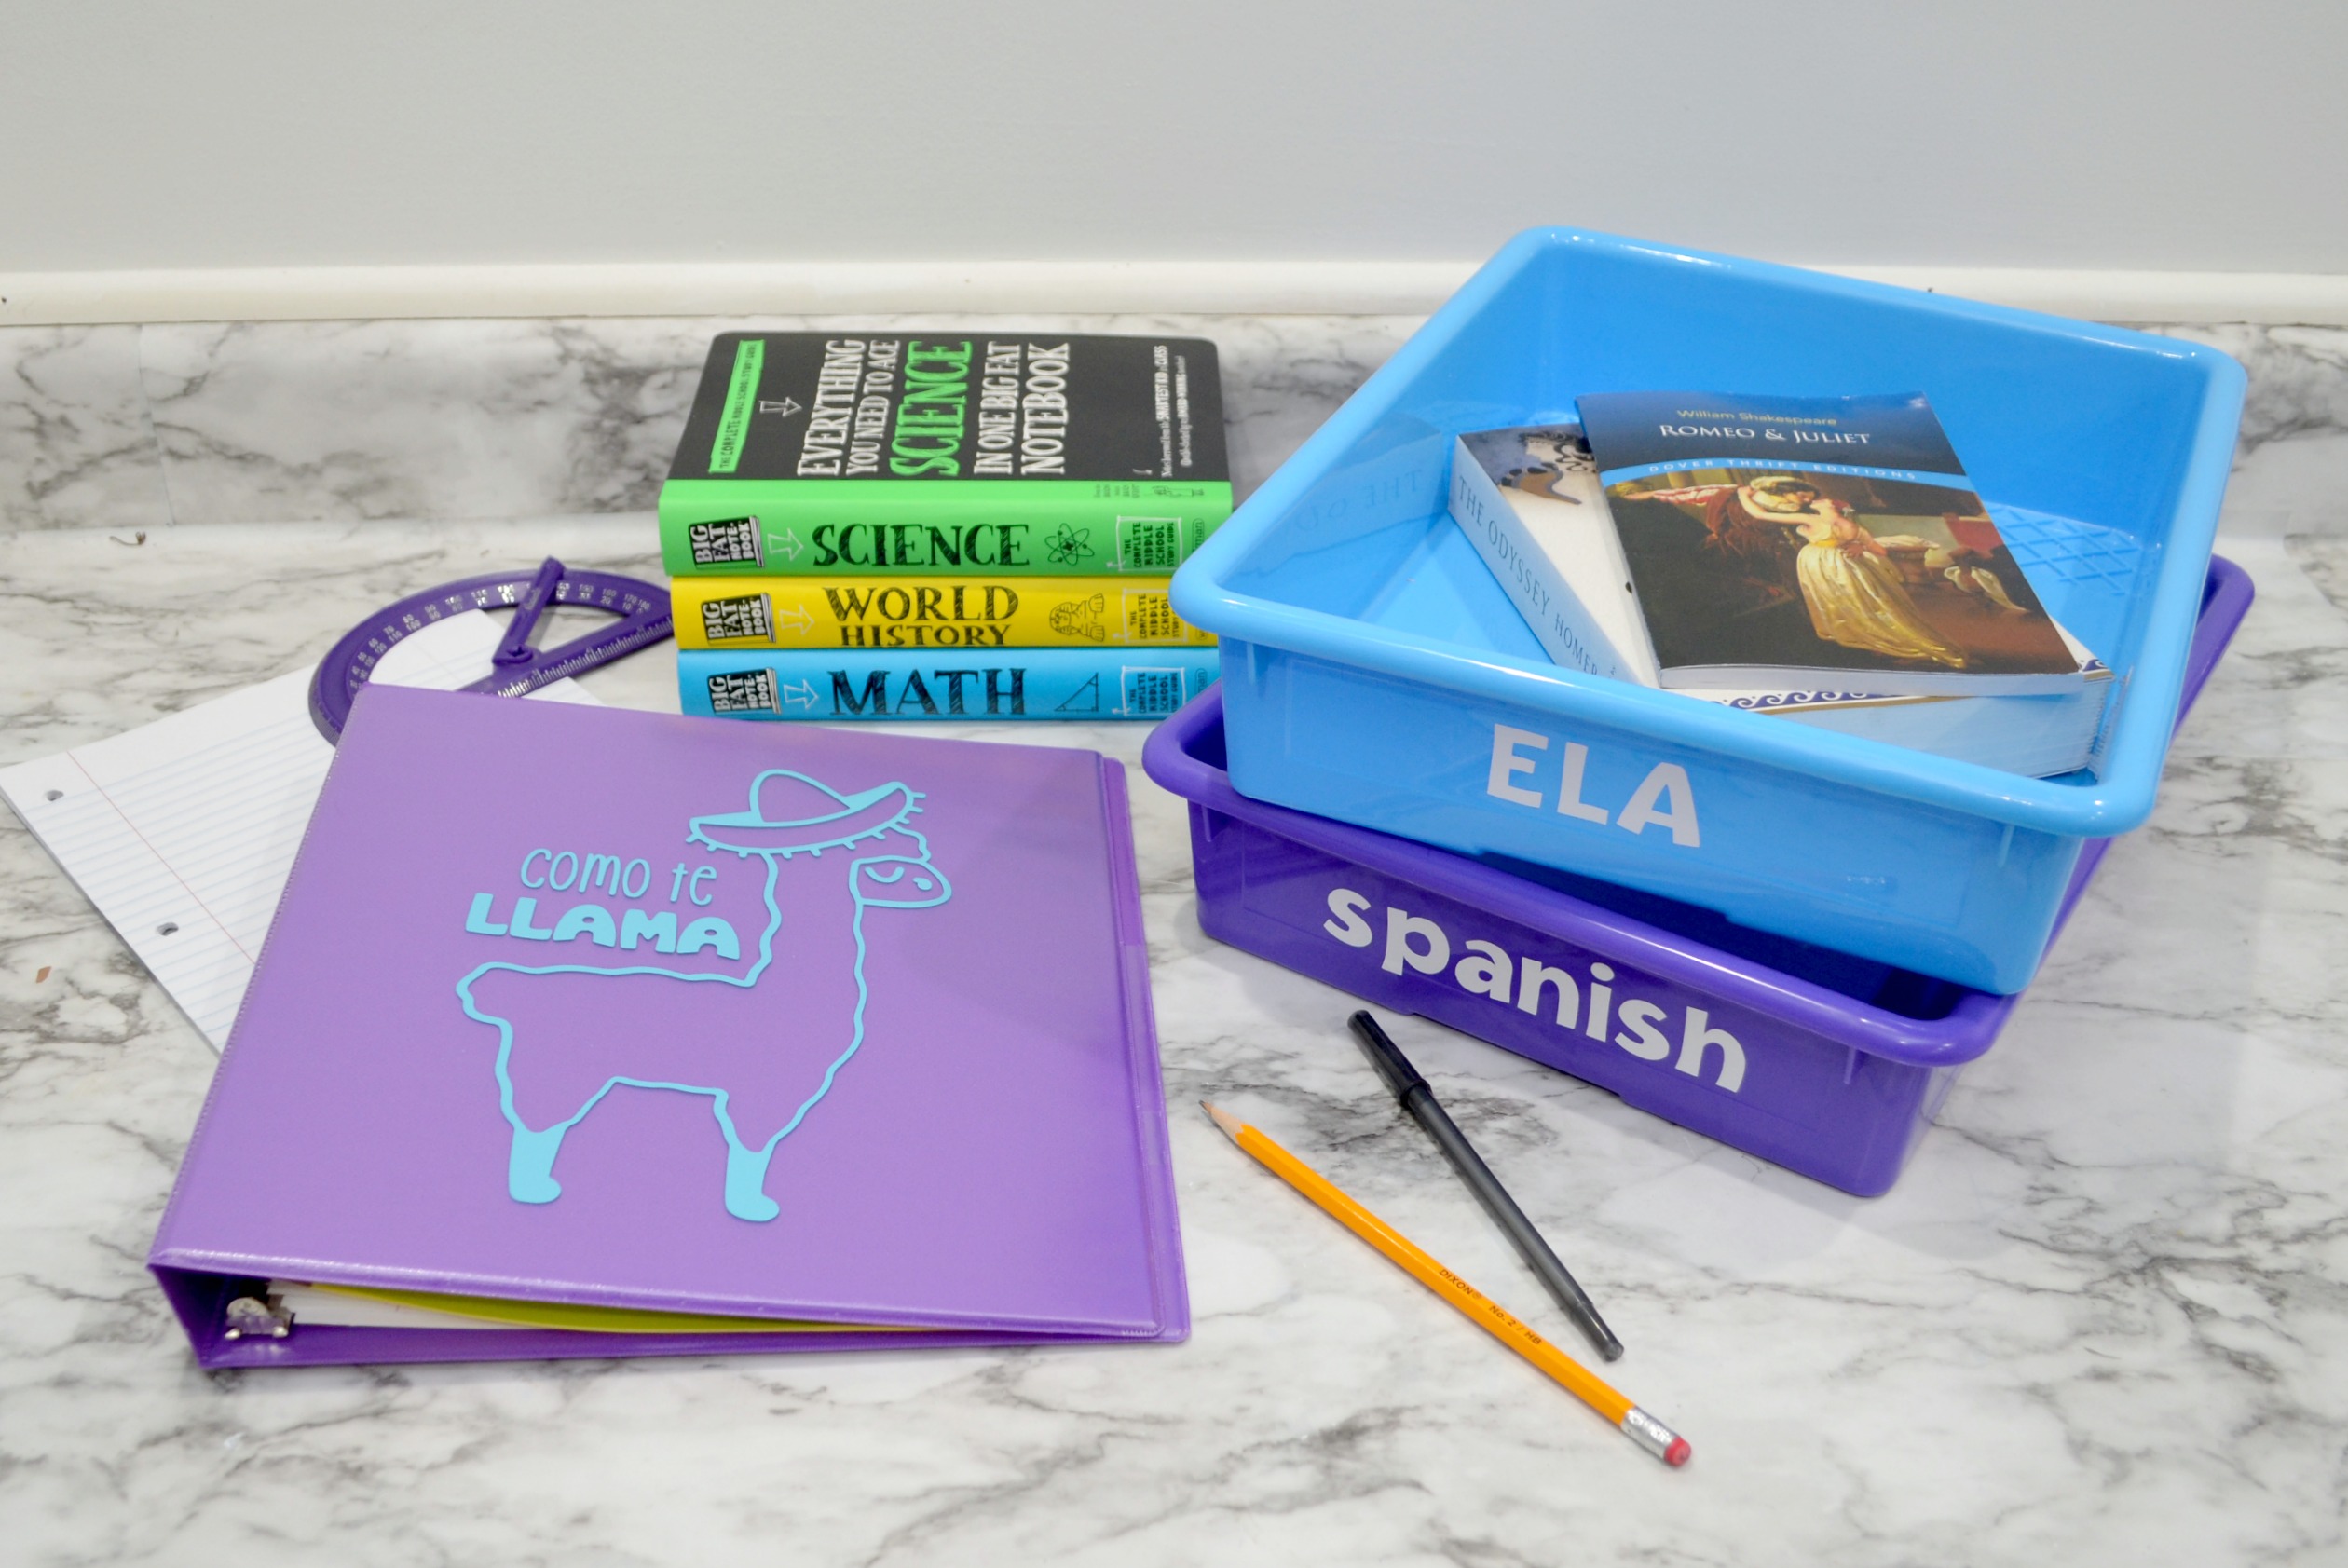
Be sure to check out the other back to school project ideas, like these Personalized Binders & Organization Bins!