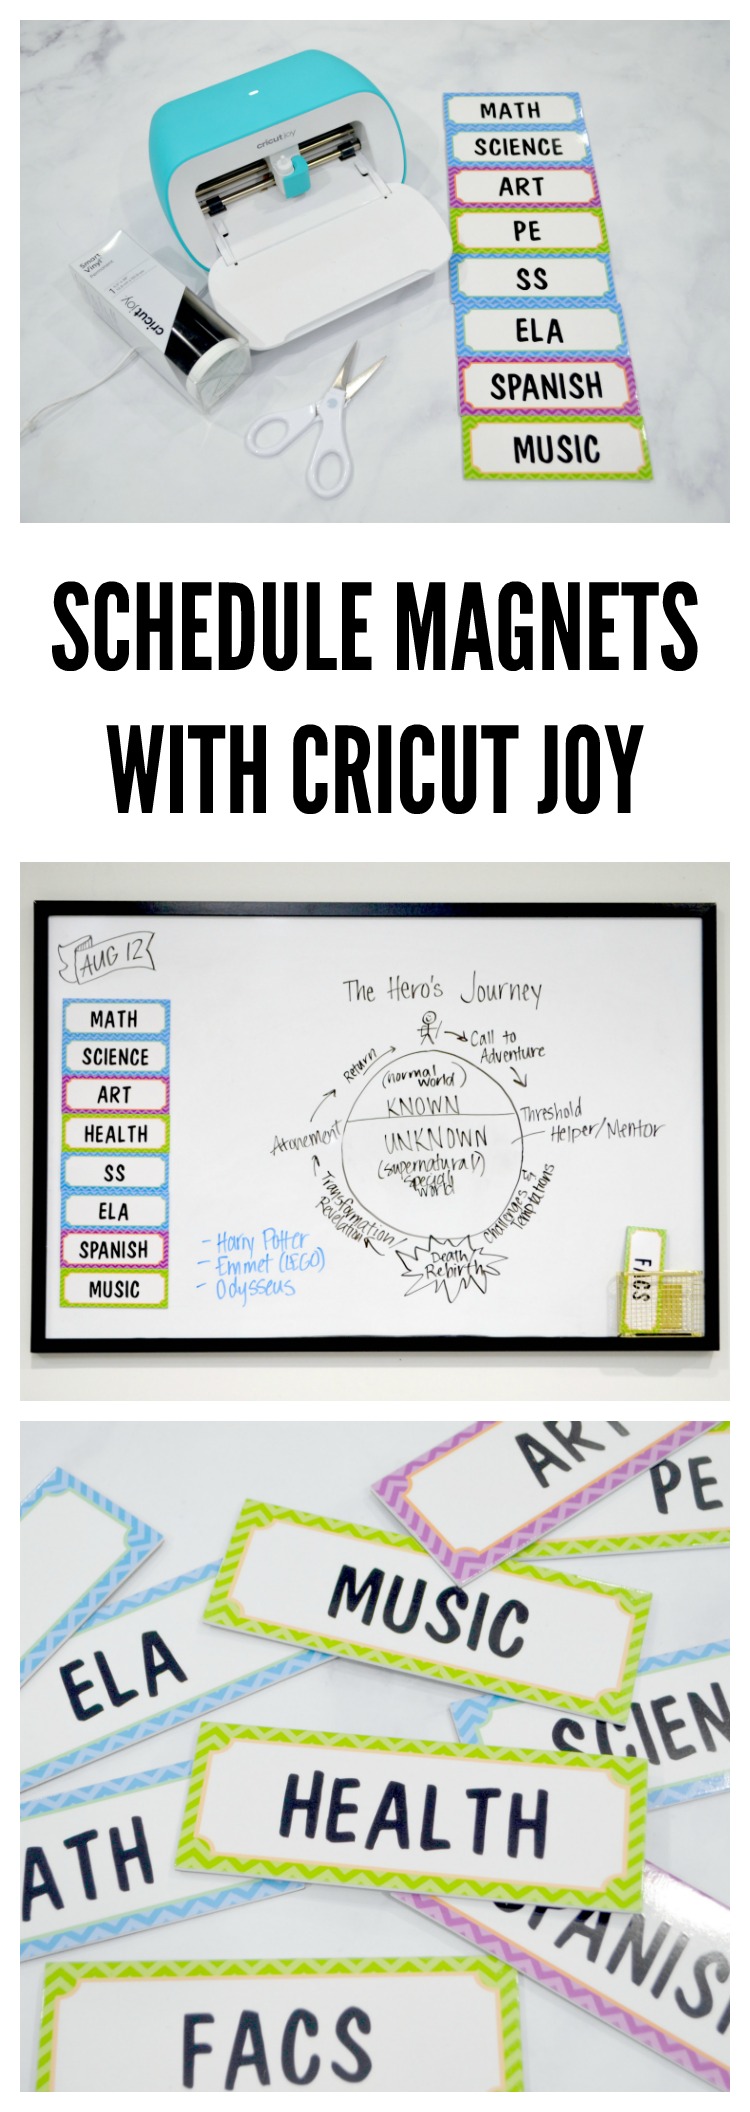
Schedule Magnets with Cricut Joy
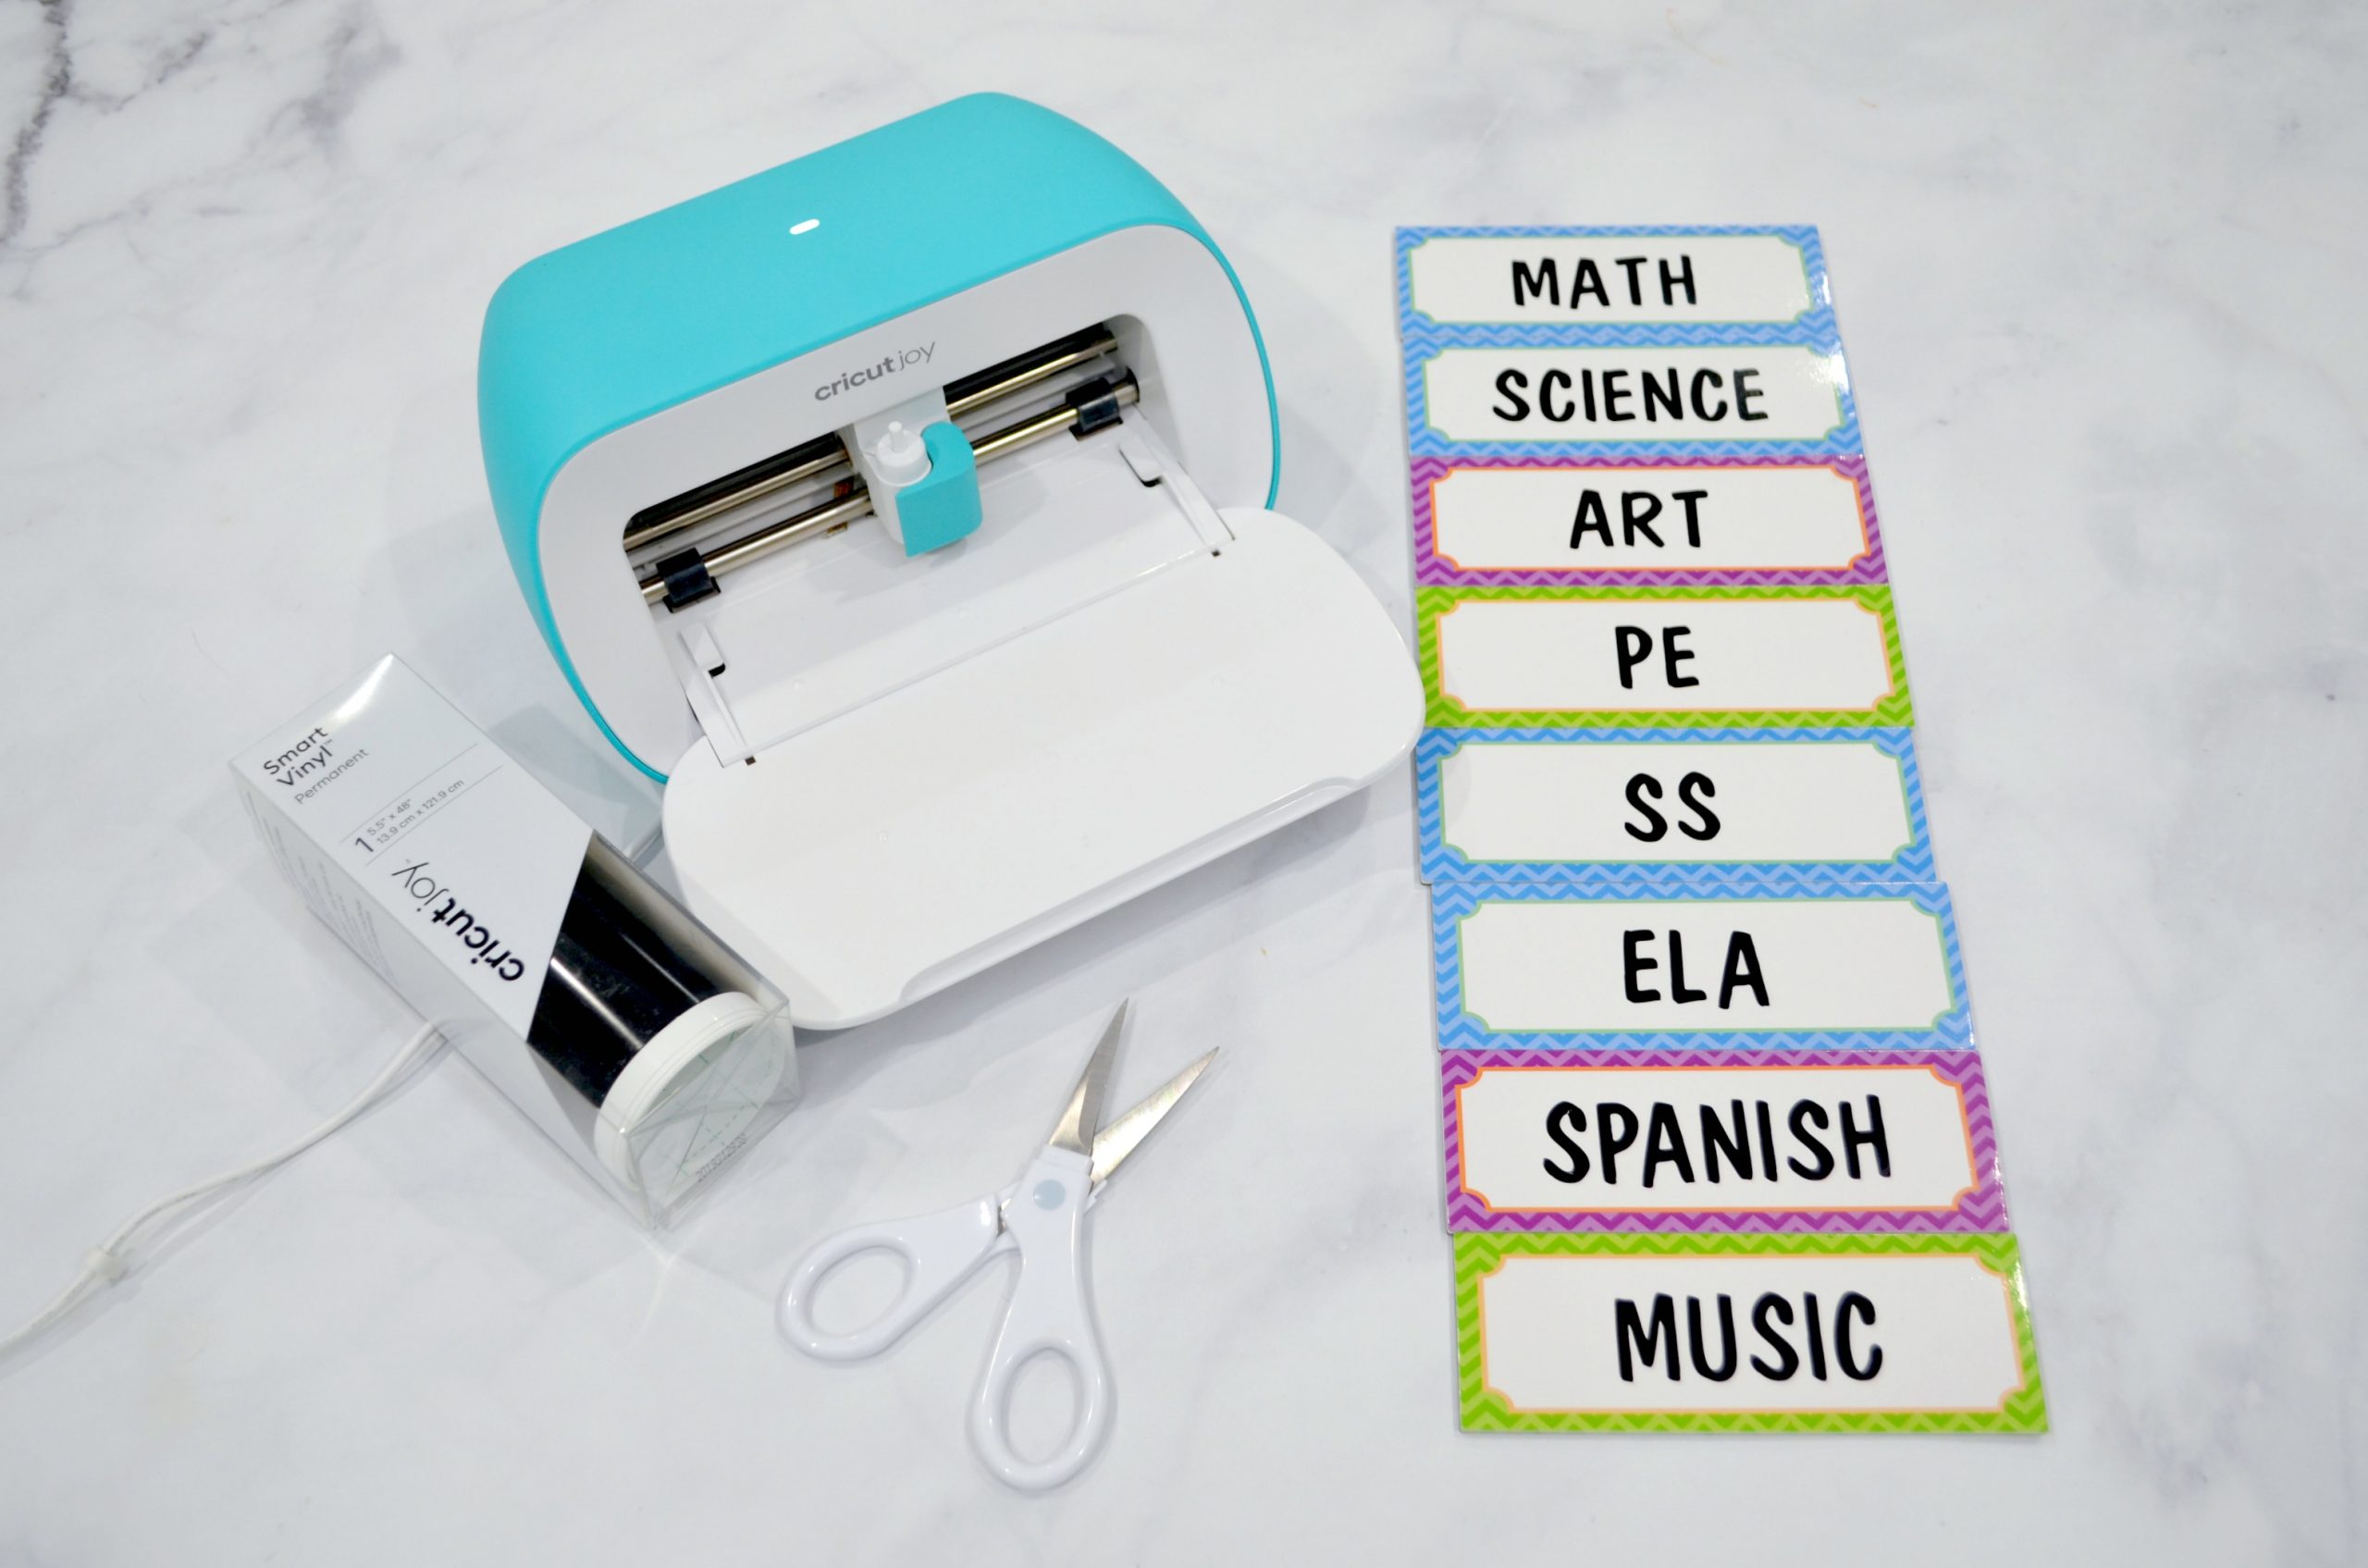
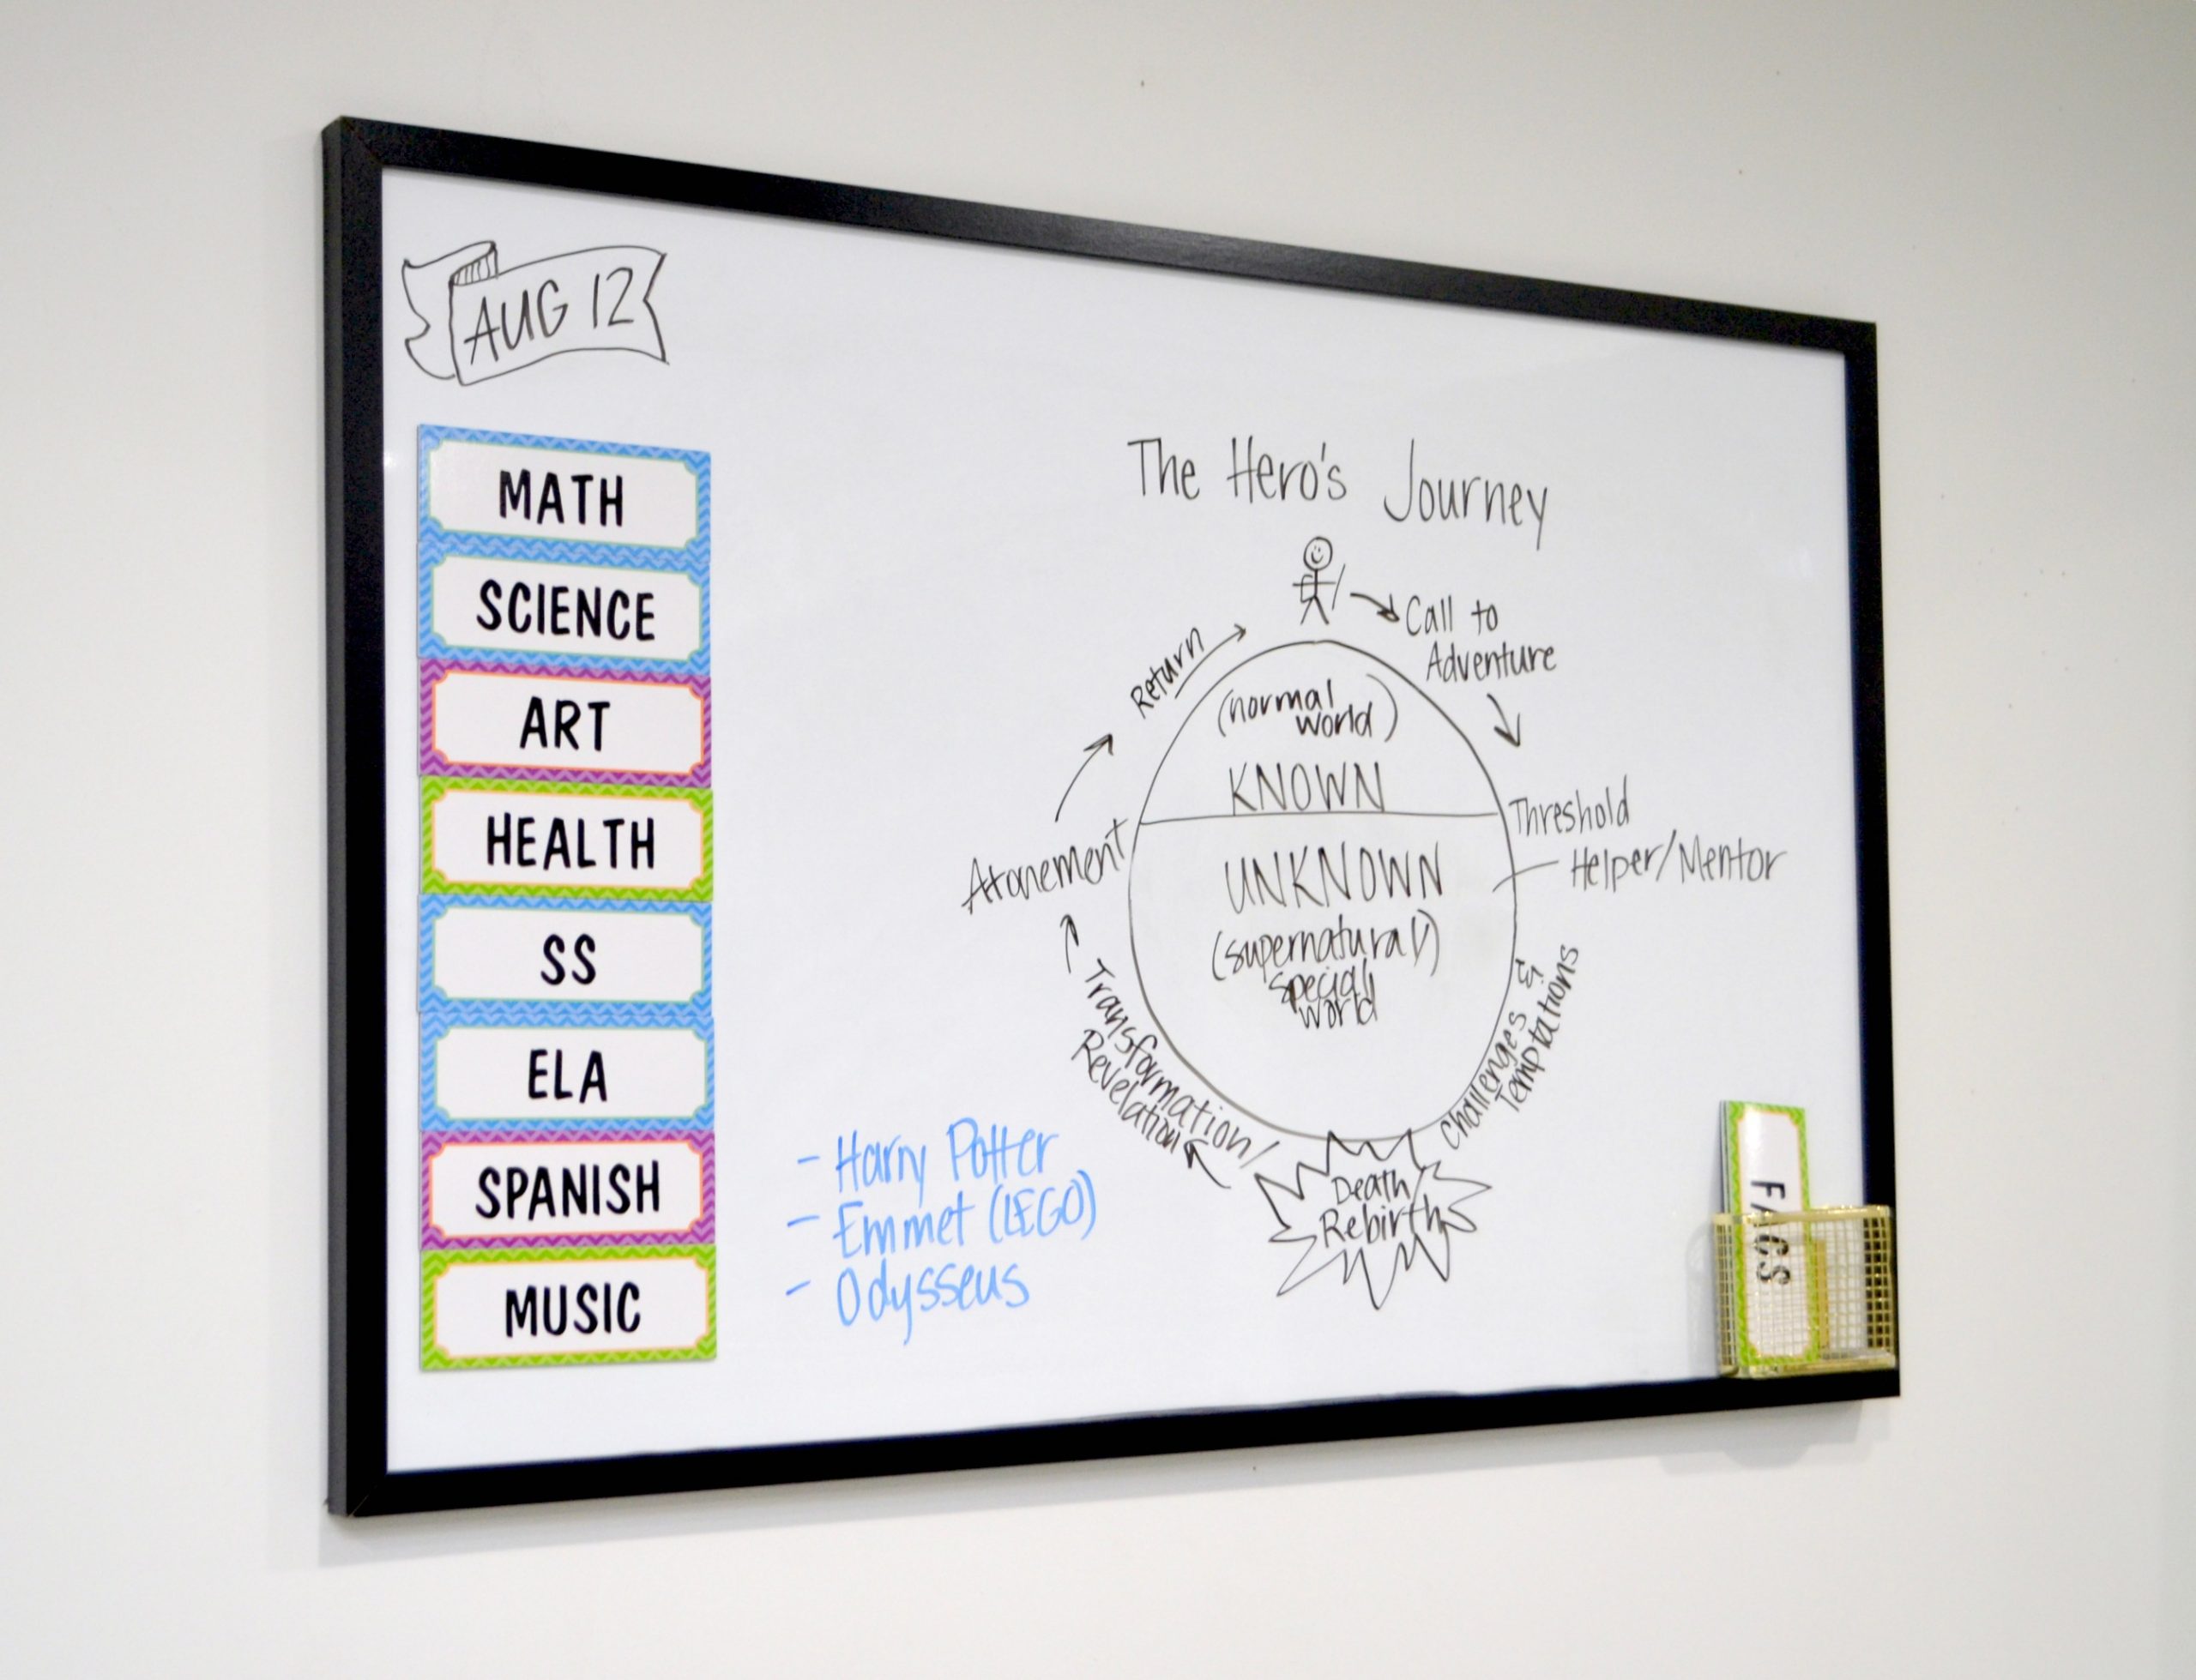
As we gear up for the new school year, one thing that’s going to be incredibly important in our house is organization! Whether the kids in your life are distance learning, on a hybrid schedule, or homeschooling (like we are for the first time ever), the more we can do to establish a schedule and a routine, the better things will go. Our class schedule will be a little different each day, so to make sure we all know what our daily schedule looks like, I decided to create some simple Schedule Magnets. Each one is labeled with the name of a subject, and I can rearrange them on the white board to display the order of classes. Here’s how I created them and you can too!
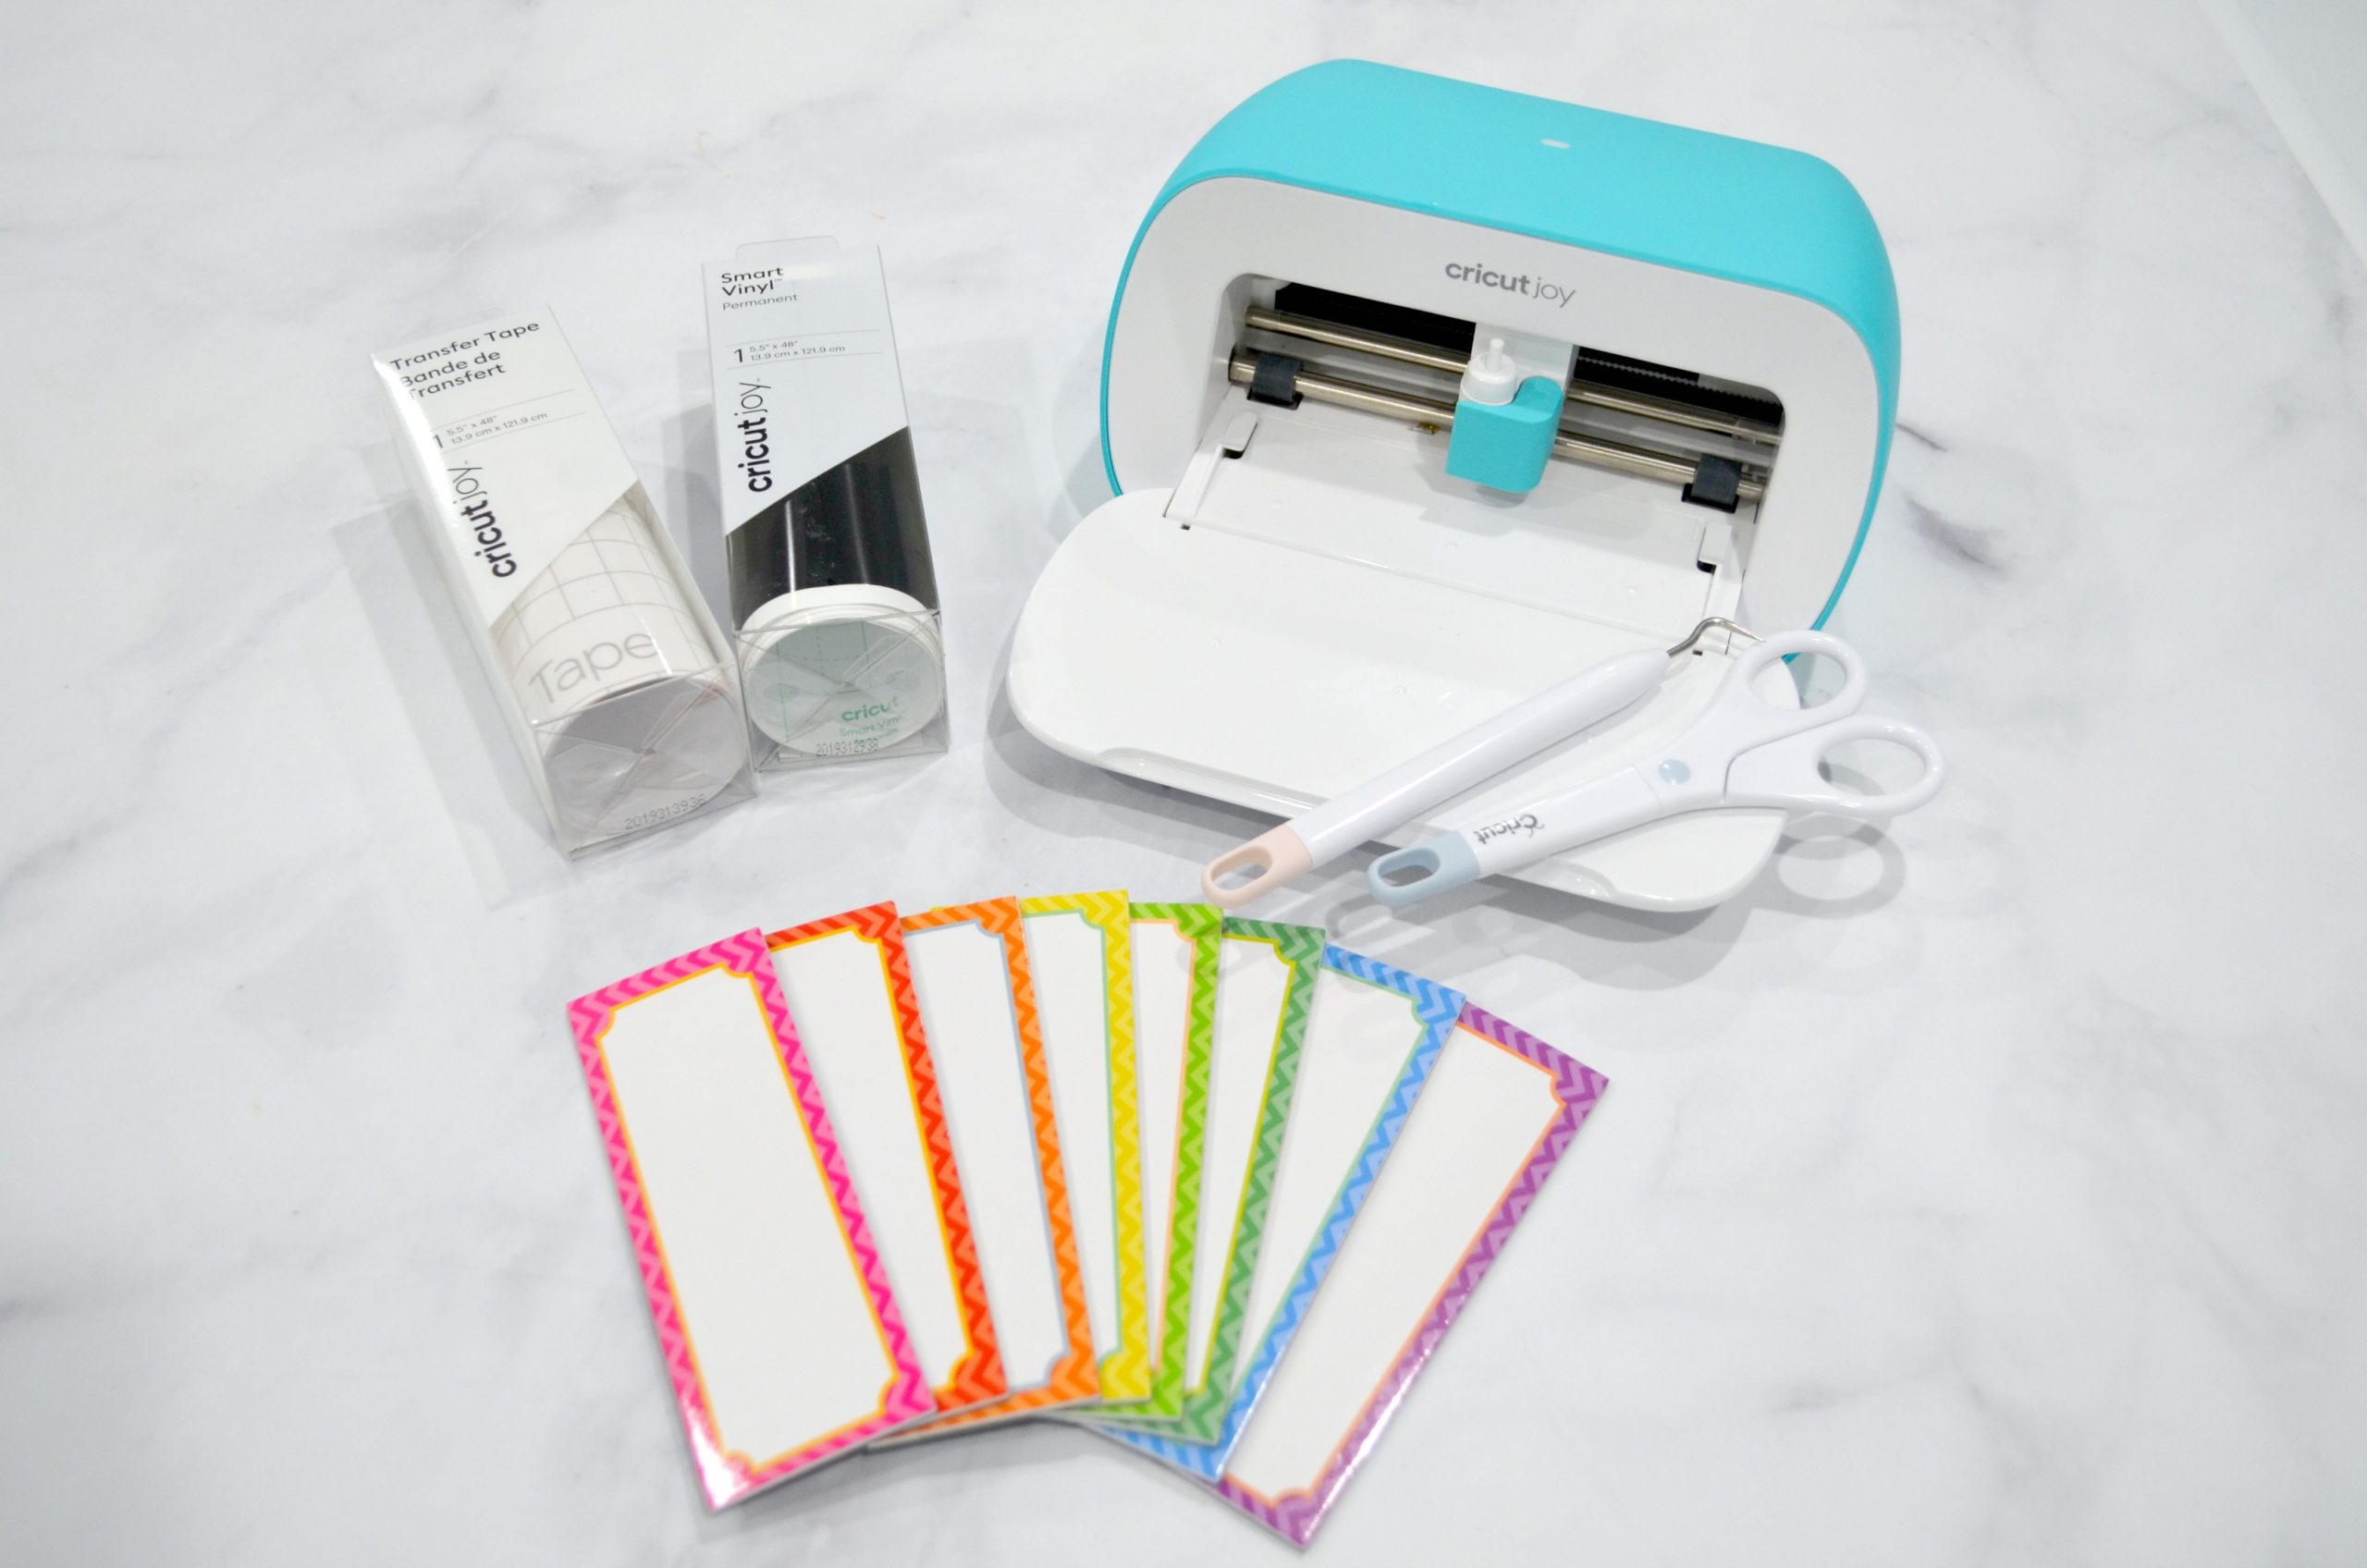
You’ll need:
Cricut Joy (or other Cricut machine)
Cricut Smart Vinyl, Permanent, black
Scissors
Burnishing tool (or craft stick/butter knife)
Magnetic Dry Erase Labels, 5.5″ x 2″
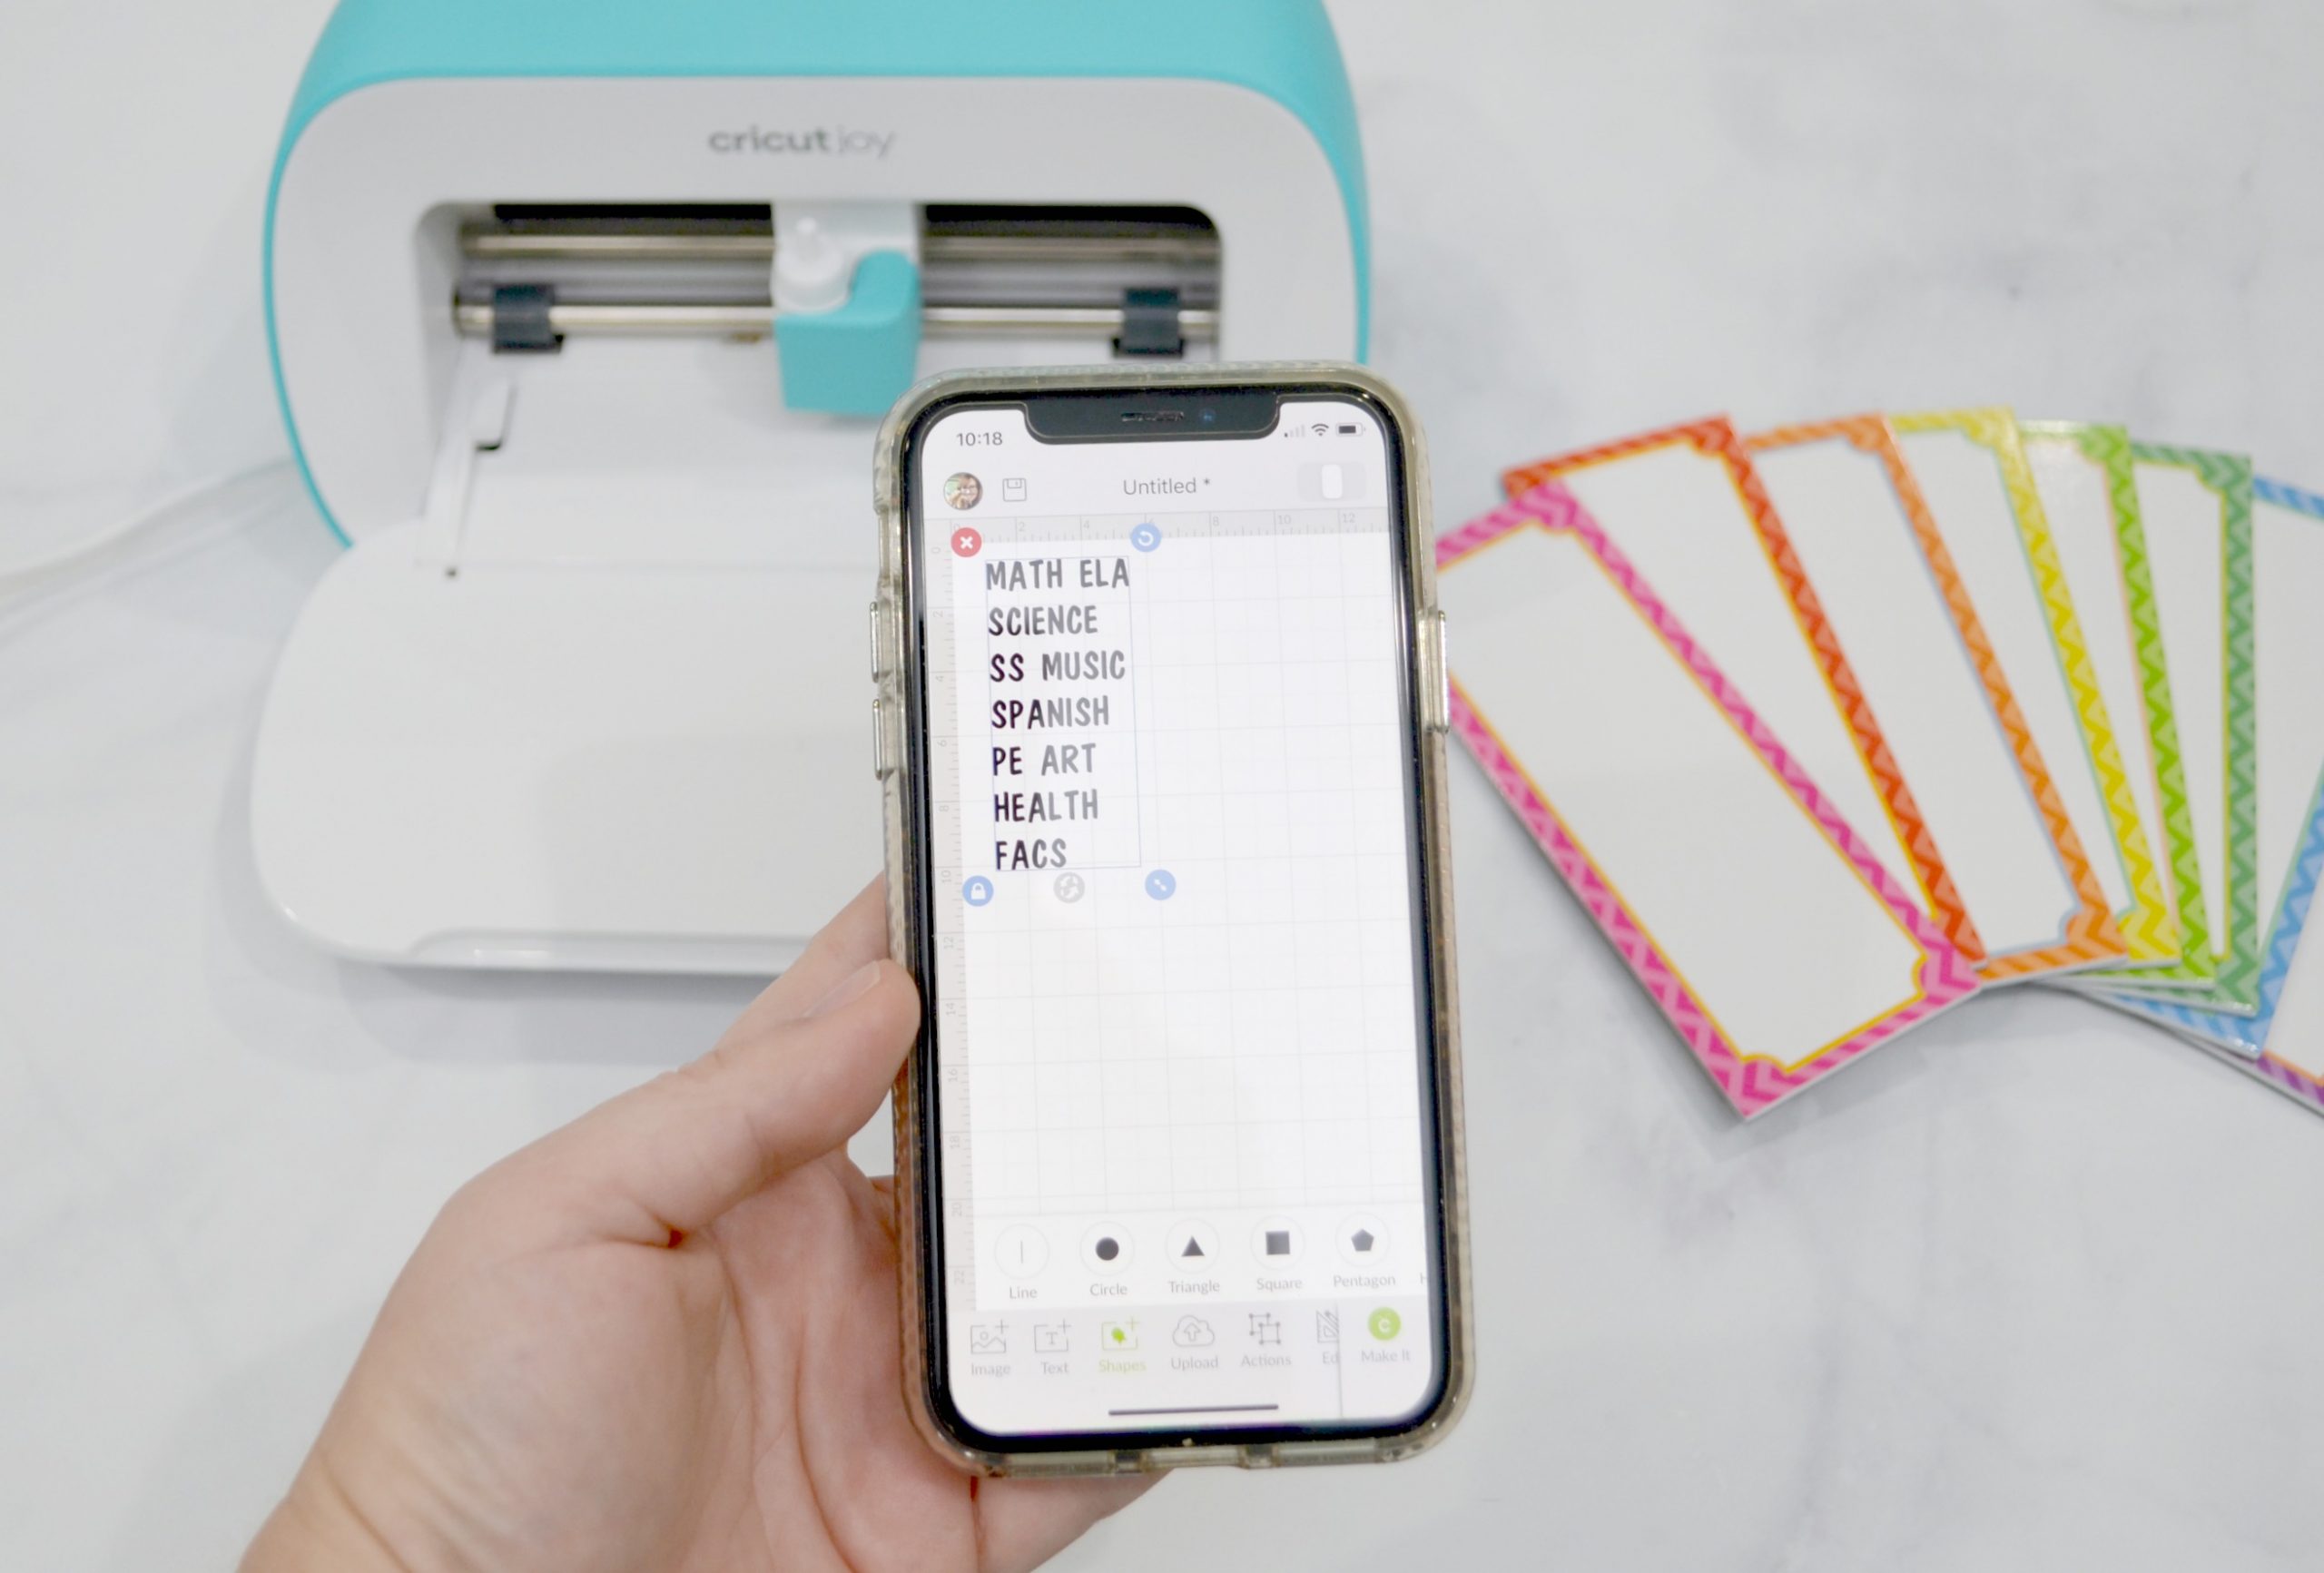
Step 1: Type the names of your classes in Design Space.
First, I opened a new canvas and chose an easy to read font. Then, I measured the white space inside my labels and decided to make the letters 1″ tall.
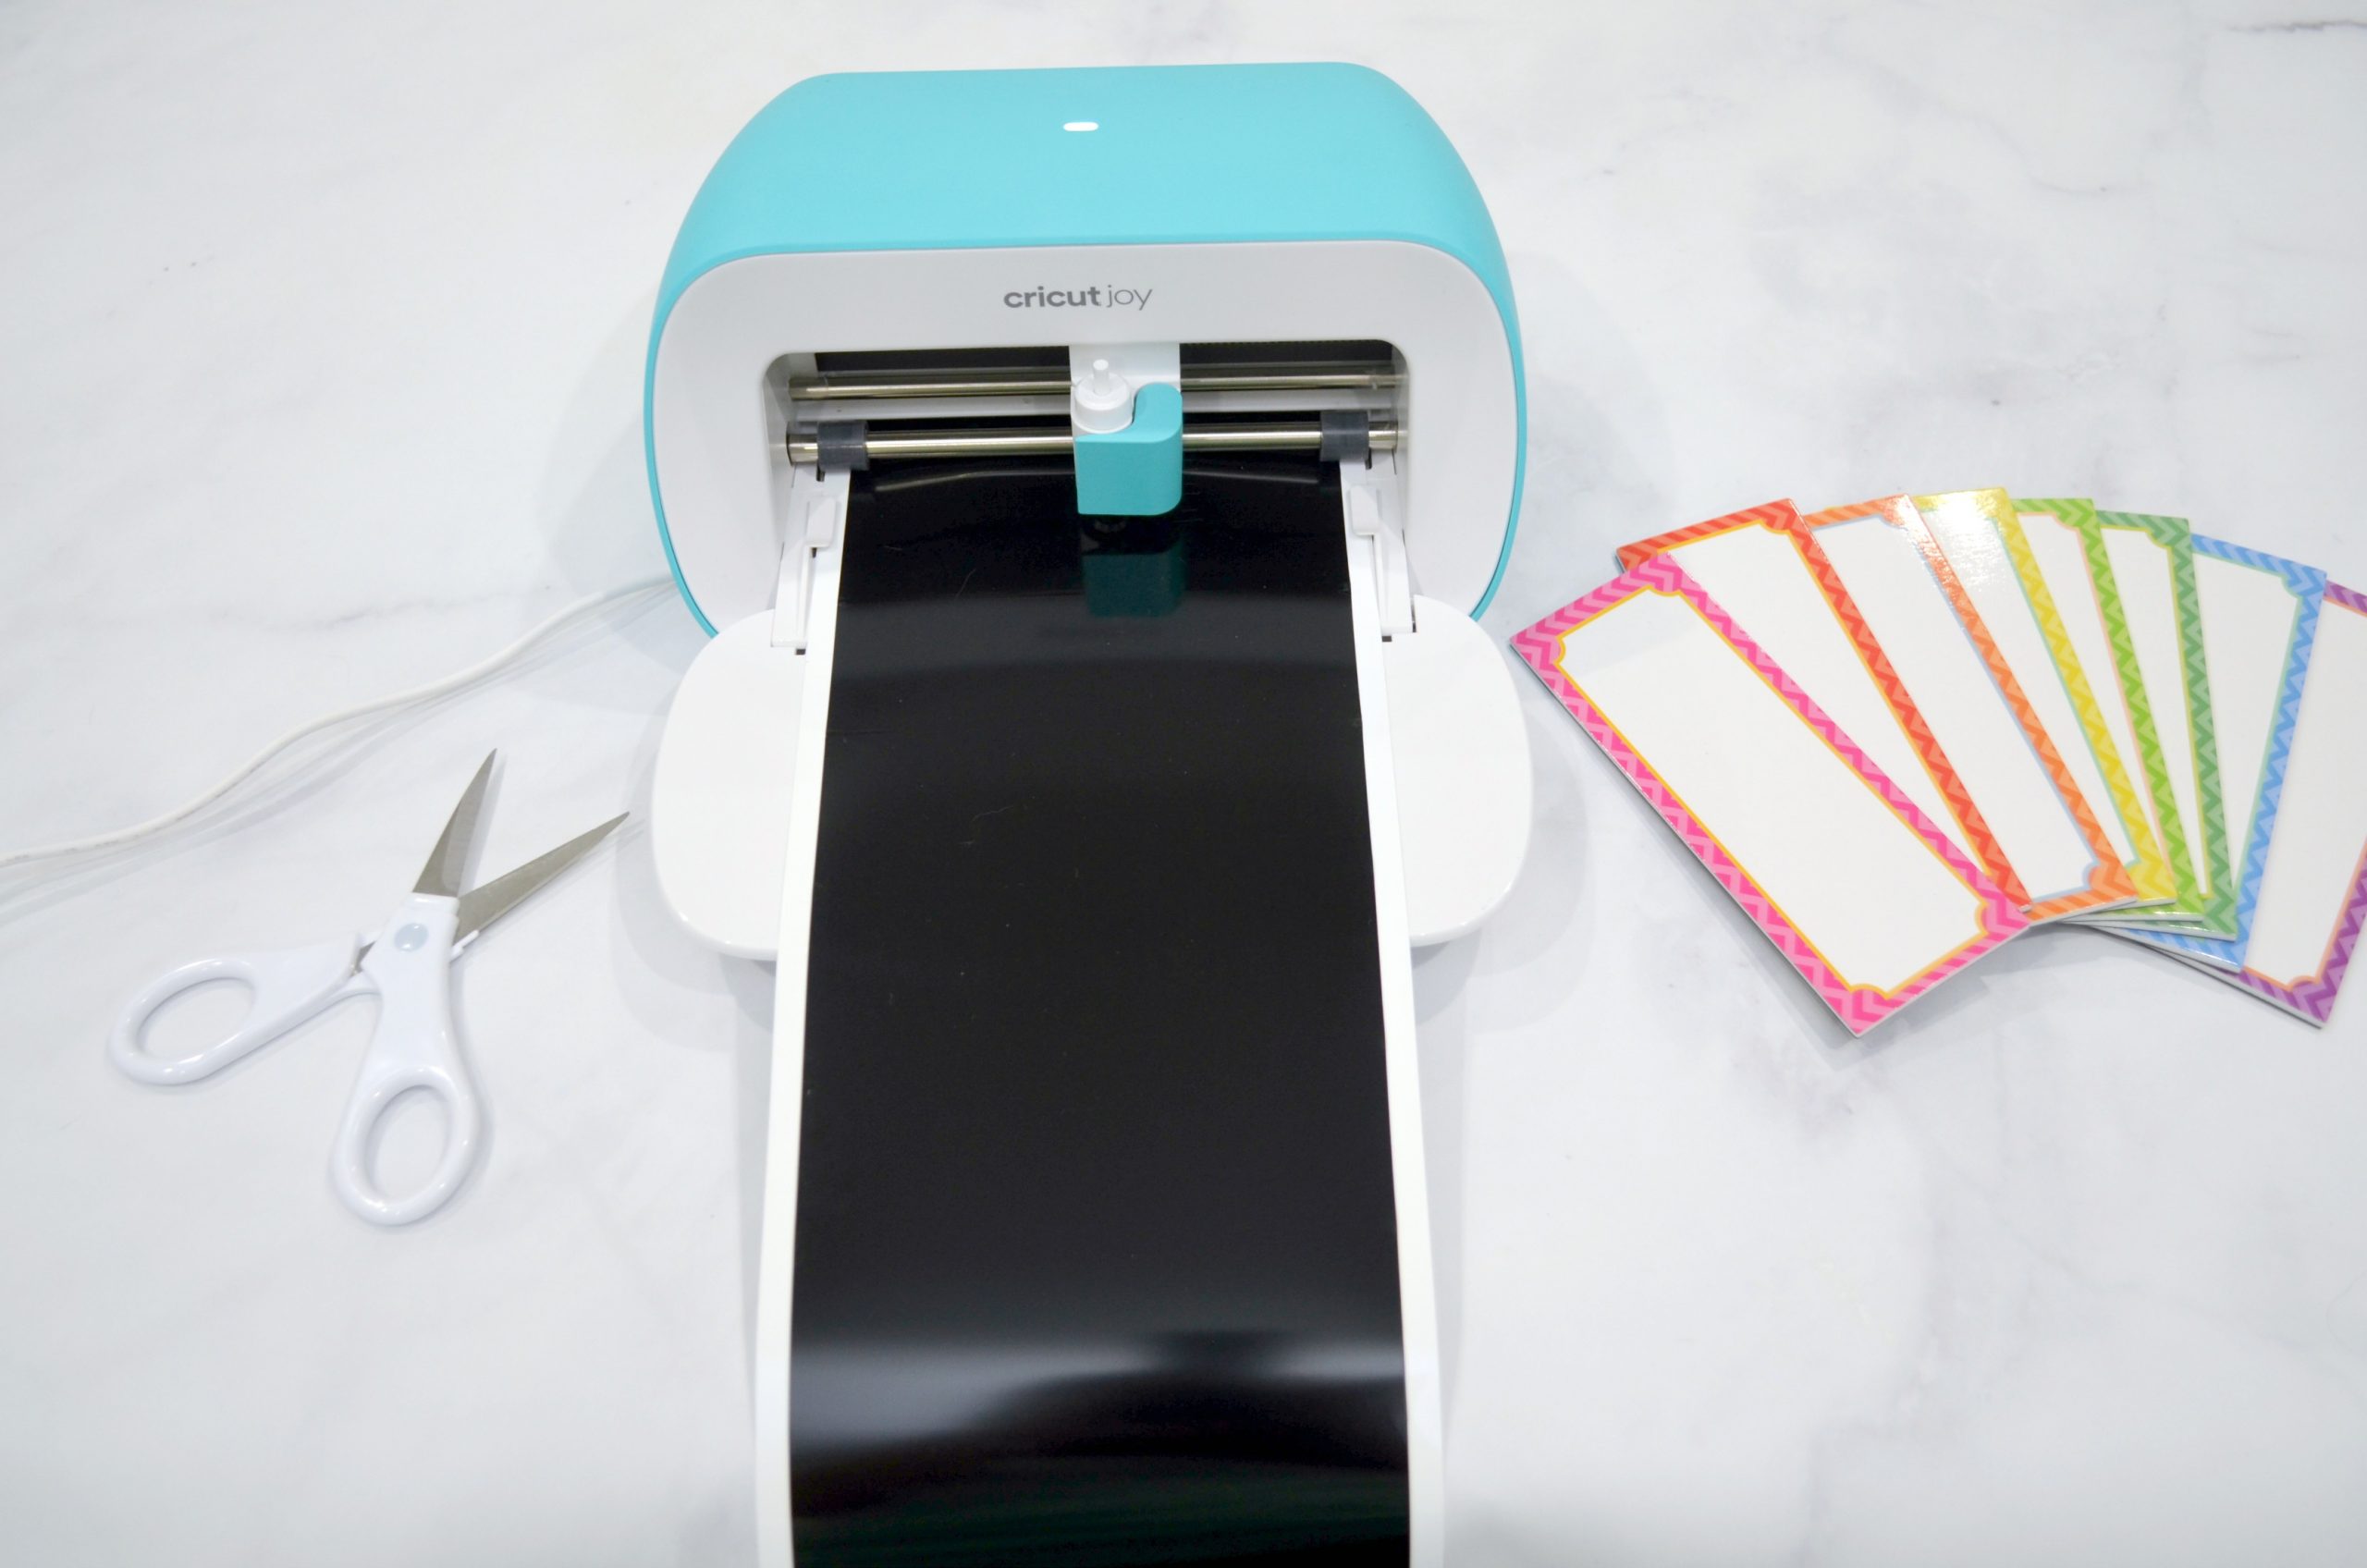
Step 2: Cut the class names from permanent vinyl.
I made sure my Design Space App was set for the Cricut Joy machine, then followed the prompts to load the Smart Vinyl and begin the cut. Smart Vinyl is designed specifically for the Cricut Joy and is designed not to need a cutting mat! All you do is insert the vinyl and let the machine work its magic.
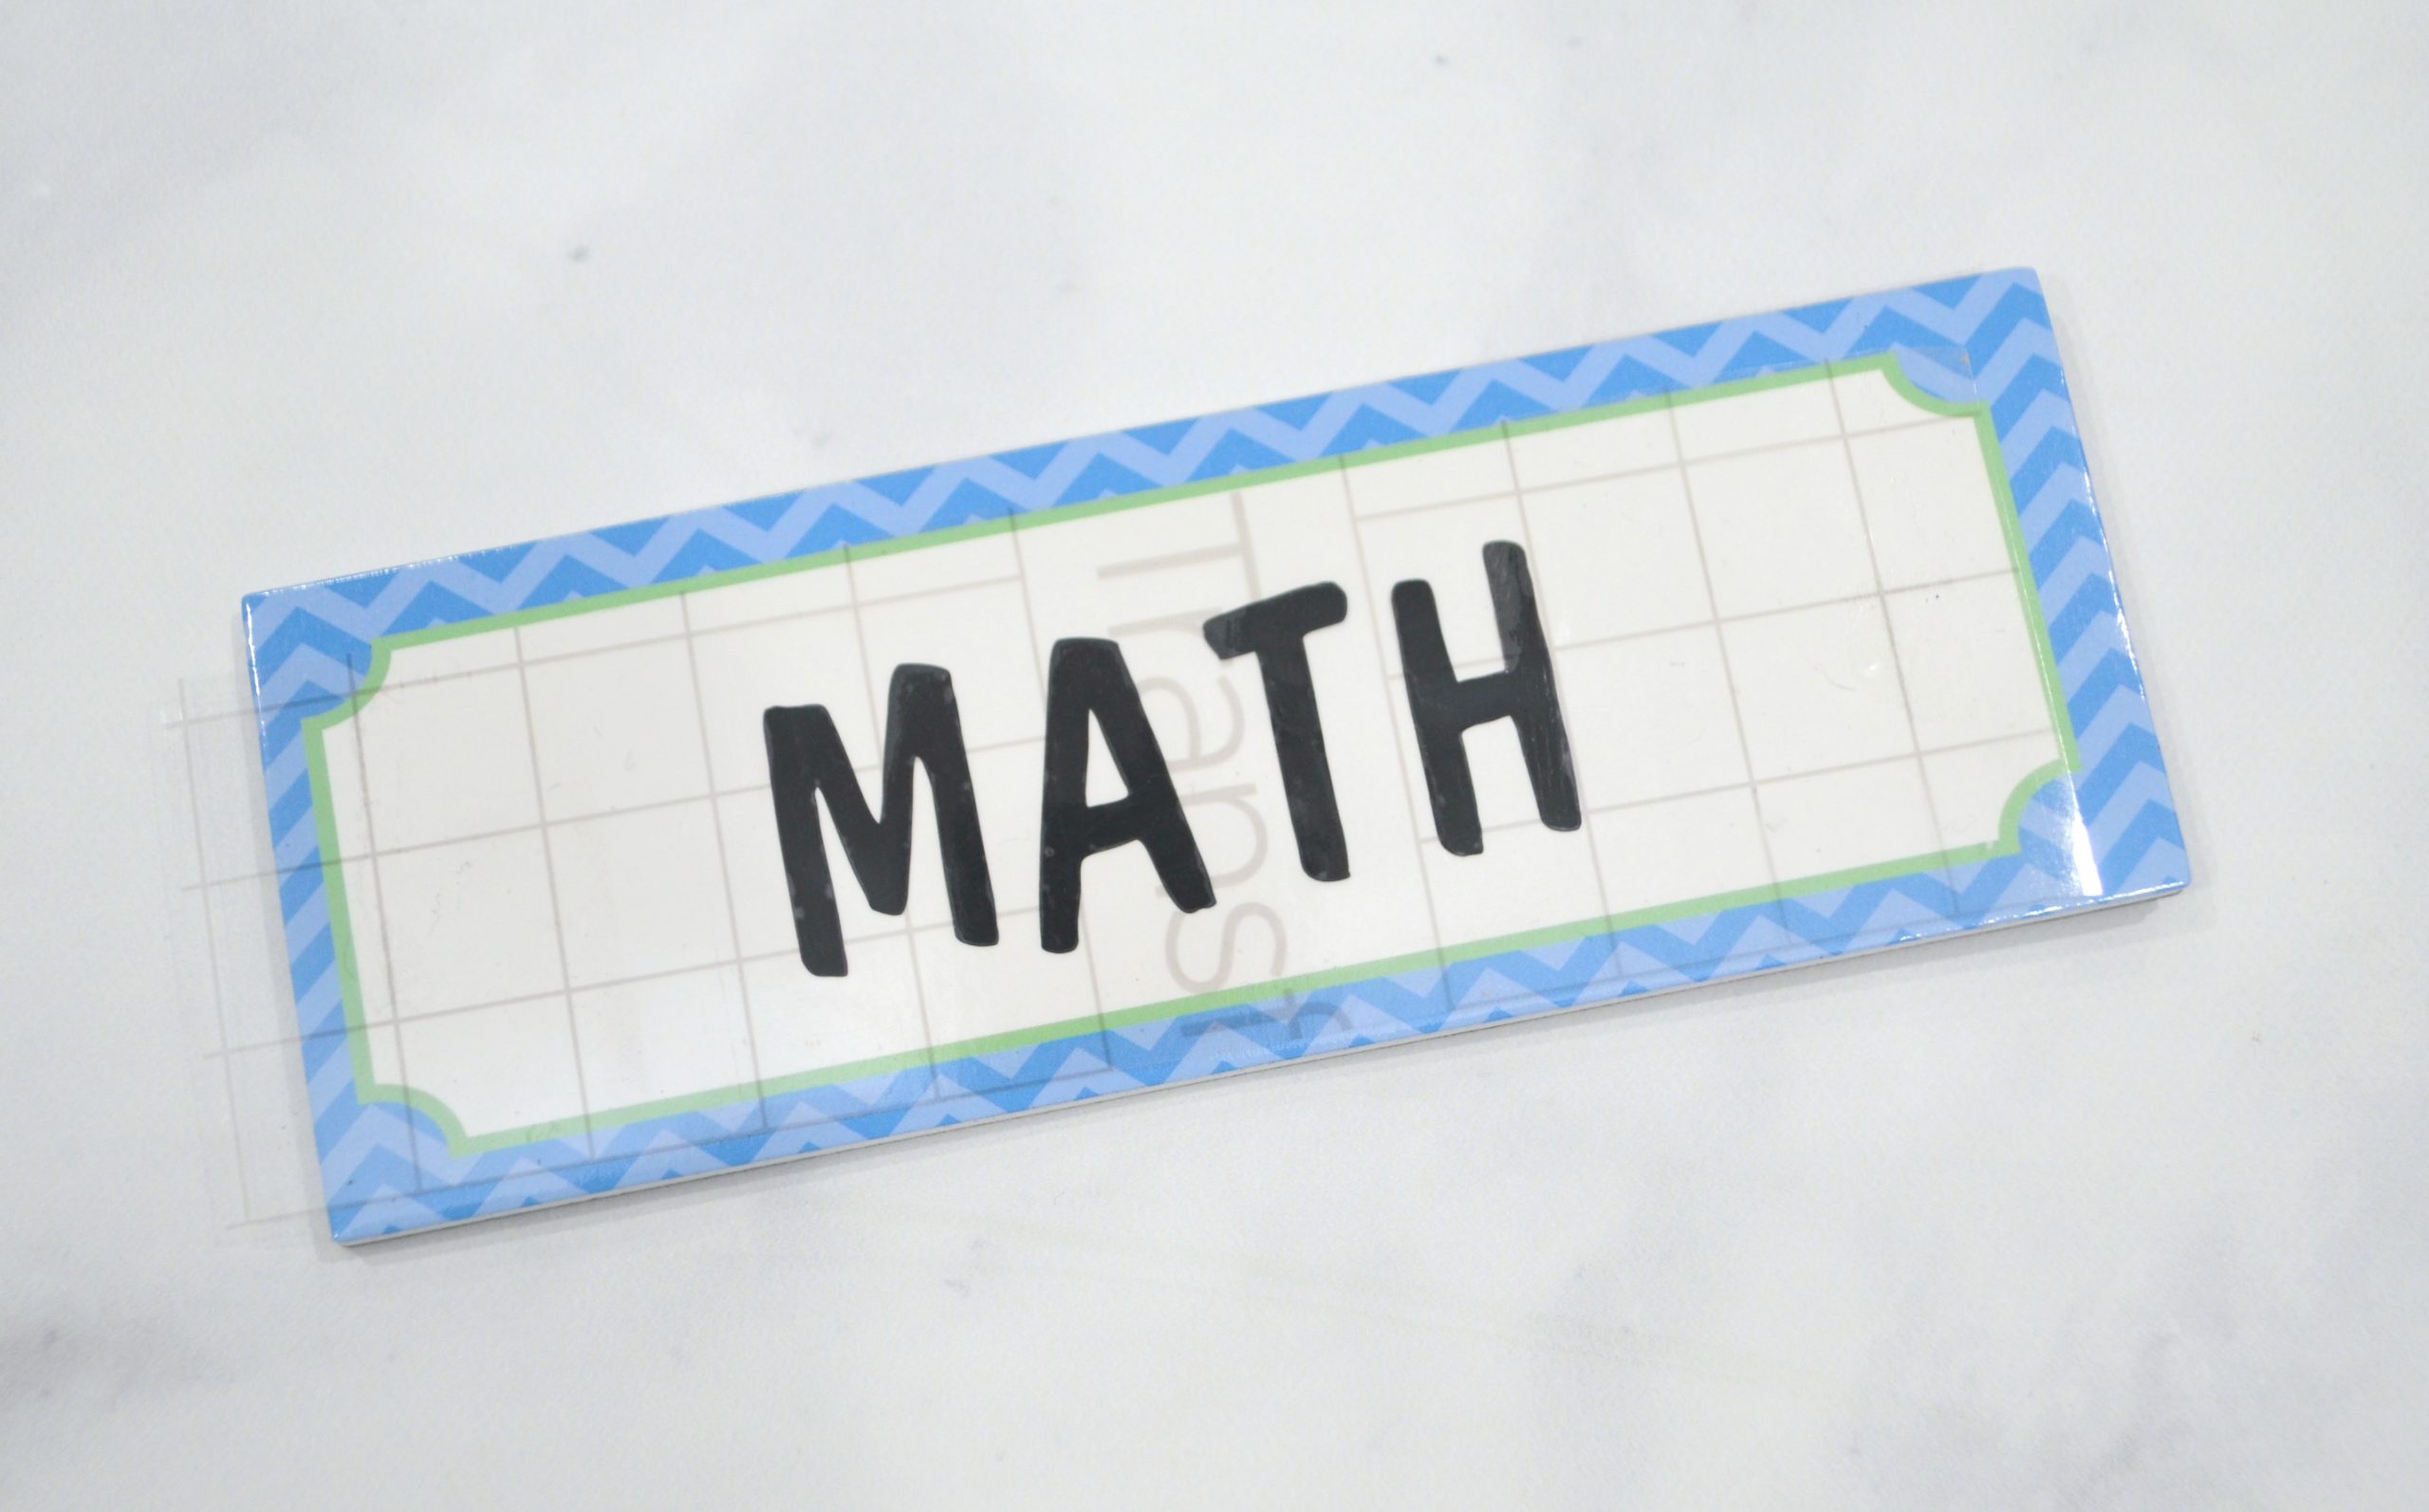
Step 3: Cut the words apart and weed the vinyl.
Weeding just means removing all of the vinyl that isn’t part of your design. You can see in the example below that I peeled away everything except the letters in the word, “MATH.”

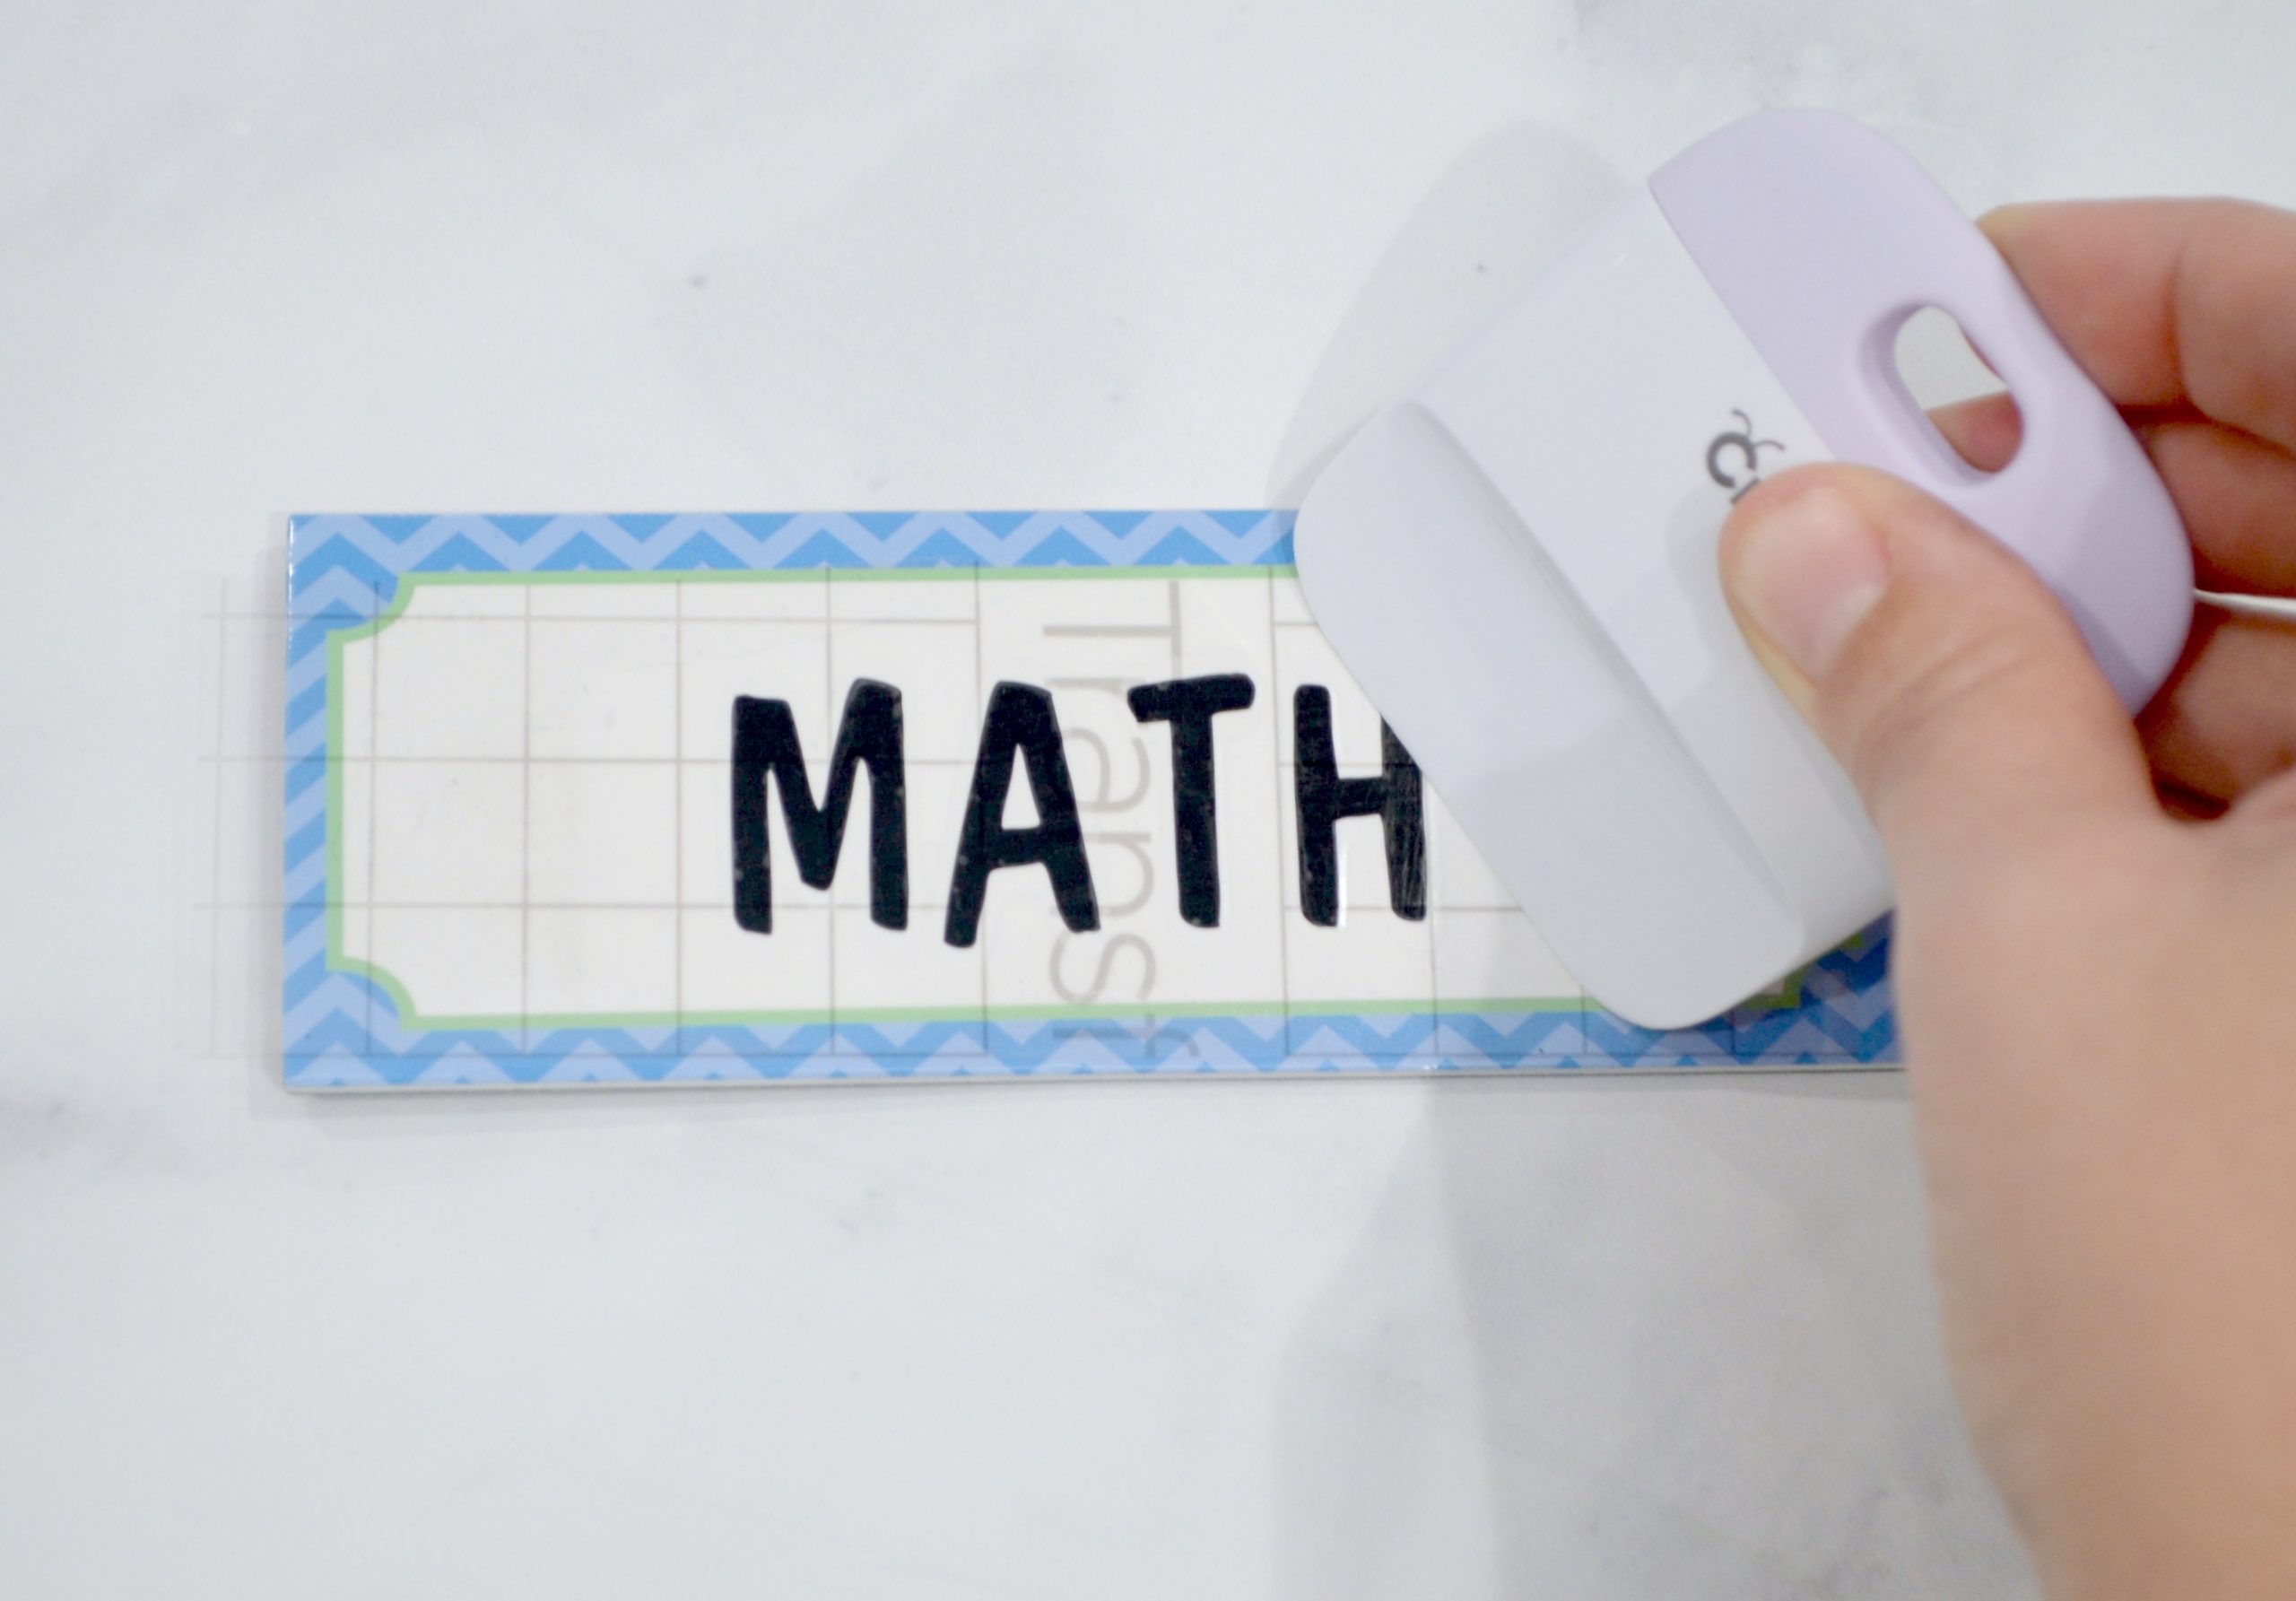
Step 4: Use Transfer Tape to transfer the letters from their backing to your magnets.
First, you’ll cut a piece of the clear Transfer Tape that’s slightly larger than your word and peel it away from its backing. Place it on top of your weeded word and rub the burnishing tool over it where the letters are. This will help the letters adhere to the Transfer Tape. If you don’t have a burnishing tool, you can use the flat side of a butter knife or a craft stick. Peel the Transfer tape up and the vinyl letters should be attached to it. (If not, keep burnishing until they stick.) Apply the letters and Transfer Tape to the magnet surface as shown below.
Use your tool to rub the letters again, this time causing them to stick to the magnet’s surface. Gently peel the Transfer Tape away, and you’ll be left with just the letters on your magnet!
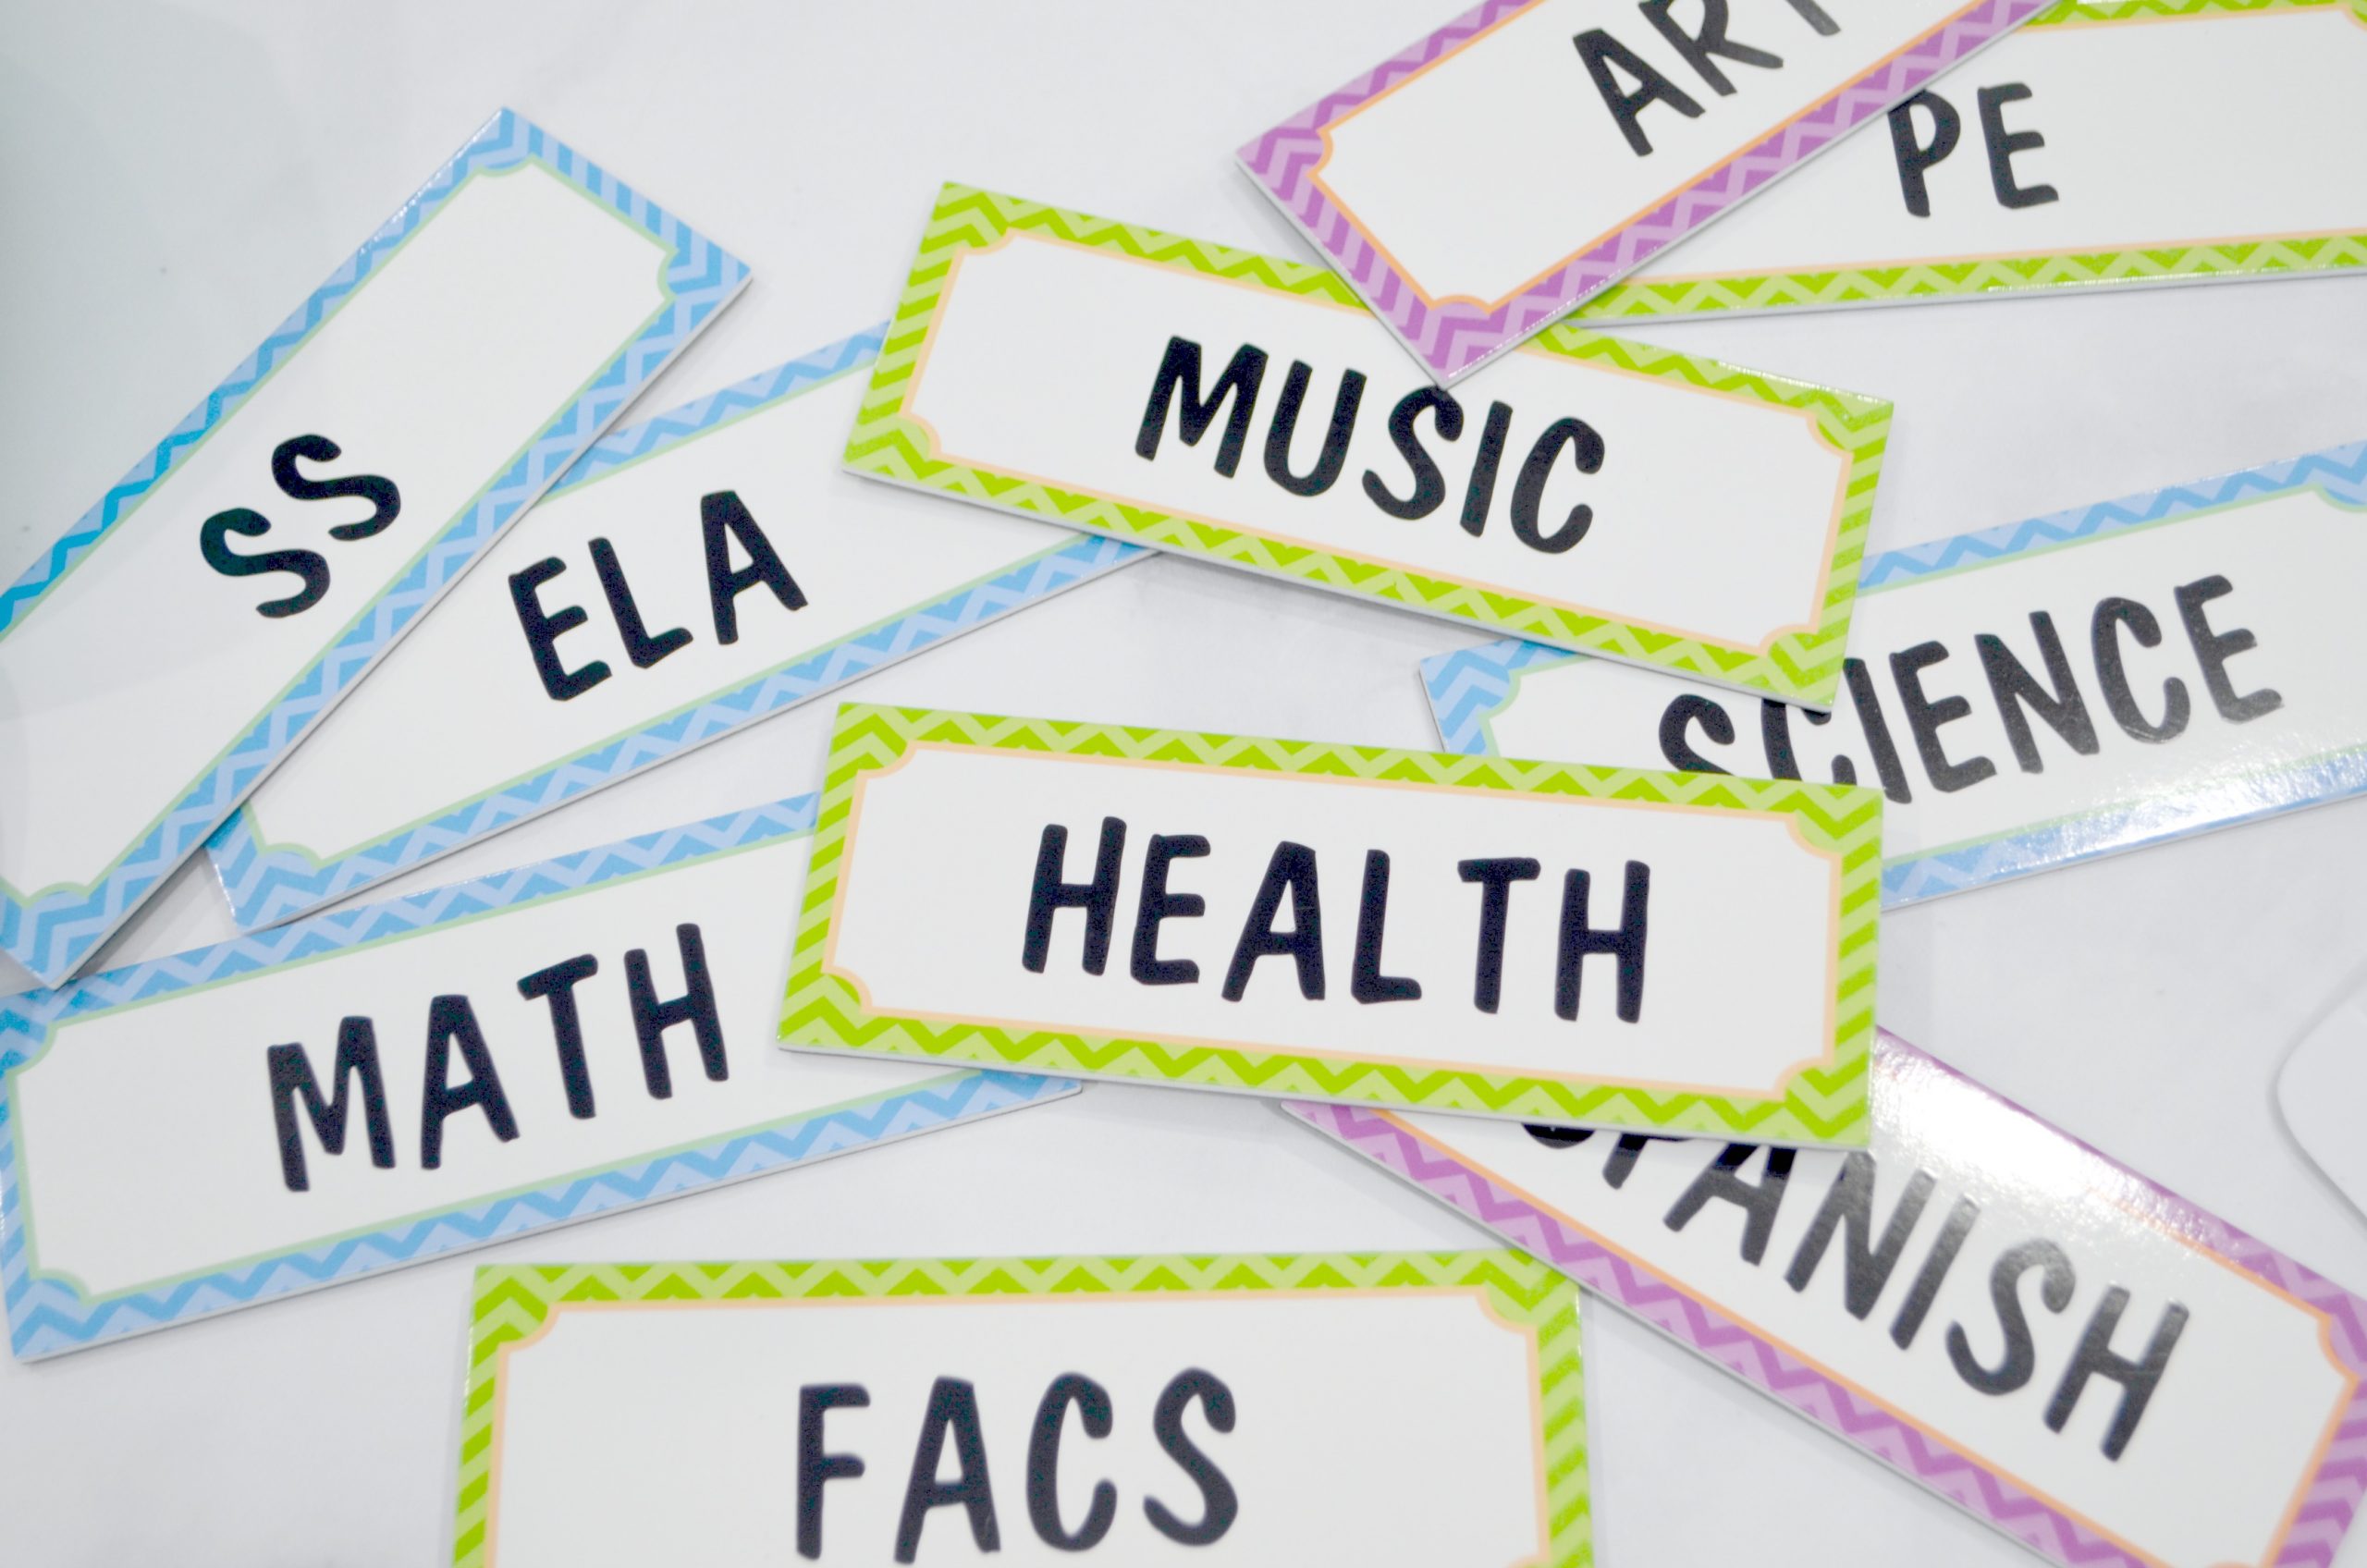
That’s all there is to it! Repeat until you have a magnet for each of your subjects. I decided to use blue for our “core academics,” green for the rotating specials, and purple for the electives we’ll be doing every day.
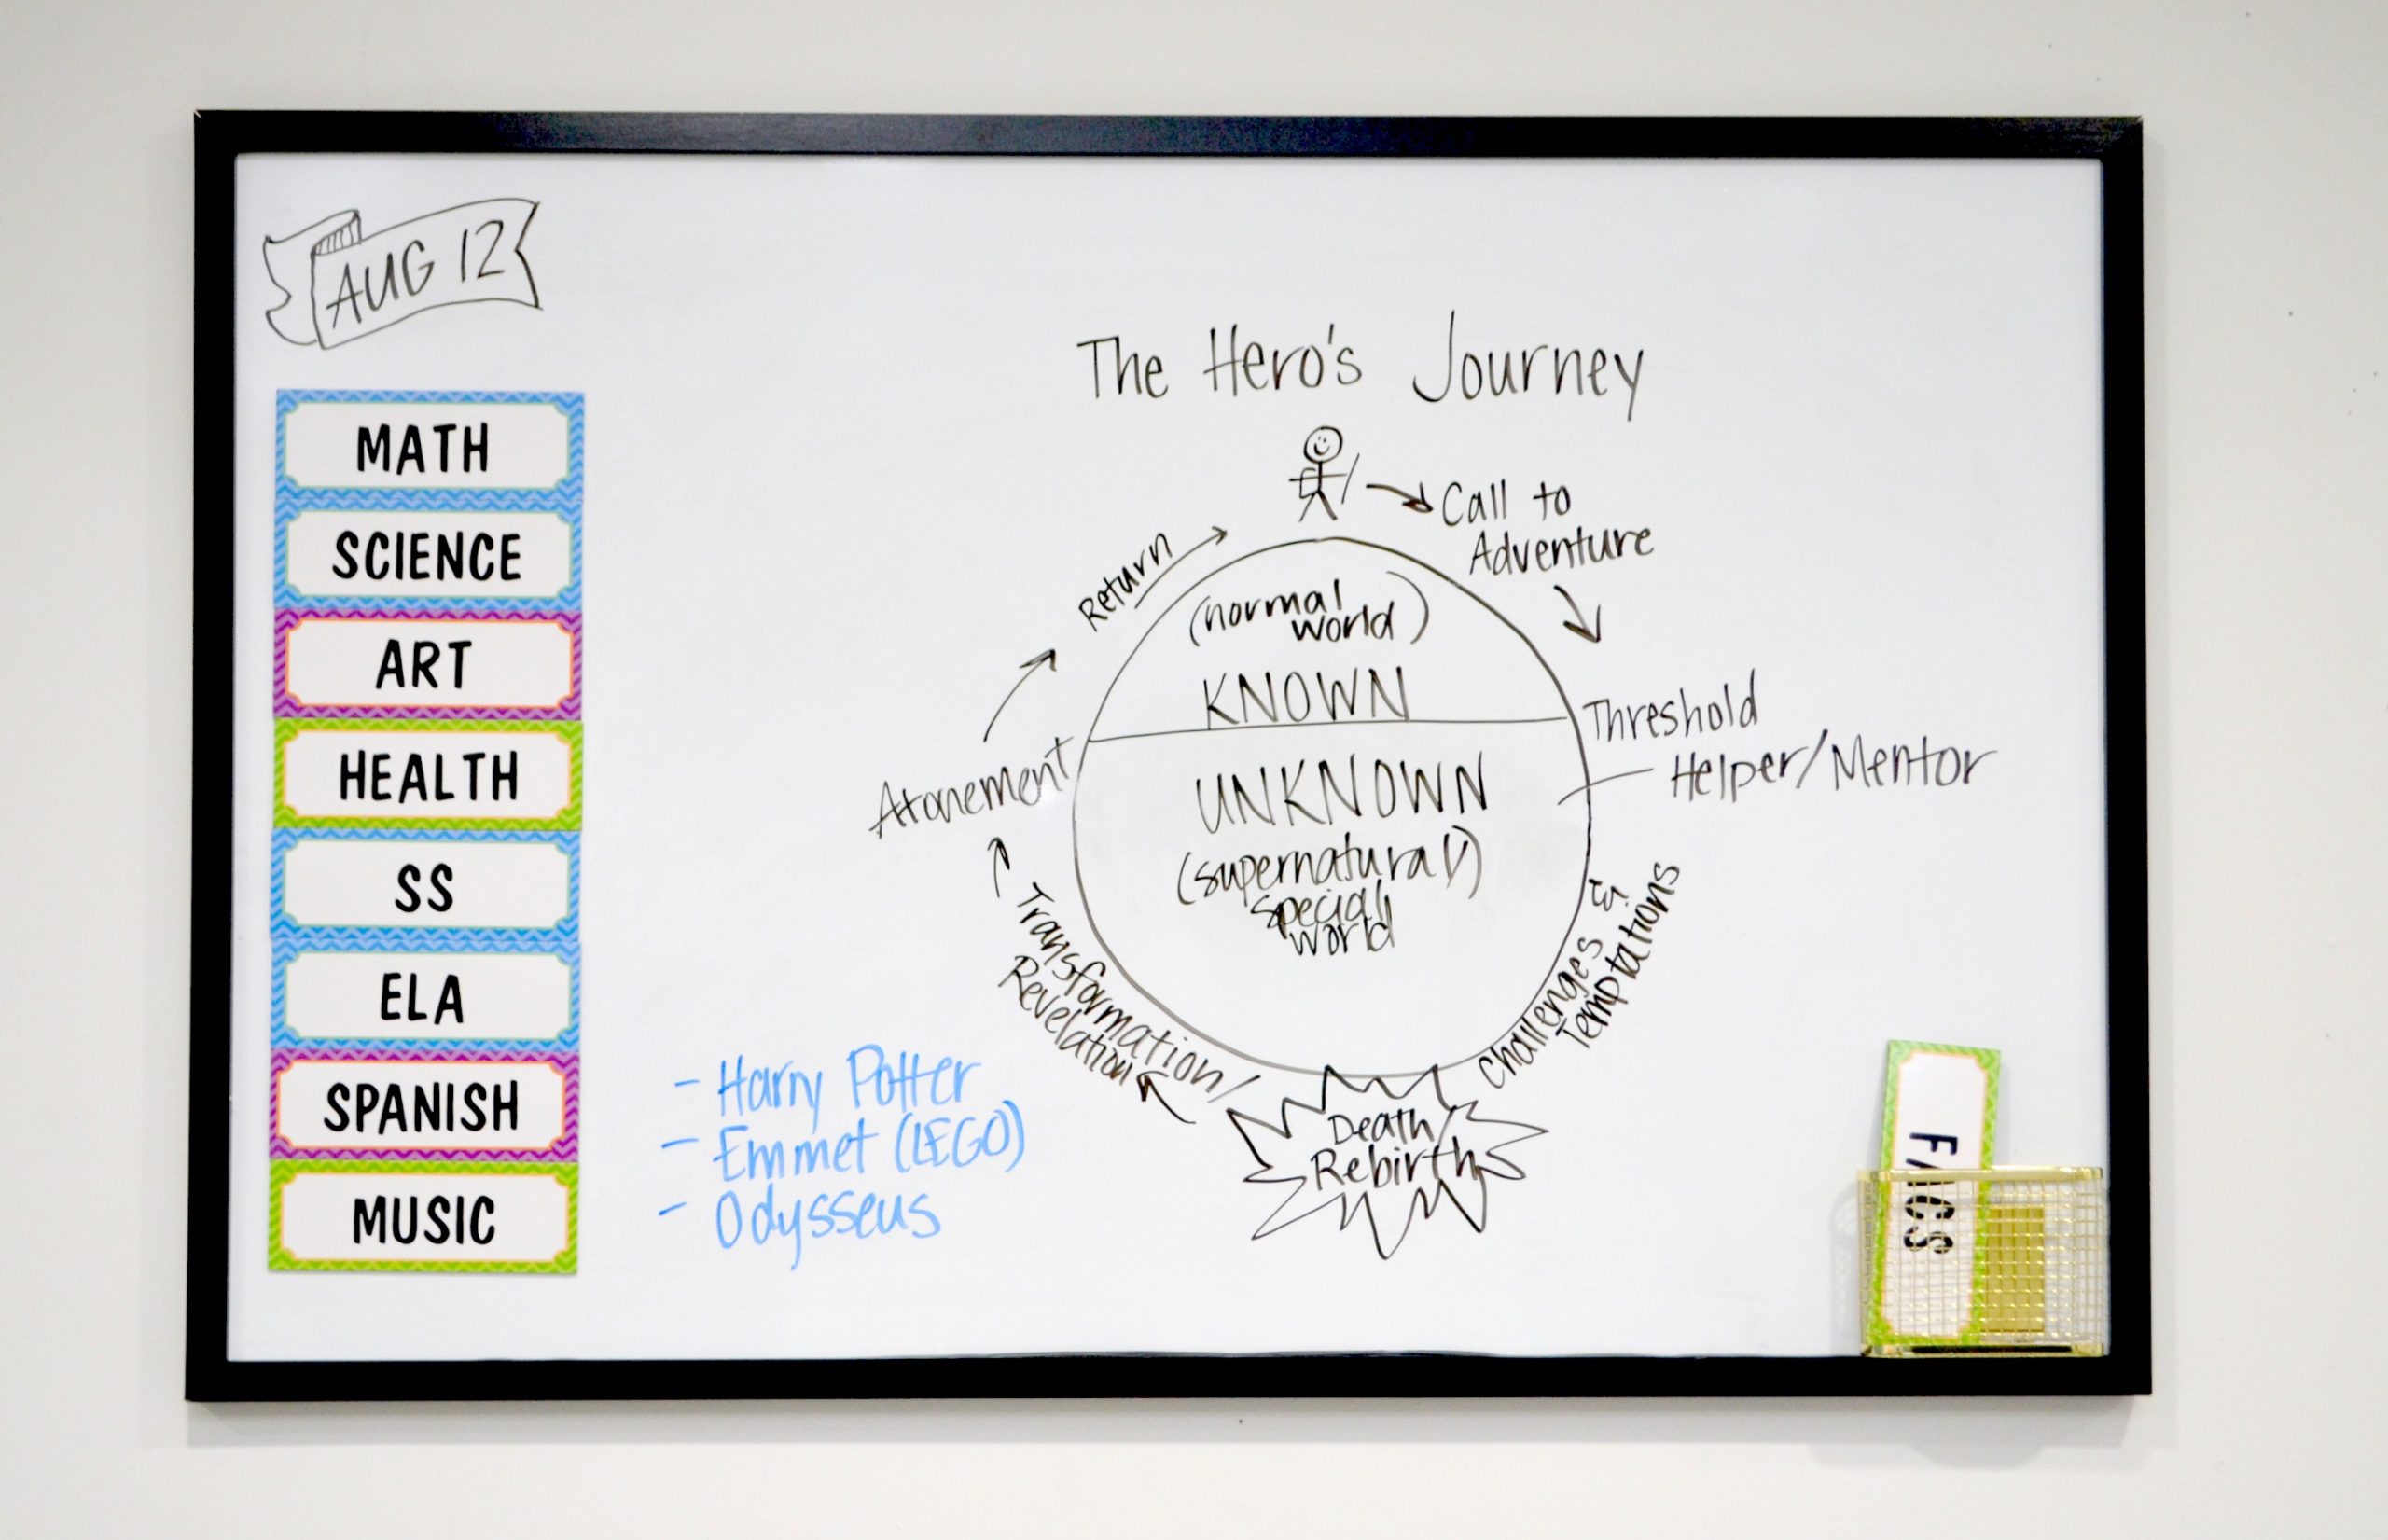
All that’s left to do is create your schedule and display it! We have a white board in our makeshift classroom, which is the perfect place to keep our schedule. This way the boys (and I) can easily see at a glance what’s coming next, and we still have plenty of room for writing our classwork and notes.
You could easily do this same project using other words too and create different types of magnetic labels, like days of the week, months, chores, kids’ names, or various other tasks/schedule elements. There’s no end to all the ways you can use them to help you organize your life.
Is this a project that would help you and your family stay organized? If you try it, I’d love to see your project photos; be sure to share them with us in the Amy Latta & Friends Facebook group. And don’t forget, if you like it, why not Pin it or share with a friend? Here’s to easy organization and a fantastic school year!

One Comment