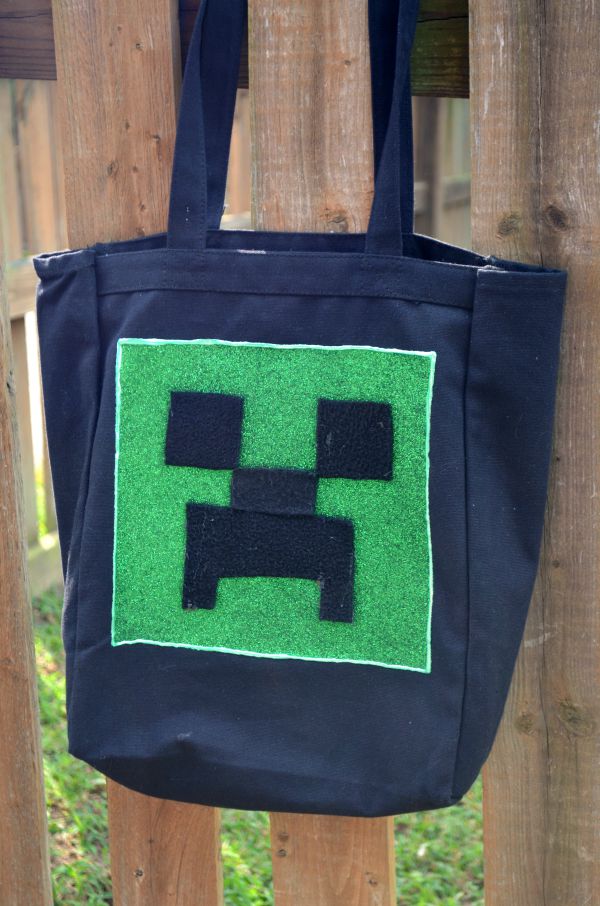
DIY Minecraft Bag

Here in Artsy-land, Minecraft is just as popular as ever. Little Crafter and his friends are still obsessed with the game. Not only do they join into each other’s virtual worlds and create things like theme parks, skyscrapers, and obstacle courses, they also play imaginary games with Minecraft stuffies and mini-figures and build Minecraft LEGO sets. Our sweet neighbor boys, ages 5 and 8 are just as crazy about it all as Little Crafter is, so when the littlest one needed to decorate a tote bag to carry his Kindergarten supplies, it was no surprise that he wanted it to have a Creeper face.
He and his mom enlisted my help, which I was excited to give. Here’s how we created one, and you can too!
Materials:
– tote bag
– Tulip Scribbles 3D Fabric Paint: Bright Green
– black fleece
– Tulip Fashion Glimmer Iron-on Transfer Sheet: Green
– scissors
– iron and ironing board
– Aleene’s Fabric Fusion glue
Prep: Place some newspaper or a paper bag inside your tote so that the glue and paint don’t go through from the front to the back while you’re working.

Step 1: Cut a large square of the iron-on transfer sheet. Place it, adhesive side down on the bag and iron it according to the package instructions to adhere it in place.
Variations: If you can’t find the glitter sheet in your local store, or if you prefer a non-sparkly creeper, you can easily just use green fleece, felt, or fabric. If you’re using fabric, just iron it to some heat n’ bond, cut your square, remove the backing, and iron it to your bag. If you’re using fleece or felt, you can simply use fabric glue.
Step 2: Cut shapes for the Creeper’s eyes, nose, and mouth from black fleece or felt.
We did this freehand; I just did two squares for the eyes, a rectangle the width of the distance between the eyes for the nose, and a frowning mouth. Creepers are apparently not happy dudes. Chances are, if you’re making this bag, your kiddo has a Creeper figure you can look at to imitate the face.

Step 3: Glue the face pieces in place with fabric glue.
Make sure you glue close to the edges of the shapes so they don’t peel up with daily use.

Step 4: Outline the square with green fabric paint.
This helps to seal the edges and also gives it a nice finished look.
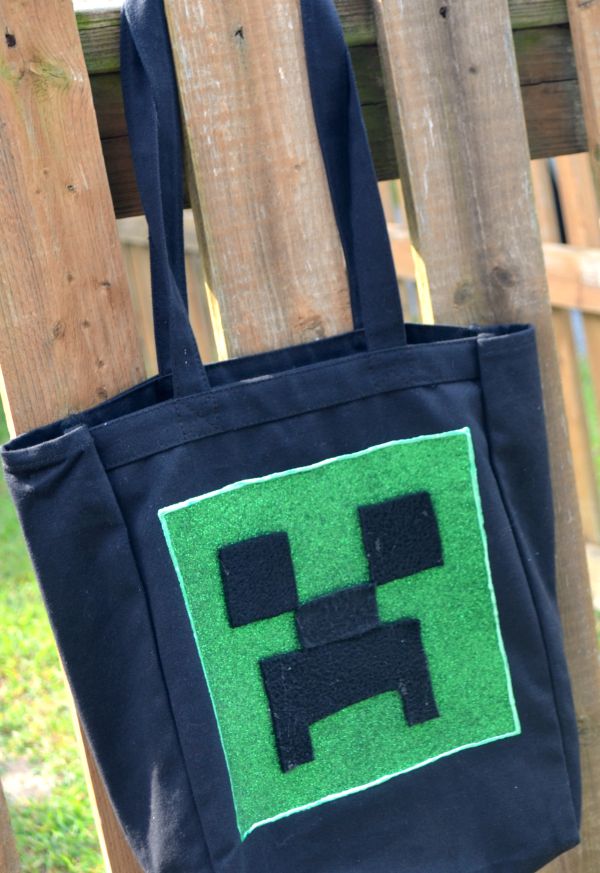
Once the paint is completely dry, your bag is ready to use! What do you think? Do you know some little folks who would flip for a bag like this?