Clay Snowmen
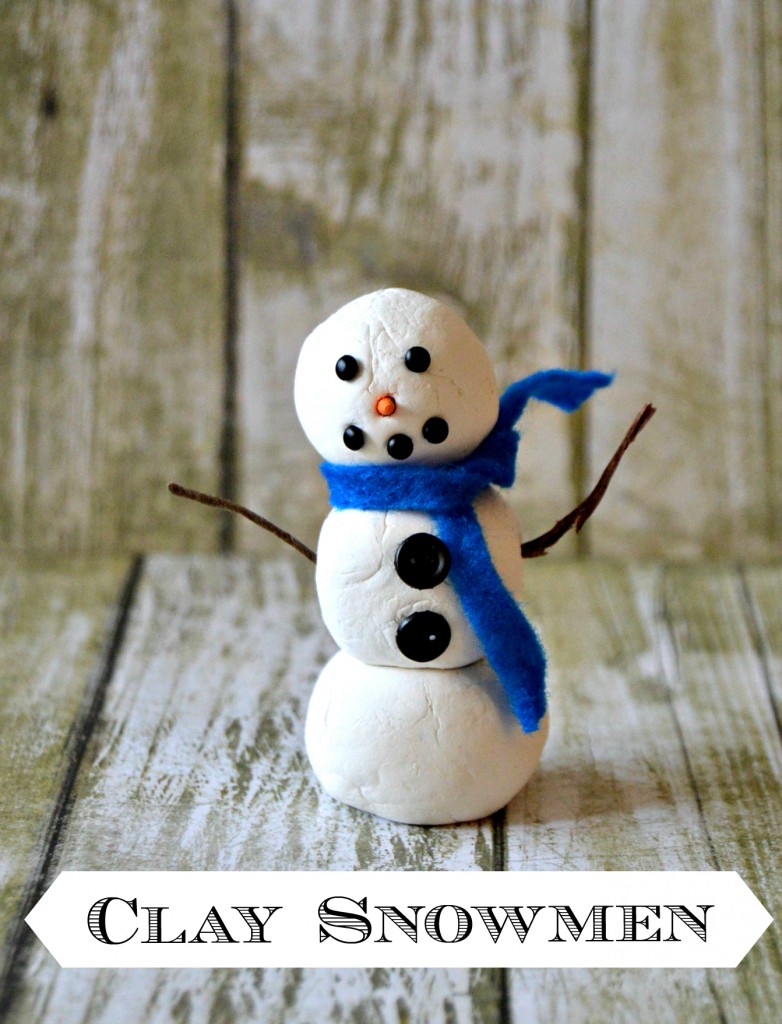
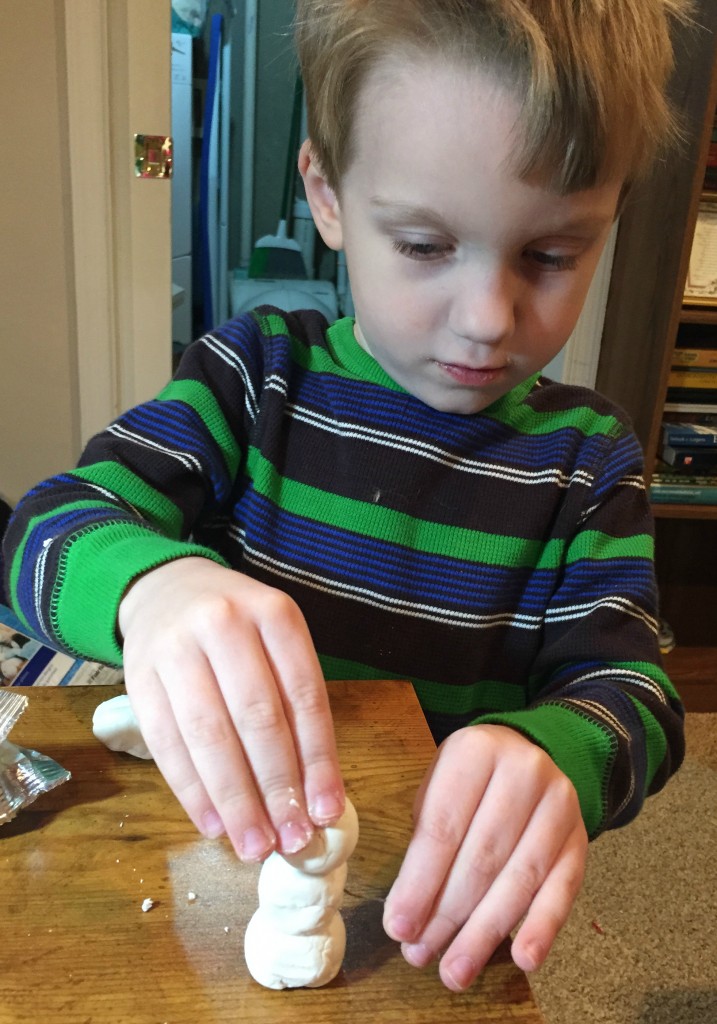
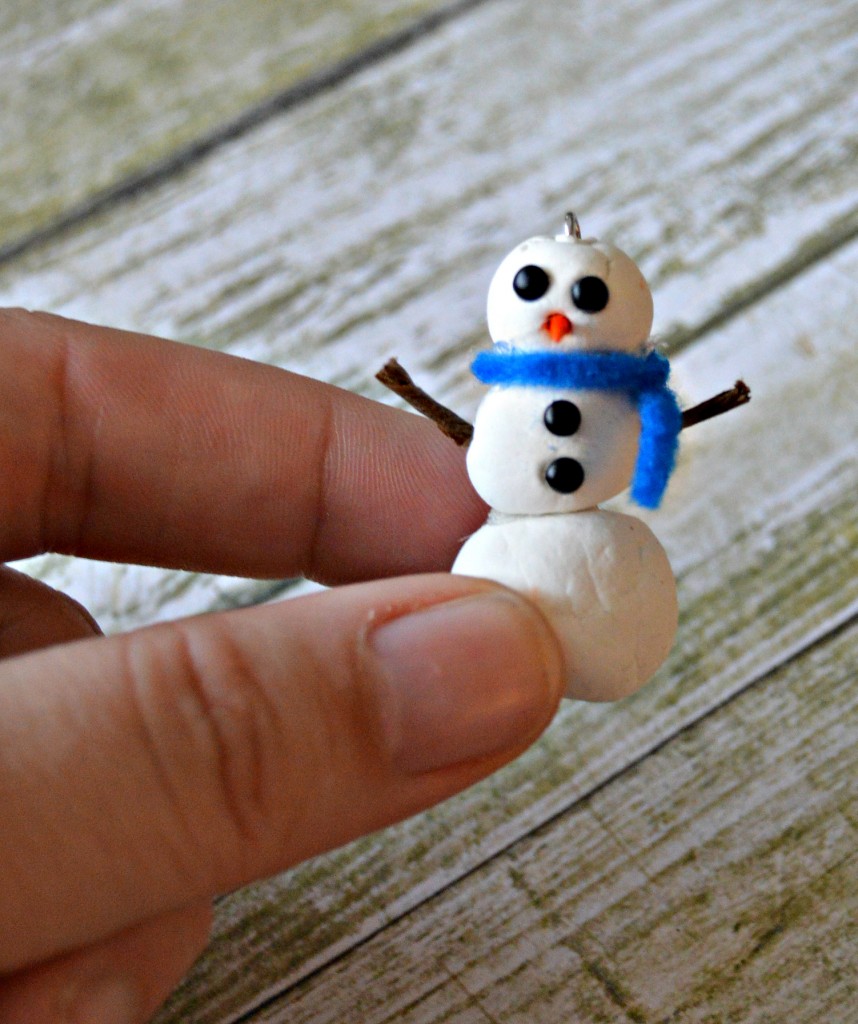
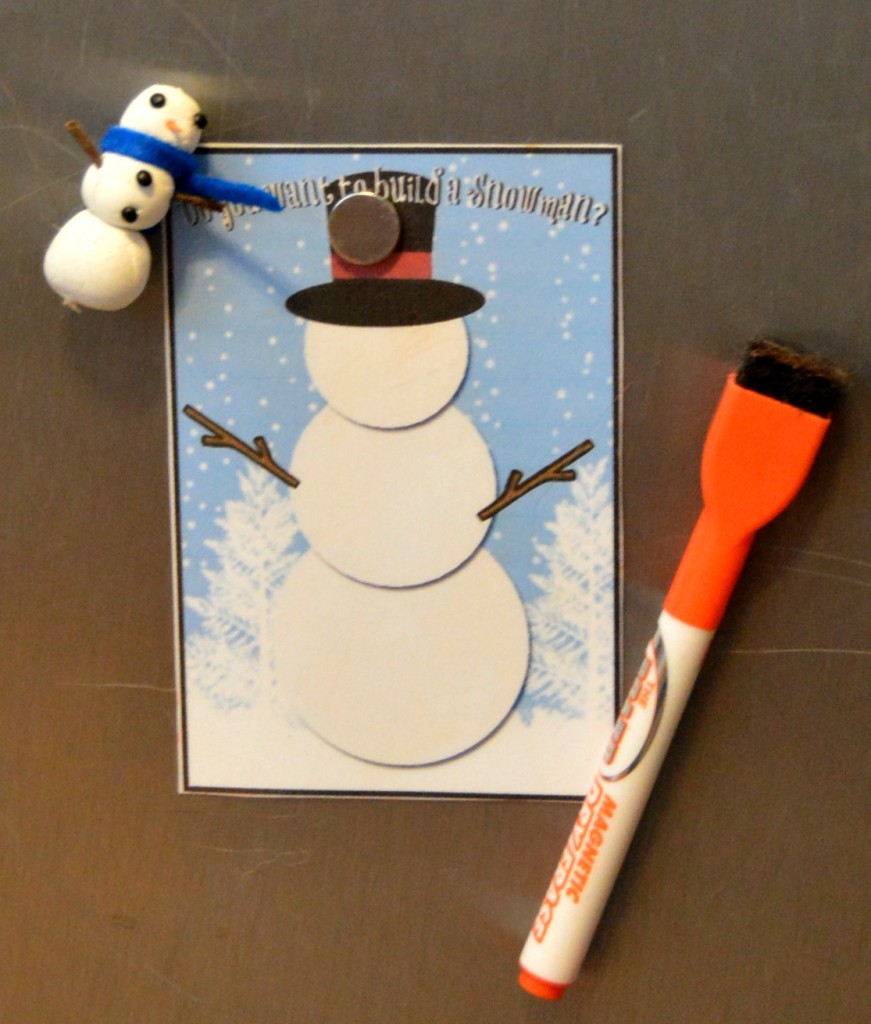
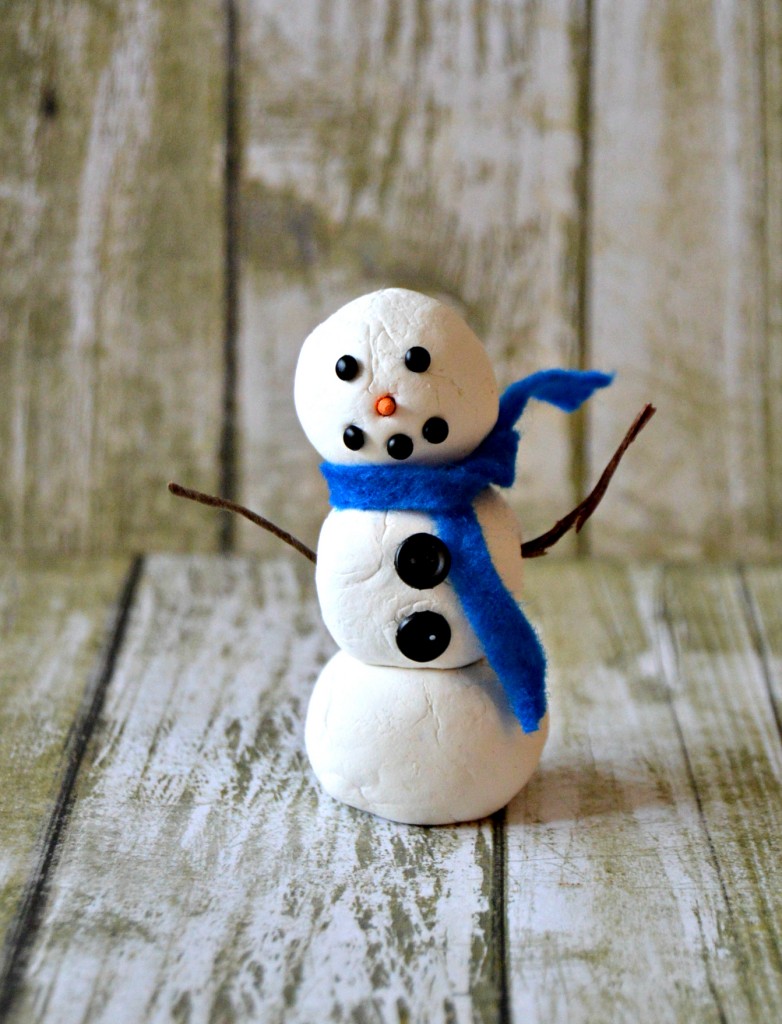
It’s Friday here in One Artsy Mama land, which means a Material of the Month project! I (Erin) can’t let Amy have all the clay fun, so I decided to spend some time creating with my eldest son and some air-dry clay! We came up with some adorable clay snowmen, that have a variety of uses and are just plain cute.
Clay Snowmen
Materials:
-Air Dry Clay (We used white Model Air)
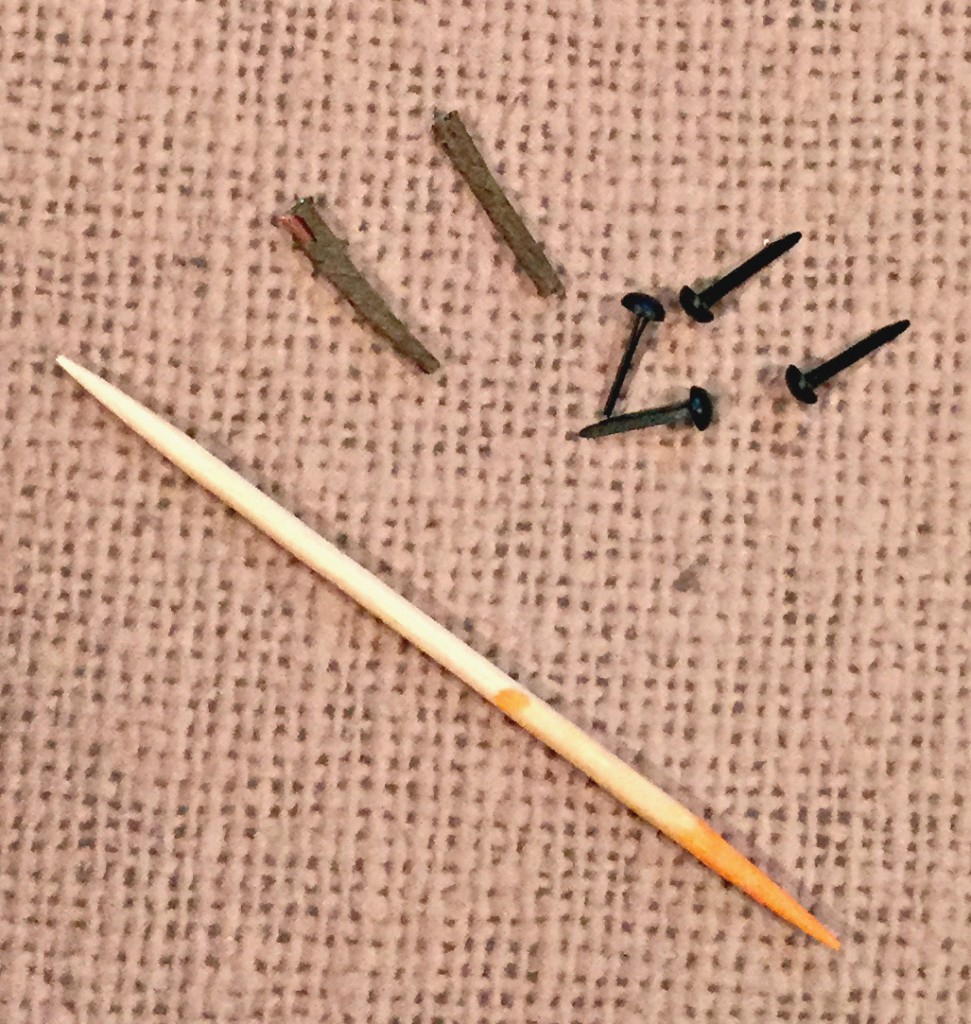
-Mini Brads (for eyes and buttons (found in the scrapbook section of your craft store))
-Small twigs (for arms)
-Toothpick or Pin (to keep body together)
-Toothpick and Orange Paint or Marker (for nose)
-Felt (for scarf)
-Magnet, Jump Ring and Cording, etc (depending on what you’d like to do with your snowman)
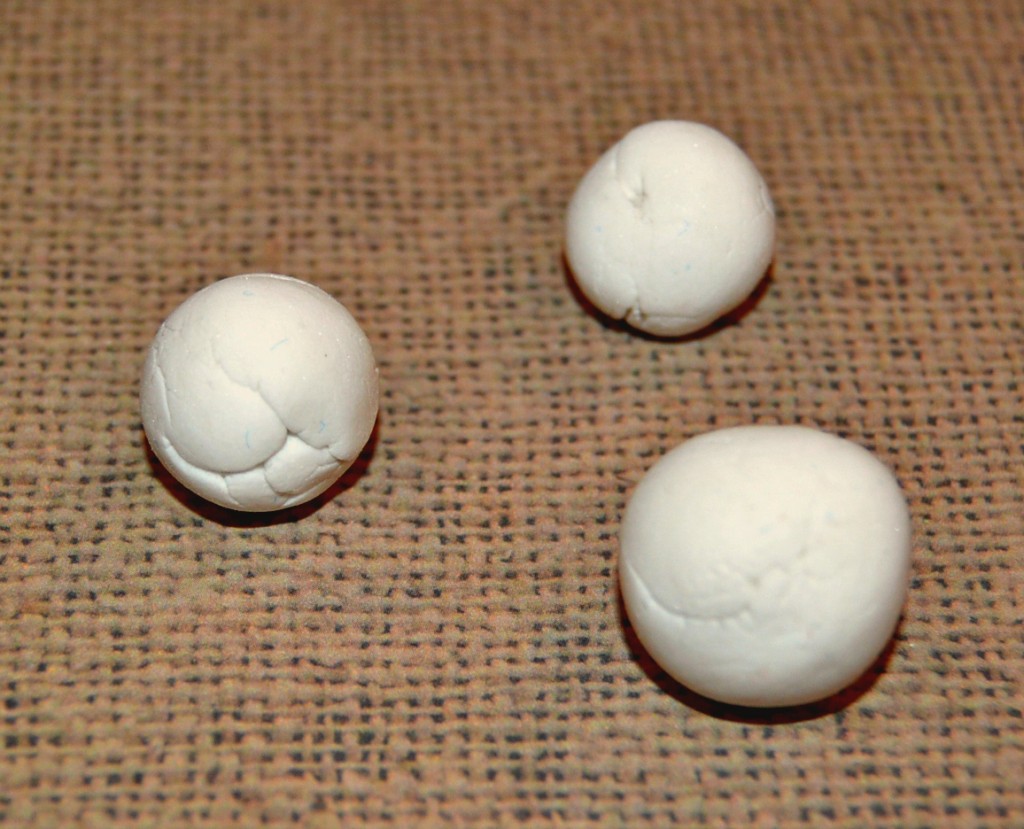
Step 1: Make three balls for the body.
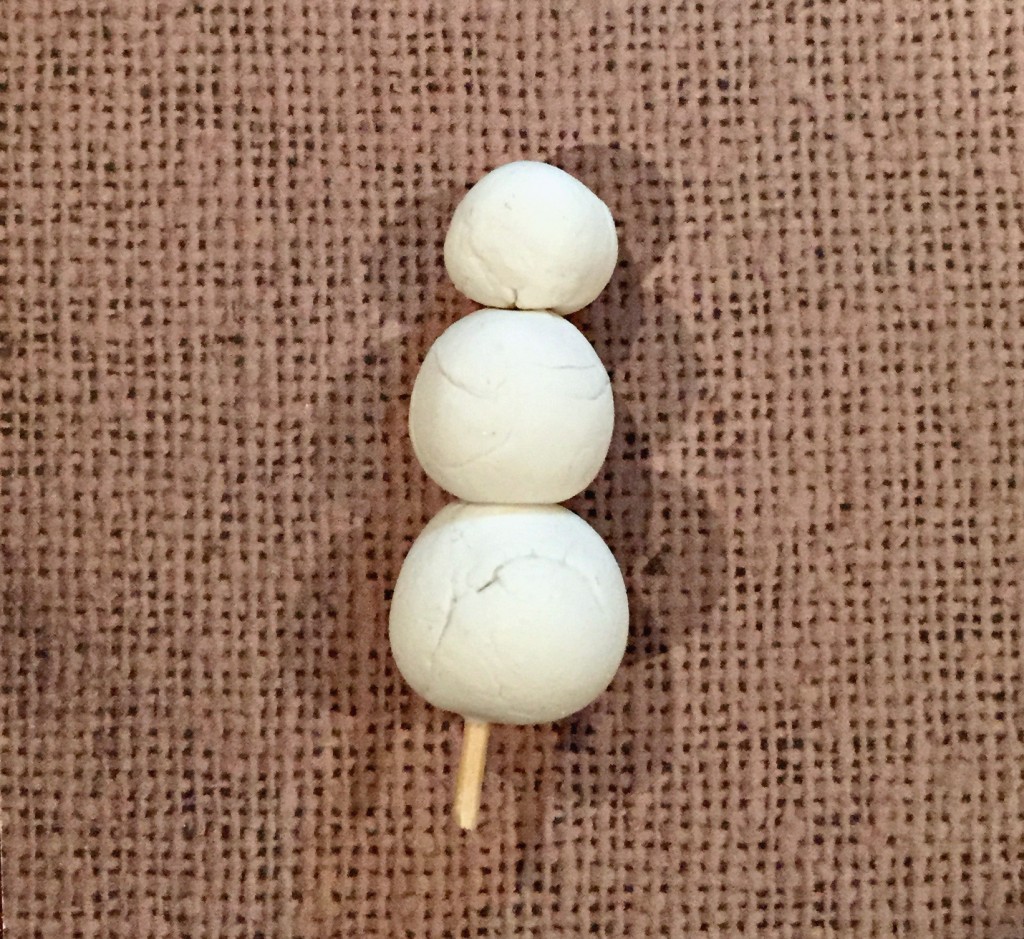
Step 2: Using a pin or toothpick to keep everything together, stack the body and head of the snowman. You can cut the excess toothpick.
Step 3: Decorate! Prince C loved this part, and enjoyed putting in arms and eyes. We painted the end of the toothpick to make it look like a carrot for the snowman’s nose. We also tied a scarf around the big snowman’s neck, and I glued a mini scarf for the tiny snowmen.
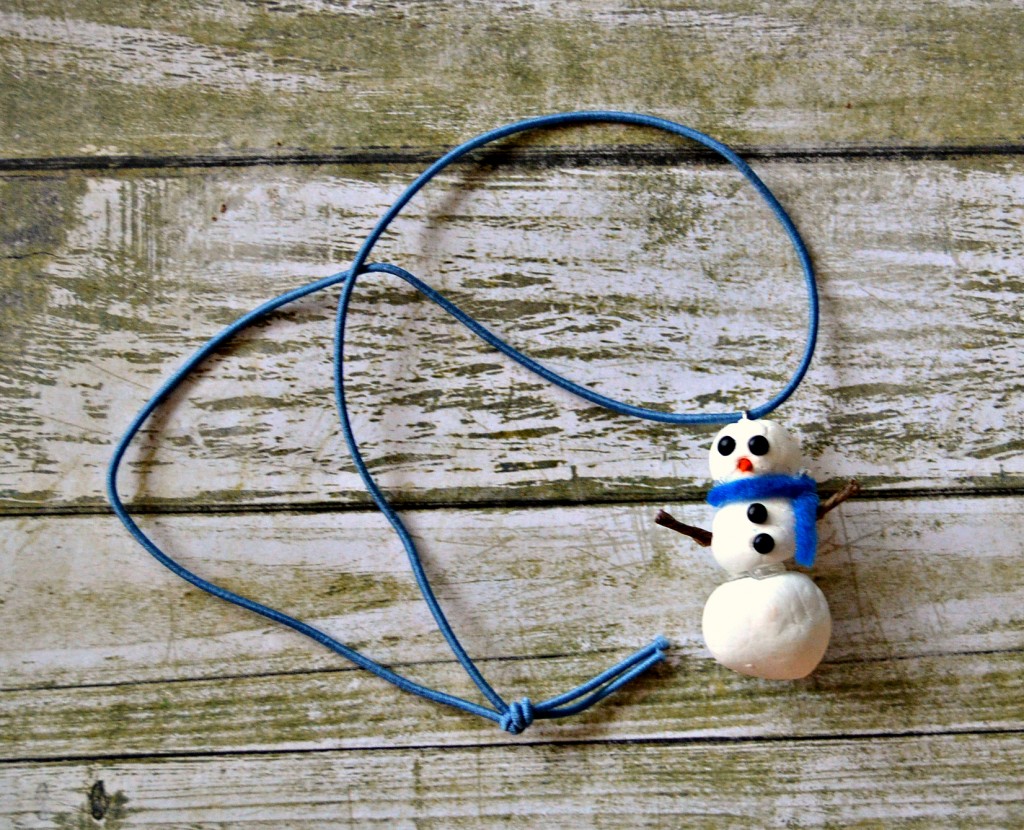
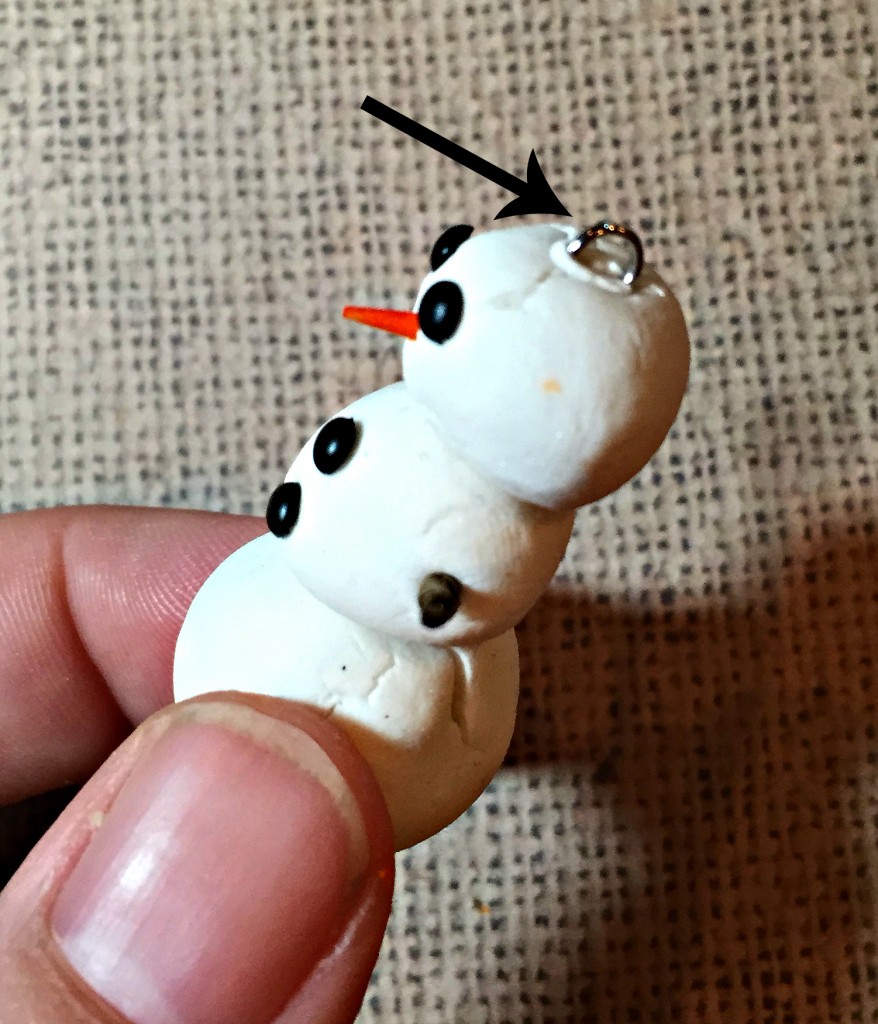
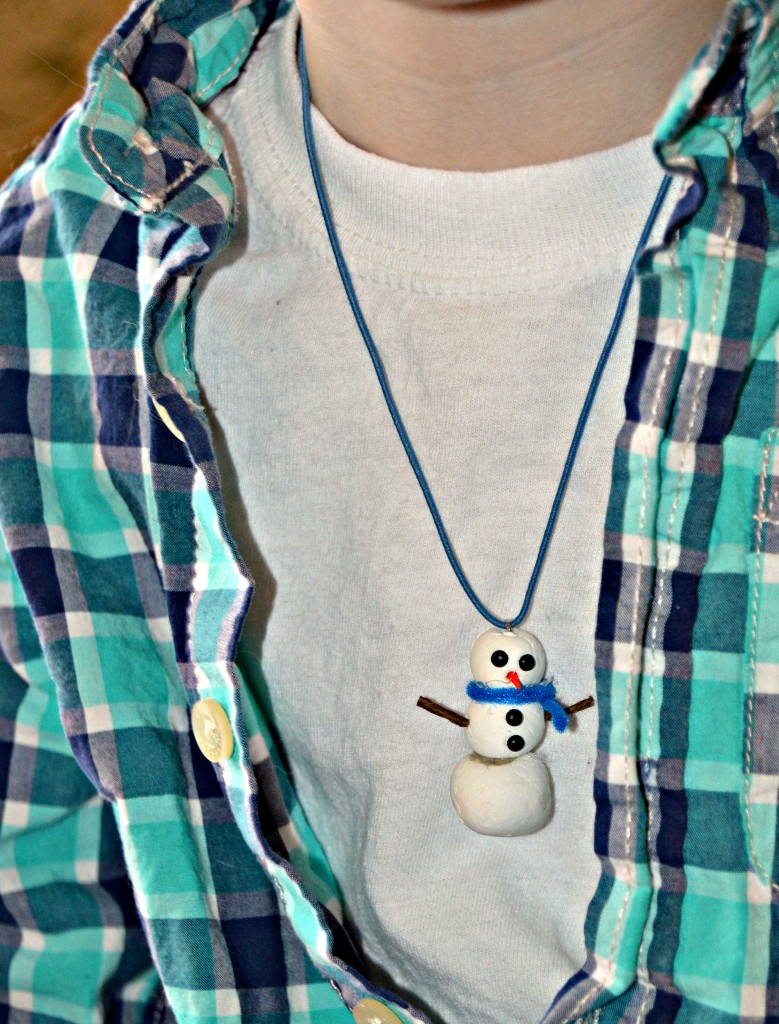
Step 4: If it’s going to be a necklace, put in a little jump ring in the top of the head.
Step 5: Allow to dry overnight.
Step 6: Finishing touches! If it’s going on the fridge, glue a magnet on the back. If it’s a necklace, thread the snowman on to a chain or cording.
That’s it! We made a couple of these little guys and they’re currently around the house, except the special one that lives around Prince C’s neck! We’re already in the middle of January, so make sure you send us your clay creation pictures and enter to win a chance to win a Sculpey prize pack!




2 Comments