Stamped Birthstone Necklace
Disclosure: Many of the materials used in this project were provided by ImpressArt. Marker provided by Bic. As always, all opinions are honestly my own.
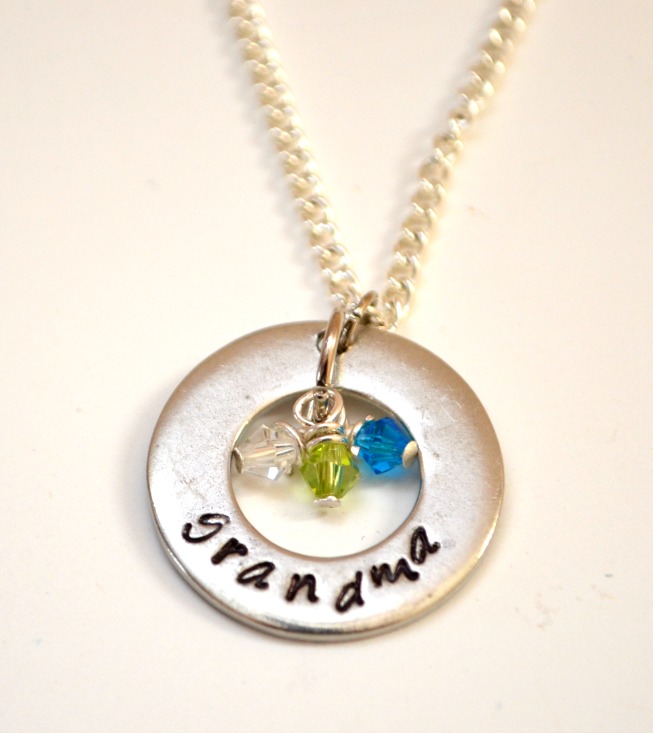
One of my favorite types of jewelry to make is family jewelry. Almost immediately after I had Little Crafter, I started scouring the internet for some kind of necklace or ring that would represent our new family of three. I wanted something I could wear that would somehow be a physical representation of the love I felt for my son. And I know I’m not the only one. I know there are mothers, grandmothers, wives, aunts, and women everywhere who want a special piece of jewelry that represents the people they love the most. I’ve found a combination of metal stamping and beading to be a great way to create meaningful family jewelry, like this piece I just made for my mom. Take a look…
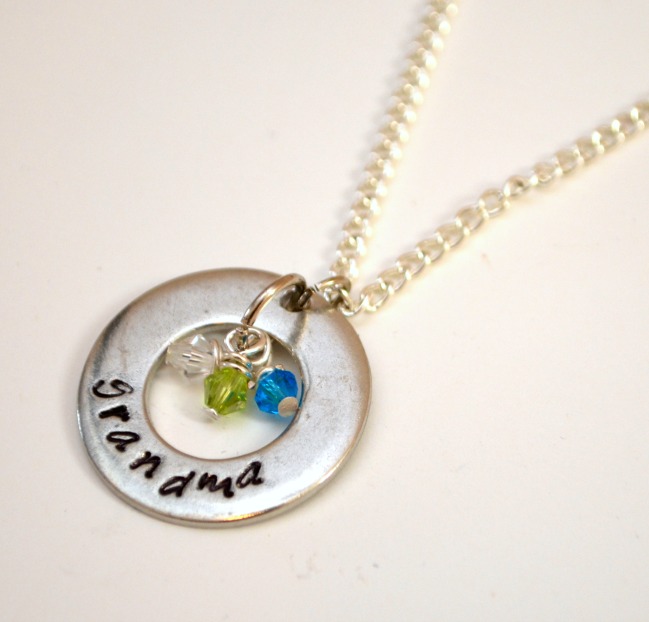
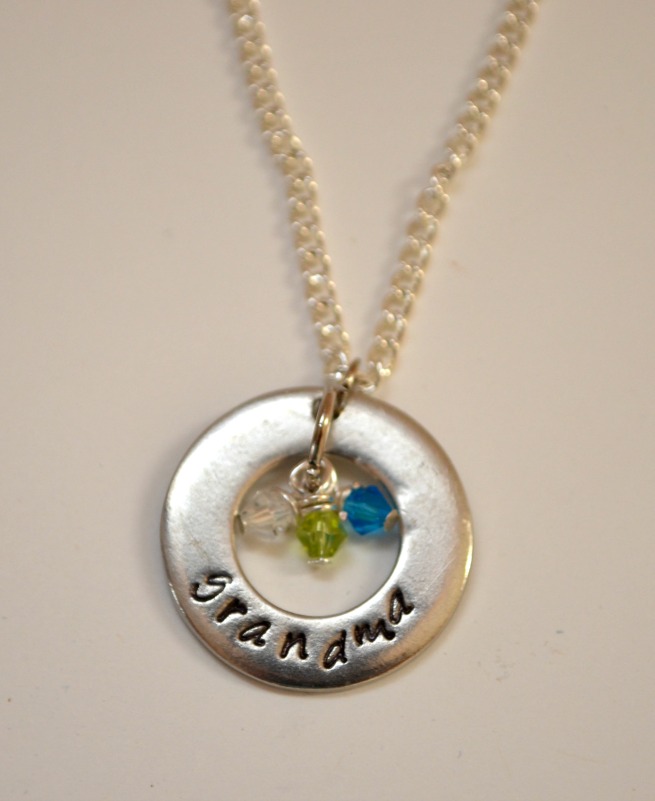
Hand-Stamped Birthstone Necklace
Materials:
– Soft Strike washer blank
– Steel Stamping block
– Metal Stamping hammer
– alphabet stamp set {mine is Bridgette}
– Stamp Straight Tape
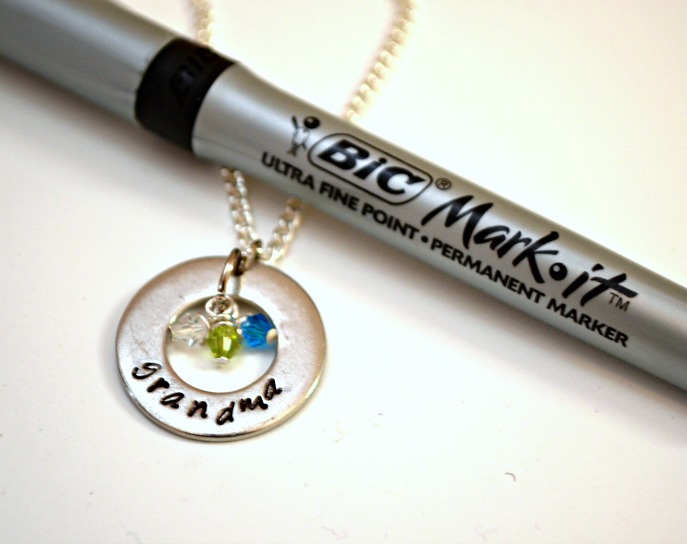
– Bic Mark-It Ultra Fine Point black marker
– jewelry cleaning cloth or rubbing alcohol and a soft cloth
– 2 jump rings
– eye pins {one for each bead}
– needle nose pliers and wire cutters
– chain and clasp
– crystals or beads
Before I get started with the tutorial, I want to share something with you regarding this materials list. At first glance, if you’re just starting out with handmade jewelry, the supply list can look pretty lengthy. But do you want to know a secret? Once you invest in this stuff, you always have it available for whatever project you’re working on. Your steel block, hammer, jewelry tools, and stamps are reusable time after time, and once you build up a supply of blanks, jump rings, and beads, you’ll have what you want in your stash more often than not when you go to make a project. I didn’t have to buy anything special to make this necklace; I already had everything I needed in my stash. Which is great news when you get inspired at 9 PM while in your pajamas. Just saying.
Part 1: The Stamping
For a full, in-depth tutorial on basic metal stamping techniques, along with photos for every step, be sure to check out my Metal Stamping Basics post.
Step 1: Tape the washer to your stamping block.
Step 2: Find the center letter of your word and stamp it in the bottom center of the washer. Continue stamping, moving out from the center.
Step 3: Color in the letters using a permanent marker, then rub off the excess using a jewelry polishing cloth or a q-tip dipped in rubbing alcohol.
I want to take a second to note that this project was the first one where I used a different marker, and I’m never going back. At CHA, when I stopped by the Bic booth, I learned a few important things. Thing #1: Bic permanent markers are non-toxic. This is naturally a good thing, since I work with the markers, my loved ones {or I} wear the projects, and my Little Crafter sometimes uses the markers too. Thing #2: Bic permanent markers are acid free. Crafters. You know how important this is. It means our projects will better stand the test of time {particularly when we’re talking about paper crafting, but just in general too}. Bic offered to send me a few markers to try out to see if I liked them just as well as the markers I’d been using, and guess what? I did. In fact, I really liked how the fine tip of this one got down in the stamped grooves and gave a nice dark finish.
Moving on.
Part 2: The Beading
For a full step-by-step beginner’s tutorial on how to place beads on head pins, how to create basic wire loops, and more, be sure to read my Beading 101 post!
Step 1: Find a bead or crystal to represent each family member. I used small crystals to represent our birthstone colors.
Step 2: Place each bead on a head pin and create a wire loop.
Step 3: Put a jump ring through the hole in the washer and attach all of the beads to it, which will make them hang in the center of the washer.
Step 4: Add a small jump ring to the hole and attach the pendant to a chain.
Once you know the basics of stamping and beading, this necklace is honestly really easy to make. I know it may not look that way when you’re first starting out, but trust me, it’s more than doable. Honestly! What do you think? Would you wear or gift a necklace like this? My mom absolutely loved it, and it was really fun to surprise her with a gift for no particular reason other than that I was thinking about her and love her. I’d love to hear your thoughts! Have you tried metal stamping yet? Do you want to?





Love this! Thank you so much for featuring ImpressArt products! You rock!
Thanks so much, Margot!!
My Mother in Law would like a necklace like this!
Amy, this is so pretty. I would love something like this. Definitely adding this to my to-do list!
I really do love it..and I love you for making it for me…What a nice surprise!!
Gorgeous!! I really need to start stamping! This is a great gift!
So pretty!
I love it! I’ve always wanted to try jewelry stamping…now I just might have to! 🙂
– Brooke –
This is beautiful. Love how simple and personalized it is!
Cute! I think my Mom would love this necklace! 🙂
Don’t you just LOVE the soft strike blanks?? The finished piece comes out so professional-looking! Love it!
This is great. Thank you!!!
Hi, what size washer did you use here? Thanks. Linda
This one: http://impressart.com/pewter.htm
15/16″