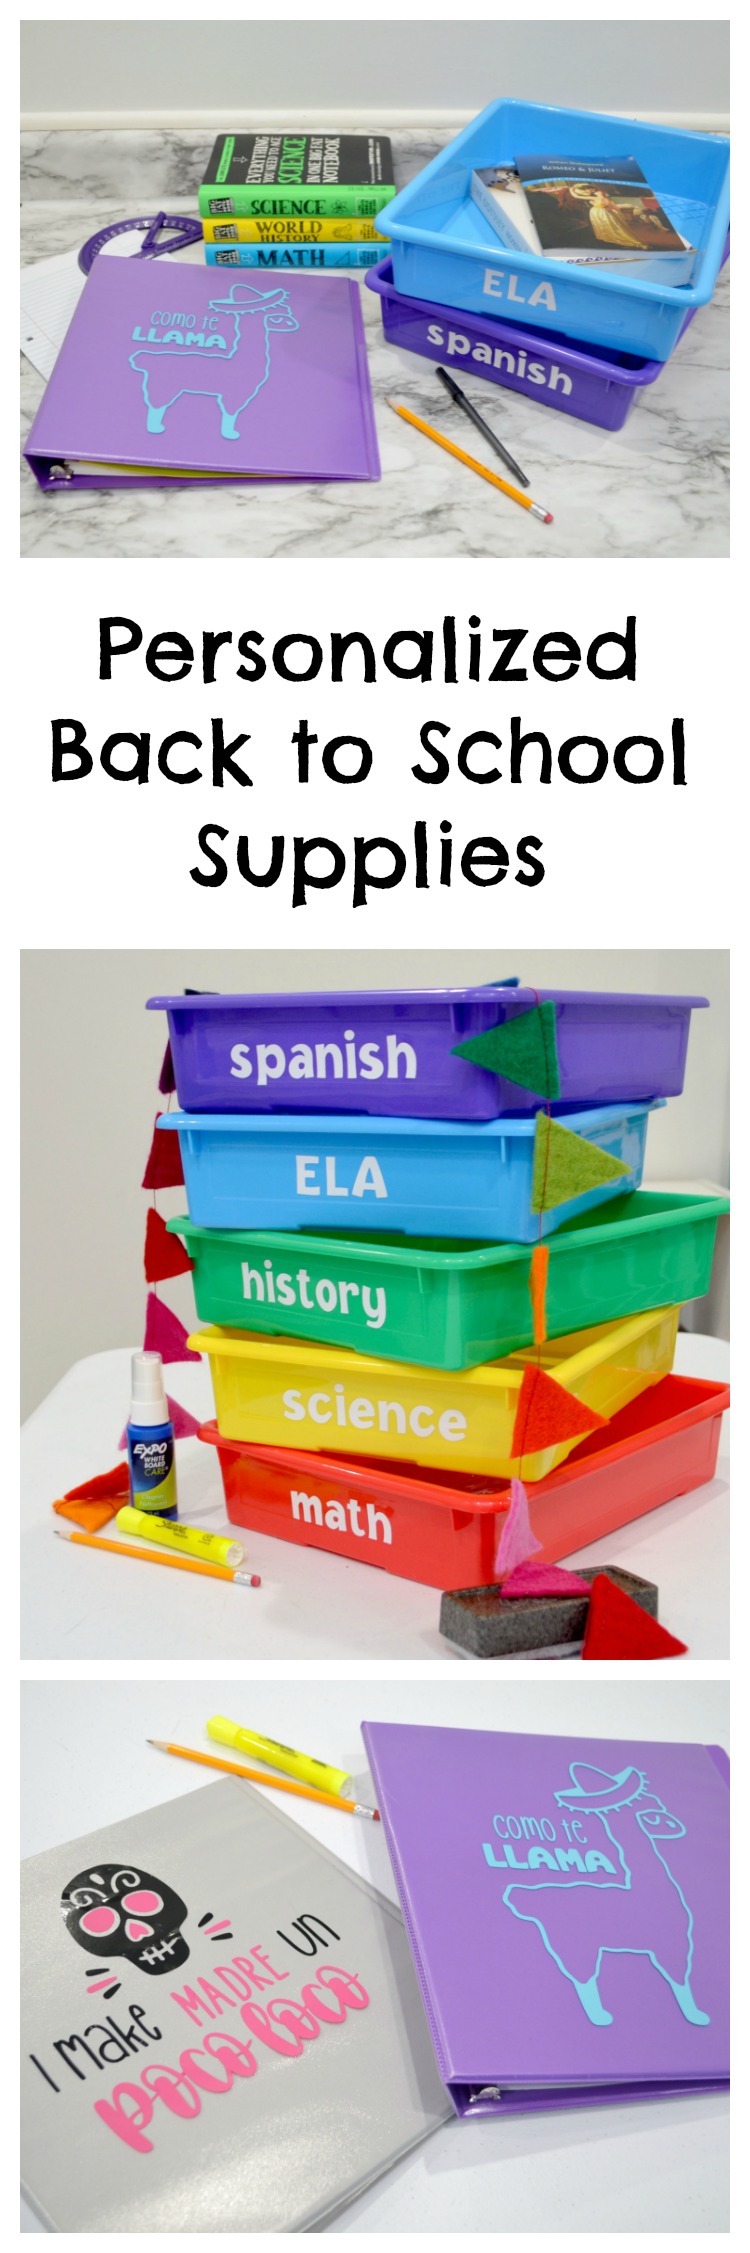
Personalize Your Back to School Supplies with Cricut
This is a sponsored post written by me on behalf of Cricut. All opinions are 100% mine.
The upcoming school year is going to be unlike anything we’ve ever experienced before. Whether the kids in your life are physically returning to a school building, participating in distance learning, being homeschooled, or some combination of those things, we’re all looking for ways to them feel excited rather than anxious. In our house, we used the Cricut Explore Air 2 and some permanent vinyl to make getting ready for school a fun experience for everyone! Here are two quick and easy Back to School projects you can try too; take a look.
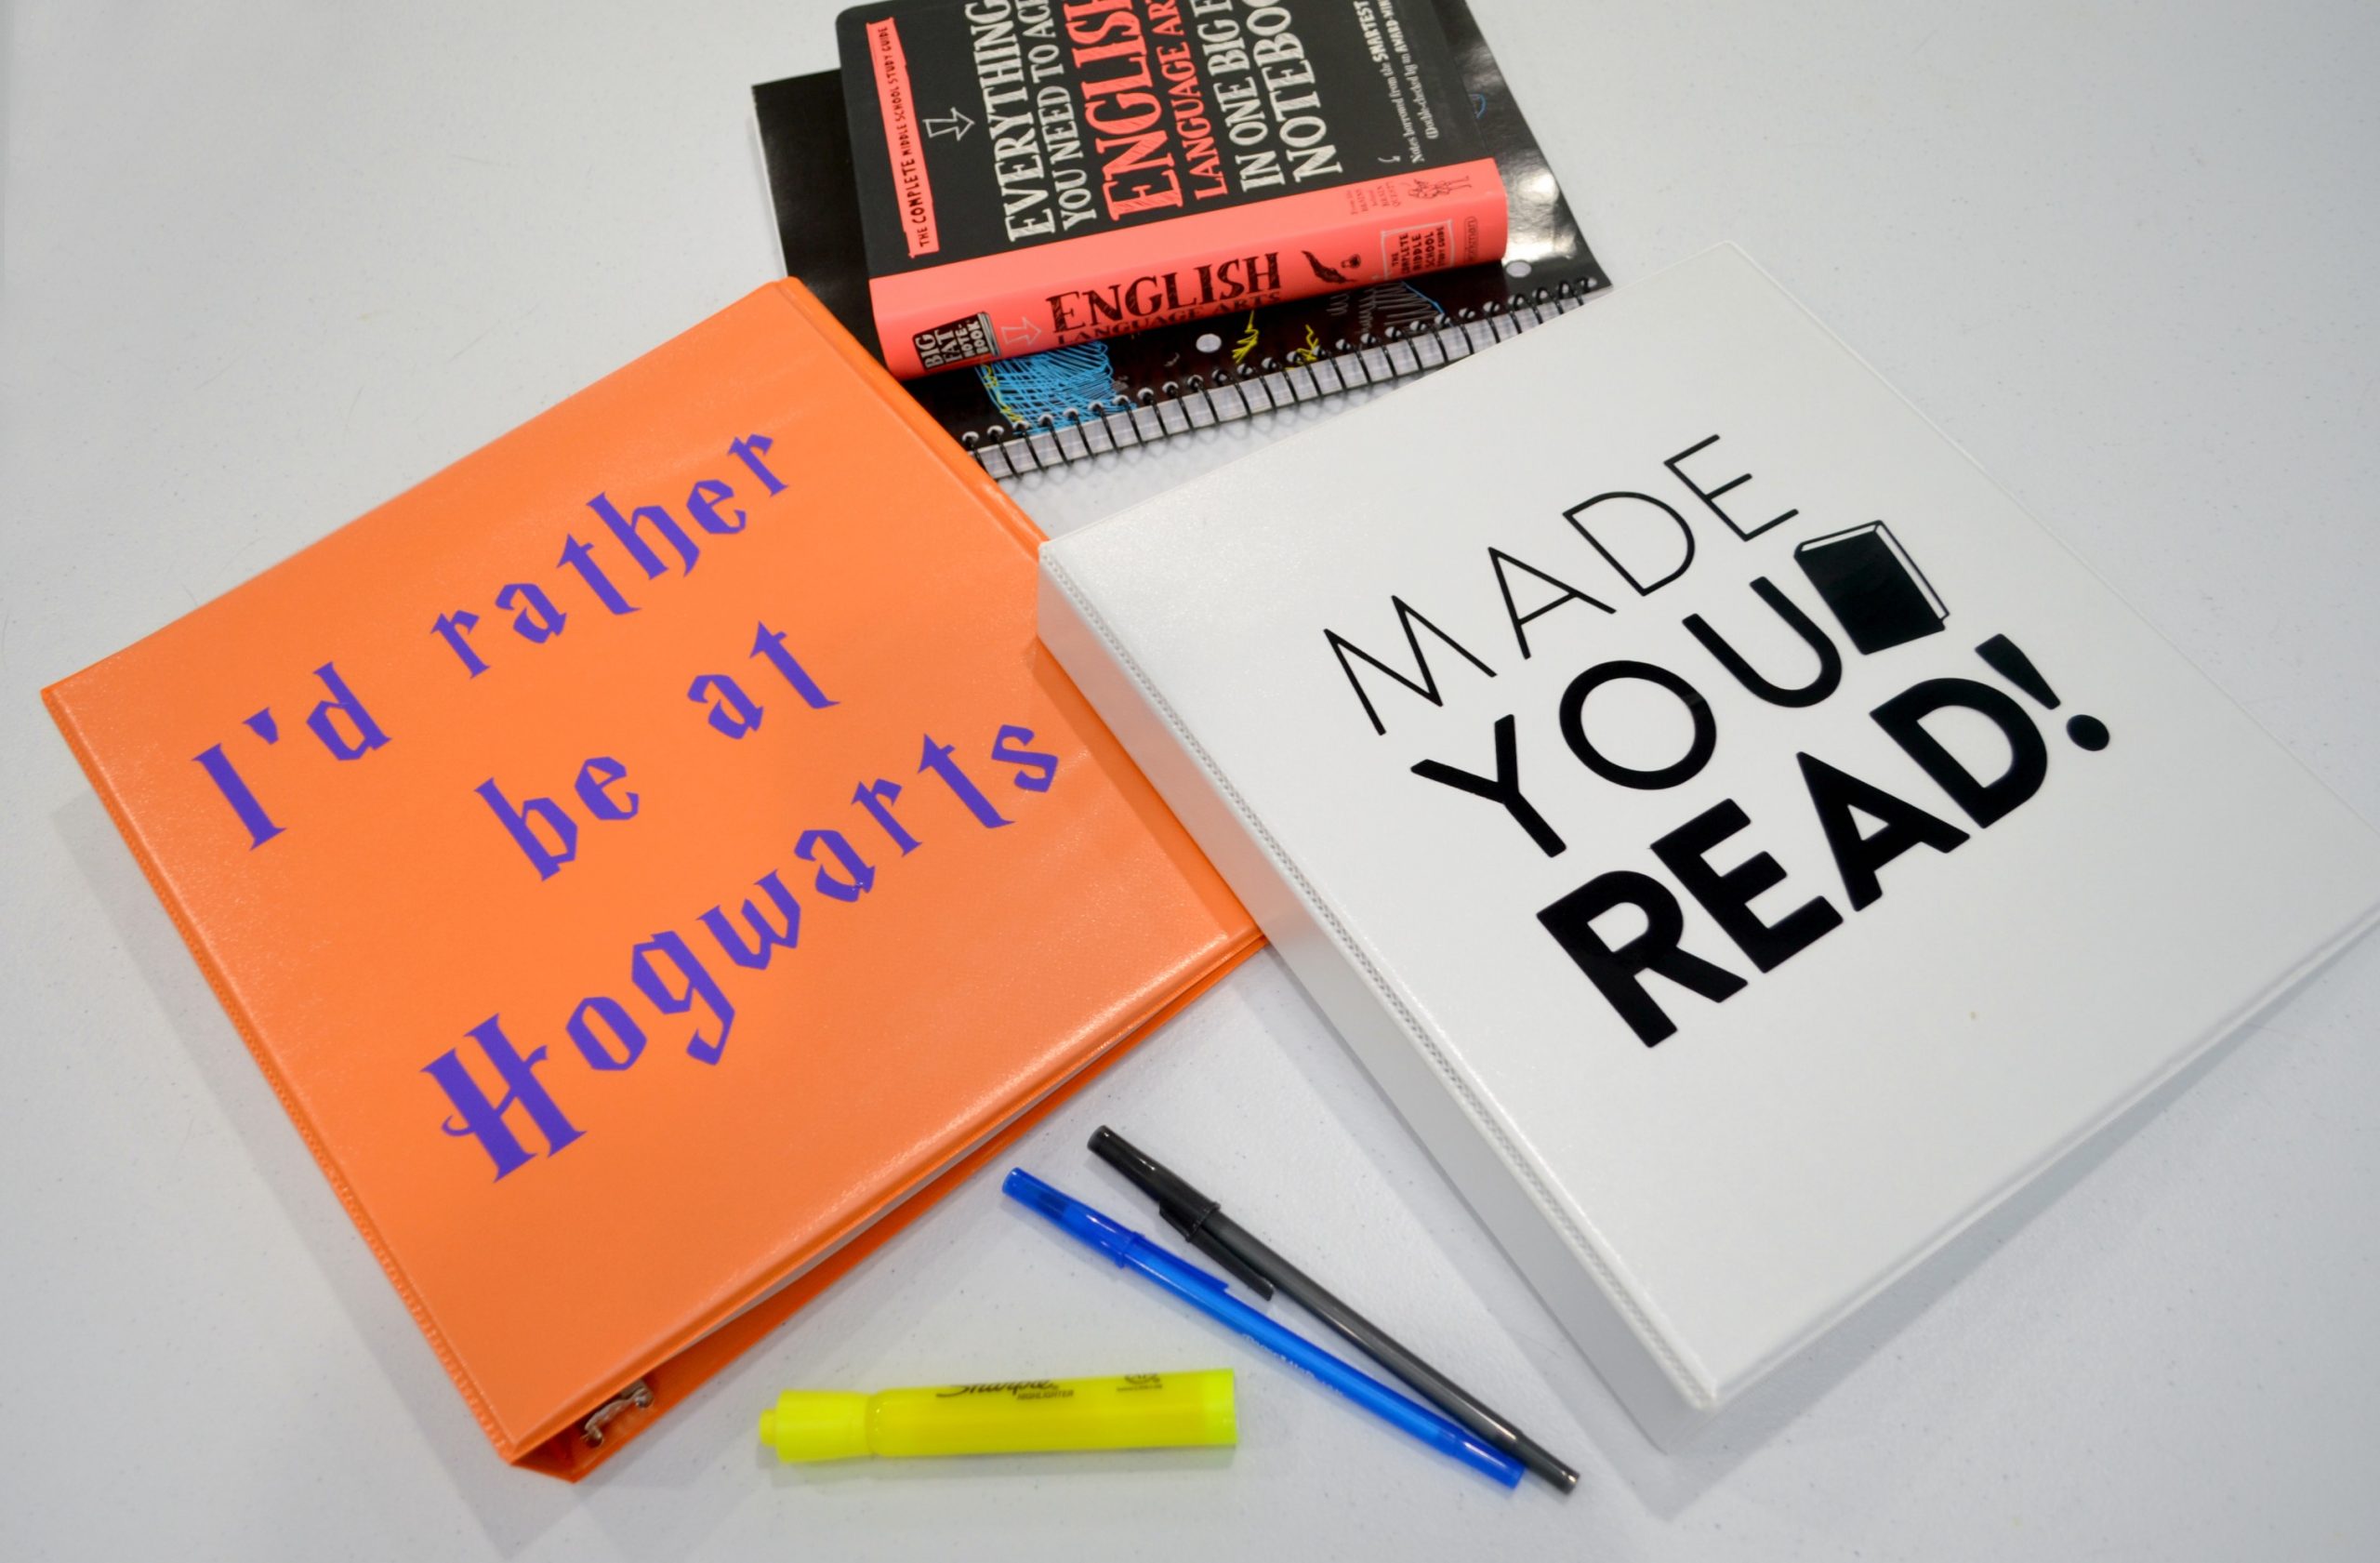
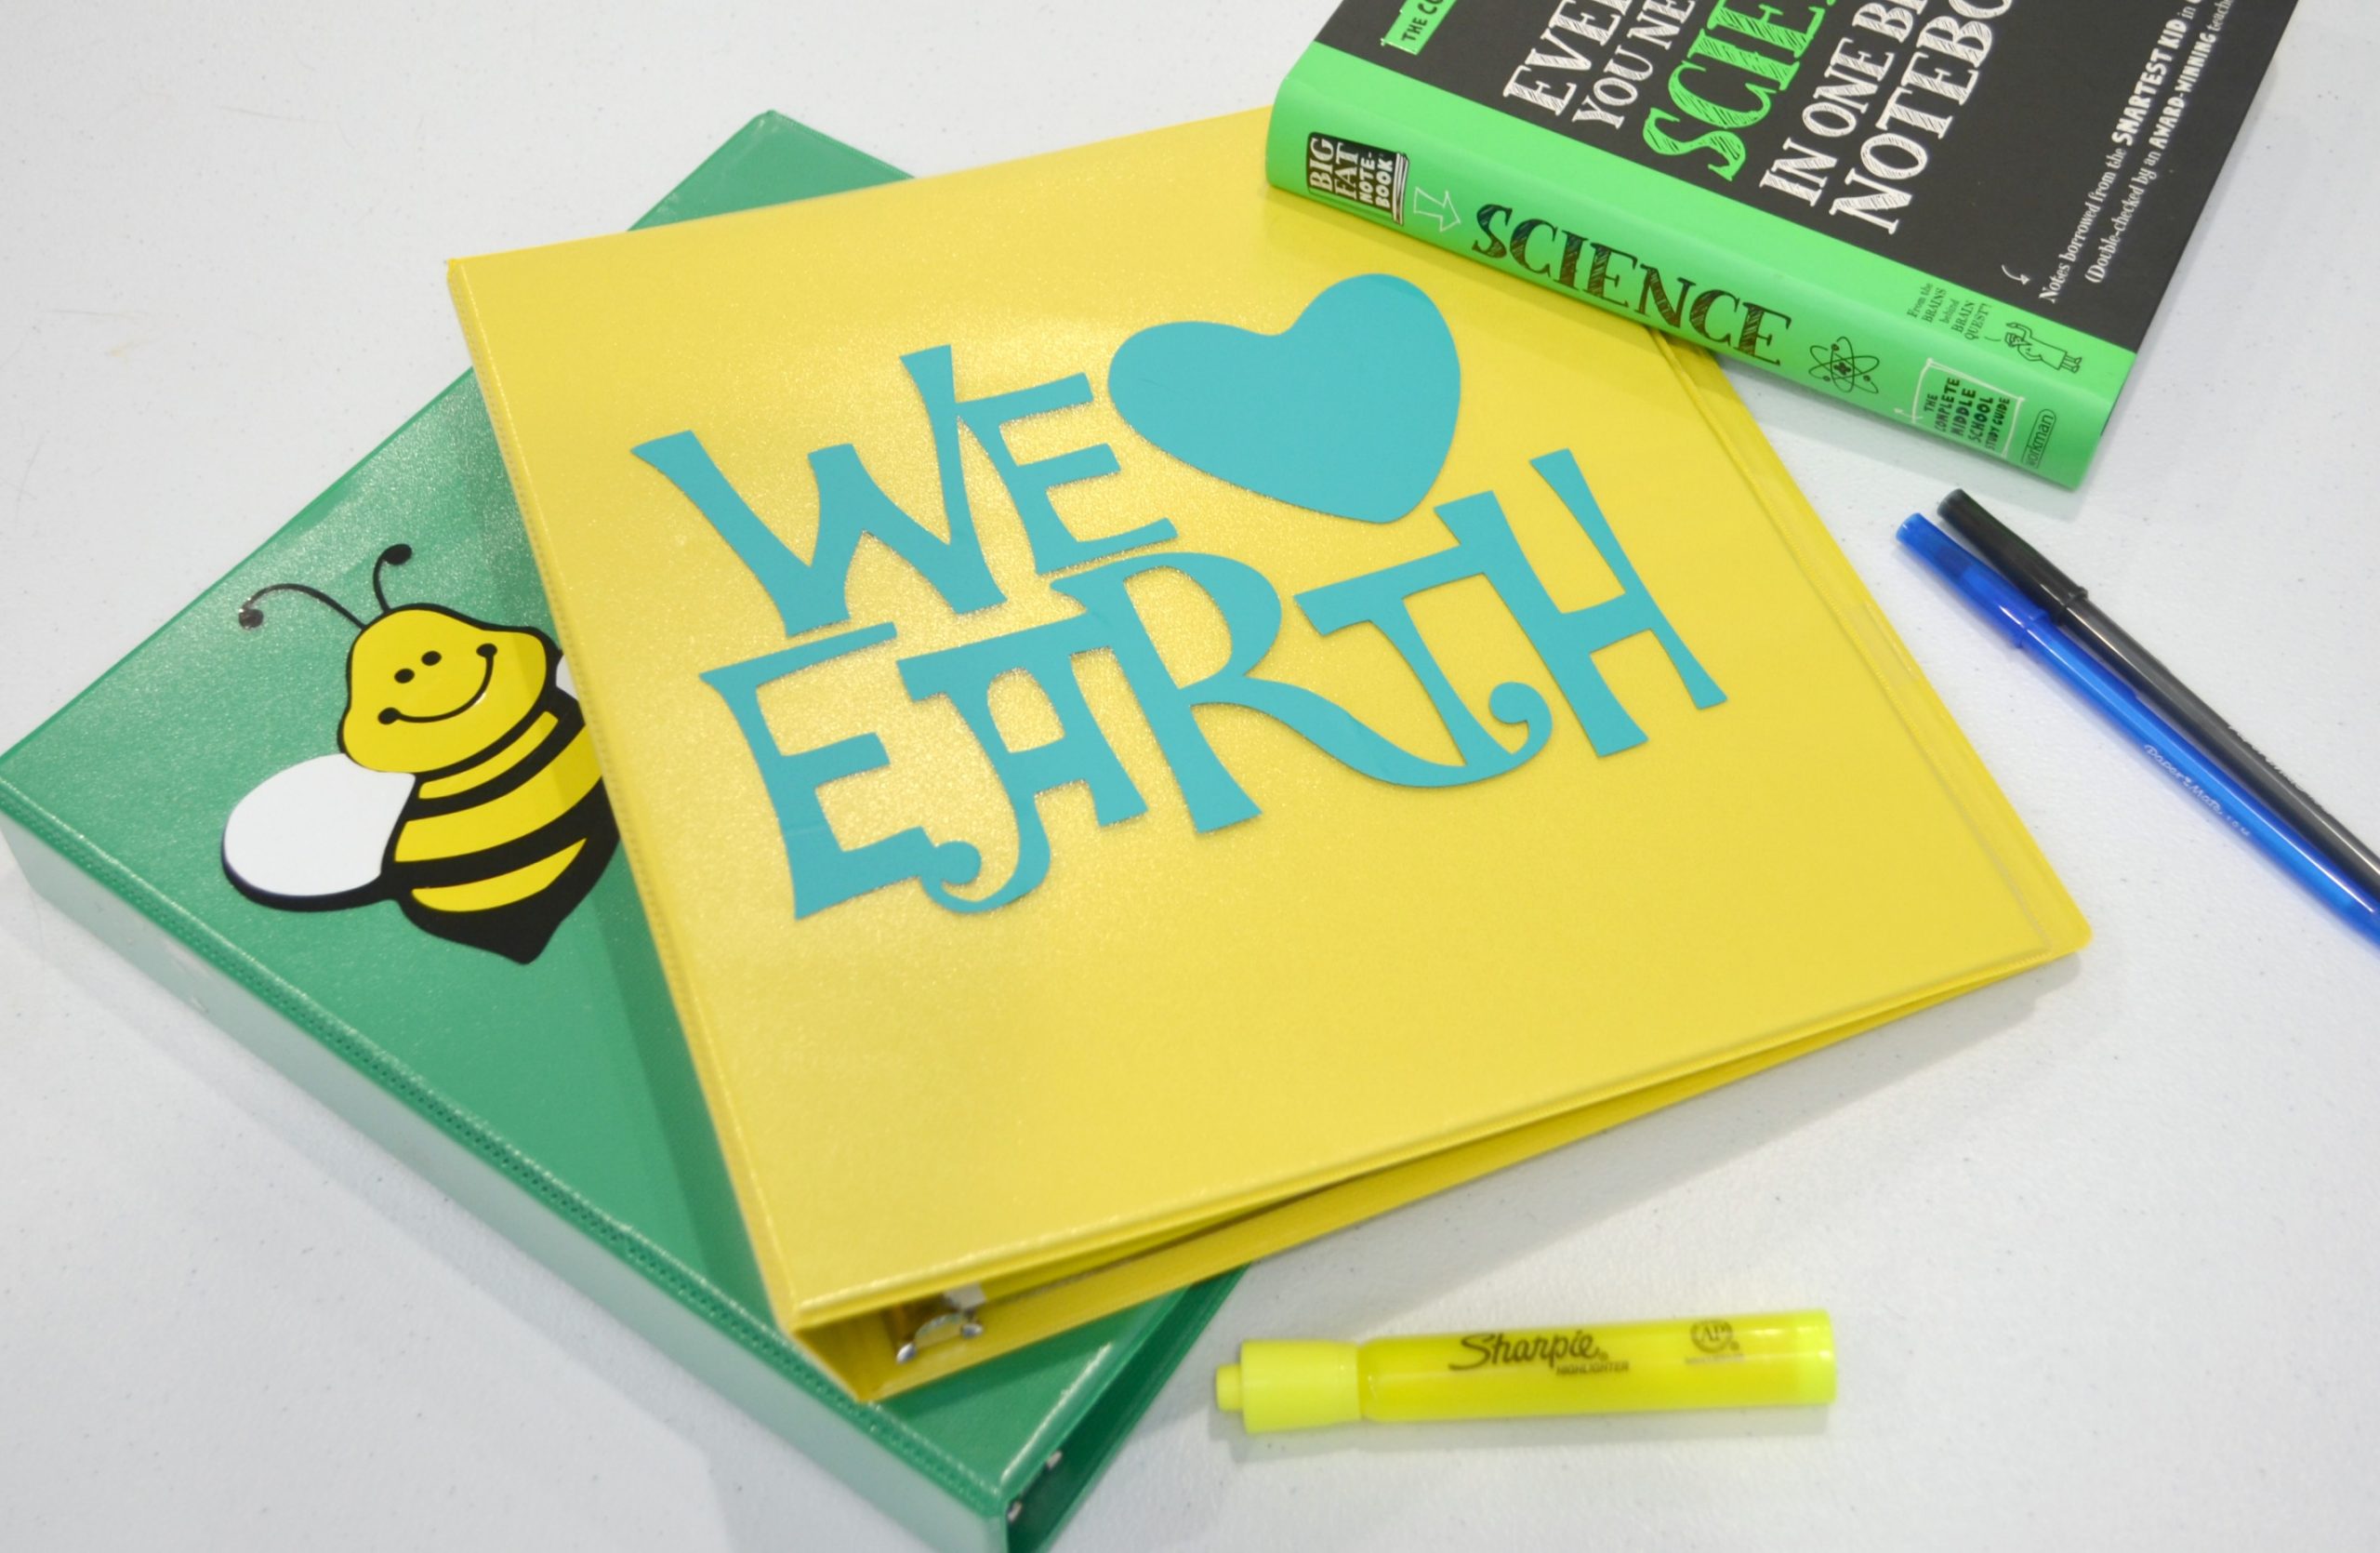
Personalized Binders
My boys need a separate binder for each of their core subjects: English Language Arts, Math, Science, Social Studies, and Spanish. After letting them choose five different colored binders each, we added some personalization to help the boys identify which binder is for each subject.
You’ll need:
Cricut Explore Air 2 & Design Space Software
Cricut Premium Vinyl – Permanent, assorted colors
Solid color binders
Cricut Basic Tool Set (I used the Scissors, Scraper, and Weeding Tool)
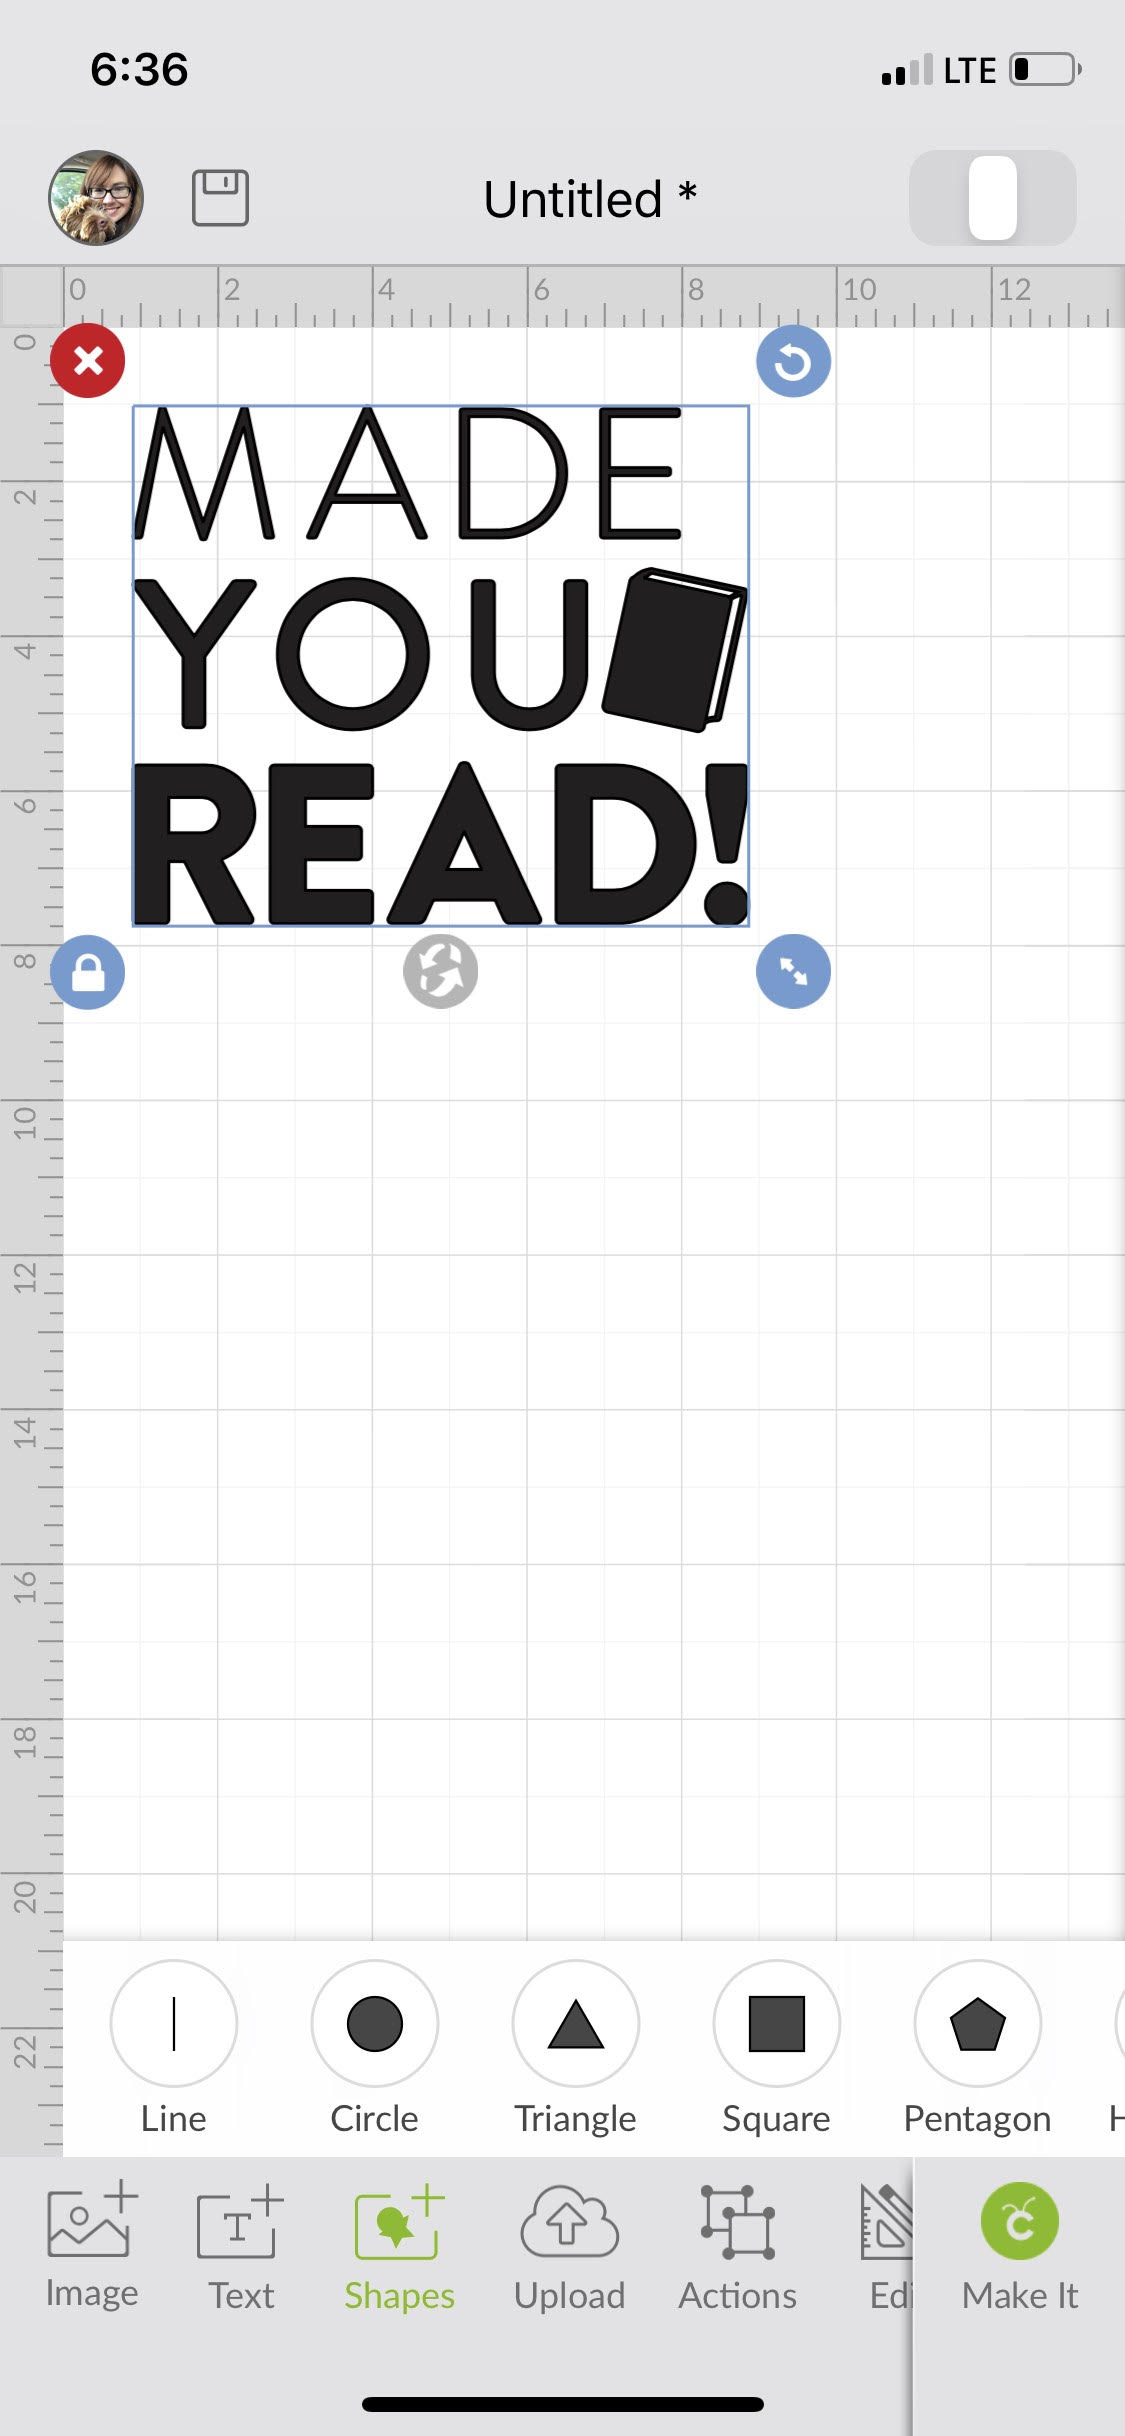
Step 1: Choose/create your design in the DesignSpace software.
Insert the image into a new canvas, then size it to fit the dimensions of your binder. We sized most of our designs to about 8″ wide. This step was the boys’ favorite, because they loved choosing what phrases and images they liked best.
Step 2: Cut the design with the Cricut Explore Air 2.
In the Design Space software, send your image to the machine. Make sure your machine is set to “vinyl,” then follow the on-screen prompts to load the cutting mat/vinyl and begin the cut.
Step 3: Use transfer paper to apply the design to the front of the binder.
Adhere the transfer paper to the cut vinyl and use it to weed your design. The weeding tool can help you remove small sections, like the insides of letters like “o” and “a.” Then, apply the design to the binder, using the scraper to firmly rub over top of it and help it adhere. Peel the transfer paper away, and your binder will be ready to use!

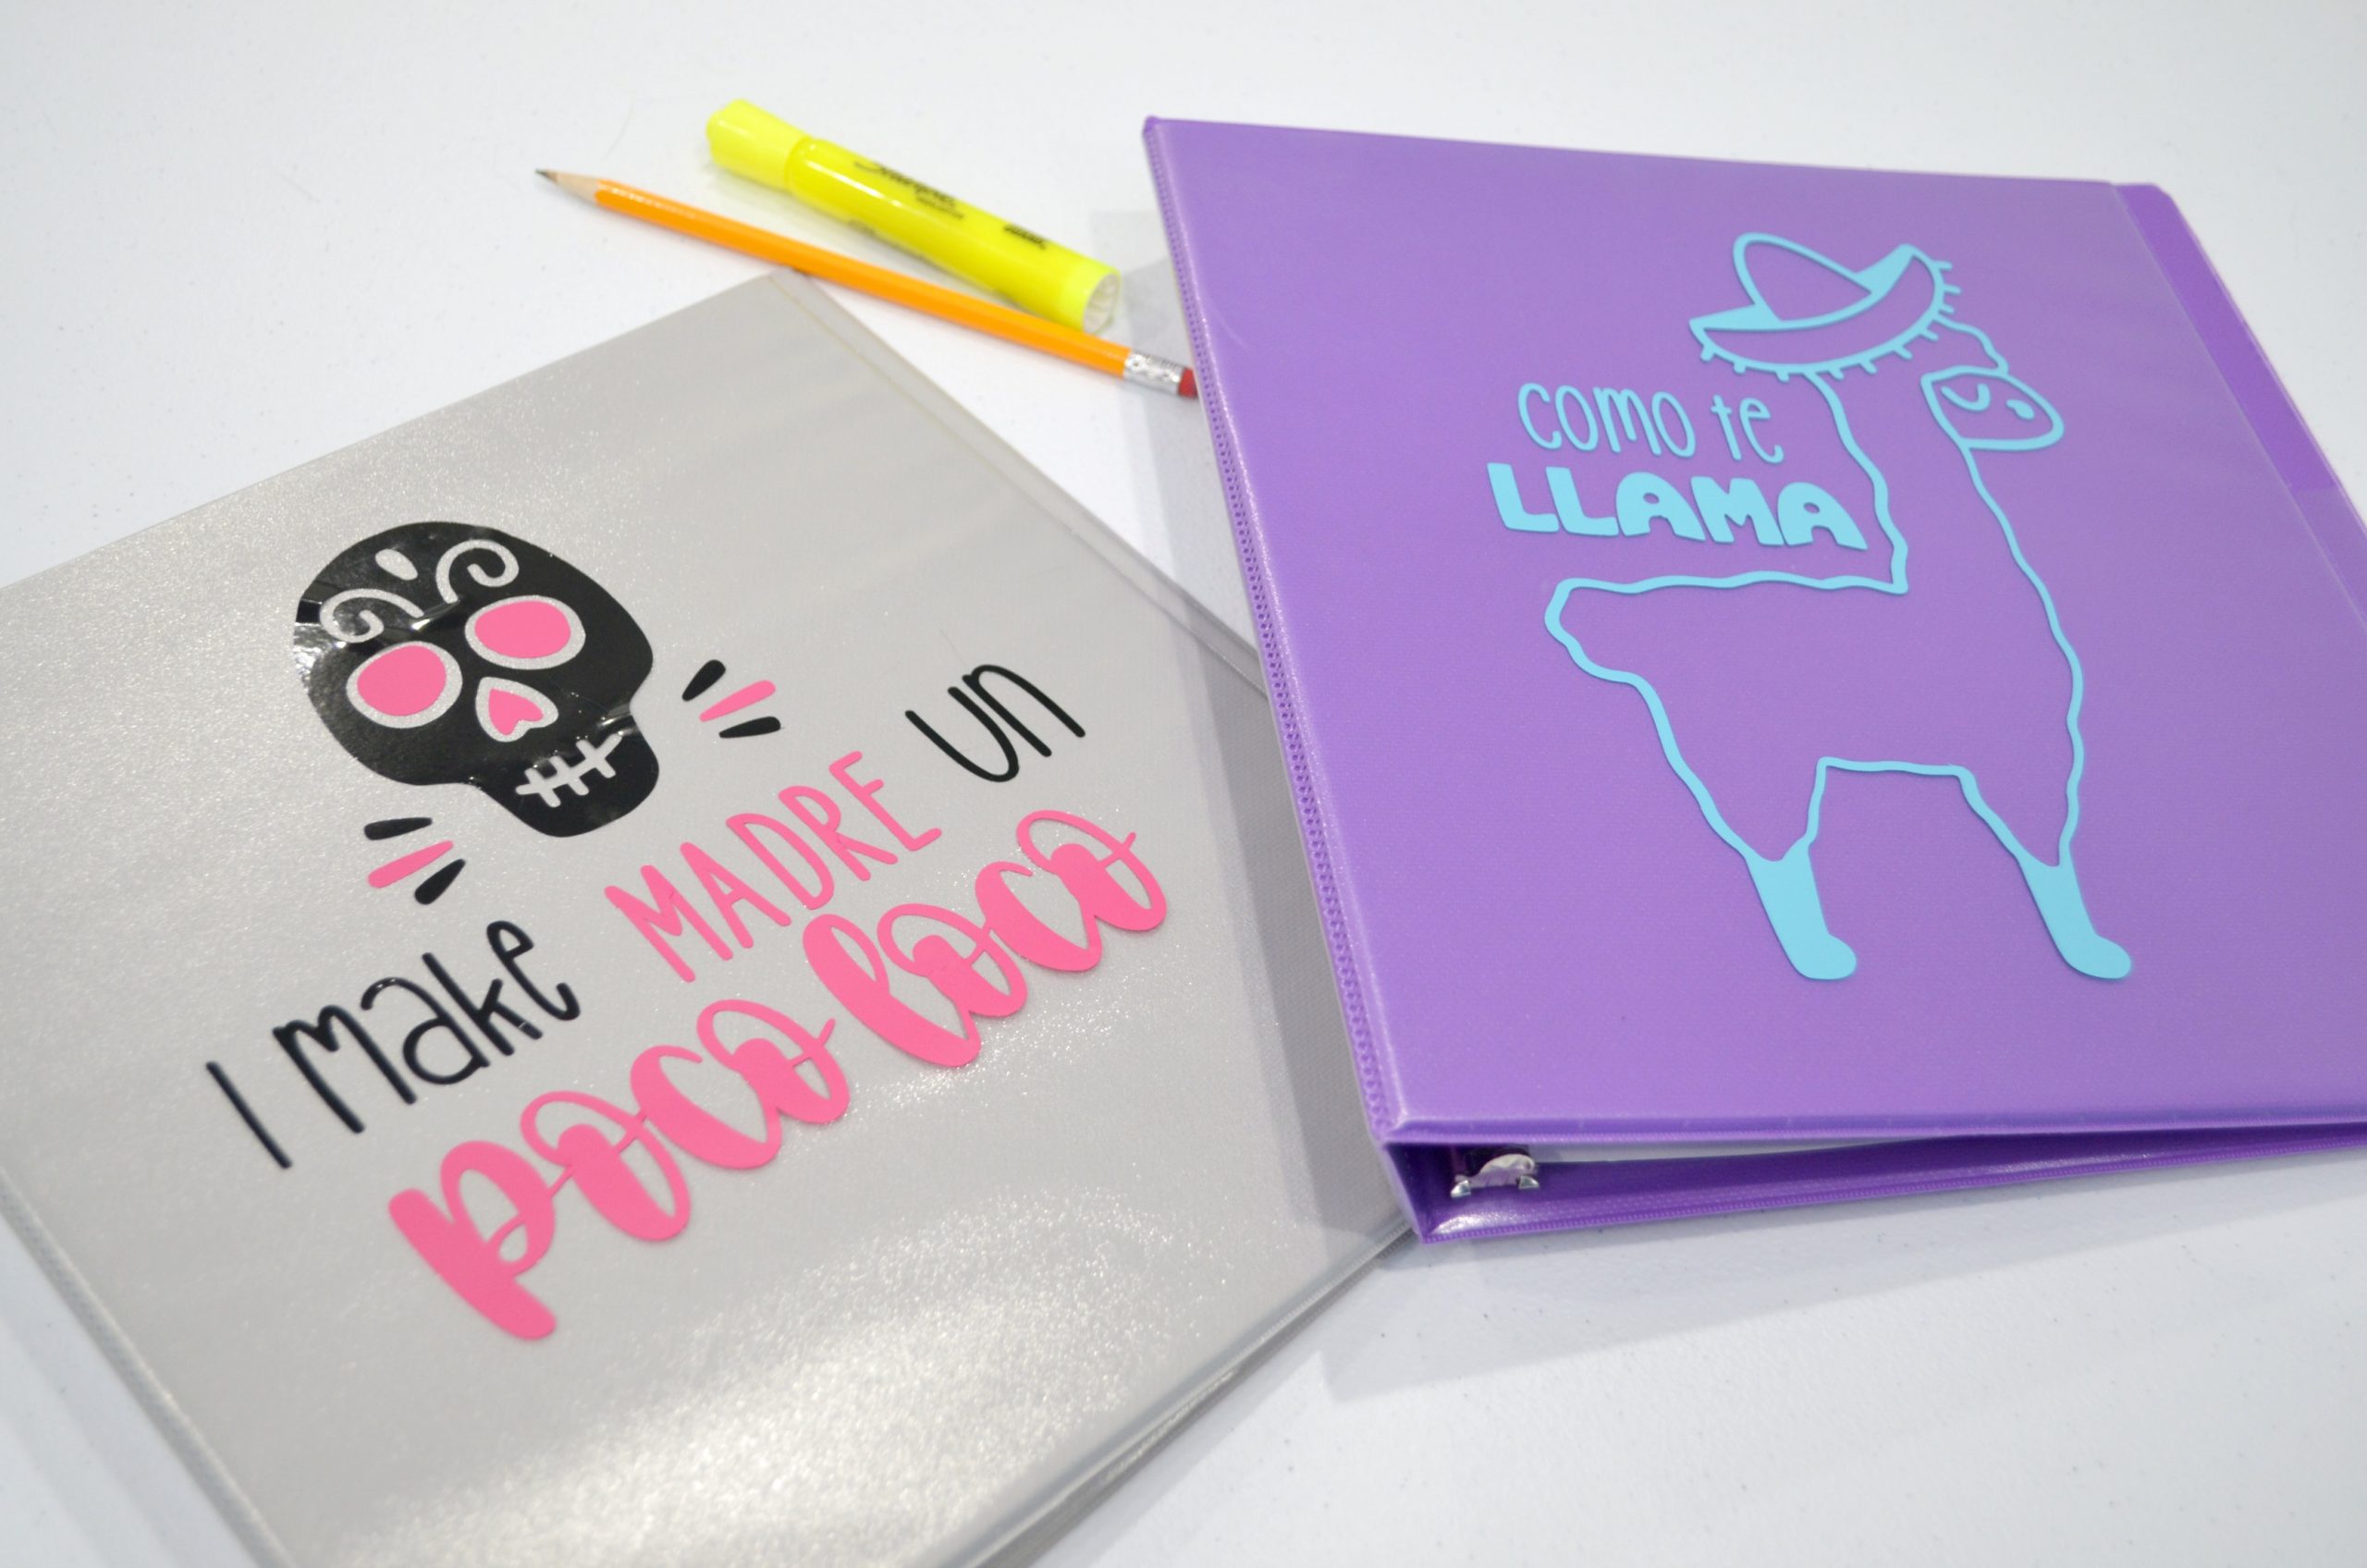
Some of our designs were simple, while others were more complex and contained multiple colors. All you have to do for the multi-colored images is follow the prompts in Design Space to load each color of vinyl one at a time and let the machine work its magic. Then, starting with the bottom layer, apply them to your surface on top of each other.
The best part about this project for me was how much my boys enjoyed it. This school year, they’re 12 and 13 years old, so it’s no small feat finding ways to get them excited about school. I was thrilled that they couldn’t wait to choose, cut, and apply their personal designs. In fact, it was the first thing my teenager asked to do when he woke up this morning! Anything that can make an 8th grader look forward to going back to school is a definite win in my book!
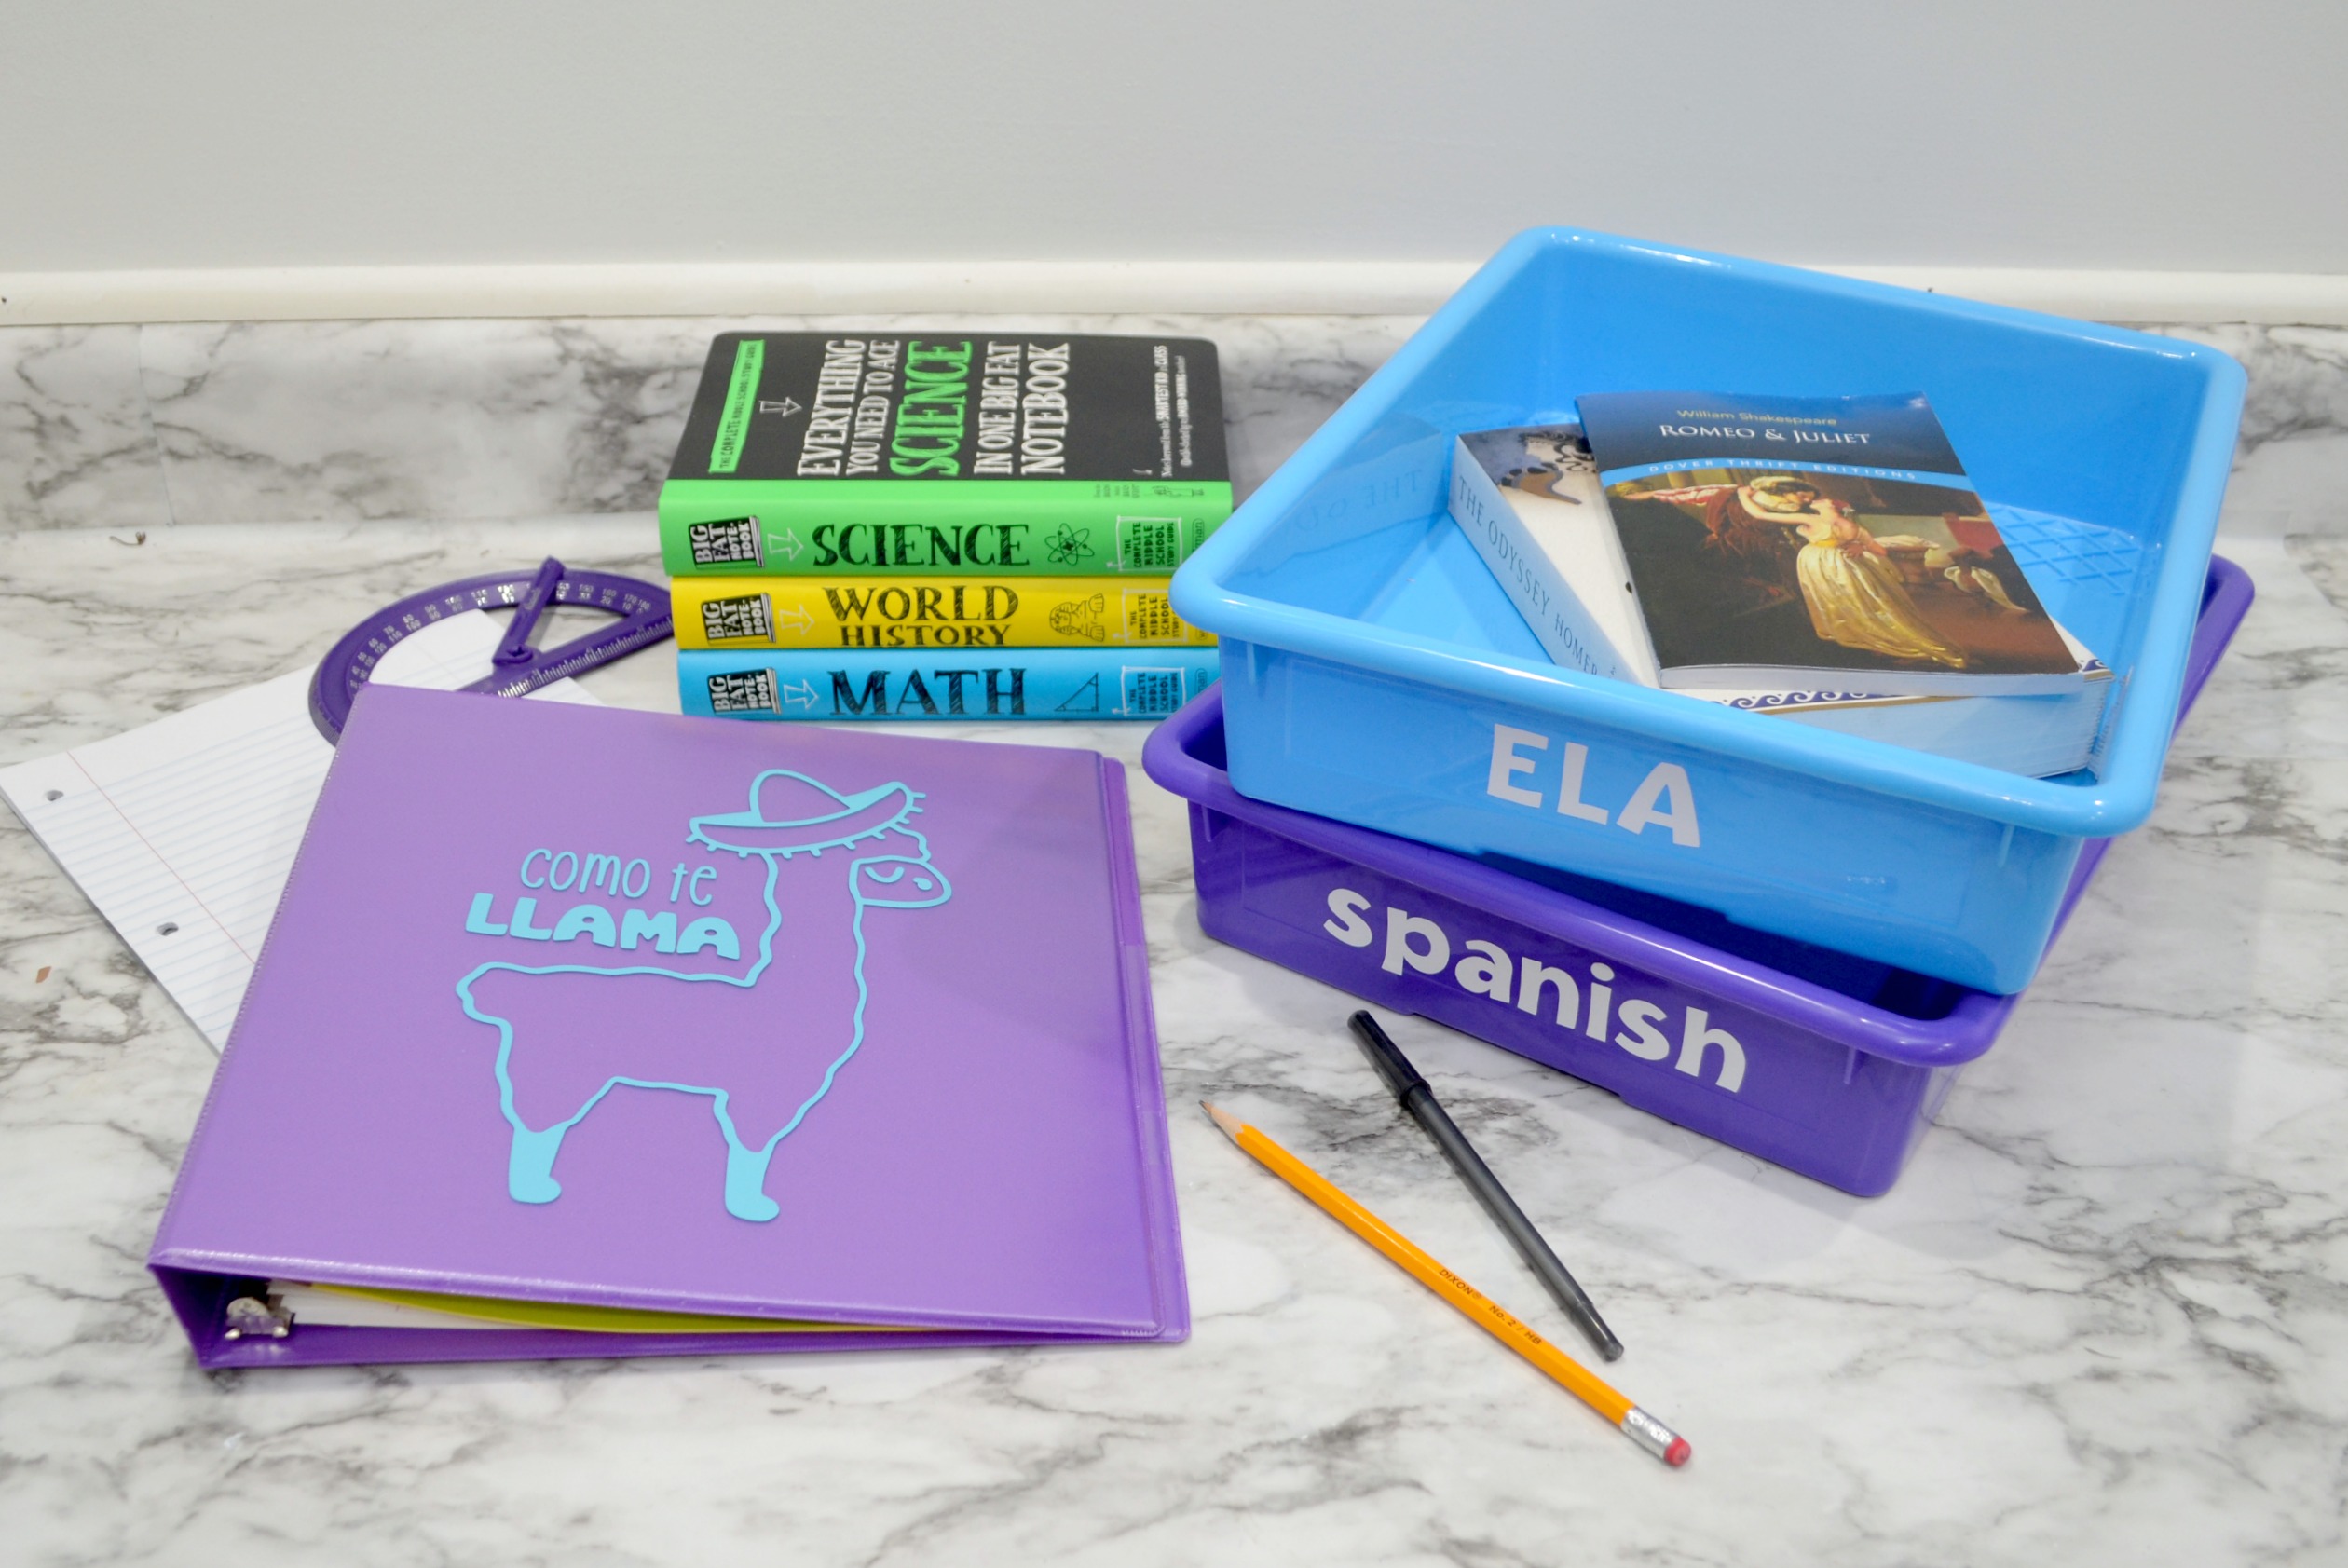
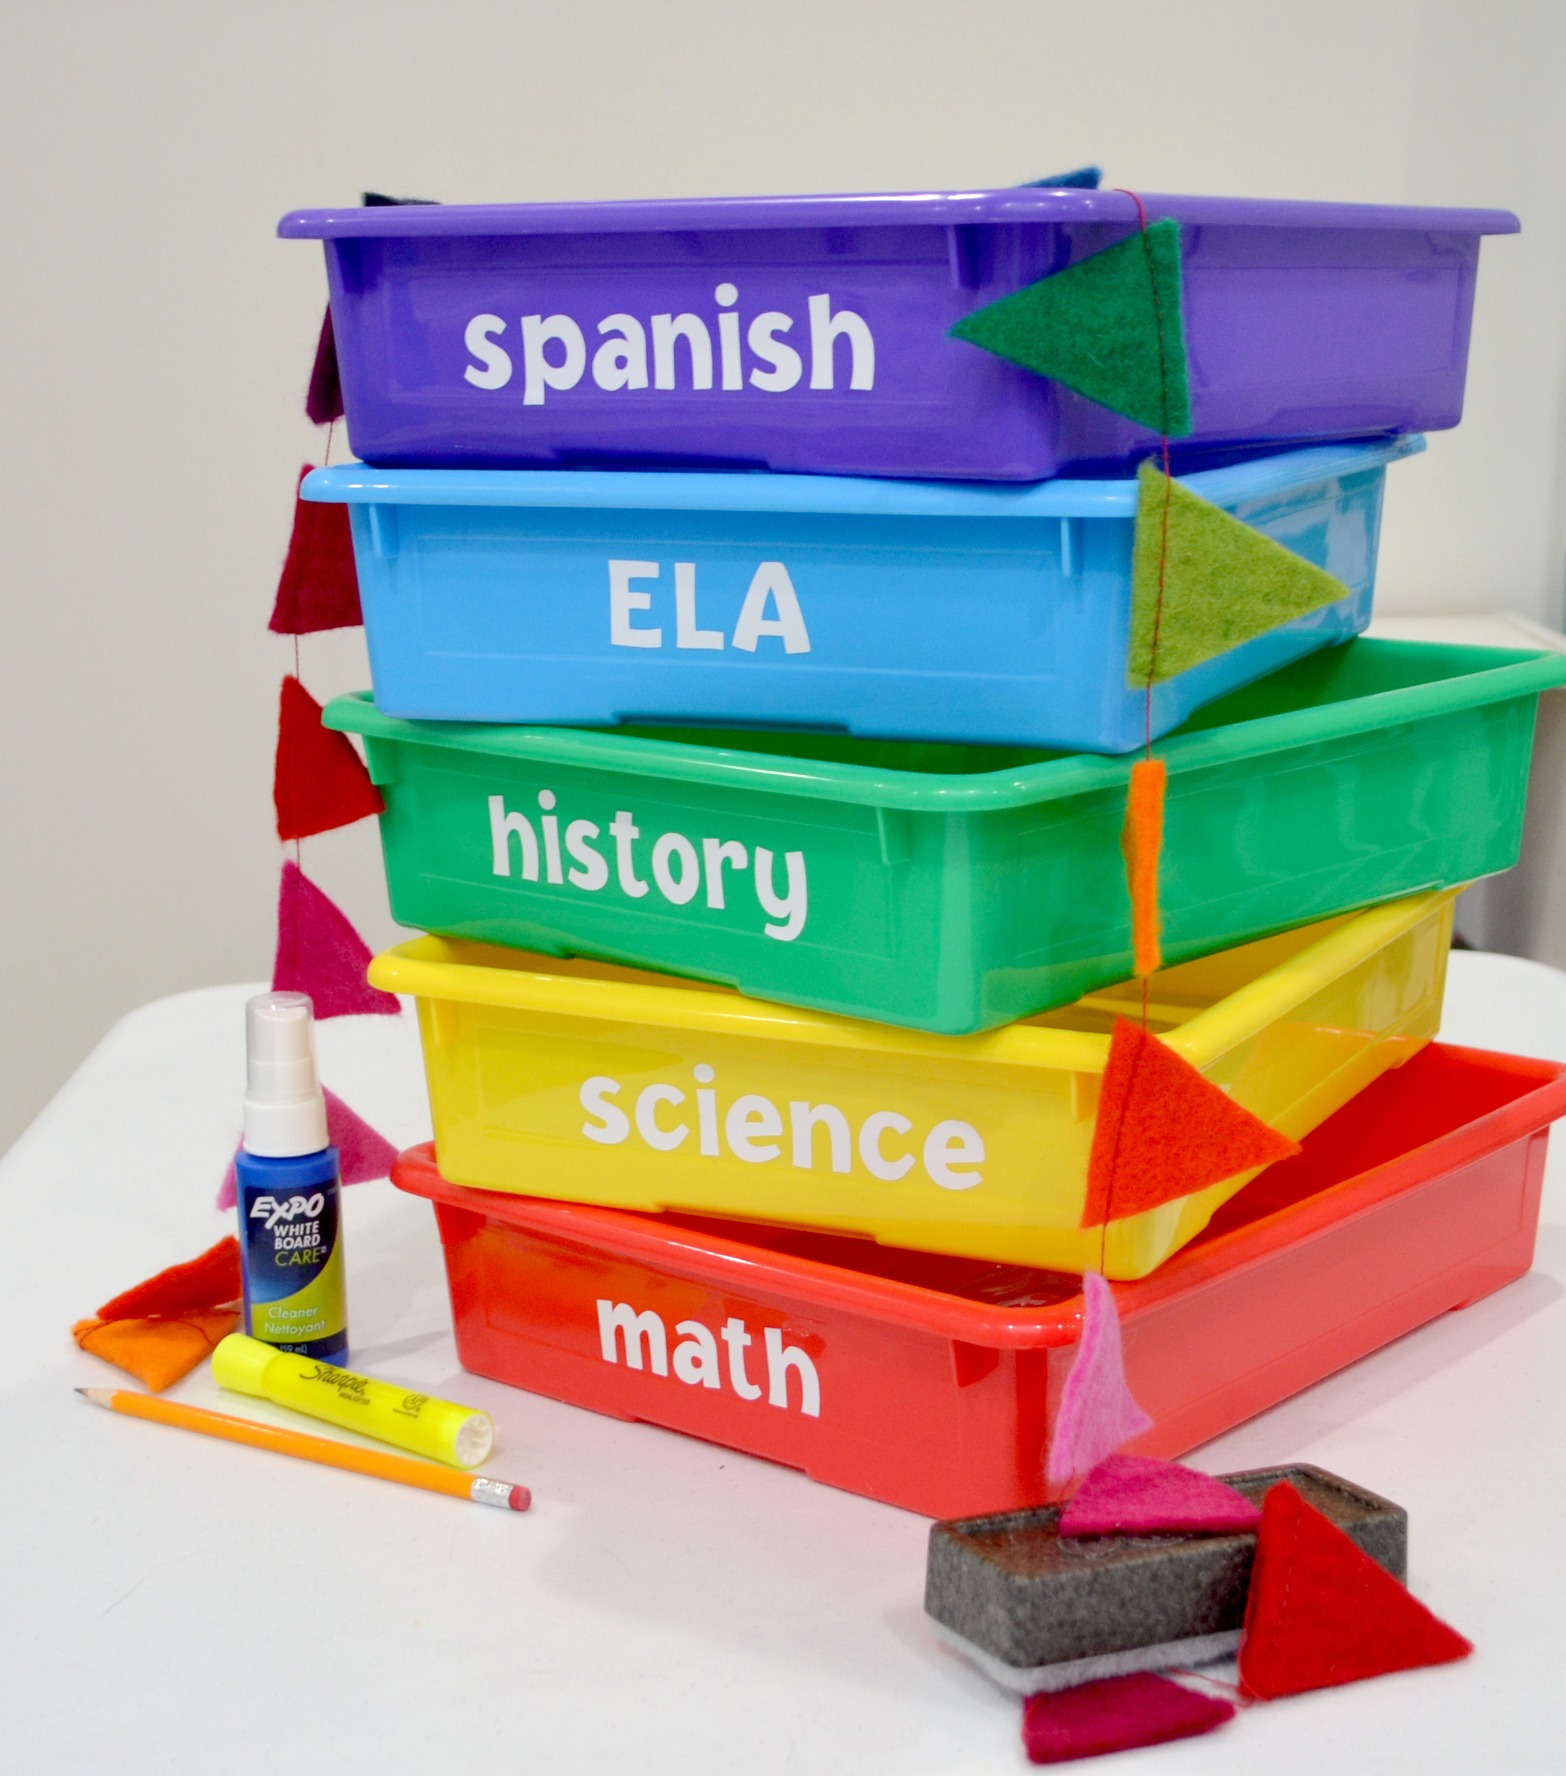
Labeled Paper Bins
Here in our house, we have made the decision to homeschool for the 2020-2021 school year. I know that organization is going to be incredibly important, not just for the boys, but for me too! So, I picked up five different colored bins, one for each core subject, that I can use for holding handouts, assignments, homework, and anything else we’ll need on a given day. To make things easy, I labeled each bin with the name of an academic subject.
You’ll need:
Cricut Explore Air 2 & Design Space Software
Cricut Premium Vinyl – Permanent, white
Plastic paper trays (these were less than $3 each!)
Cricut Basic Tool Set (I used the Scissors, Scraper, and Weeding Tool)
To create the labels, I chose a font and typed the names of the five subjects into a new canvas in Design Space. Then, I followed the same steps we used on the binders to cut the words from the vinyl and adhere them to the bins. Now, I can see at a glance where my materials are for each class.
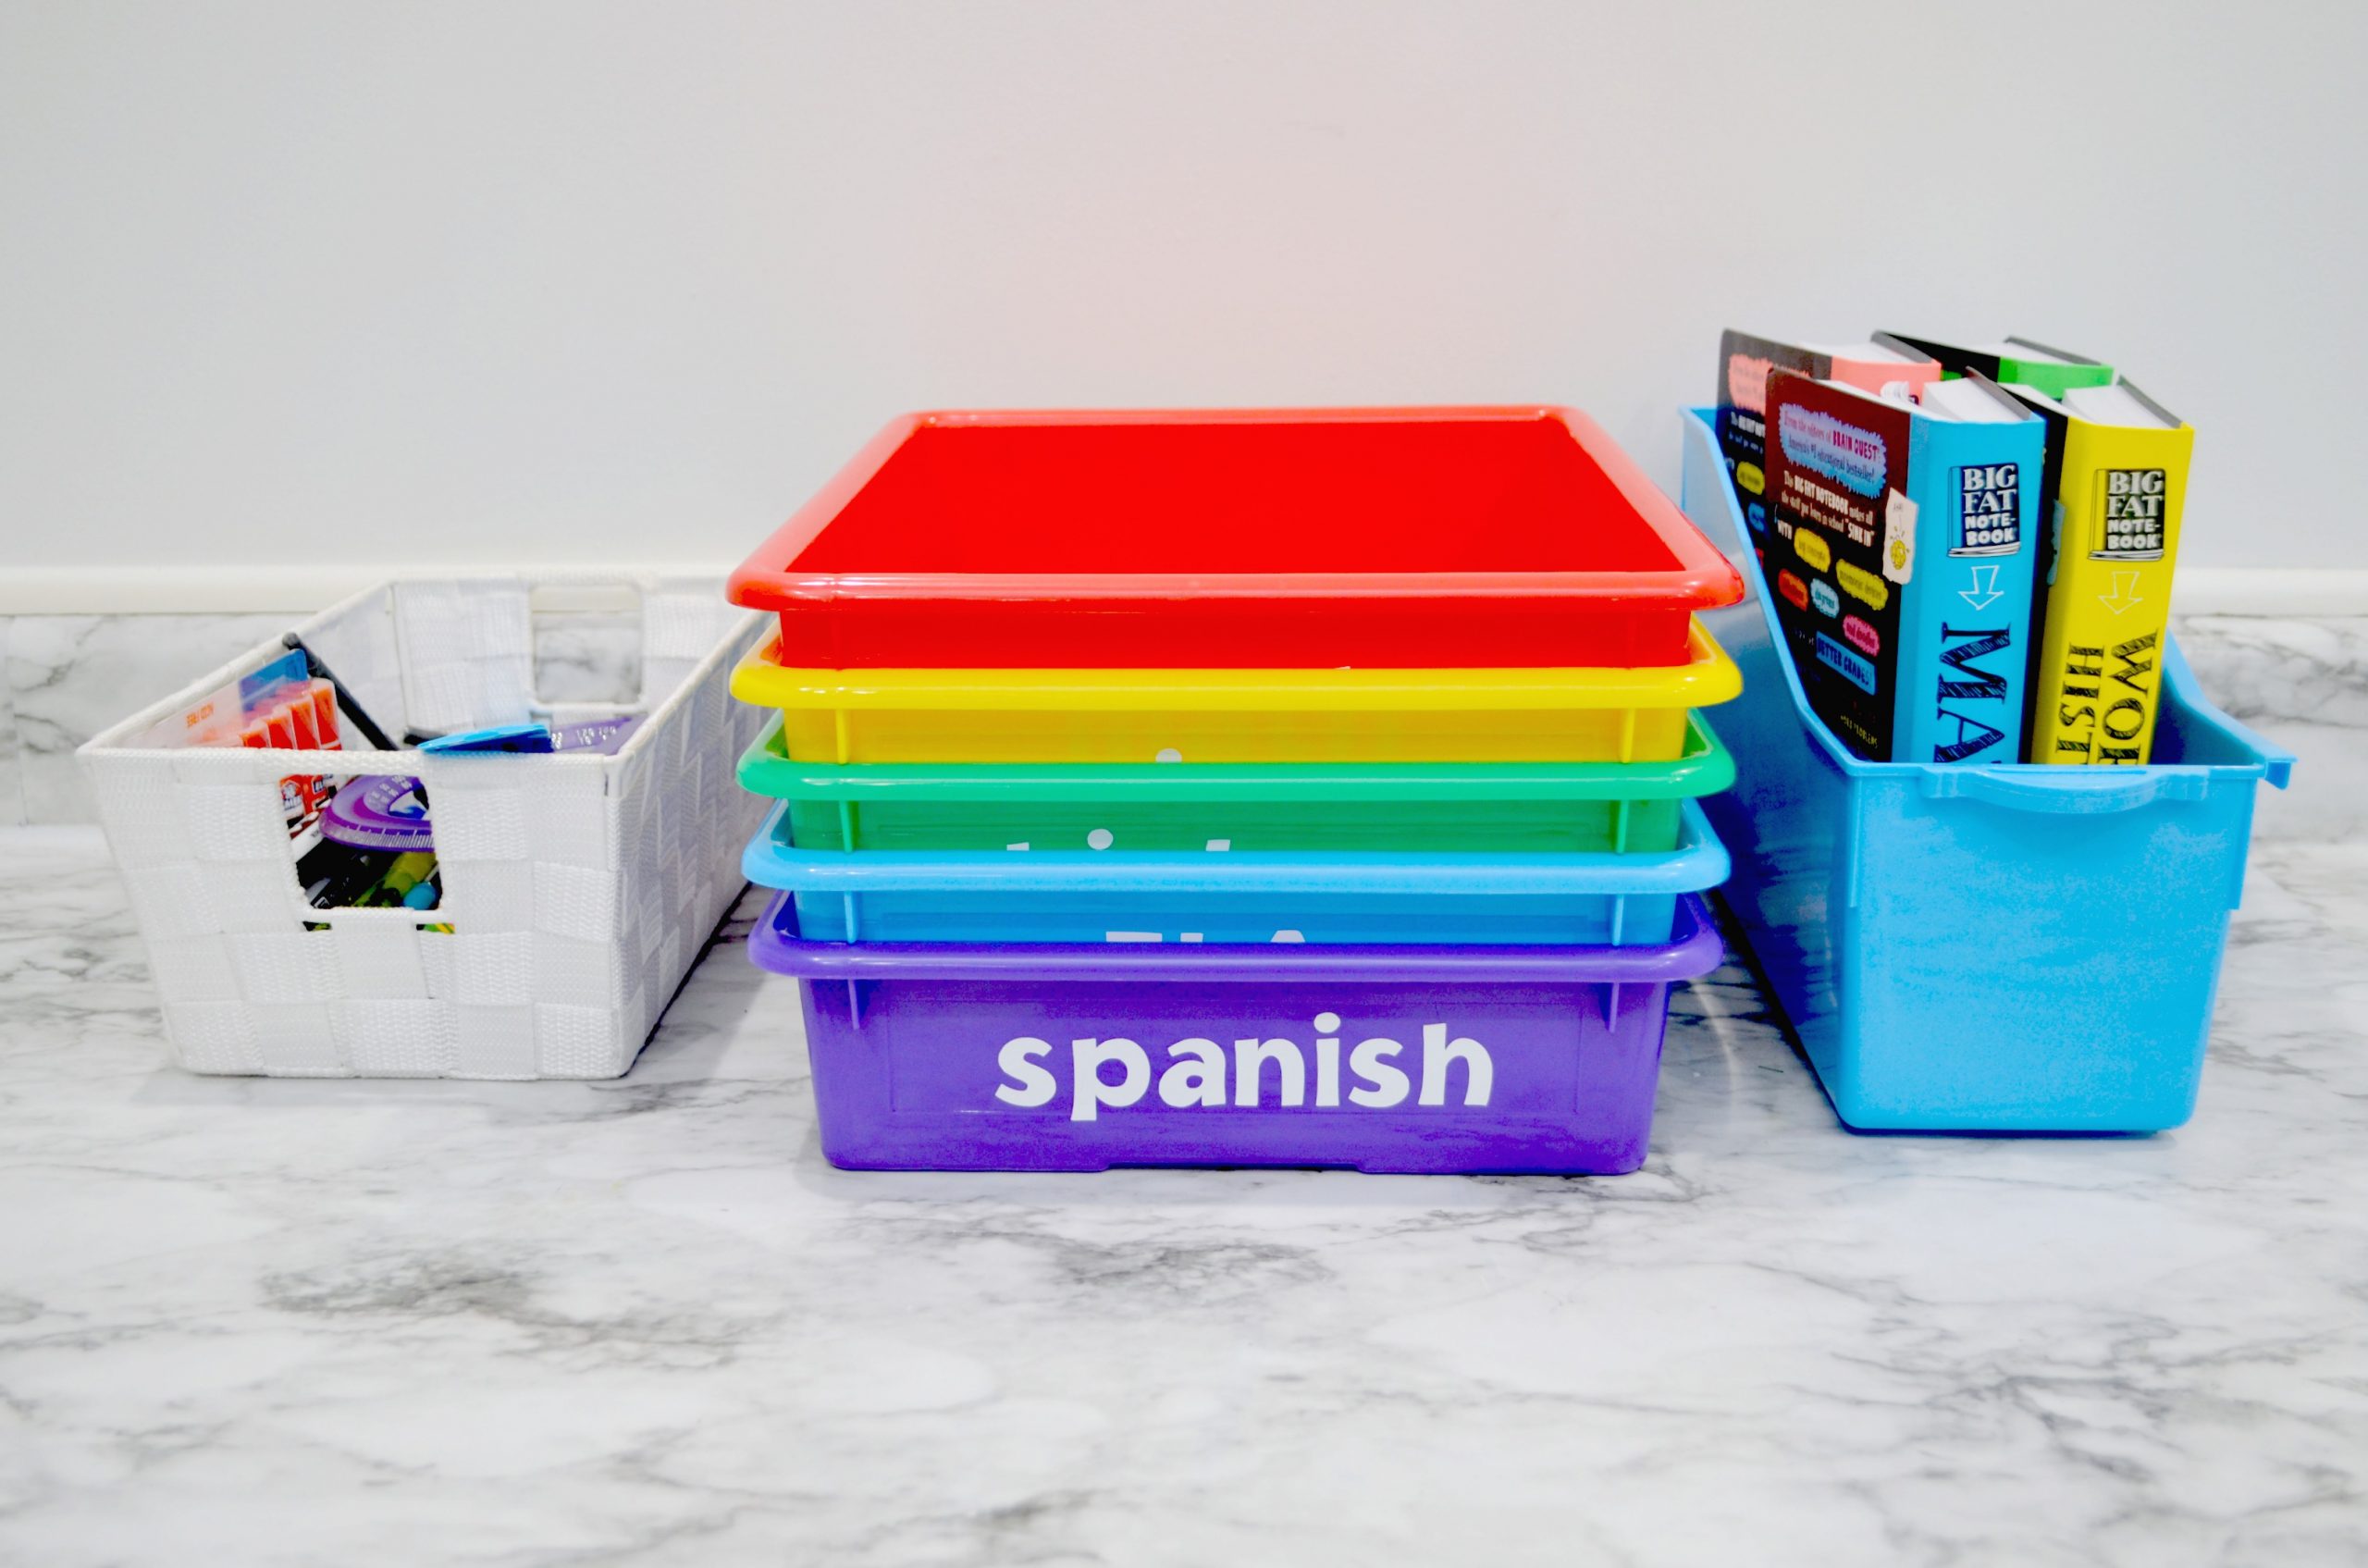
It took me less than ten minutes to label these bins, and now I really feel like we’re starting to put a classroom together. These would also be helpful for families who are distance learning, and even kids who are returning to a physical school could use them to organize homework and projects.

Whatever your family’s plans are for this upcoming school year, one or both of these projects can help kids get a little more excited about heading Back to School. You can also use the Cricut Explore Air 2 to personalize lunchboxes, backpacks, clothing, pencil pouches, and more. Later this month, I’ll be sharing a roundup with even more ideas for making personal school supplies, so be sure to check back in! In the meantime, why not Pin this post and share it with a friend to get your Back to School season off to a great start?

9 Comments