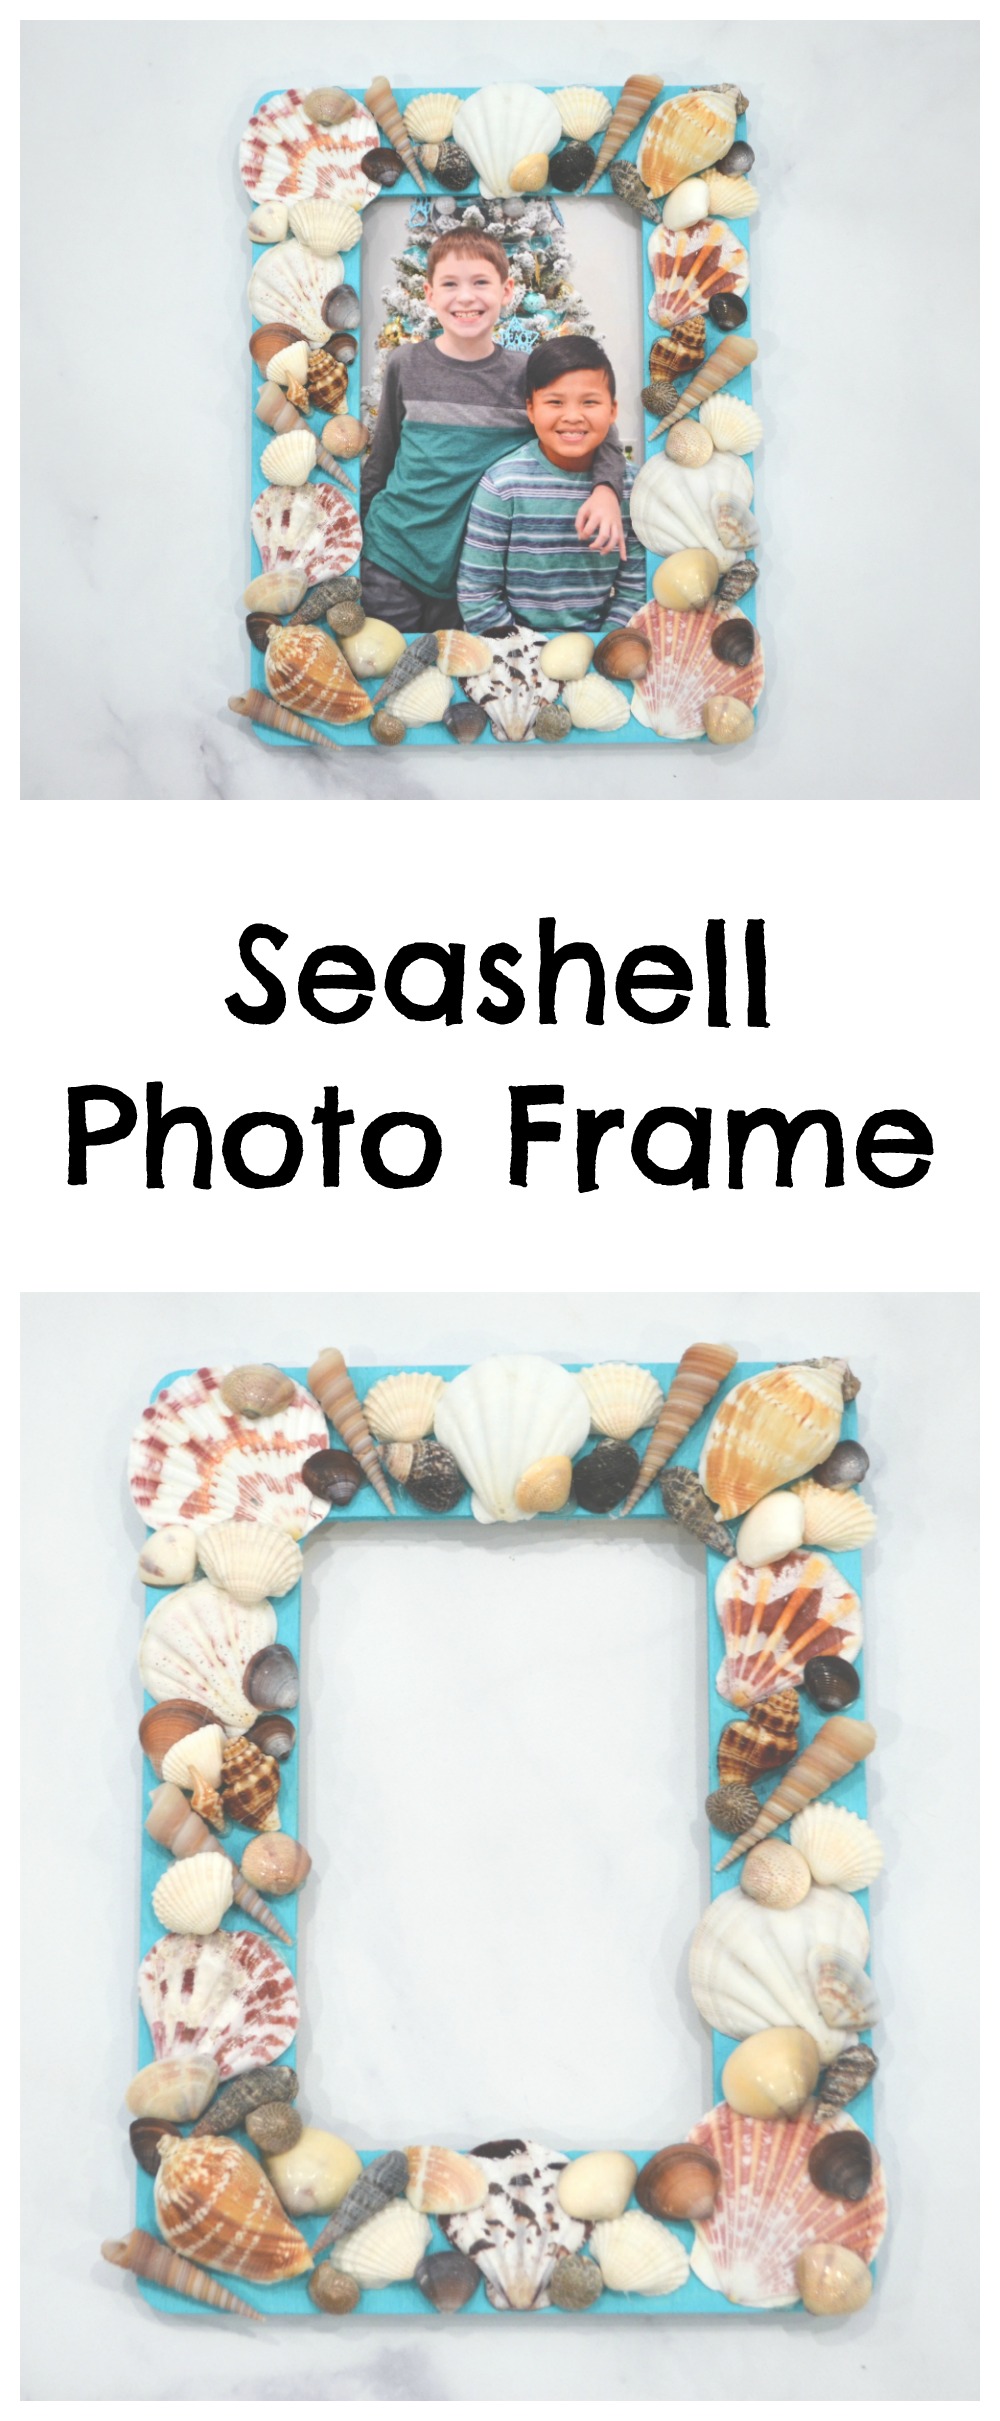
Seashell Souvenir Photo Frame
It’s Christmas in July, and I’m dreaming of happier times at the beach. Here’s a quick and easy Seashell Photo Frame you can make using some of those shells you’ve picked up on vacation, but didn’t know what to do with after you got home. If you have a little bit of paint and glue on hand, the only supply you’ll need to buy is the frame, which you can get for $1 at your local craft store! It’s inexpensive, fun, and will add a coastal touch to your summer decor. Ready to make your own Seashell Photo Frame? Let’s get started!
You’ll need:
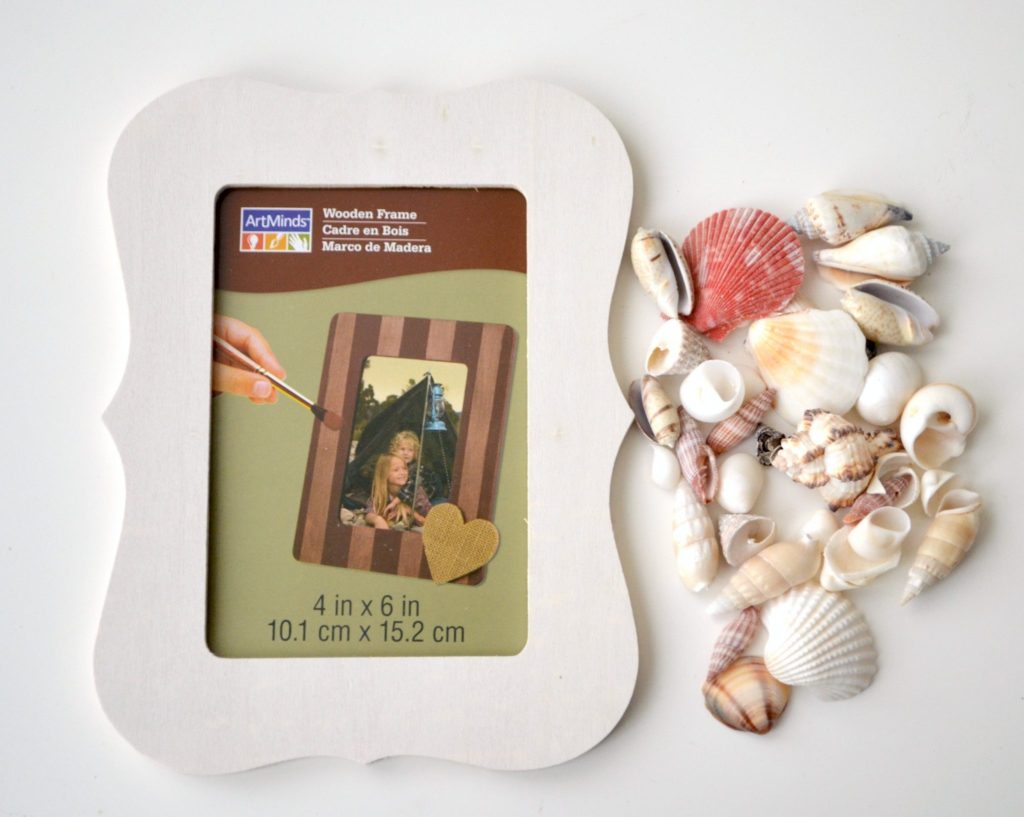
a wooden frame, any shape and size
acrylic or multi-surface paint, any color
assorted seashells (if you haven’t been to the beach, you can purchase some)
hot glue gun and glue sticks (or craft glue)
Creating your Seashell Photo Frame
Step 1: Paint your frame.
Use any color of acrylic/multi-surface paint you like and base coat the wood. I chose teal because it’s my favorite color and it reminds me of the ocean. Don’t worry if it doesn’t look perfect, because most of it will be covered by the shells. Make sure to paint around the inside and outside edges. Let it dry completely before you move on to the next step.
Step 2: Glue your shells onto the frame.
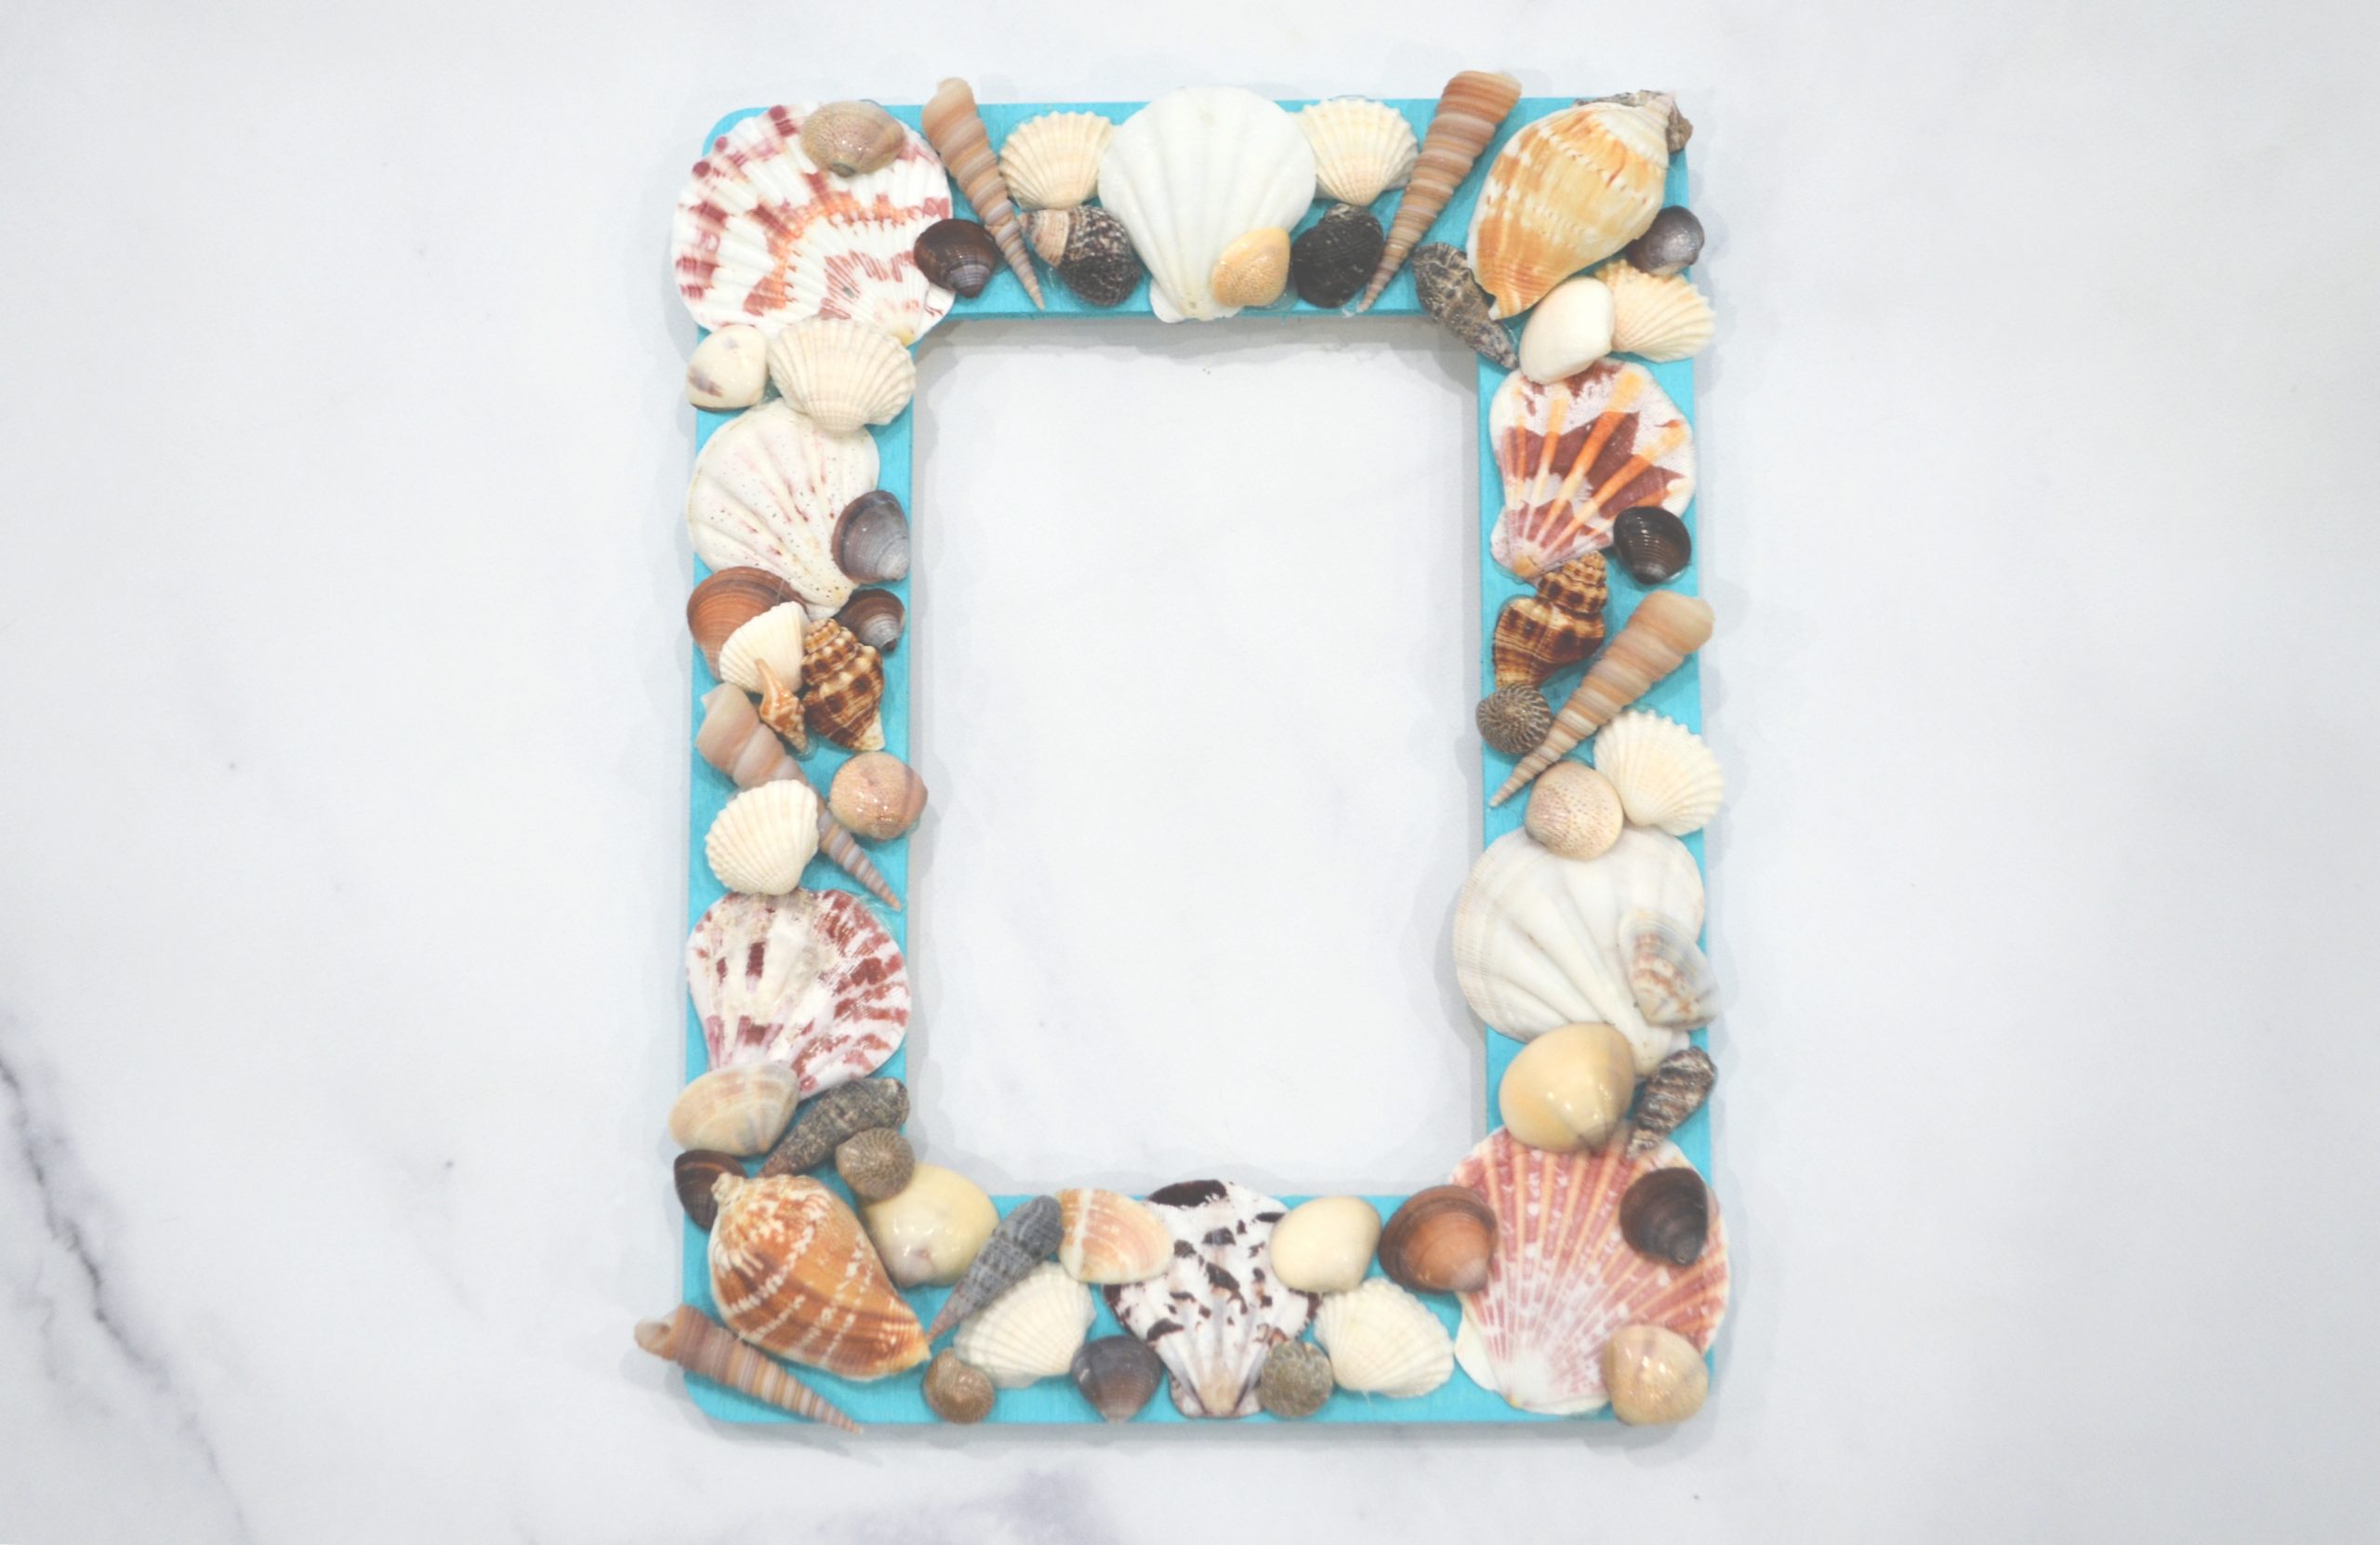
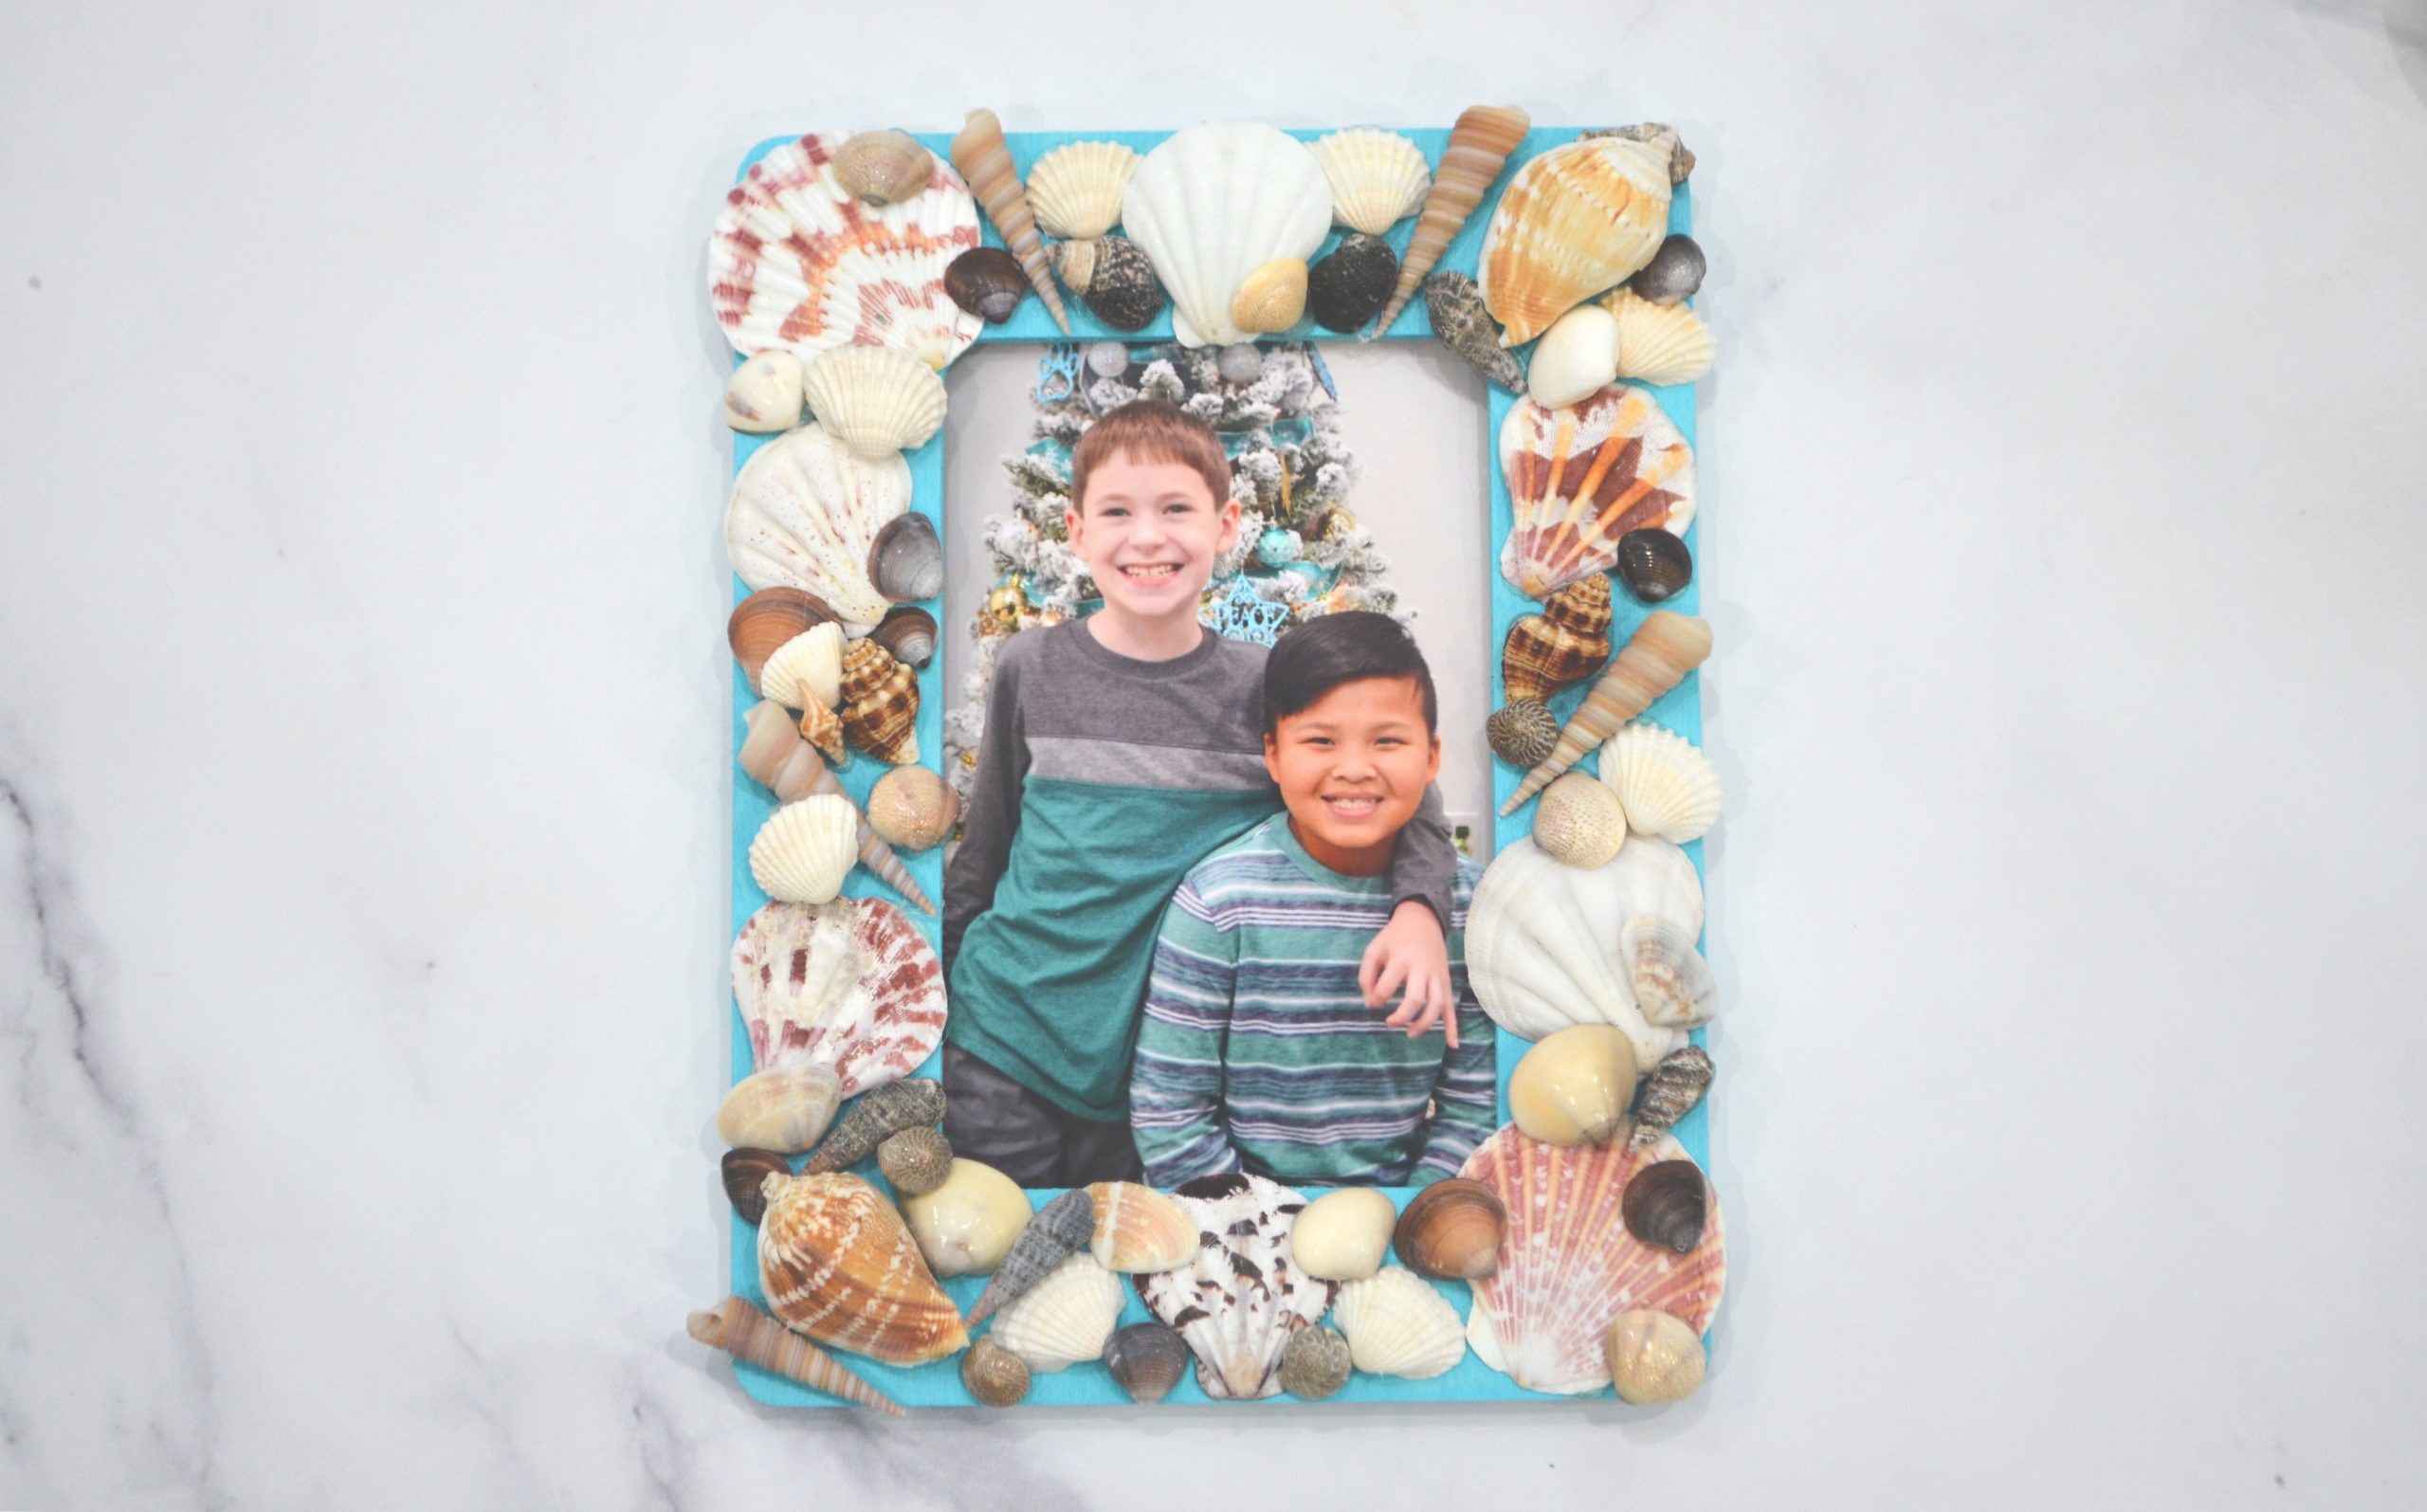
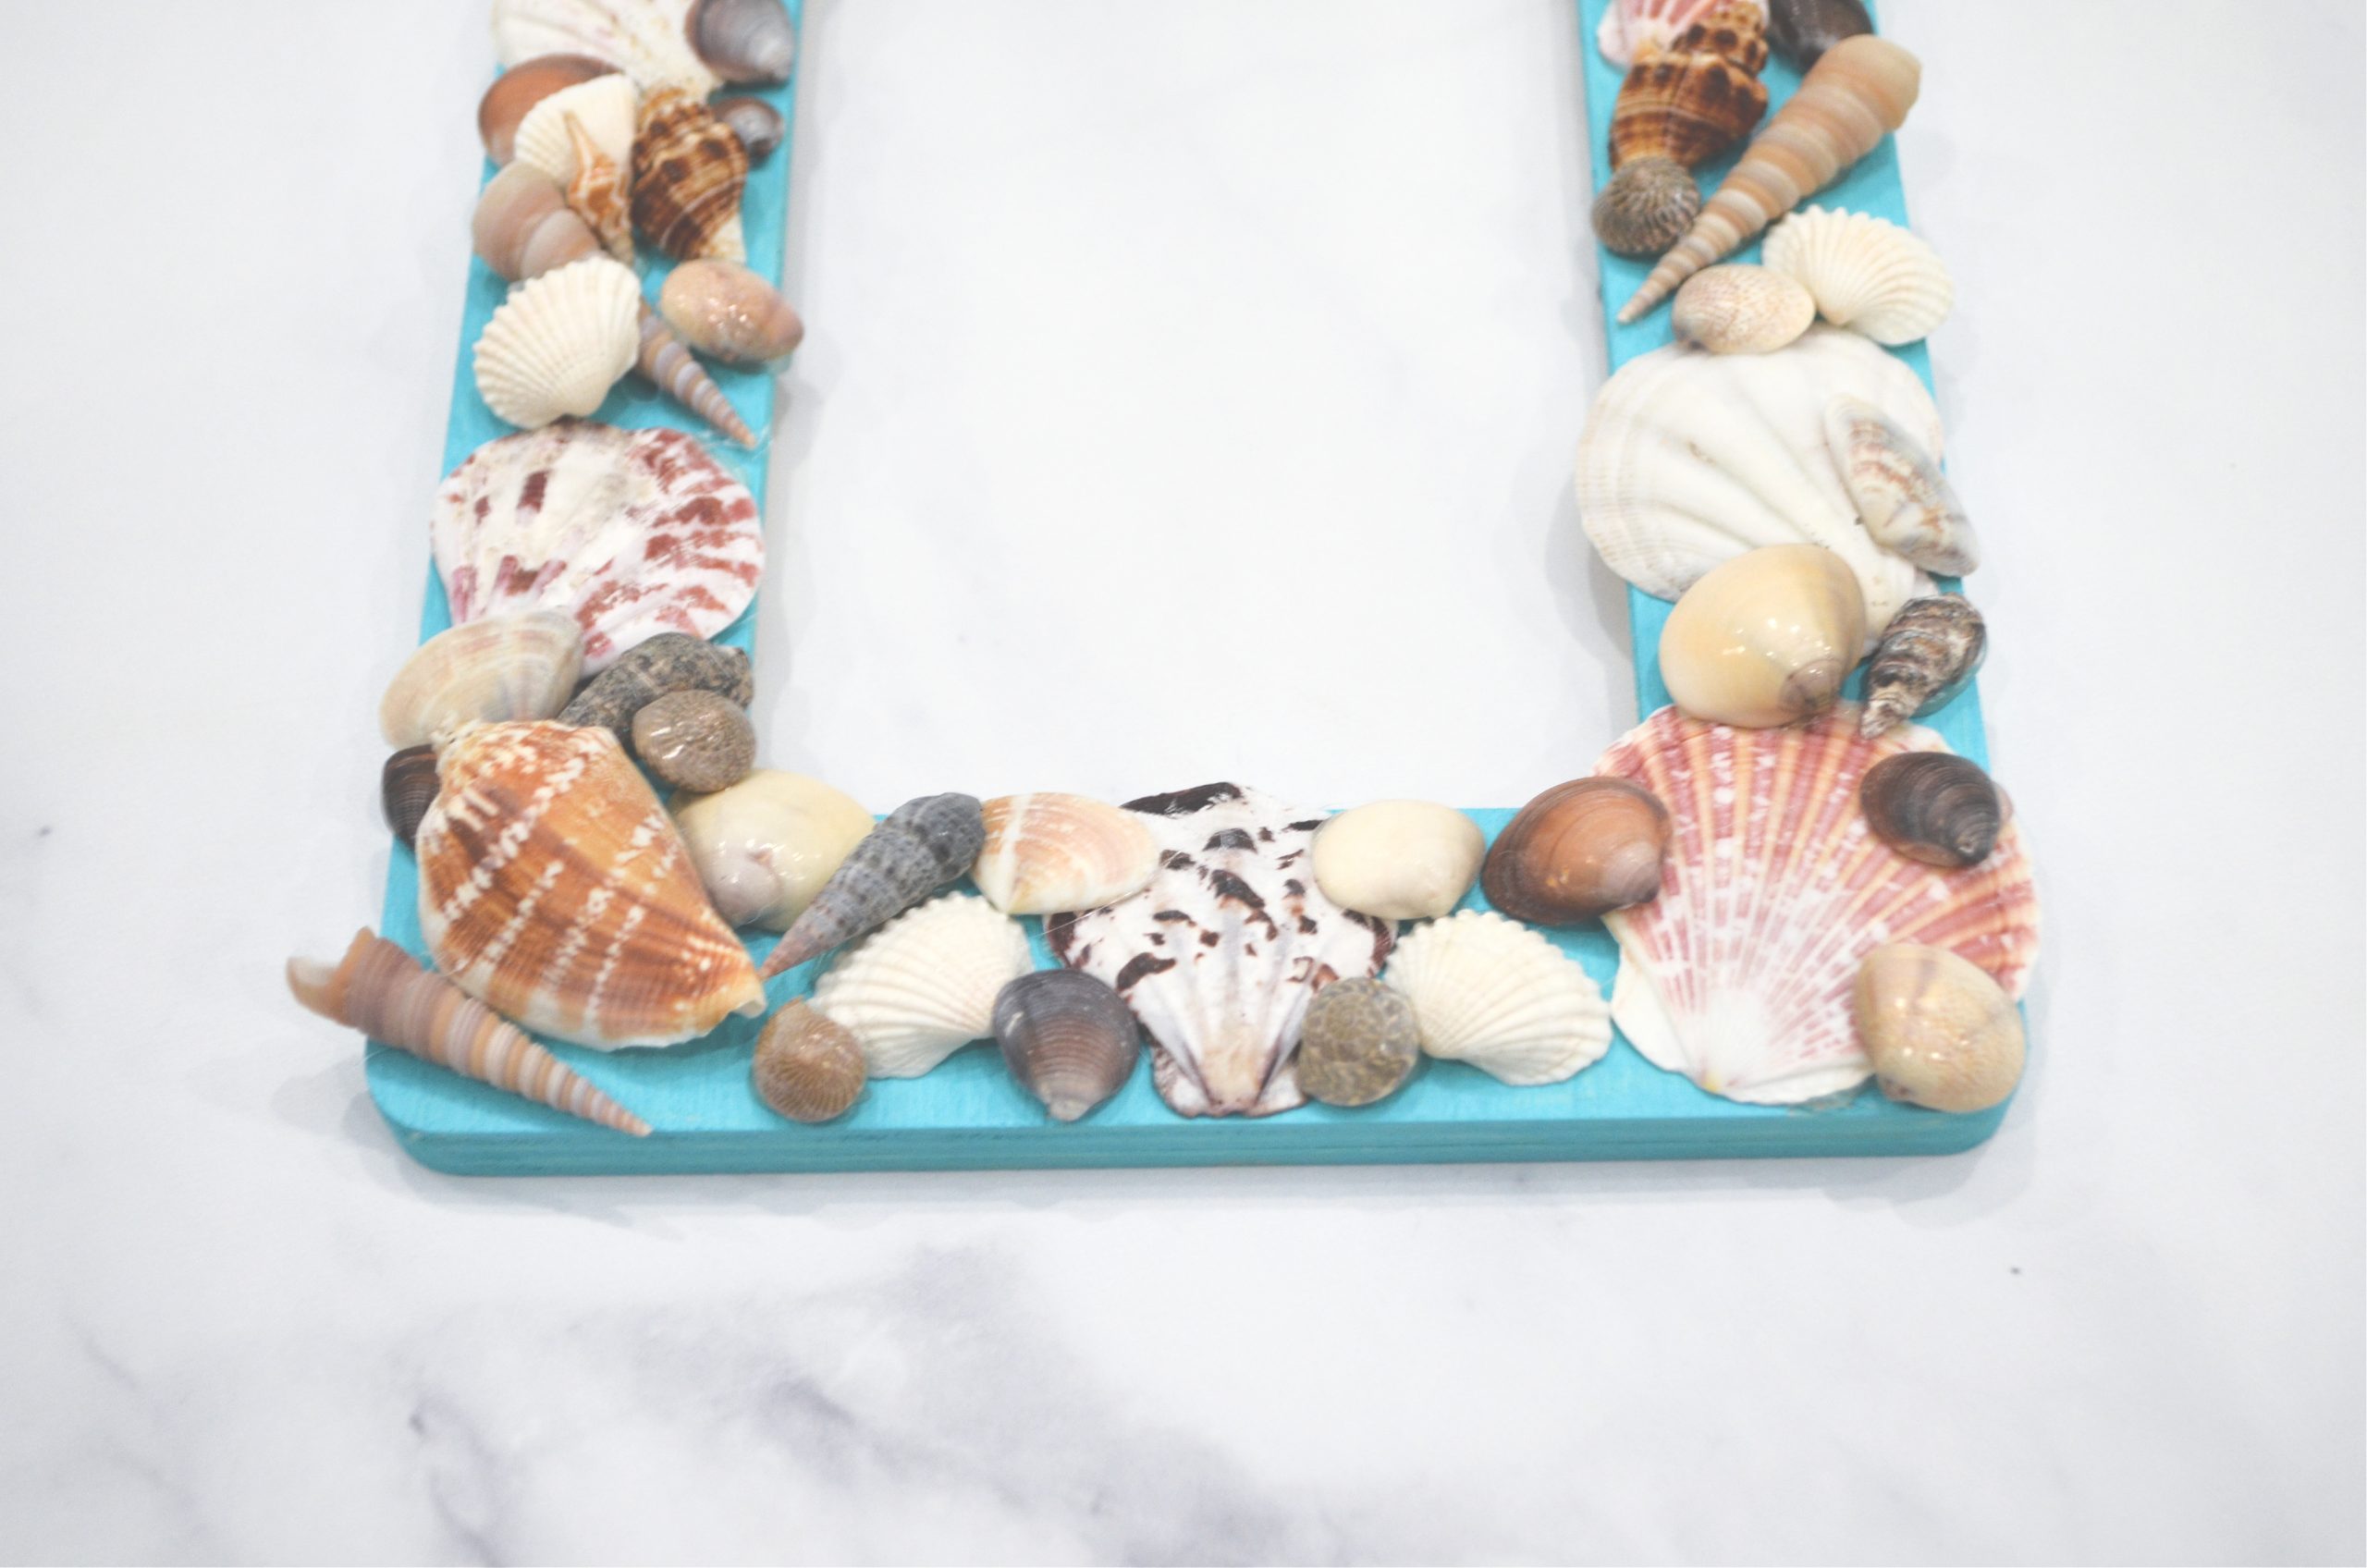
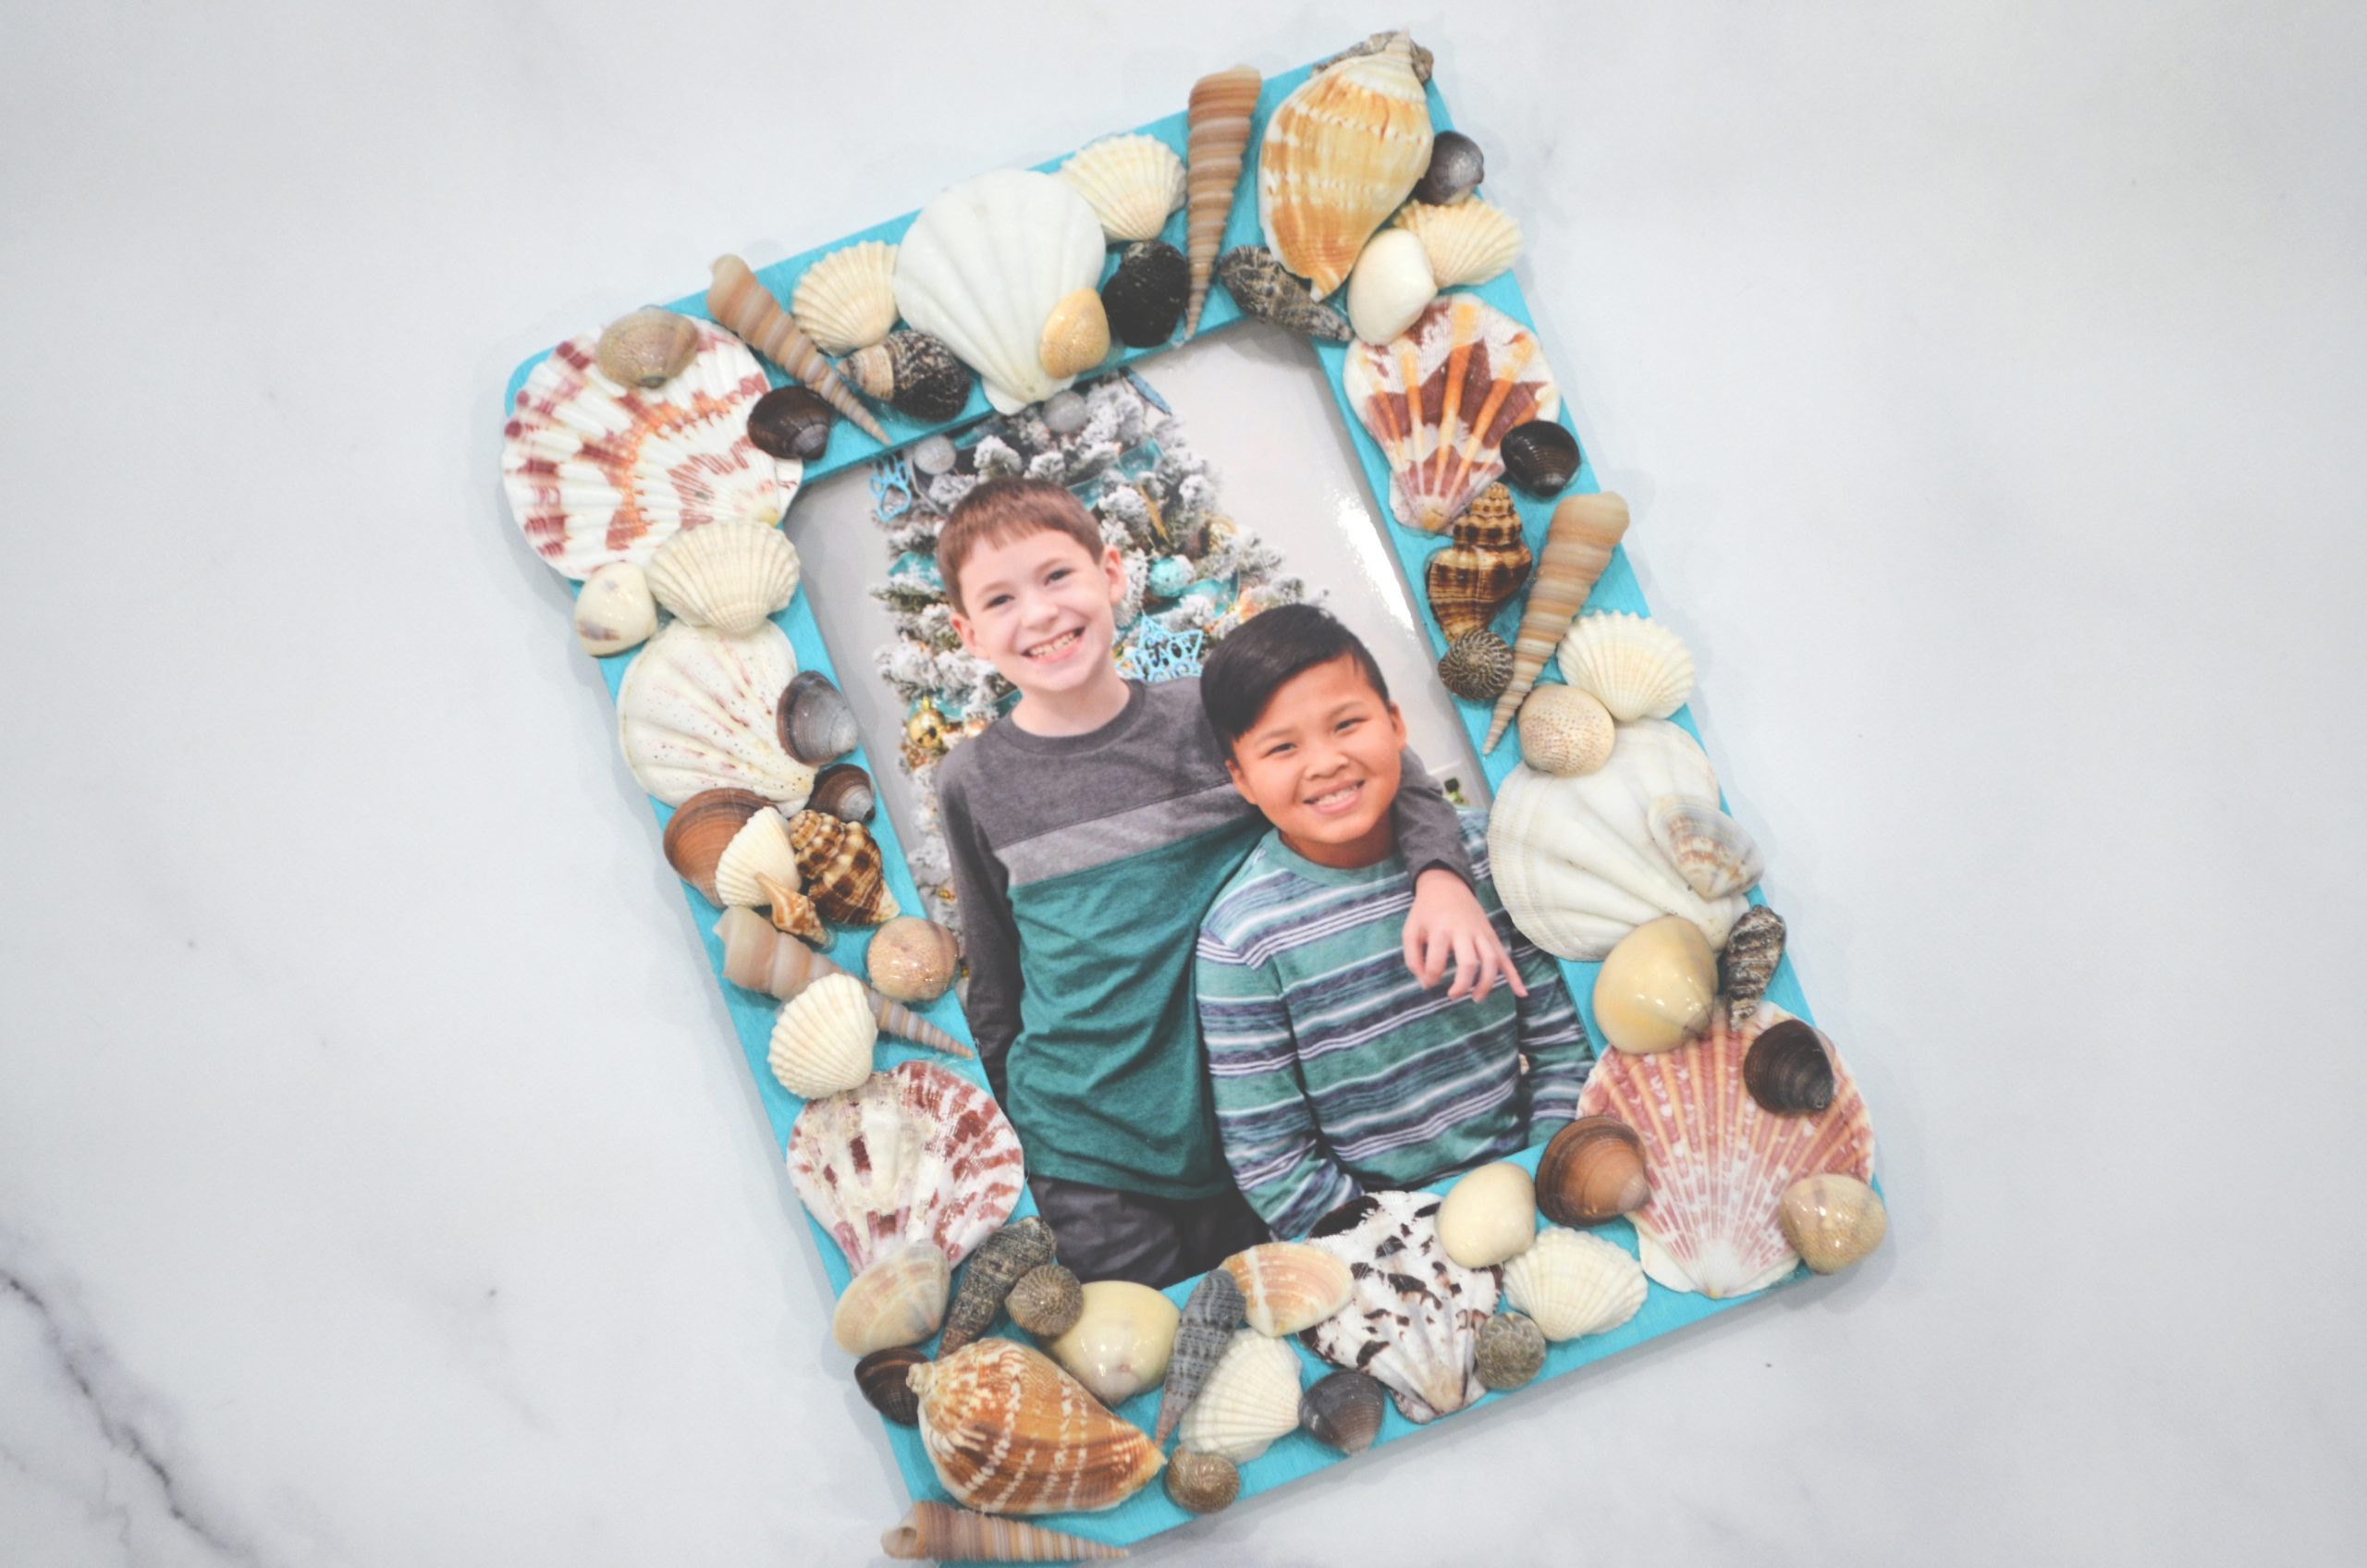
I like to start by placing a larger shell in each corner and in the center of the top and bottom. Then, I place several larger shells on the sides. Once those are glued on, I fill in the open spaces with medium and small sized shells of all shapes and sizes, layering some of the small ones on top of the bigger ones.
There’s no right or wrong way to place the shells, you can experiment with them before you use glue and see what you like! Once the glue is dry, your frame is ready to display. Since it’s Christmas in July, I added a photo of my boys in front of the tree, but it’s also a perfect way to share your favorite picture from vacation.
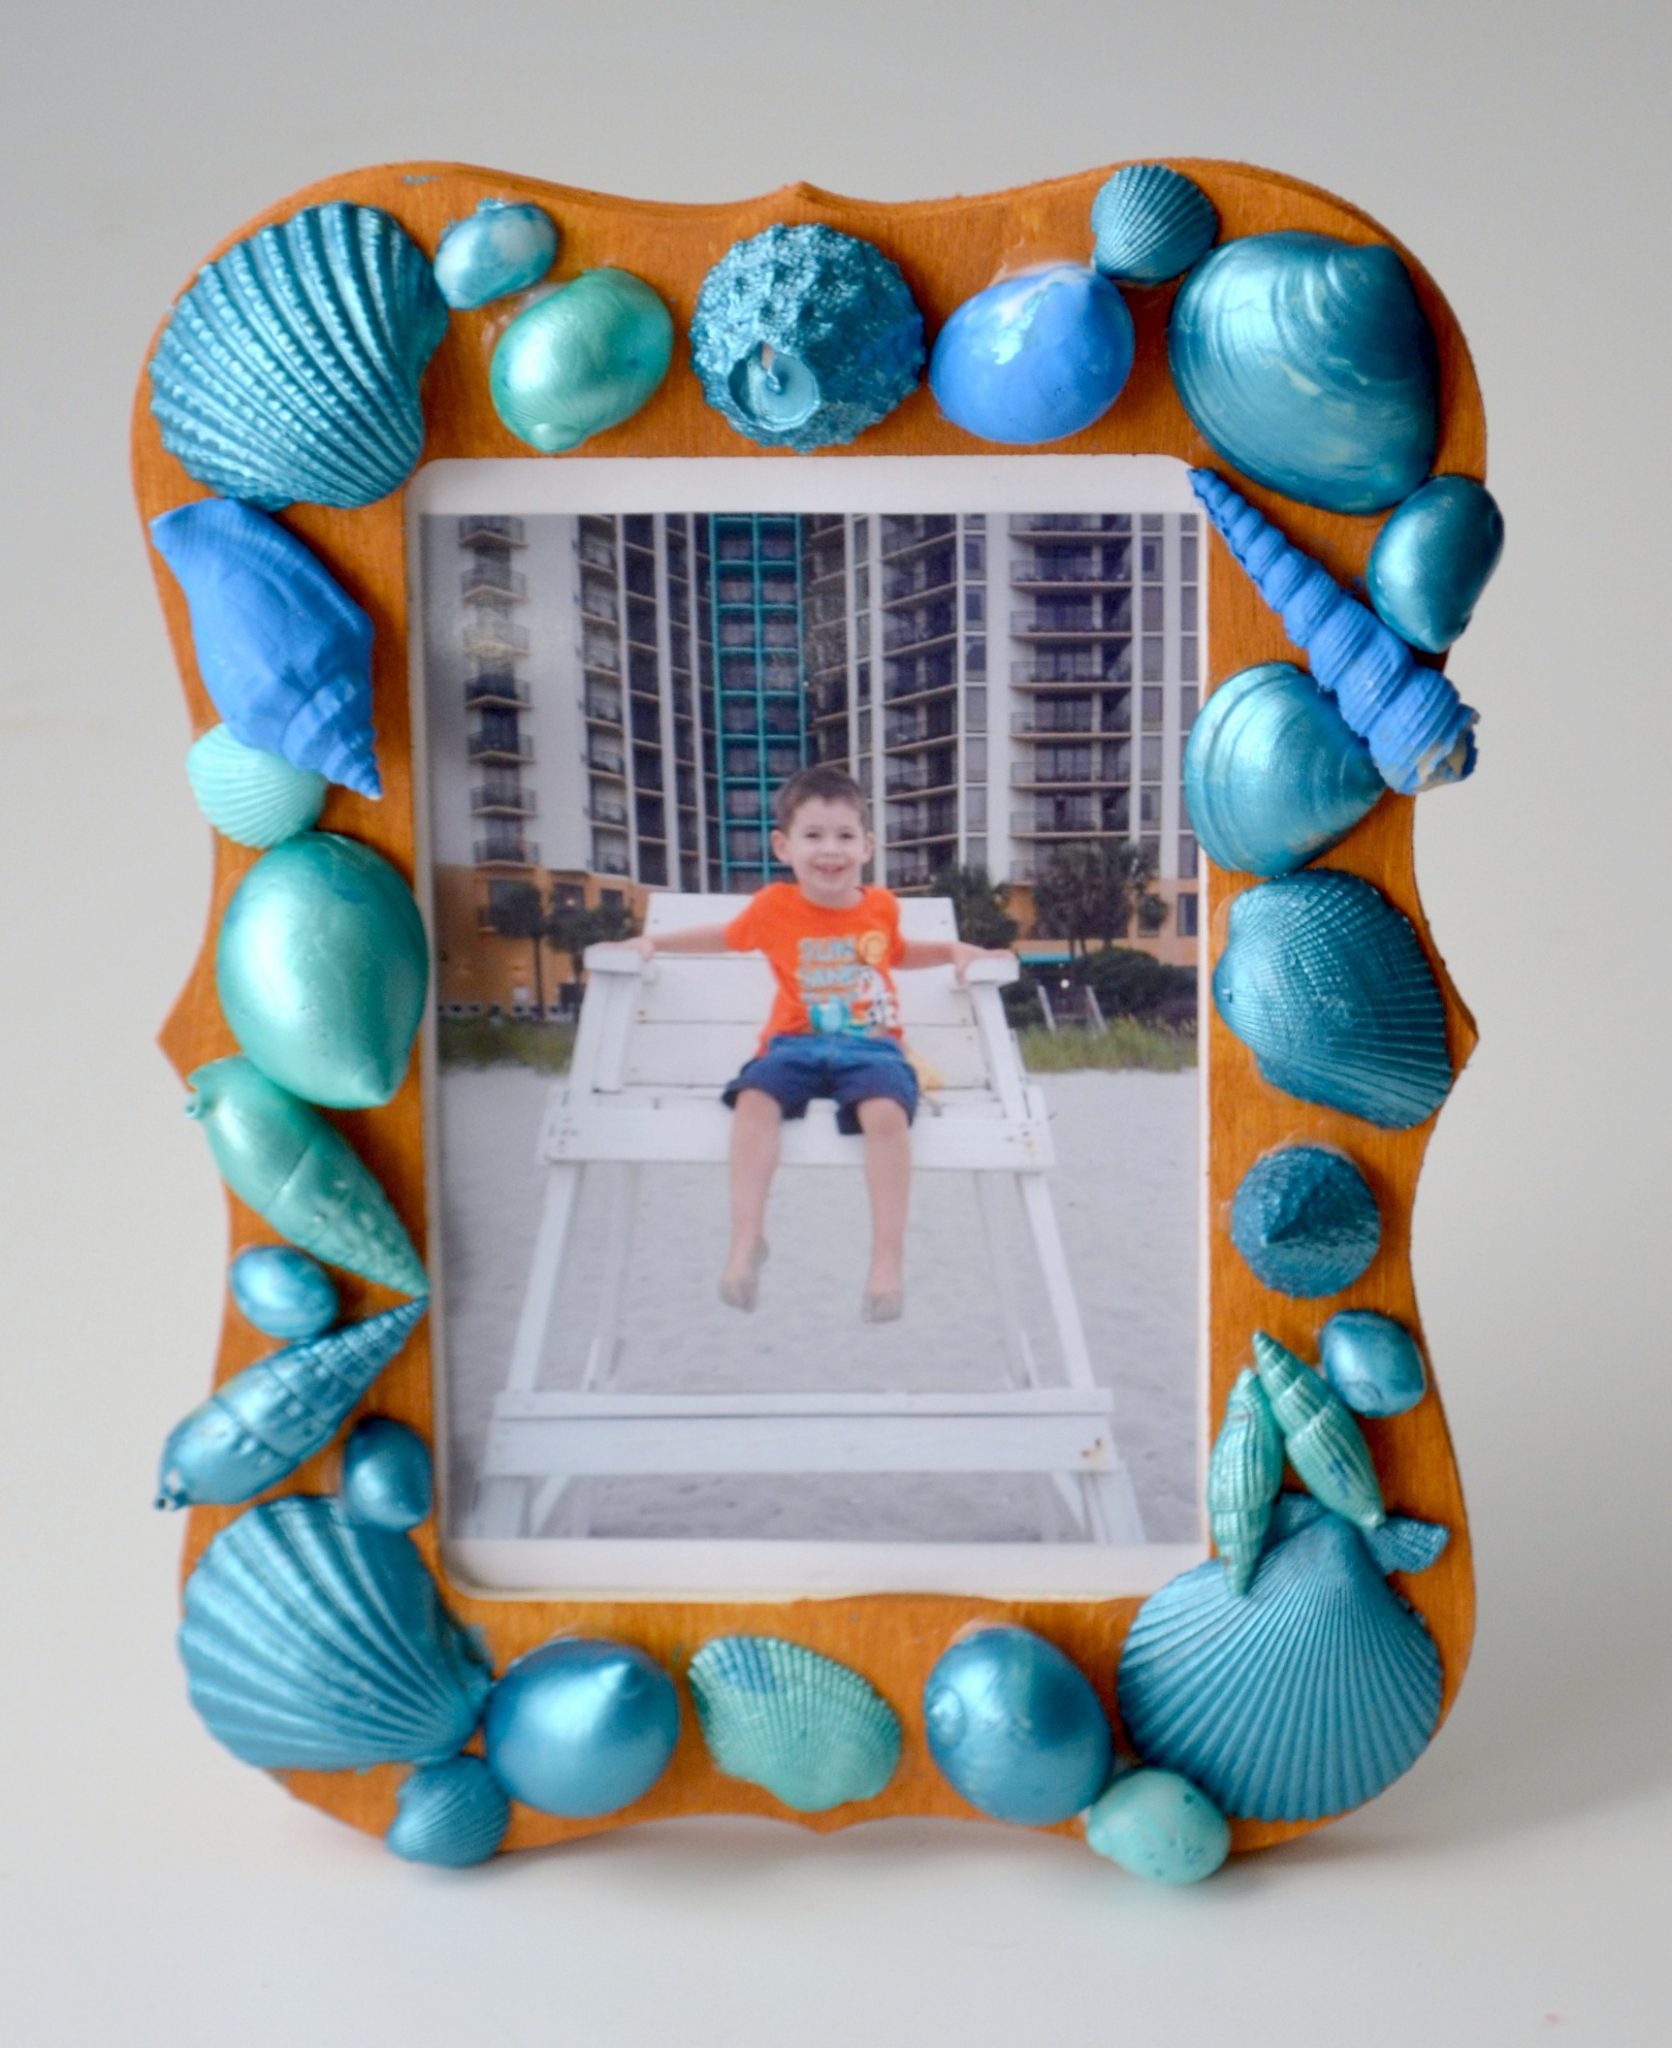
Here’s another twist on the same project: rather than just painting the frame, you can paint the shells themselves too! My son loved using metallic shades of blue and teal to paint these seashells, then gluing them onto a brown frame after they were dry. This one extra step gives the project a totally different look, plus it takes a little more time, since you’re painting each individual shell. It’s a great way to keep little hands busy this summer!
Since my home decor style is Coastal Farmhouse, these aren’t the only beach photo frames I’ve created to display our pictures. Here are a few other photo frame ideas you might enjoy to help you hold on to your memories of fun in the sun!
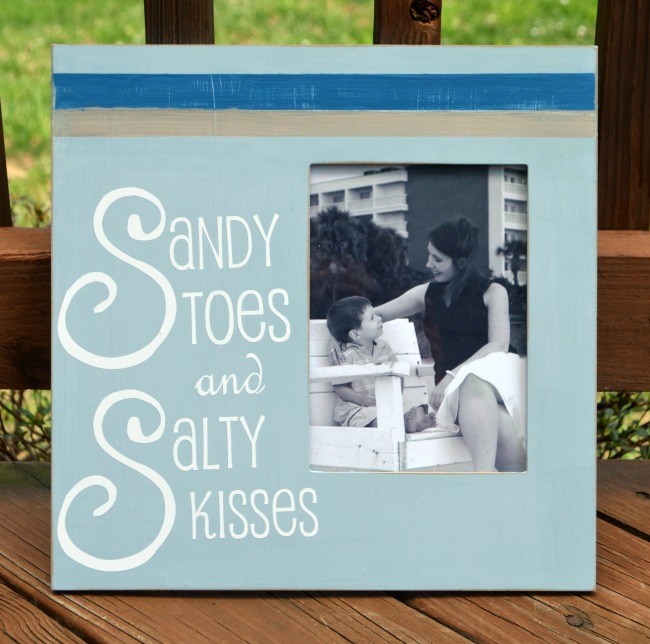
This stenciled photo frame uses chalk paint and stencils for a distressed coastal feel.

Create a statement photo frame by using a frame with a large section of unfinished wood where you can add a vinyl decal. First, I painted it with chalk paint, then I cut and applied a phrase in permanent vinyl. You can use a Cricut or Silhouette machine to do the cutting, or you can purchase a pre-cut decal/sticker.
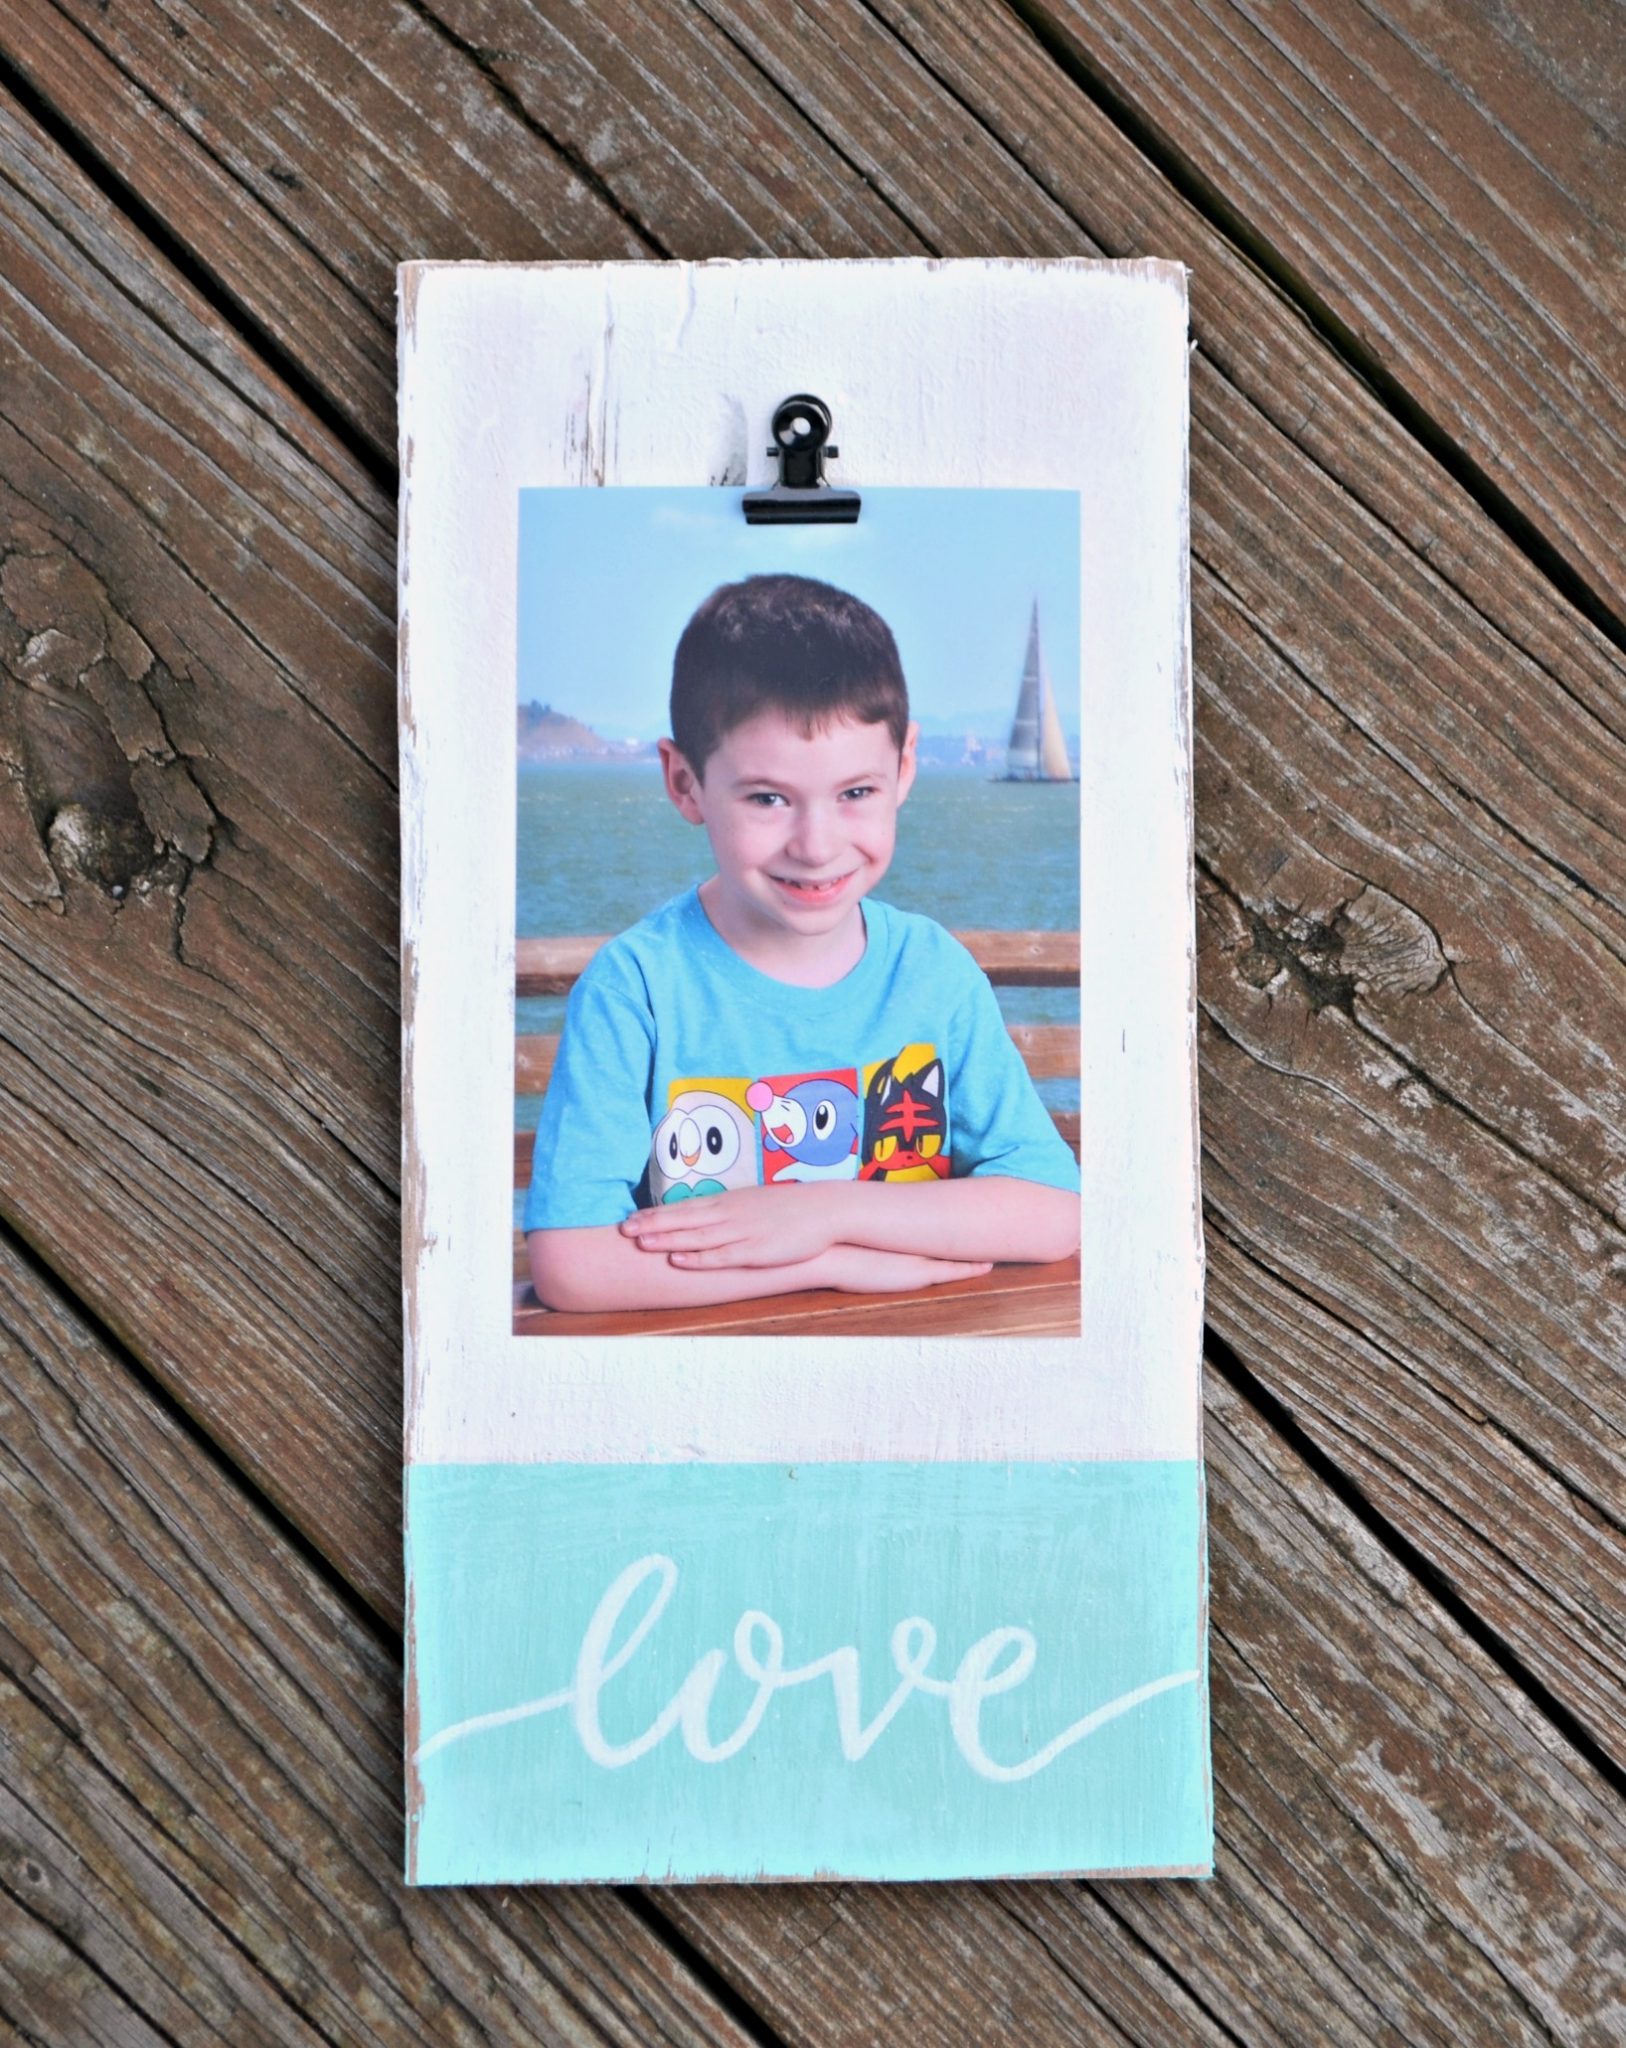
Turn a piece of scrap wood into a coastal clip style photo display. All I did was paint it, lightly sand it for a distressed feel, and glue on a metal clip. I also hand lettered “love” using a white paint marker.
What do you think? Which frame style is your favorite? I’d love to see what you do with your vacation photos! Be sure to share your favorite craft project ideas with us in the Amy Latta & Friends Facebook Group. And don’t forget, if you like this project, Pin it for later and share with a friend!


2 Comments