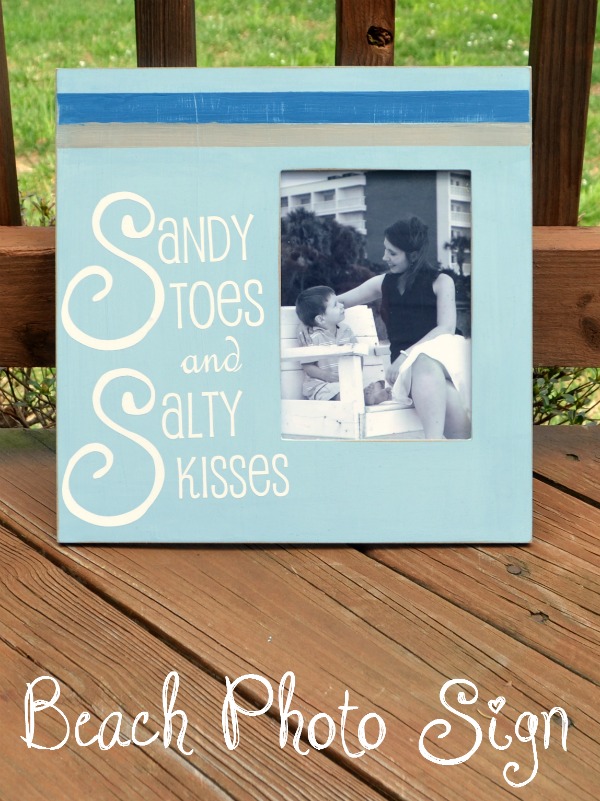
Beach Photo Sign
One thing our whole family unanimously loves is time spent at the beach! So, when I was decorating the powder room, I decided to go with a beach theme. I found a few pieces of wall art I liked, but I also wanted to create a special piece that would allow me to frame my favorite beach photo ever, which was taken when Little Crafter was two years old. Here’s how I did it and you can too!
Materials:
– unfinished wooden frame with offset cutout {mine is from Michaels and less than $5}.
– DecoArt Americana Decor Chalky Finish Paint: Serene, Legacy, and Timeless
– DecoArt Americana Decor Créme Wax: Clear
– paintbrush
– painters’ tape
– sand paper: medium grit
– soft, lint-free cloth
– Silhouette electronic cutting machine and software OR alphabet stickers
– white adhesive vinyl
– transfer paper
Step 1: Paint the frame with a solid coat of chalky finish paint {Serene} and let it dry completely.
I felt like one coat did the trick, but if you want it darker, feel free to add a second coat.
Step 2: Design and cut your vinyl saying.
I knew I wanted mine to say, “Sandy toes and salty kisses” but was having a terrible time designing it the way I wanted it to look. Erin volunteered to take on the challenge and she came up with the design you see on the frame. If you’d like to use it, you can download it for free here. Thanks, Erin!
Once she had done the hard work of designing, I just sized it to fit my frame and used my Silhouette Cameo to cut out the words. If you don’t have an electronic cutting machine, you can still do this project – just use alphabet stickers instead! You can find them in the scrapbooking section of your local craft store.

Step 3: Transfer your vinyl letters to your sign.
The easiest way I’ve found to do this is using transfer paper. I remove the backing, stick it to the cut vinyl, then apply it to the surface of the frame. Remove the transfer paper and your letters should stay in place. If you’re using stickers instead, simply arrange them where you want them to go and adhere.
Step 4: Use painters’ tape or washi tape to tape off a section of frame for your first stripe and apply paint.
I placed a strip across the very top of the frame, skipped a section that was the width of the tape itself, then applied another piece below it. This forms a stencil of sorts. Paint the section in between the tape strips {I used Legacy blue} then remove your tape.
Step 5: Once your first stripe is dry, place tape again and paint a second stripe.
Tape over your existing stripe, then skip the width of the tape again and place another piece. I chose a tan color for this stripe to make me think of the sand. Paint, then remove the tape.
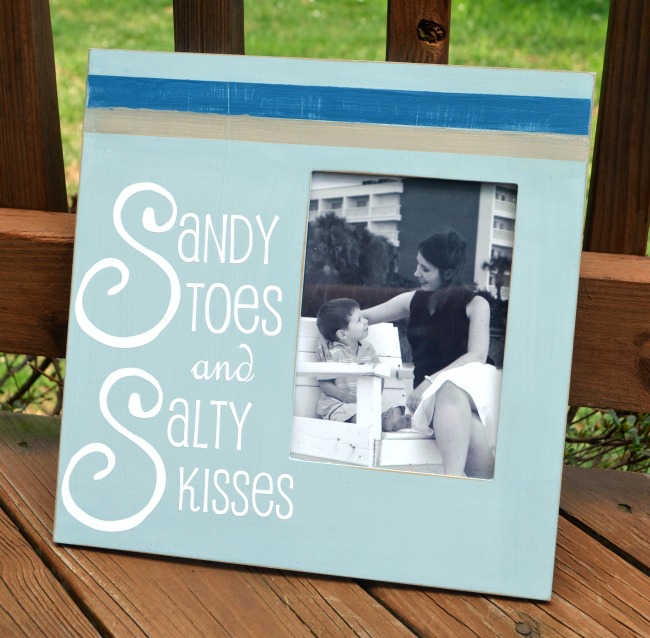
Step 6: After your frame is completely dry, gently sand it using a medium grit sand paper. I like to go around the edges of the frame and around the edges of the cutout, and I also spent some time sanding the striped area to give it a gently distressed look.
Step 7: Using a soft, lint-free cloth {I find that an old sock works well!}, apply a coat of clear wax.
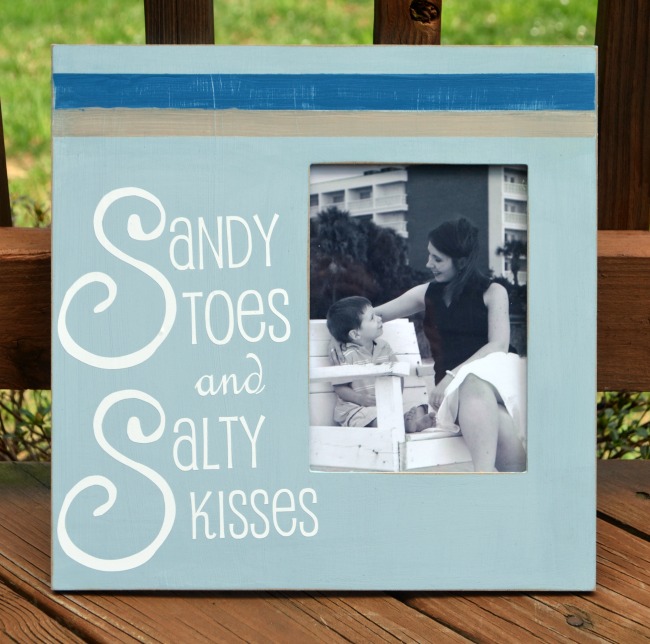
Step 8: Add your favorite beach photo!
Can you see why I’m so in love with this picture? That sweet look on his little face and the way it captures our relationship at that moment in time…ahh! They grow up so fast!
This is now on display where I get to see it every day and guests do too. What do you think; are you a beach lover too? Would you have a place in your home for a photo sign like this?


Amy, this turned out so fun and whimsical! LOVE it (and the photo)
I love, love, love this picture frame!! It’s so fun and cute!! Love it!!
I really liked the picture frame. I am sure you get a lot of compliments for this frame. Both of you are looking so good. Truly Gorgeous!!
Thank you so much!