Easy Frame Makeover
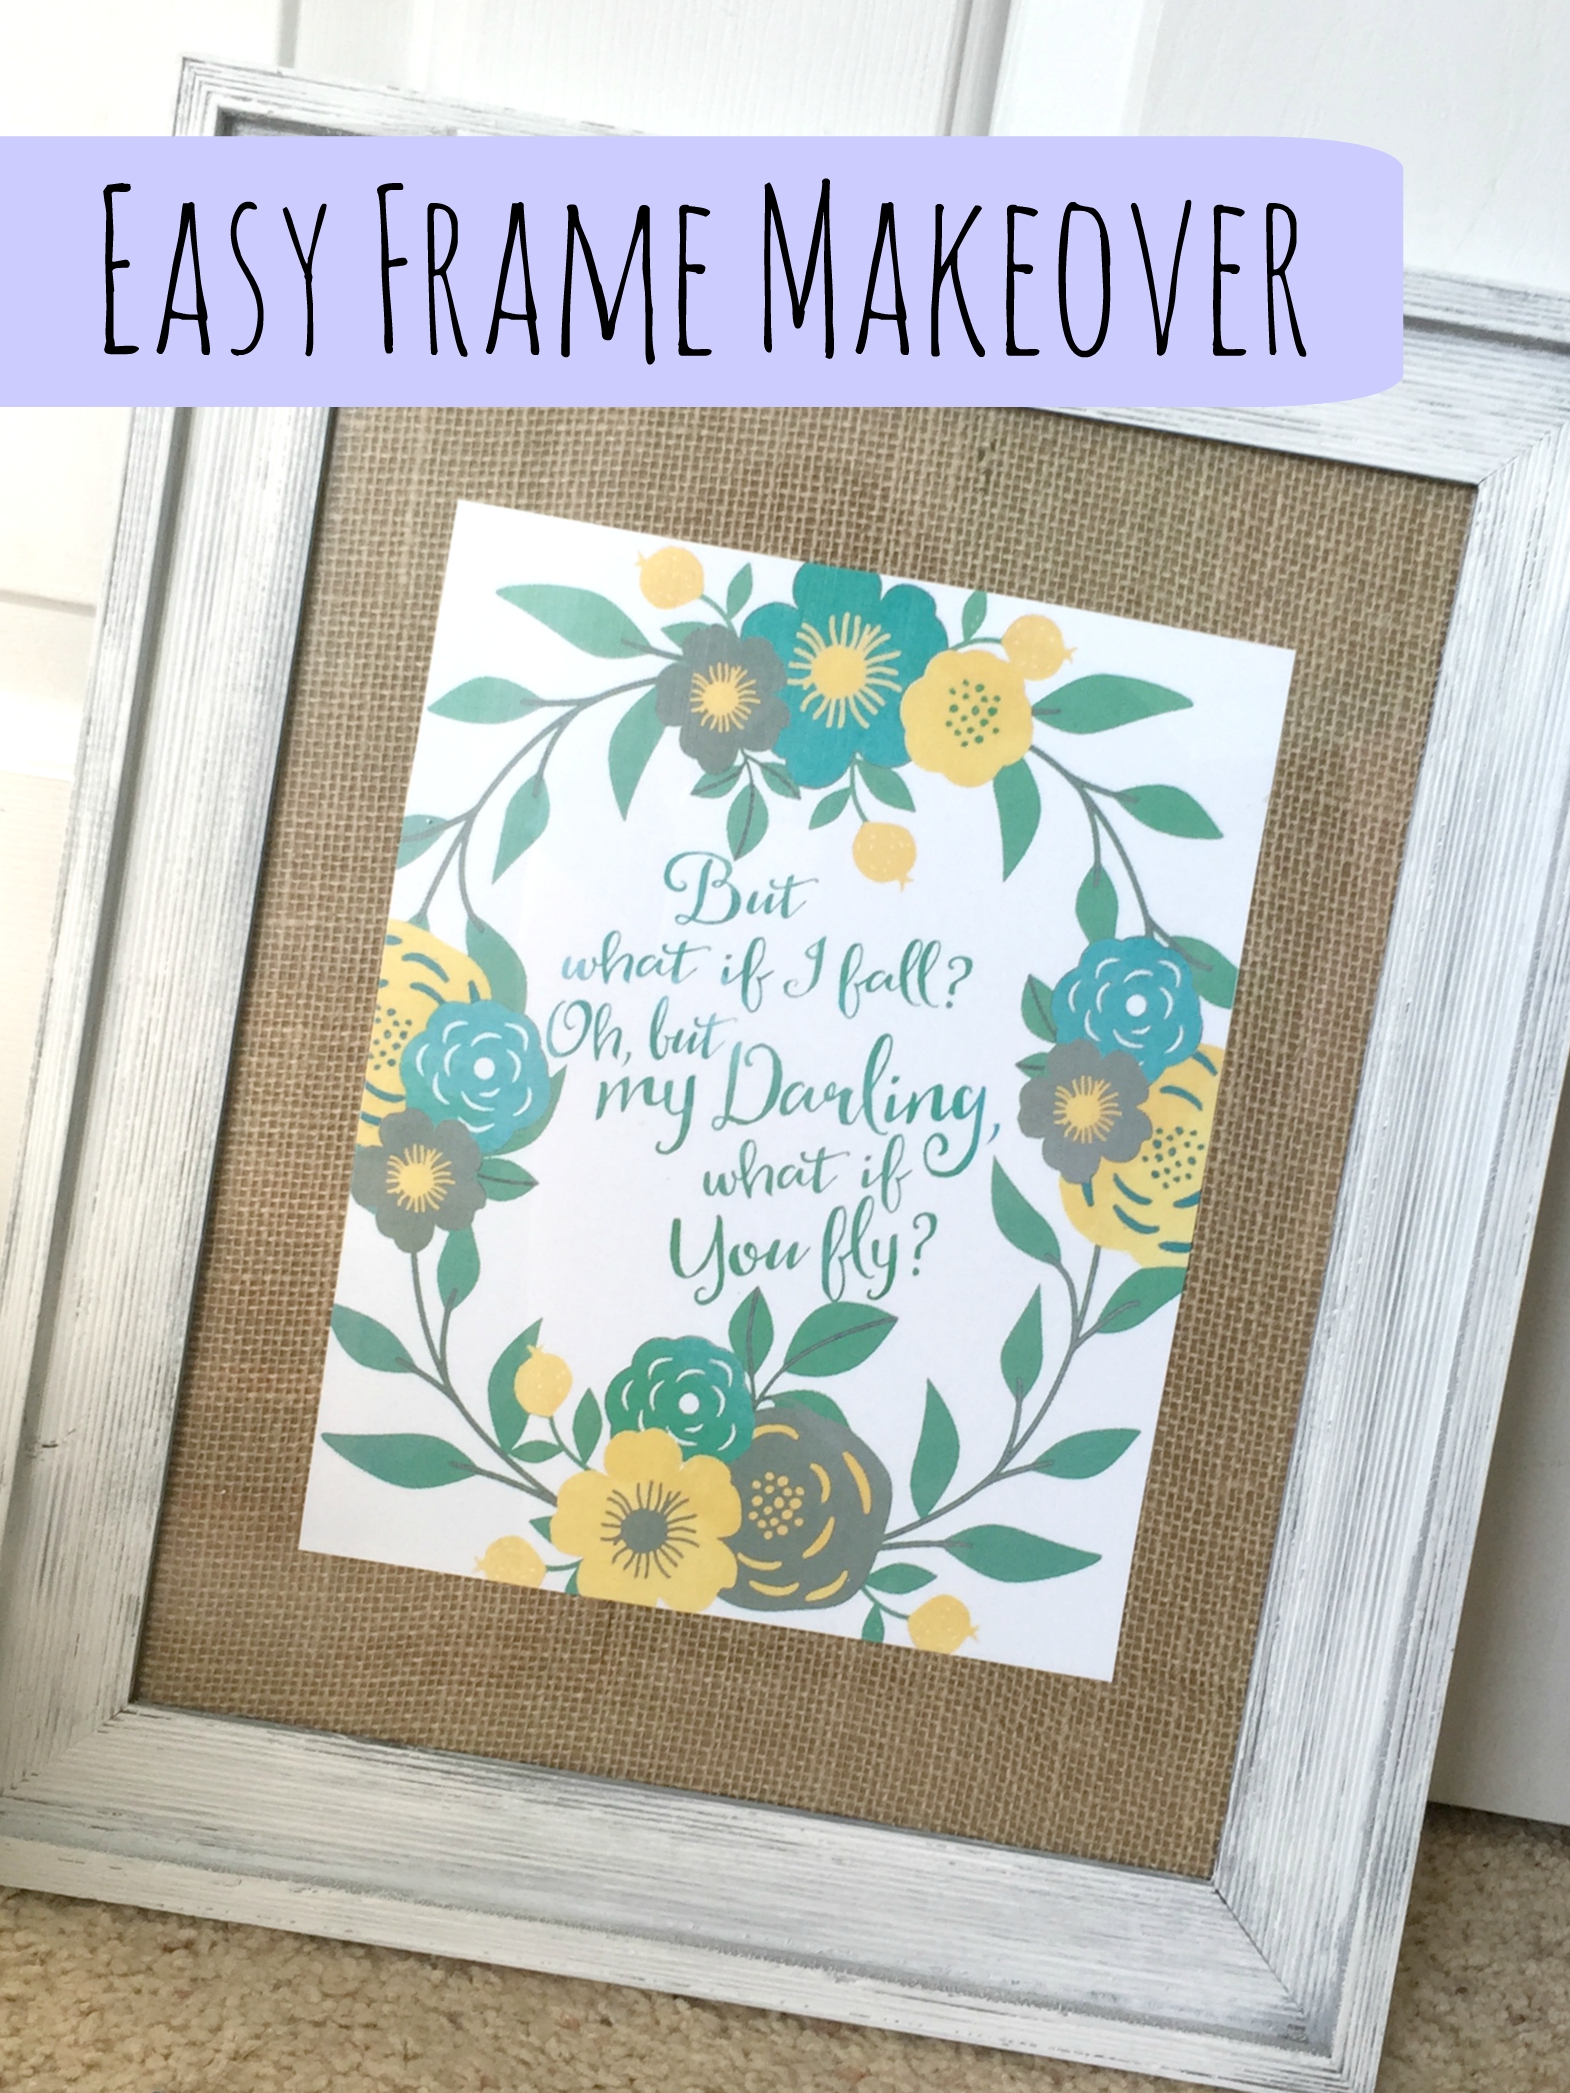
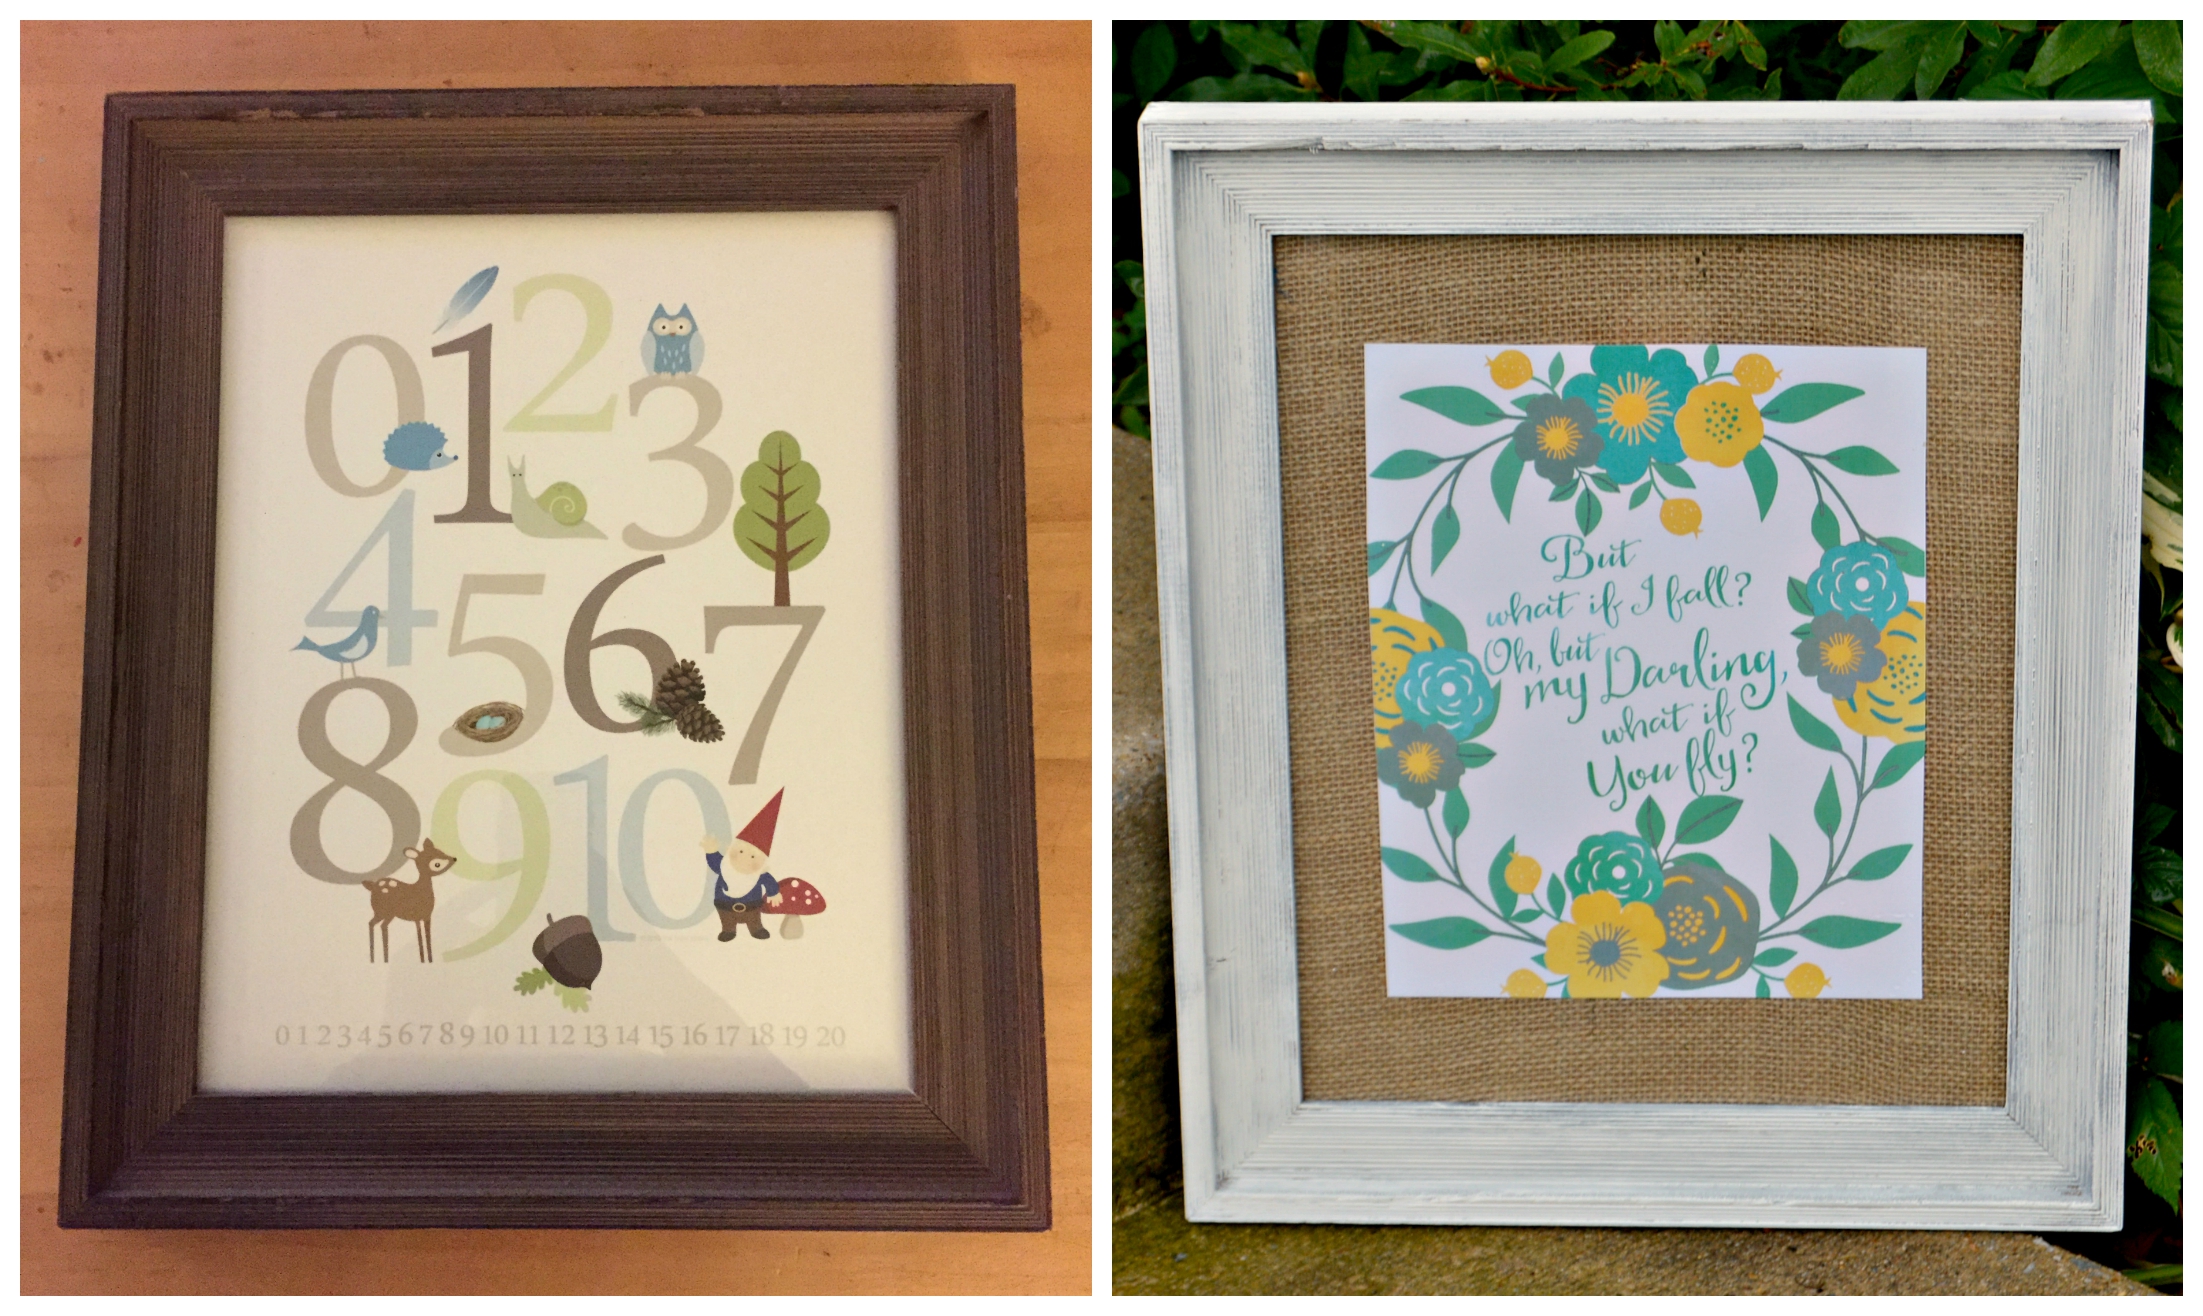
With Princess C coming soon, I (Erin) am in full blown nursery decor mode! Today’s project is a simple and quick frame makeover, but it made a huge difference and gave it new life in the nursery! Wanna see the before? Keep reading!I have three wonderful boys aged (almost 2-5) and therefore have done many beautiful boy nurseries. For my second son, I went with a woodland theme and a lot of the tones were darker woods and more rustic. I had a frame that I loved (see below), but it would not work as well in Baby Girl’s nursery. With the help of some chalky paint and fabric, the frame looks right at home now in its new space.

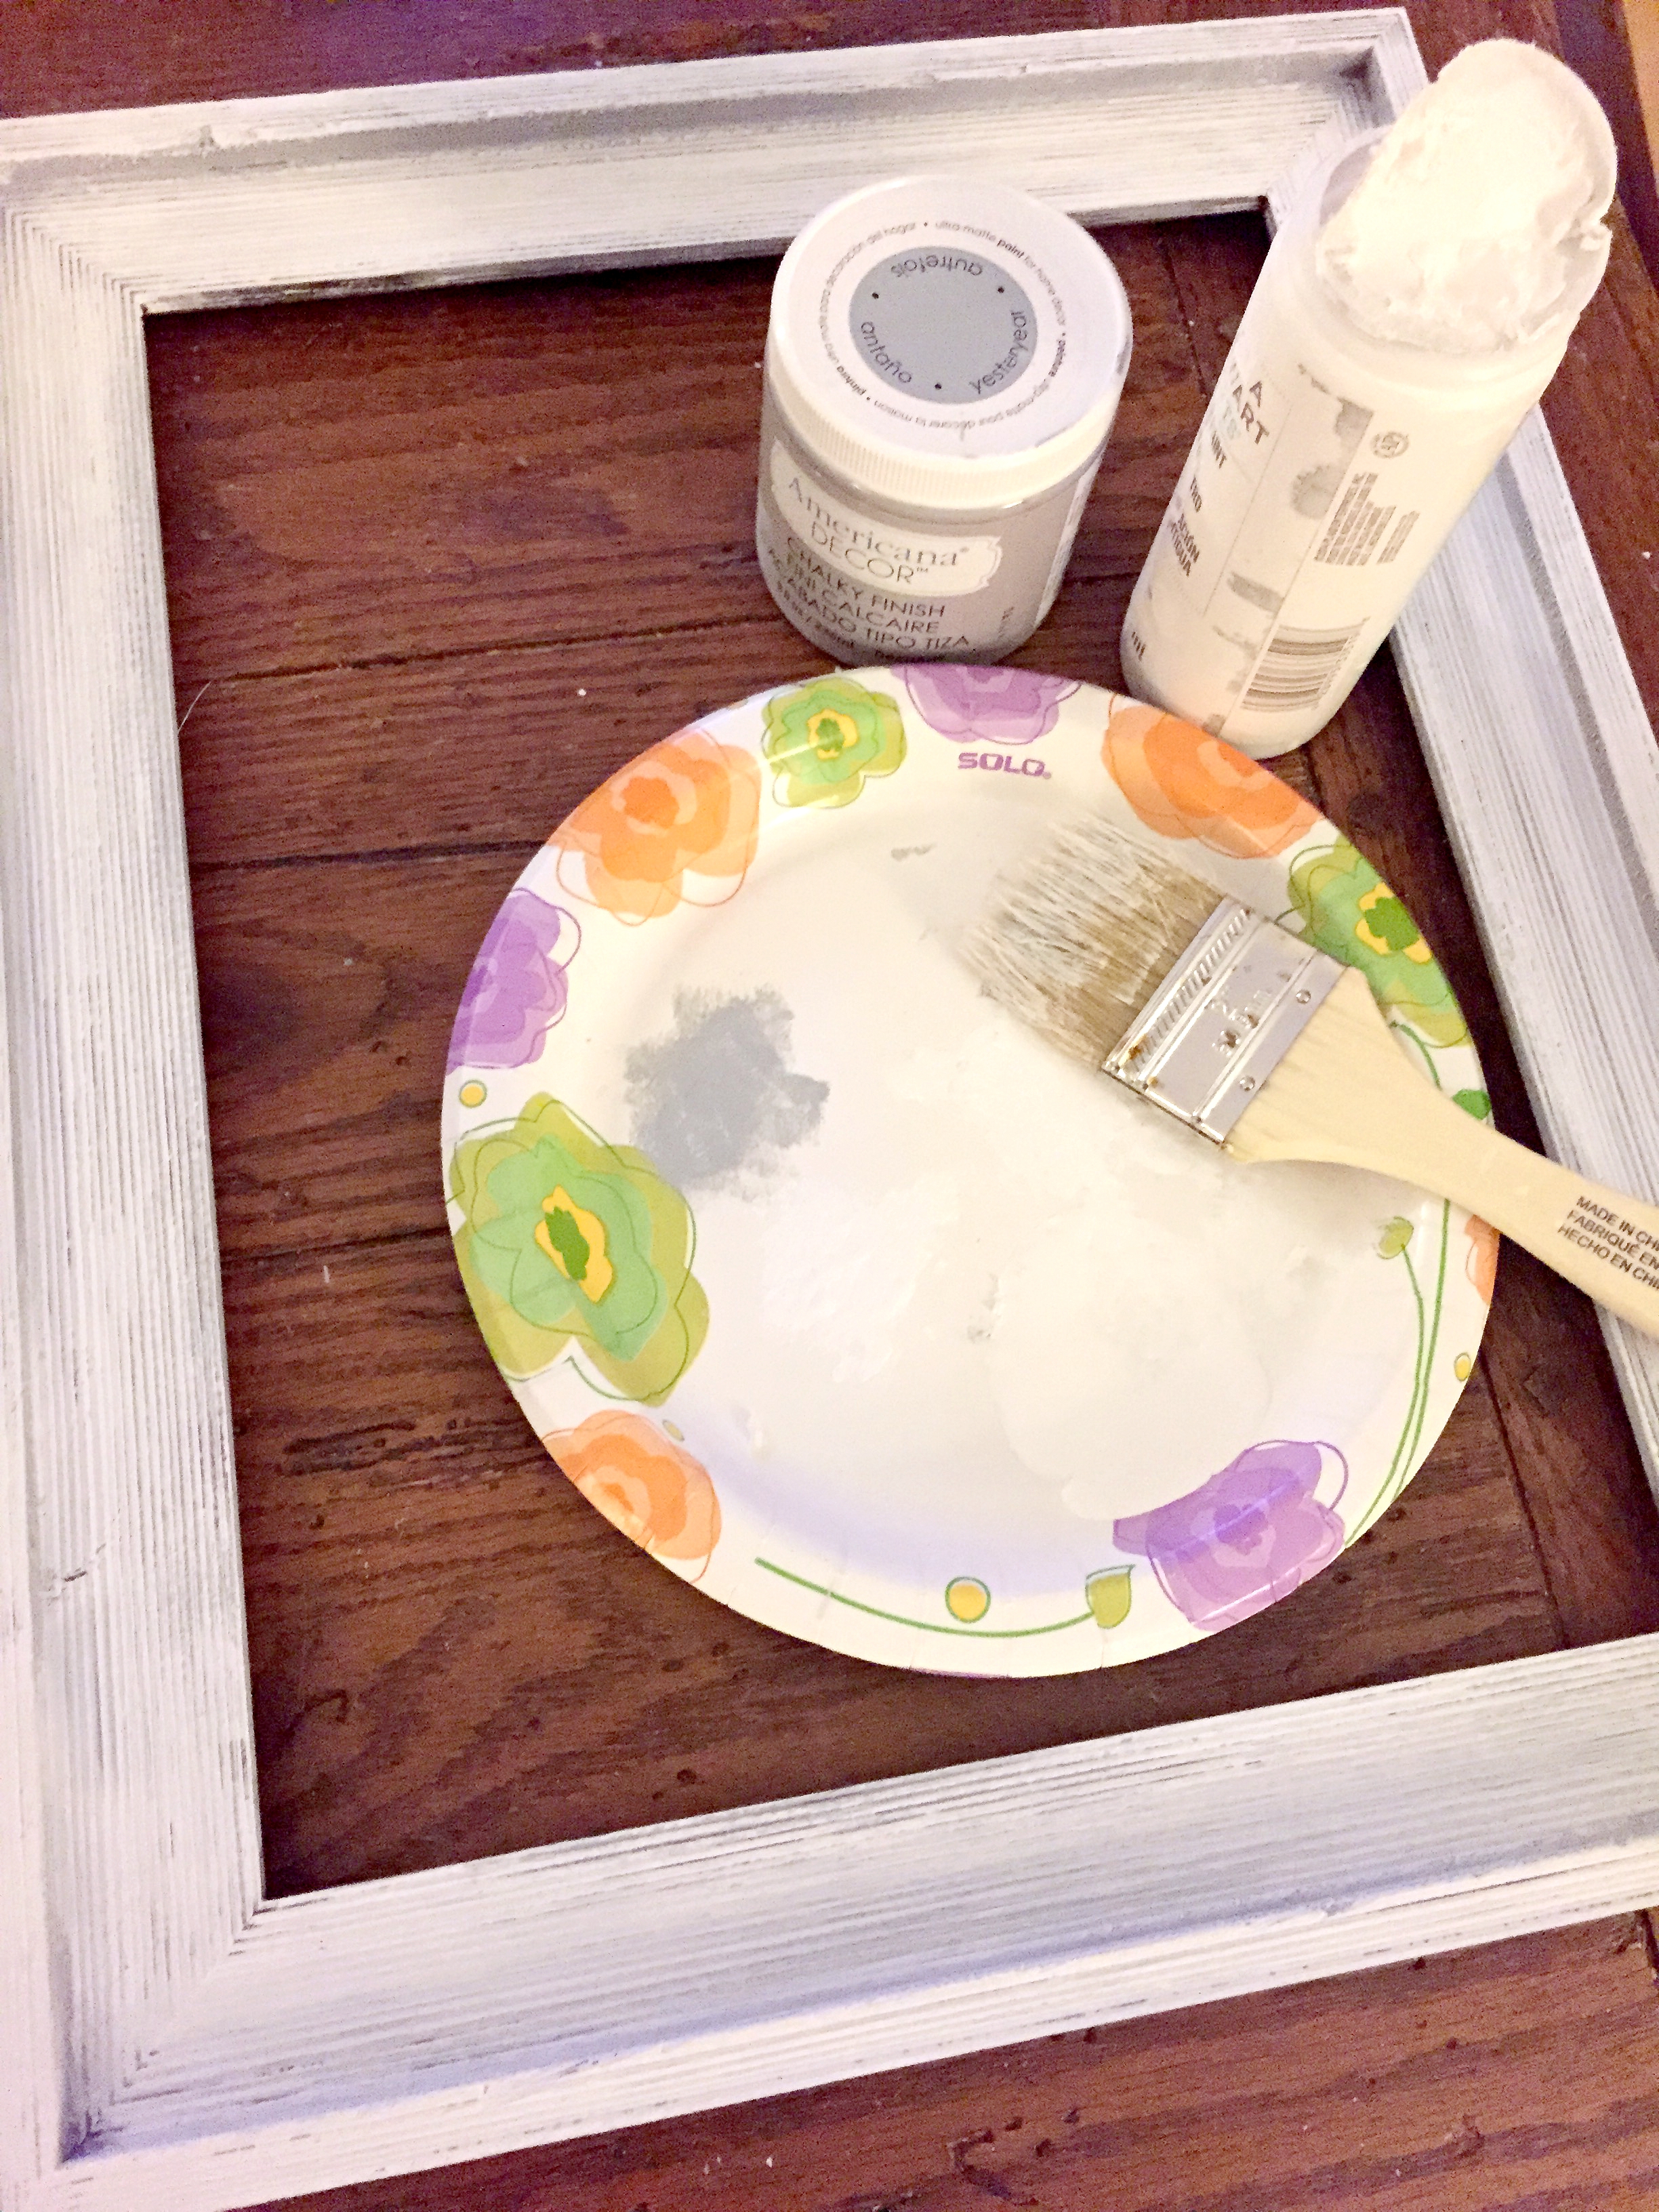
Materials:
-frame
-chalky paint (I used gray and white) and paint brush
-burlap
Step 1: Paint your frame! I did a light coat of gray first, and then a quick coat of white over it (wiping some of the white off as I went to give it a more distressed look).
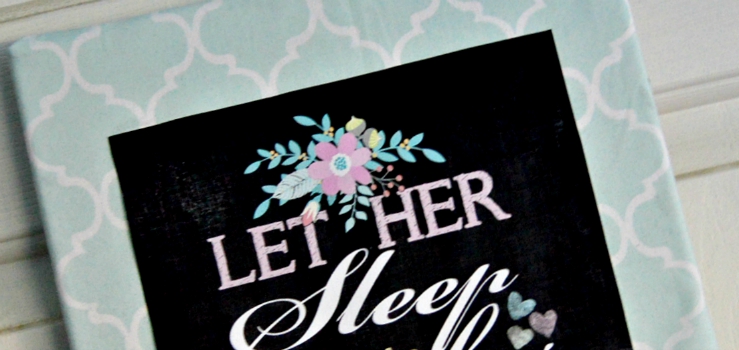
Step 2: Put your print on top of a cut piece of burlap, stick it in the frame, and you’re done!
This was such a super easy project, but look at the difference it made! From rustic and woodland baby boy, to bright and shabby chic baby girl!
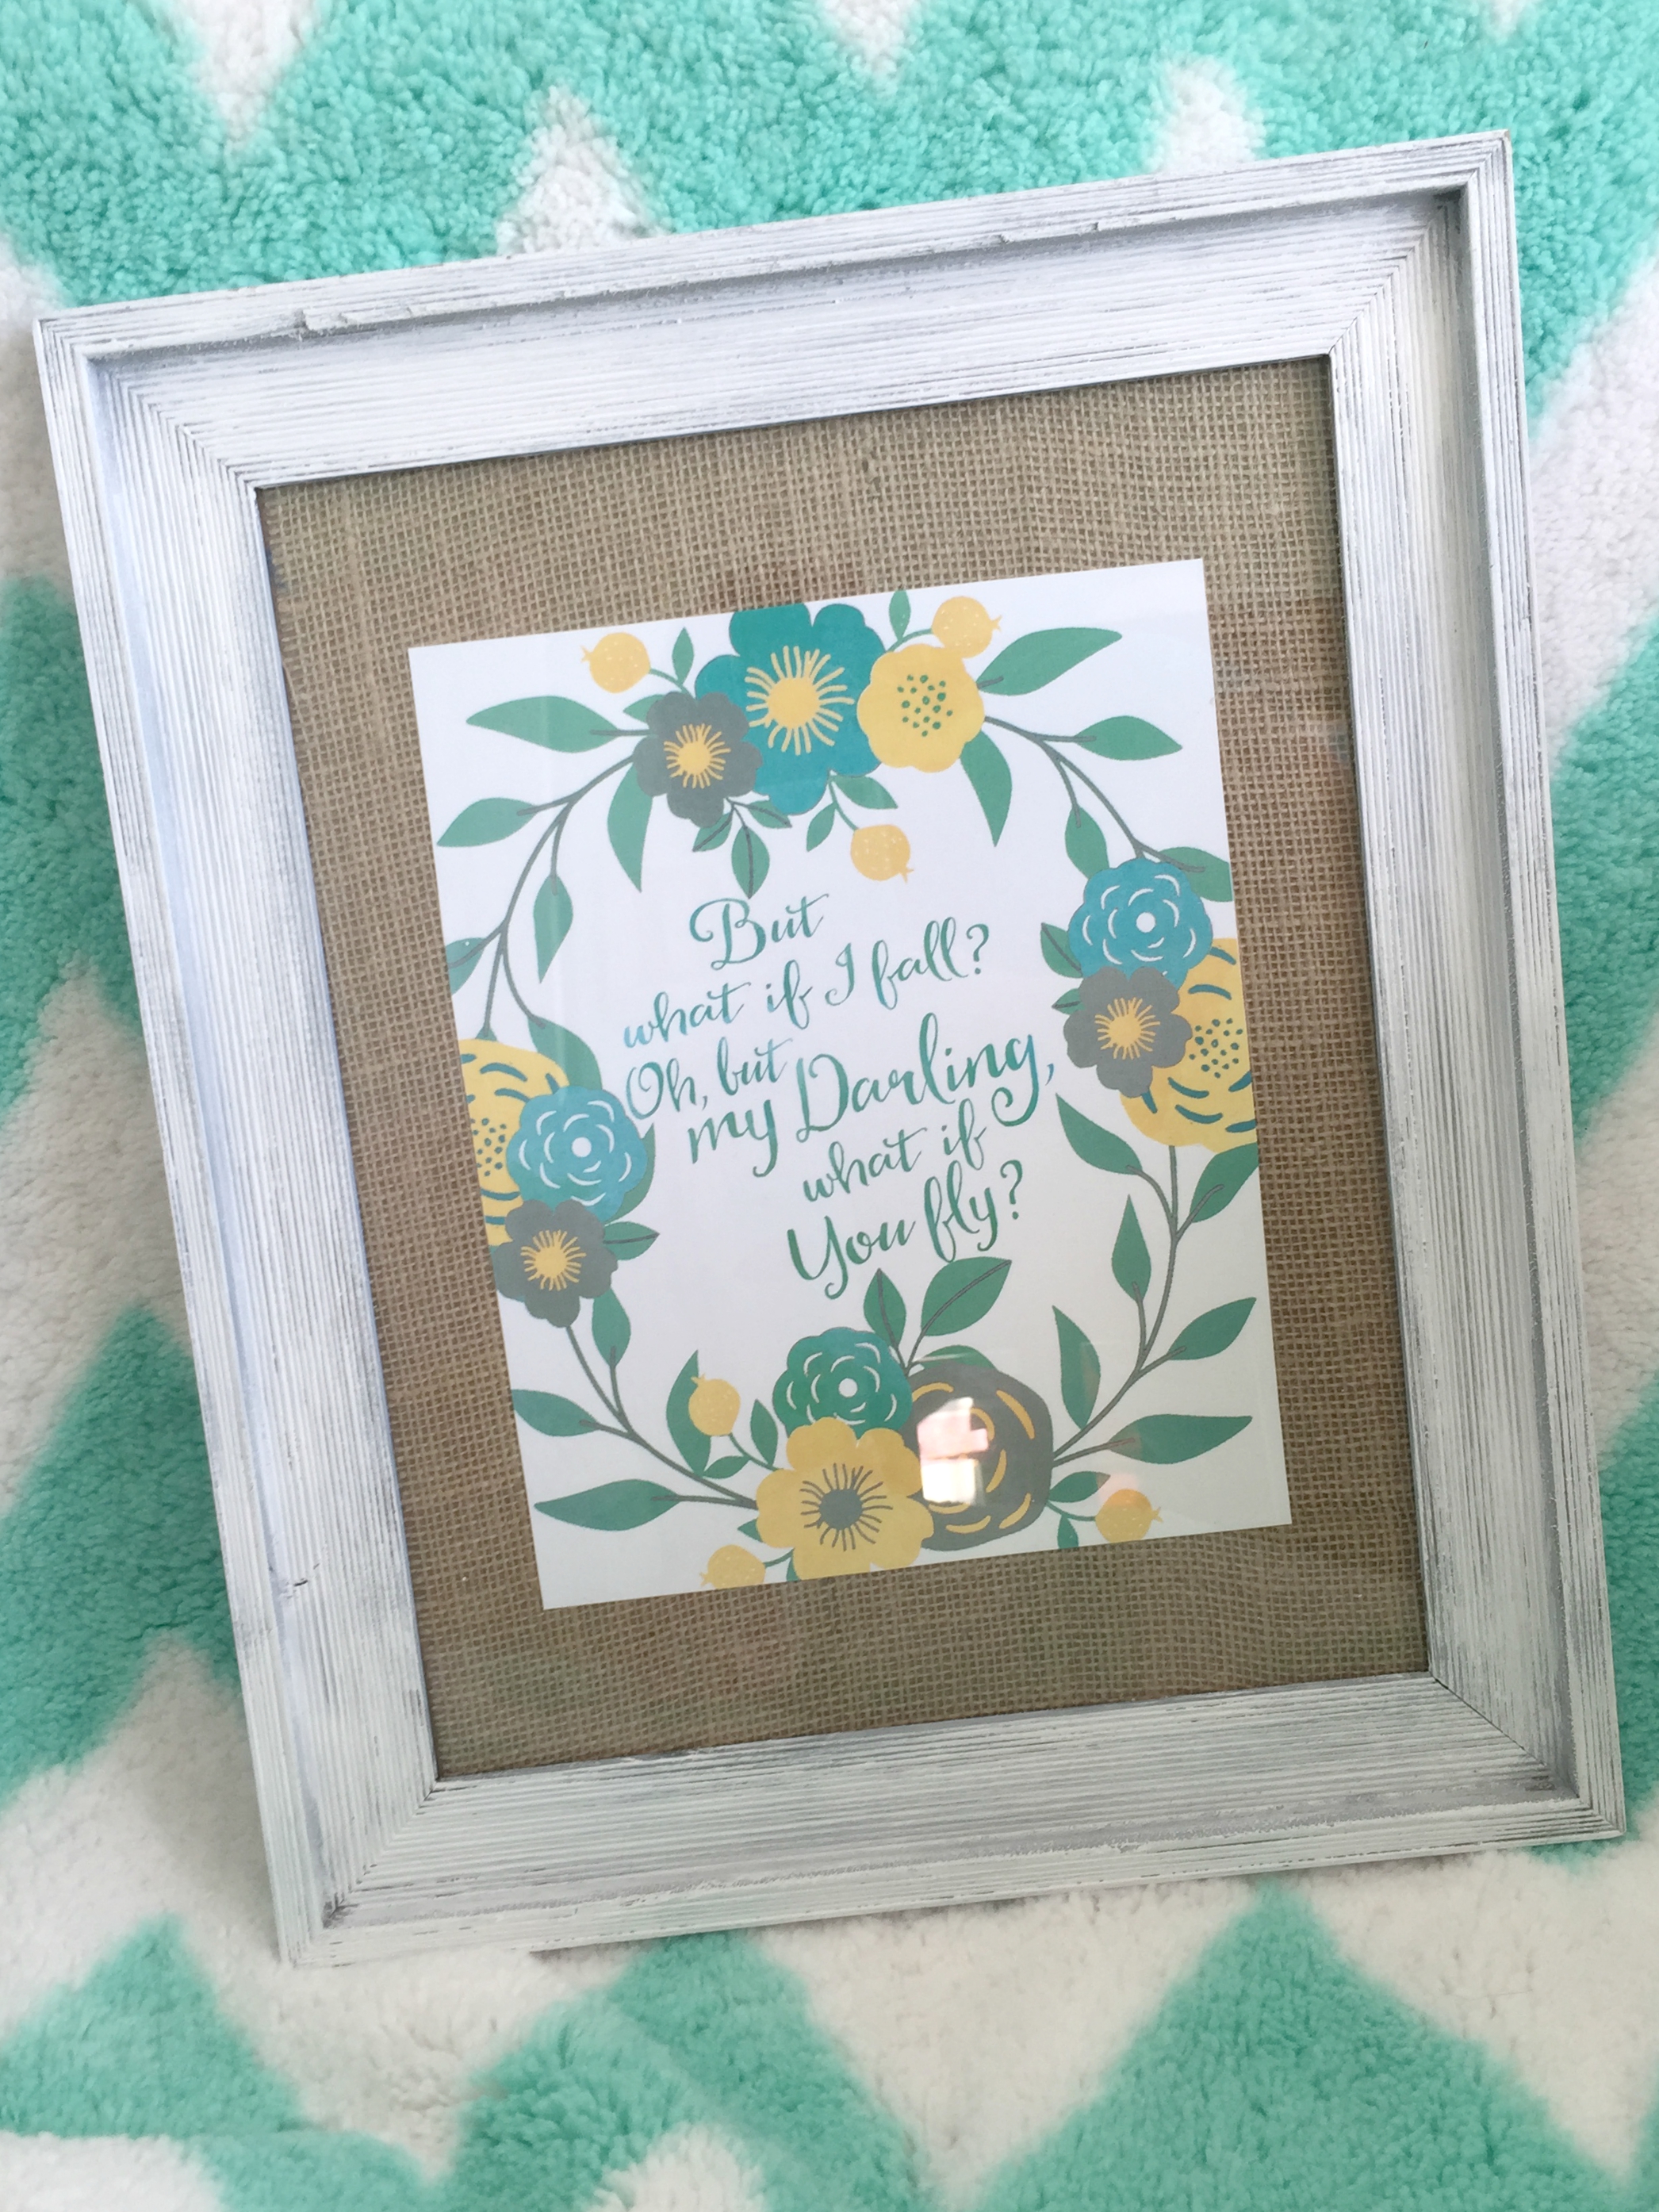
 And here’s the print hanging in the nursery! I added a sweet birdcage on the shelf, and I bought the little swinging girl from a seller on Etsy. Isn’t it amazing what a simple coat of paint can do?


Love the frame and picture!! Super cute for a little girl’s room!!