Travel Fishing Game Valentines
Hey, friends! I’m thrilled today to have my girl Erin back in action sharing a fun Valentine craft with you…especially since I got to help her make it! Here she is to tell you more…
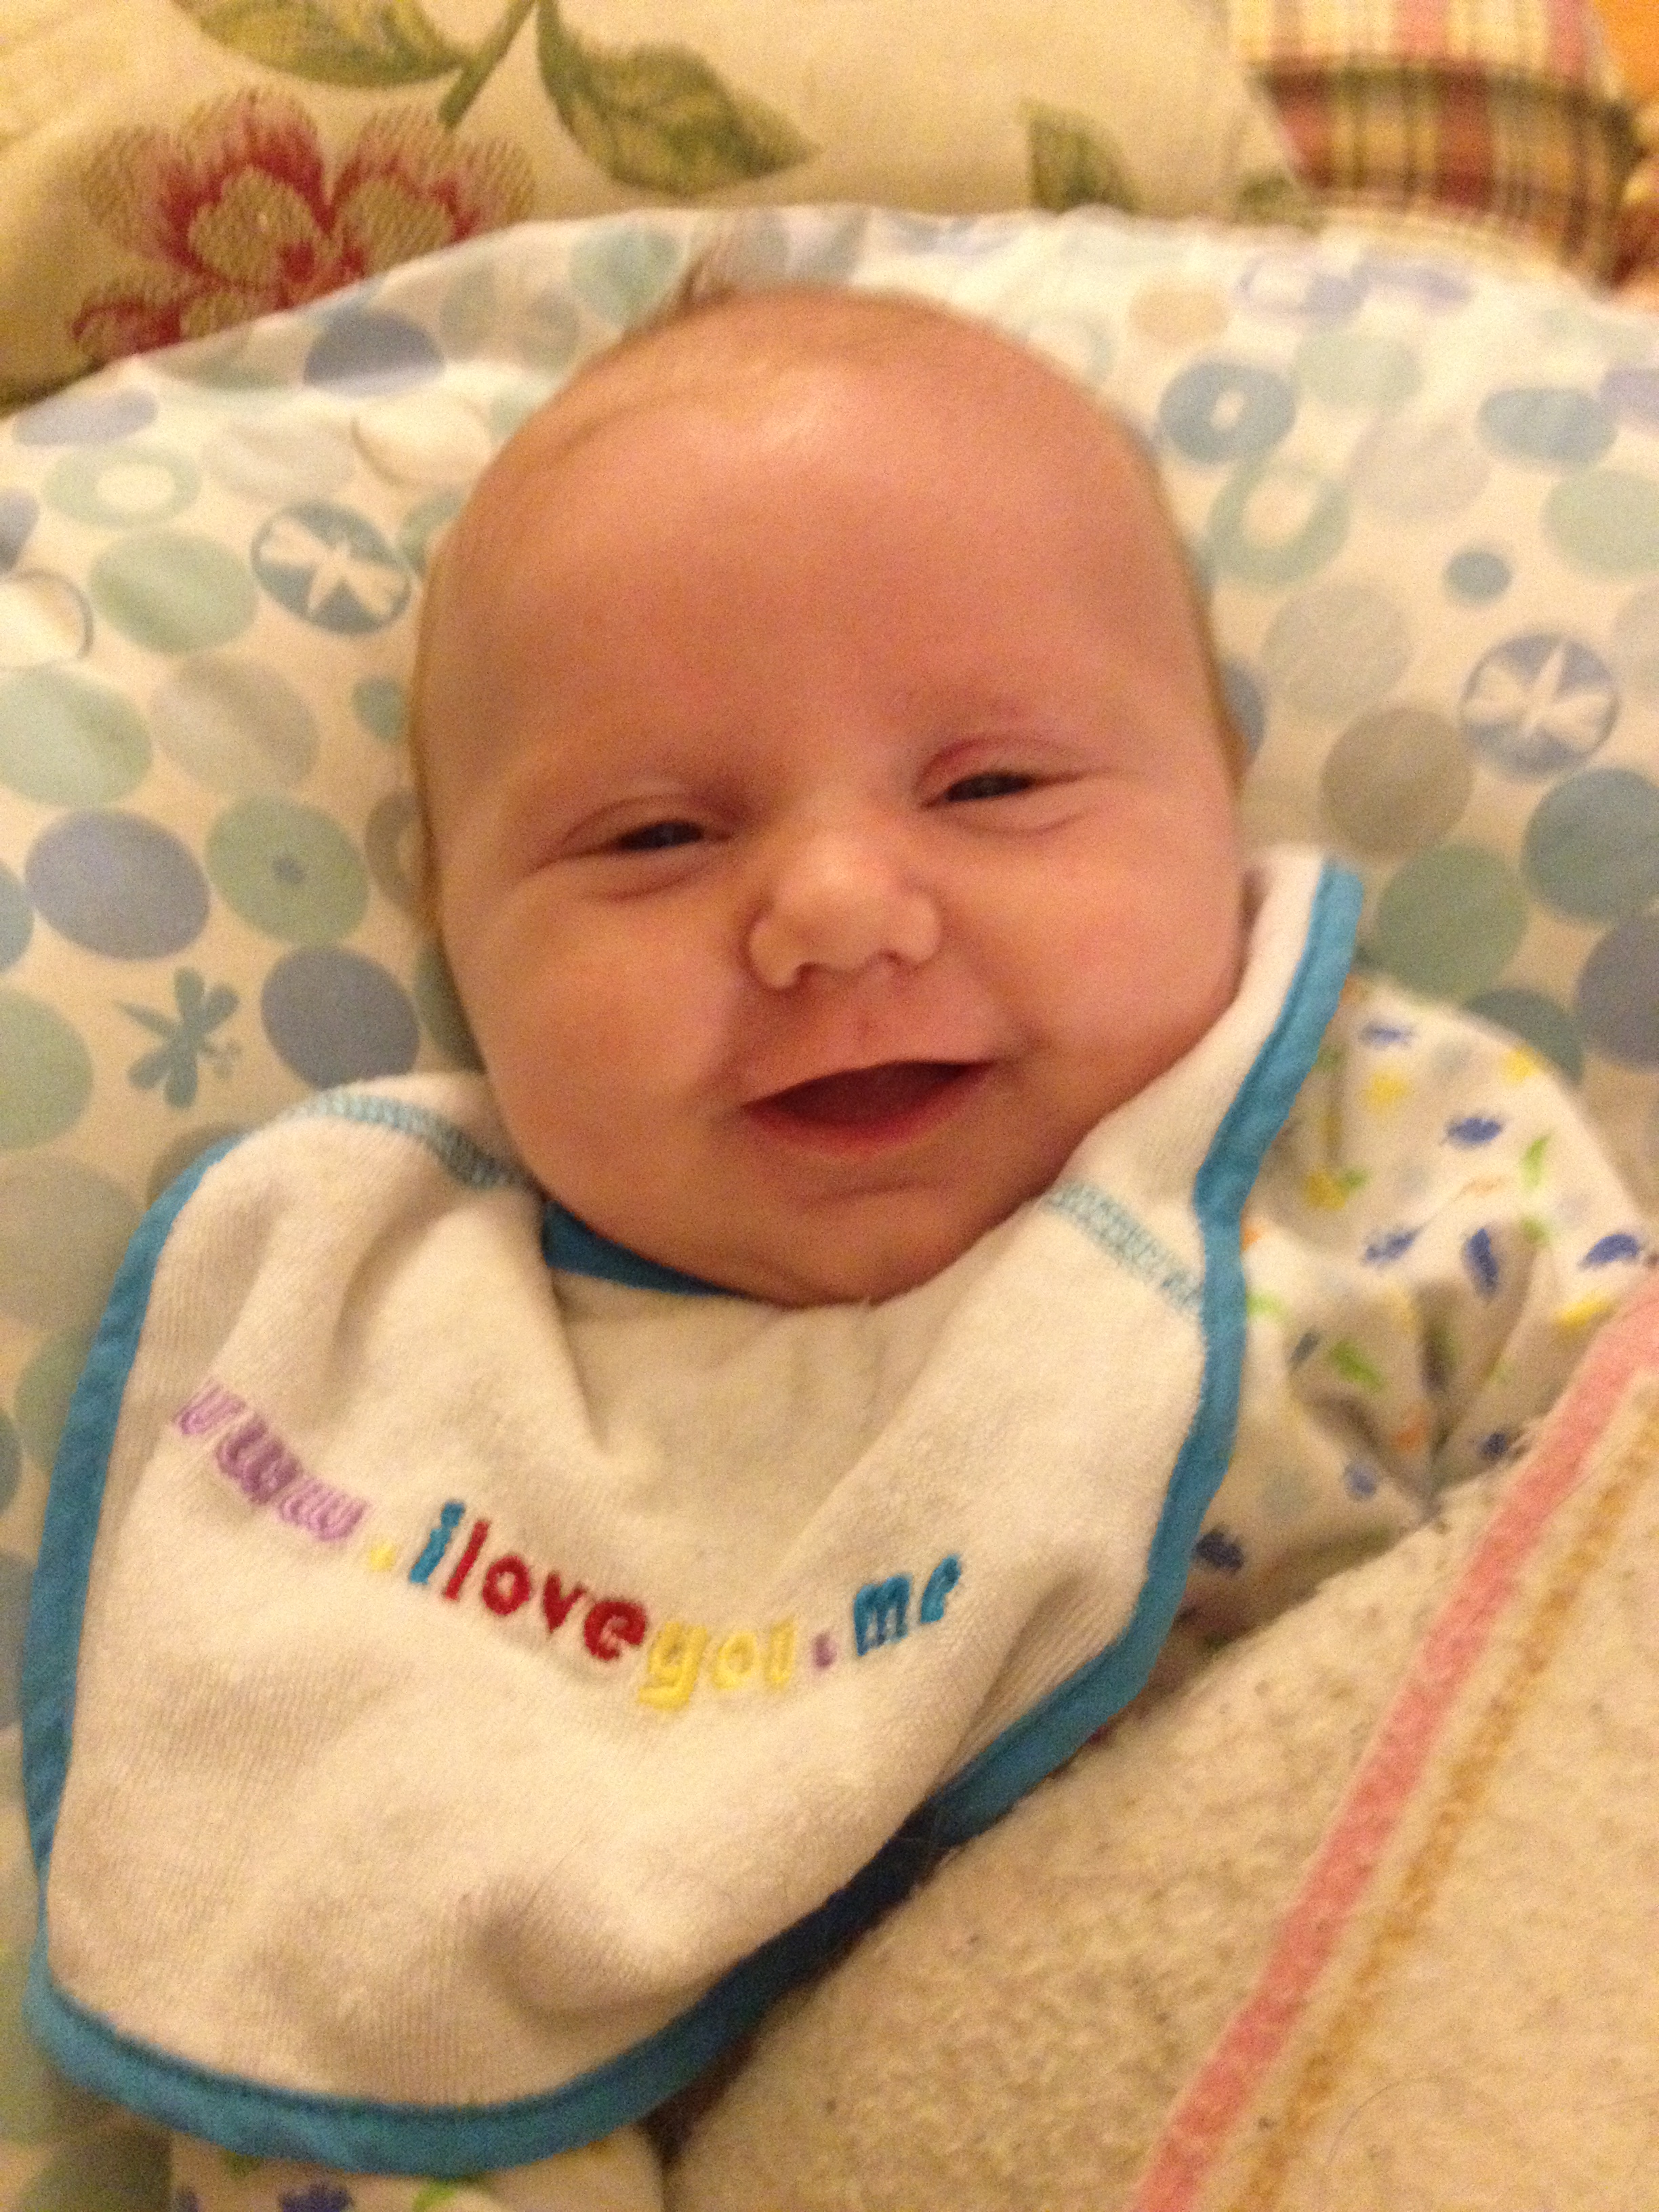
Hello One Artsy Mama friends! It’s been awhile since you’ve heard from me, but with good reason as I’m adjusting to the life of “Mom to Three Boys”. My youngest was born about 2 1/2 months ago, and it’s been amazing watching my older two fall in love with him. “Aunt” Amy tends to get a bit grumpy if I don’t send her daily pictures of “Squishy”, so I’ll begin this post with a little love. One Artsy Mama readers meet “Squishy”, “Squishy” meet all of Aunt Amy’s readers!
Alright, enough cuteness, let’s get to some Crafty Chaos! My eldest is currently in preschool, and as Valentine’s Day approaches, so does the rite of passage “the class valentines”. You know the drill, each kid brings in valentines for their classmates, filling little tiny boxes or bags with treats and love notes. When you’re a crafty Mom, you kinda love this idea, because it gives you a chance to flex your creative muscles and come up with some cute valentines. My criteria was nothing edible (we have food allergies in the house, and so I worry about that for others) and something that the kids might actually play with for a few seconds. Here’s what I came up with:
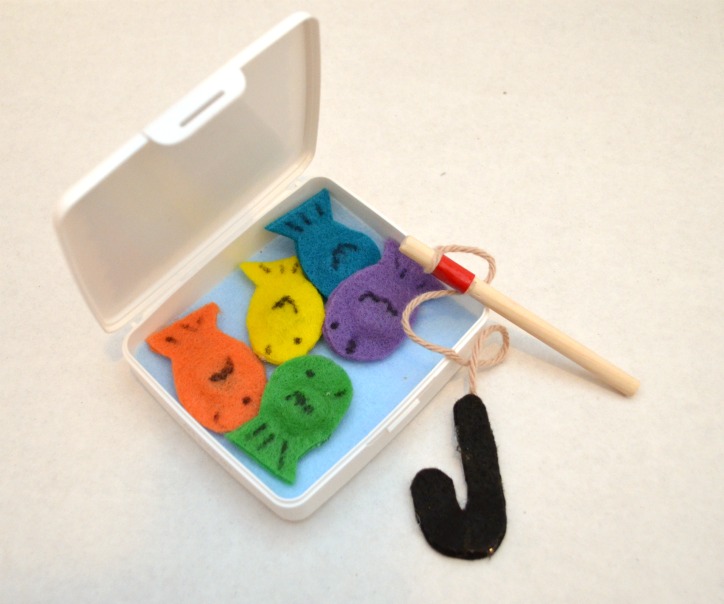
Travel Fishing Game Valentines
Materials:
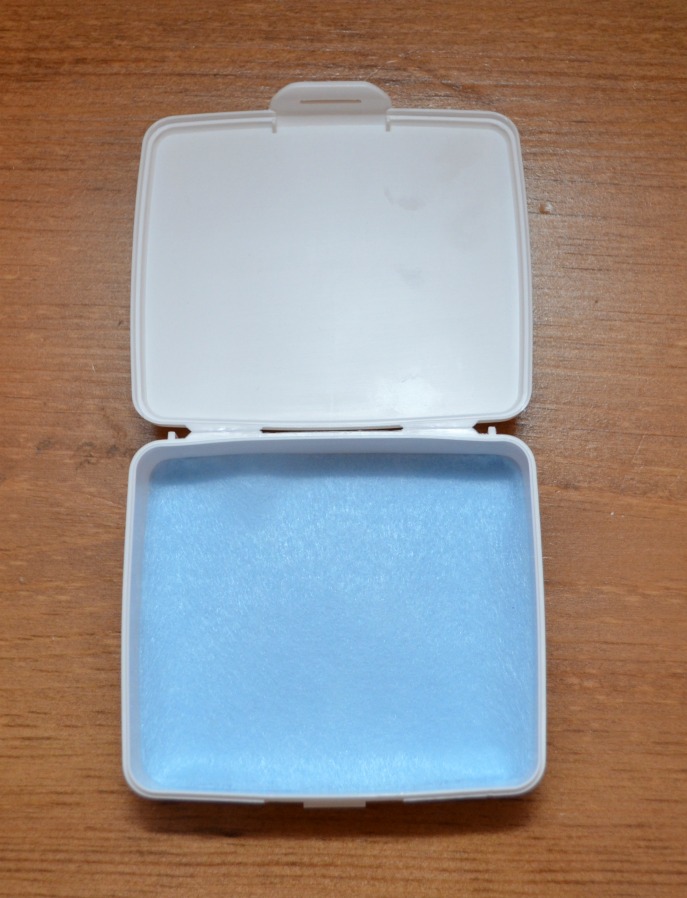
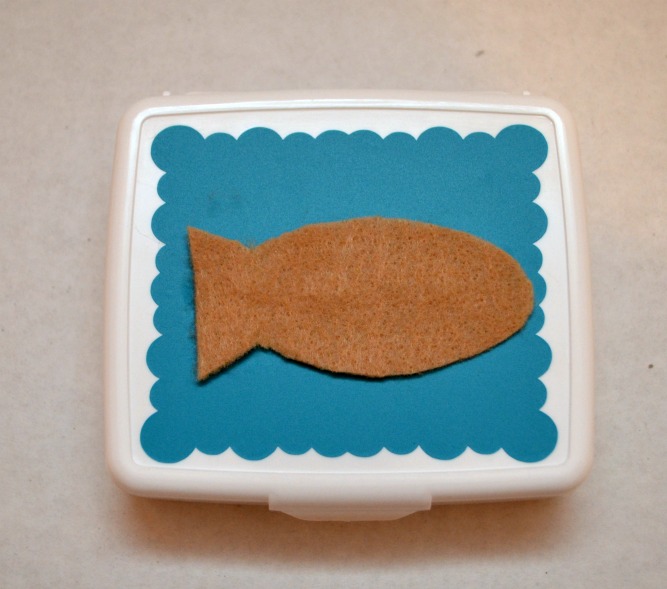
-Plastic hinged box (I got this one for less then a buck at Target, and in its former life it was a mini first aid kit)
-Felt
-Magnets
-String or Yarn
-Dowel Rod
-Duct Tape
-Scissors, Hot Glue
-Vinyl (or whatever material you want to use on the box cover)
-Valentine gift bags and tags
I drove to Amy’s house, poured myself a White Russian, and relished in crafting with no kids around. Heaven. Moving on….
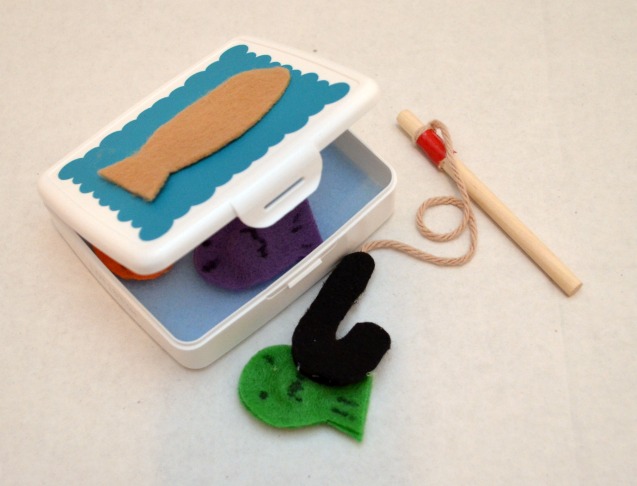
Step 1: Cut out a square of blue felt for the bottom of the box and hot glue it to look like a pond.
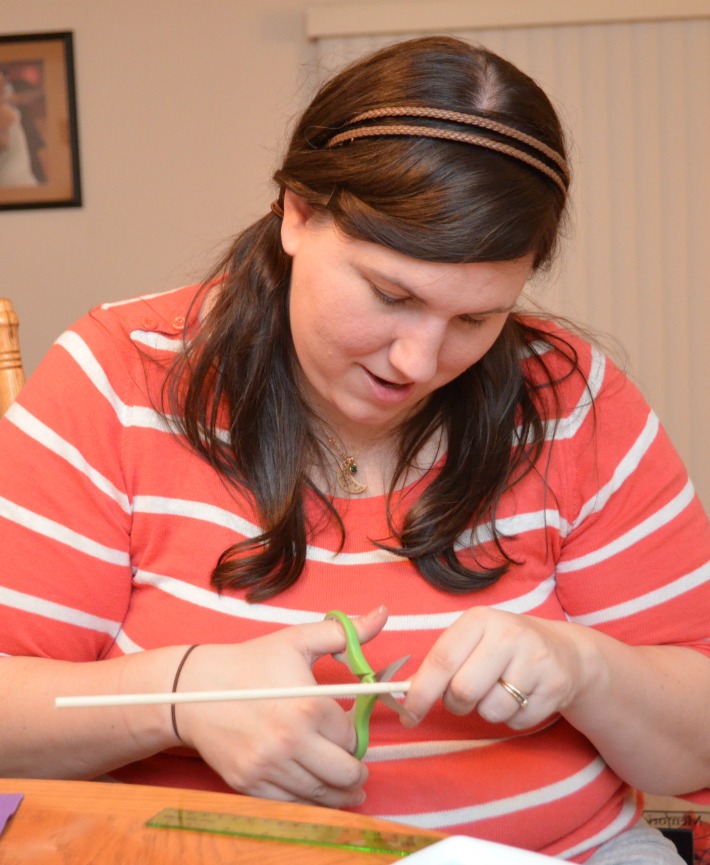
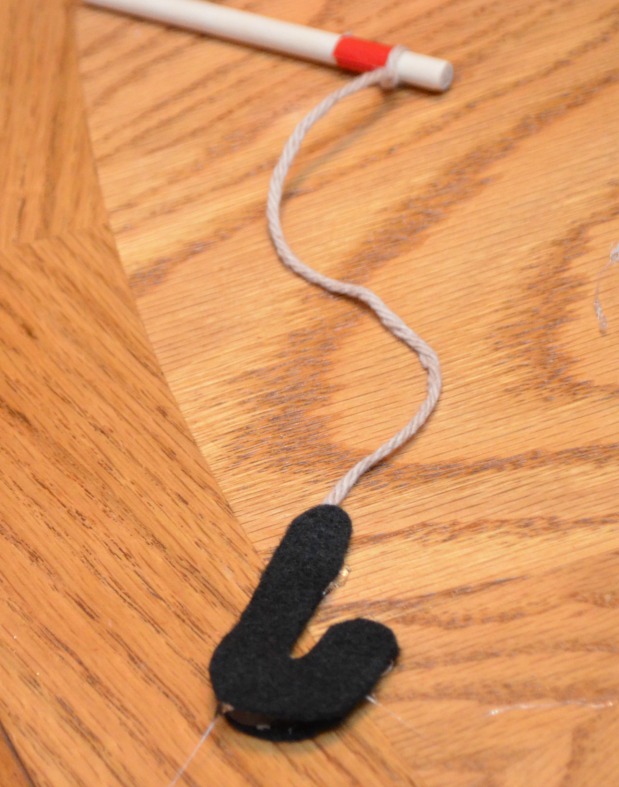
Step 2: Cut a dowel rod to fit inside the box.
Step 3: Cut a piece of string (mine was about 8 inches long) and attach it to the dowel rod using a piece of duck tape.
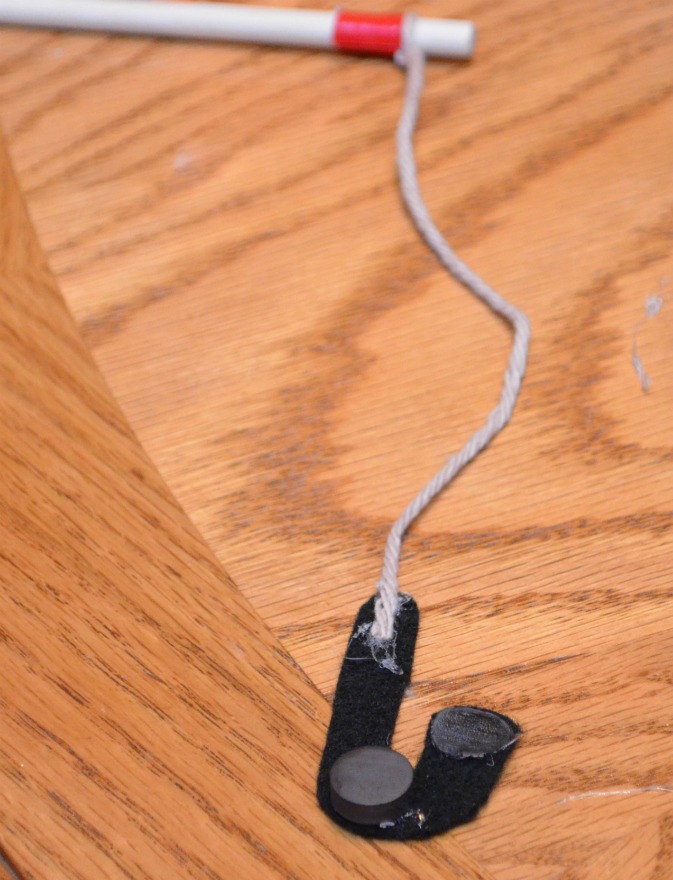
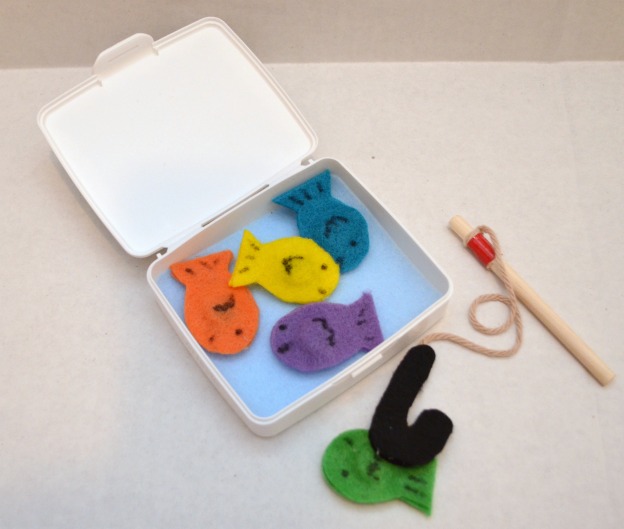
Step 4: Cut a hook out of felt (make sure to cut out a matching hook). Glue the end of the string to the top of one of the hooks and glue a magnet at the bottom of the hook. Make a hook sandwich by gluing the second hook on top. (The next day, I decided to get a smaller, more powerful magnet for the rest of the hooks because of the felt thickness).
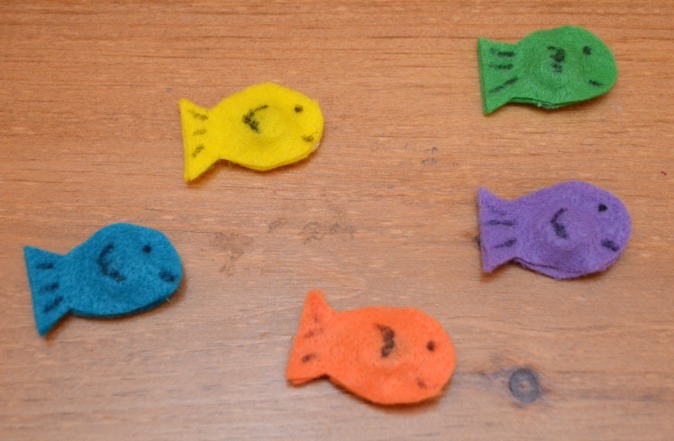
Step 5: Cut out pairs of felt fishies. Glue a magnet between each pair of felt fish. Say “felt fish” 10 times fast.
Step 6: Cut out a vinyl sticker for the front of the case. (Or however you’d like to decorate it). This particular box had some raised writing which vinyl didn’t cover, so Amy came up with the genius idea (at least it was a genius idea to us at 11:00 at night) to use a larger felt fish to cover the words.
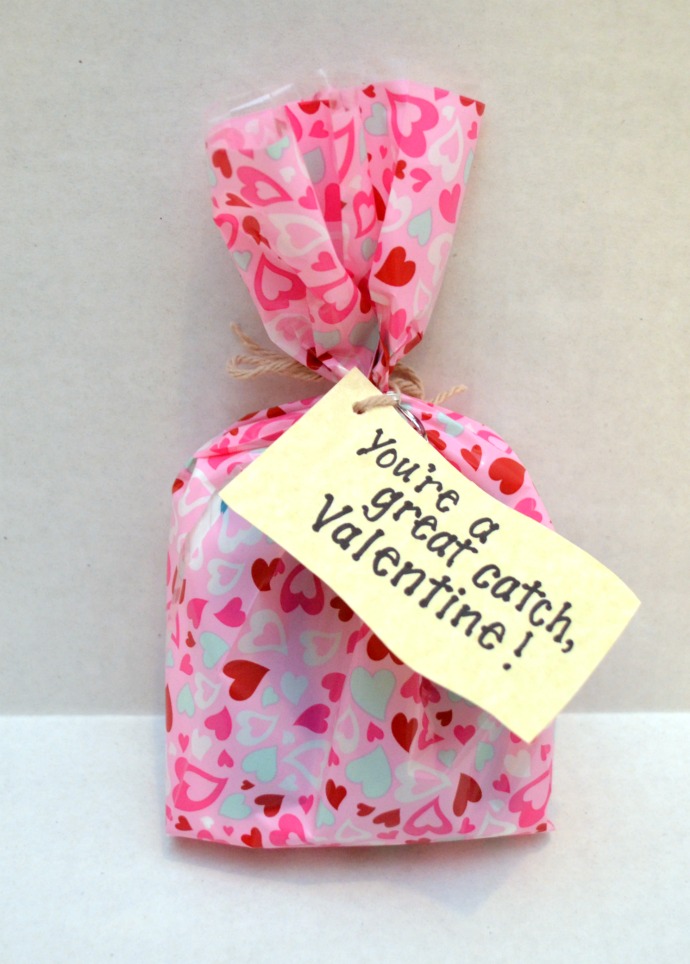
Step 7: Place the finished game in a festive baggie, tie it up, and attach a fun label like, “You’re a great catch Valentine”.
That’s it! It’s the perfect little travel game for an excited 3 to 4 year old (Prince C had to play it over and over already) and I can’t wait for all of his little classmates to find it in their Valentine’s Day mailboxes.
A special thanks goes out to Amy who not only let me use her quiet house as a crafting oasis, but also became my photographer, hook pattern maker, manicurist, felt cutter, and ice maker. Because in her words, “I’m going to freeze some ice”. She’s here all night folks, don’t forget to try the veal!


I’m not a mommy but I wanted to say this is a great tutorial 🙂 I love the wrapping paper btw! and your little one is a adorable <3
Very cute and sure to keep the kiddos occupied.
Cute idea Erin…The kids will enjoy getting those…
This is such a cute idea and I love your play on words!