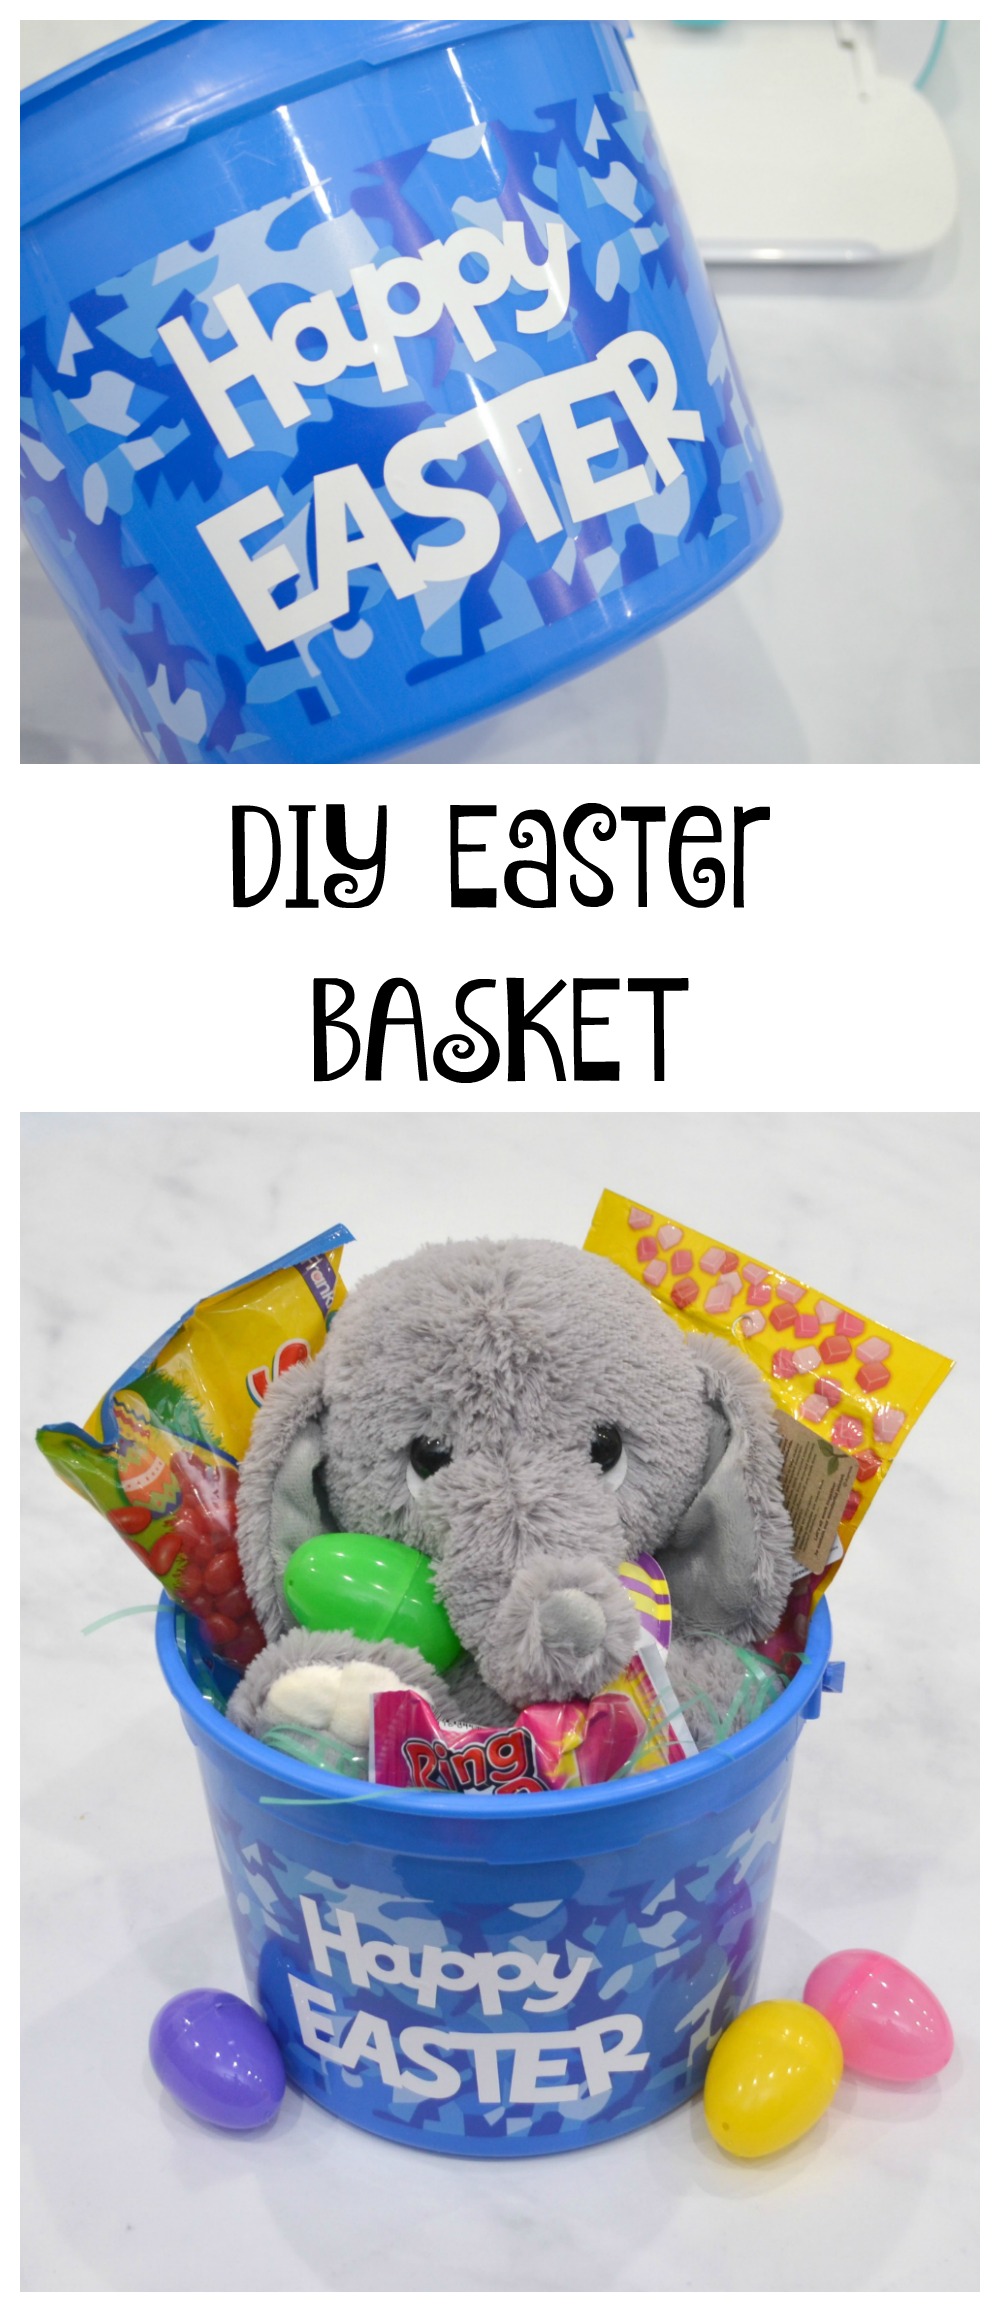
DIY Easter Basket with Cricut
As Easter approaches, many of us are finding ourselves a little unprepared. I, for one, had bought very little for my kids’ Easter baskets before the health crisis hit and we found ourselves ordered to stay at home. If you’re in the same boat, here’s a quick and easy way to personalize just about any container and turn it into a DIY Easter basket!
You’ll need:
a plastic or metal container (a sand bucket, a plastic tote, or any other type of box/bin/basket will do)
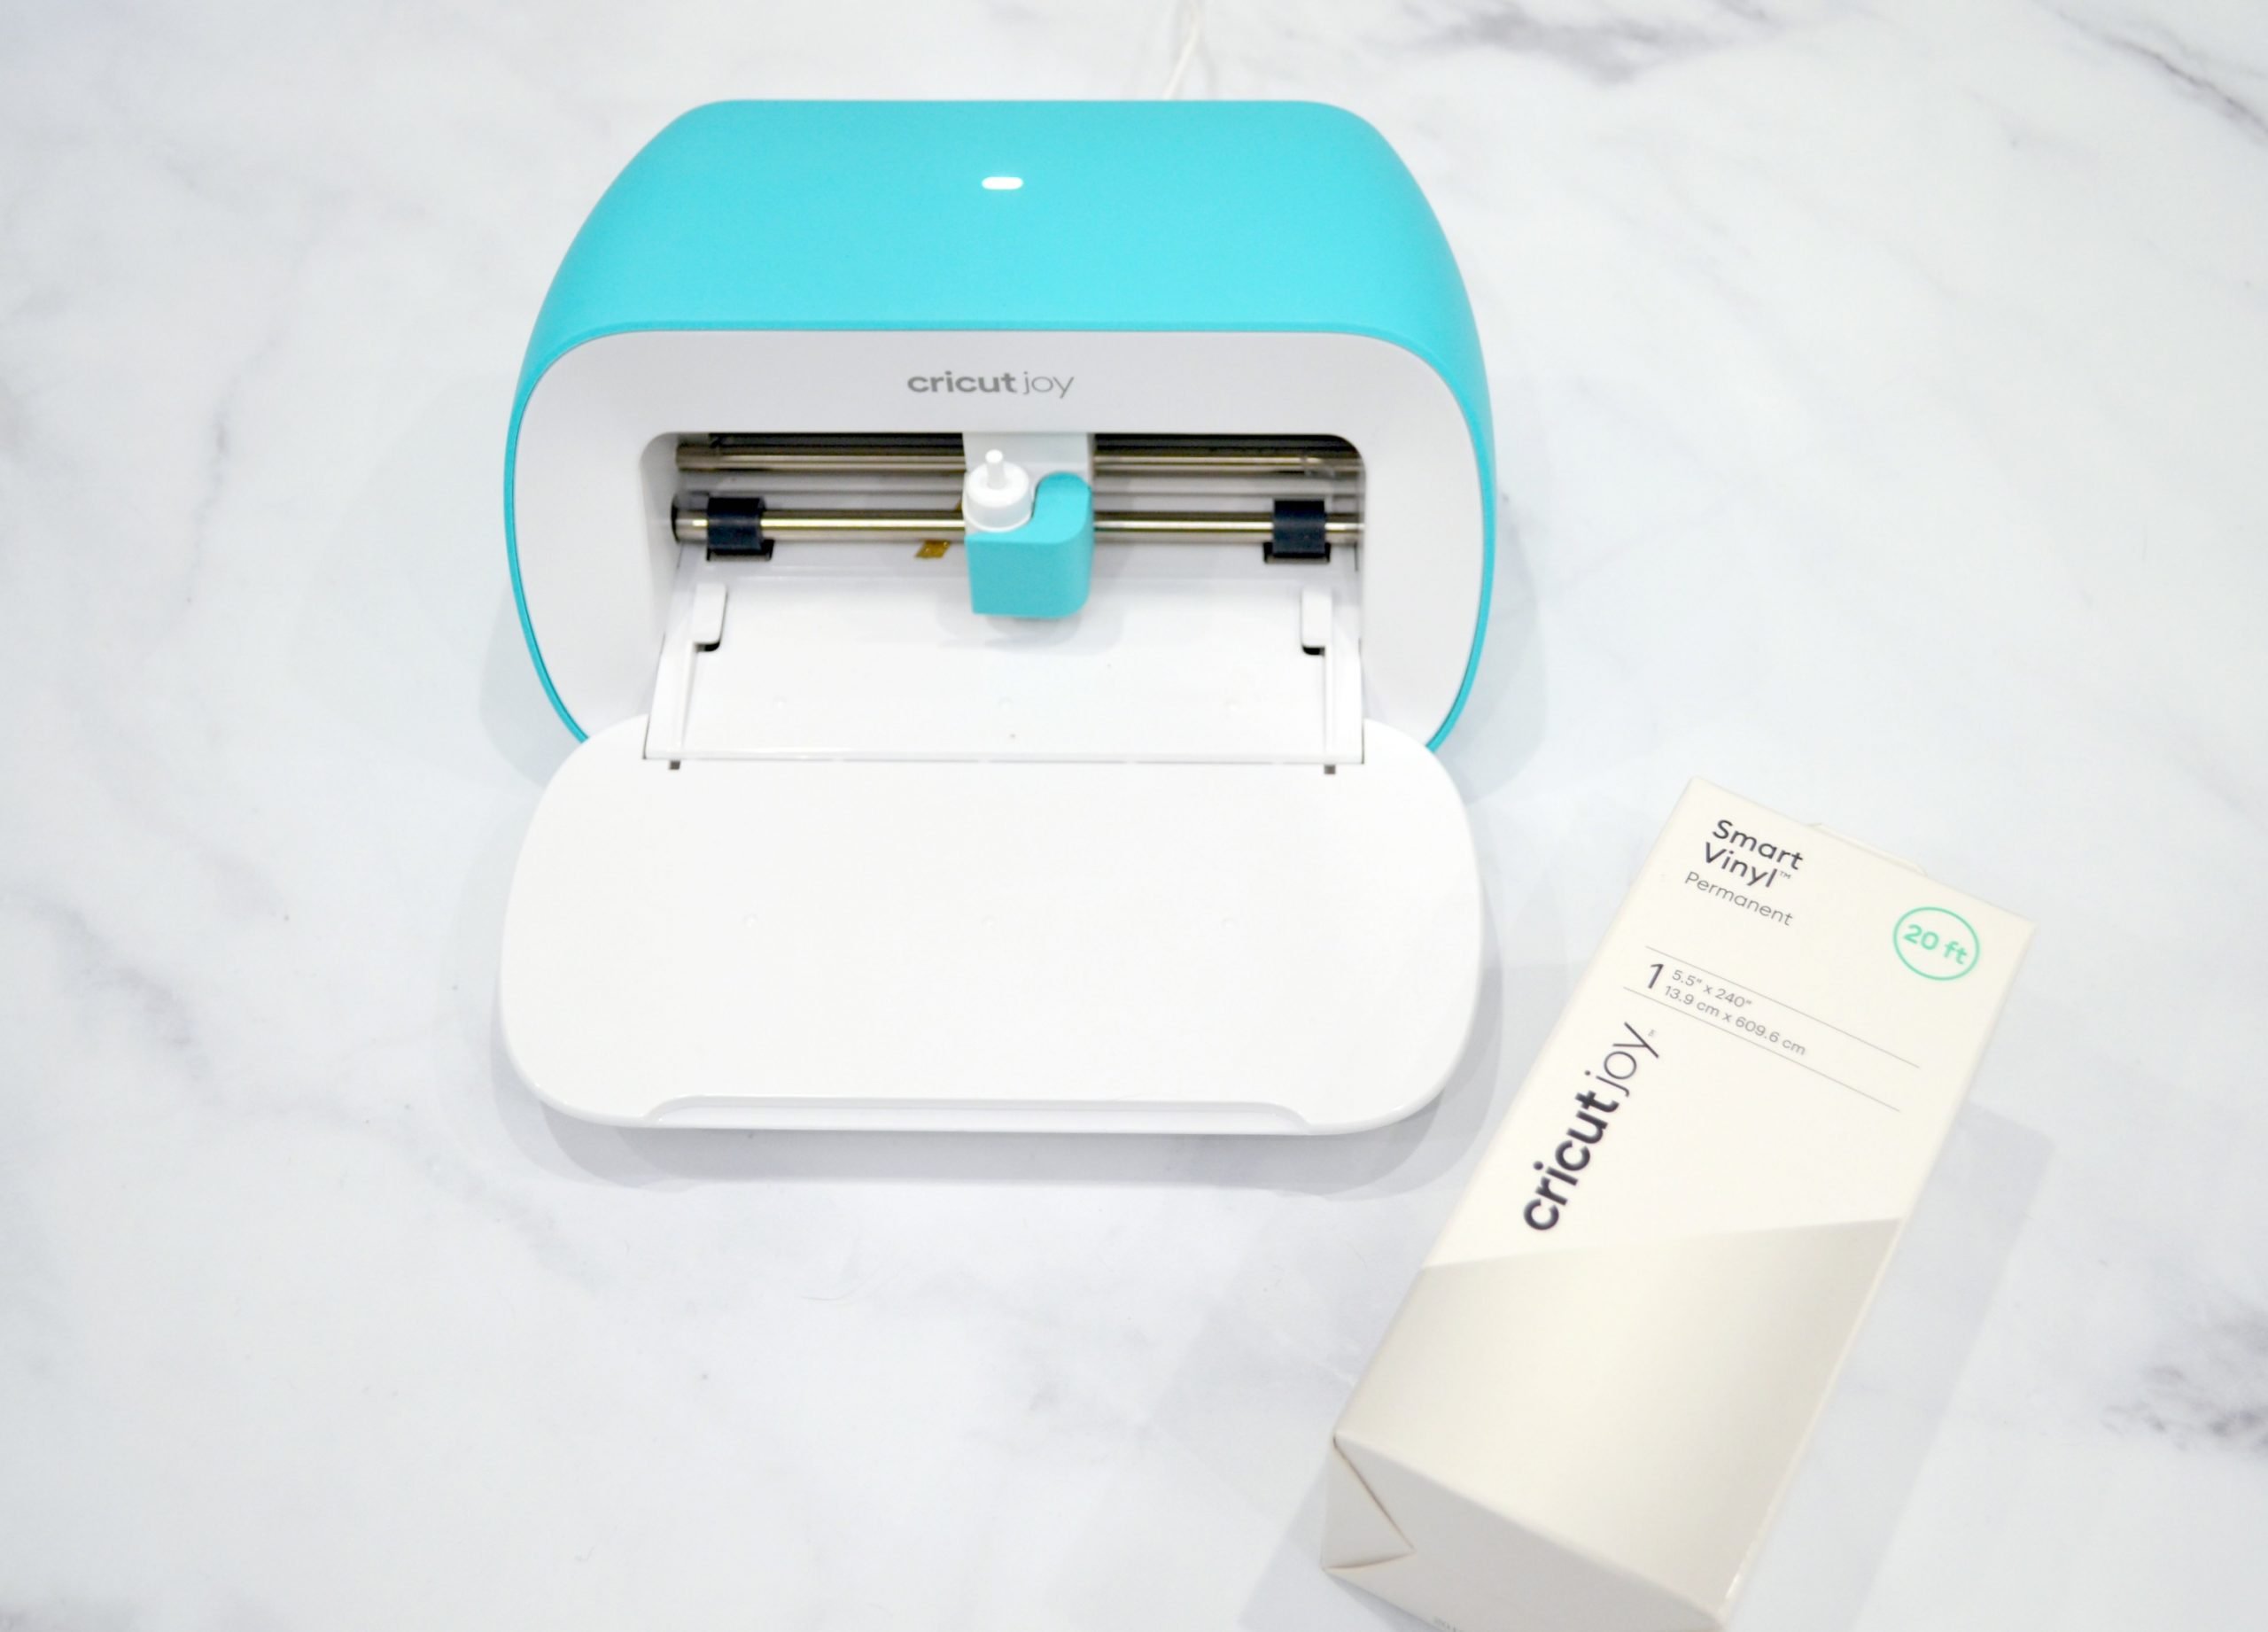
Cricut Joy Smart Vinyl (I used permanent glossy white)
Step 1: Choose your design.
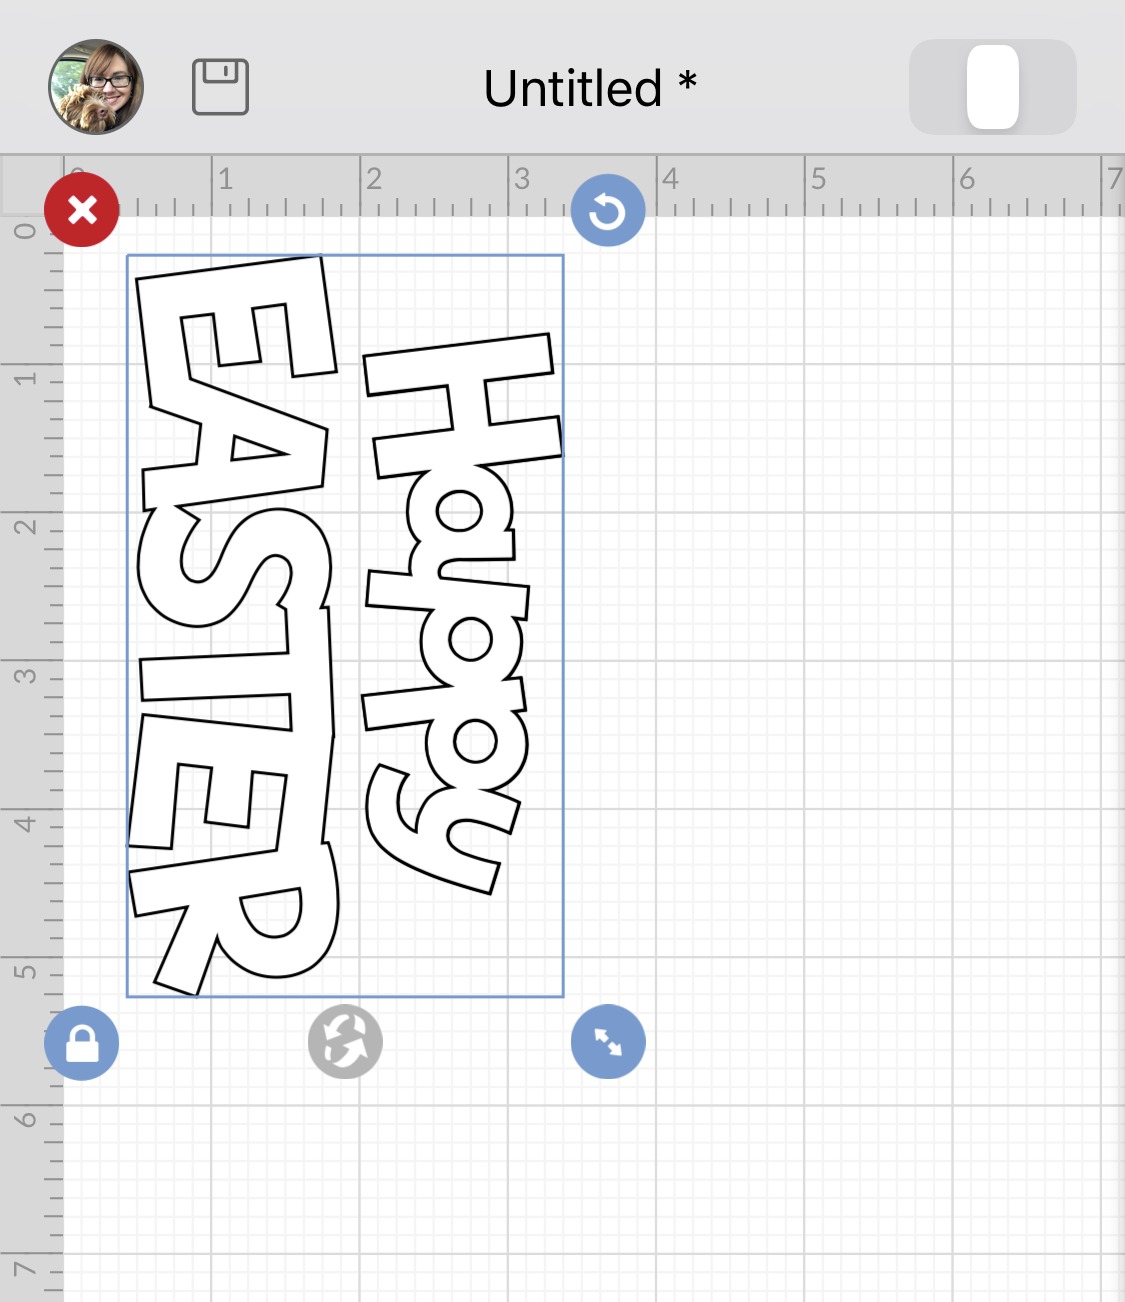
I searched in the Design Space library for “Easter” and chose the printed phrase “Happy Easter.” You can also opt to type your own message, name, or monogram.

Step 2: Size your image to fit your container.
Measure the bucket/box/basket you’re using, then use the grid and sizing tools in Design Space to make sure your words are a size that will fit it well. Mine was about 3″ x 5.”
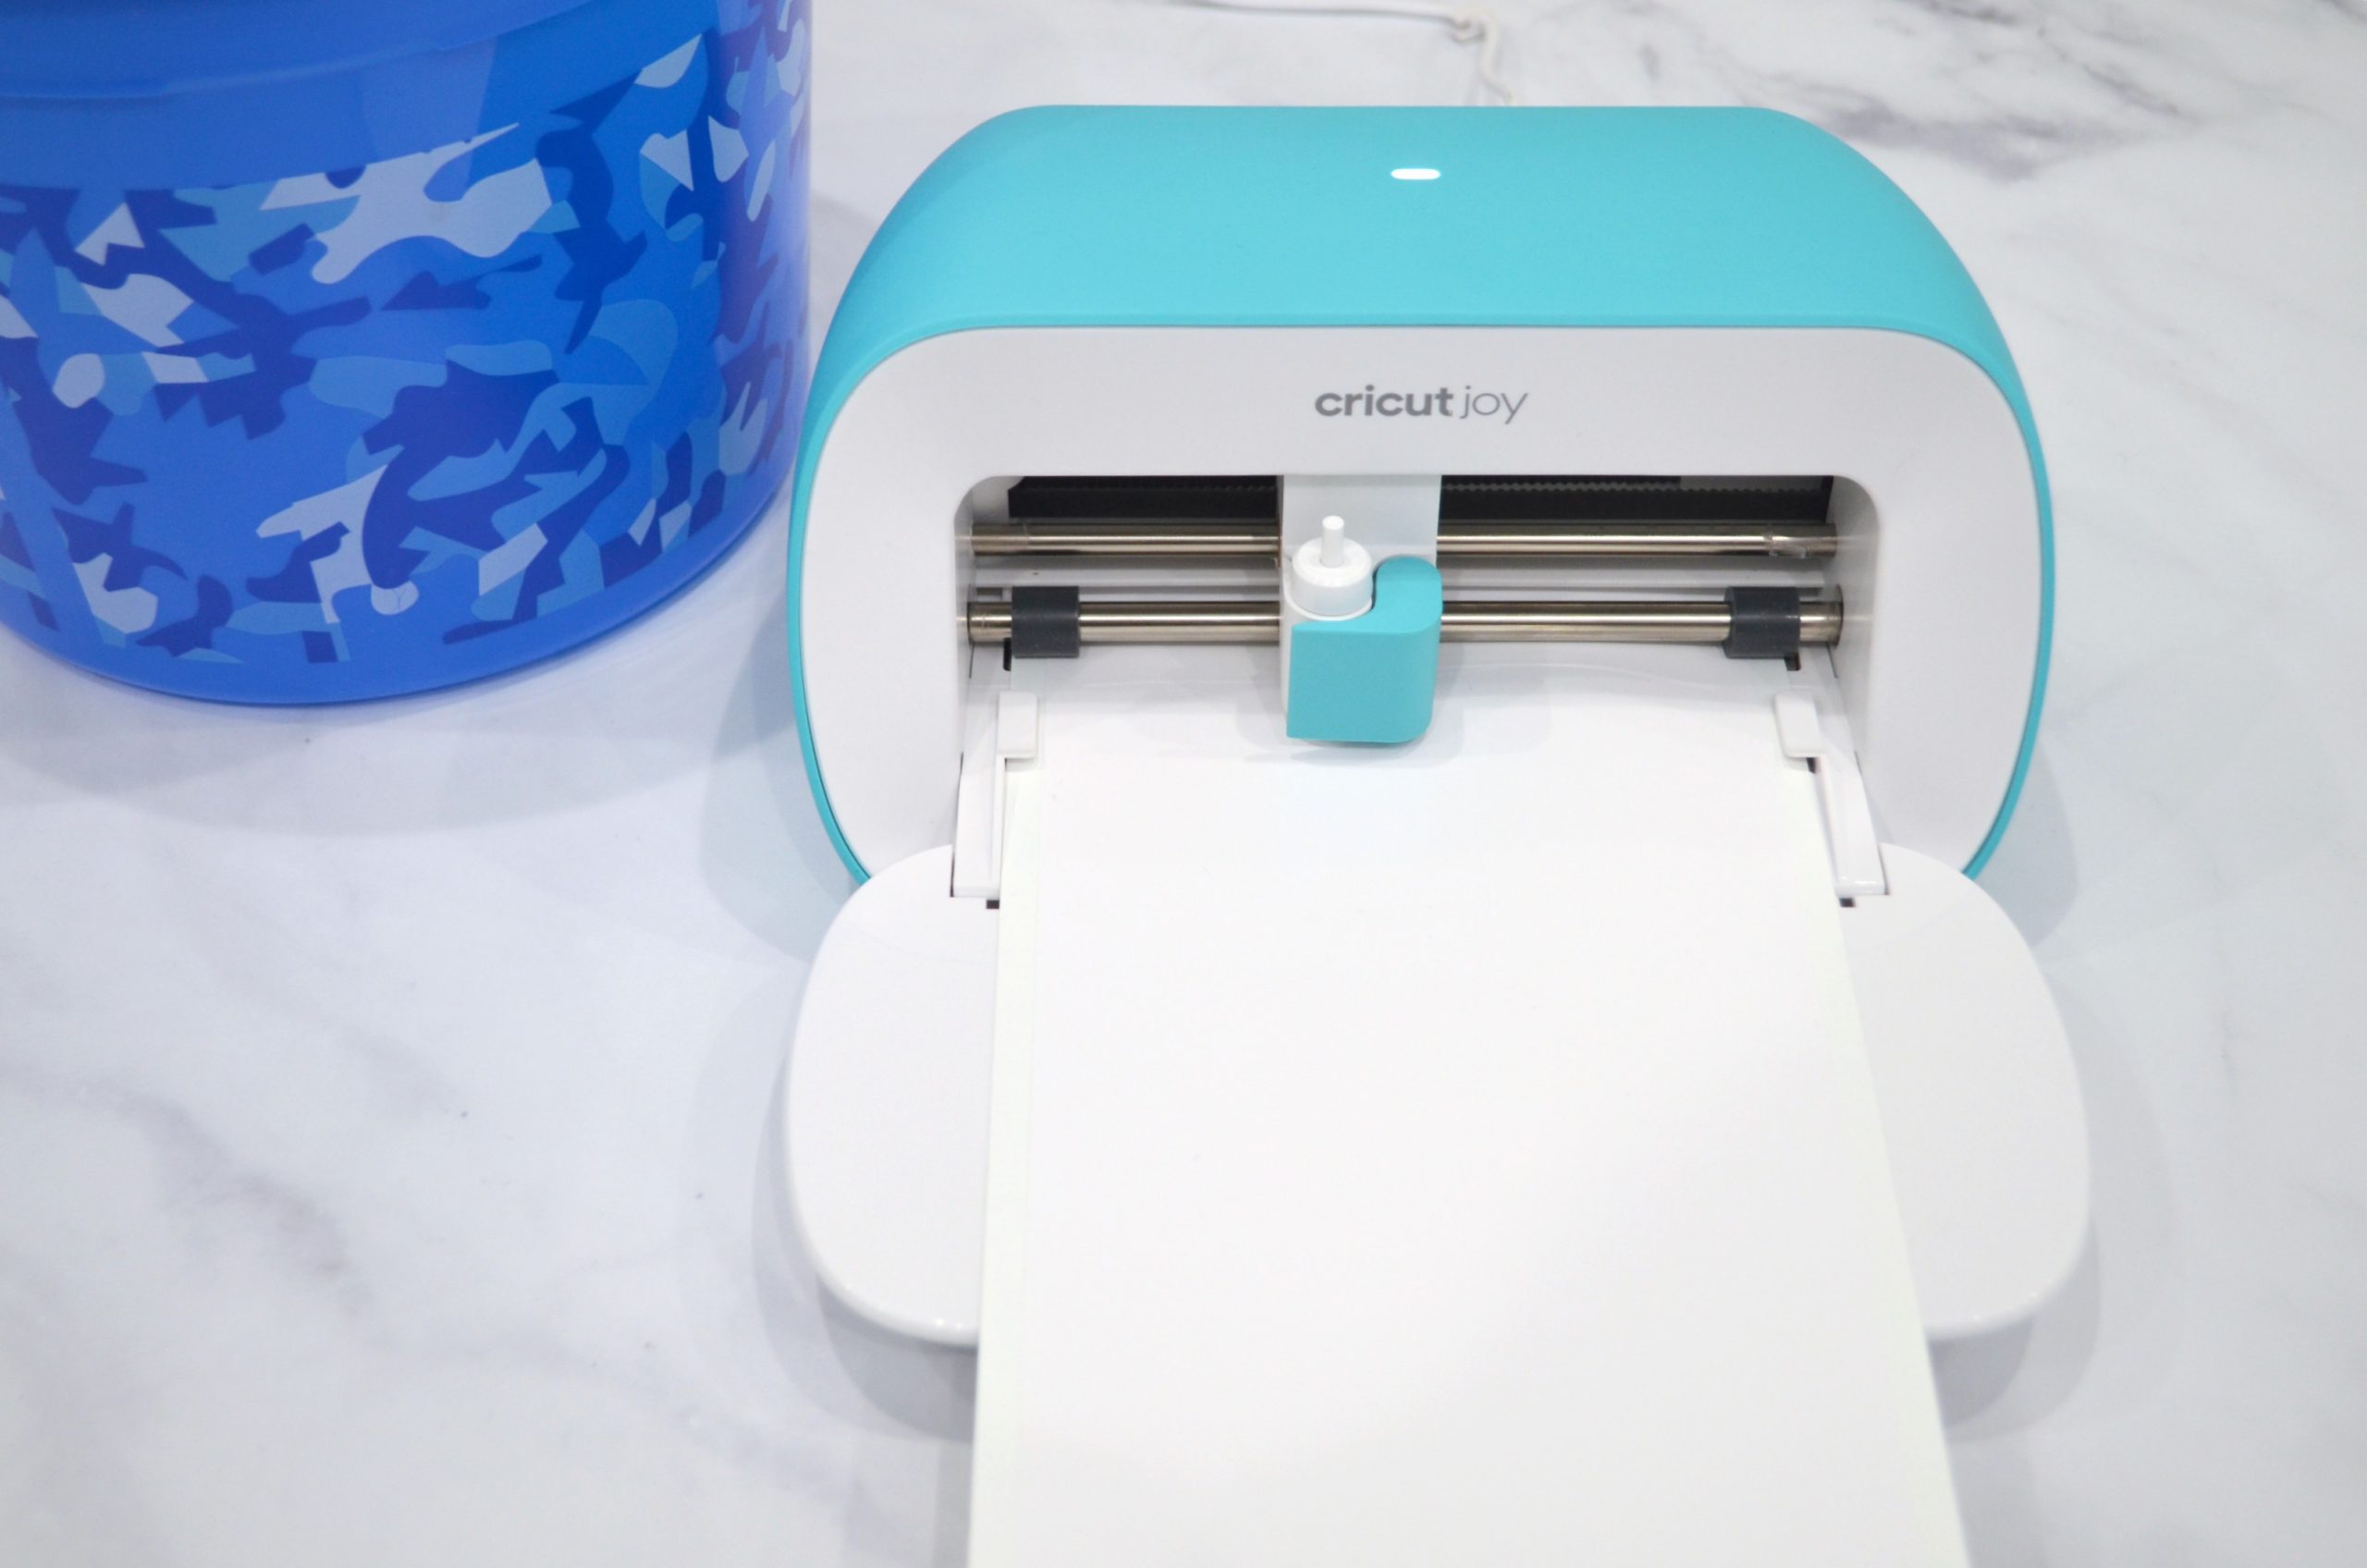
Step 3: Send the image to your machine.
Make sure you’ve set up your machine in the software. I’m using my Cricut Joy, so I set it up in Design Space, then chose the material I’m cutting, Permanent Smart Vinyl.
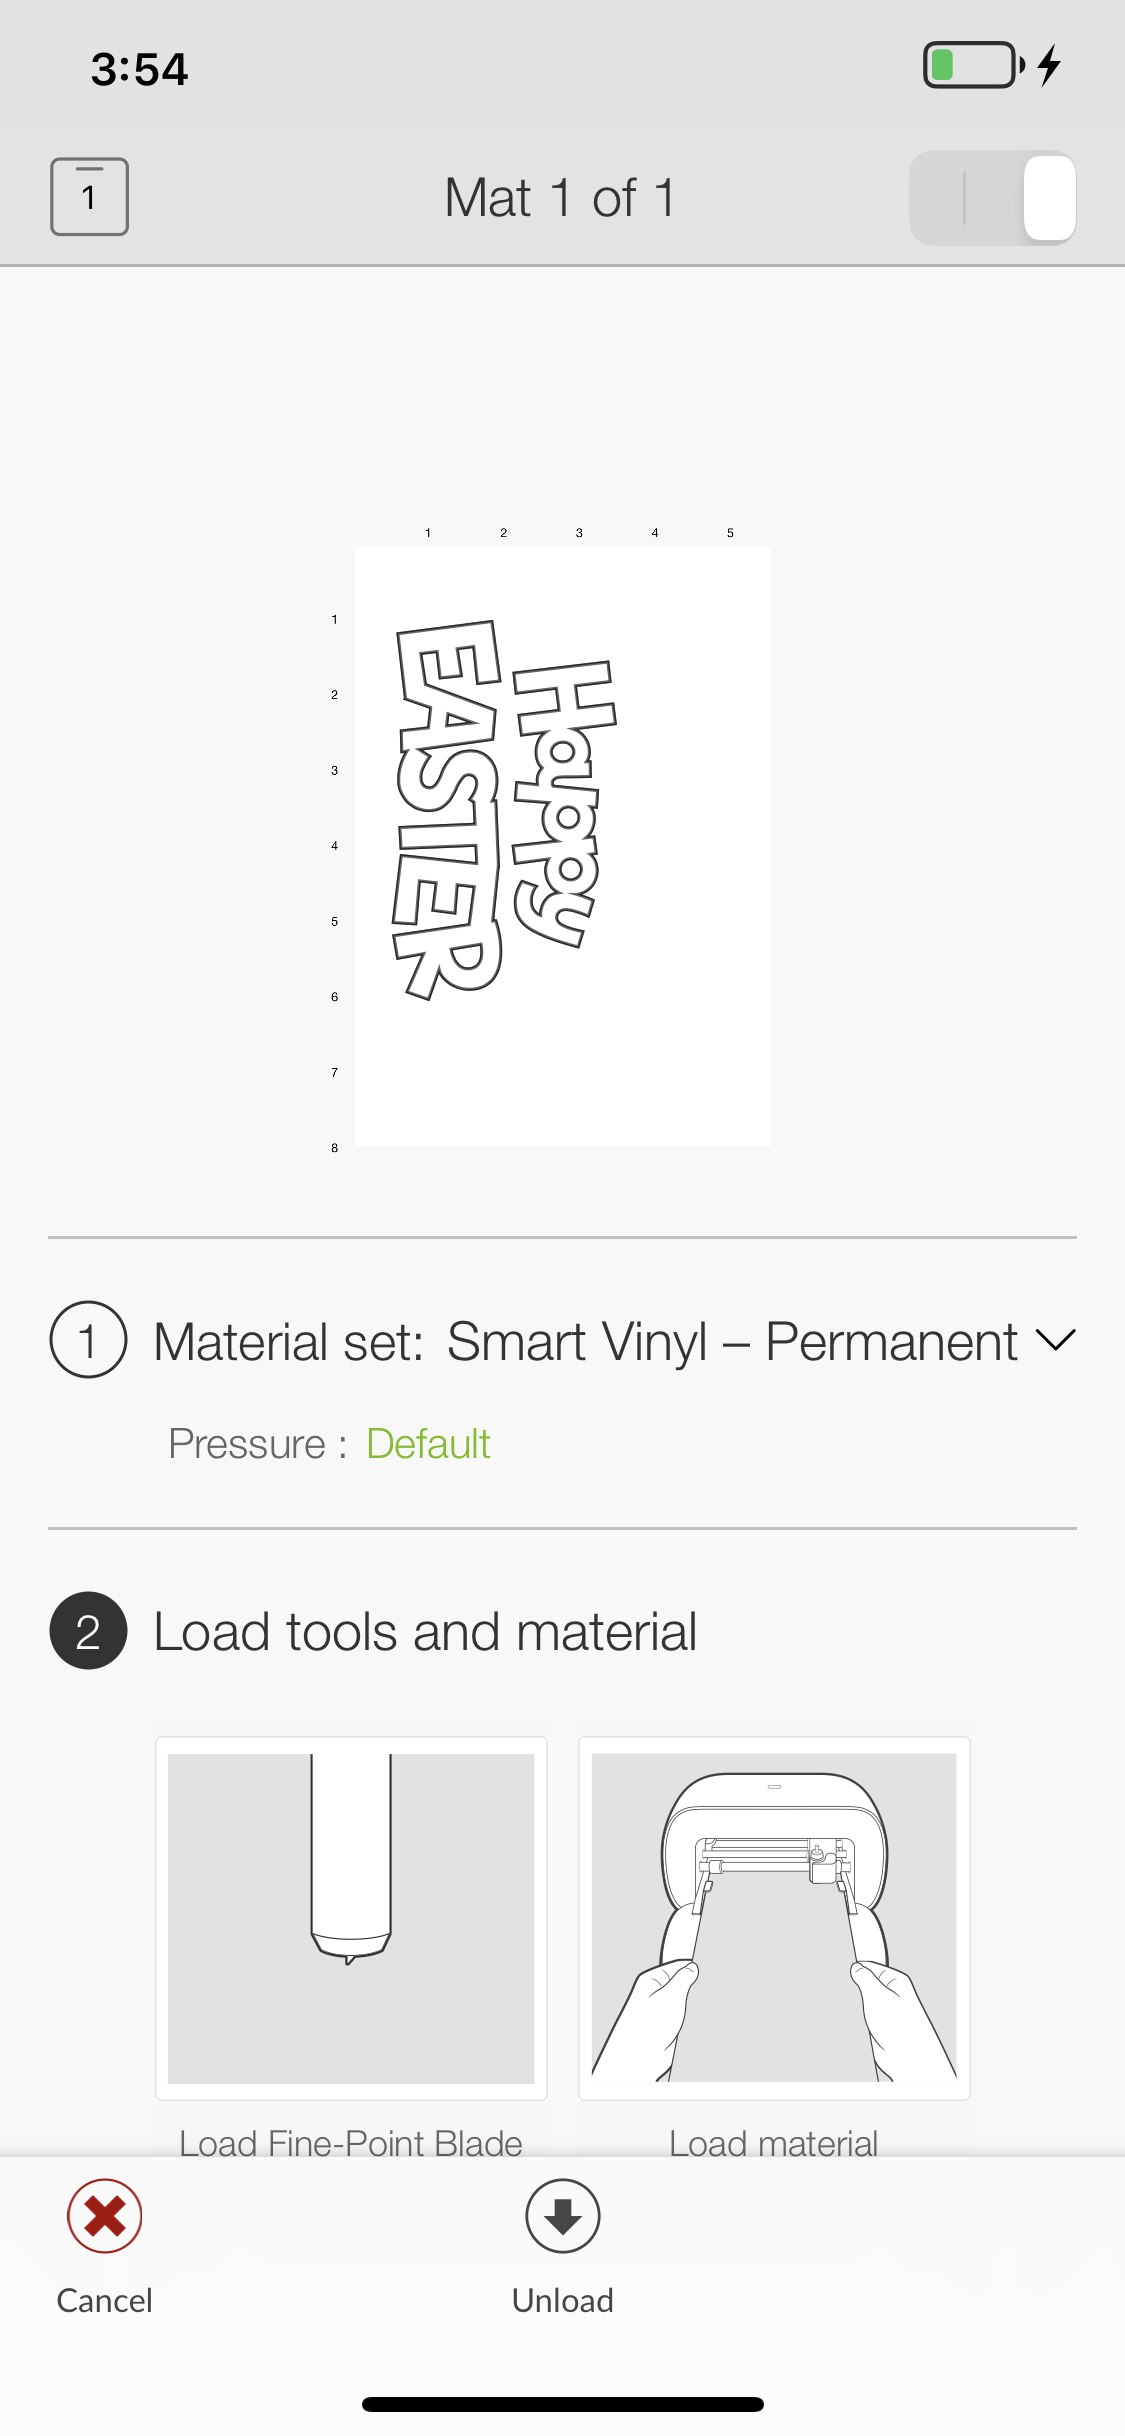
Step 4: Load your vinyl and cut.
Follow the prompts in Design Space to load your vinyl. The new Cricut Joy Smart materials are designed to be used without a cutting mat underneath, so all you have to do is place the vinyl close to the rollers and let the machine work its magic.
Step 5: Weed your design and adhere it to the container.
Weeding your design just means removing all the vinyl that’s not part of it, including the space inside of letters like “p” or “a”. Then, you can use Transfer Tape or just peel and stick your design where you want it.
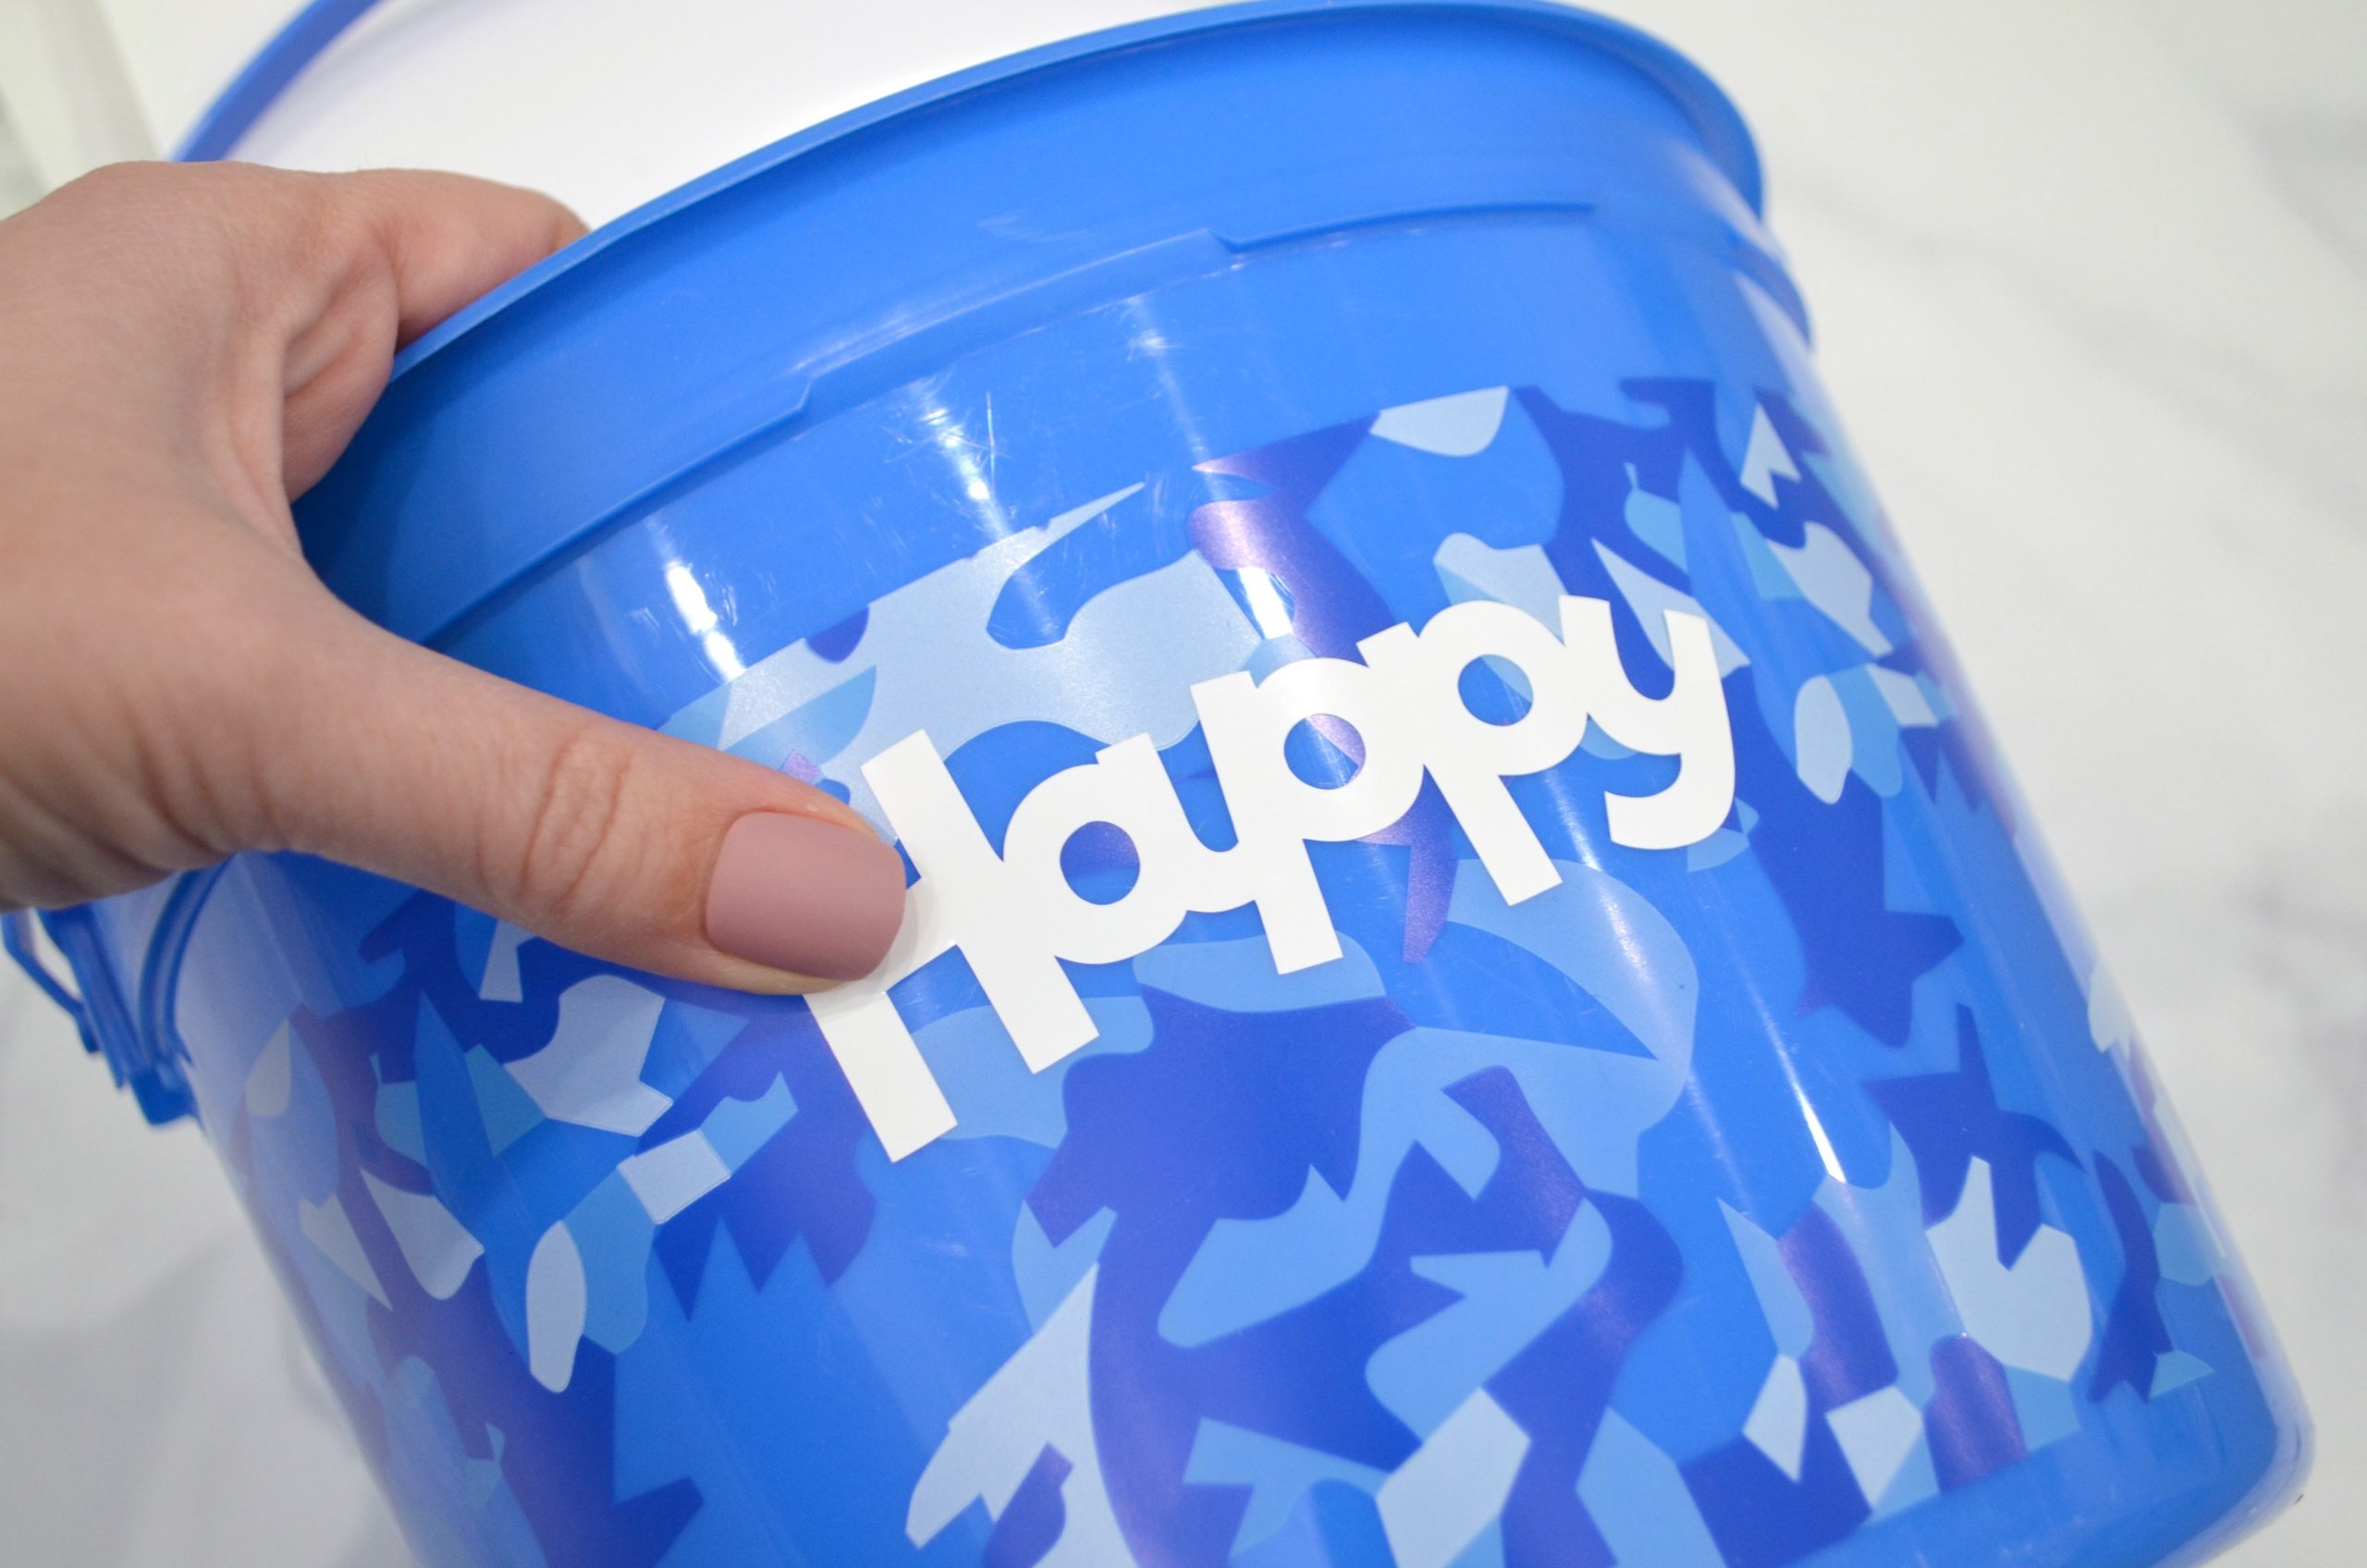
Smart Vinyl is available in 25 different colors, so you can choose the one that coordinates best with your container. In addition to cutting an Easter message, you can also personalize the container with your child’s name, monogram, or something else they enjoy.

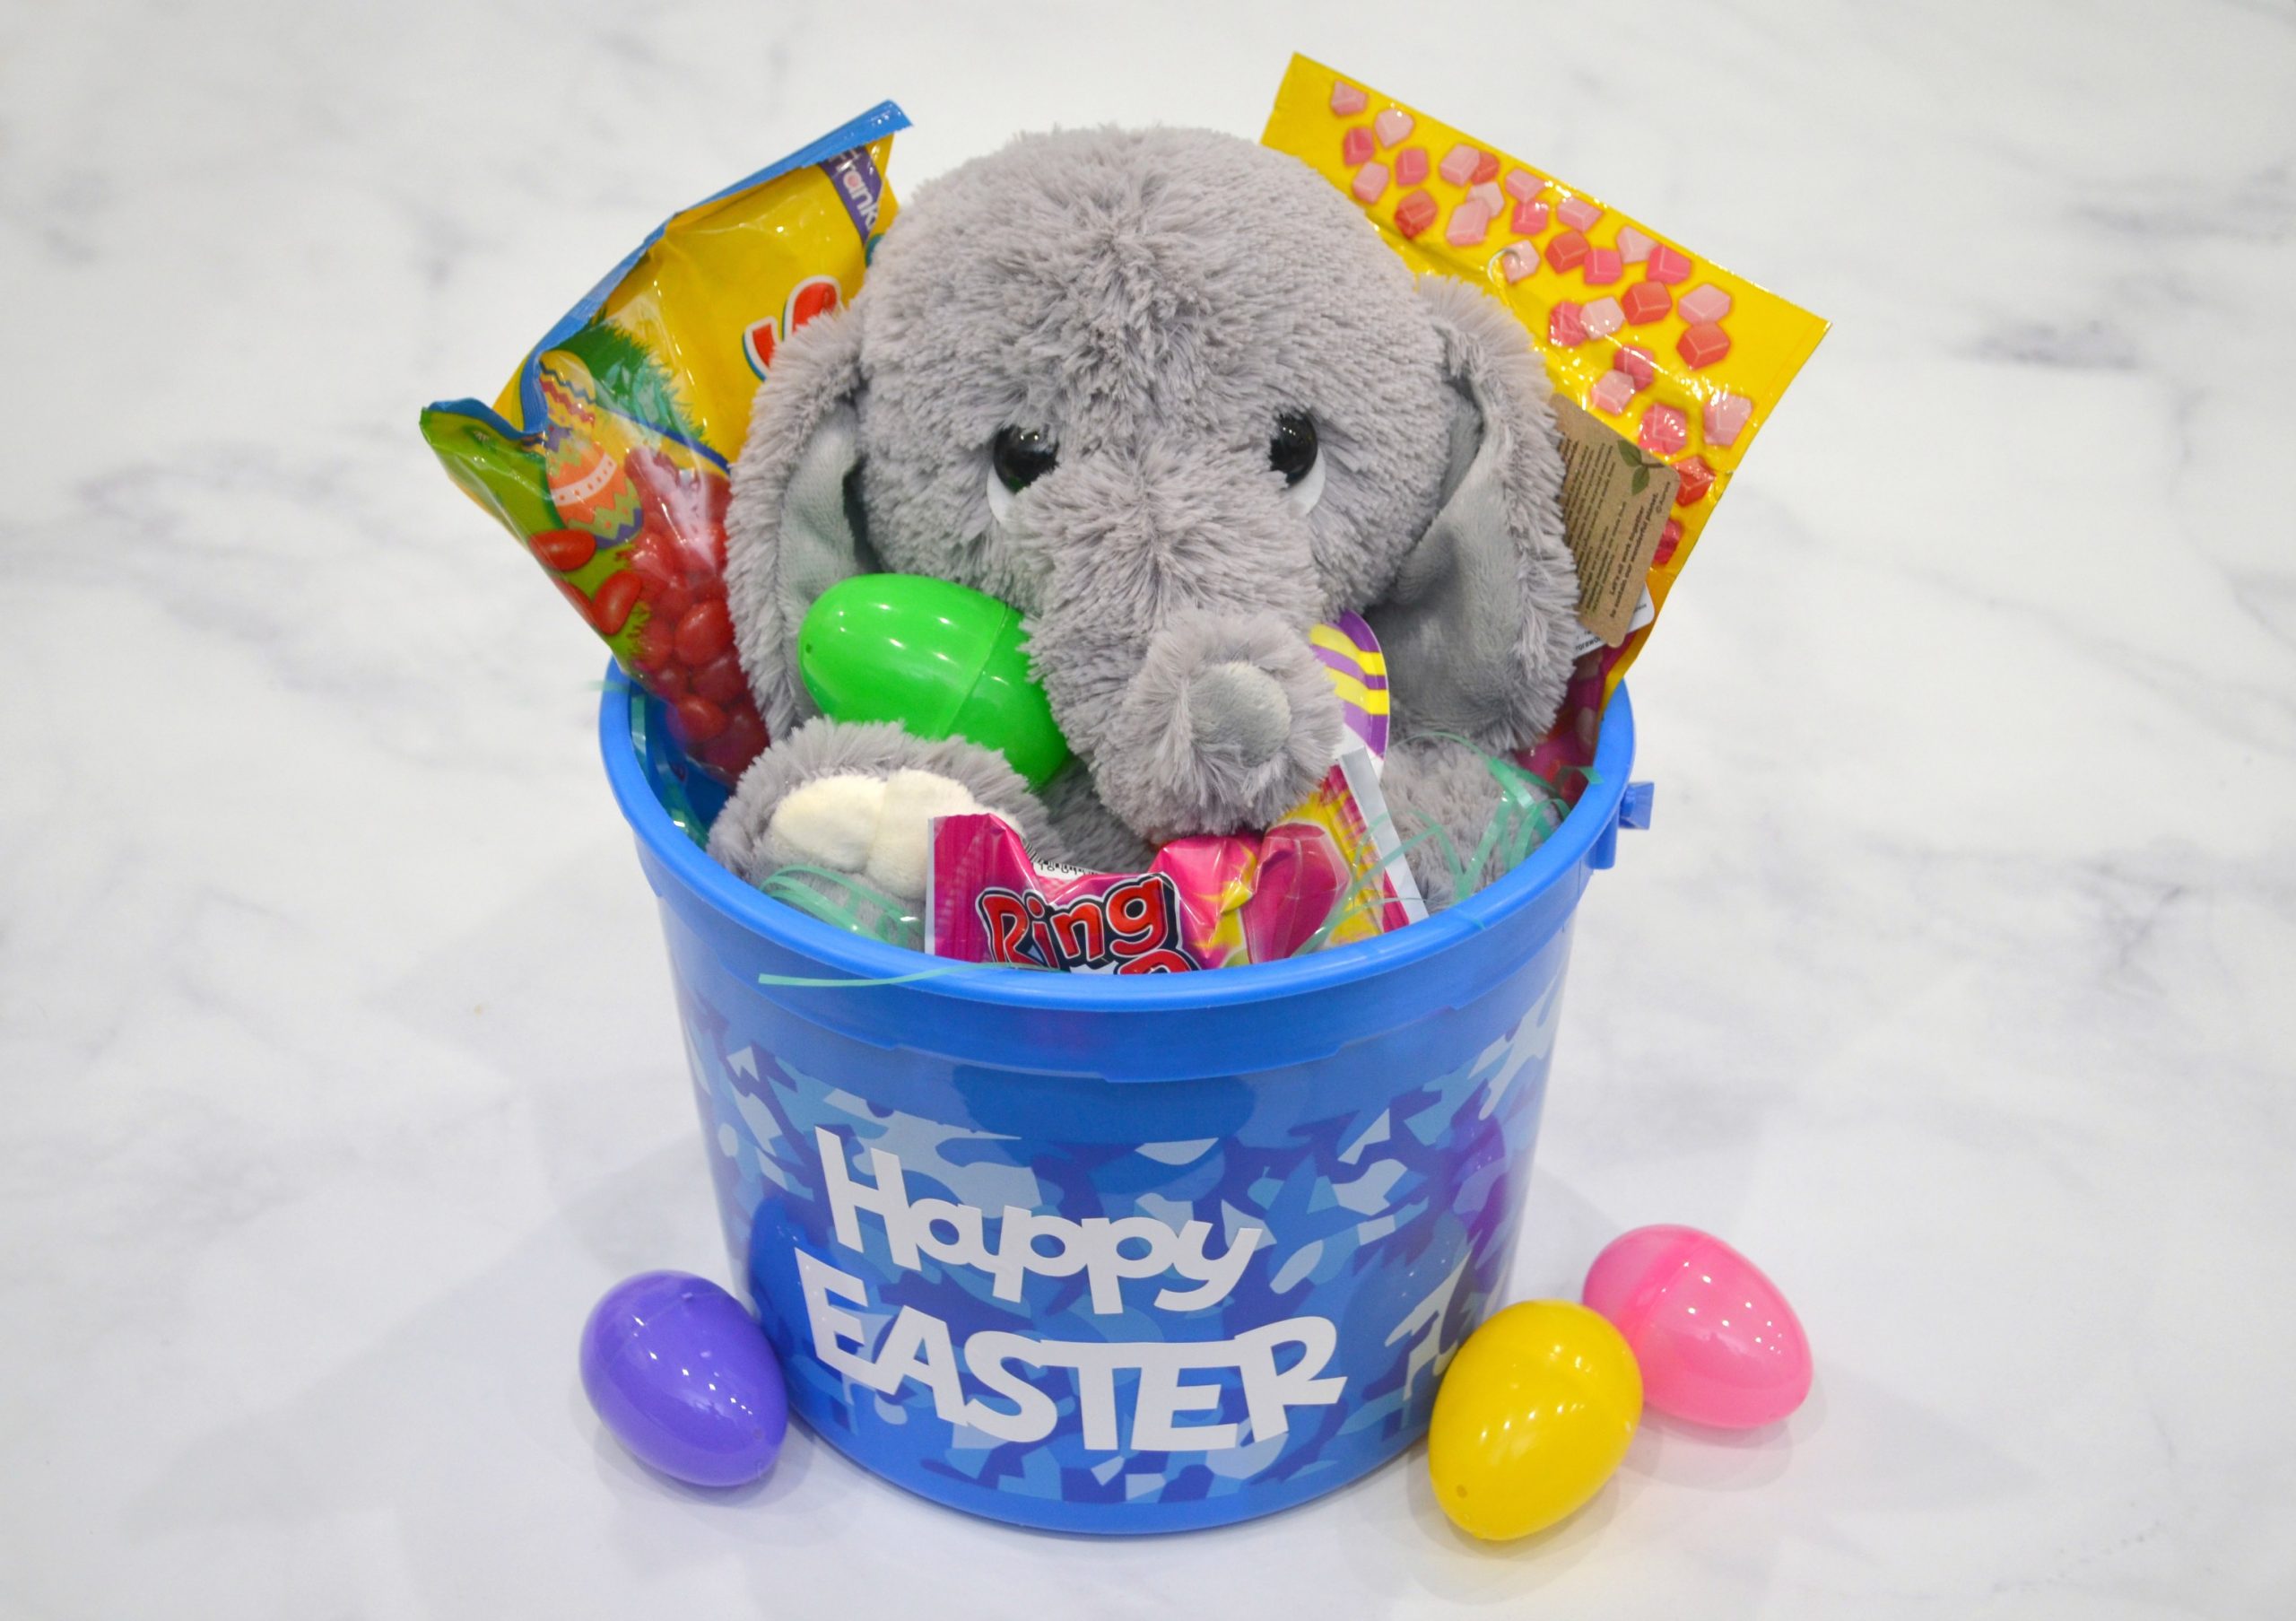
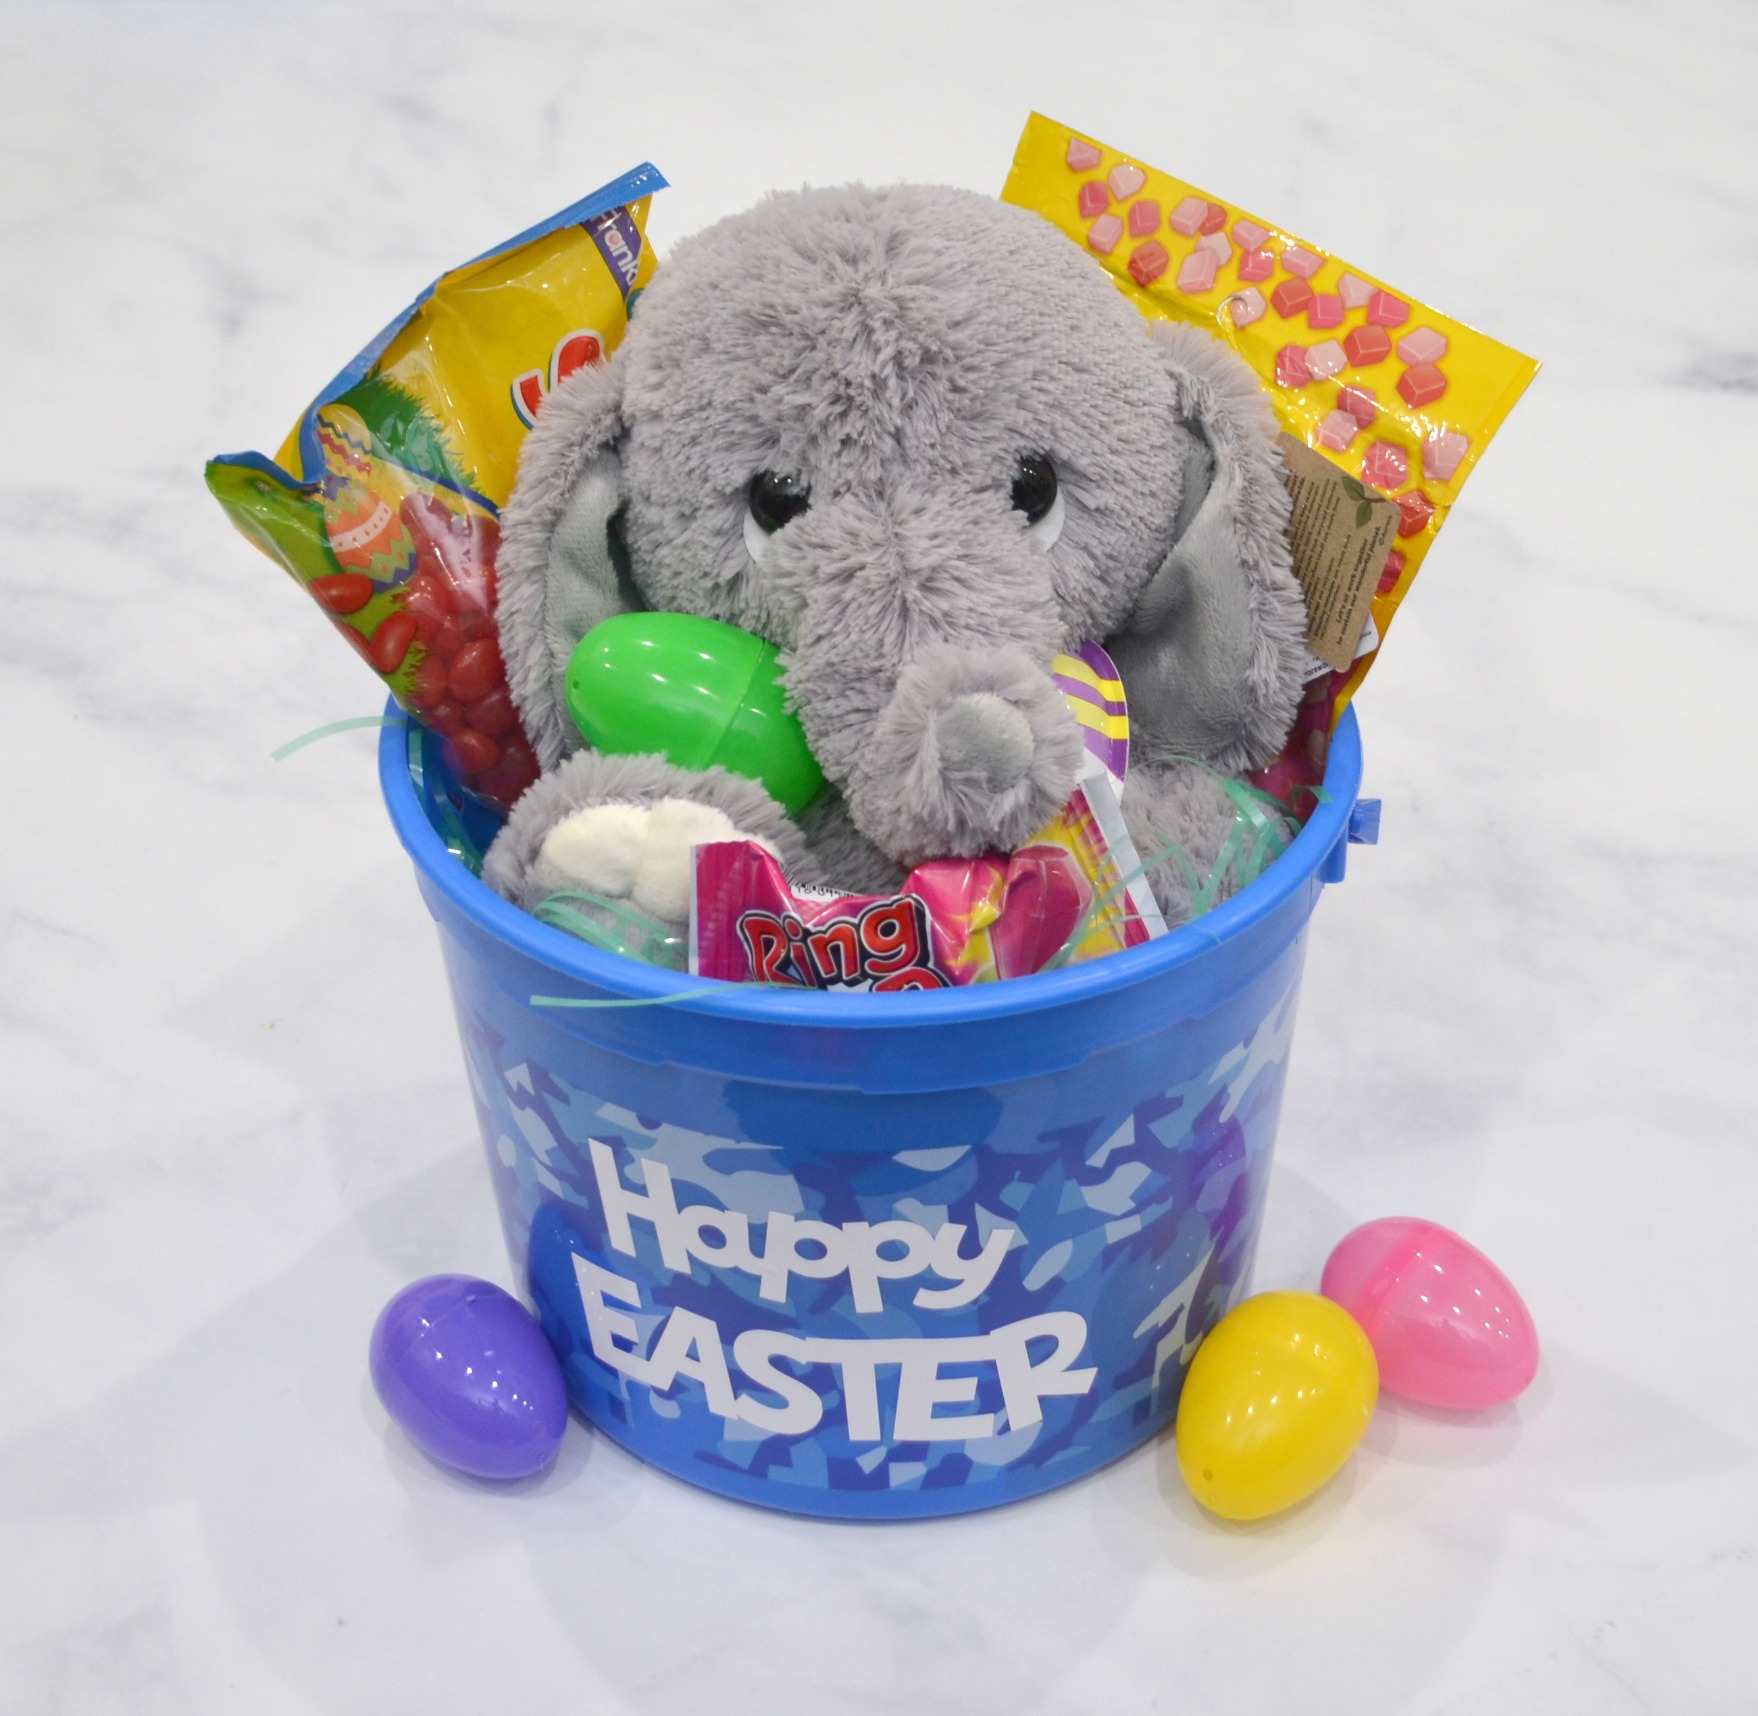
All that’s left to do is fill that container with some of your kiddo’s favorite goodies. It’s so simple to do, and it will turn anything you have on hand into a one of a kind Easter basket.
Besides creating a DIY Easter Basket, there are lots of other ways to use the Cricut Joy, including making these pretty Insert Cards you can send to encourage friends and family or wish them a Happy Easter. Be sure to check out my other Spring and Easter project ideas here. Happy creating!
3 Comments