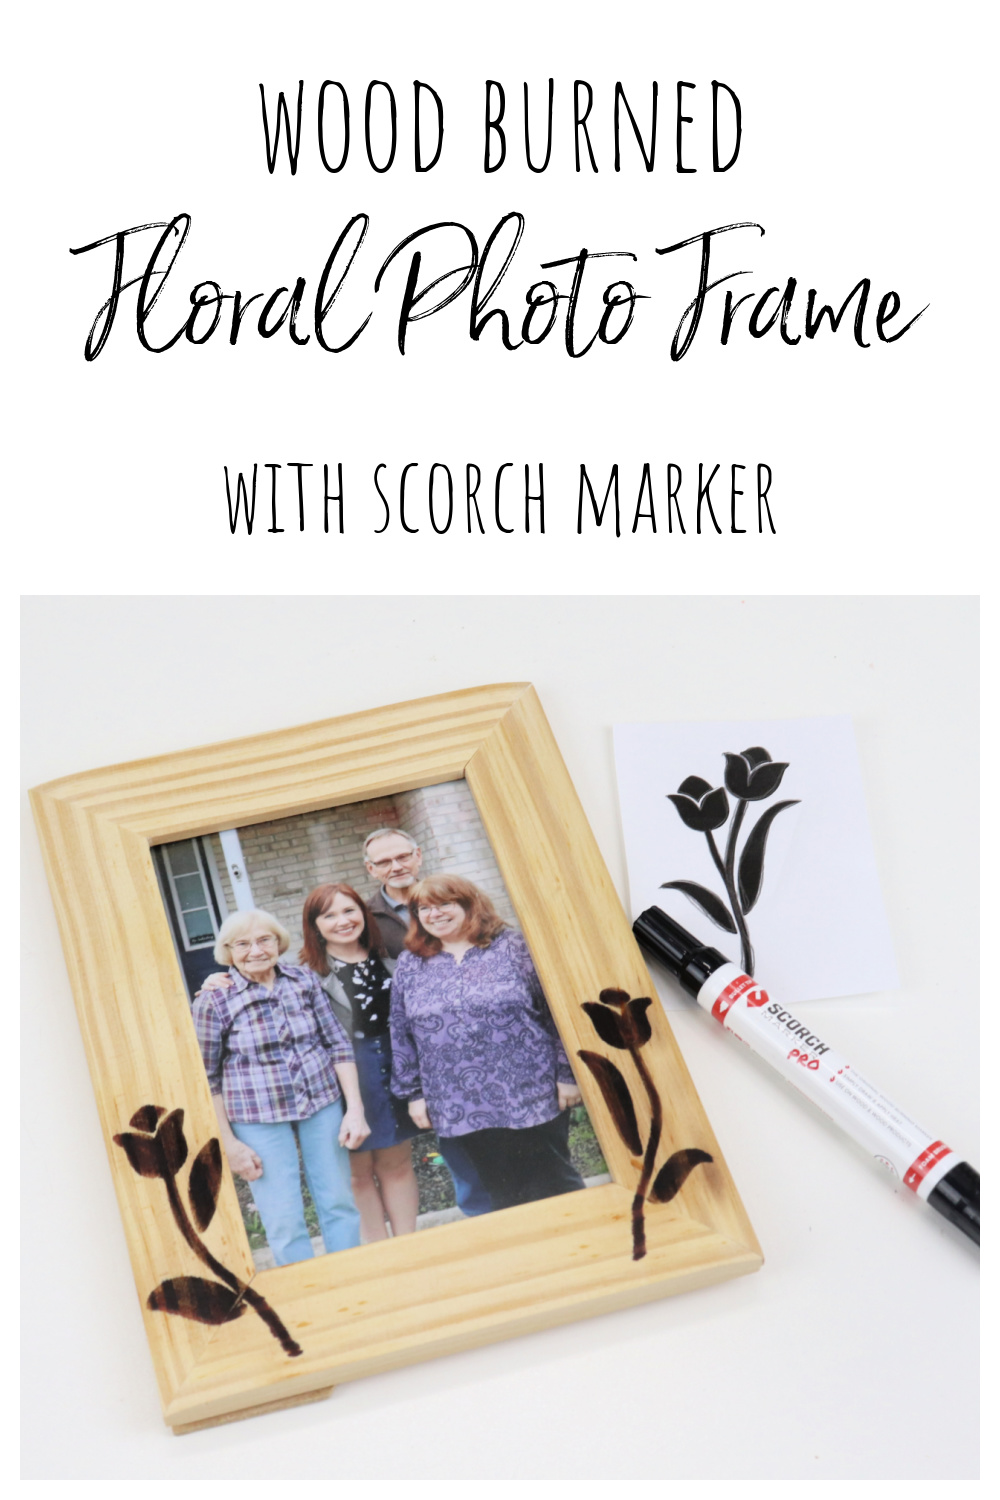
Wood Burned Floral Photo Frame
Thanks to Scorch Marker for sponsoring today’s post; all opinions are my own.
Photos are priceless treasures, and they make wonderful gifts for the people we love. Today, we’re going to make a wood burned floral photo frame that’s perfect for spring and you won’t believe how easy it is to do! Rather than creating a stencil, we’re going to do an image transfer that requires nothing more than a printed design and a pencil.
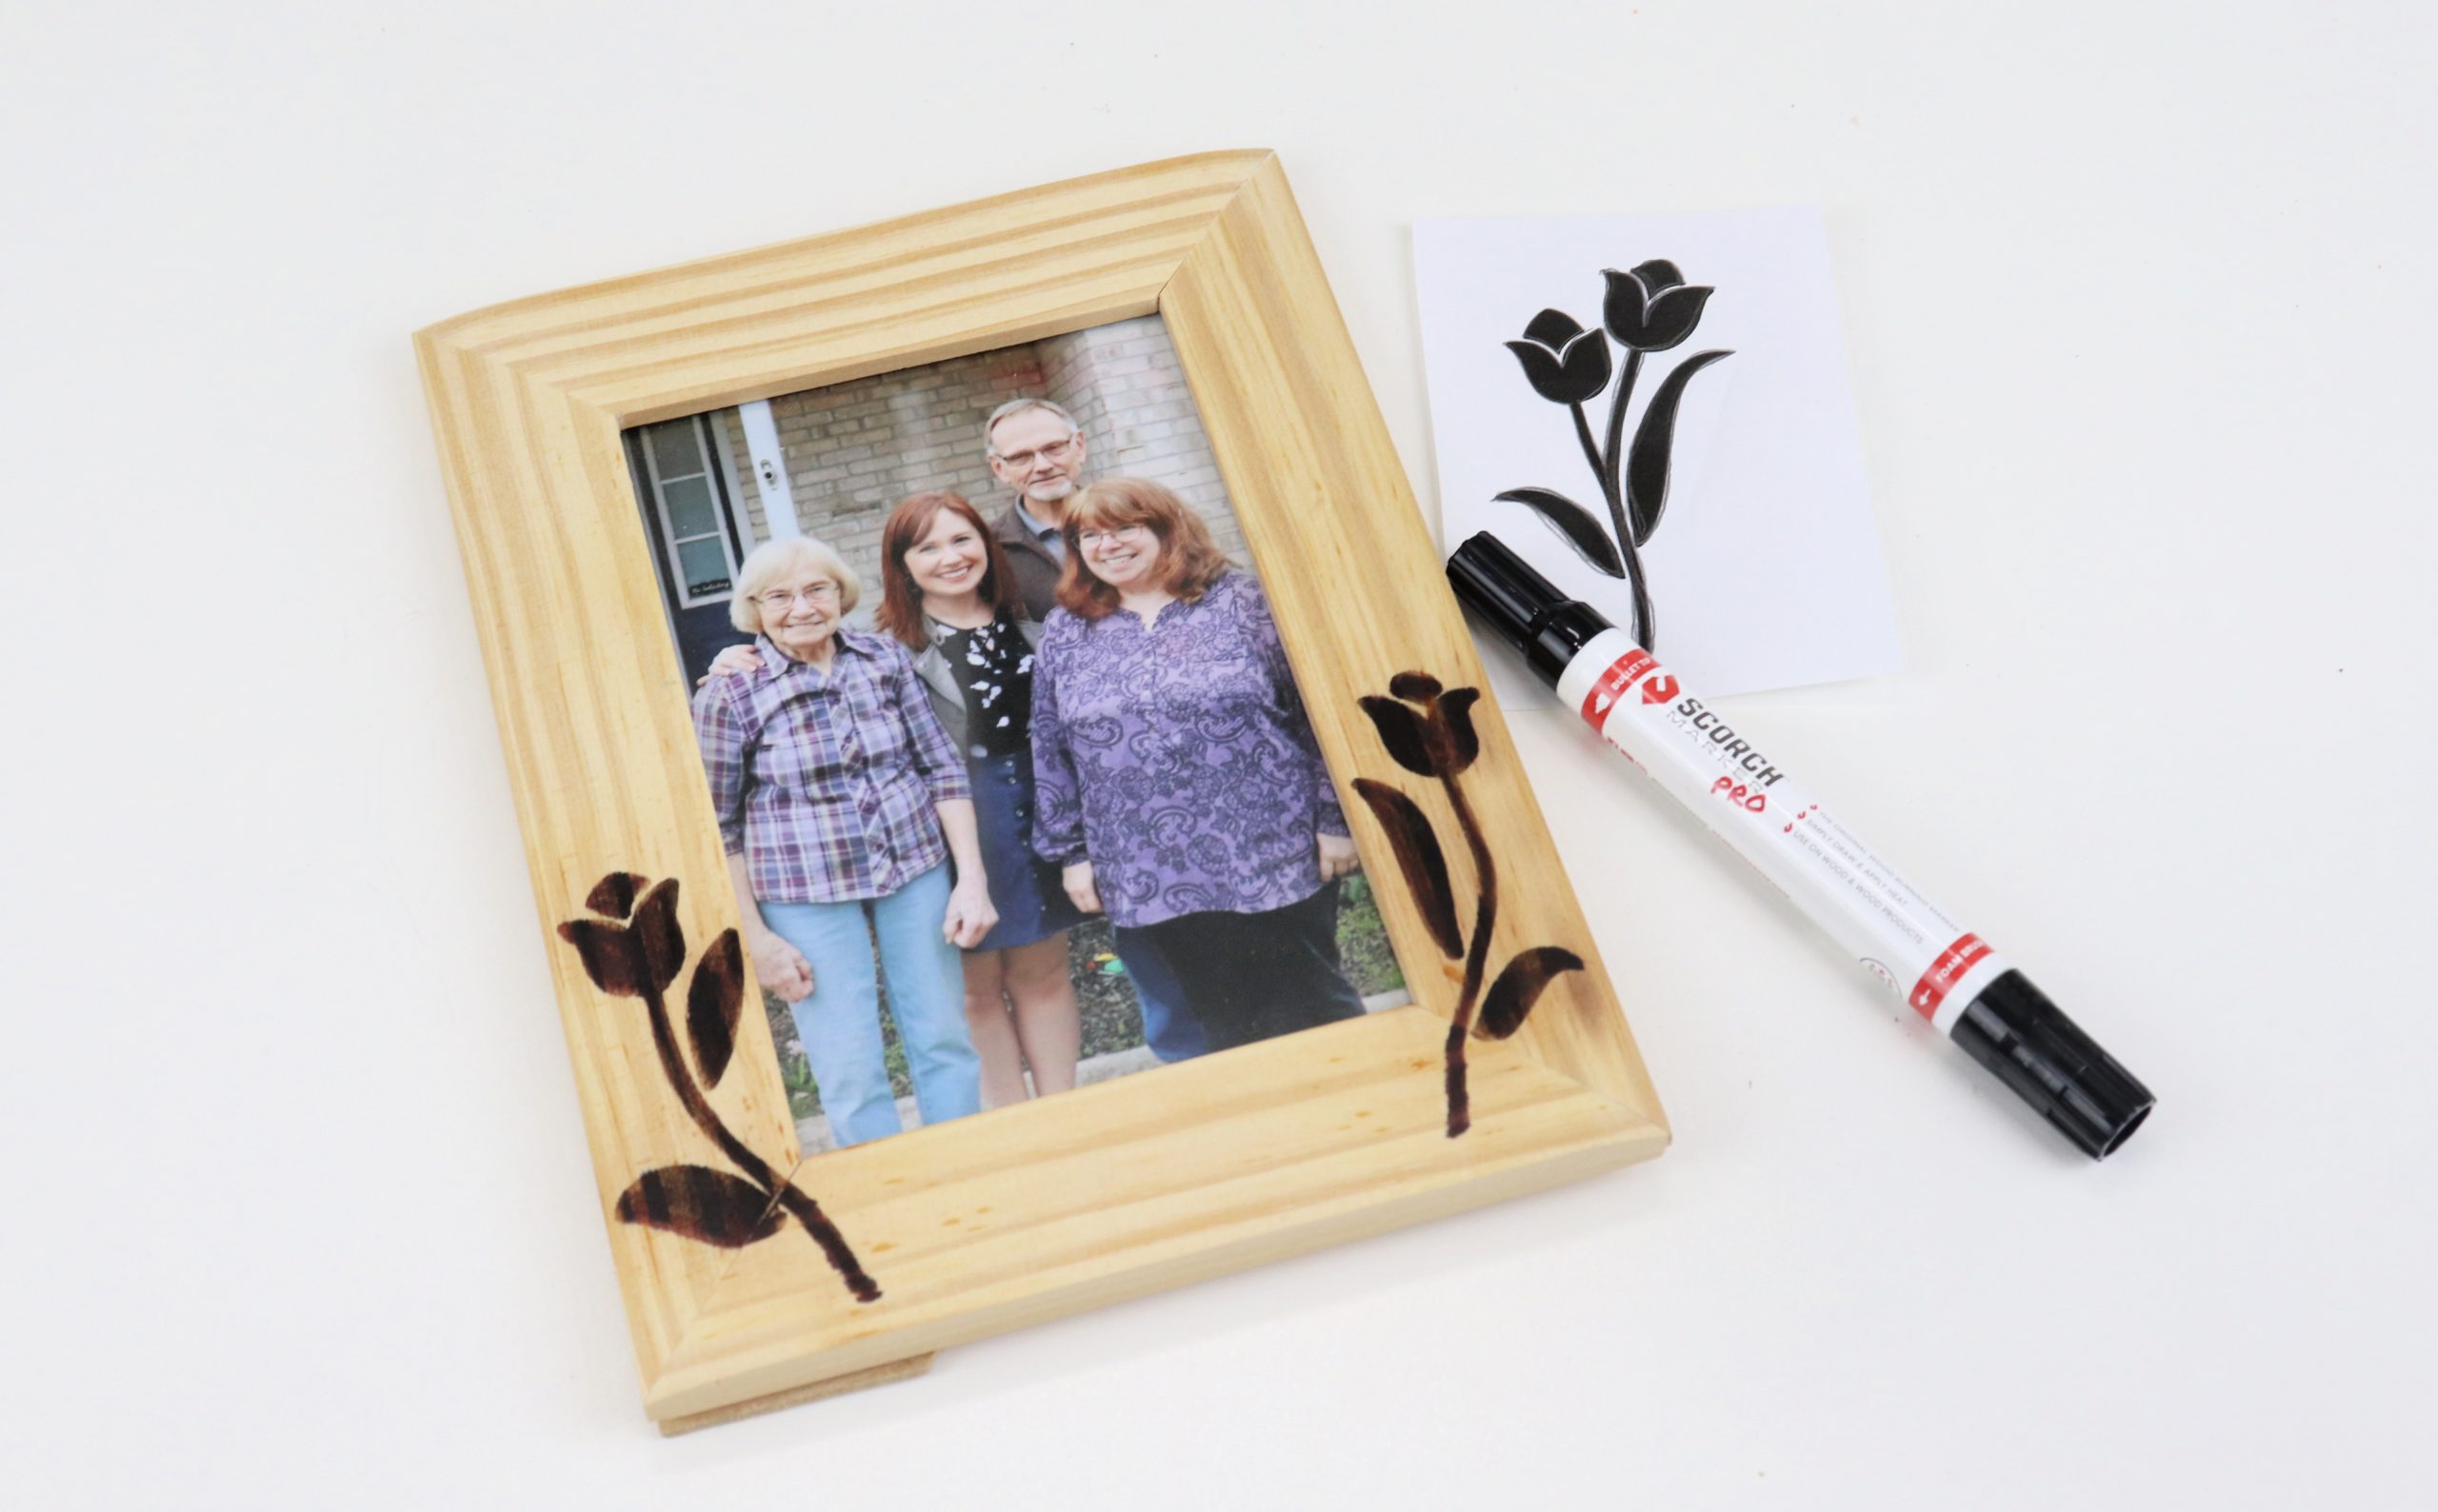
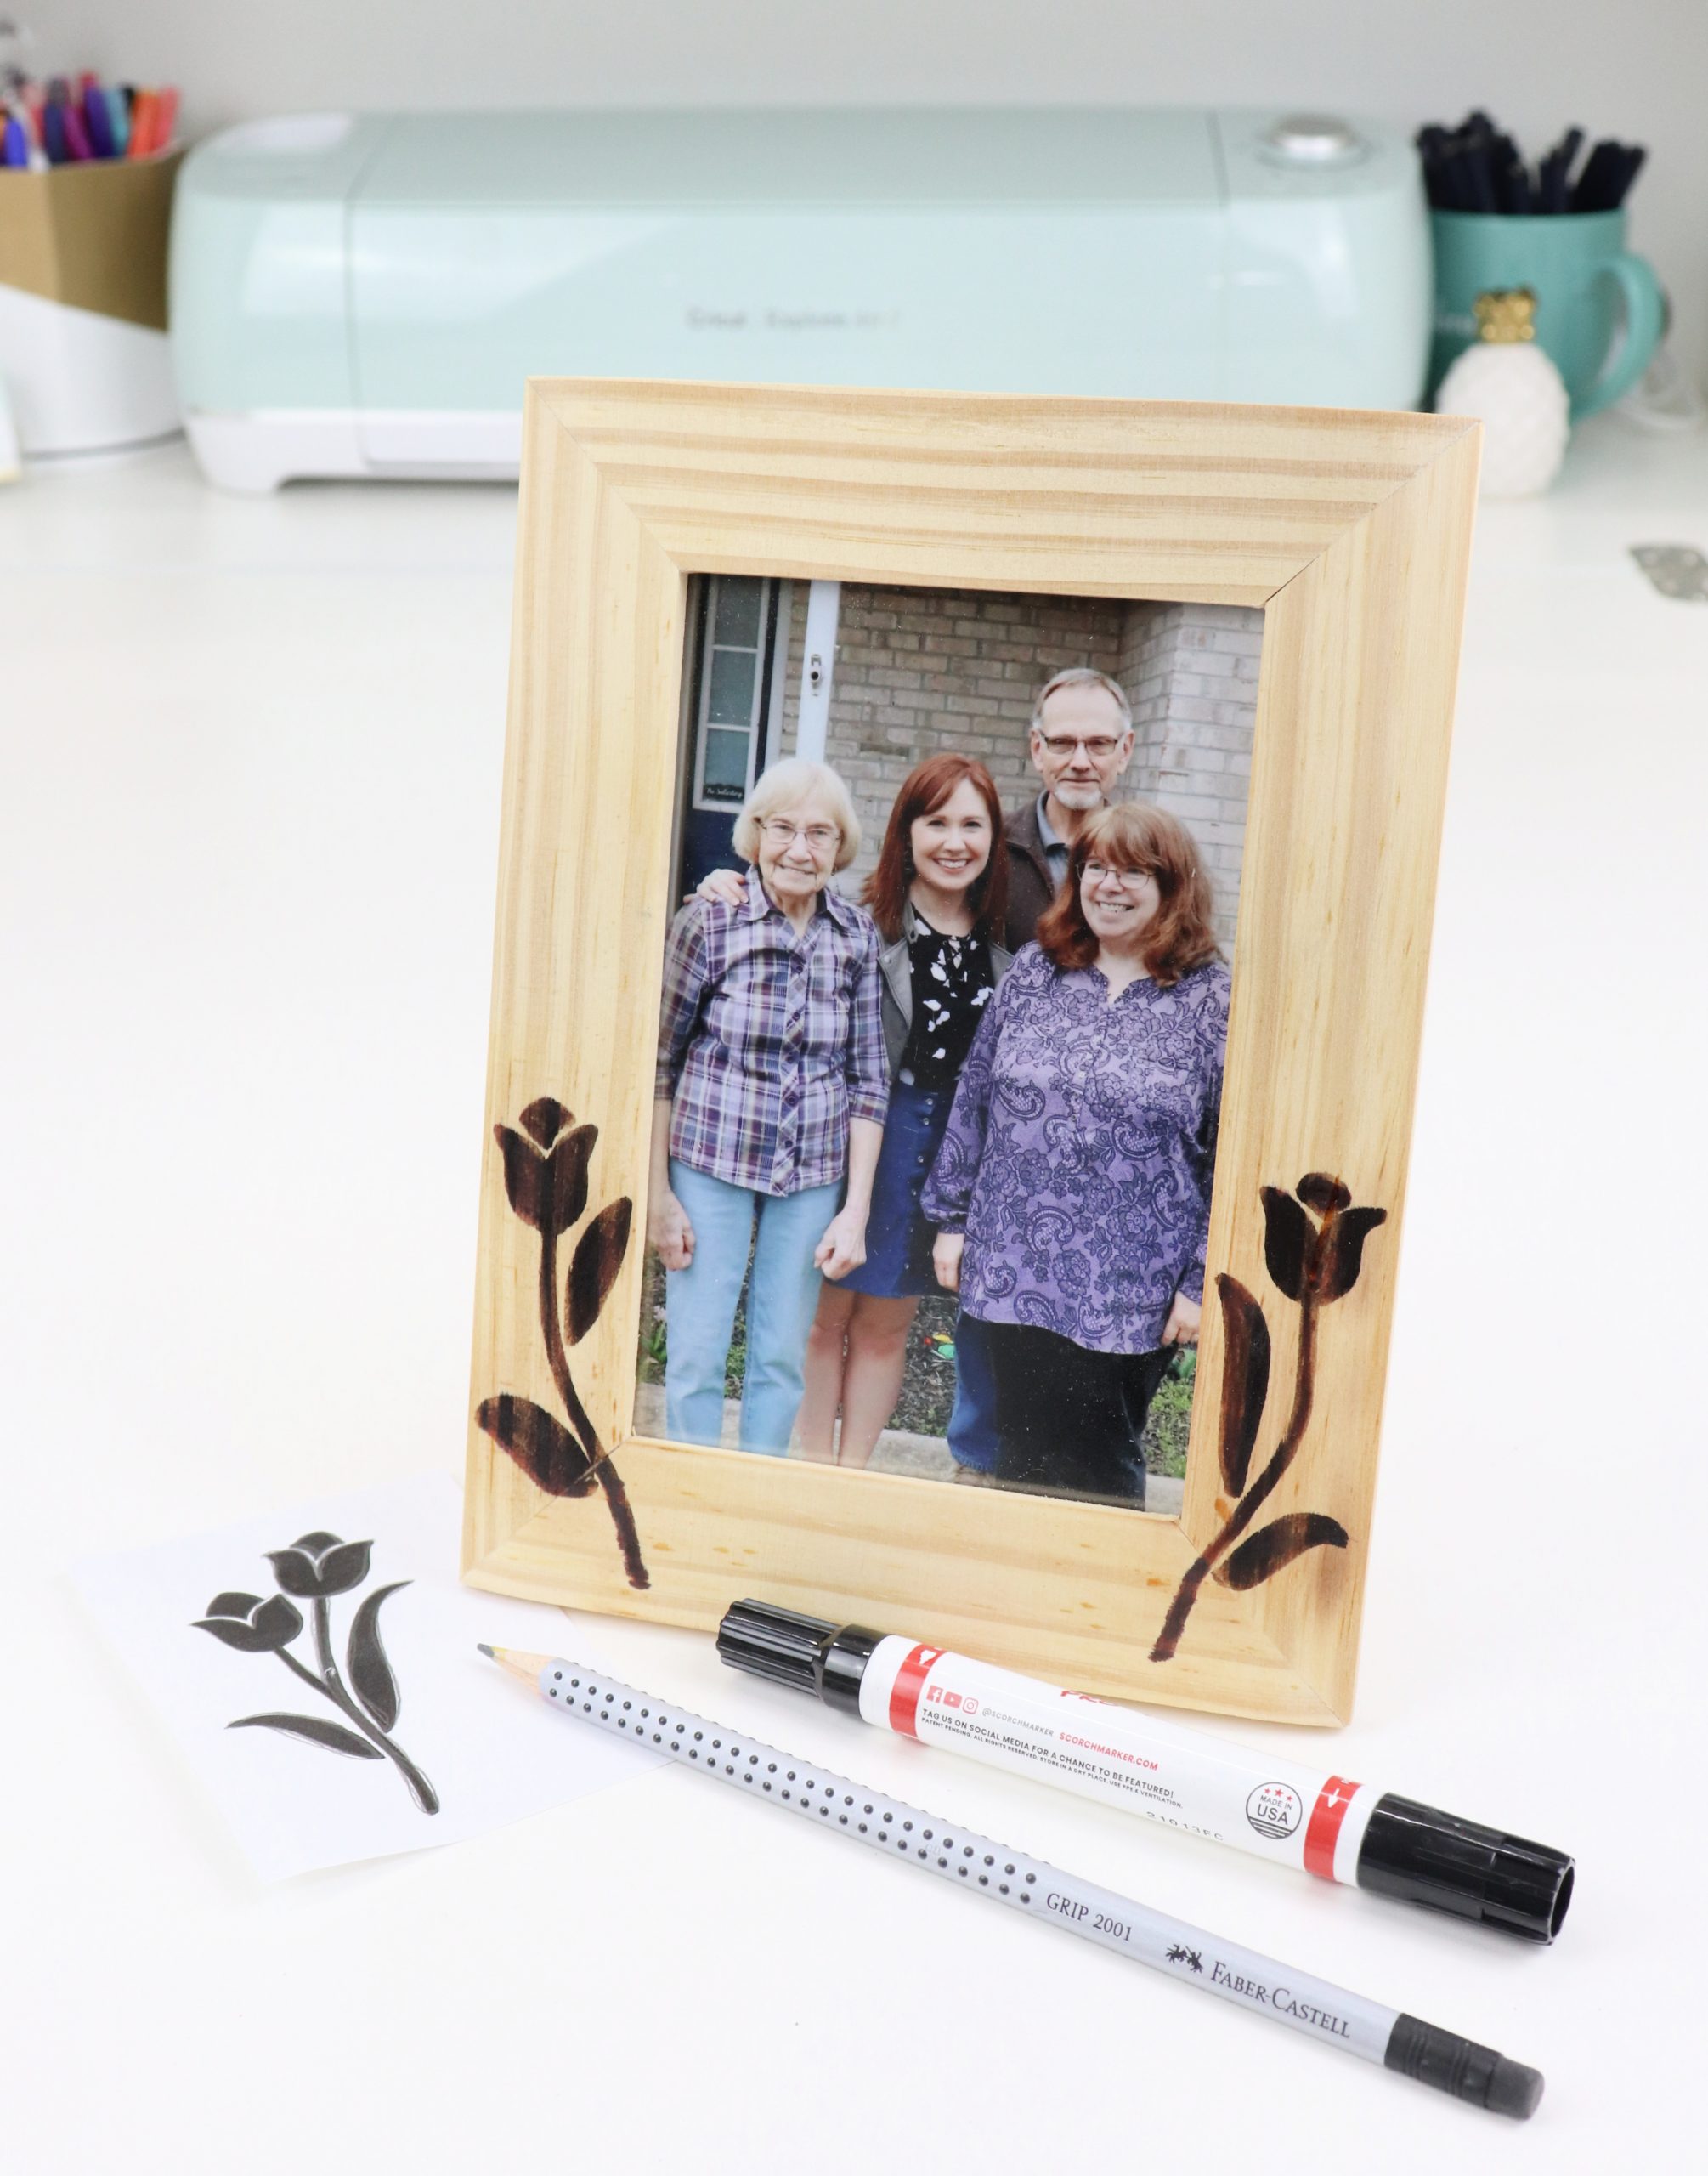
We’re going to be using one of my new favorite crafting tools, the Scorch Marker Pro, along with a tulip design from their spring stencil set (which you can grab for free with the code ilovestencils on their website!). Take a look at this quick video for a full tutorial and to watch the wood-burning magic happen! Then, you can refer to the step by step instructions and photos below for guidance as you create your own project.
unfinished wood photo frame
spring stencil images (free with code ilovestencils)
pencil
scissors
heat tool (1000+ watts)
Step 1: Print out the image you want to use.
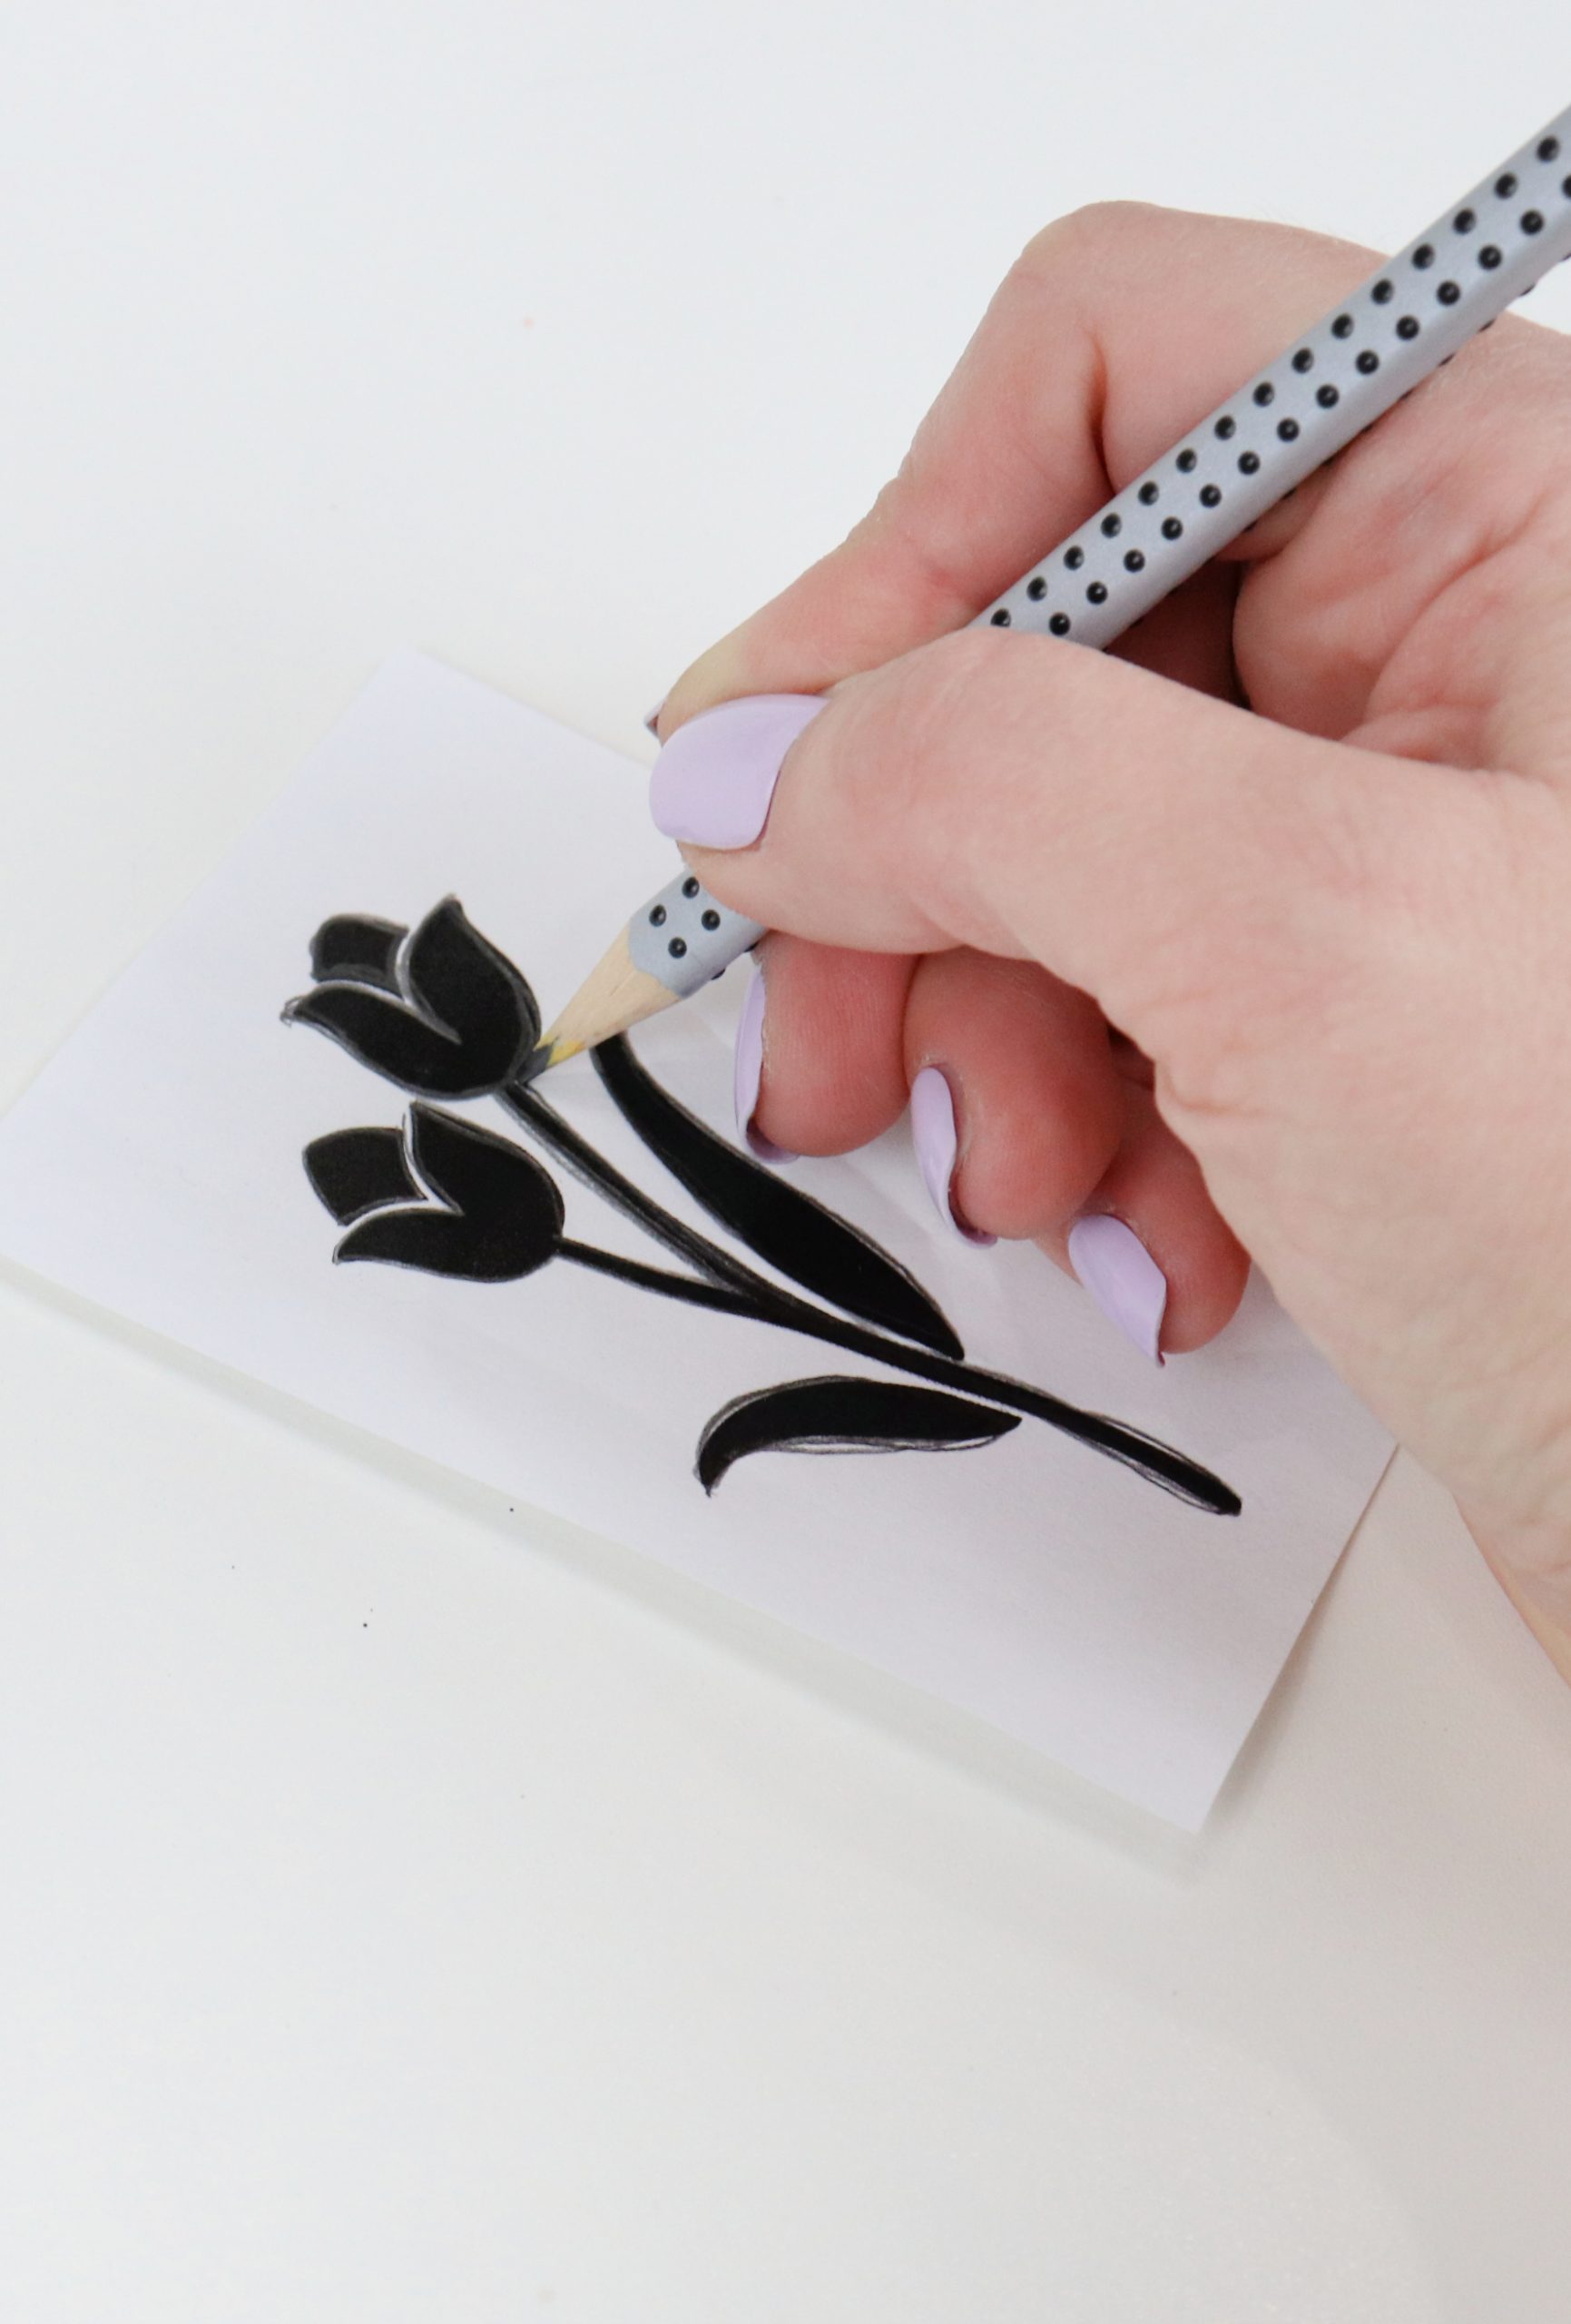
Step 2: Trace the outline of the image with pencil.
Make sure to trace with normal or heavy pressure, because these are the pencil marks that will be transferred onto the wood. If you trace too lightly, the process will be less effective.
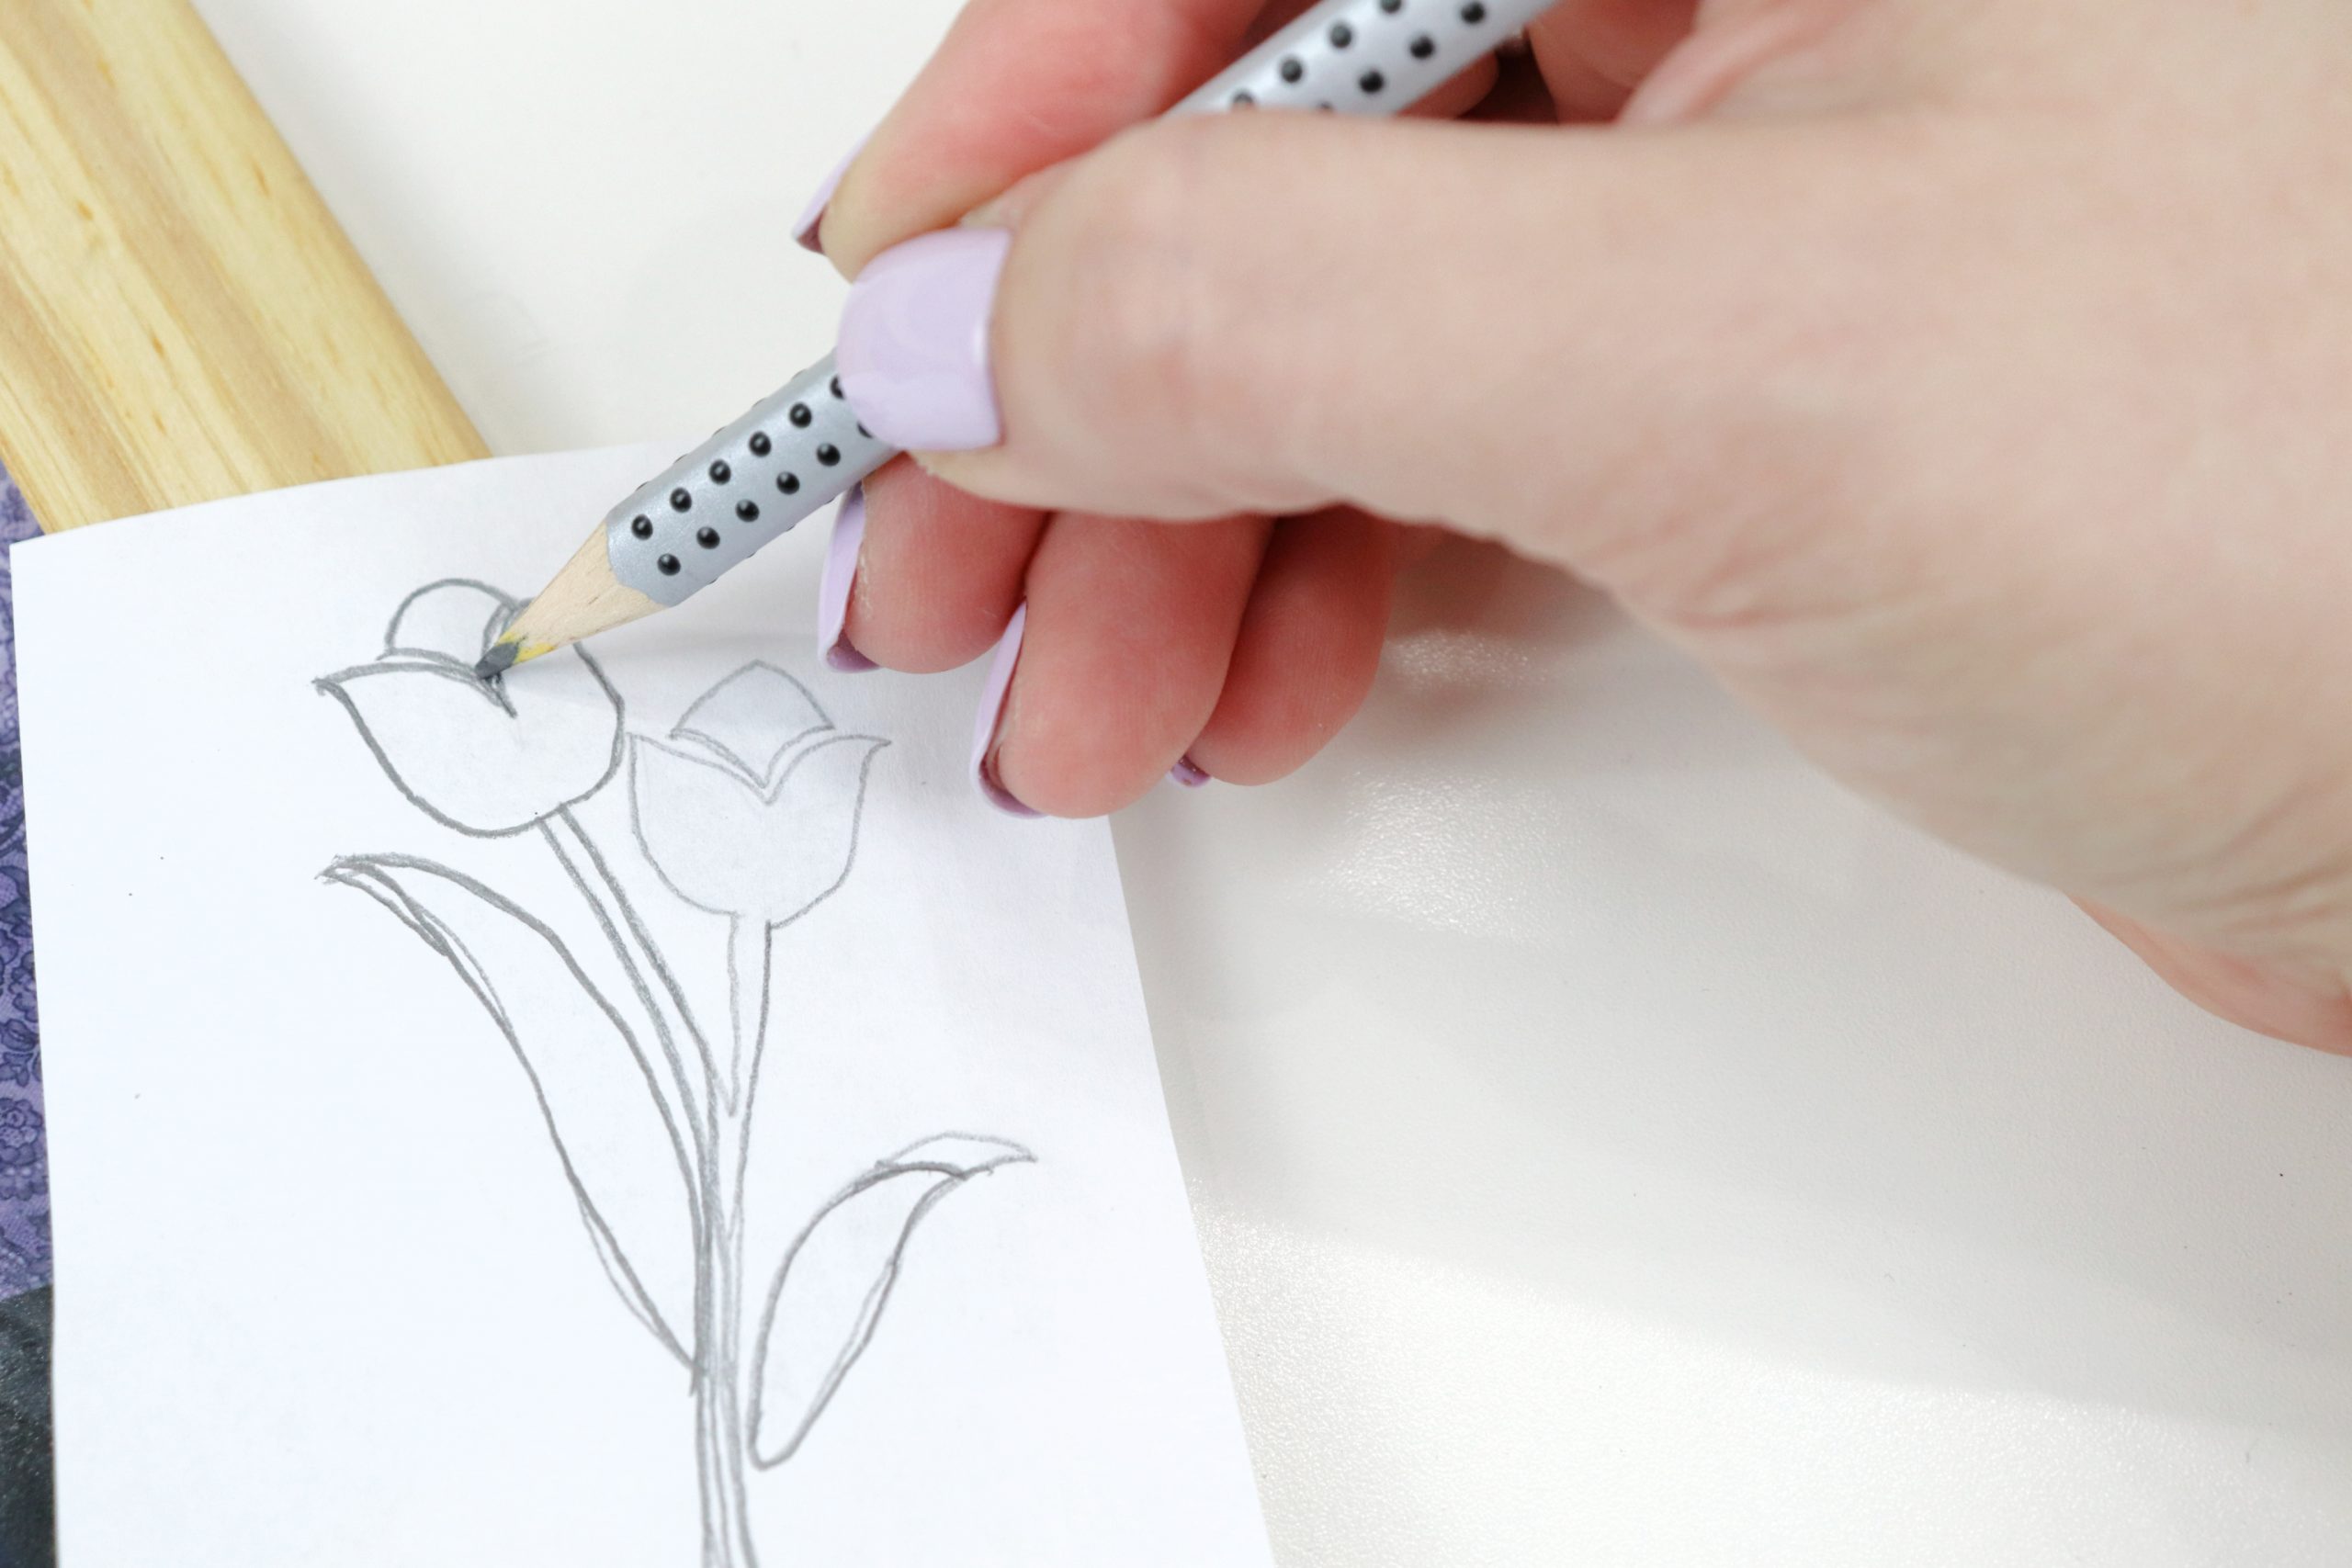
Step 2: Flip the image over and place it where you want it to go on the frame. Then, trace from the other side.
The pressure from tracing will cause the pencil marks that are on the front side of the paper to come off onto the wood photo frame, giving you an outline of your image. I wanted a tulip on each side of my frame, so when I was finished tracing on the right, I flipped the paper again and traced one more time for the left side. You can see this process in the video.
Step 3: Use the Scorch Marker to color inside your pencil lines.
Before it’s heated, the marker will just make the wood look wet and sometimes slightly pink. Don’t worry, the magic happens in the next step!
Step 4: Apply heat.
Use your 1000+ watt heat tool to apply heat to the design. Keep the tool 6″ from the surface and move it around as you work so that the surface heats evenly. As the ink reacts with the heat, you’ll see it change in color, actually burning into the wood and turning it dark brown. The more heat you apply, the darker the color will become.
Don’t have a heat tool? No worries! Place the frame in your oven at 300 degrees Fahrenheit until the color change happens.
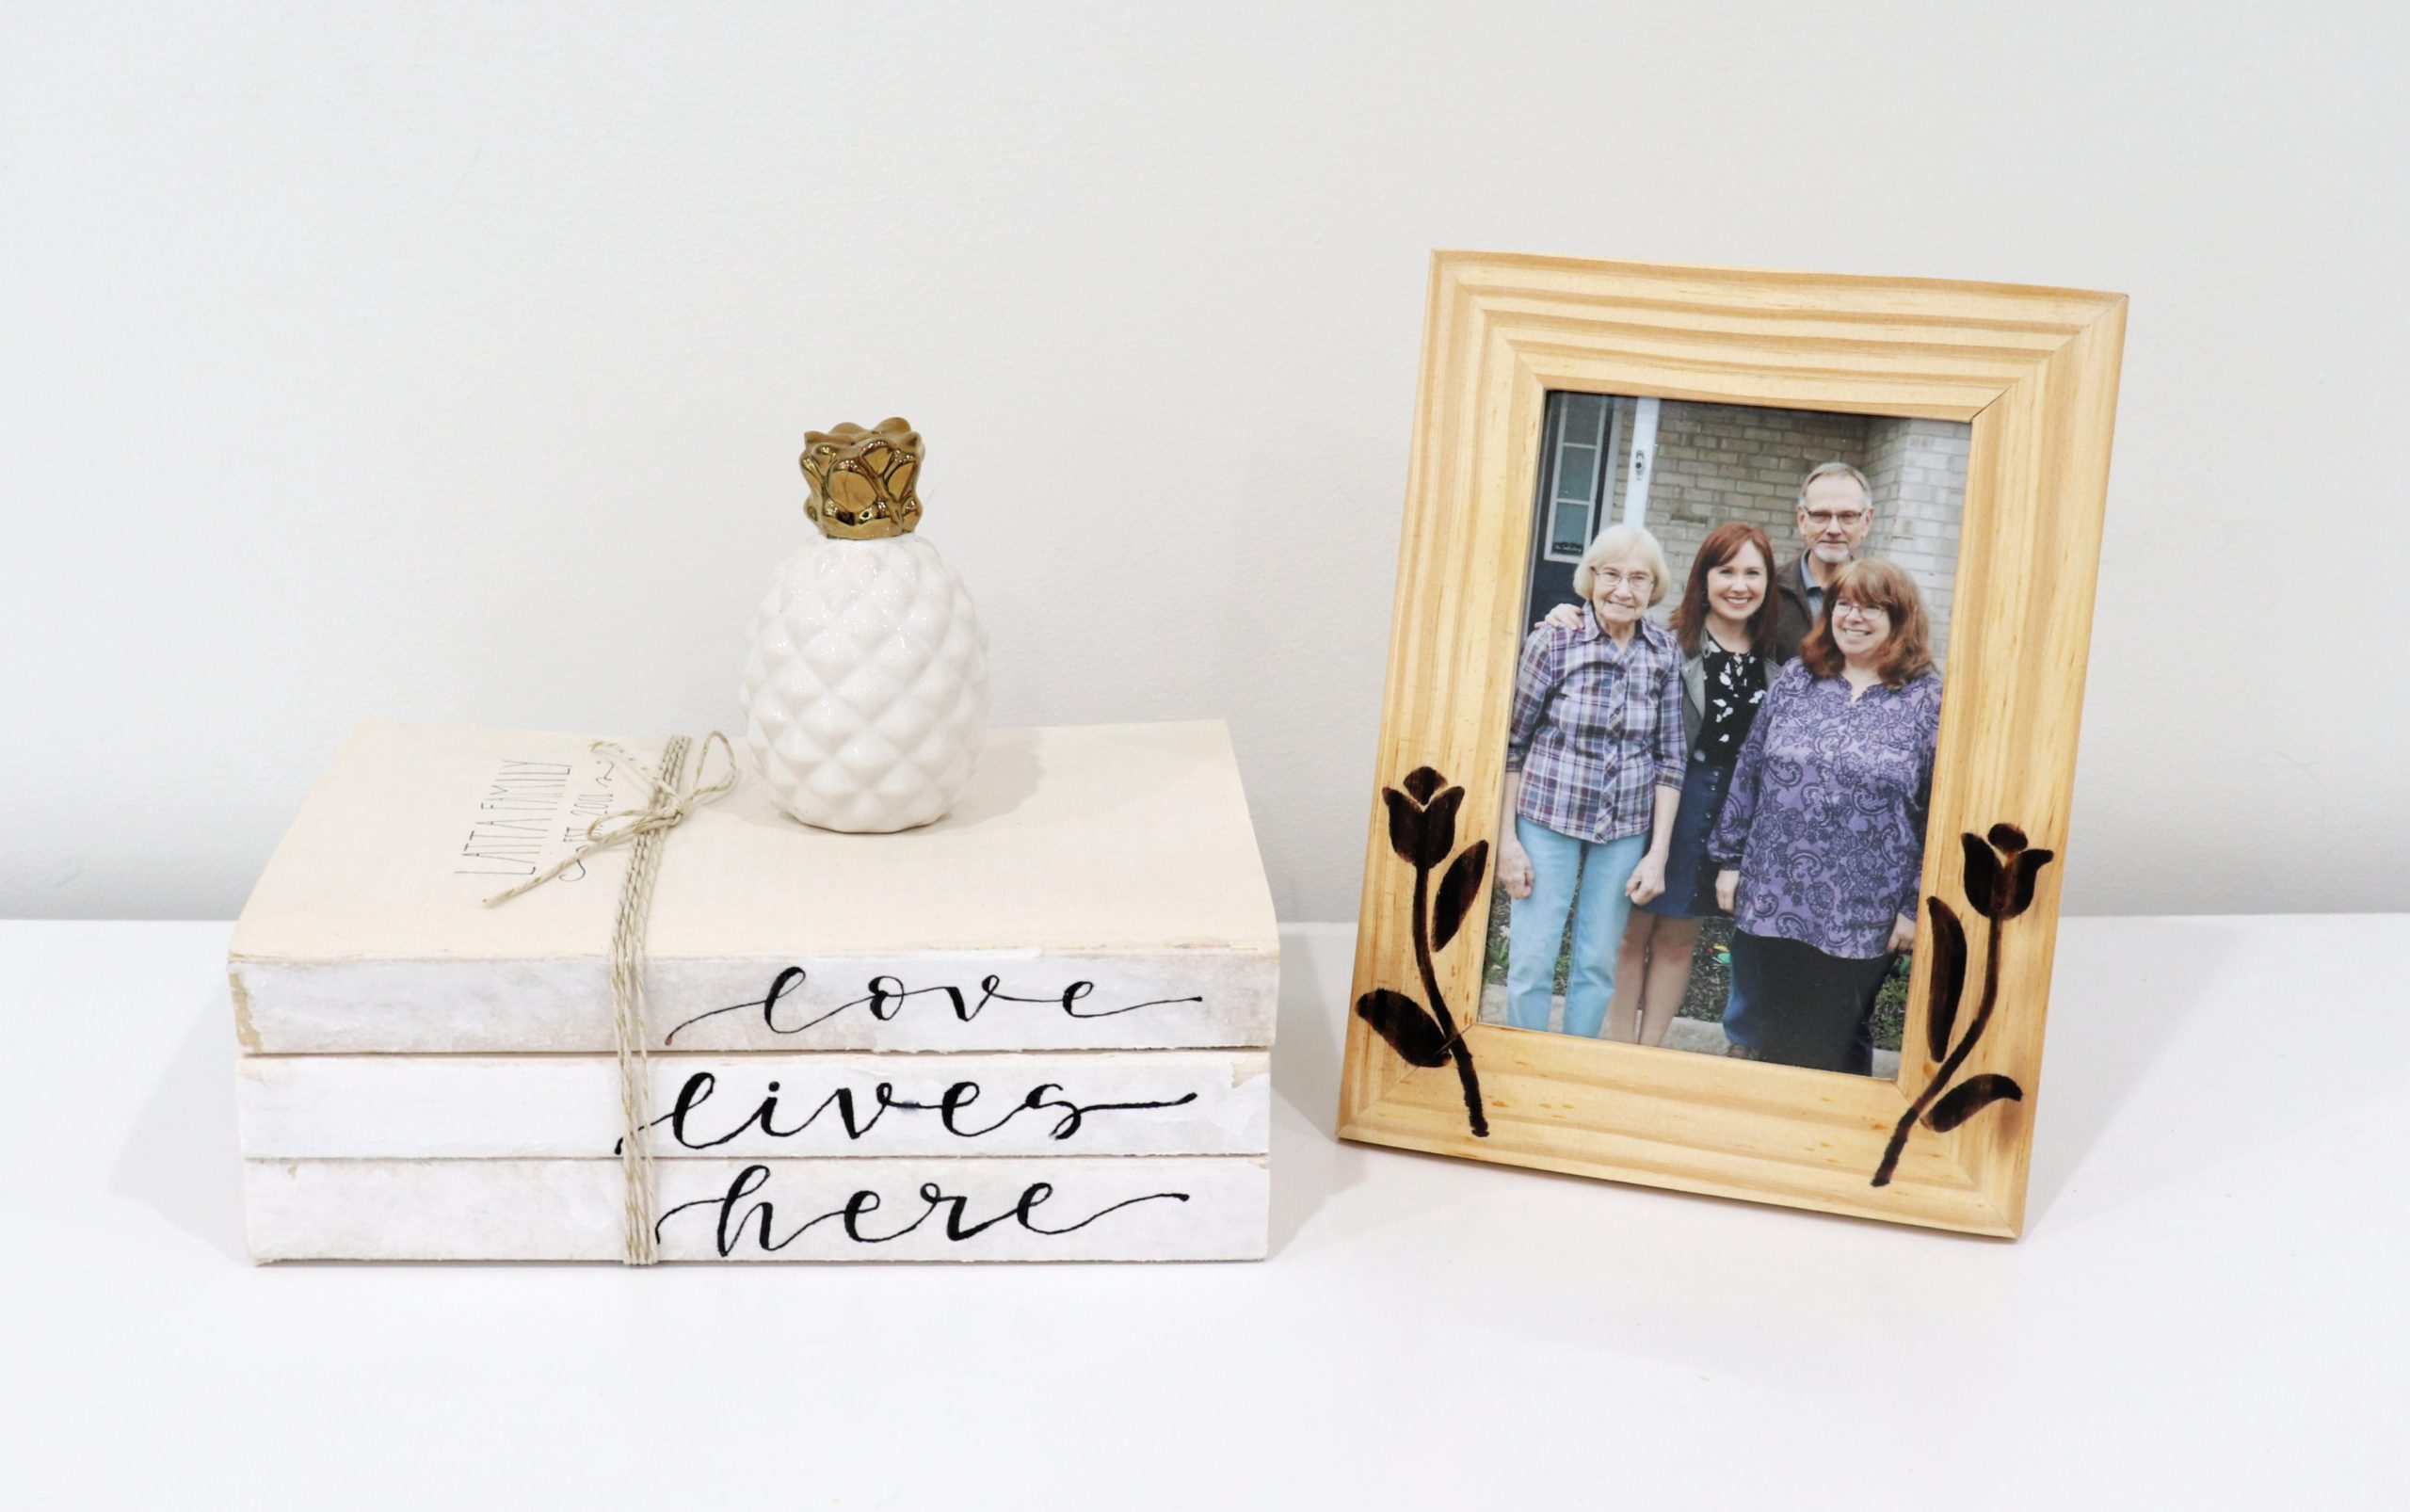
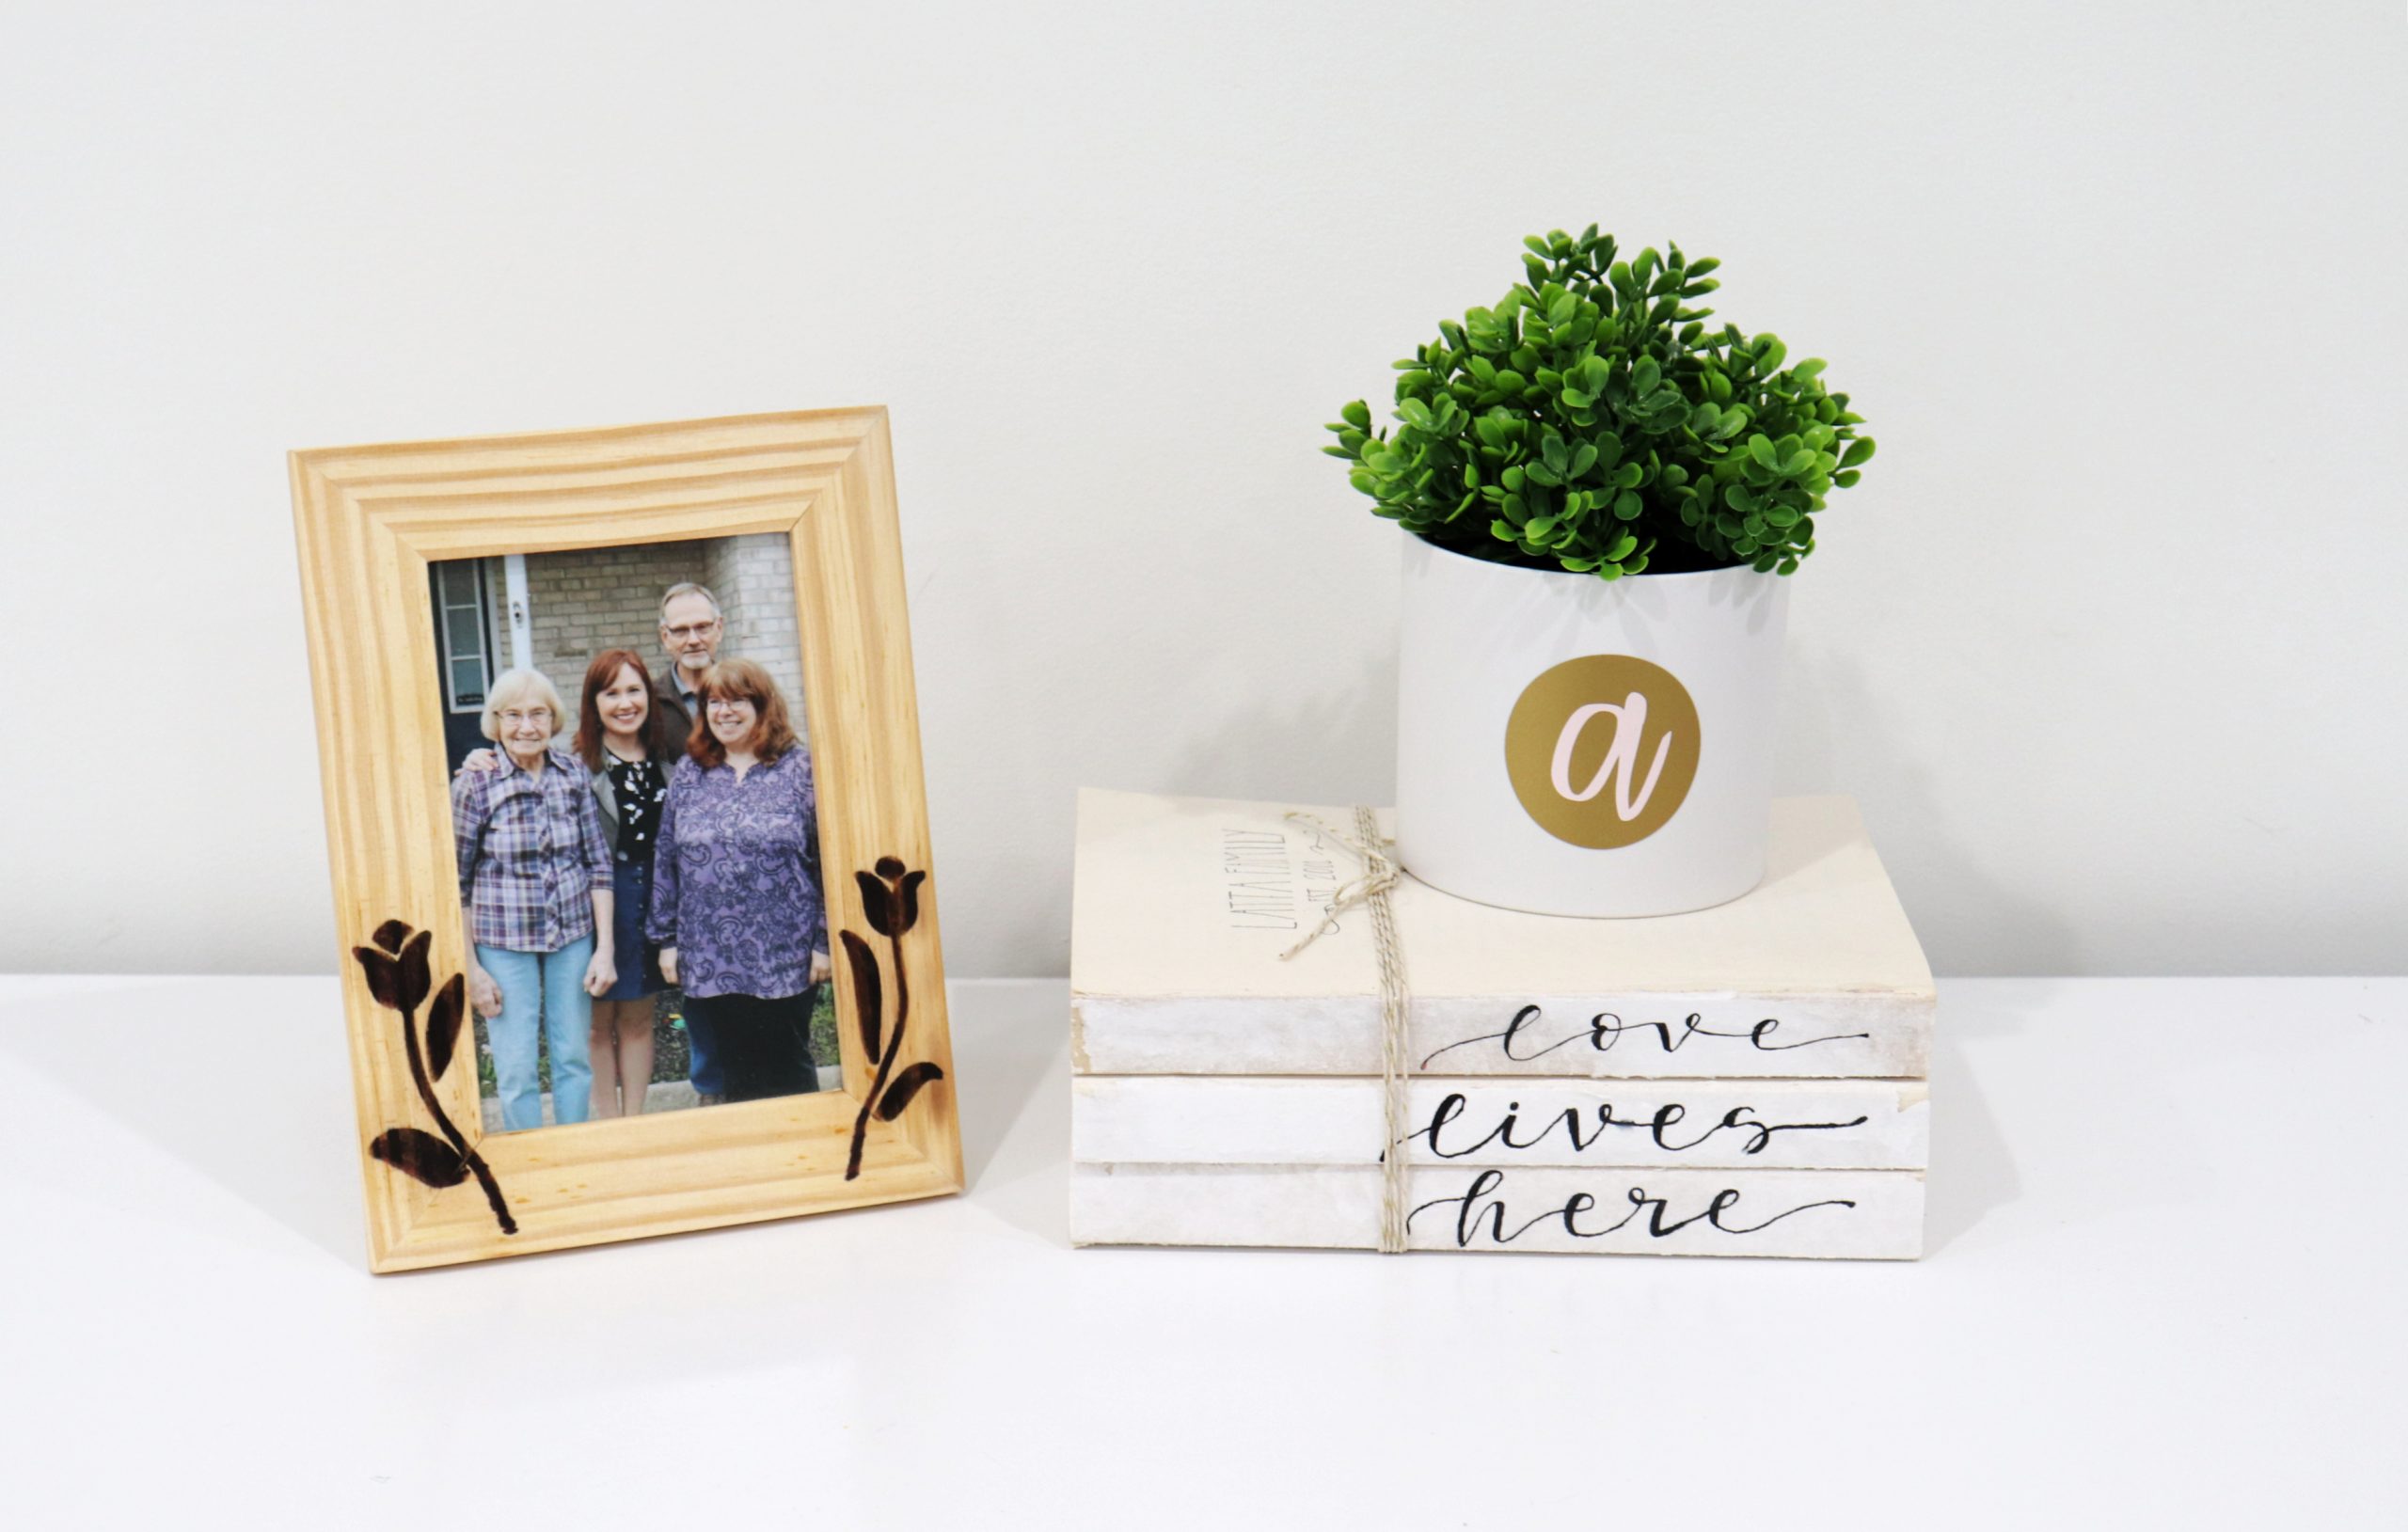
Once the image is burned into the wood, it’s there permanently. If you like, you can add your favorite sealer or wood finish, or you can leave the project as is. All that’s left to do is add a favorite photo. I used this one of myself with my parents and my 91-year-old grandmother and gave it to her as a gift.
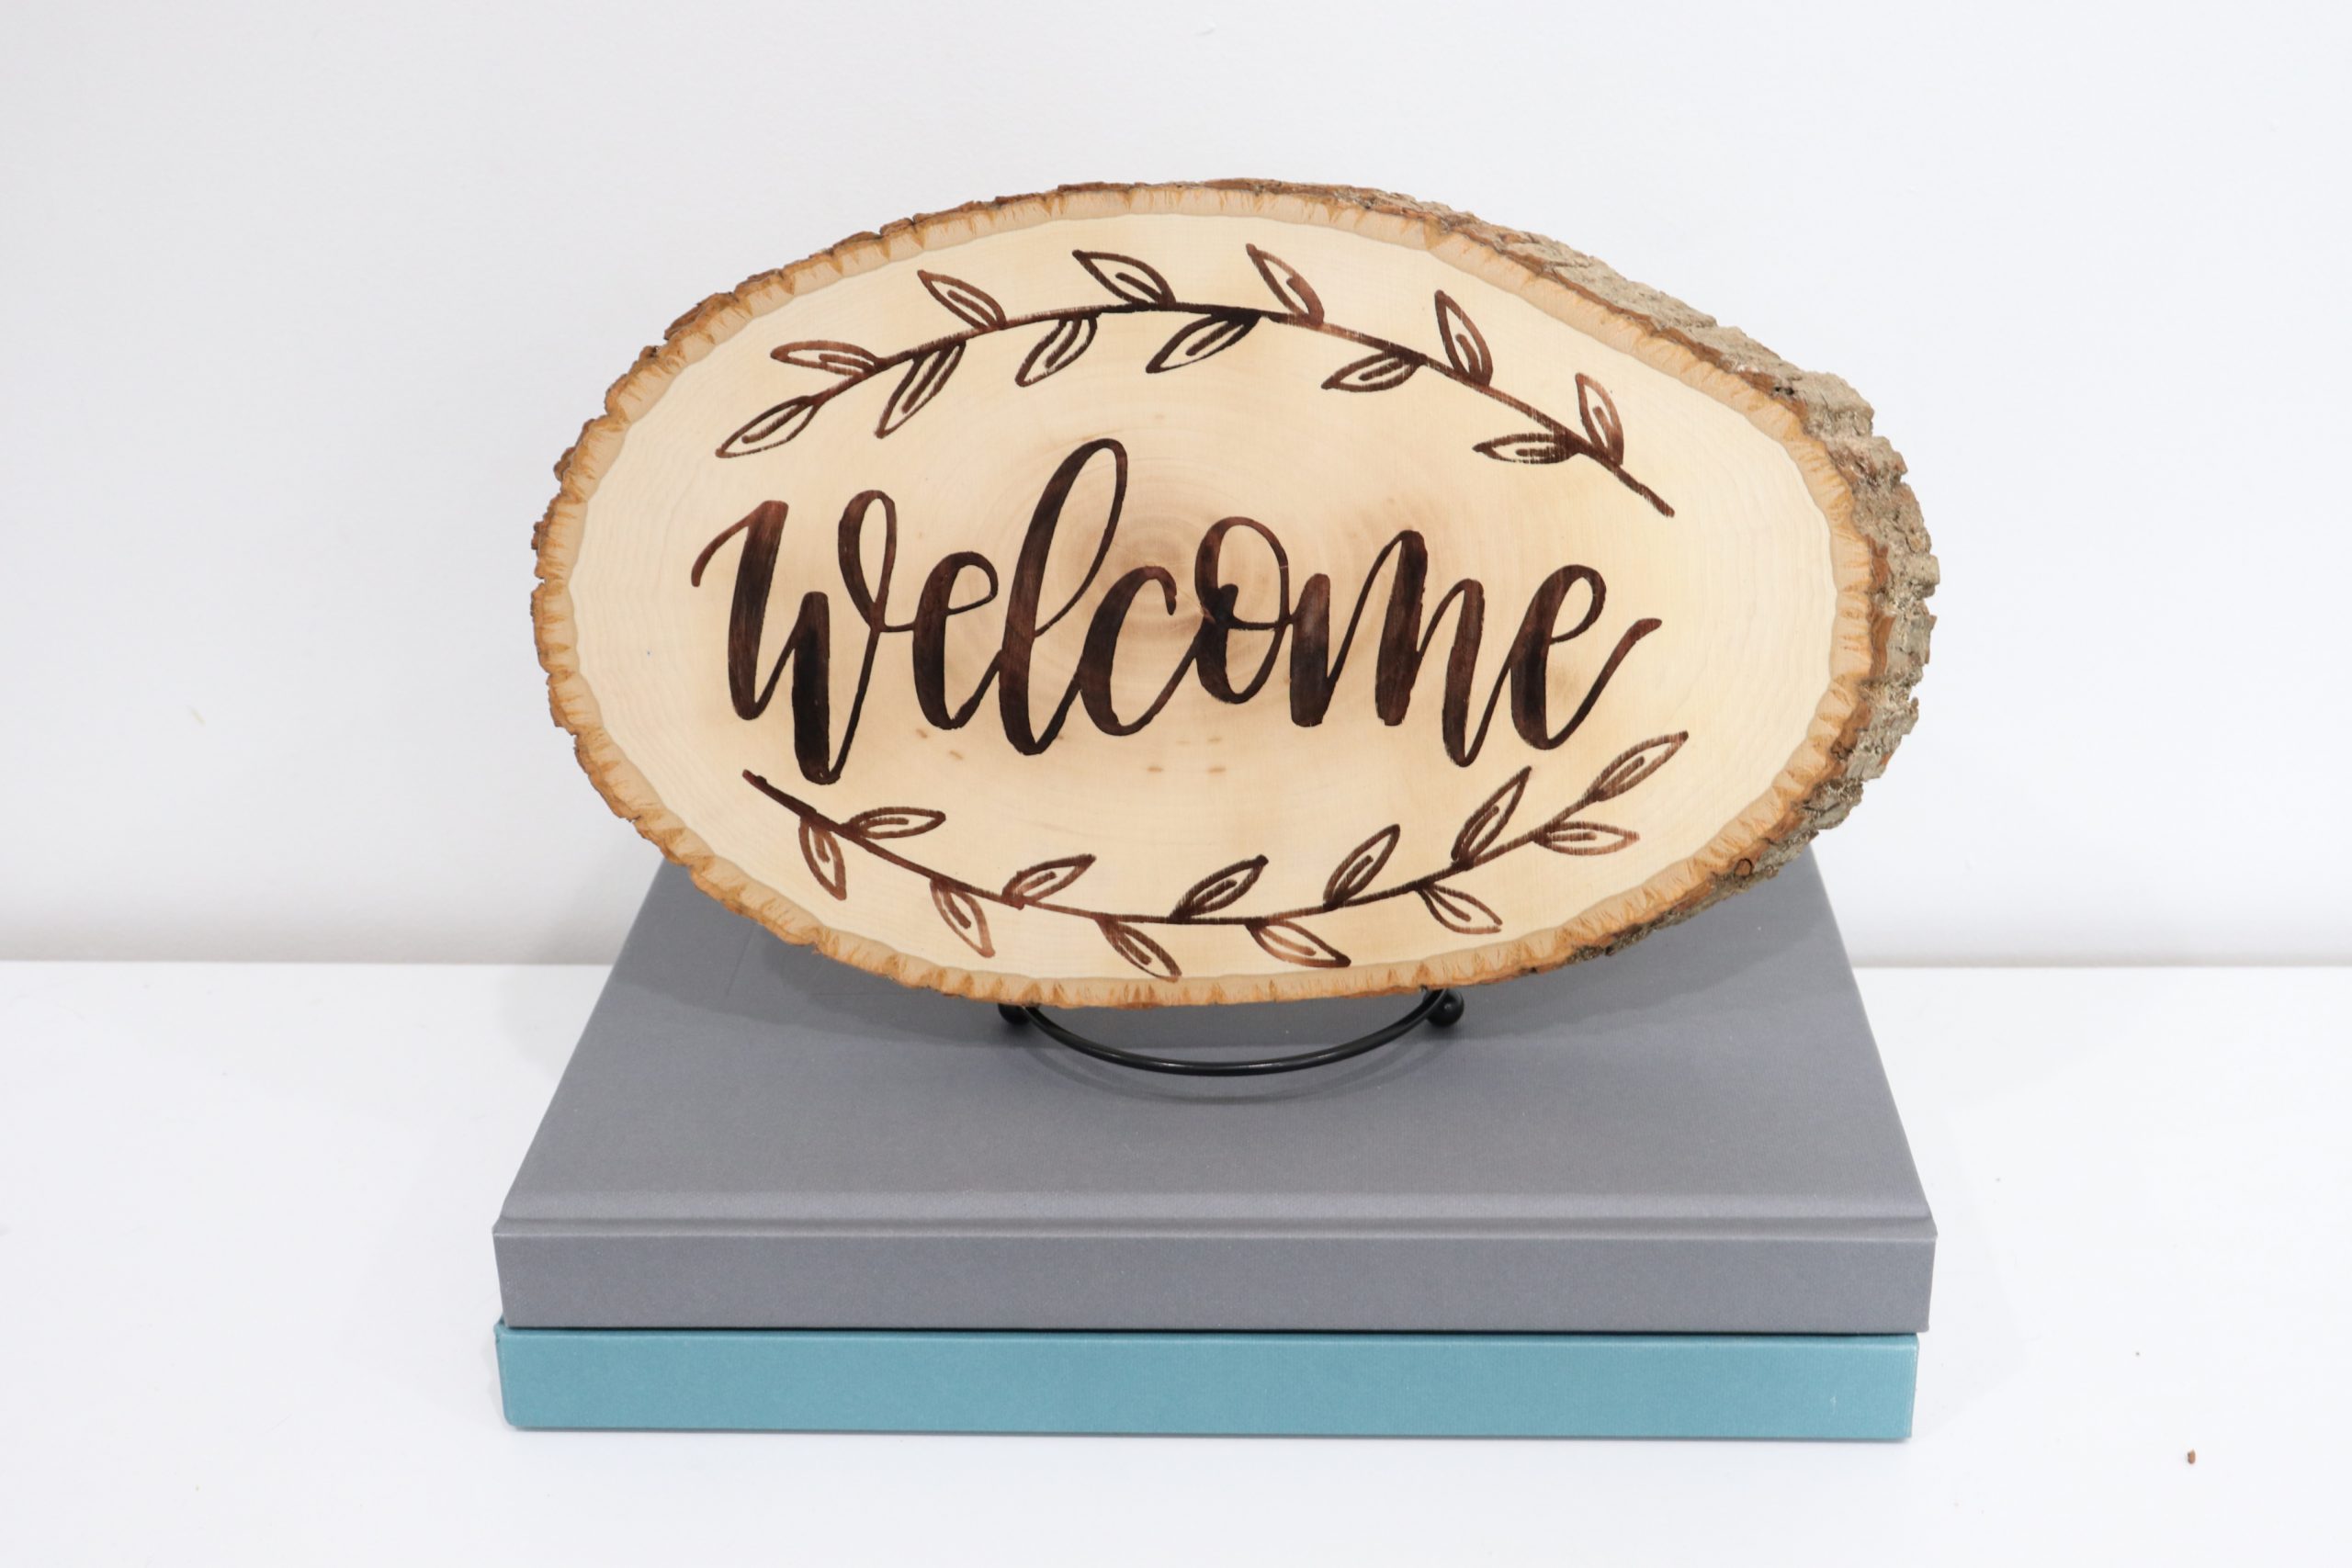
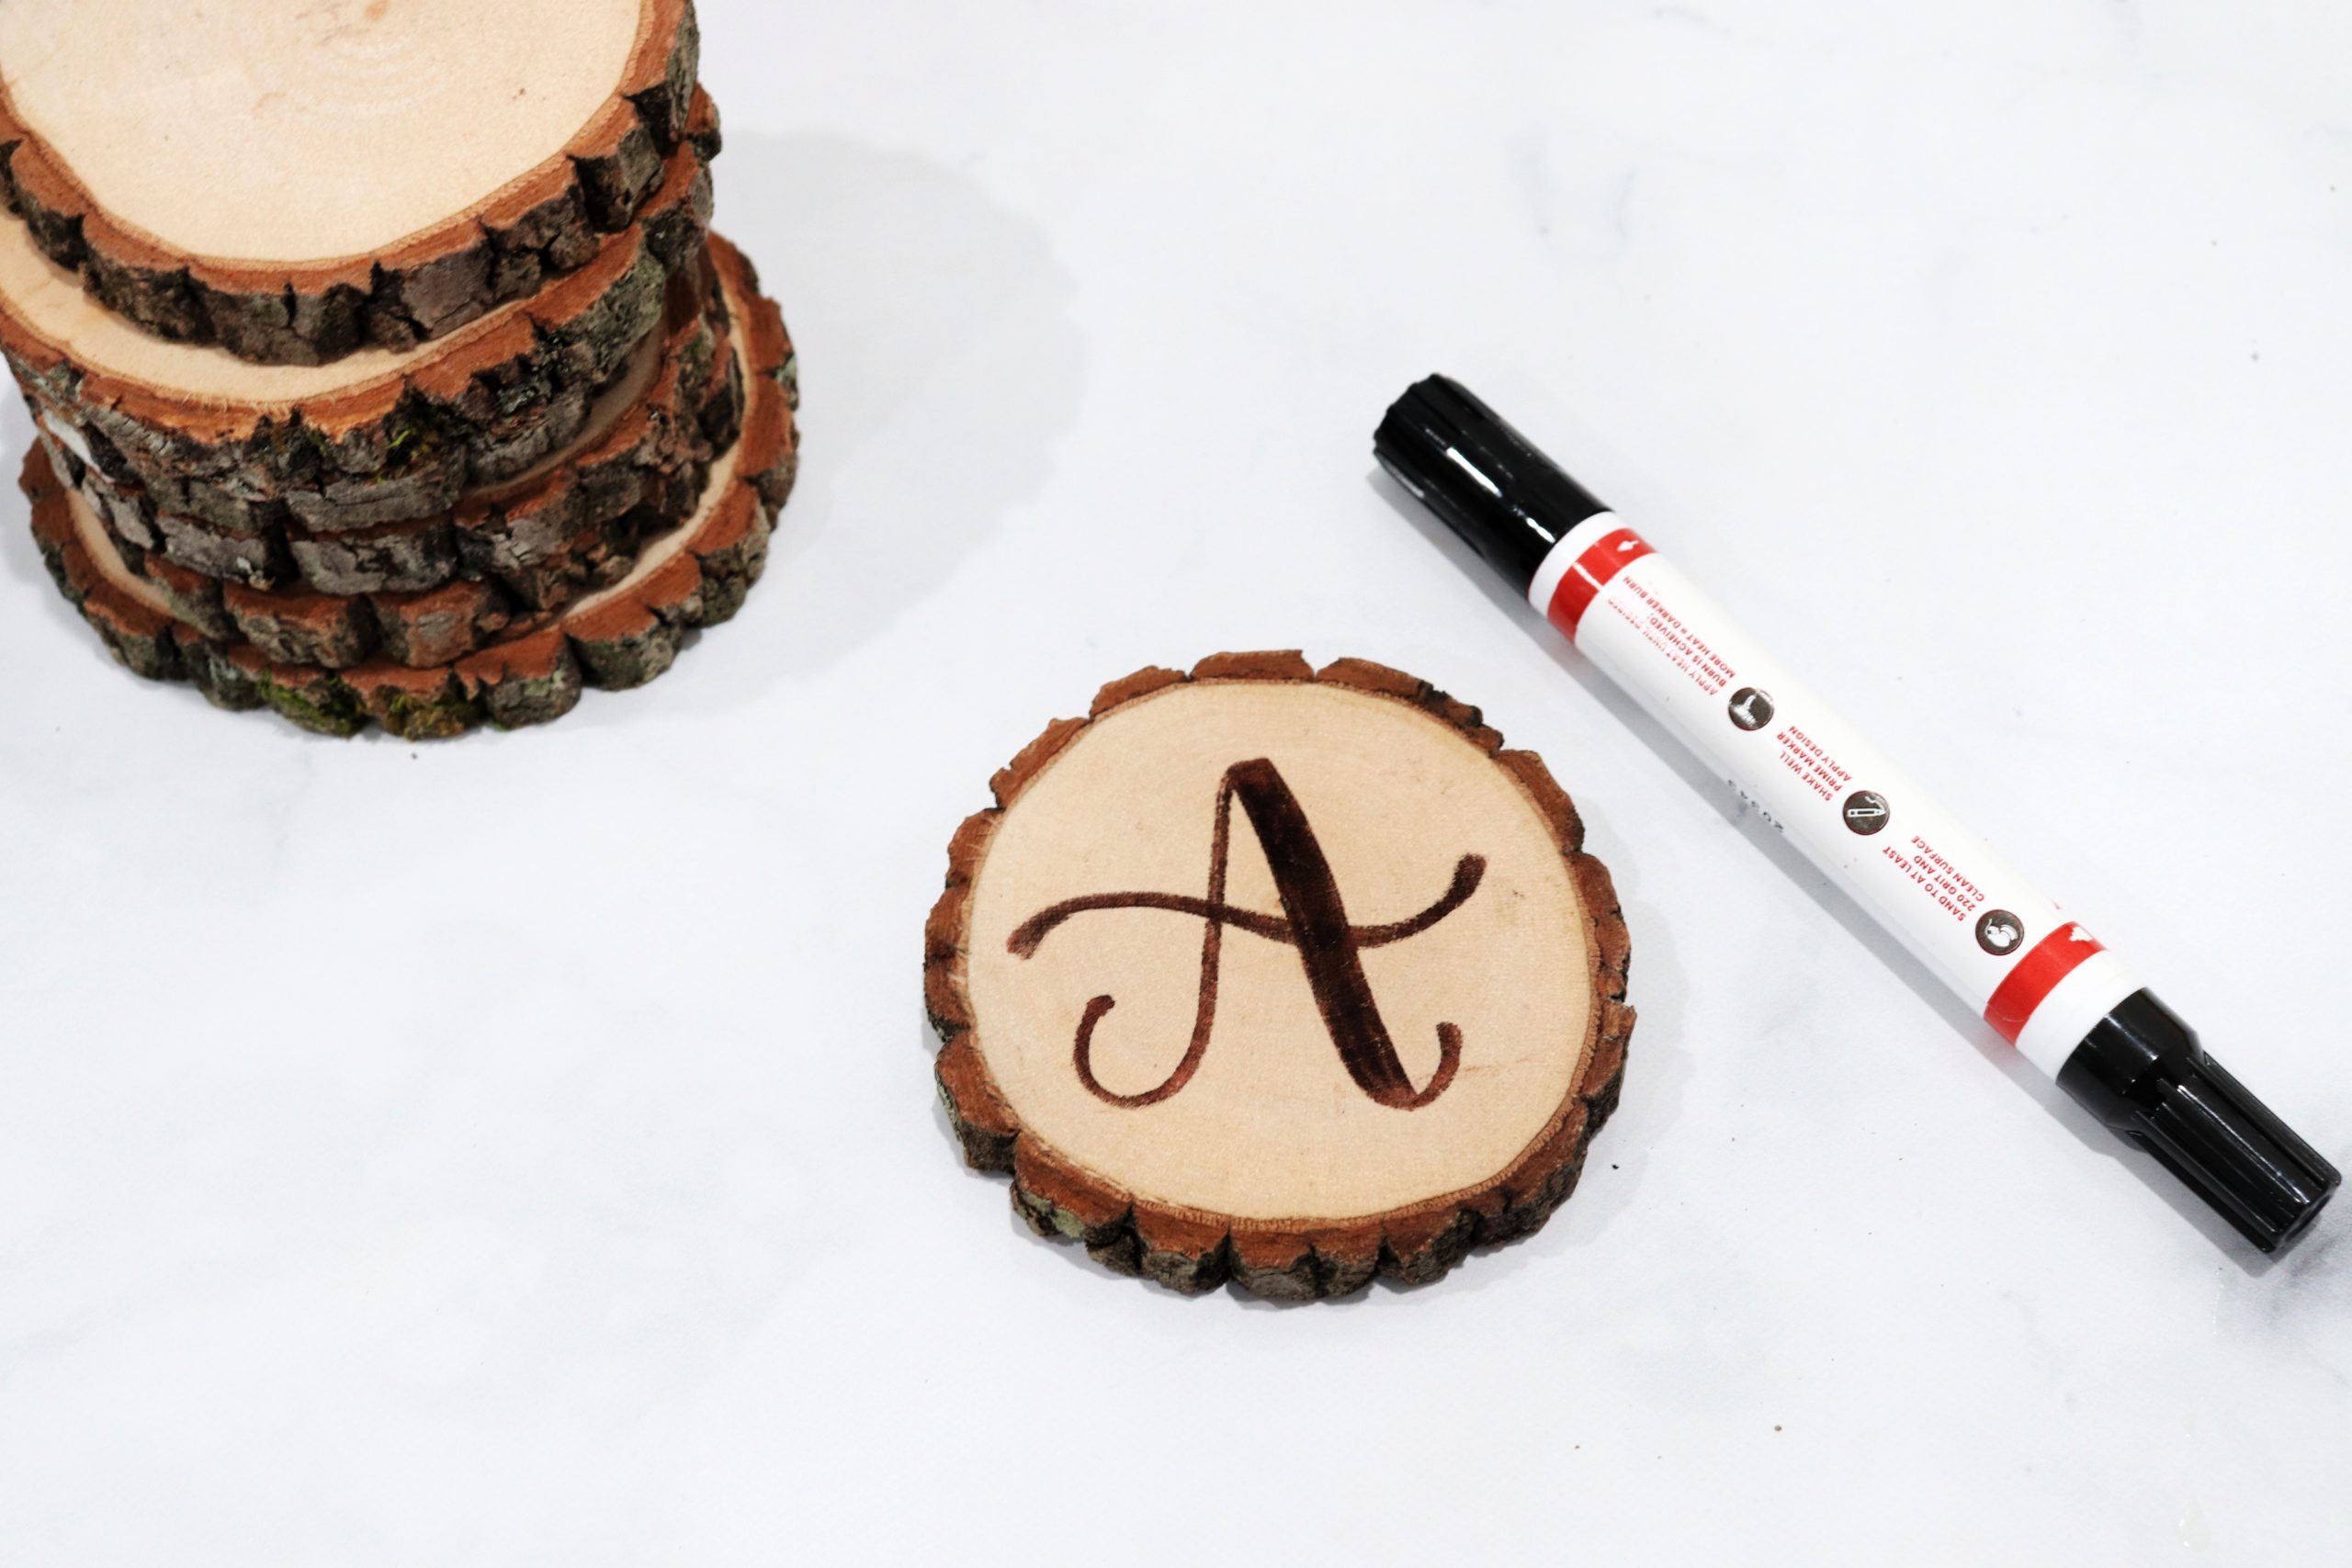
This photo frame project is so simple, quick, and inexpensive to do, and it makes a wonderful gift idea for Mother’s Day, a birthday, or even just an “I’m thinking of you” present. If you try it, I’d love to see how yours turns out! Be sure you’re part of the Amy Latta & Friends Facebook Group so you can share your latest project photos in our weekly show and tell thread and we can all be inspired together. Also, check out these other projects you can create using the Scorch Marker:
Don’t forget to save this project to Pinterest and/or to share with a friend. Happy creating!

2 Comments