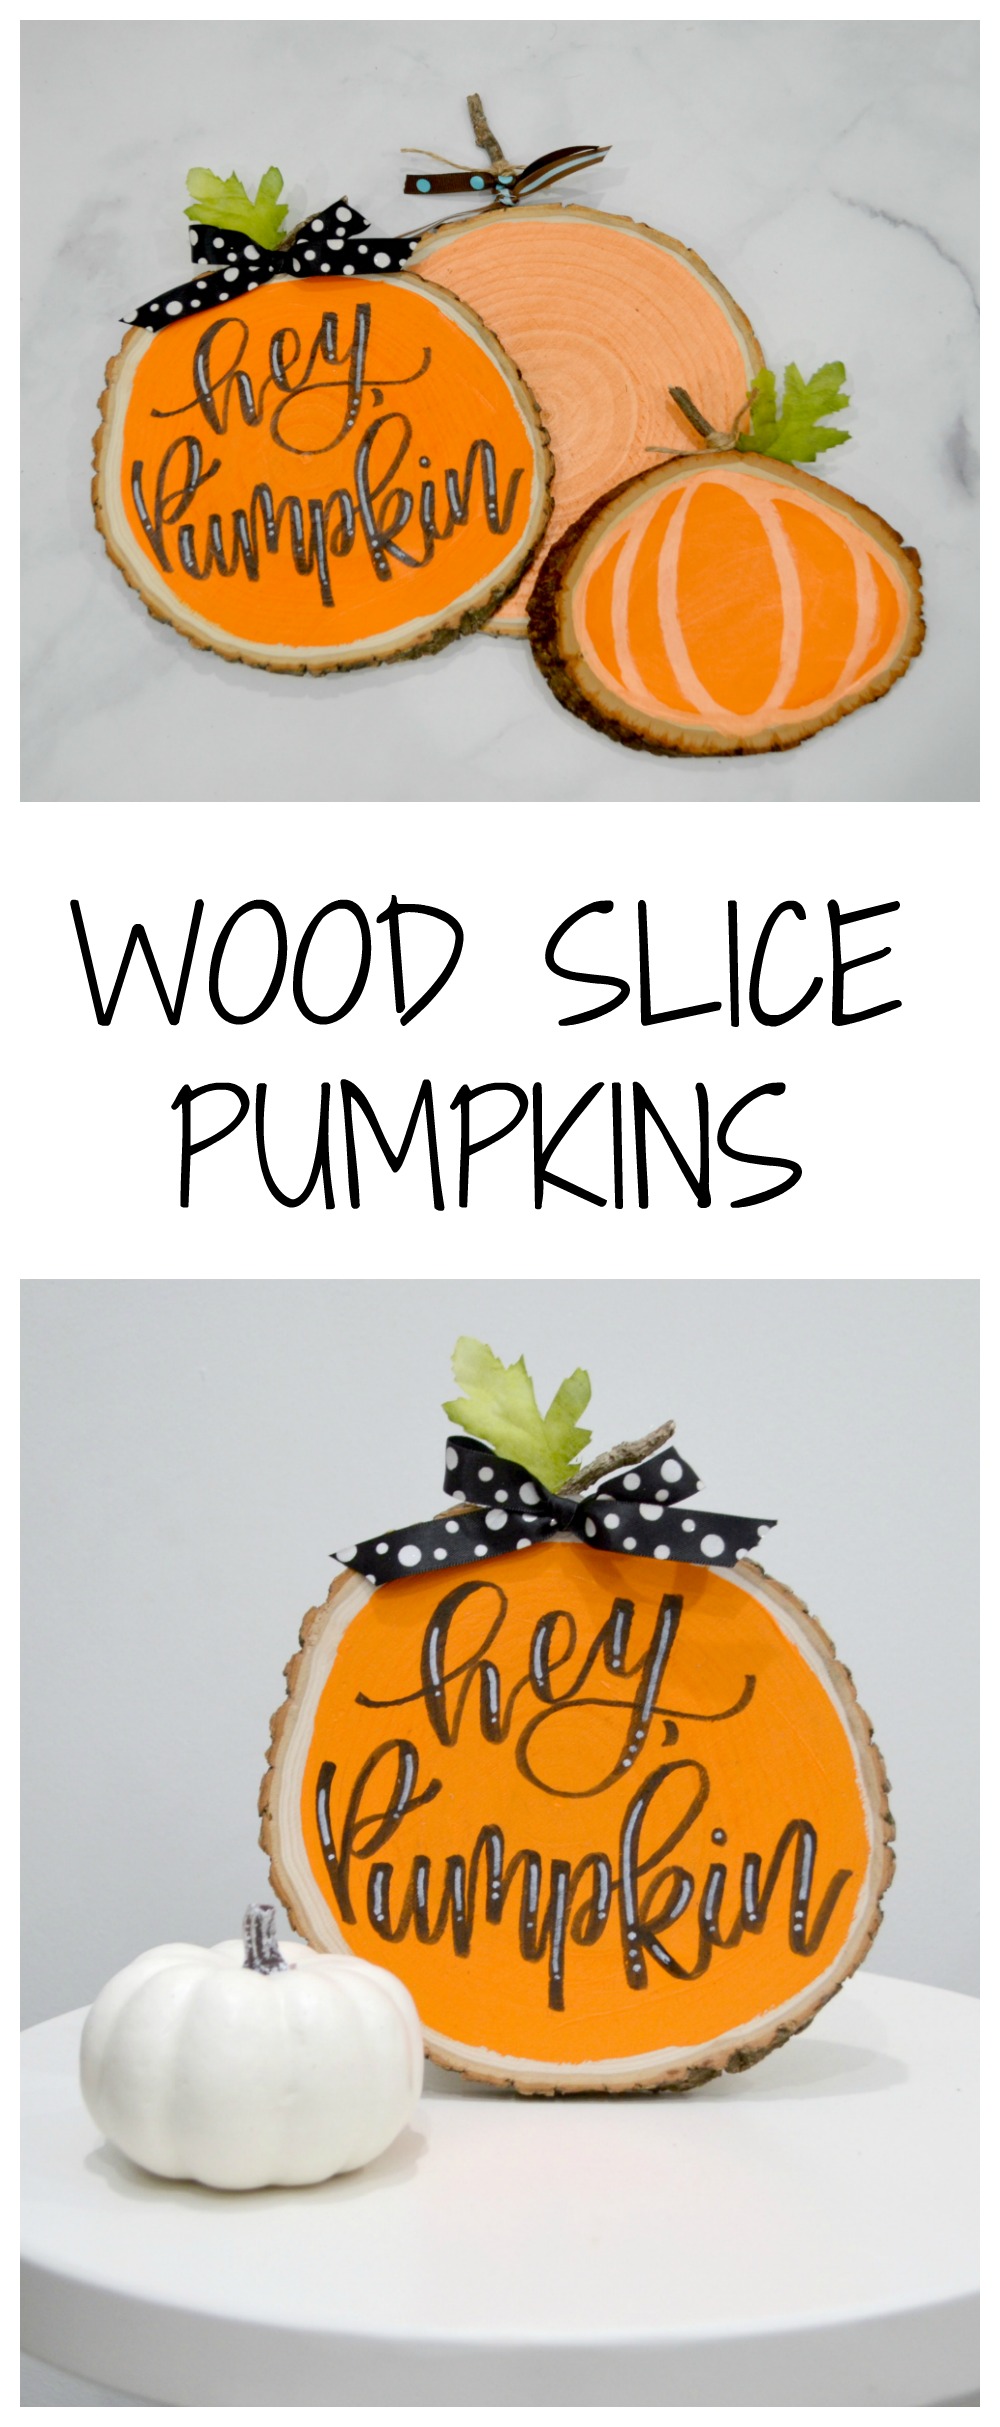
Wood Slice Pumpkins
Nothing says “fall” quite like pumpkins! Making your own wood slice pumpkins is a simple and fun DIY project, and you only need a few basic supplies. Take a look…
You’ll need:
wood slices (any size will work; mine were 7.5-9.5″)
orange acrylic/multi-surface paint
paintbrush
twine and/or ribbon
sticks
hot glue gun and glue sticks
artificial leaves (optional)
black and white paint markers (optional)
Step 1: Paint the front of your wood slice orange.
You can use any shade of orange paint you like. I like to leave a little bit of the natural wood visible rather than painting all the way to the edges.
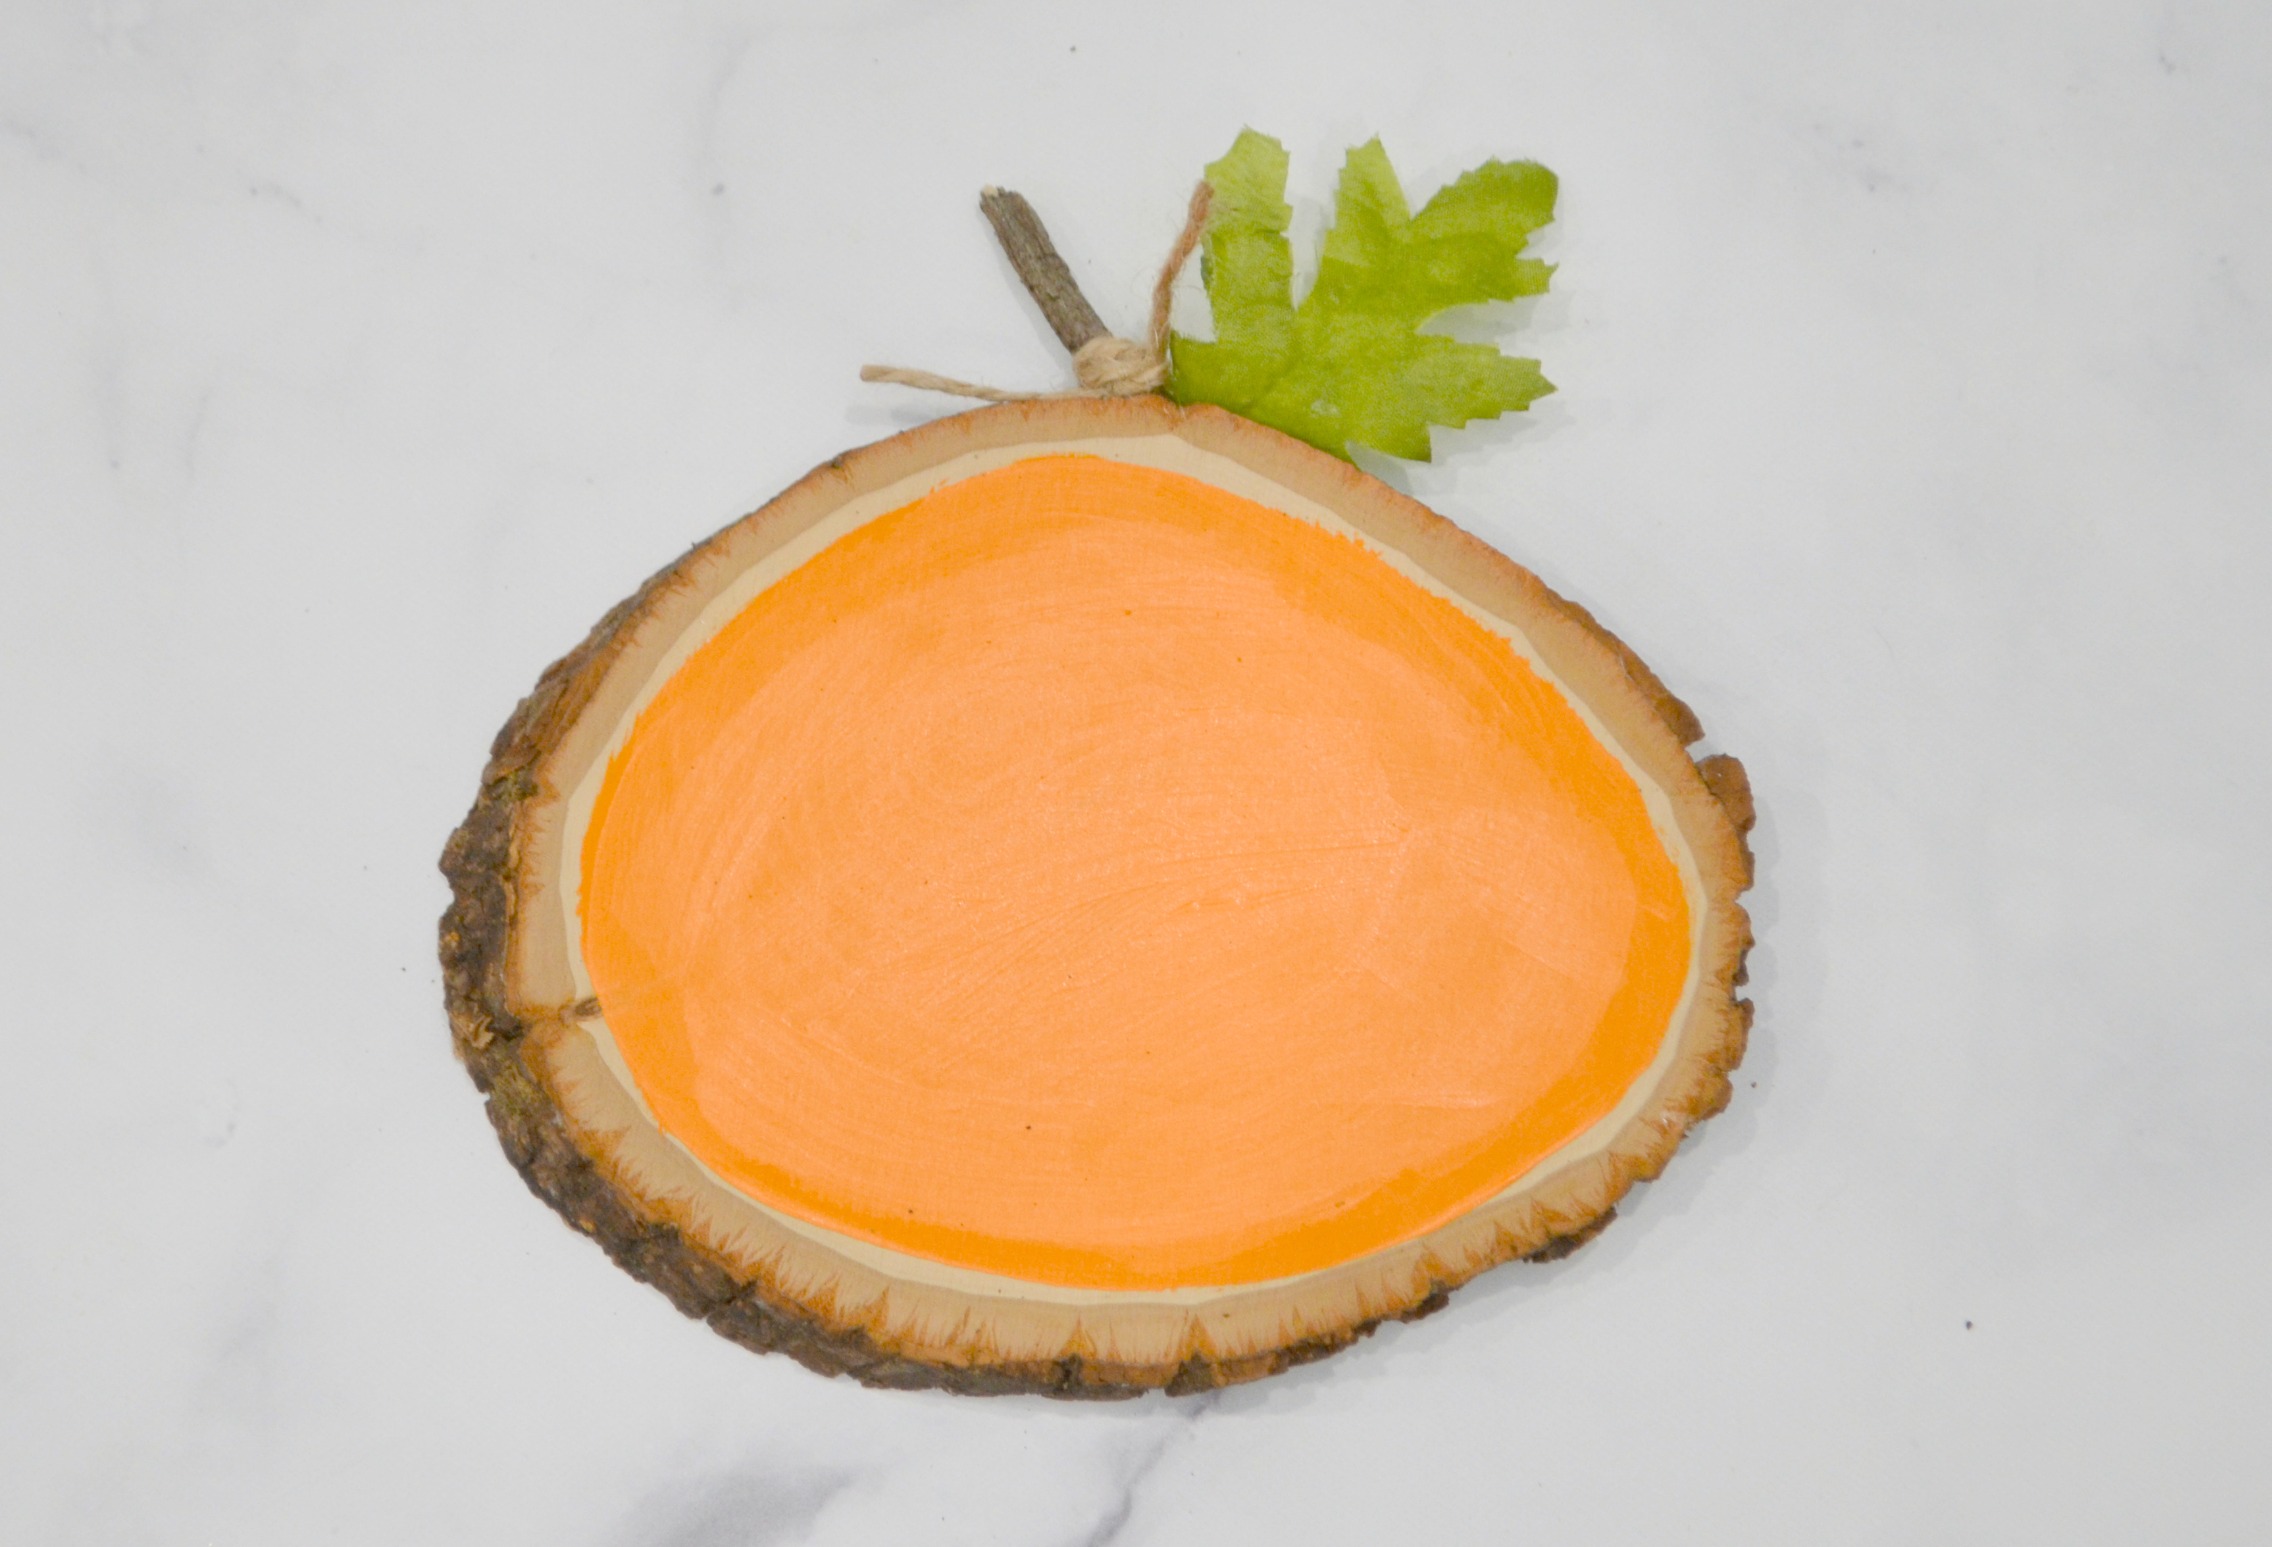
Step 2: Glue a stick to the top of the wood slice.
This will be the pumpkin’s stem.
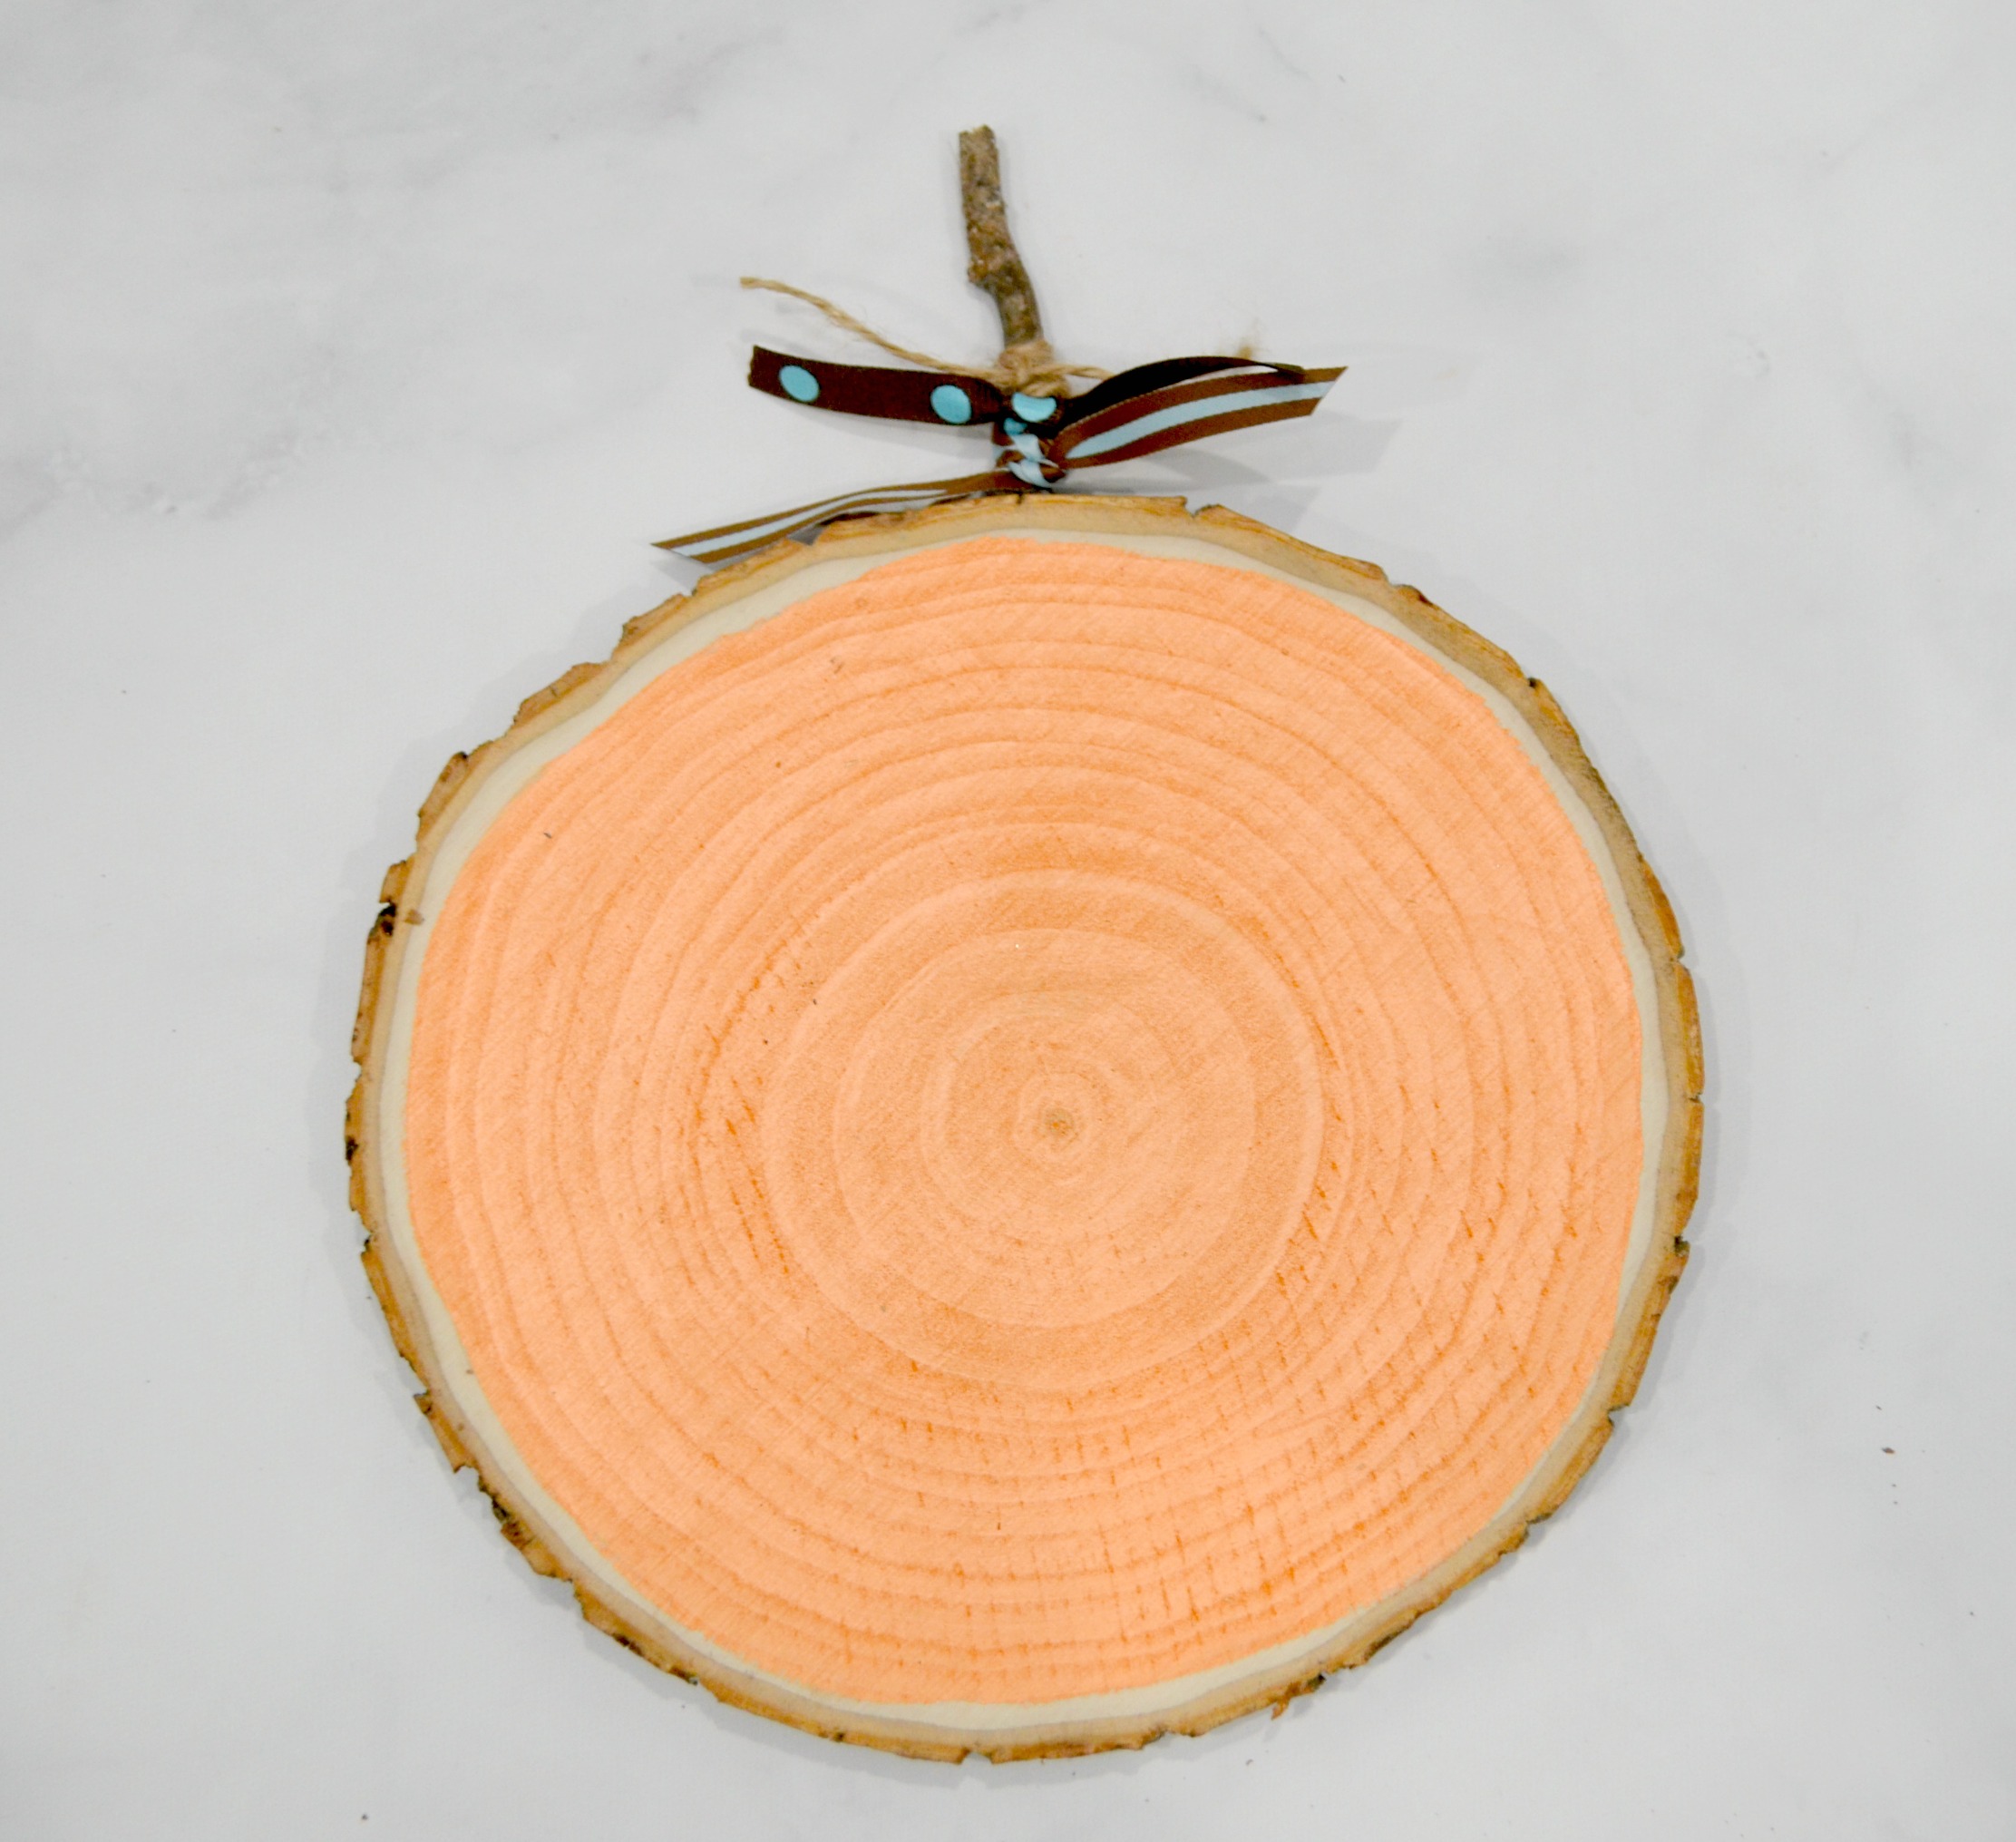
Step 3: Add ribbon, twine, and/or leaves.
This part is totally up to you! The twine and ribbon helps to cover the glue, and to give the pumpkin a festive rustic look. You can use any size, color, and pattern of ribbon to make your pumpkin fit in with your home decor.
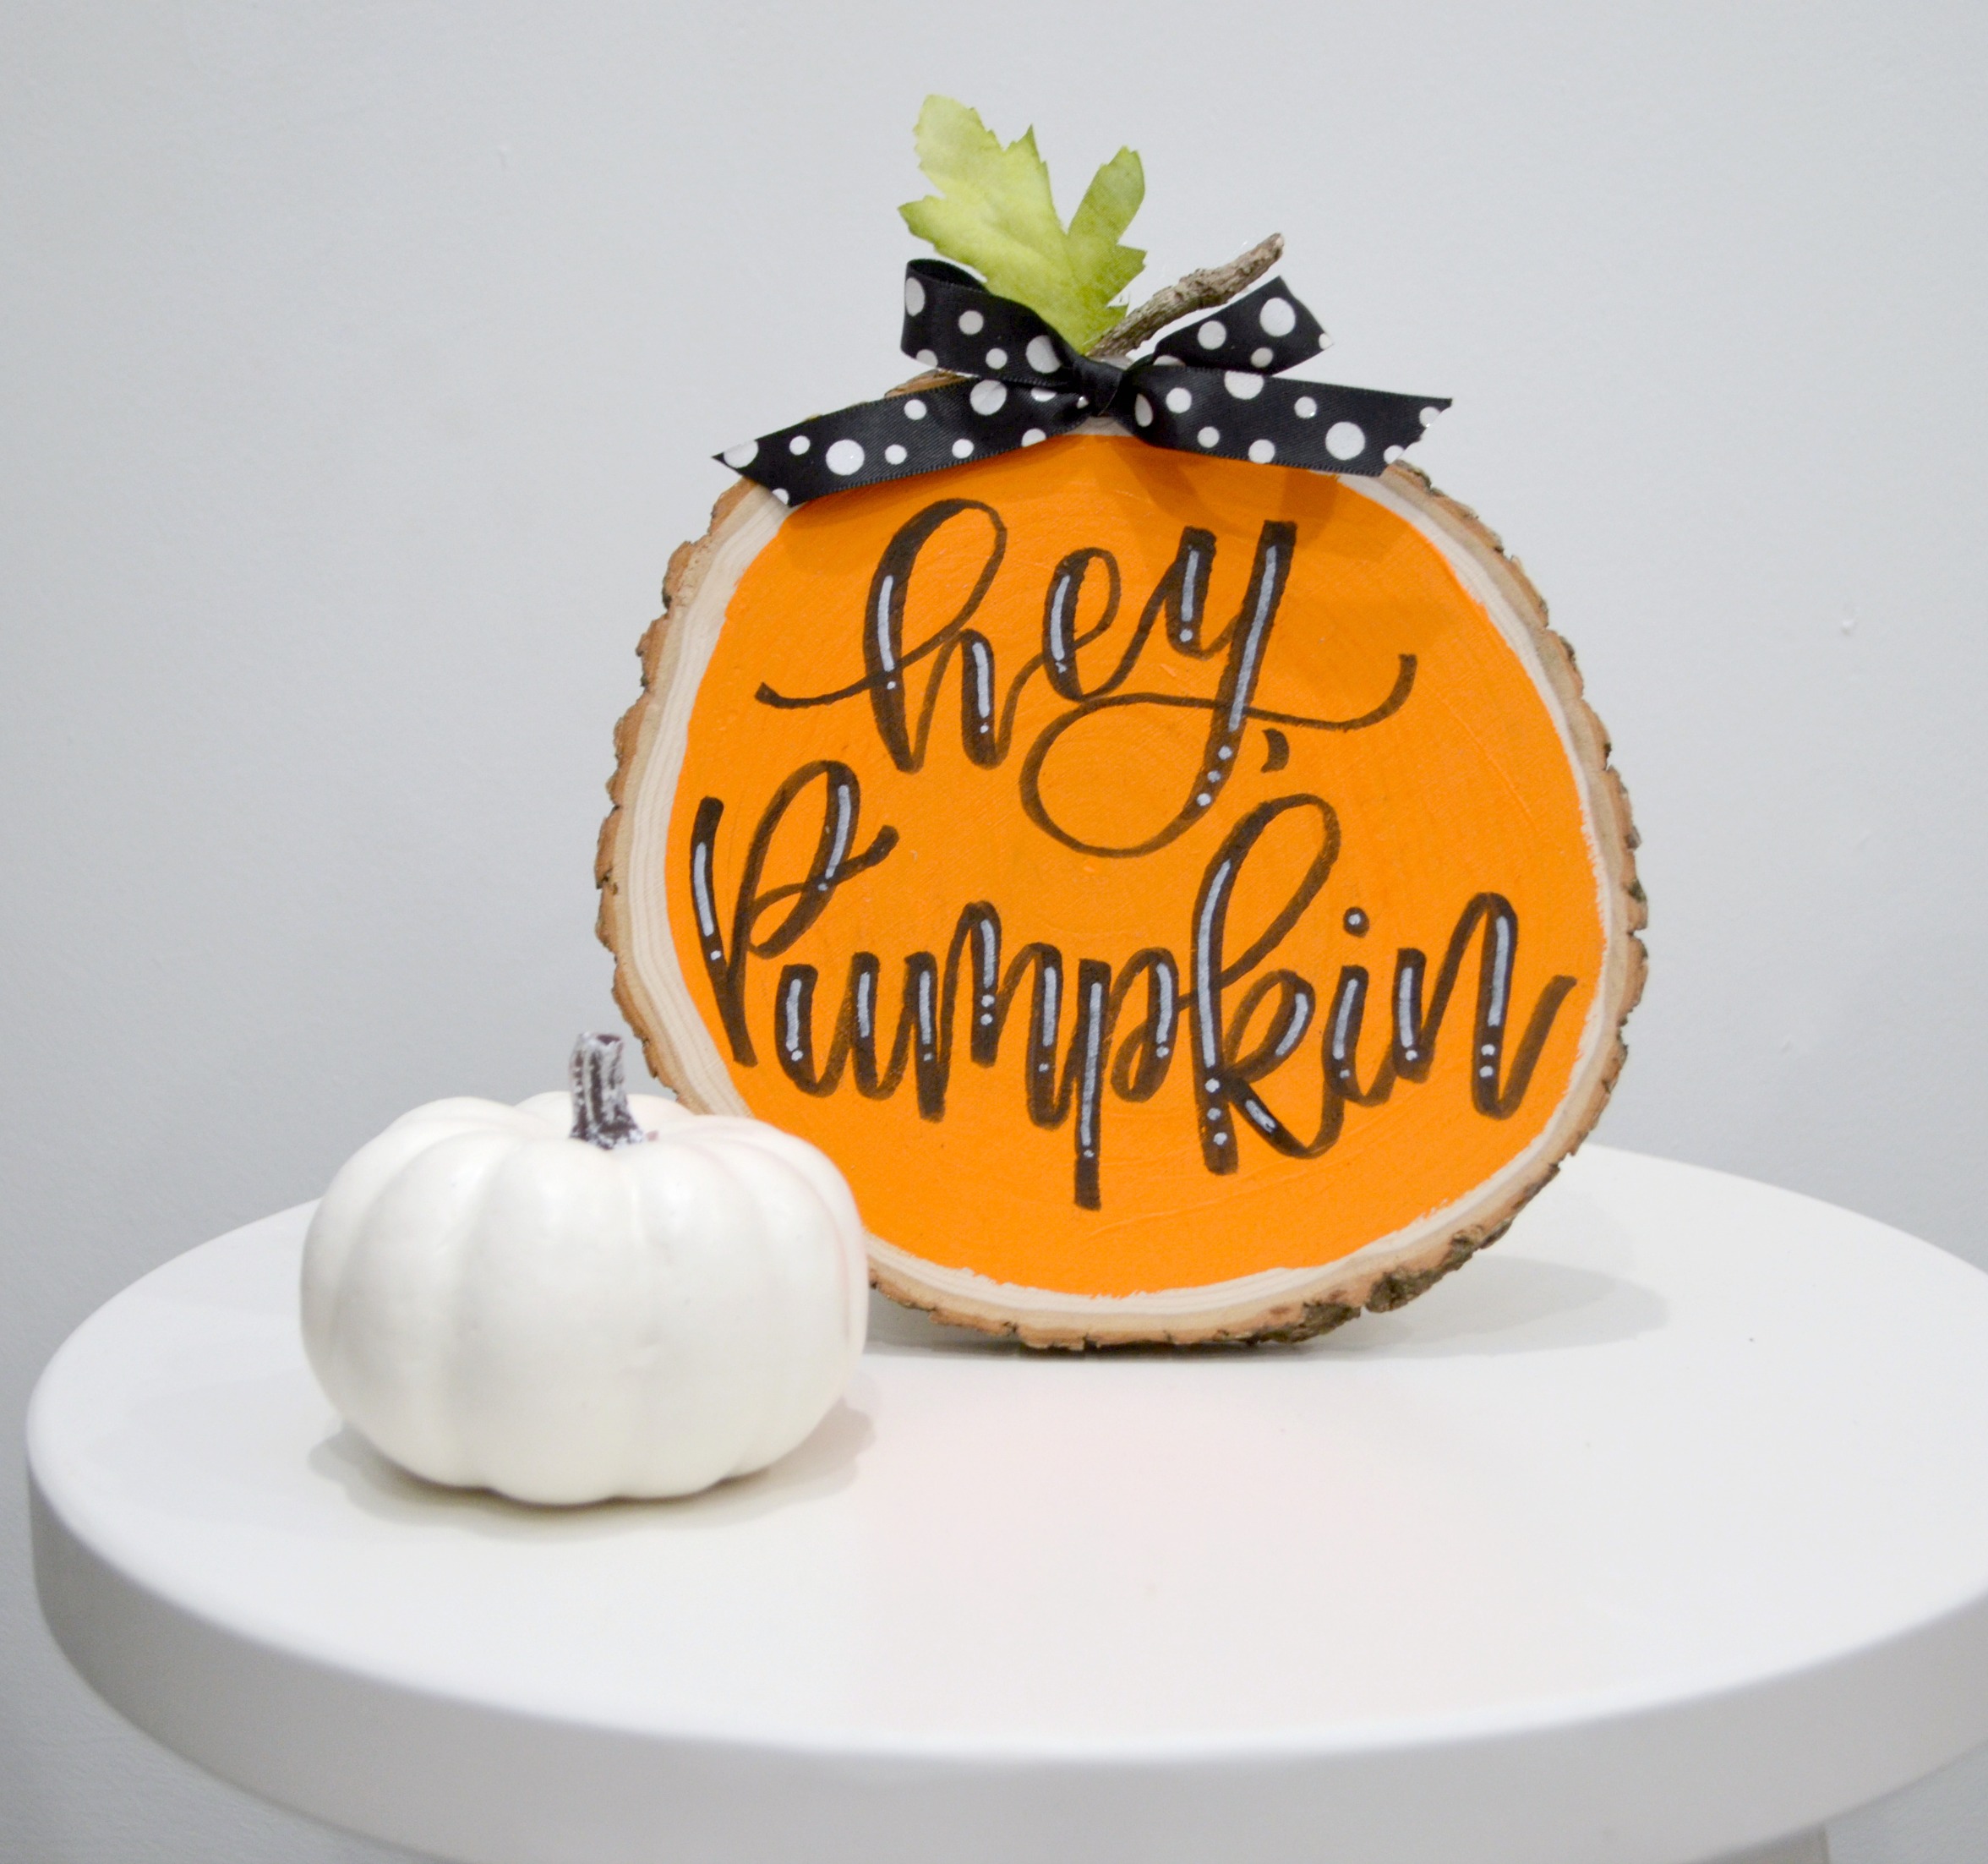
If you are satisfied with your pumpkin as-is, you can call it finished at this step and put it on display!
If you’d like to add more detail, there are lots of ways you can personalize your pumpkin! Here’s one idea:
Use a lighter shade of paint and create some lines to add dimension.
I like to start with an oval in the center, then draw two sets of shapes similar to parentheses on either side. This gives the illusion that the pumpkin isn’t flat.

Here’s another way to add some pizazz to your pumpkin:
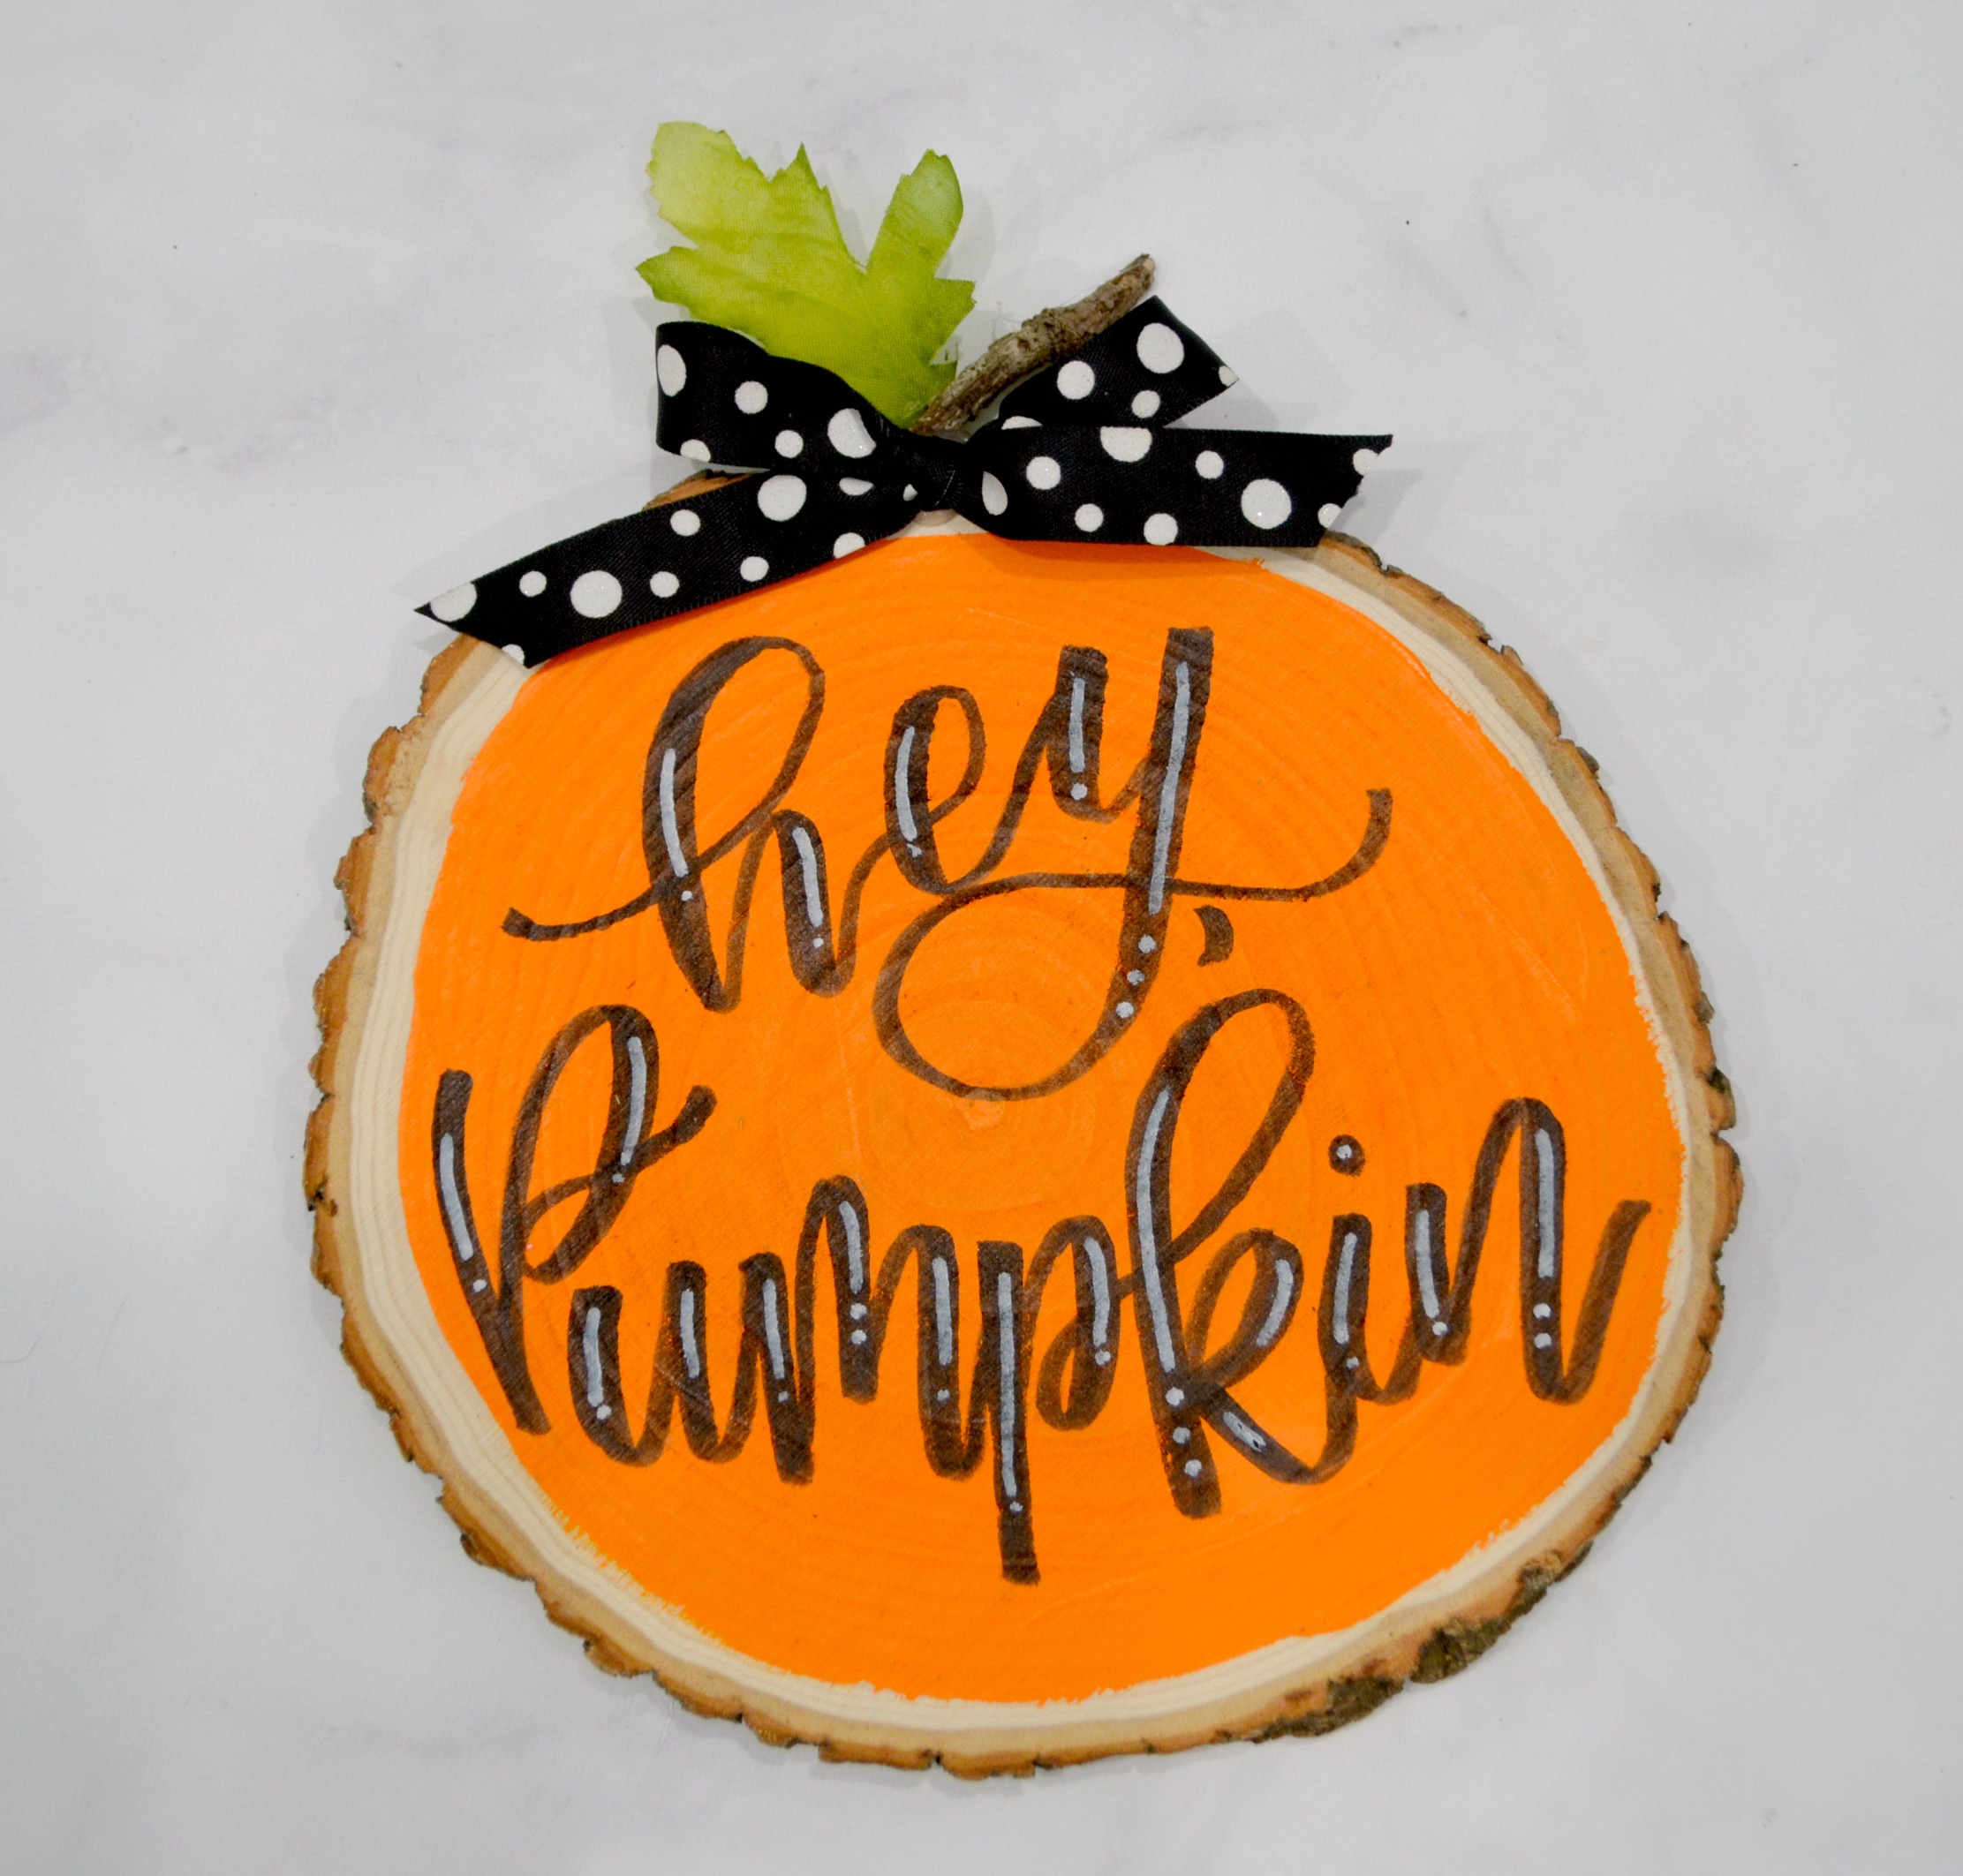
Hand letter a message on your pumpkin using paint markers!
I chose the phrase, “hey, pumpkin,” but you can also use “welcome,” “hello, fall,” or something else like your family’s last name/monogram. Because I used a Tombow ABT Pro marker with a brush tip, I was able to write in brush script. If you’re using a Sharpie or another type of paint pen with a bullet tip, you can use Faux Calligraphy and get a similar look.
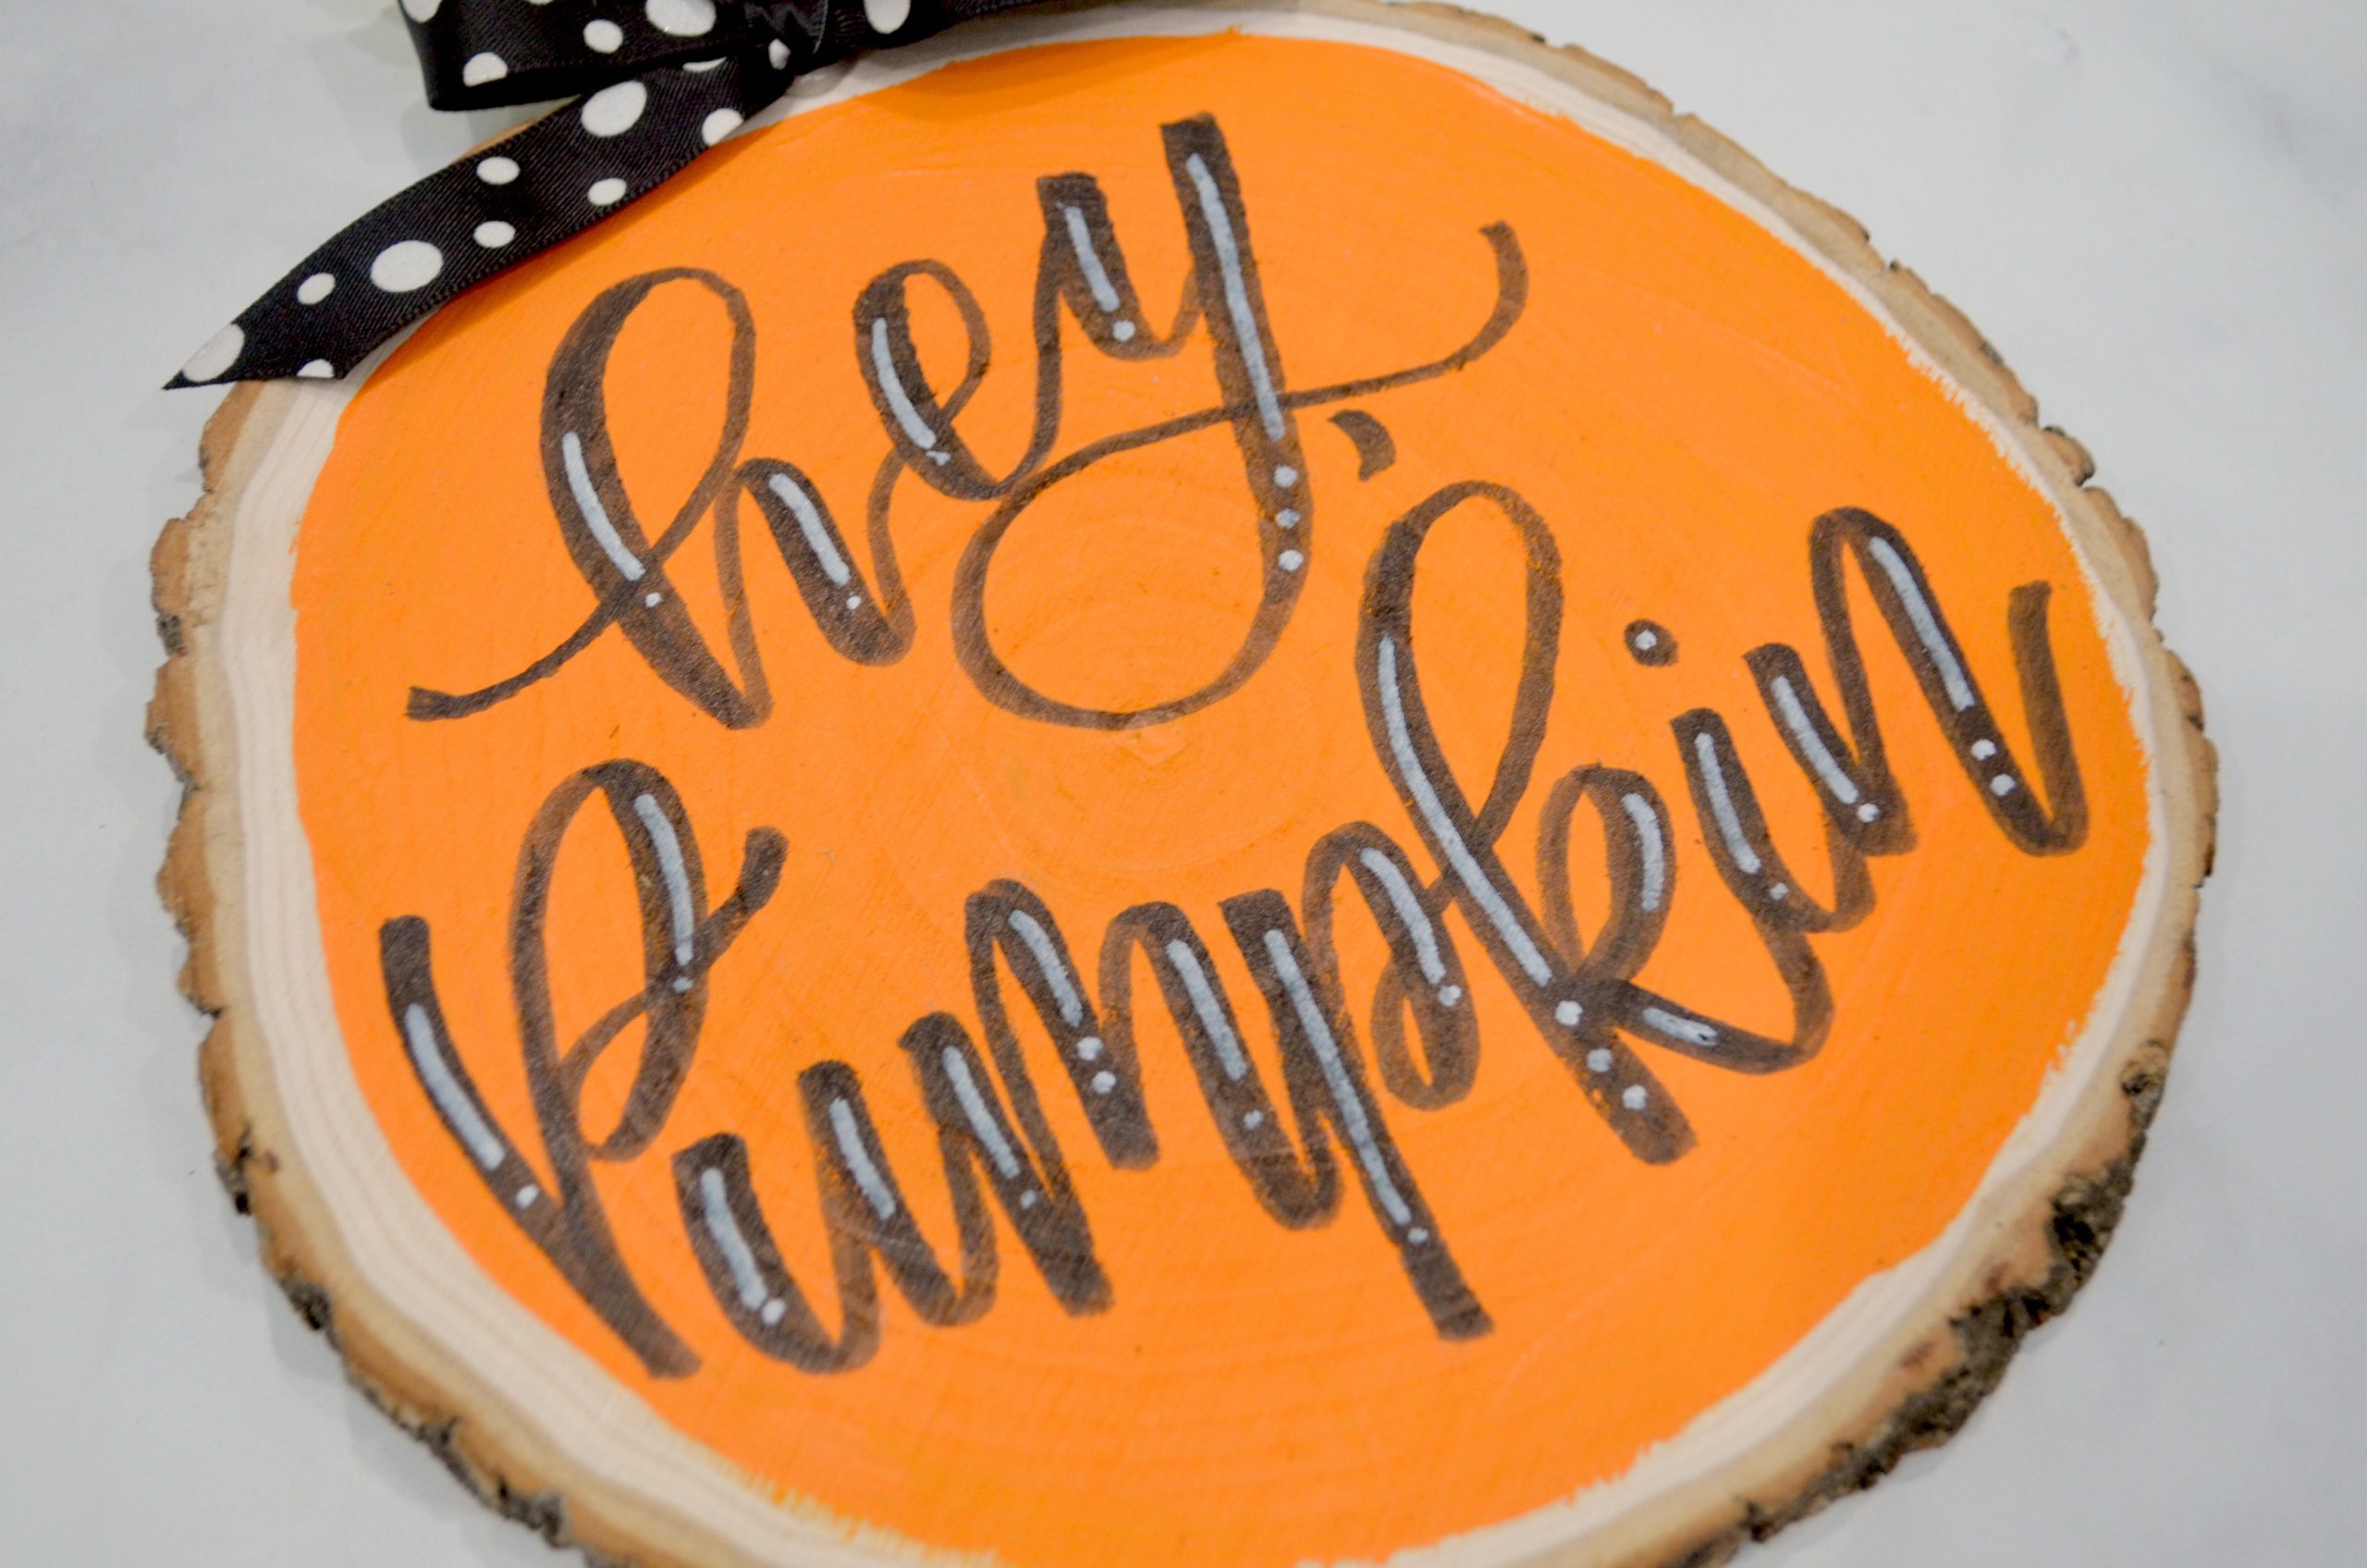
If you’re new to hand lettering, check out this post or this video for an introduction! I used a white paint pen to add highlights to my letters for an extra pop. I like the effect it has with the black and white polka dot bow.
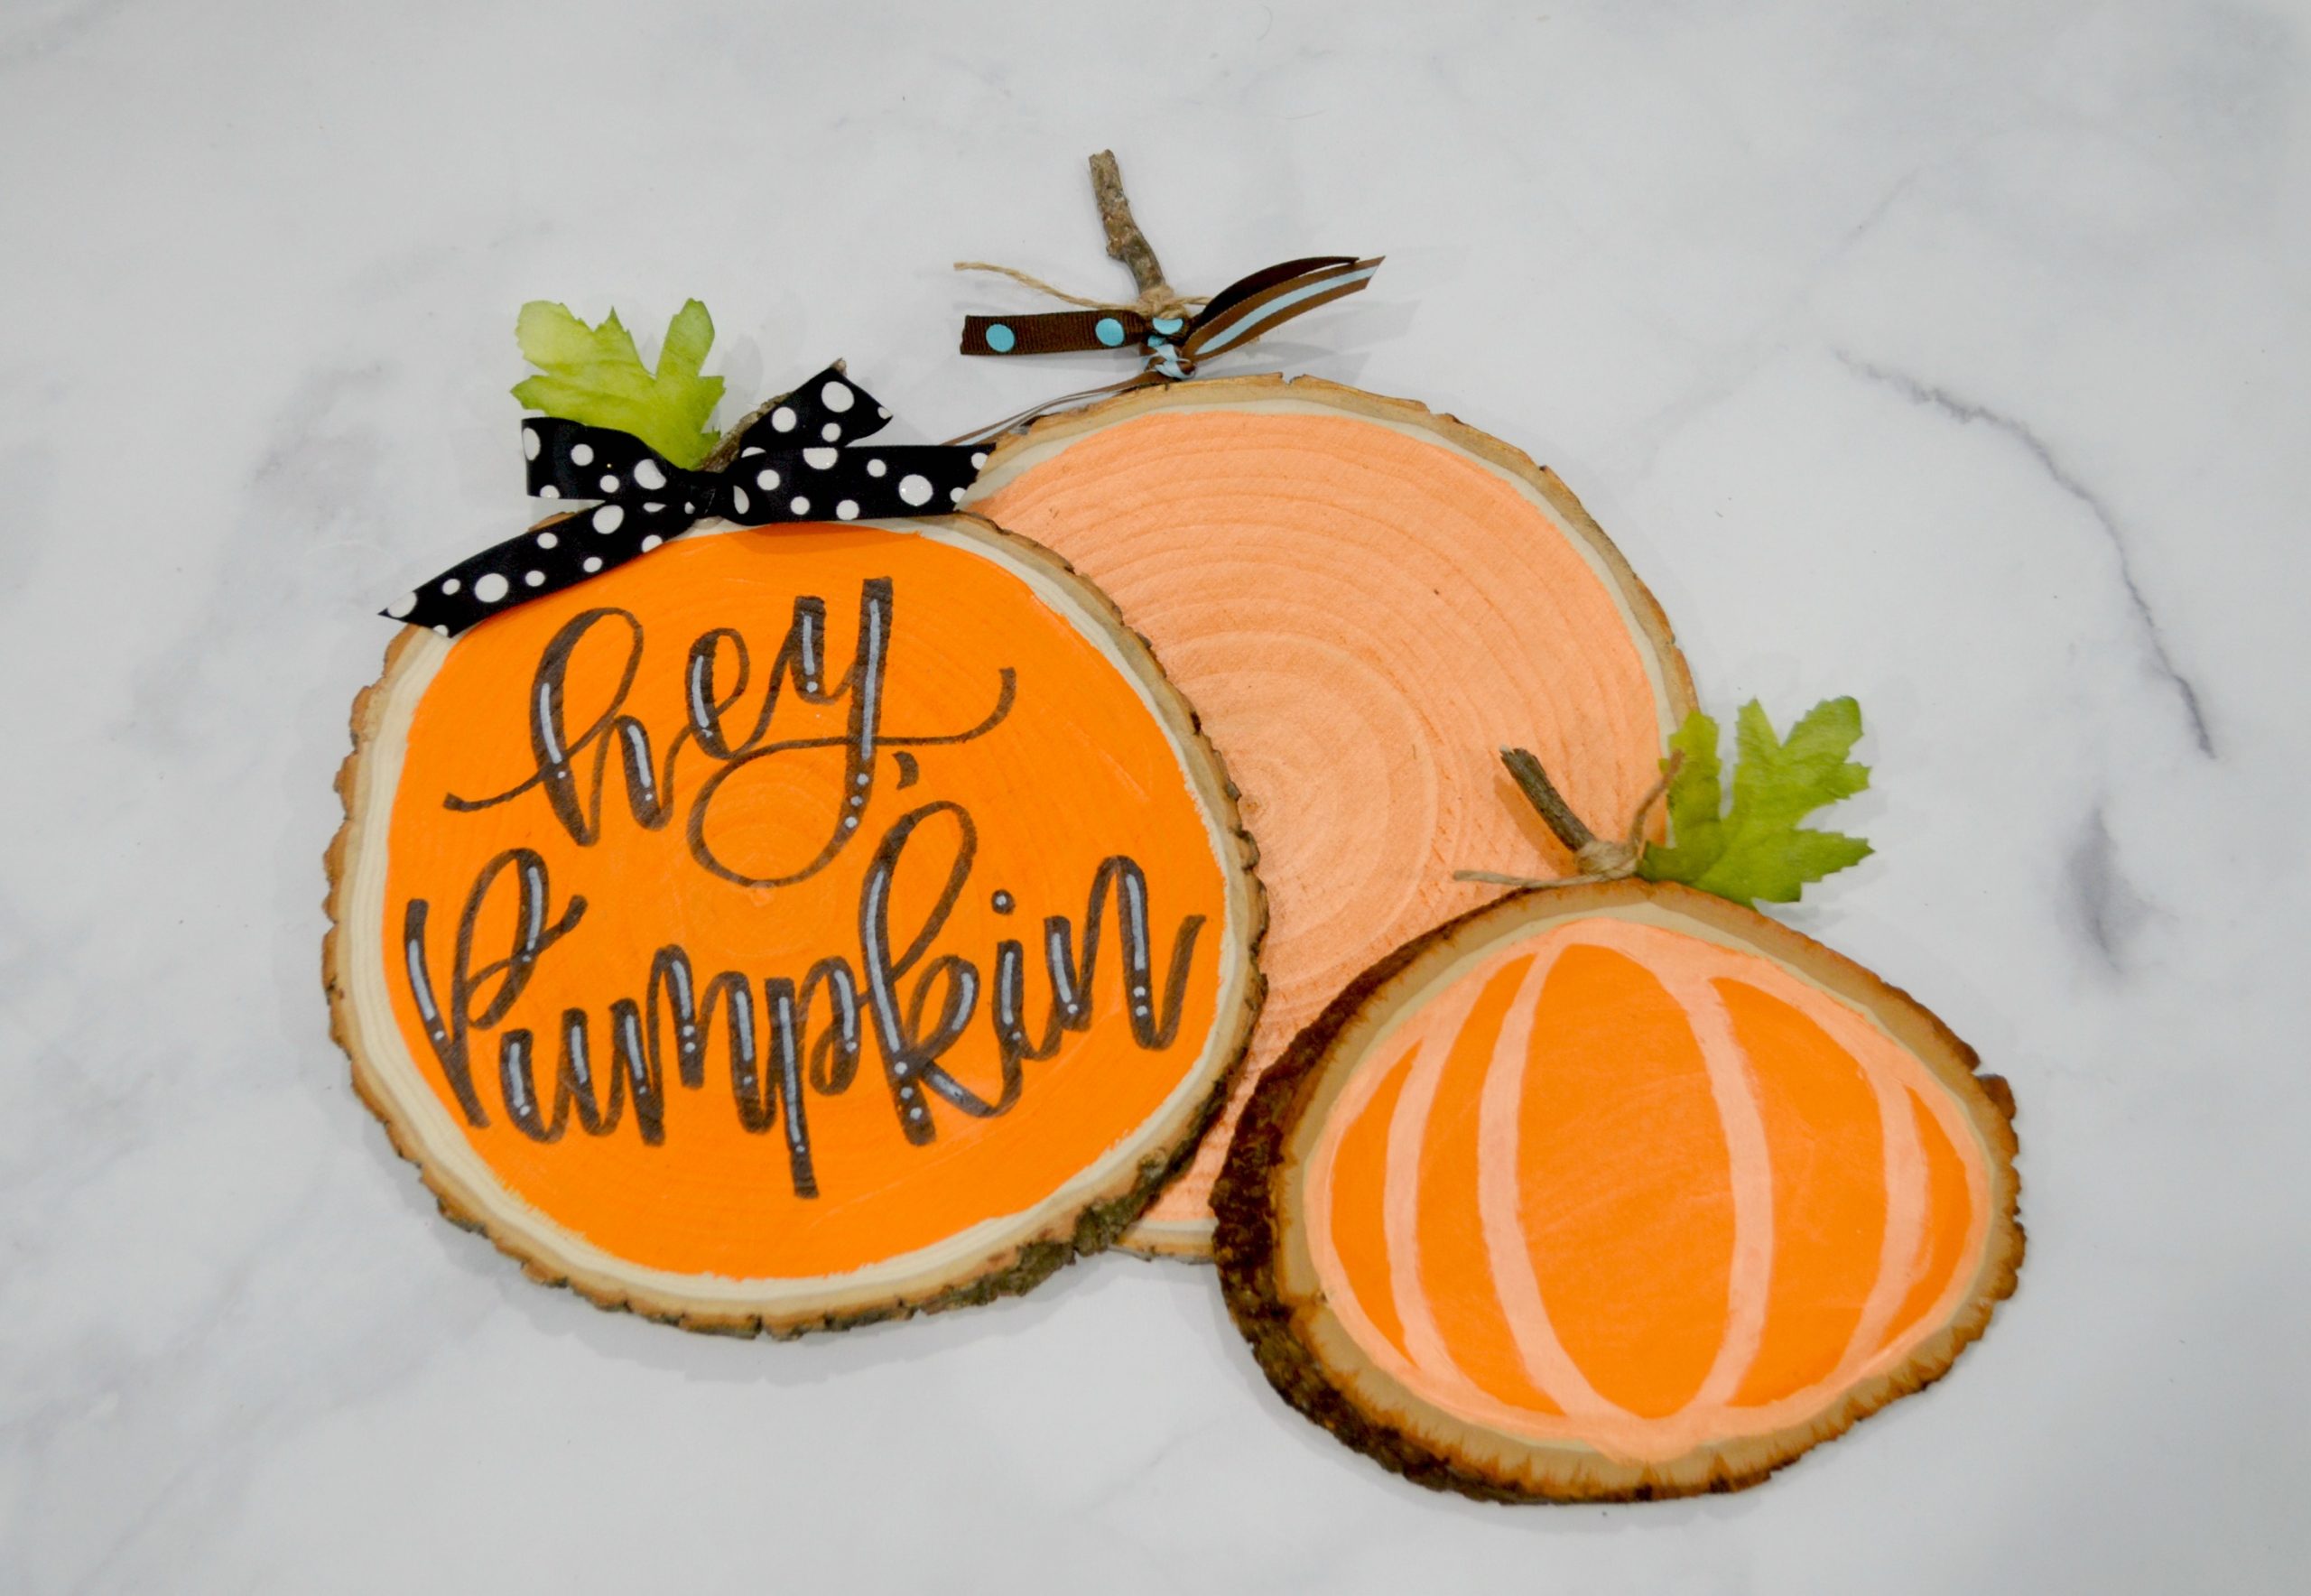
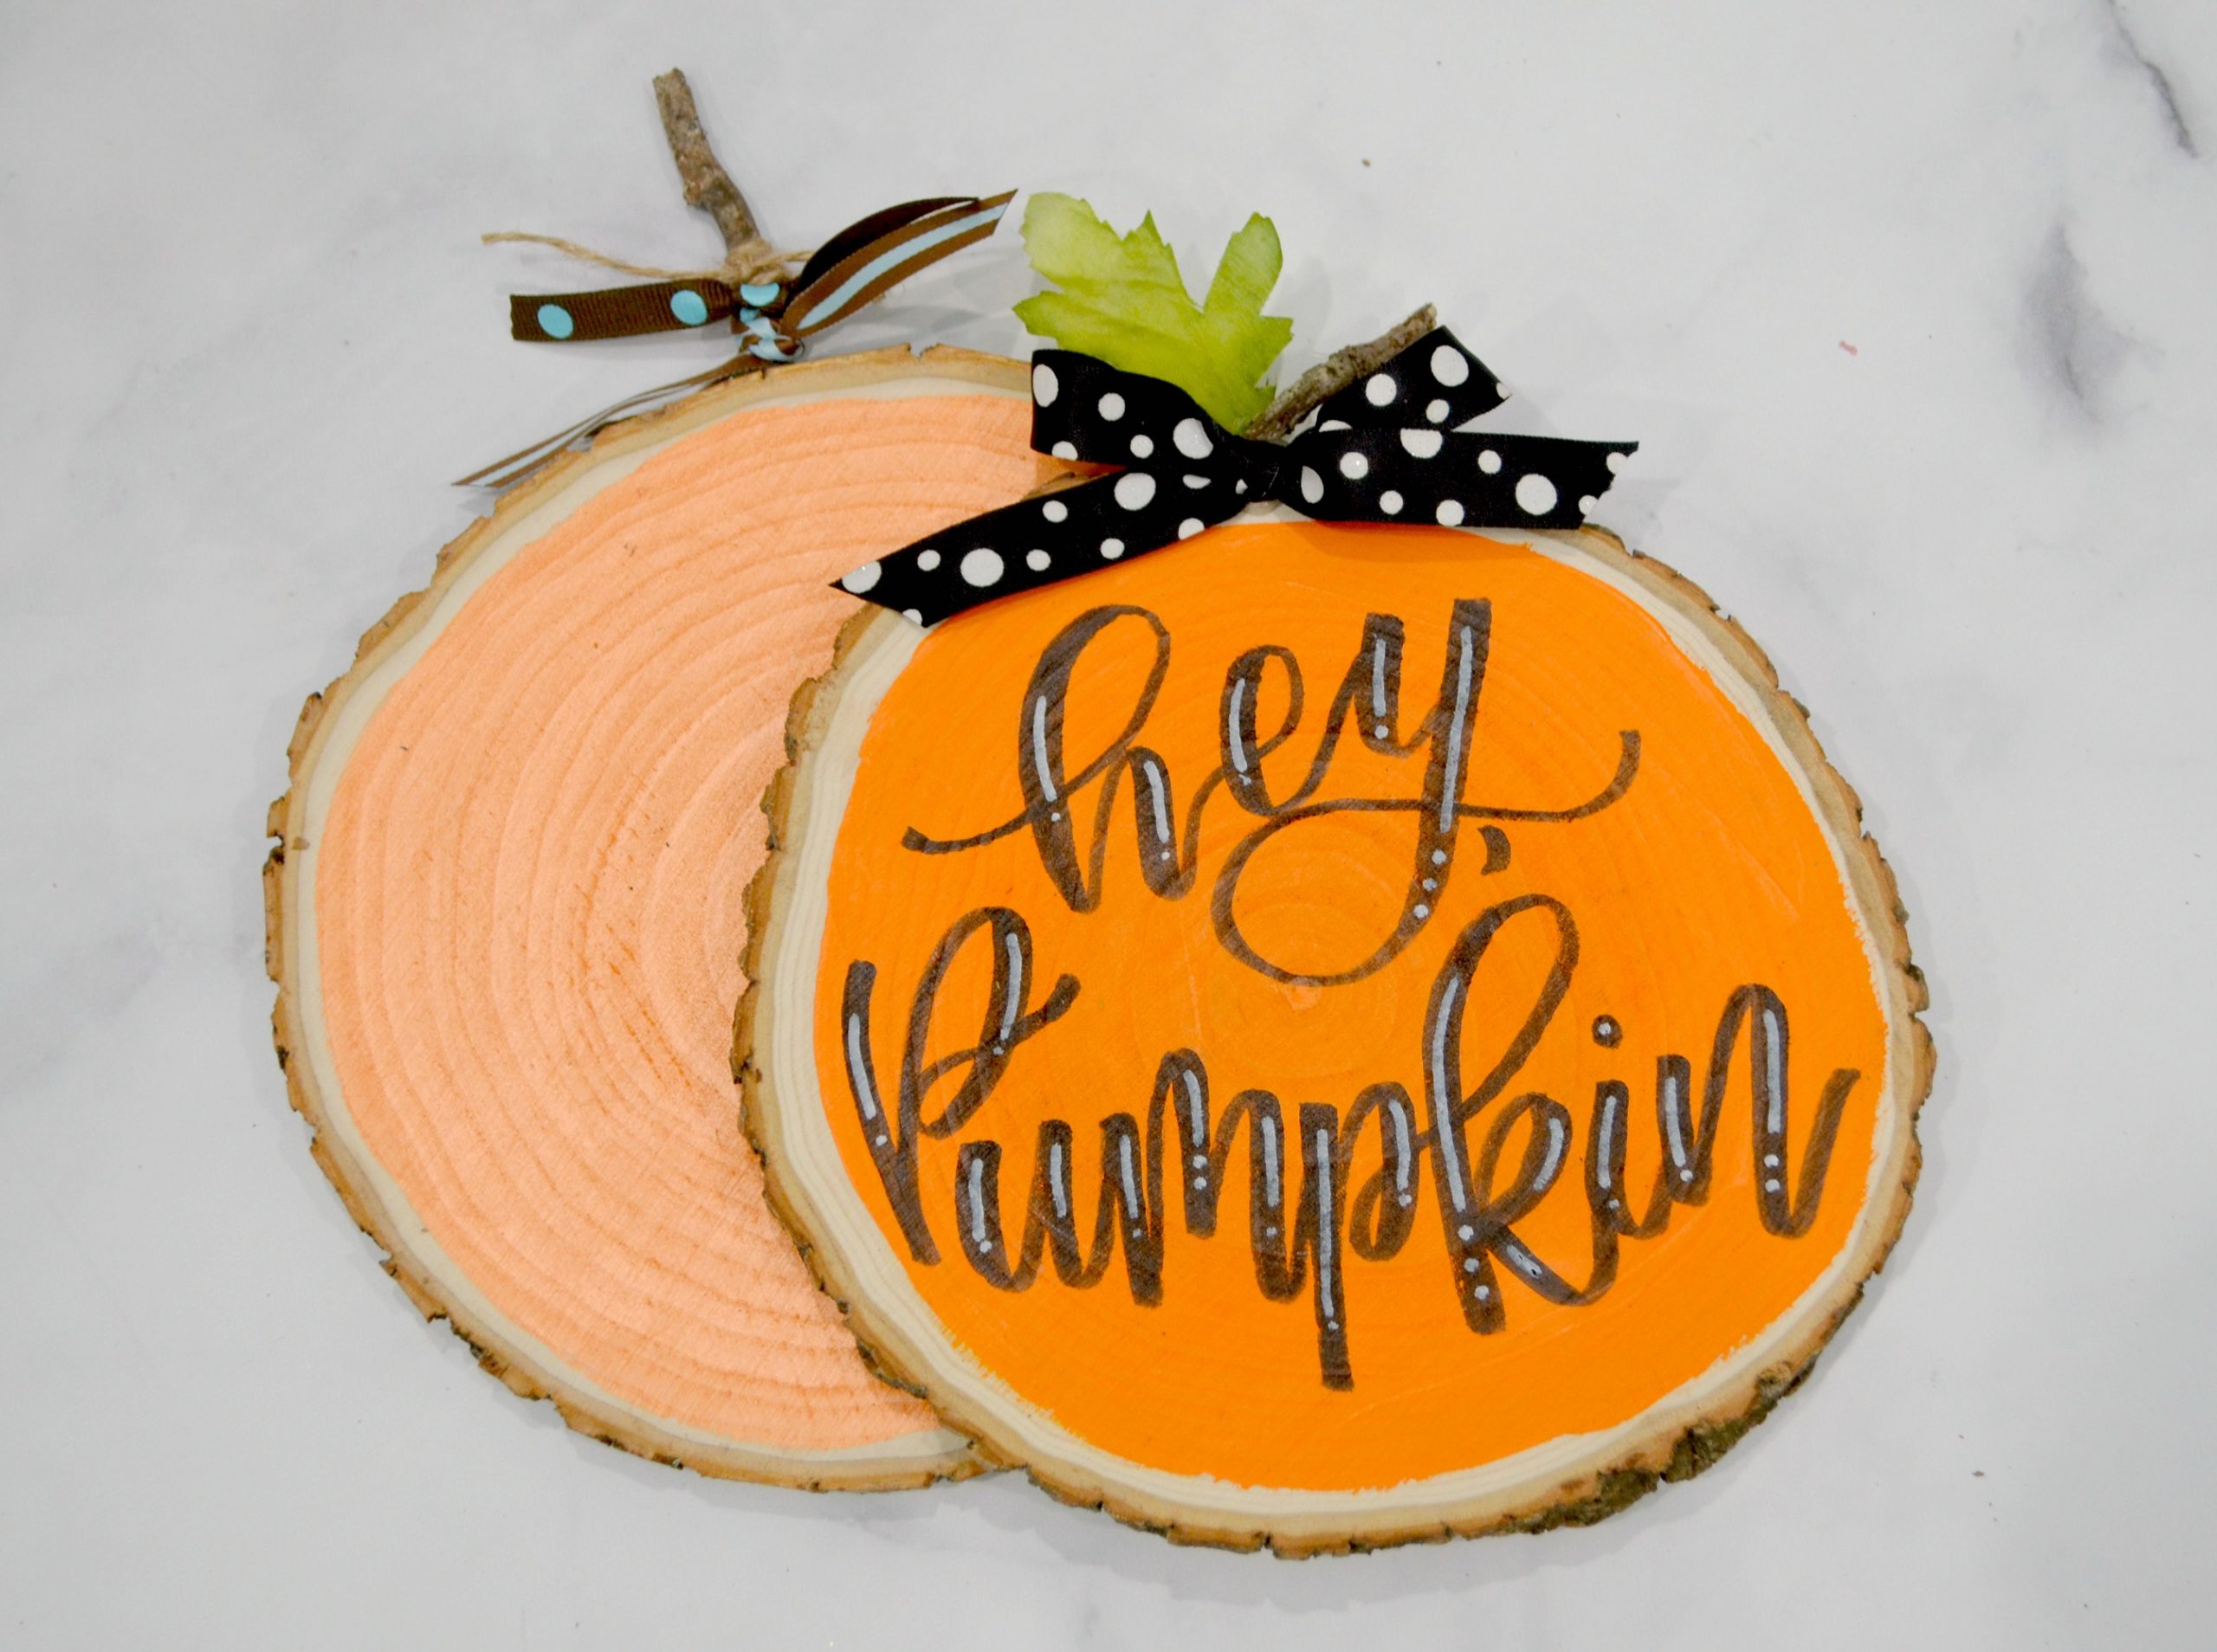
These pumpkins make adorable decor alone or displayed together as a set! They also make a fun gift for your neighbors and friends.
What do you think? How would you personalize your own wood slice pumpkins? If you try this project, be sure to stop by and share your photos (or photos of anything you’re working on) in the Amy Latta & Friends Facebook Group so we can all be inspired! See you there.
If you like this project, here’s an image you can pin to Pinterest so you can find it again later! It’s also a great way to share with friends!

These are cute. I didn’t think to add a leaf or stem to the ones I made.
It’s never too late!