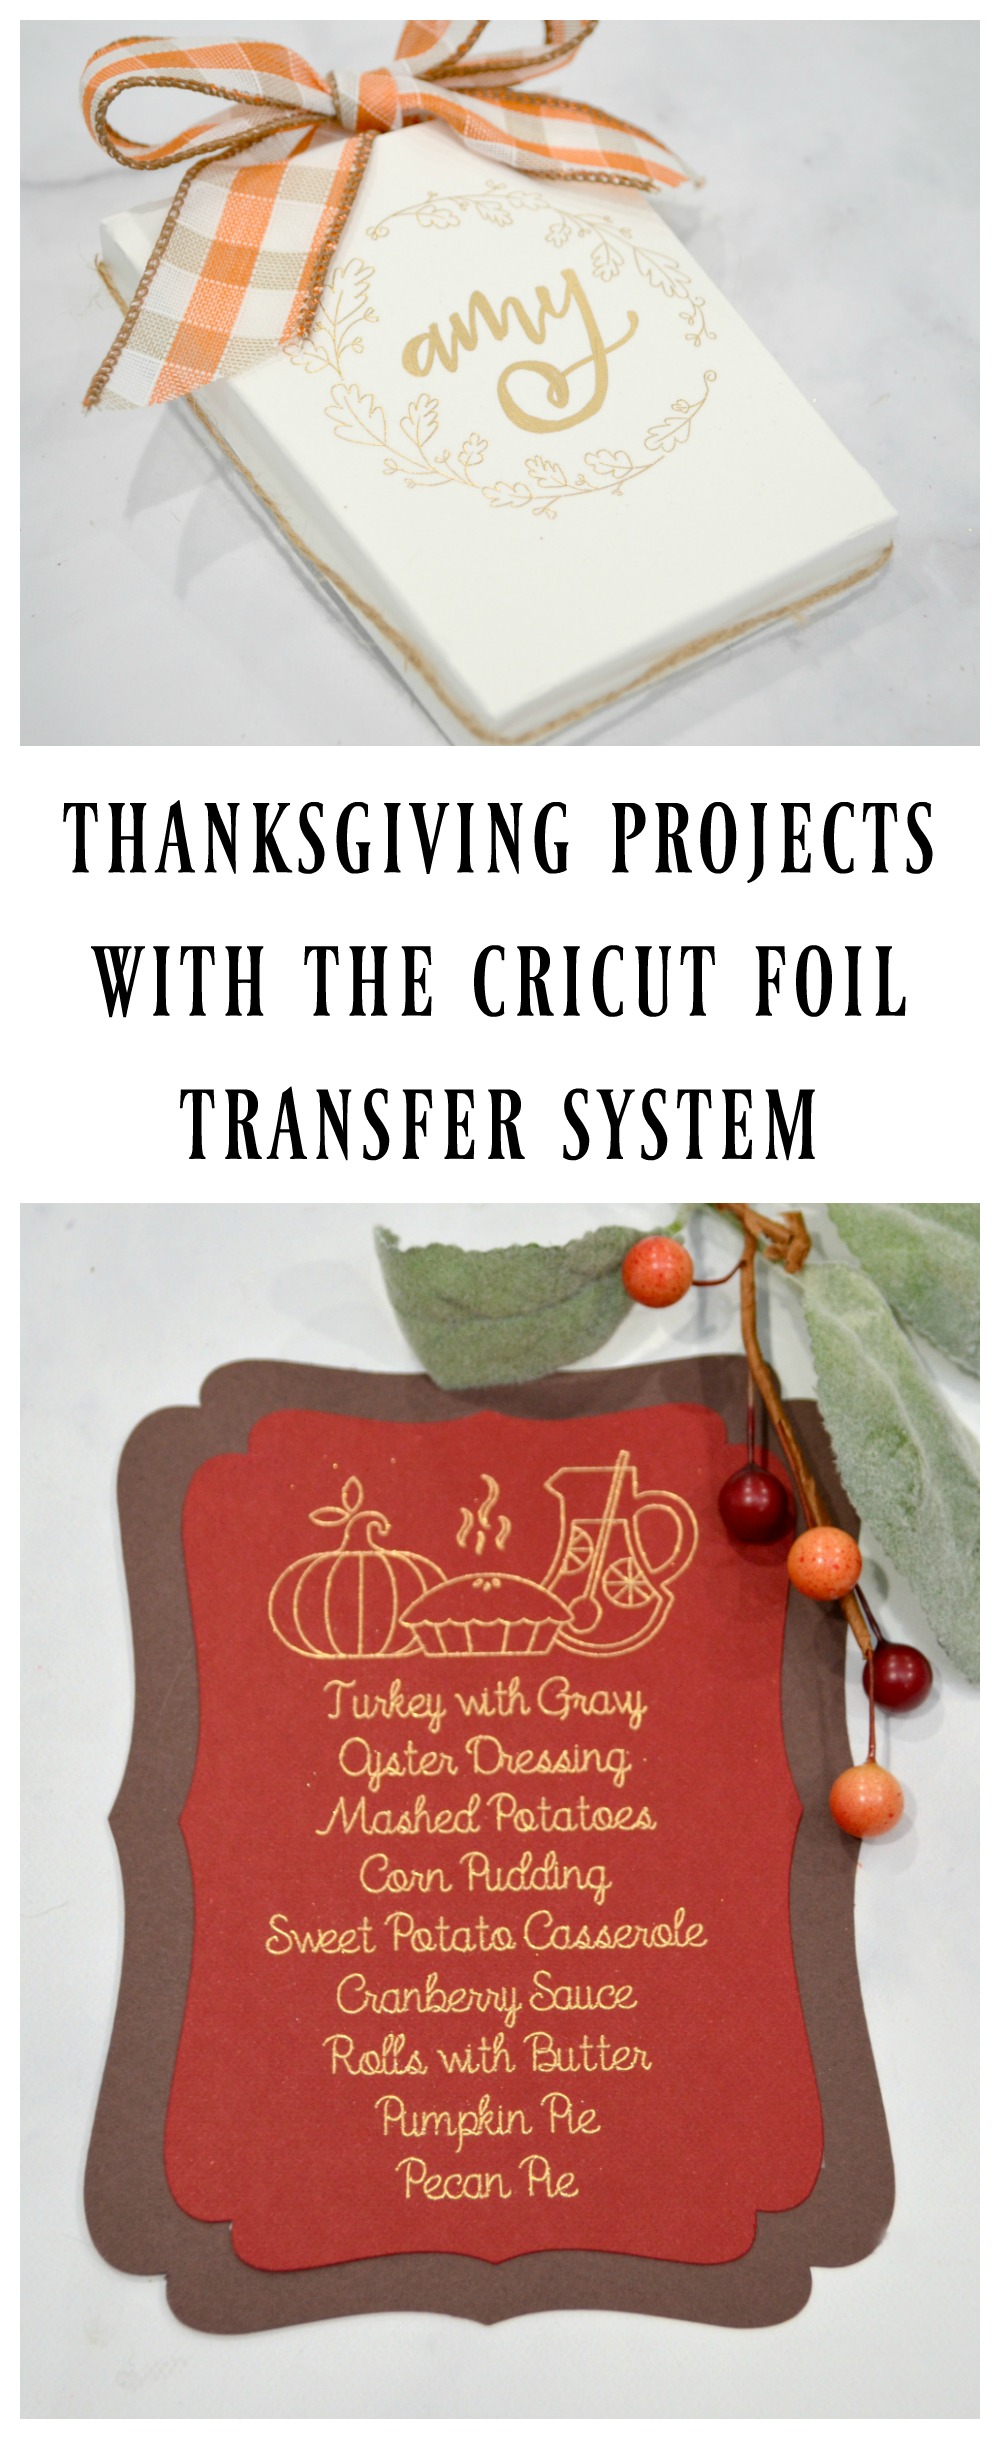
Thanksgiving Projects with the Cricut Foil Transfer System
This is a sponsored post written by me on behalf of Cricut. All opinions are 100% mine.
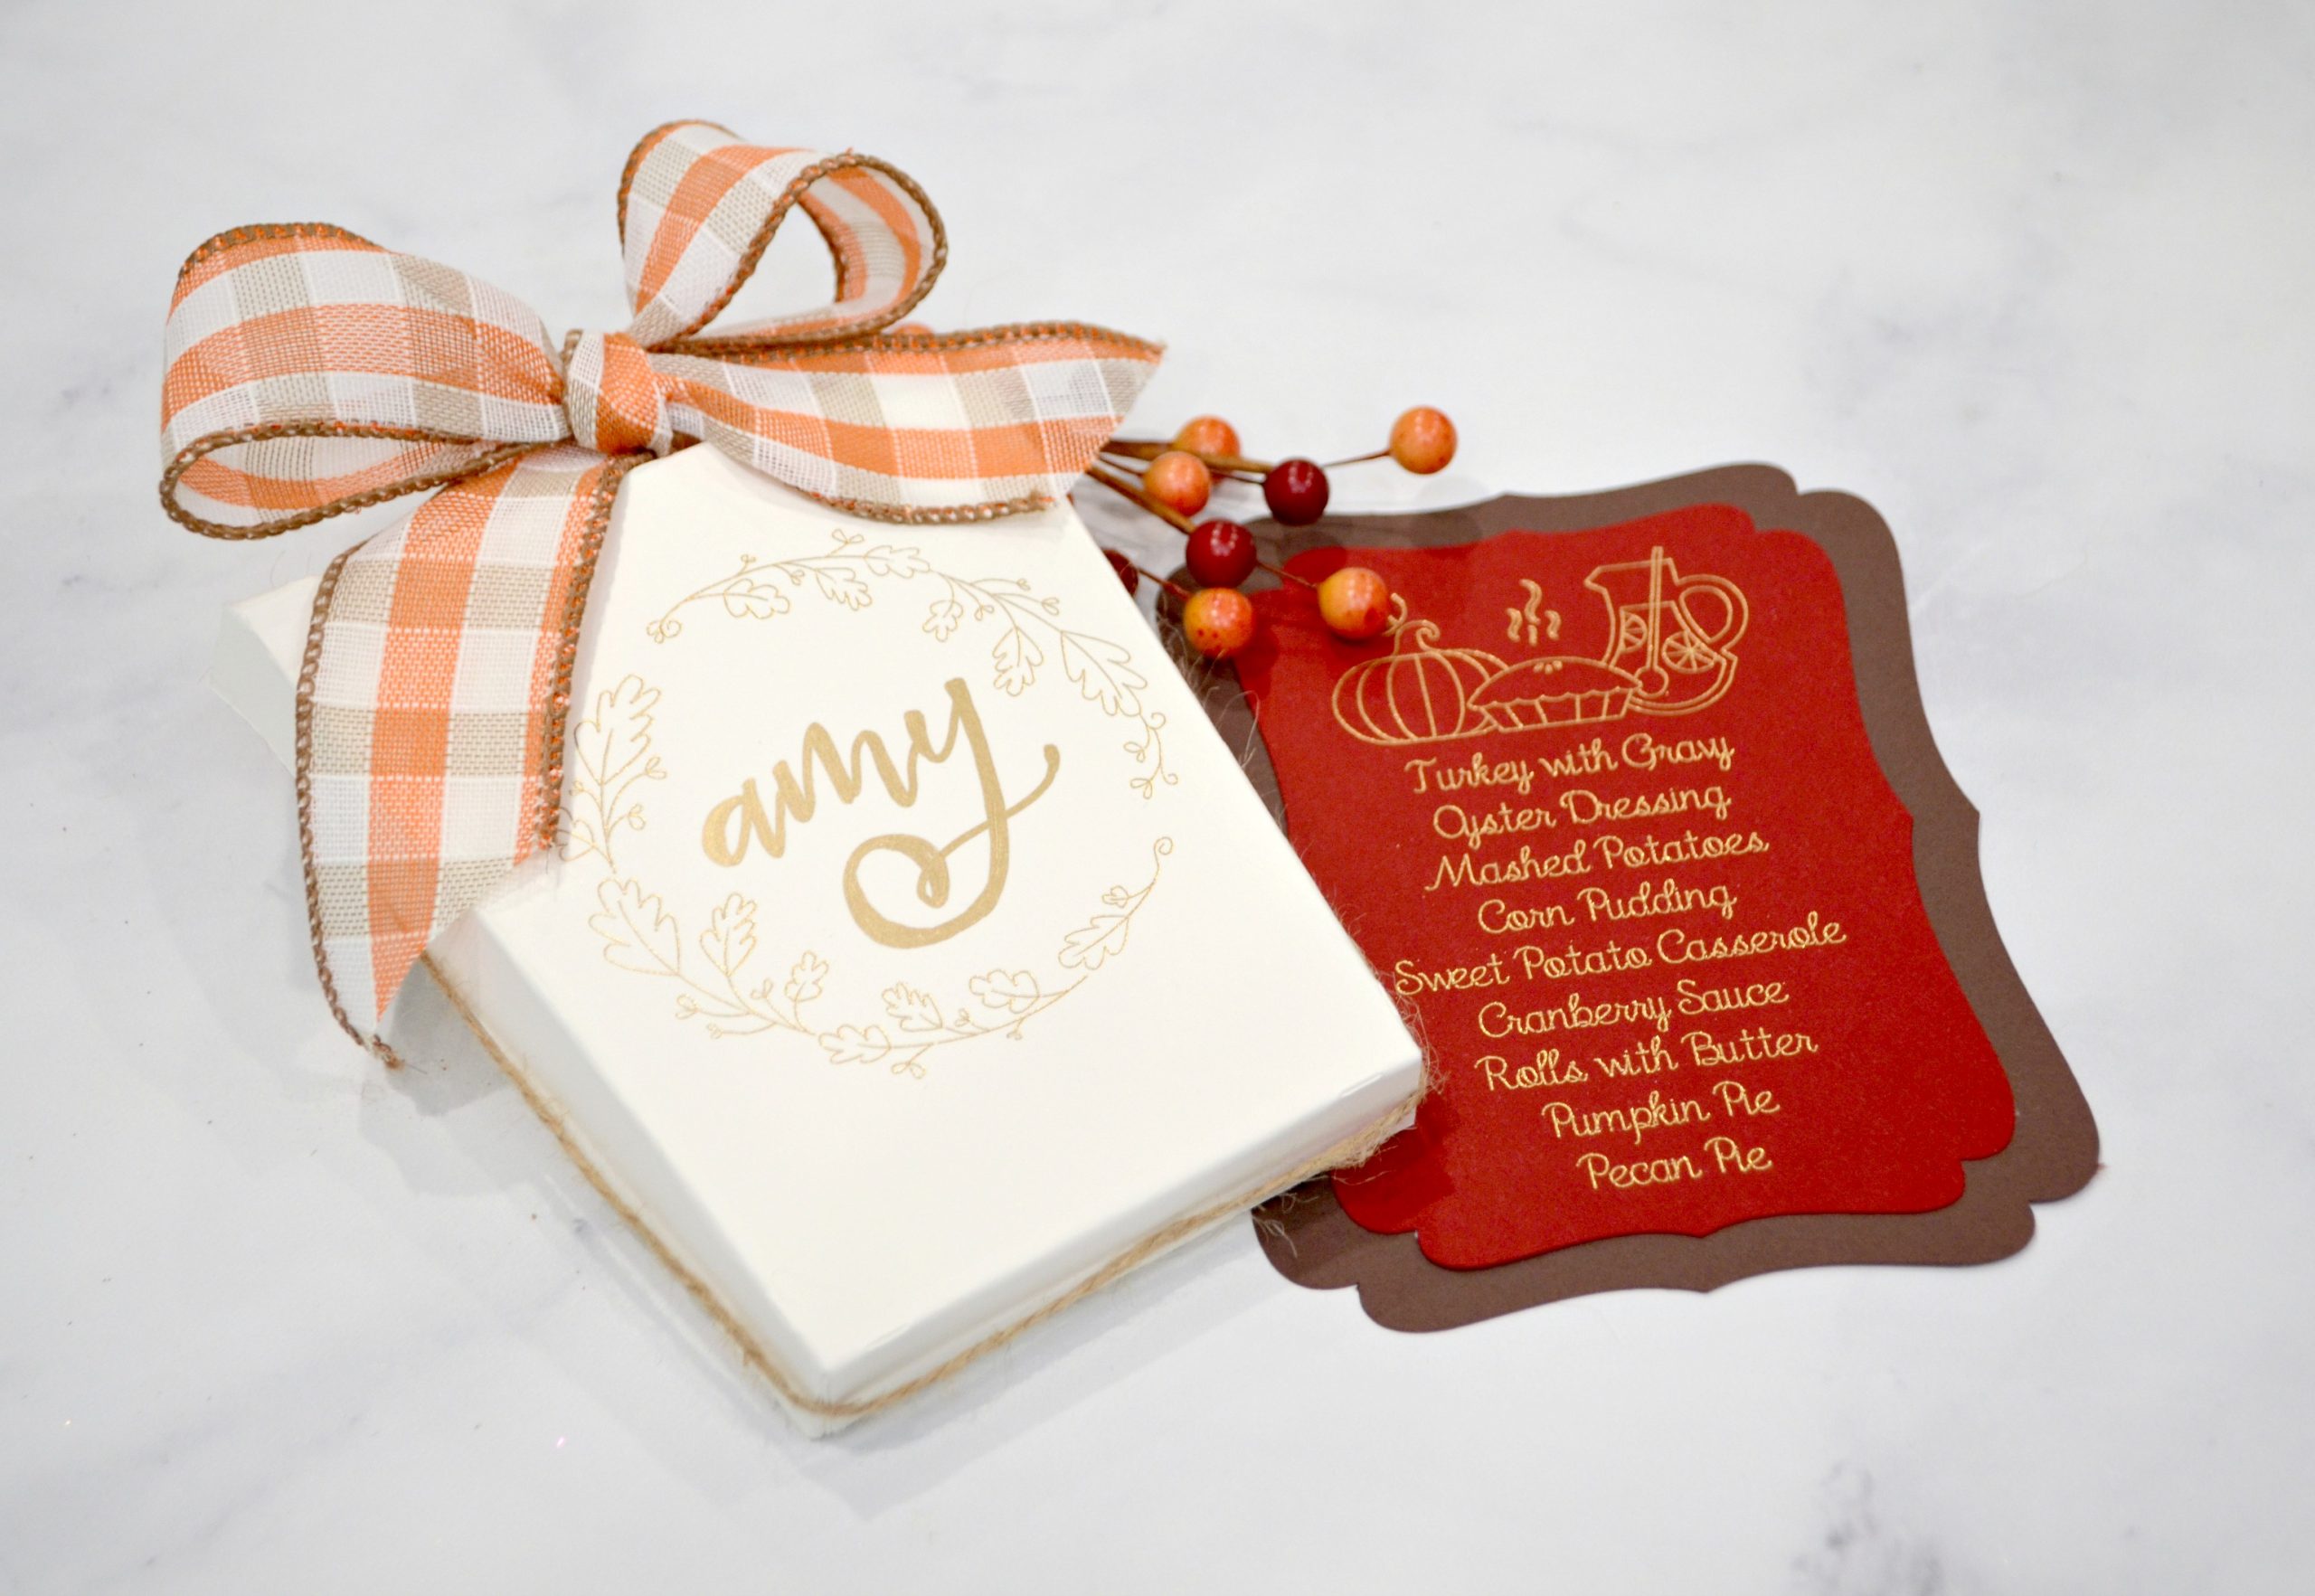
With fall in full swing and the holidays just around the corner, I thought it would be fun to use the brand new Cricut Foil Transfer System to create some elegant Thanksgiving projects for the dinner table. First, I made a little box that doubles as a favor holder and a place card. Then, I made a menu to put at each person’s plate. Despite how professional they look, both projects were really easy to create. Here’s how I made them and you can too!
Favor Box/Place Card
You’ll need:
Cricut Explore or Maker machine (the Foil Transfer System is backward compatible with all machines in these lines)
Gold marker or paint pen
Scissors
Ribbon/Twine
Adhesive
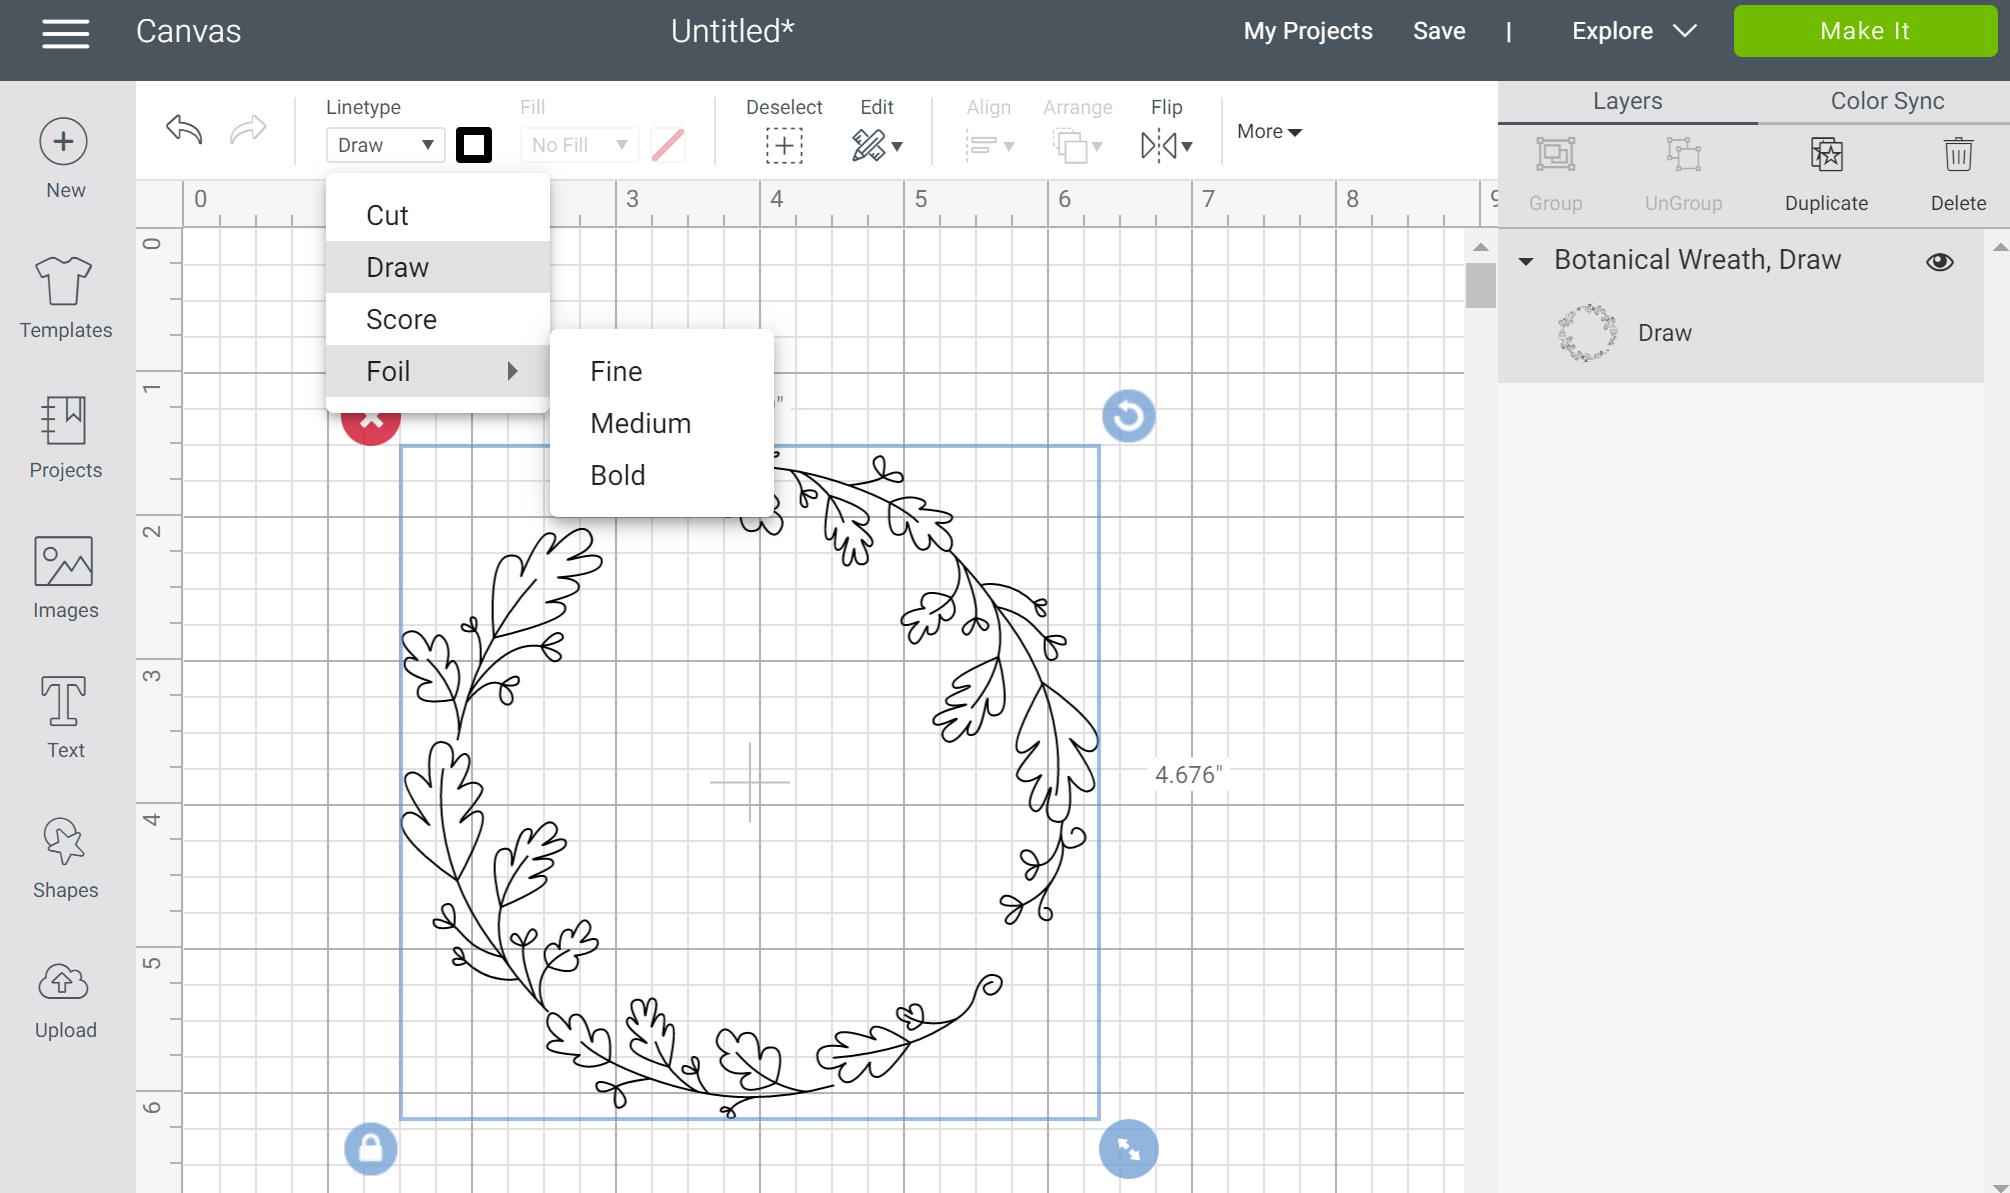
Step 1: Choose the design you want to foil in Design Space.
I did a search for “wreath” and filtered the results by “draw only” images. Choose your favorite and insert it onto your canvas. The next step is to select Linetype and choose “foil” from the dropdown menu. Then, you get to choose whether you want your foil lines to be fine, medium, or bold. (I chose medium.)
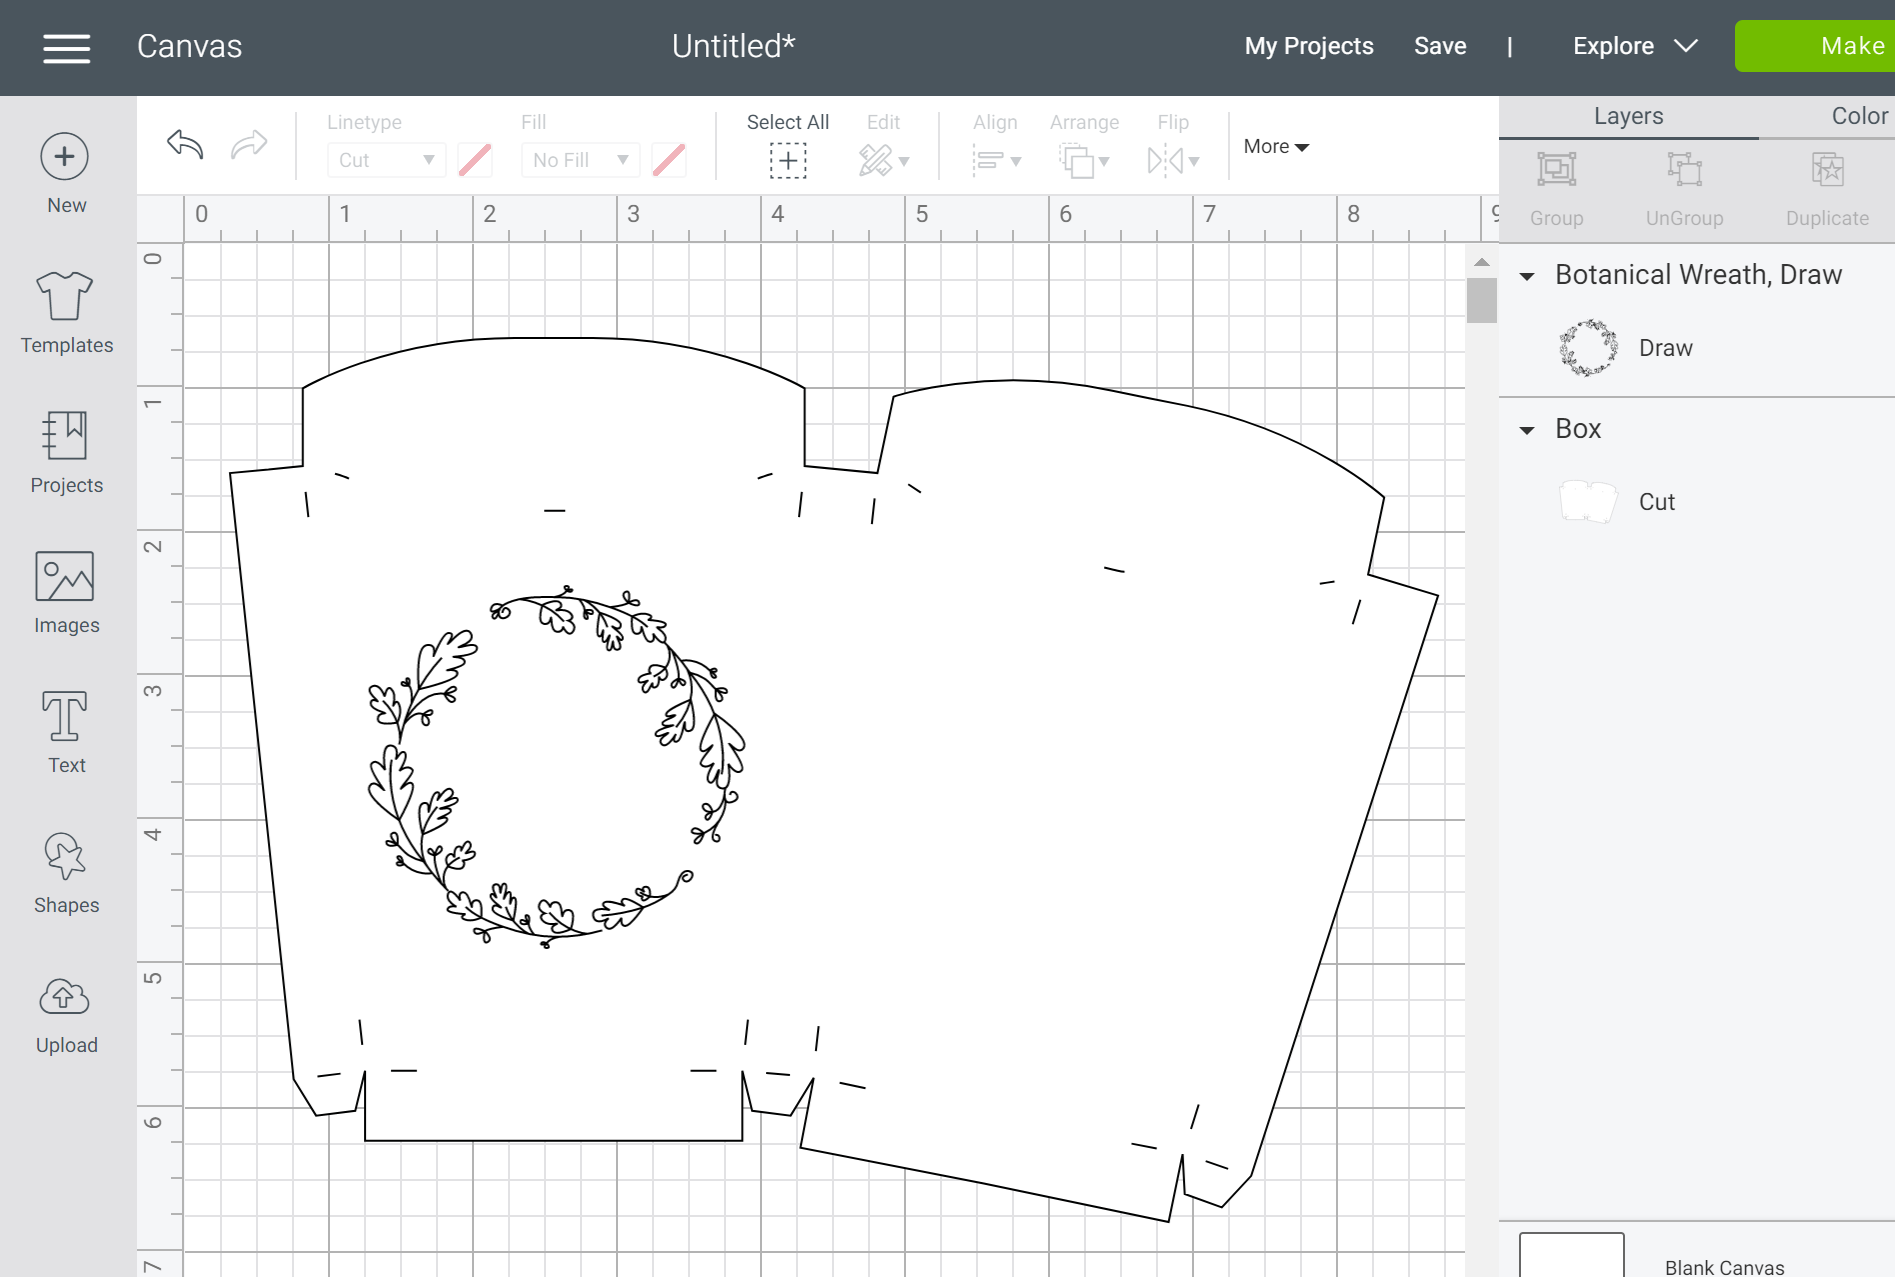
Step 2: Choose your box shape and attach it to your foil design.
Once again, I did an image search, then inserted my favorite onto the canvas. You’ll have to click on the wreath image and select, “move to front” to put it on top of the box. Once your draw image is on top of the cut image, you’ll need to go to “Layers” and attach the two layers together.
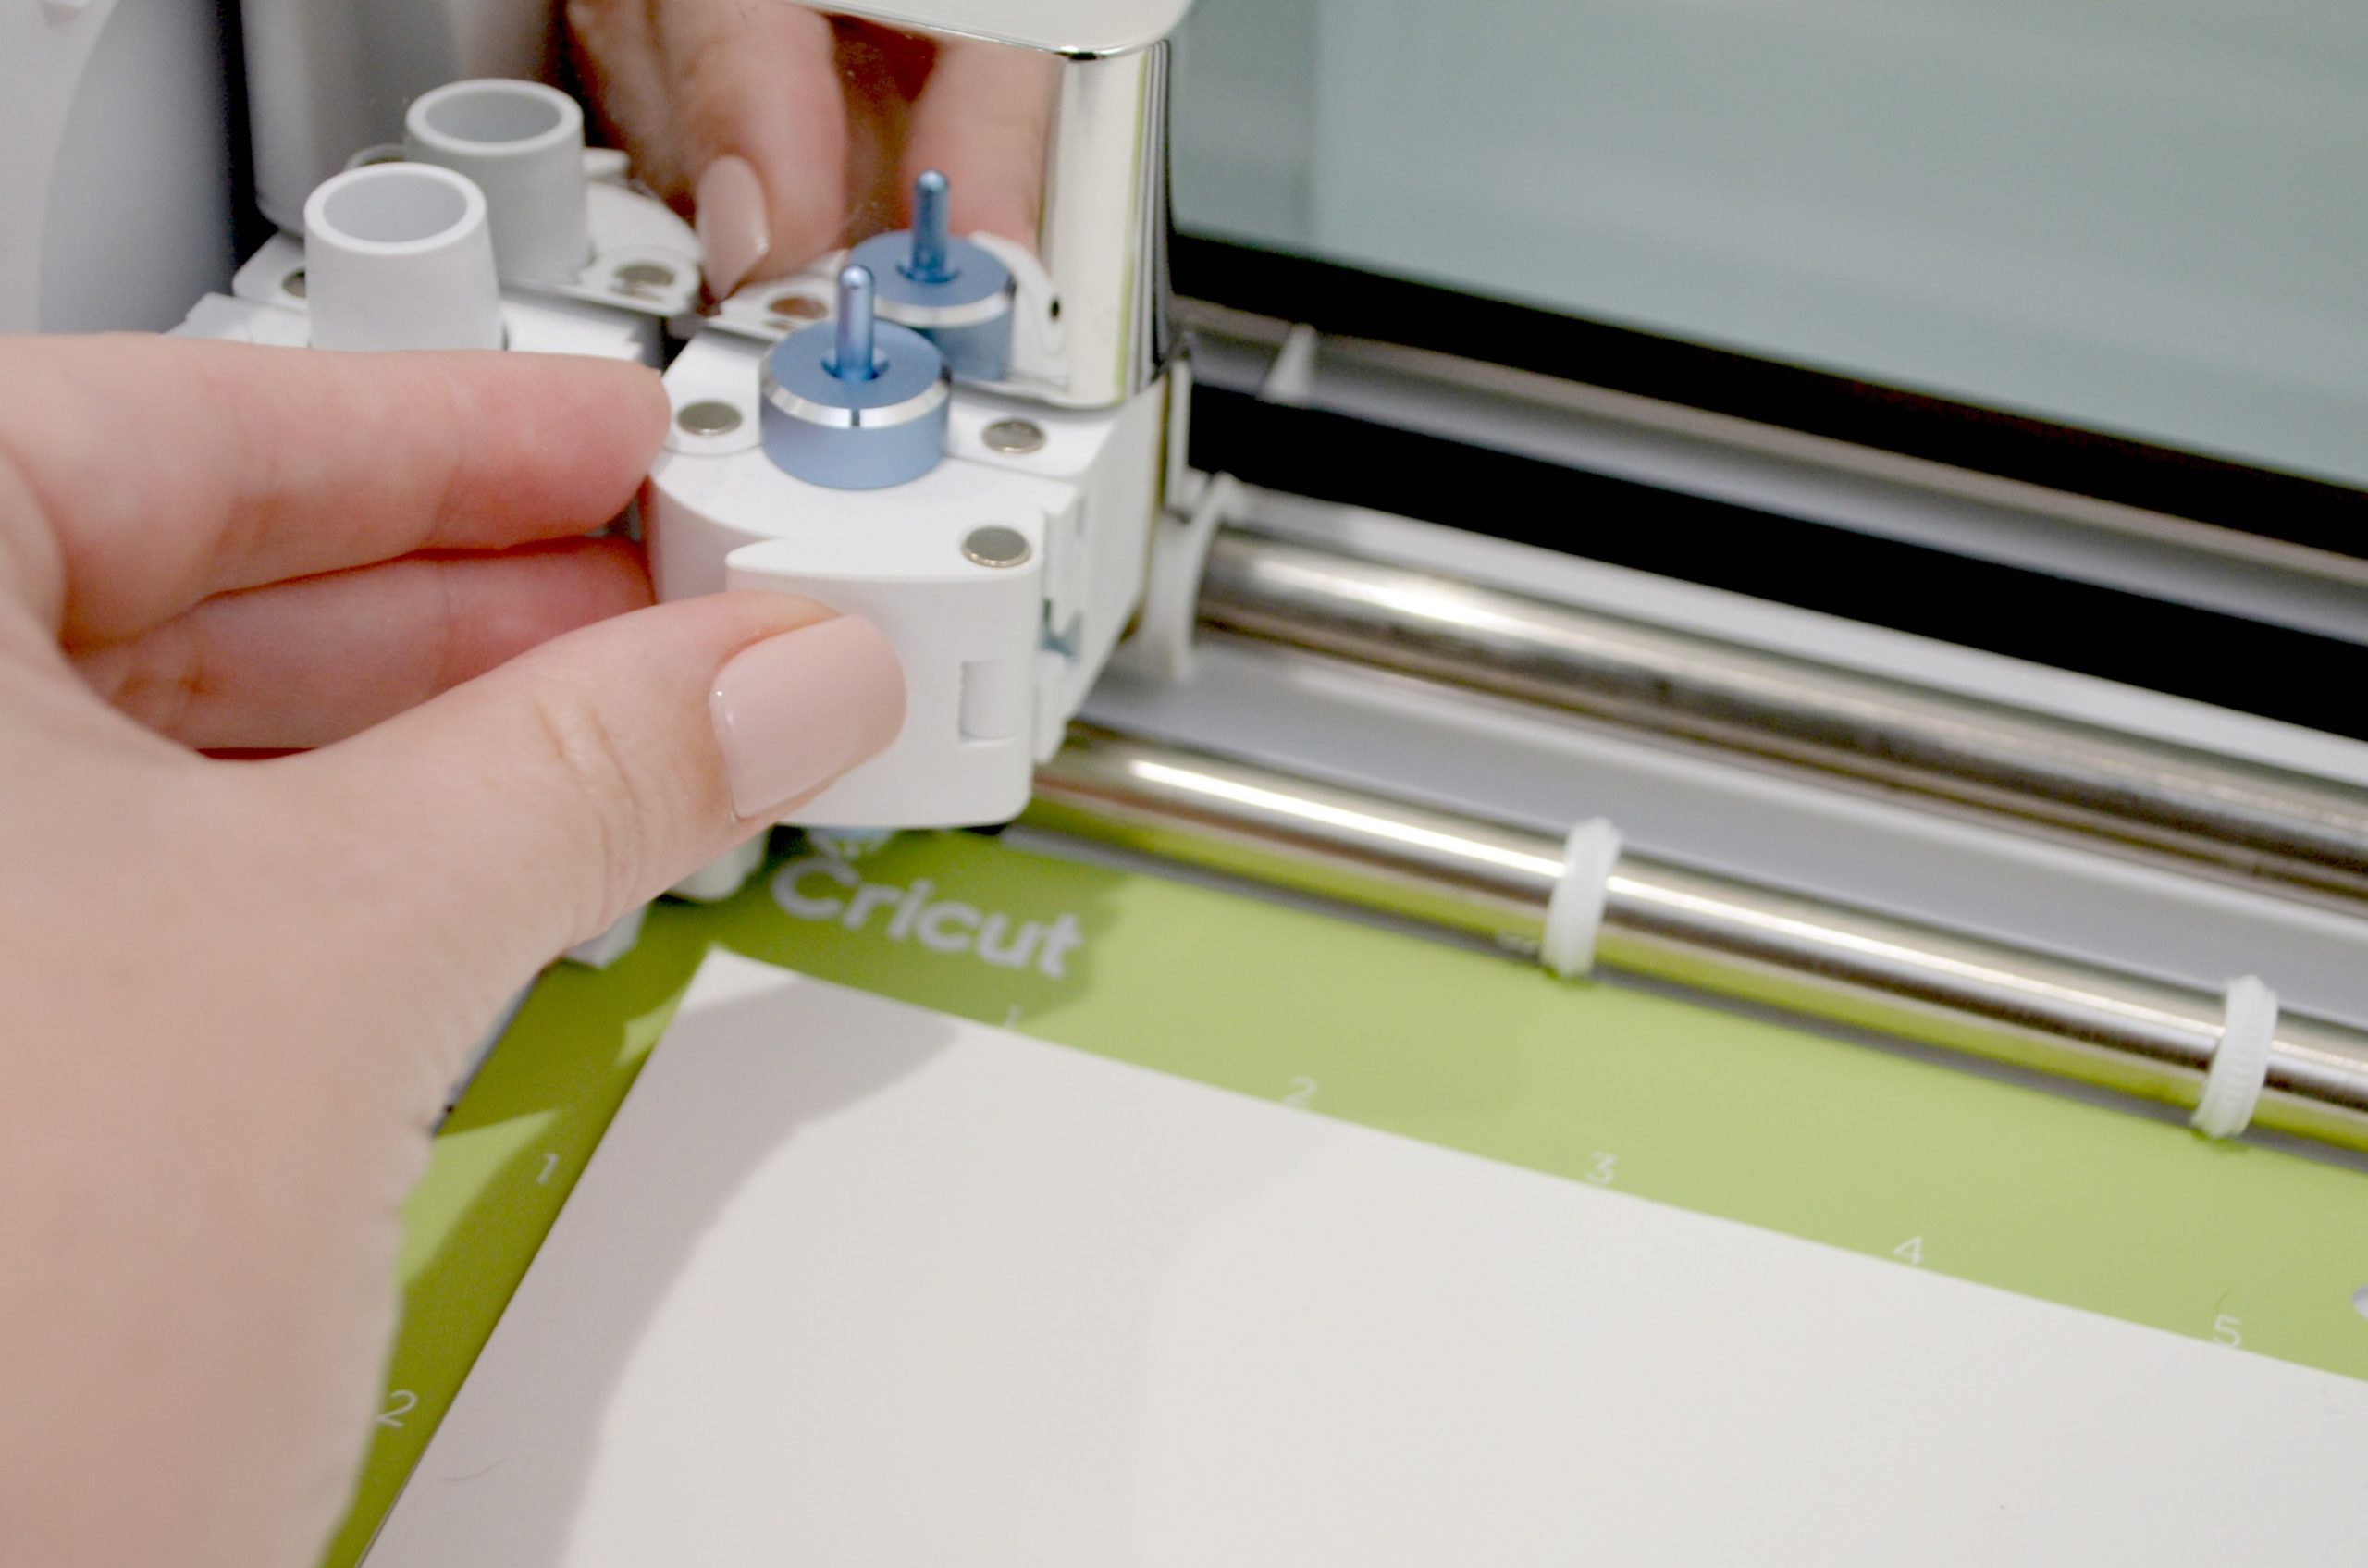
Step 3: Insert your choice of tip size into the tool housing.
The tip is magnetic, so it’s very easy to remove one size and insert another.

Then, insert the tool into the B clamp of your machine.
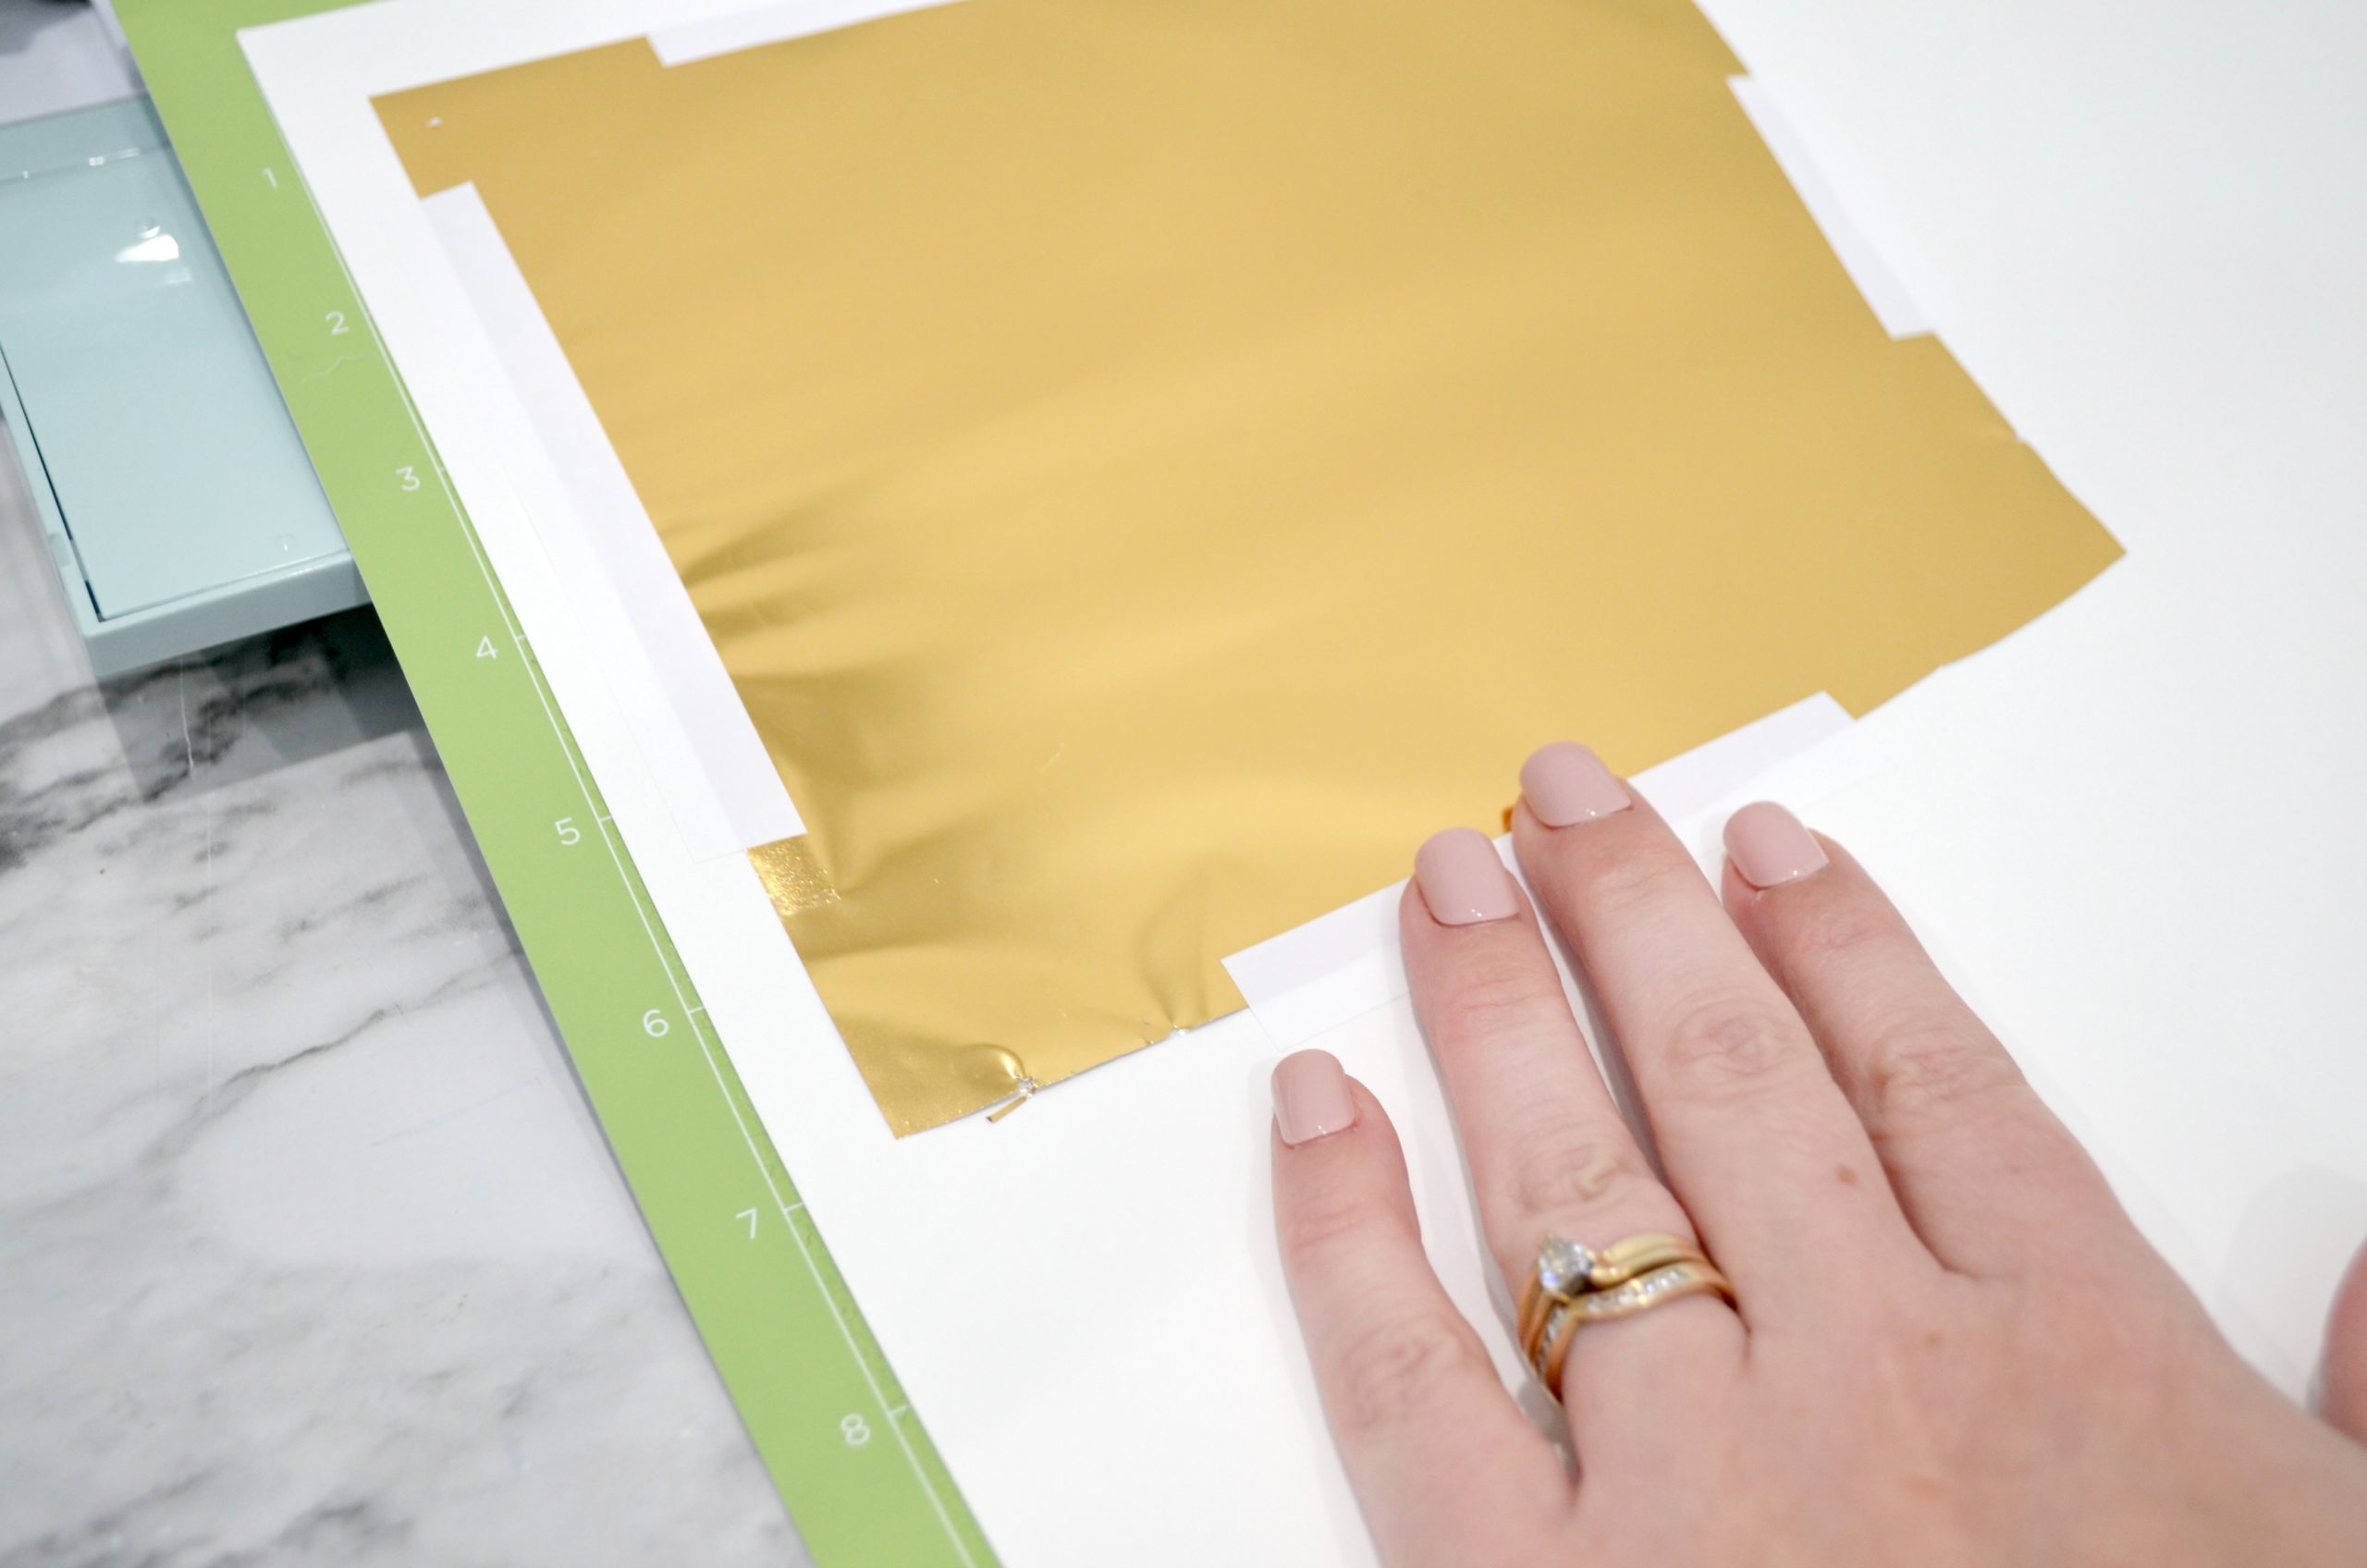
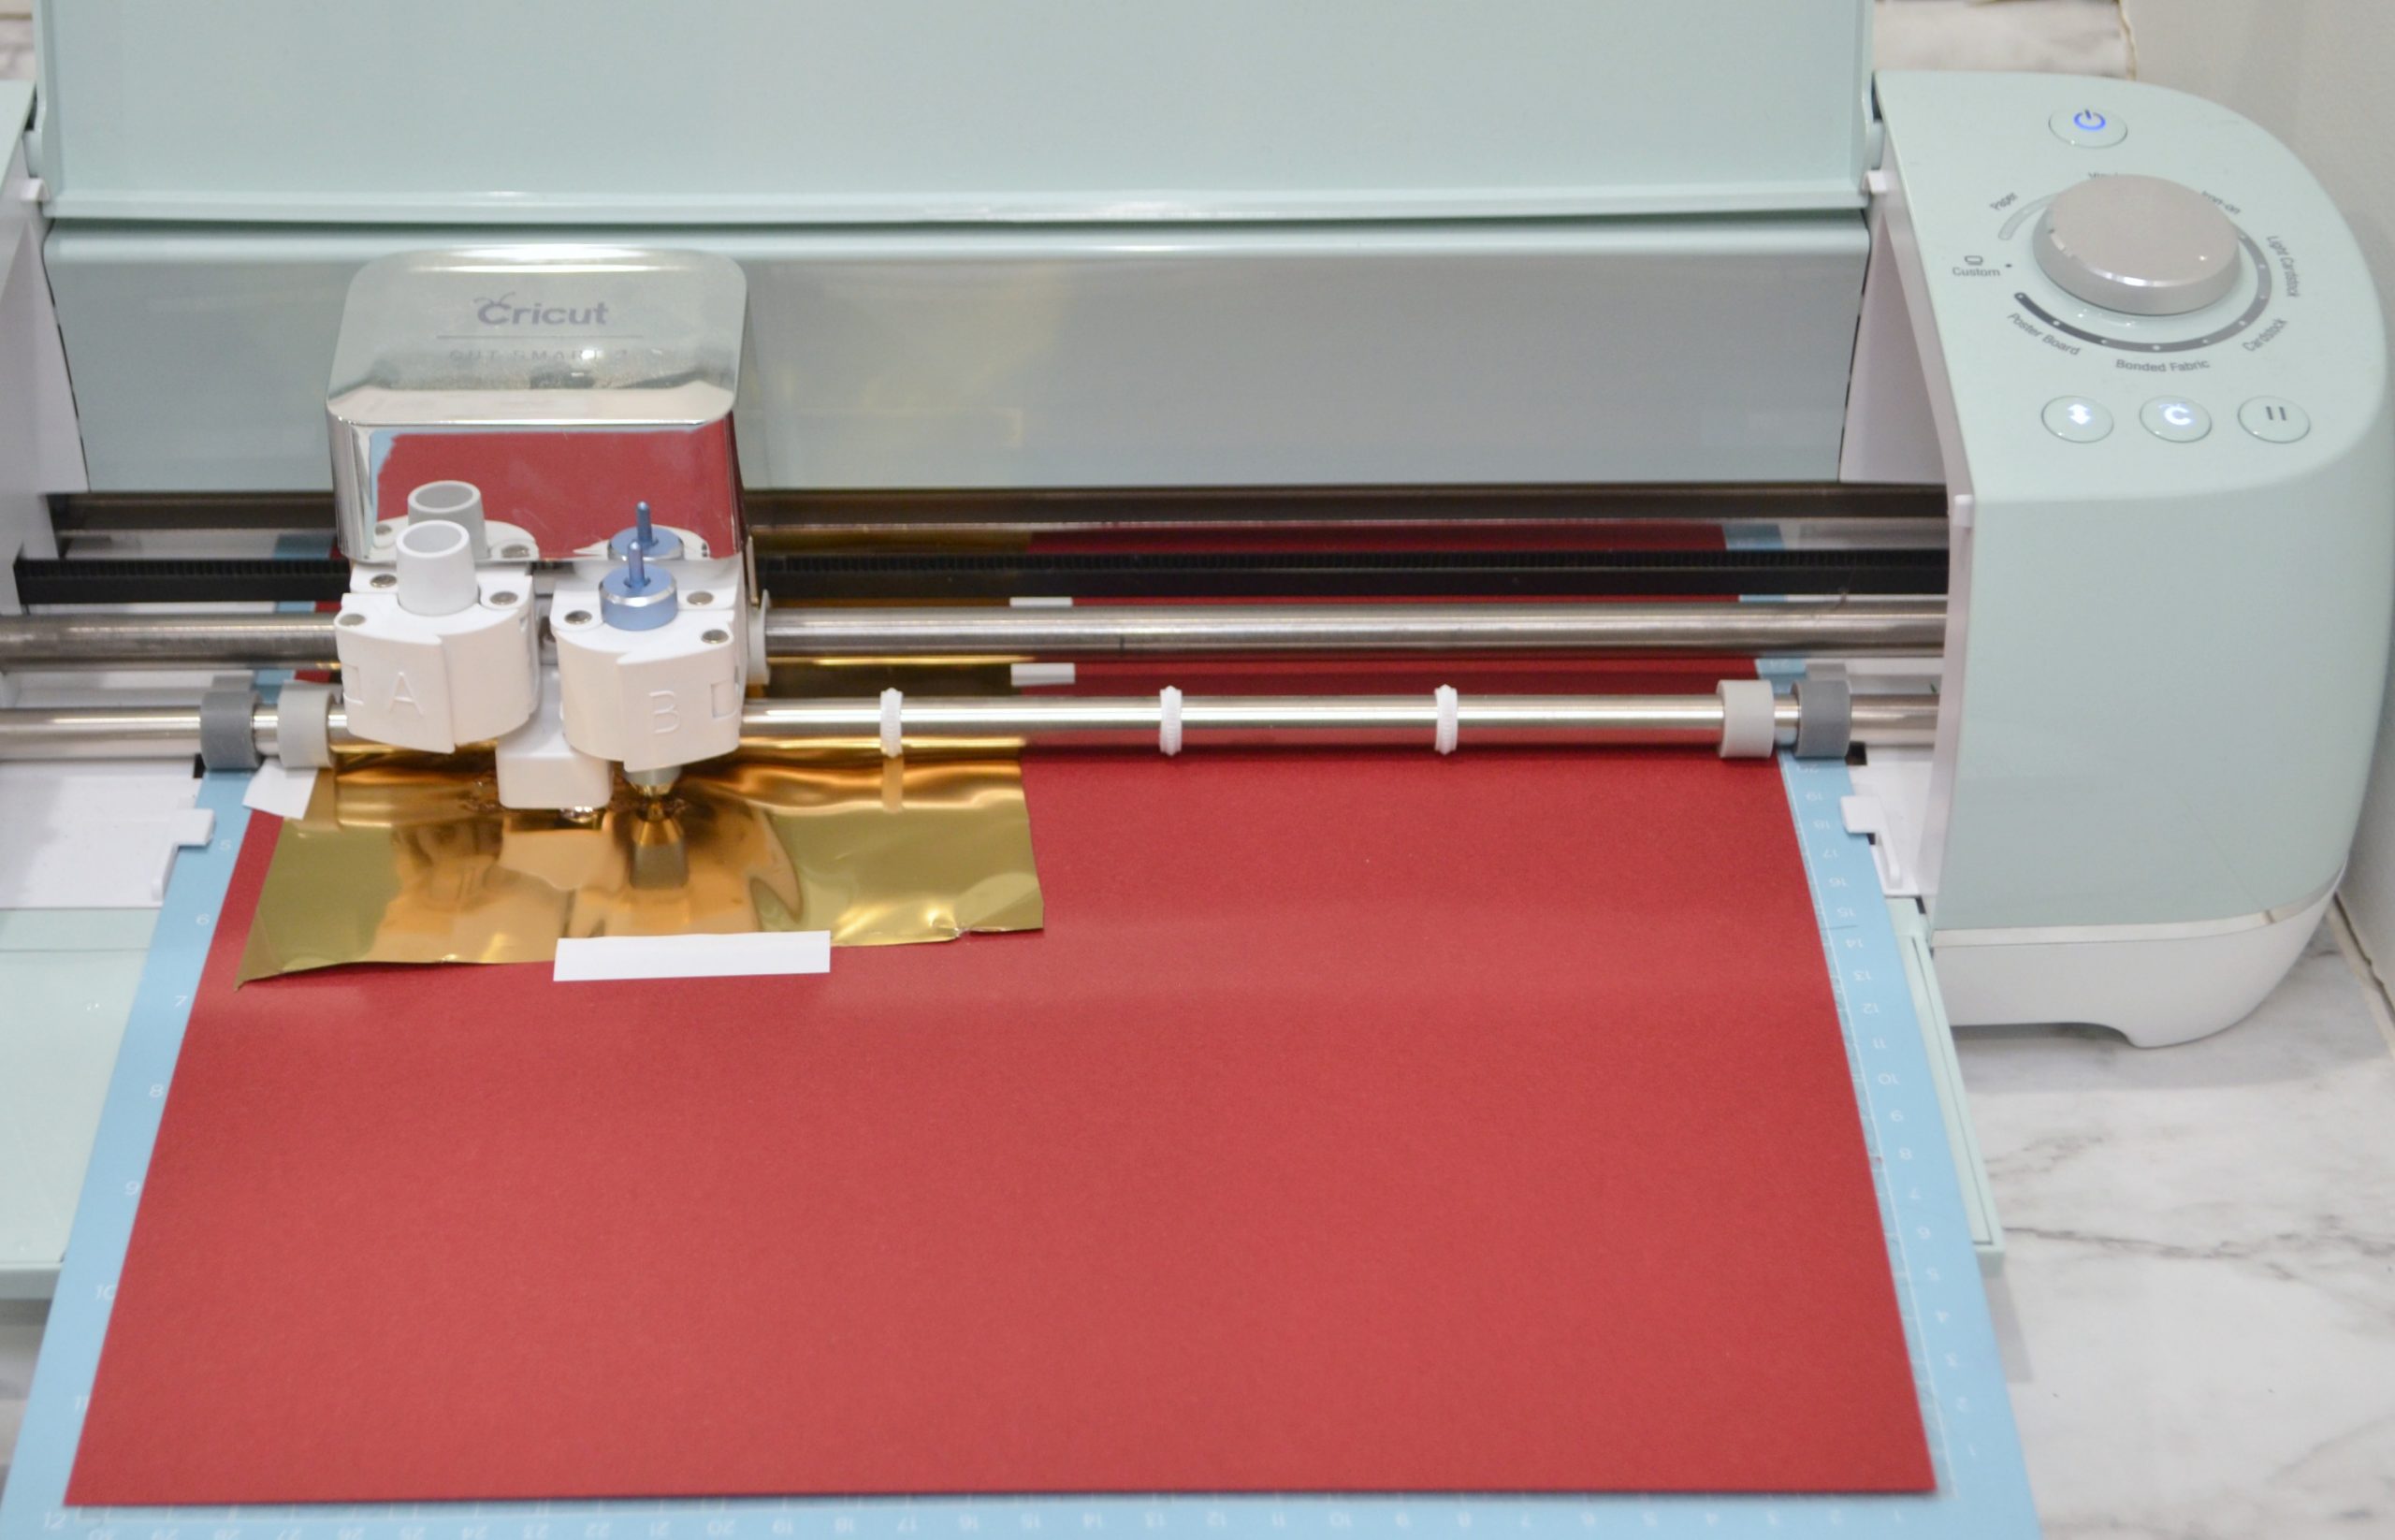
Step 4: Apply your kraft board to a cutting mat and tape a foil sheet on top.
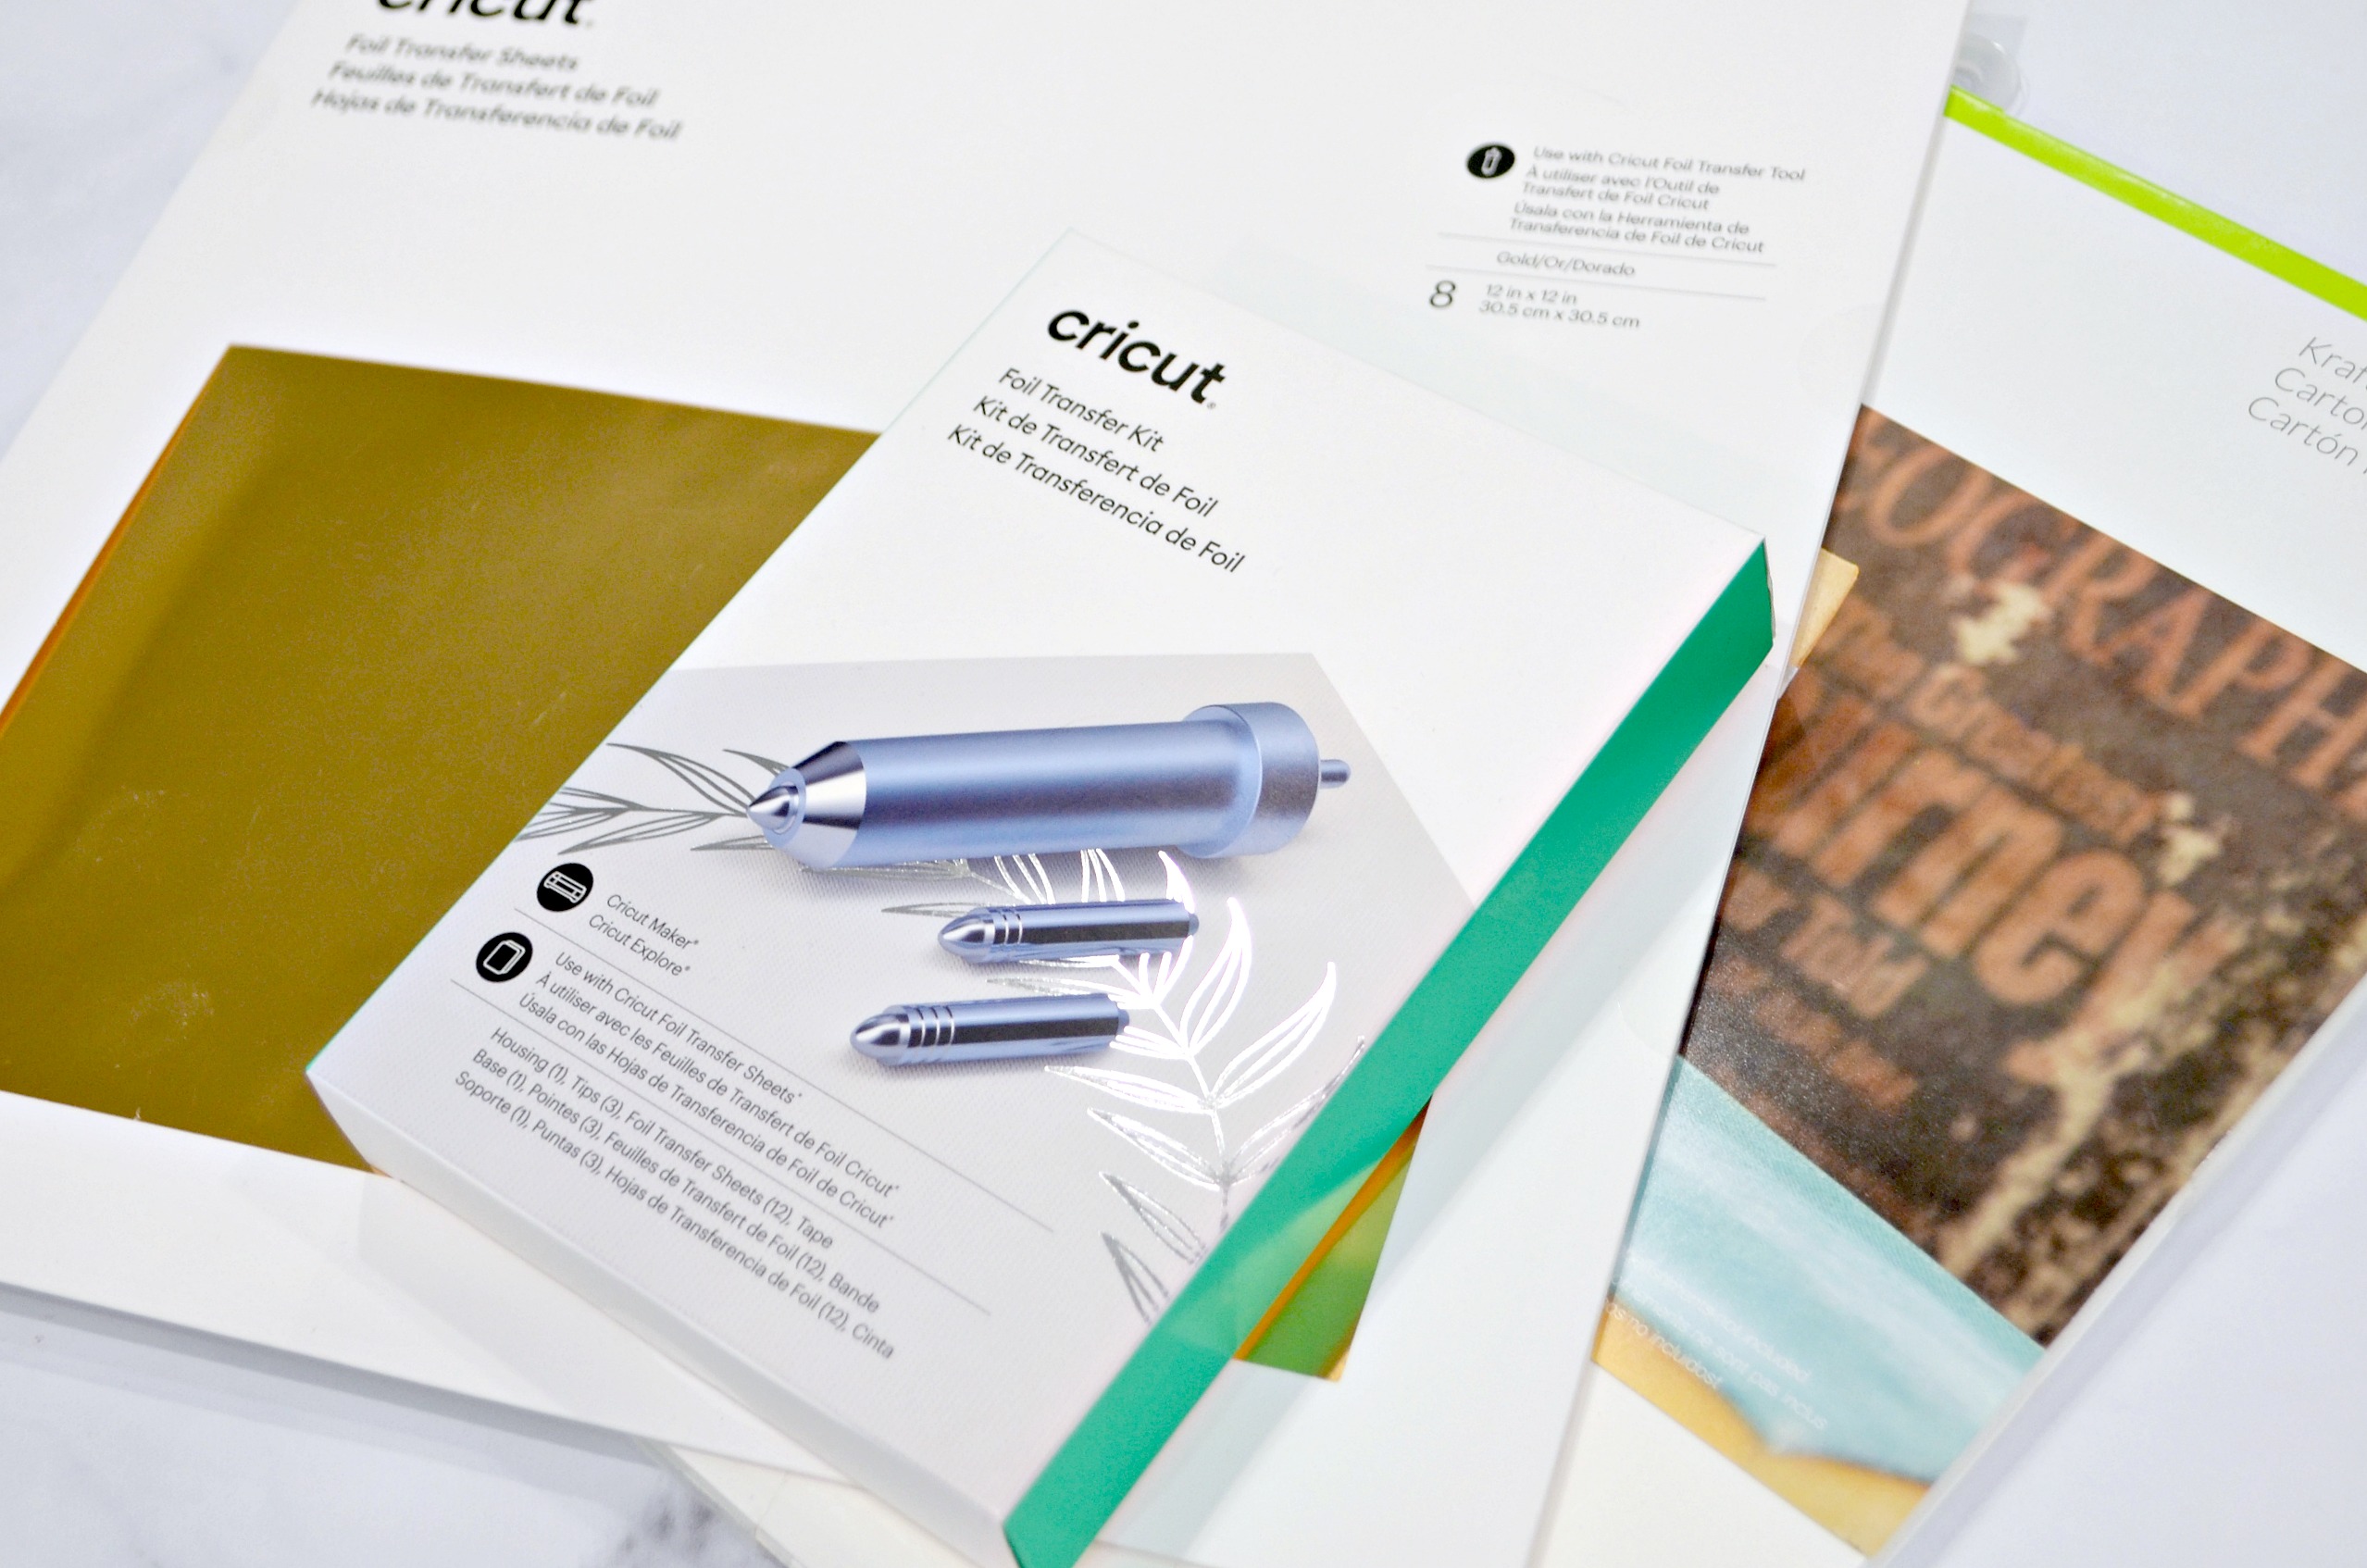
The foil sheets are available in 12×12″ sheets of gold and silver, as well as smaller 4×6″ colored sheets including metallic blue, green, and purple. I cut a piece of gold foil large enough for my wreath and used the tape that comes with it to affix it in place.
Step 5: Send the design to your machine and let it work its magic!
Follow the Design Space prompts to load the mat and press “Go.” The foil transfer tool will use pressure (no heat or cords necessary!) to apply the foil to the kraft paper or cardstock.
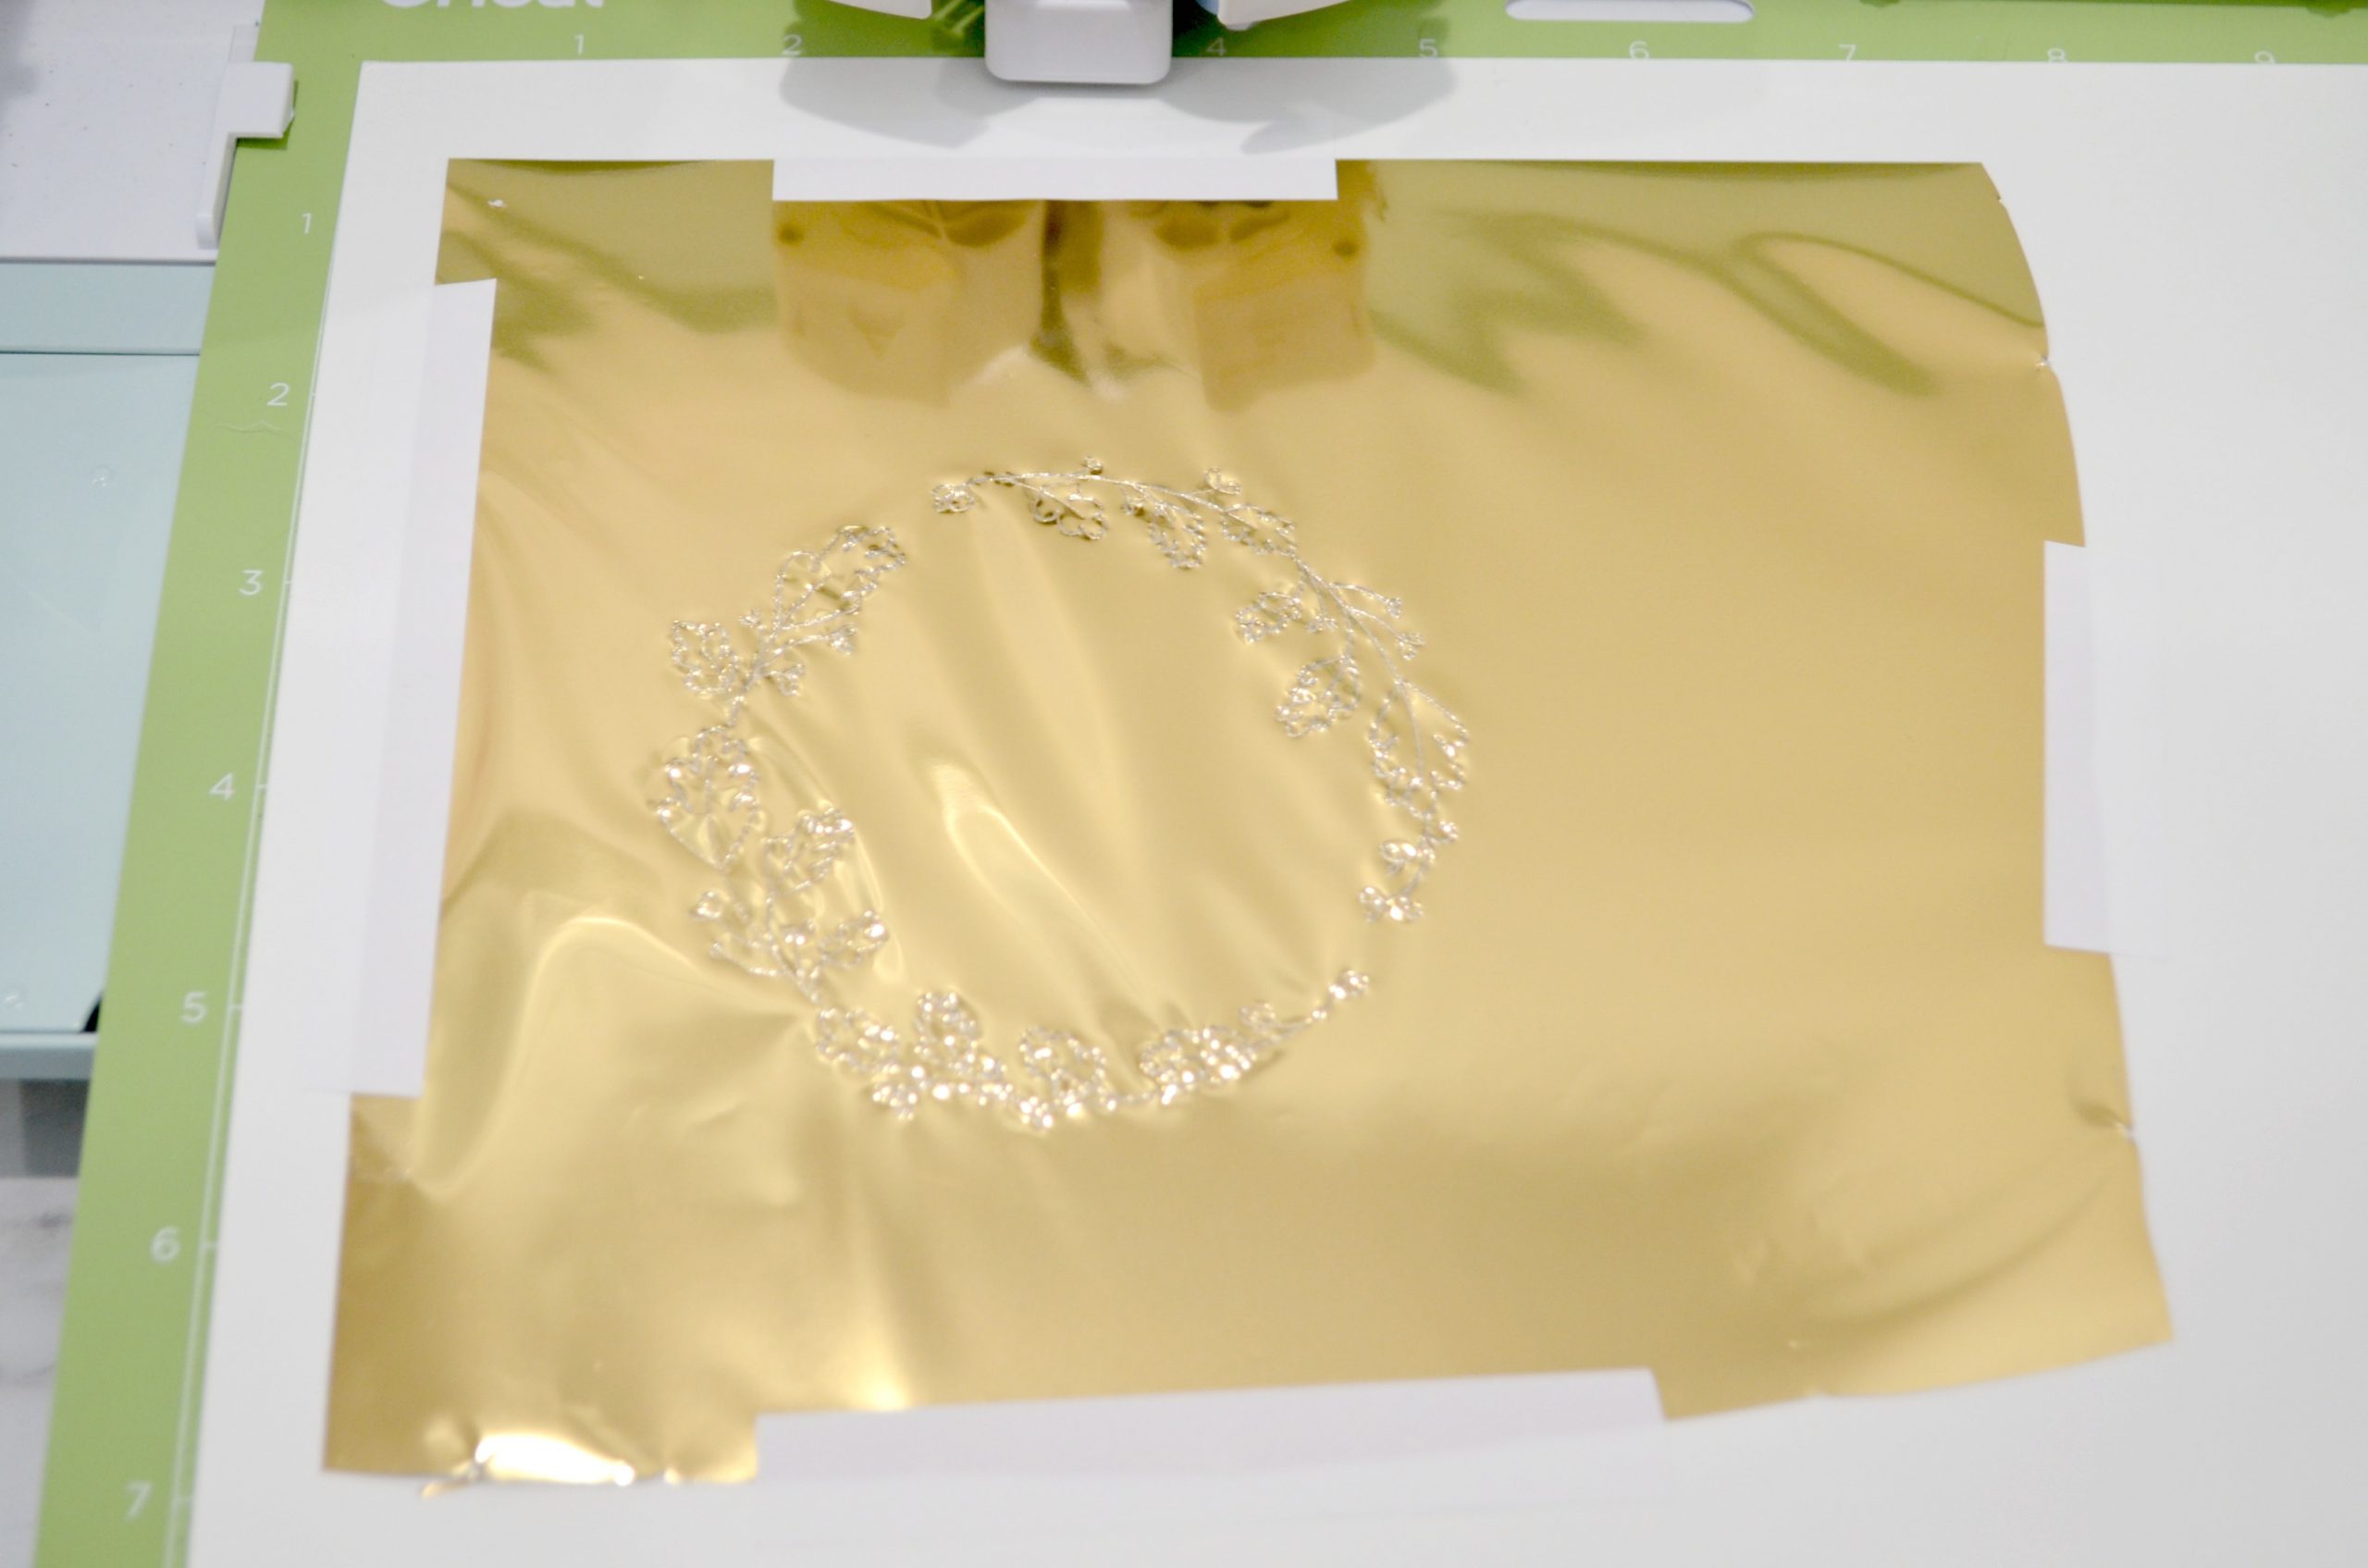
Step 6: Remove the foil sheet.
It’s important that you DO NOT unload the mat! Leave it loaded in the machine and just remove the tape and the foil sheet.
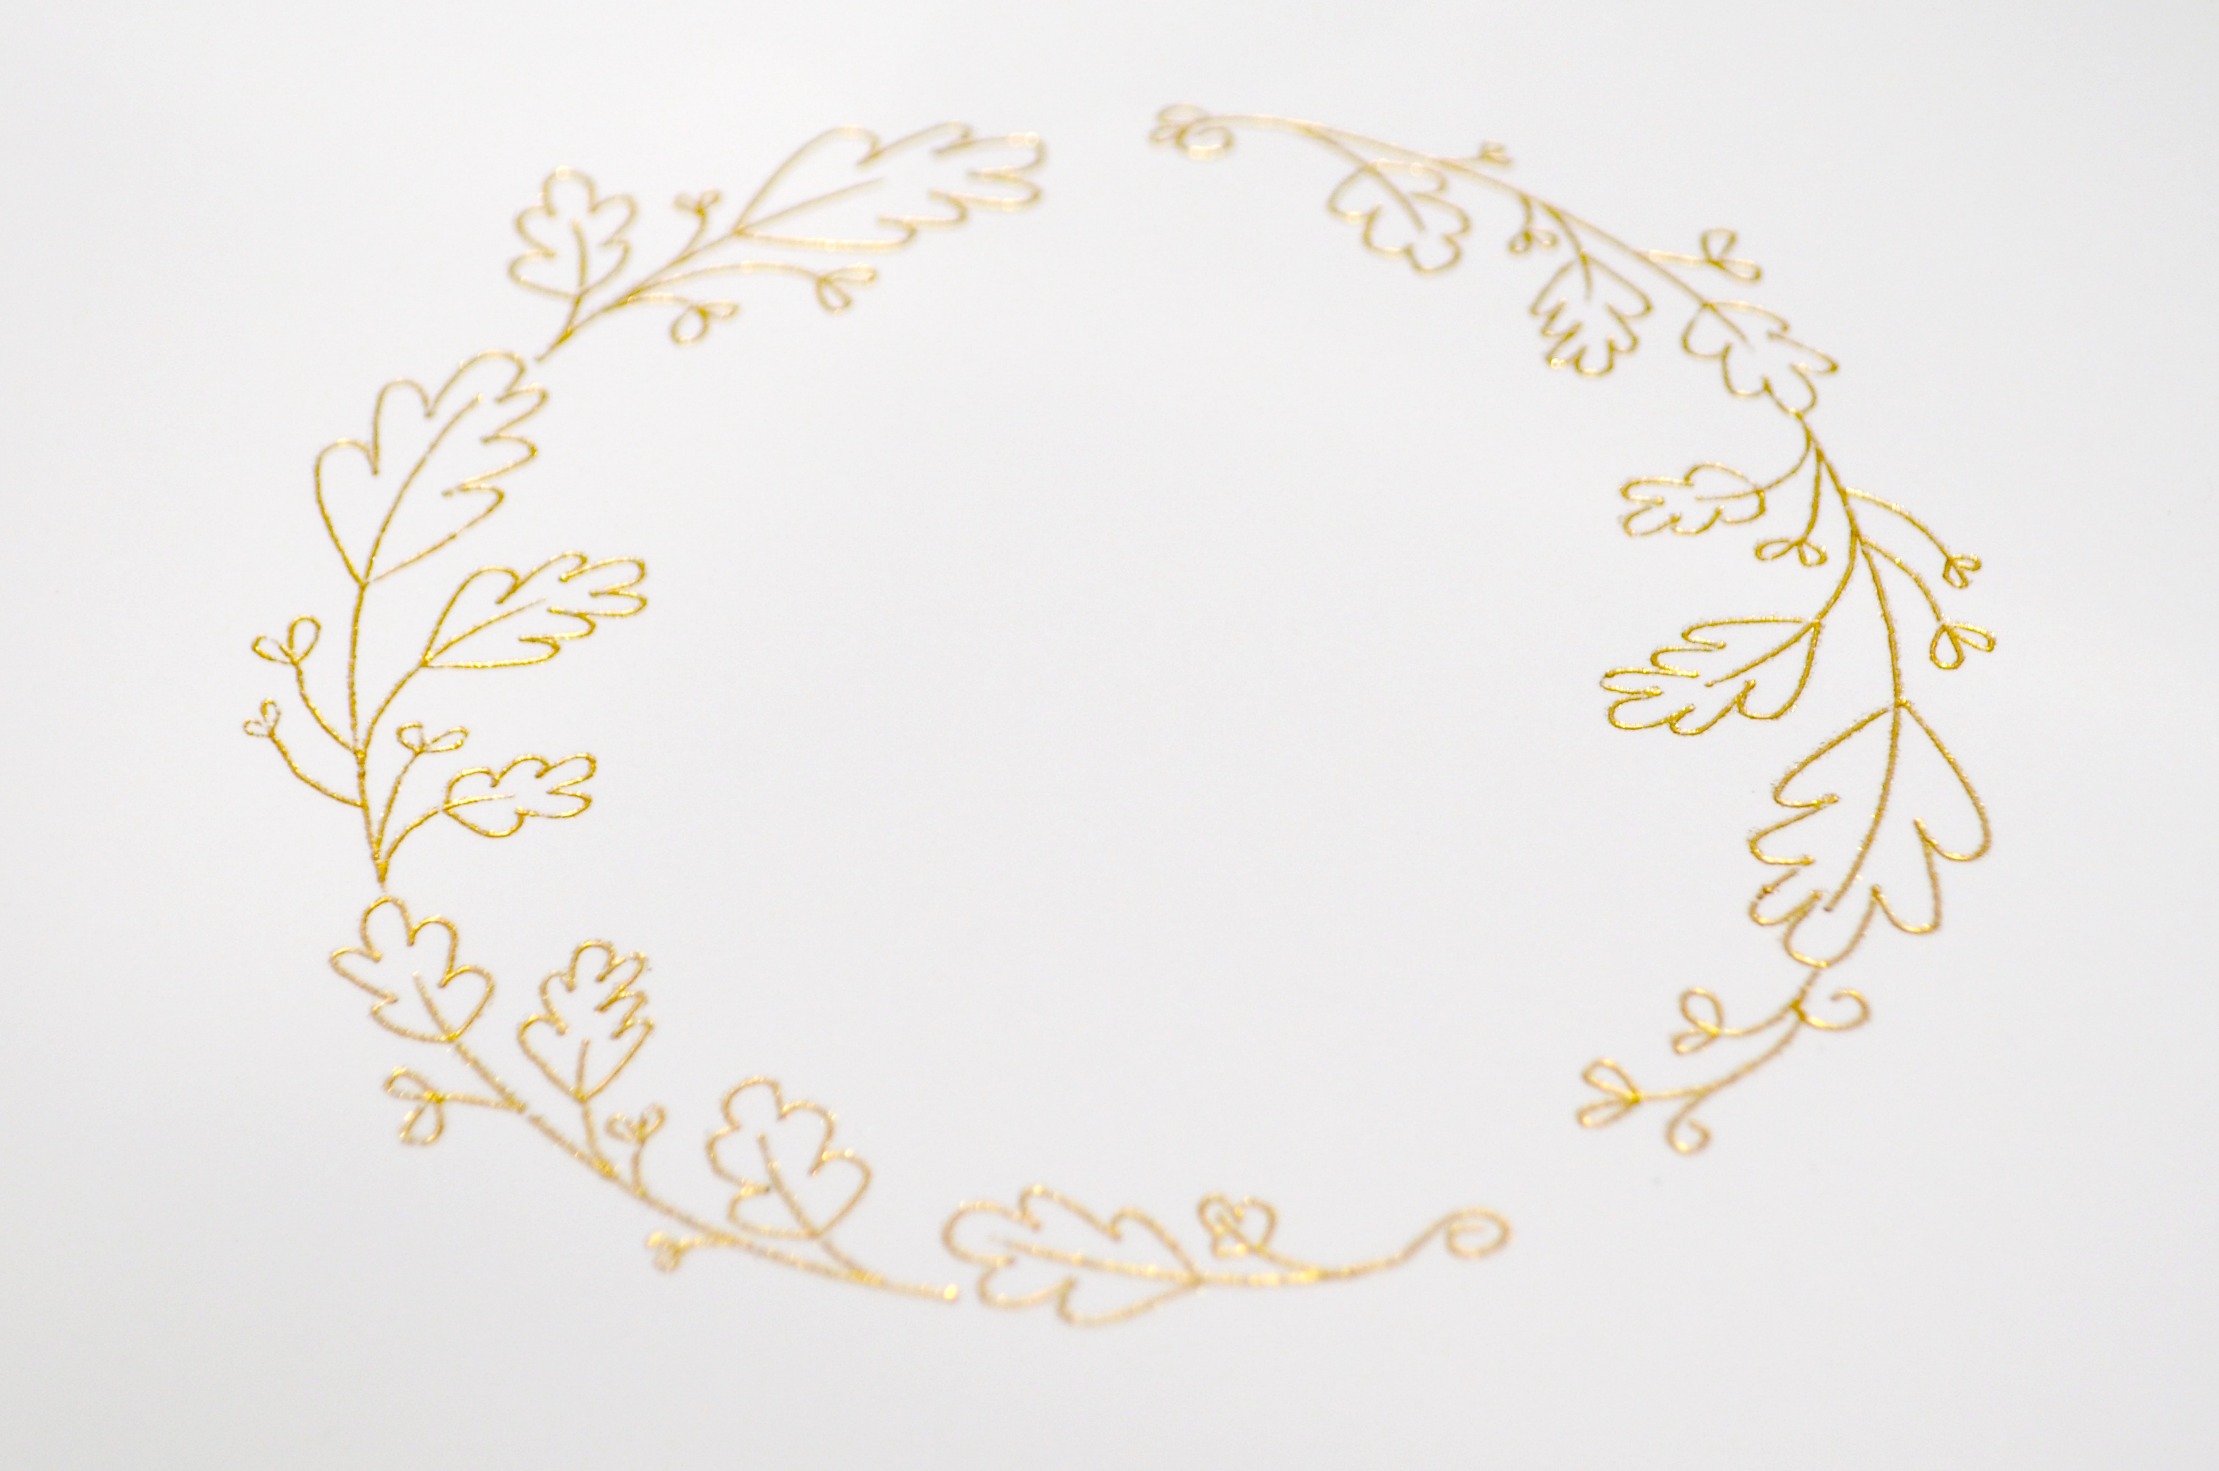
Step 7: Finish the cutting process.
Design Space will prompt you to remove the foil transfer tool and replace it with the cutting blade. Then, it will cut out the rest of your project.

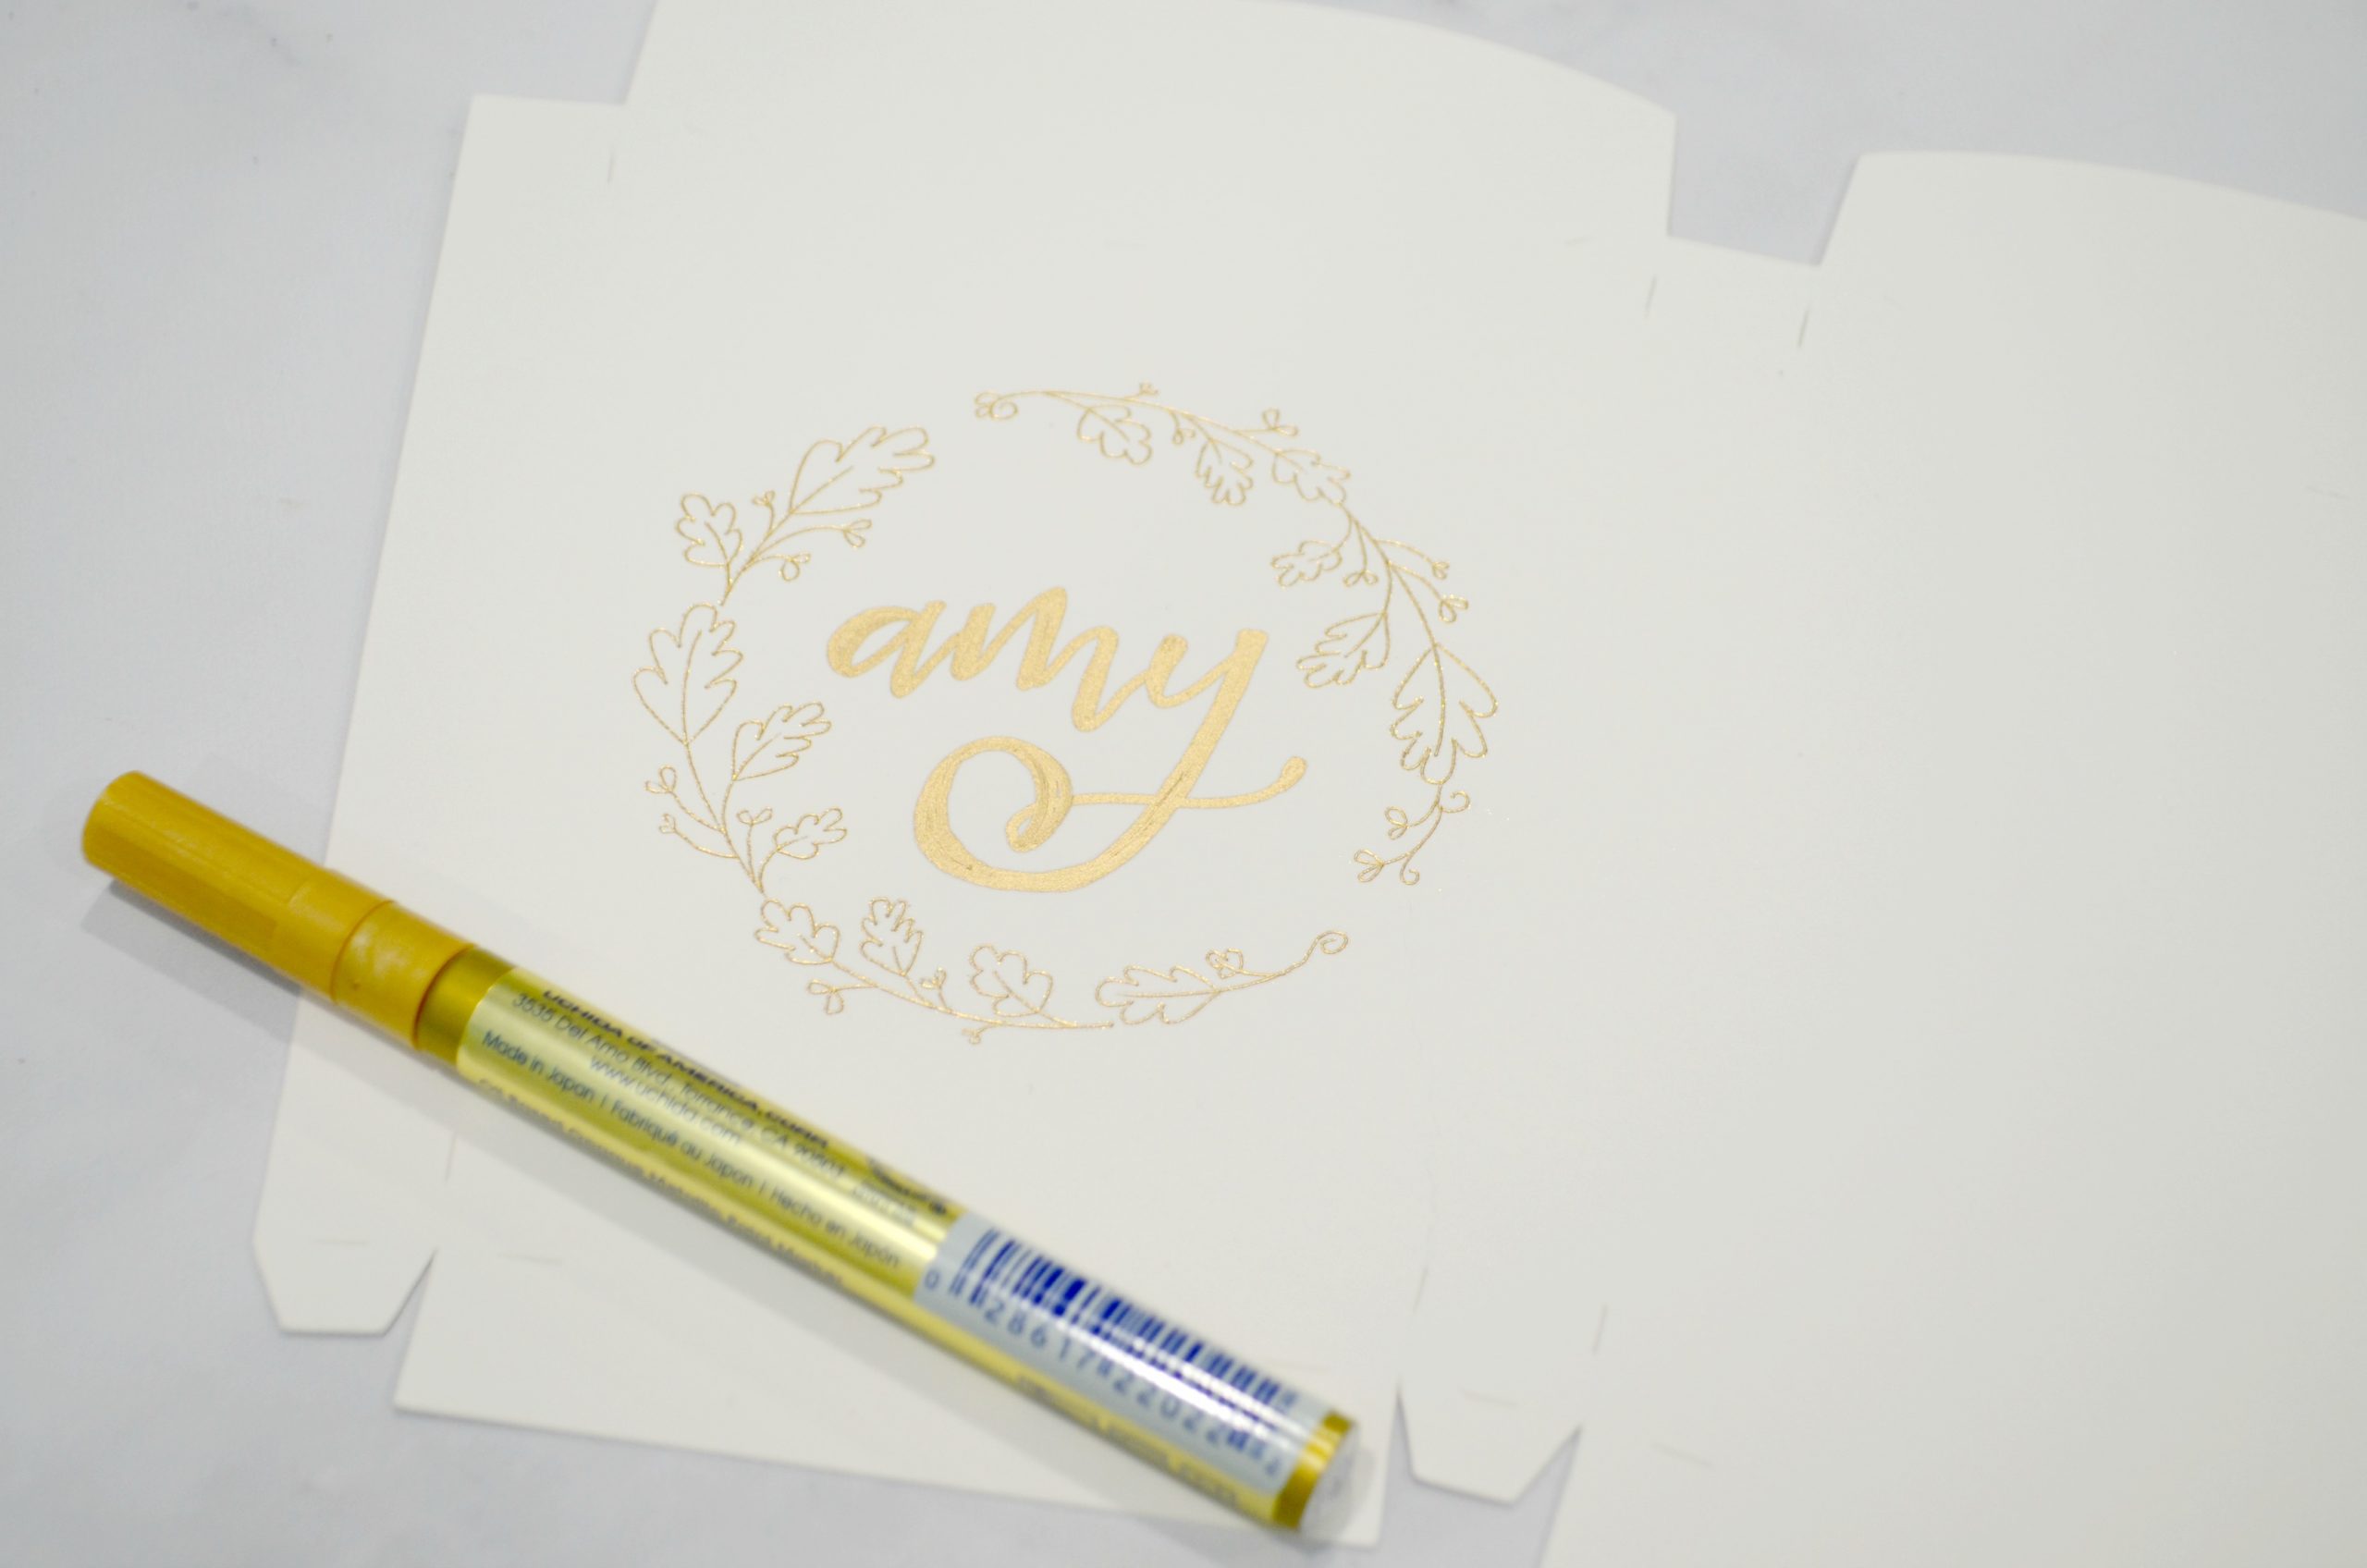
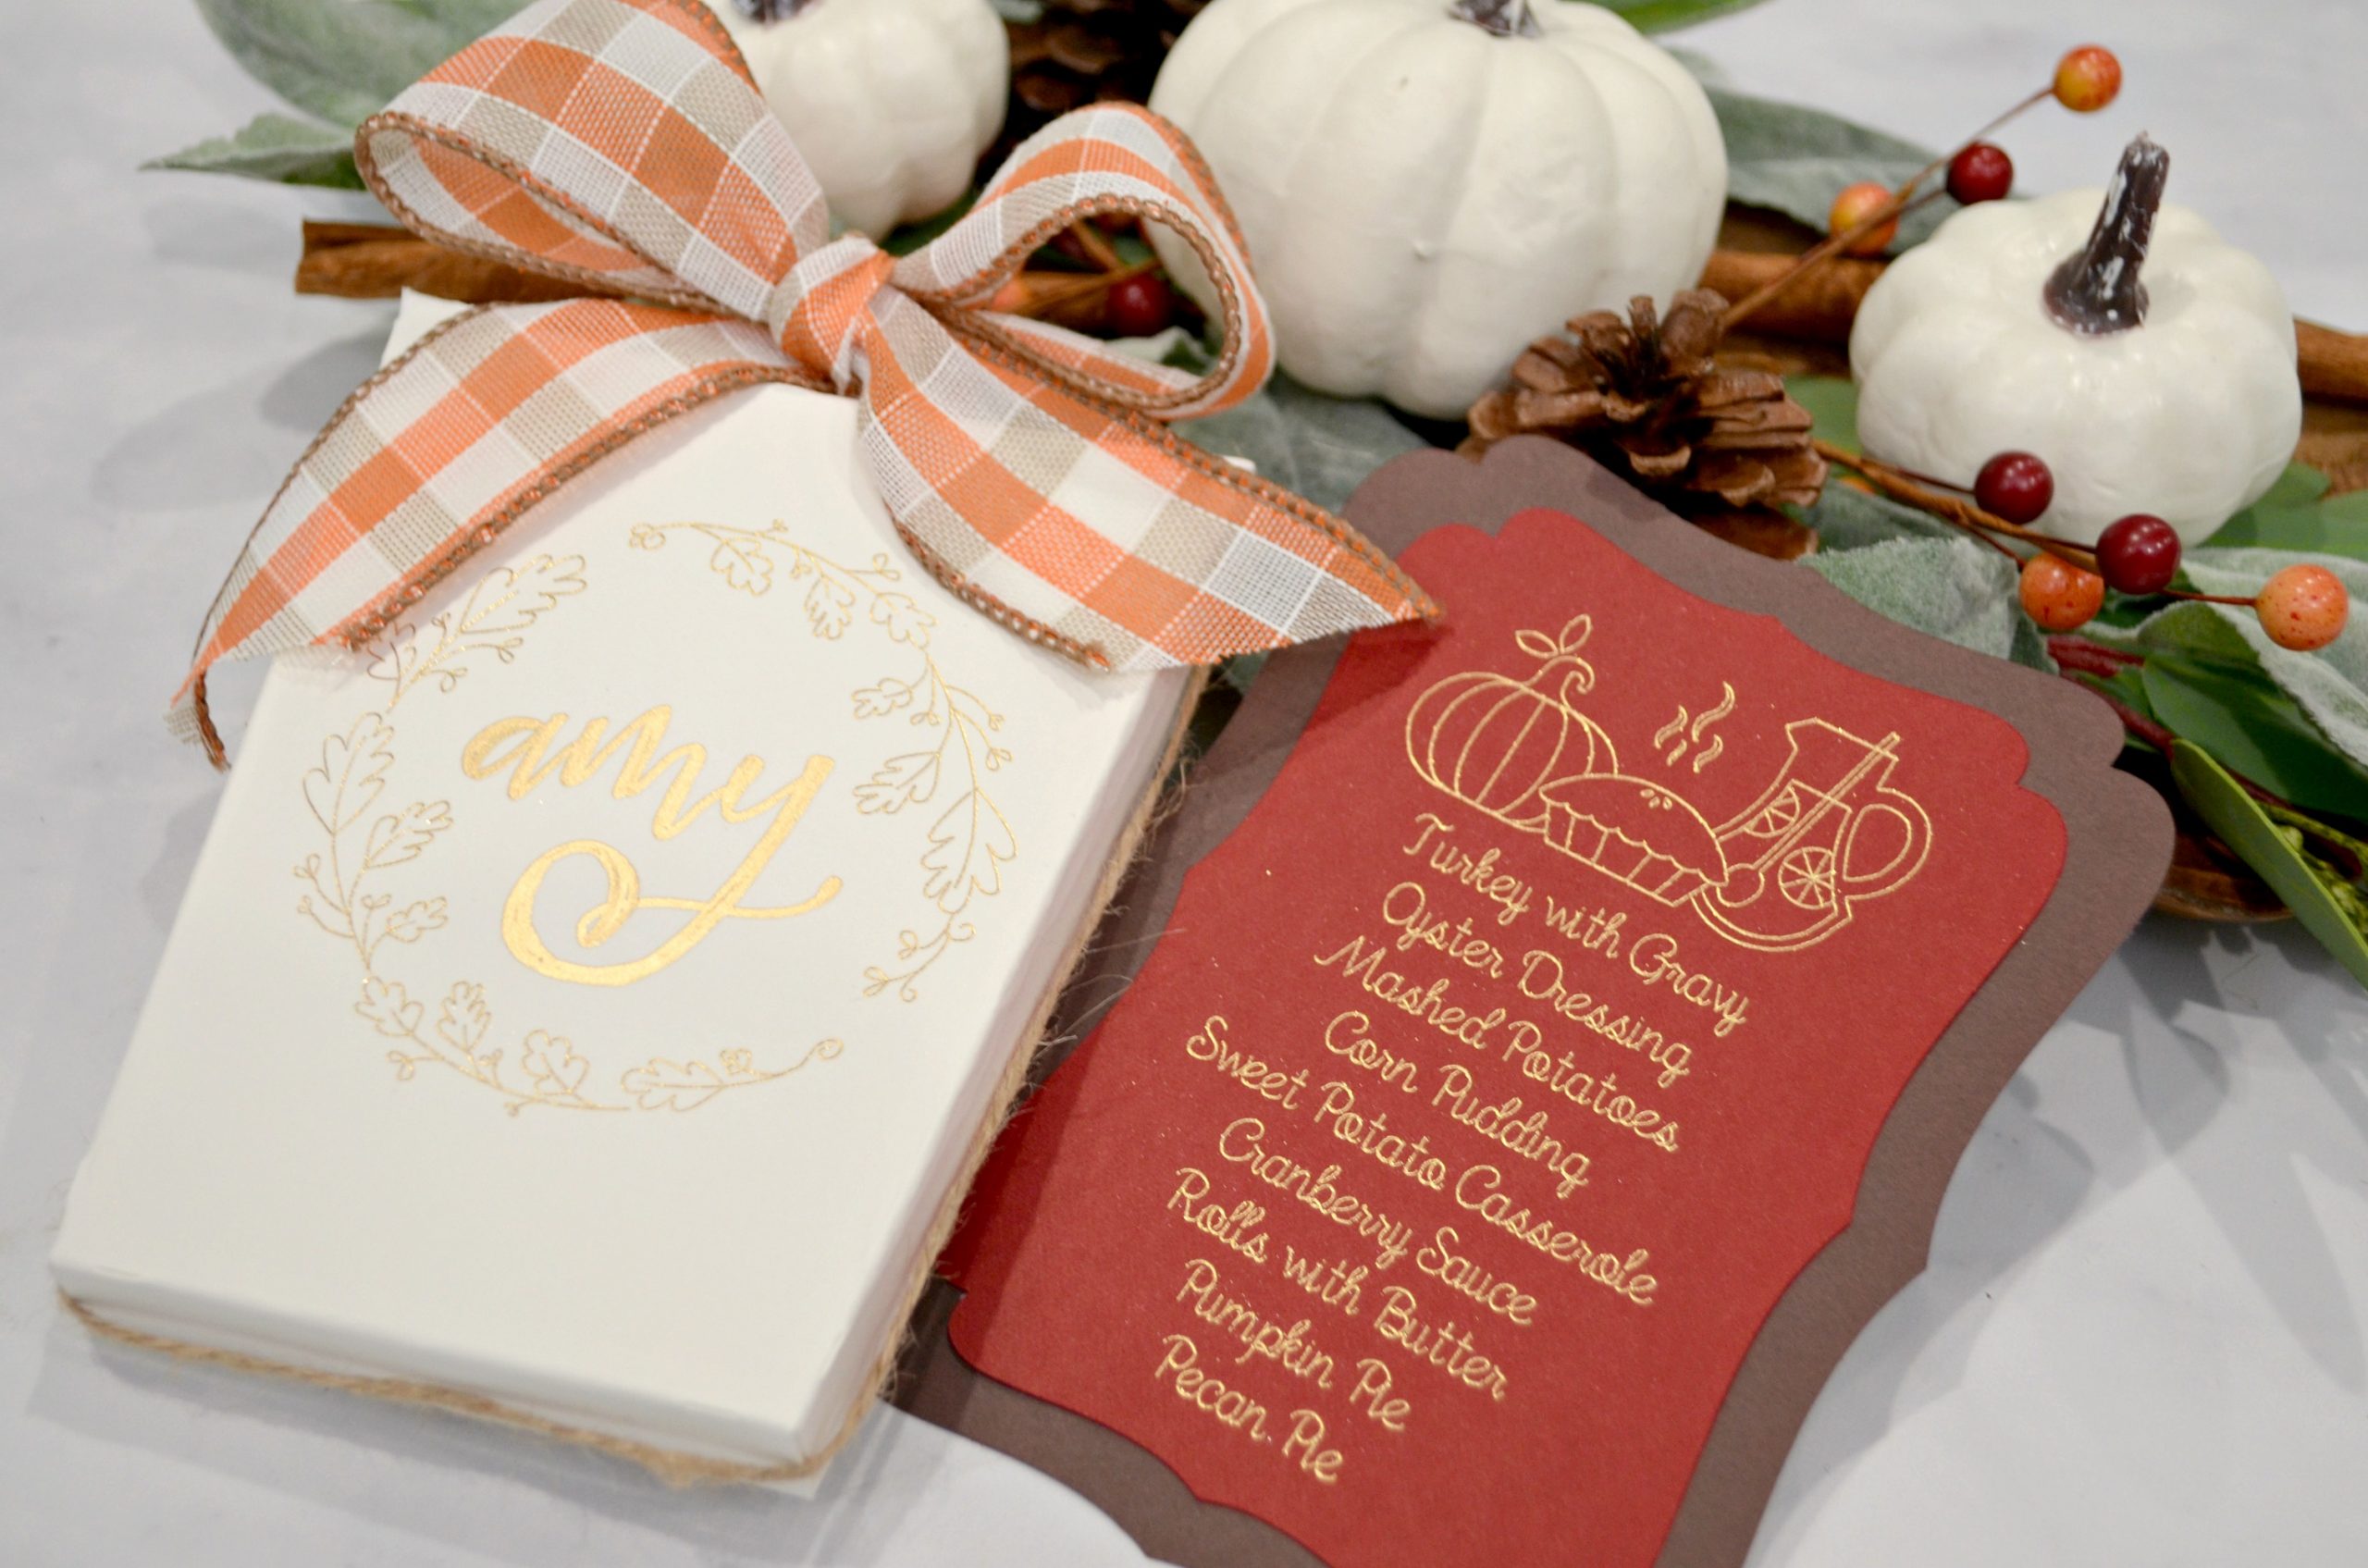
Step 8: Letter your guest’s name inside the wreath.
I used a gold paint pen to hand letter names using the Faux Calligraphy technique, which you can learn more about here or in my Basic Hand Lettering video. If you prefer, you could also choose a font in Design Space and type the names as part of your foiled design.
Step 9: Assemble your box. Add twine and ribbon accents.
Fold your box and use adhesive to glue the flaps in place. Fill it with whatever treats or goodies you want to give your guests, then finish off with some ribbon. I wrapped a piece of twine around the edges and added a festive bow on top.
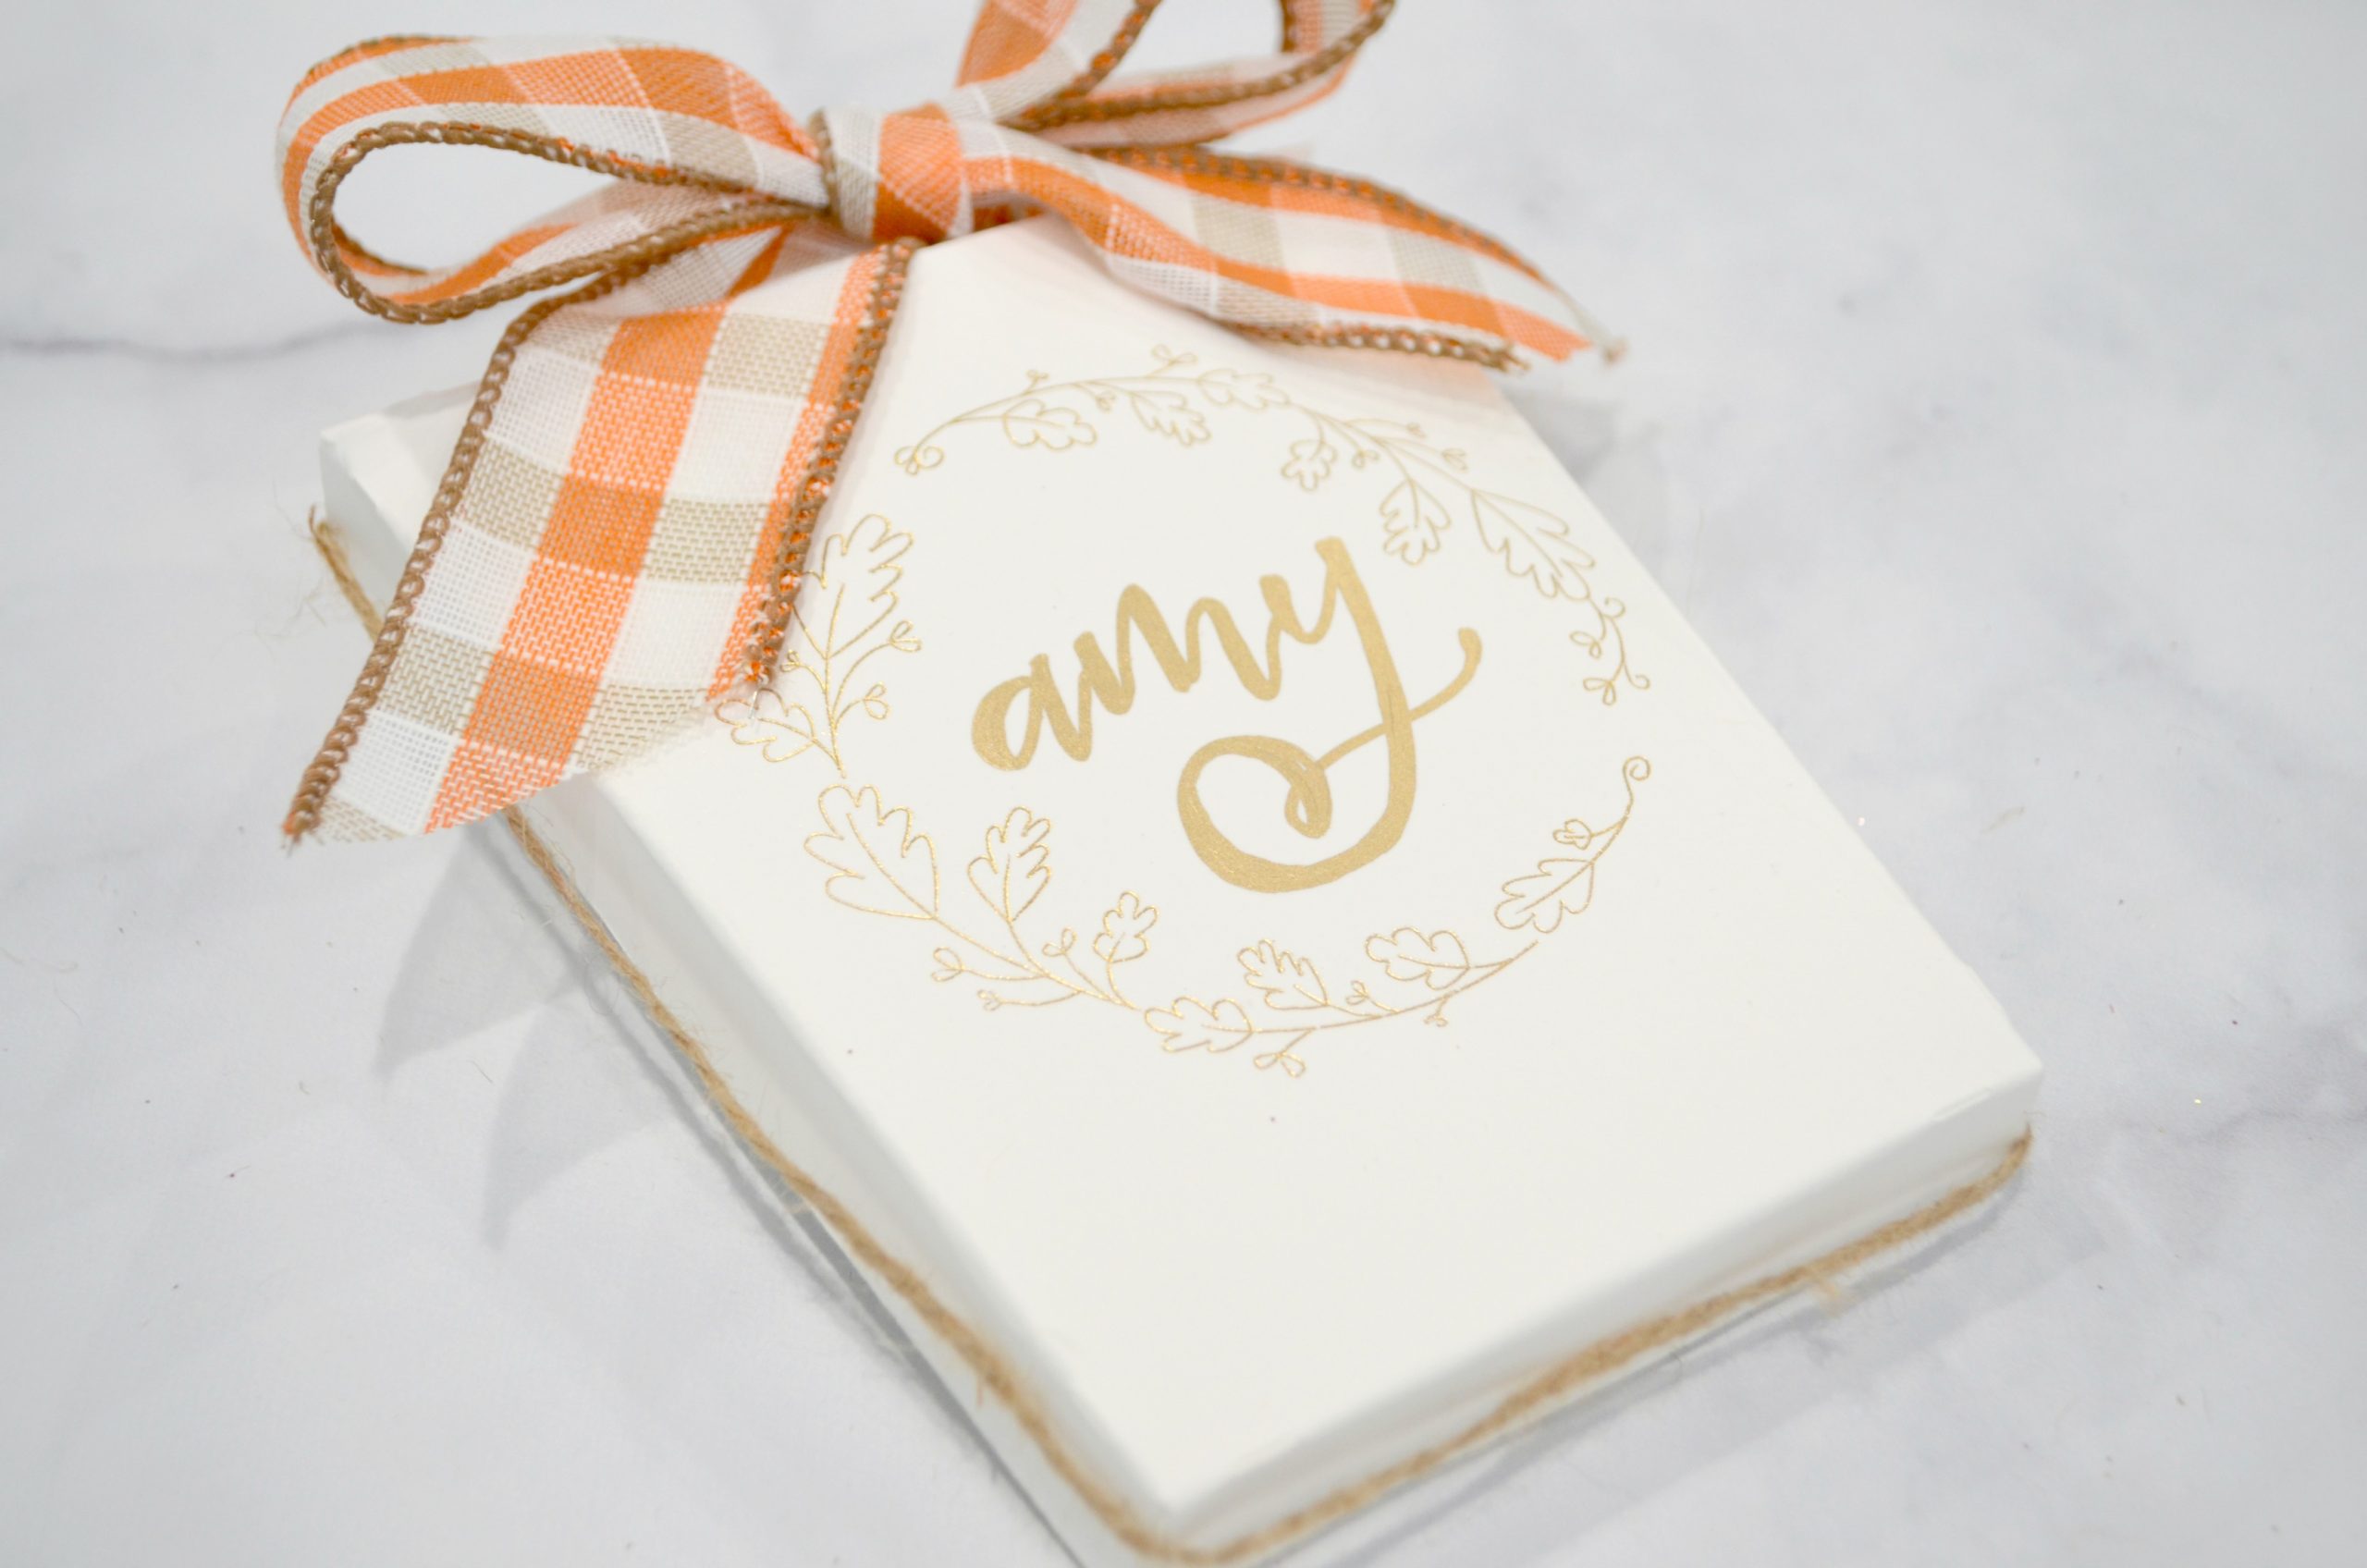
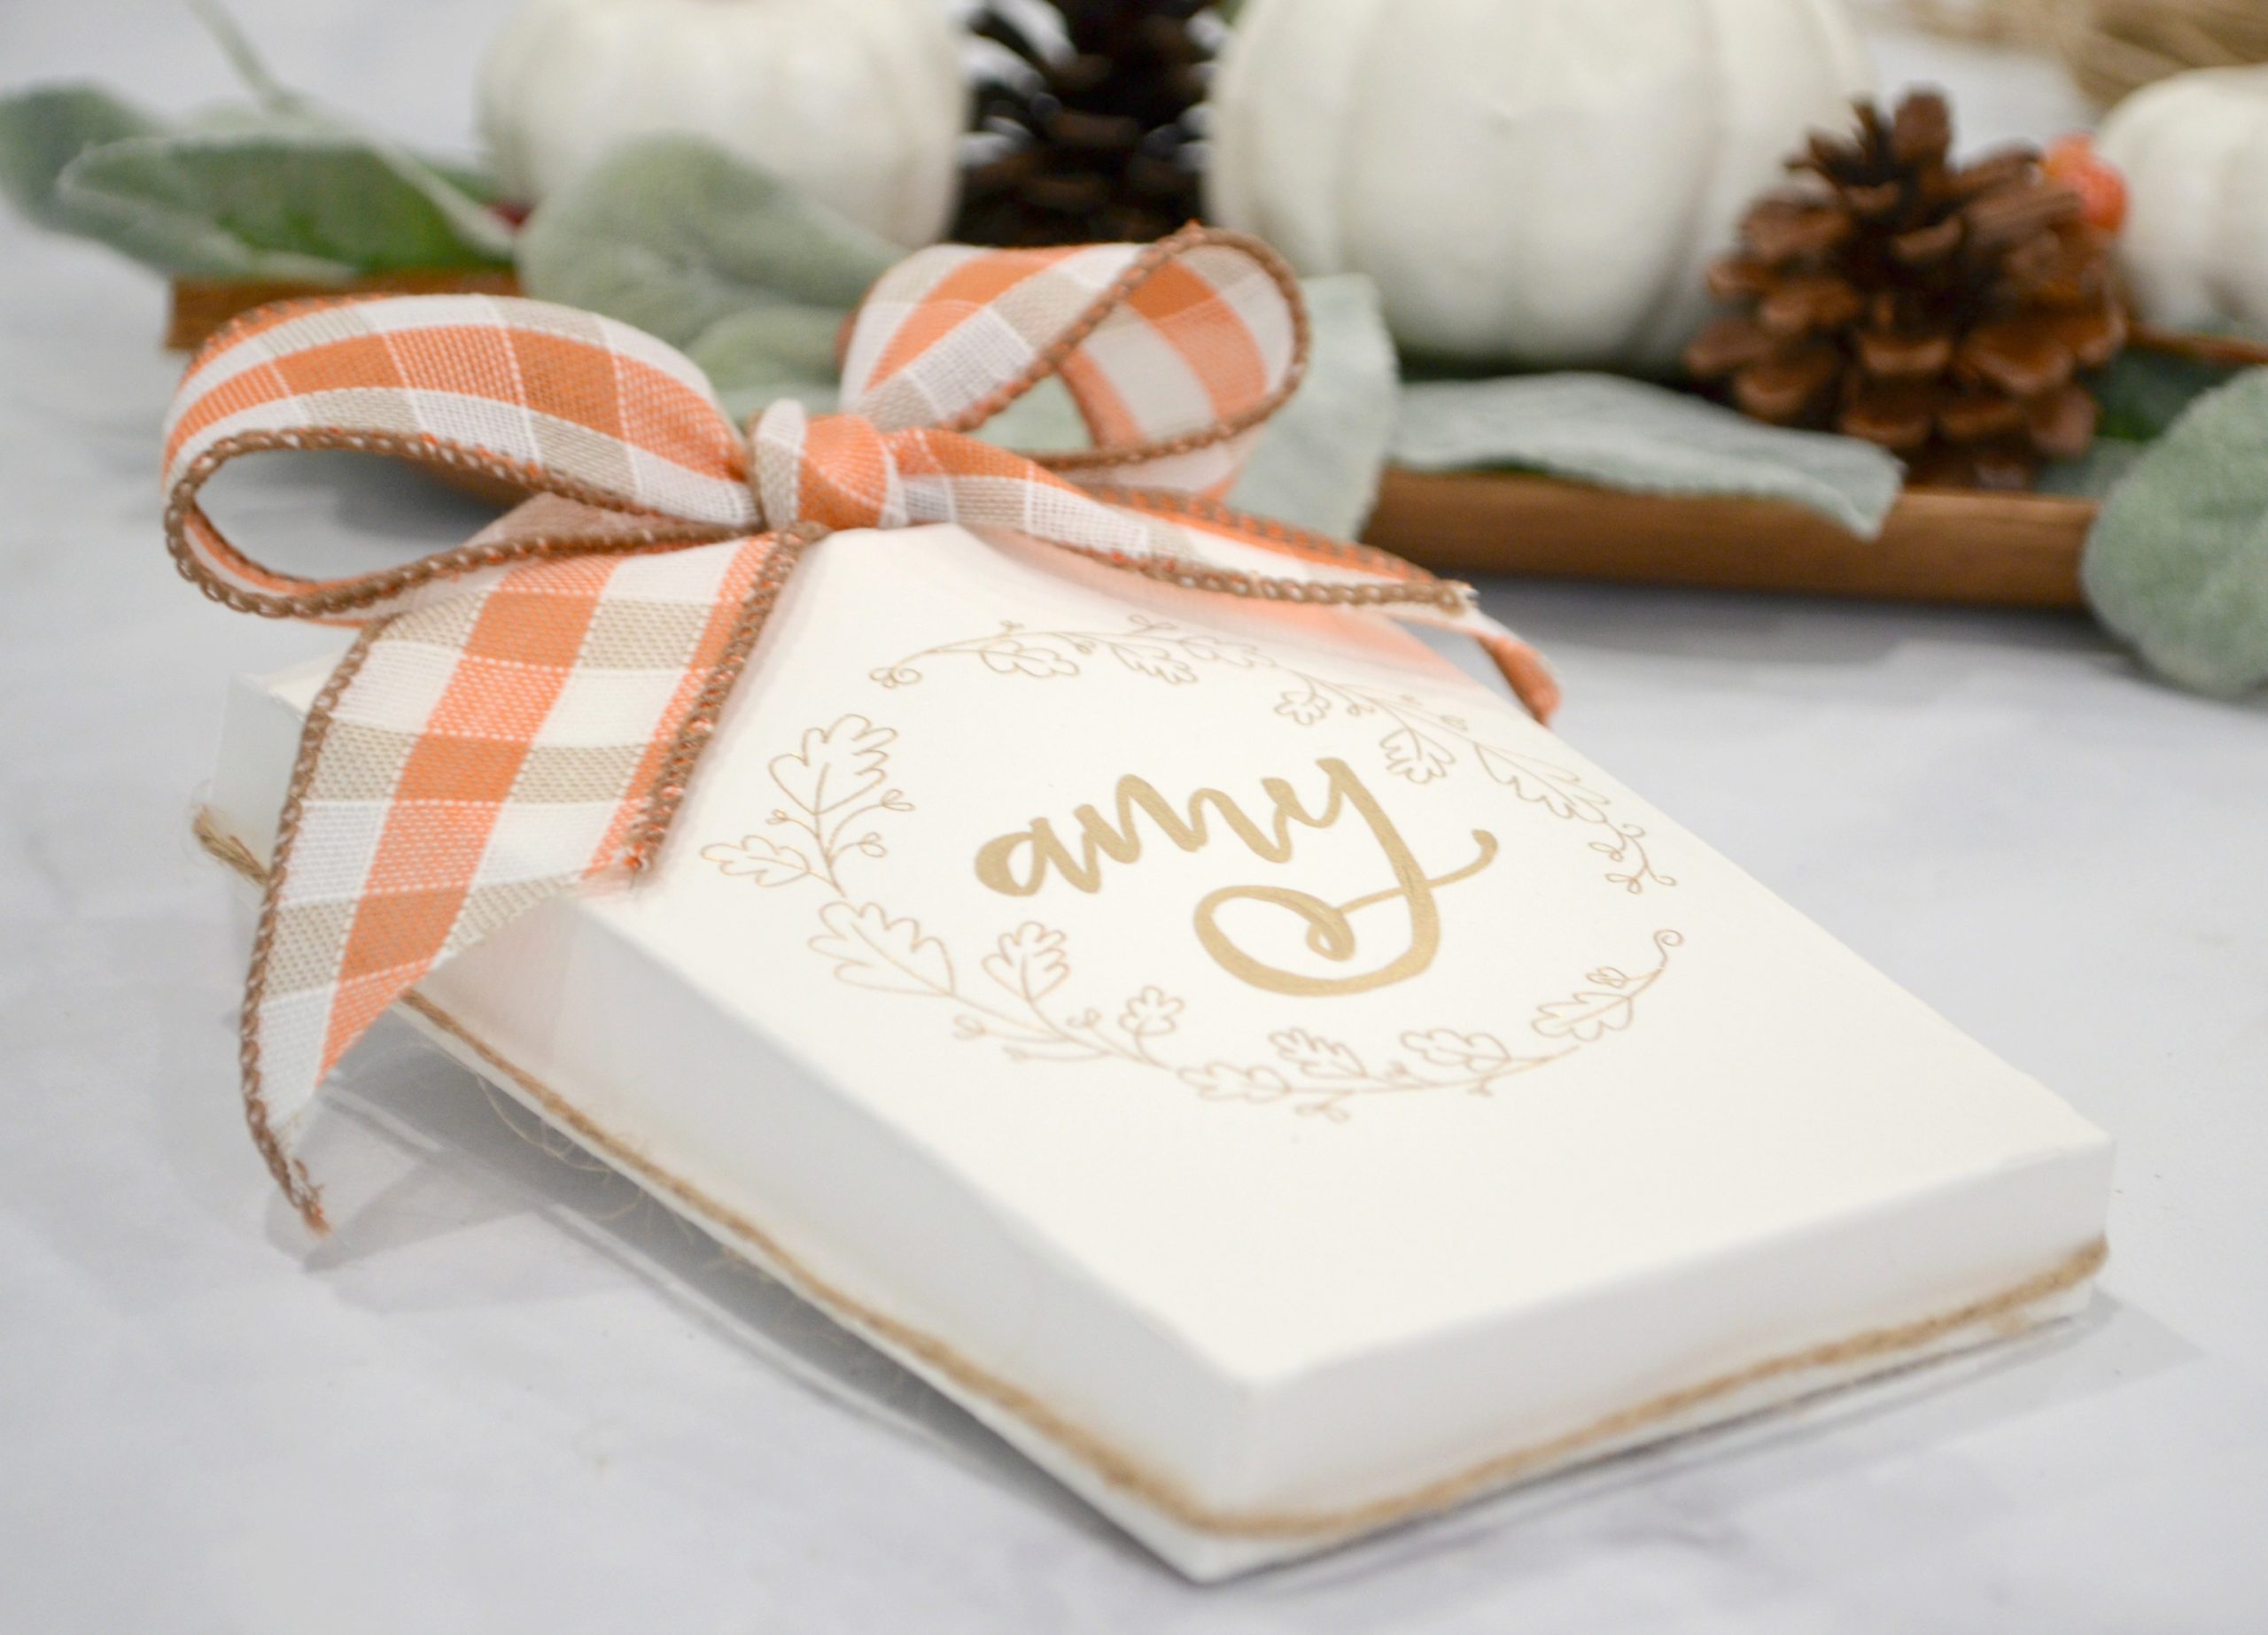
I love how professional and elegant these look, and I think they’ll be gorgeous on the Thanksgiving table!

Of course, you can also customize them for other occasions and holidays too. Use any design, any color of foil, and any color cardstock you like for a totally different effect!
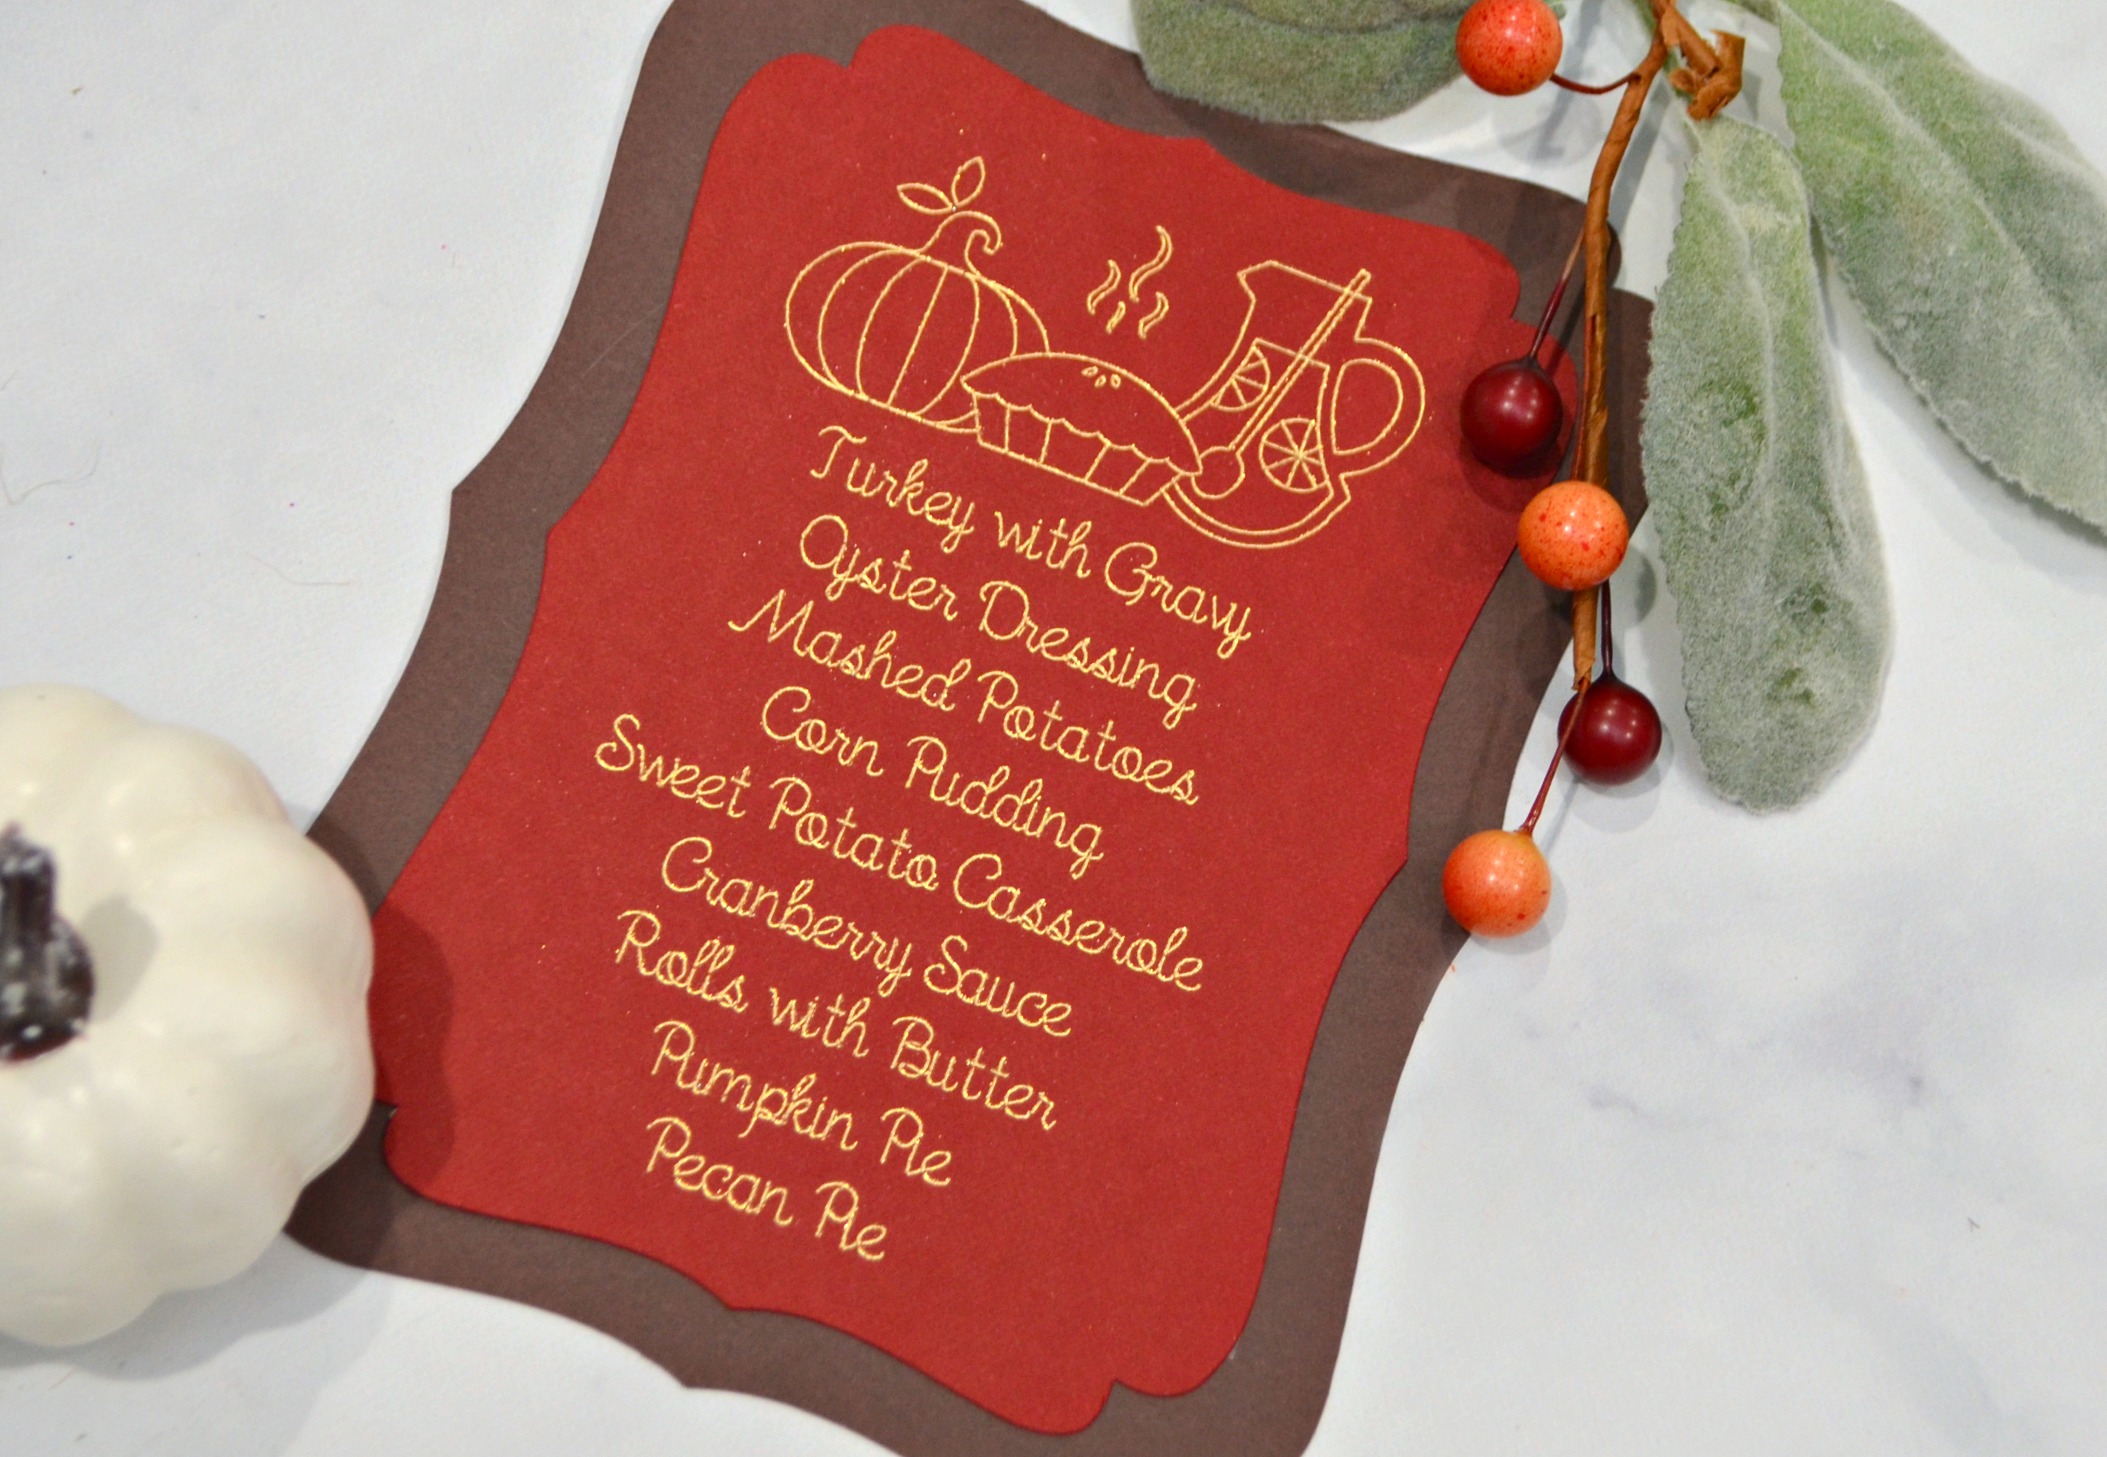
Metallic Menu
To create a special Thanksgiving menu for each place setting, I followed the same basic process. First, I typed the menu into Design Space and added an image of festive foods, then I chose a double layer frame shape and attached all of the layers together. Once again, I taped a piece of gold foil to my main color of cardstock and loaded it into the Cricut Explore Air 2. The machine used pressure to apply the foil to the image and menu items.
I removed the foil, keeping the mat loaded in the machine, then switched the foil transfer tool with the cutting blade. The Cricut cut out the shape, then I placed a piece of brown cardstock on the mat and let it cut the outer layer. Finally, I placed the foiled menu on top of the brown cardstock shape and attached it with adhesive.
I love the way both of these projects turned out, and it was fun to see the different effects of the foil on light and dark backgrounds. It’s so exciting to think about all of the other holiday project possibilities using the Cricut Foil Transfer System, including cards, gift tags, ornaments, and so much more!
What about you? Have your ordered your Foil Transfer Kit yet? What are you waiting for? I can’t wait to see what you’ll create!


I’m slowly learning the ropes of my Cricut Maker and haven’t attempted foil yet. Thank you for this awesome tutorial! Pinned to share and refer back to. Your Thanksgiving menu and guest favor boxes are gorgeous!
Thank you so much! The foil is so much fun.