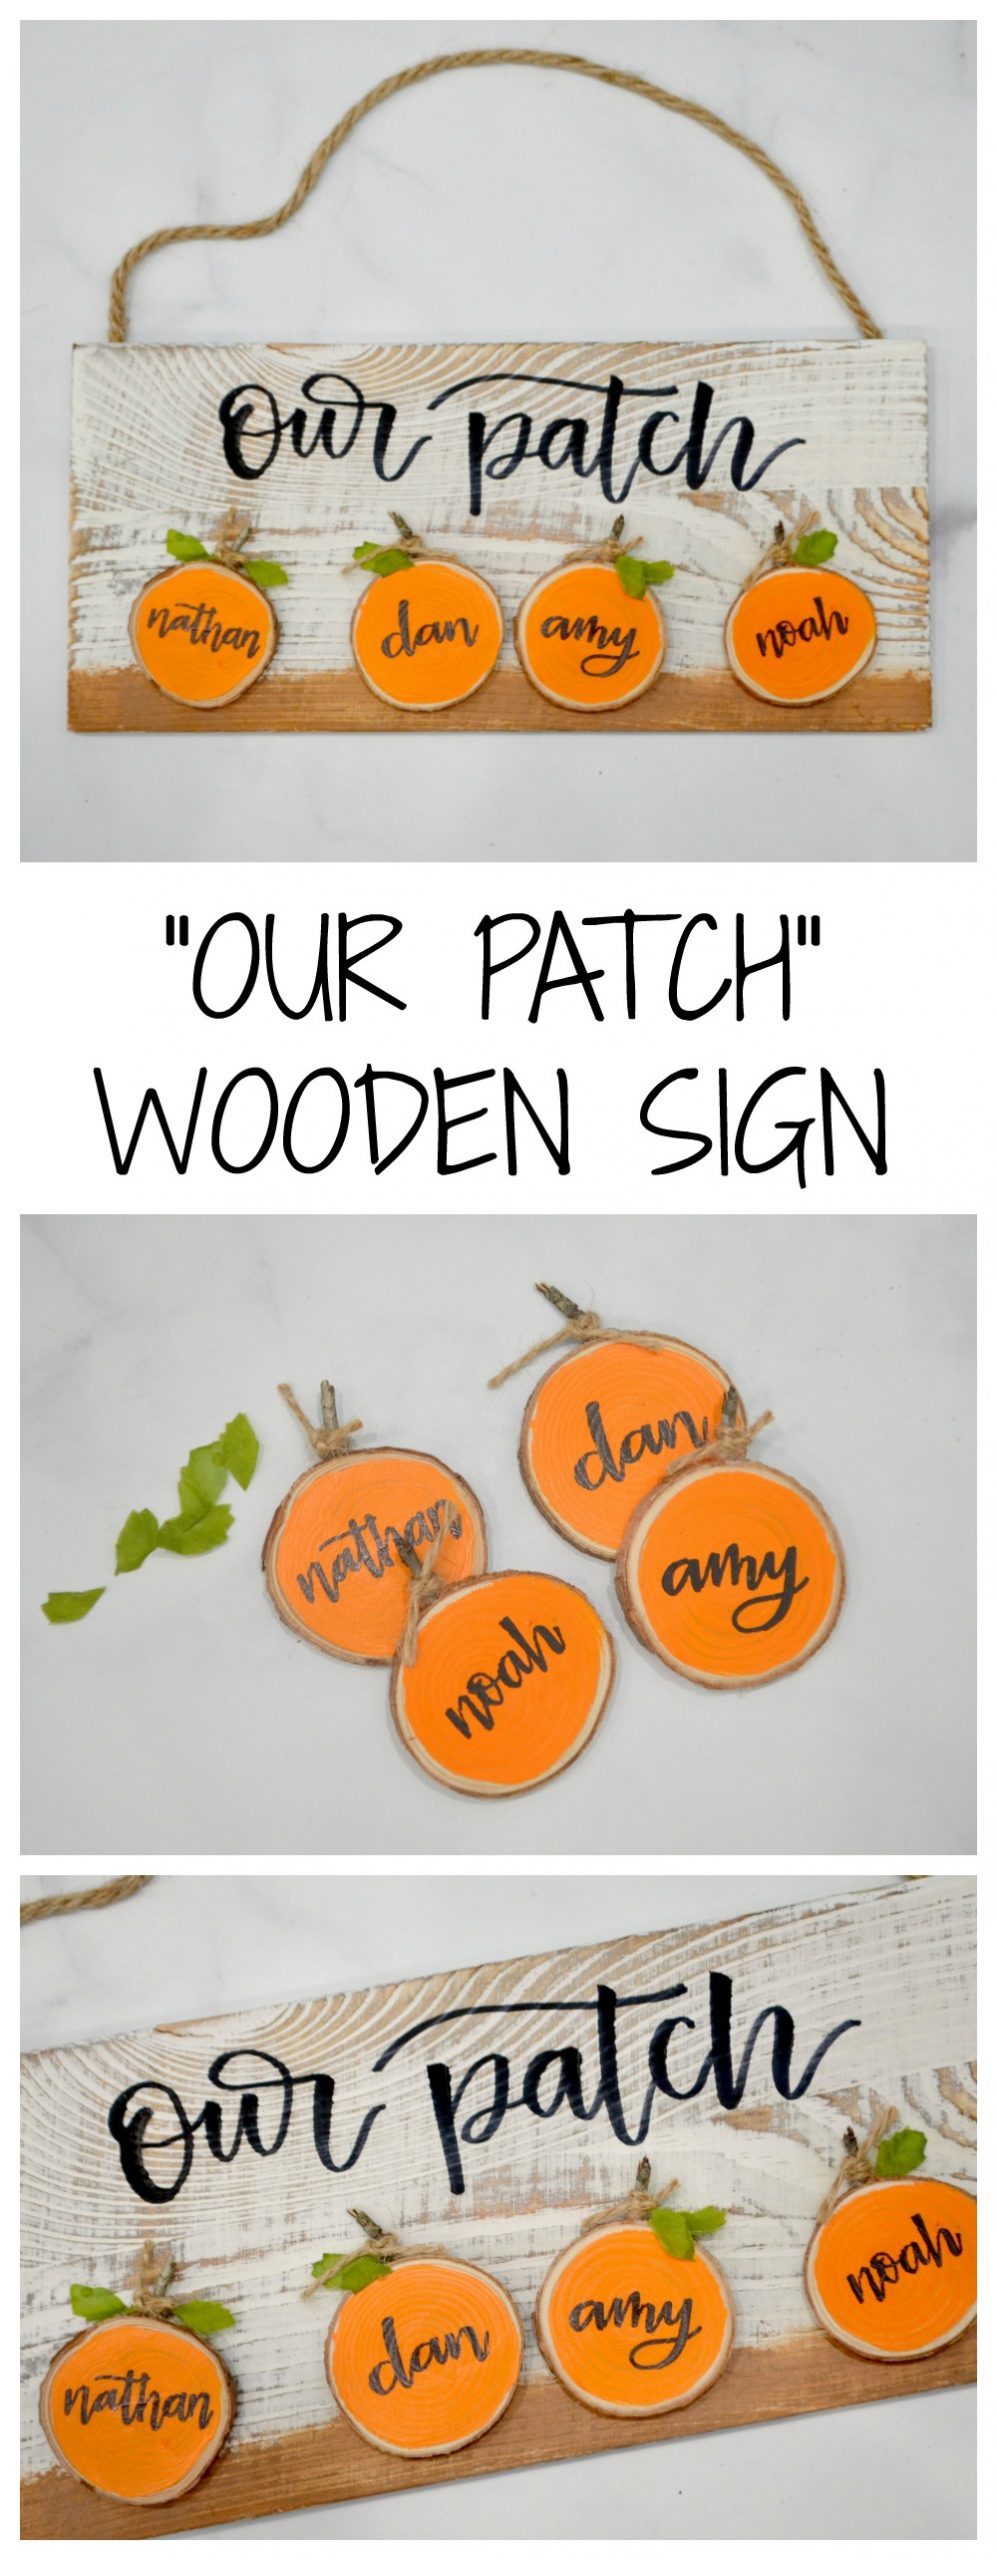
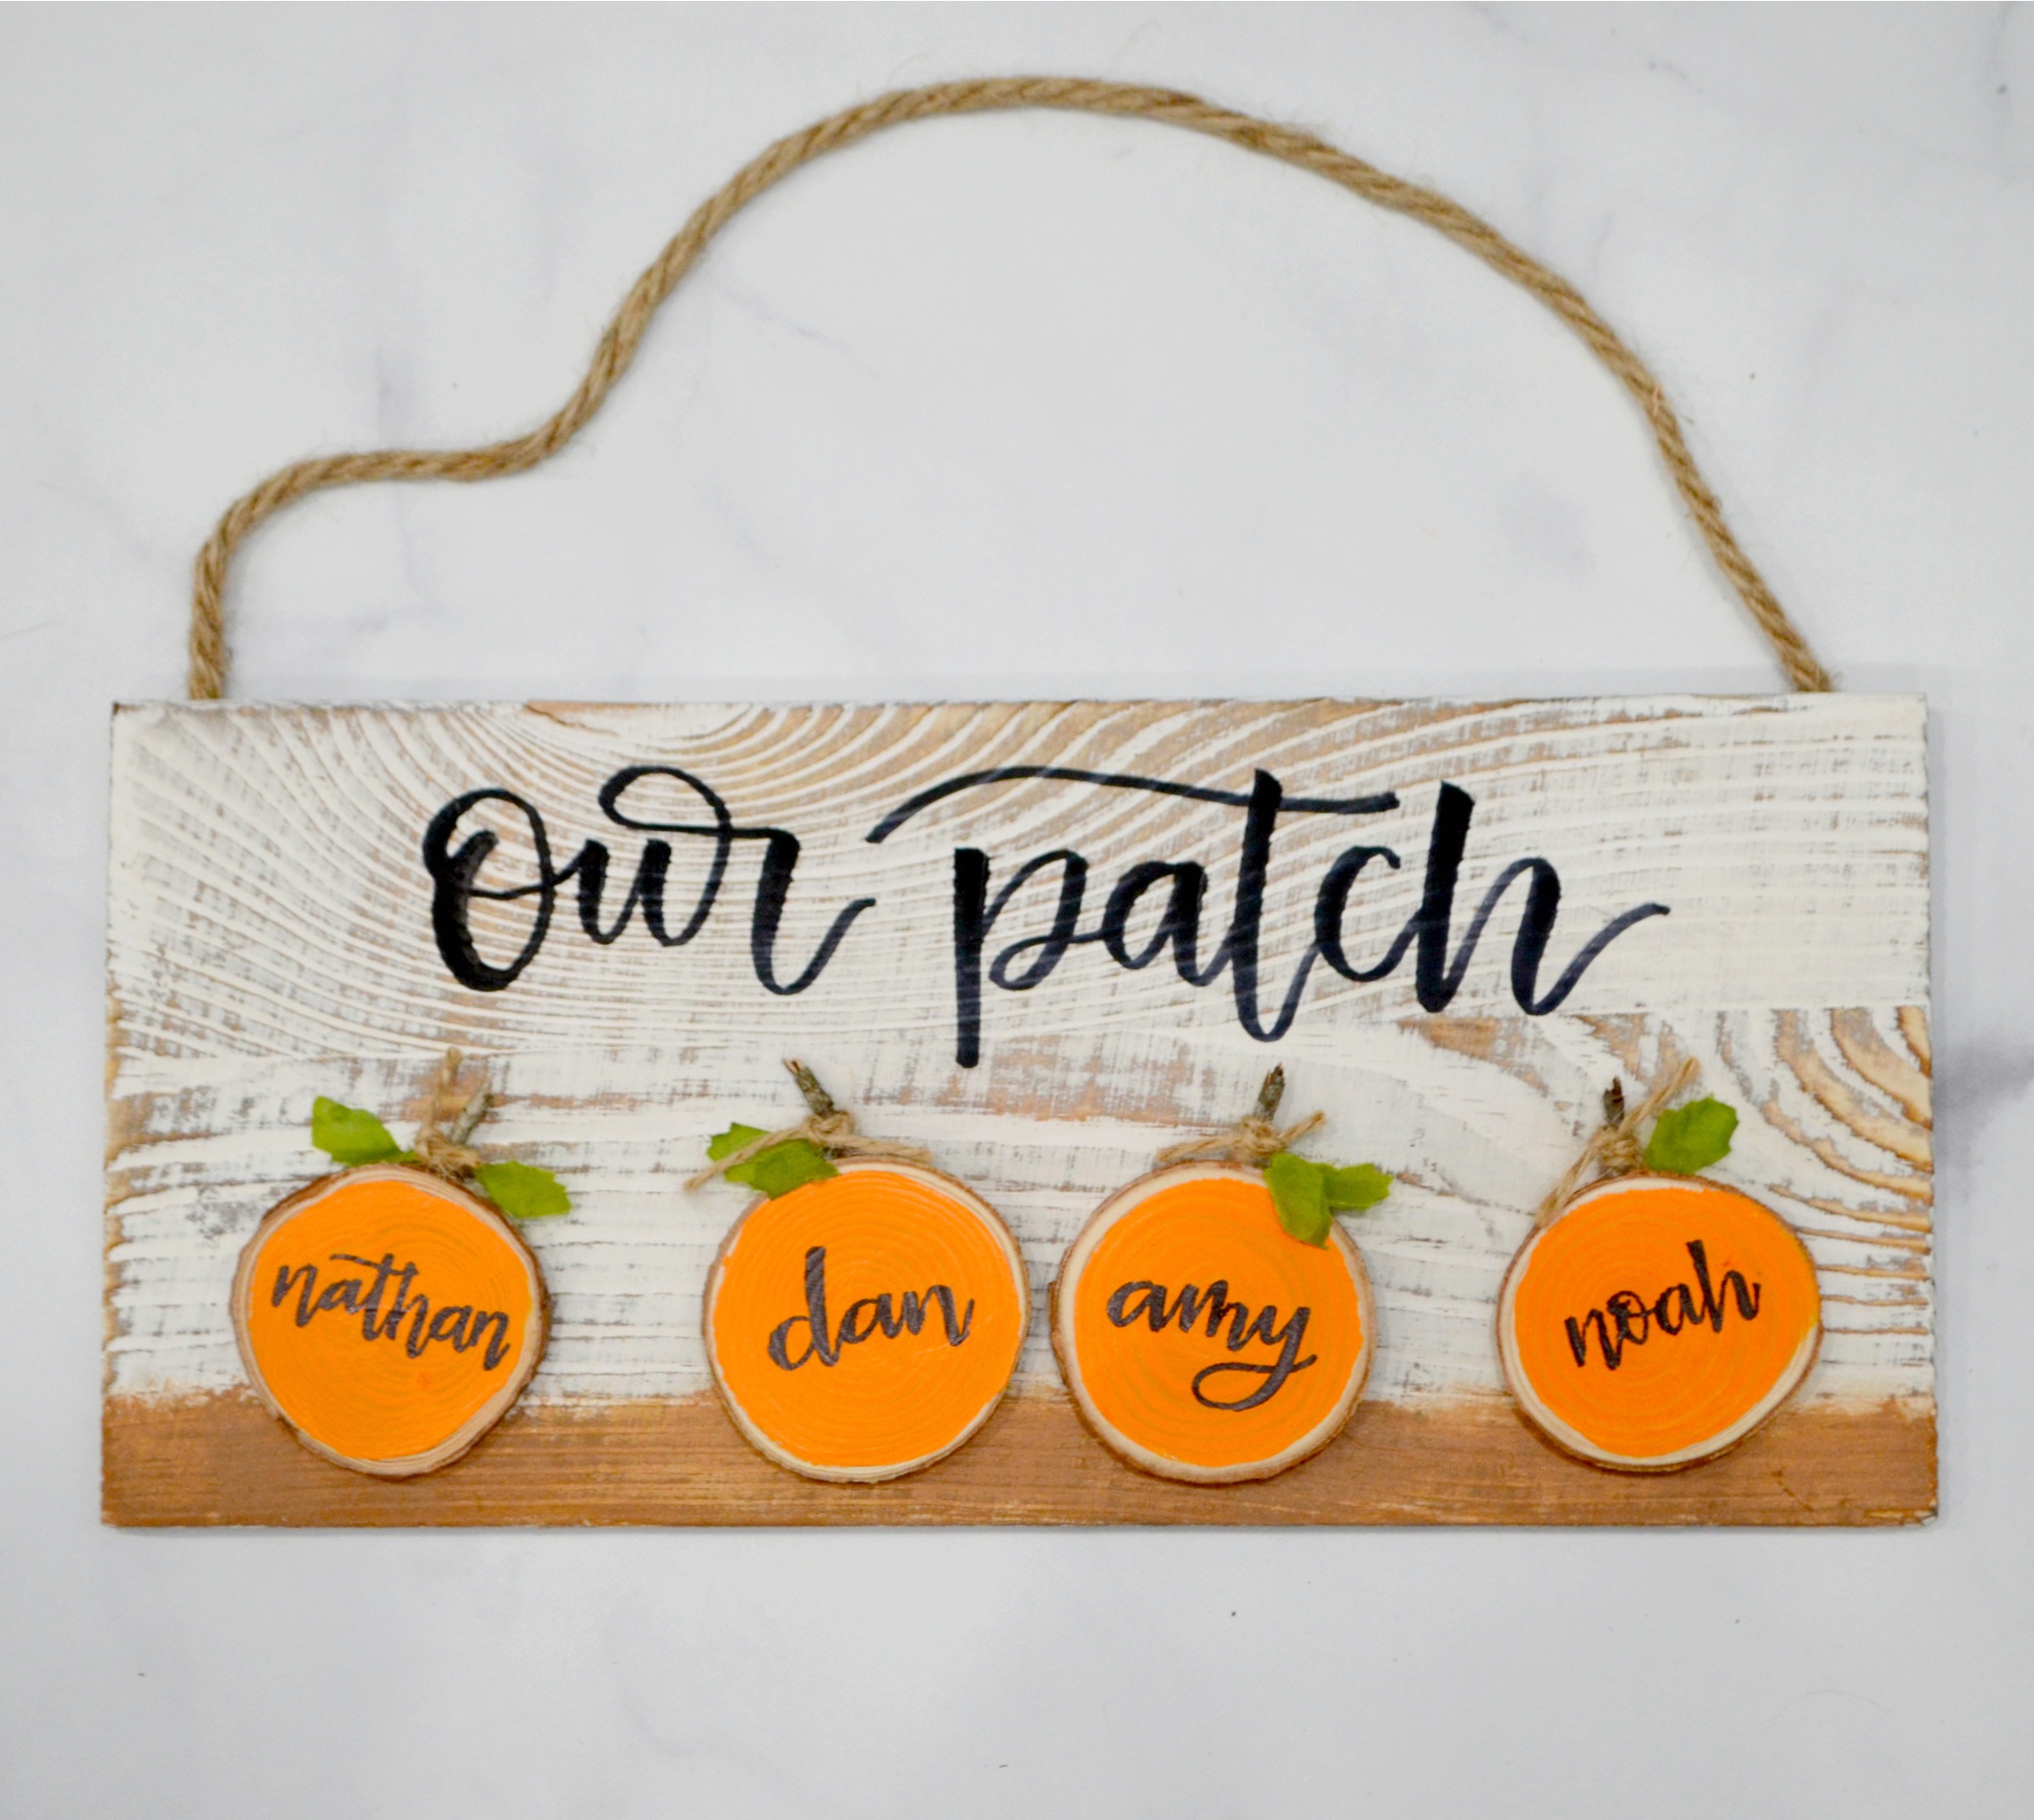
“Our Patch” Fall Pumpkin Sign

Creating Fall themed decor is one of my favorite things to do this time of year. Here is a very simple project you can do that’s not just festive, but totally personal for your family! This “our patch” fall pumpkin sign lets you personalize a “pumpkin” for each person (and/or furry friend) in your home. Here’s how to create your own.
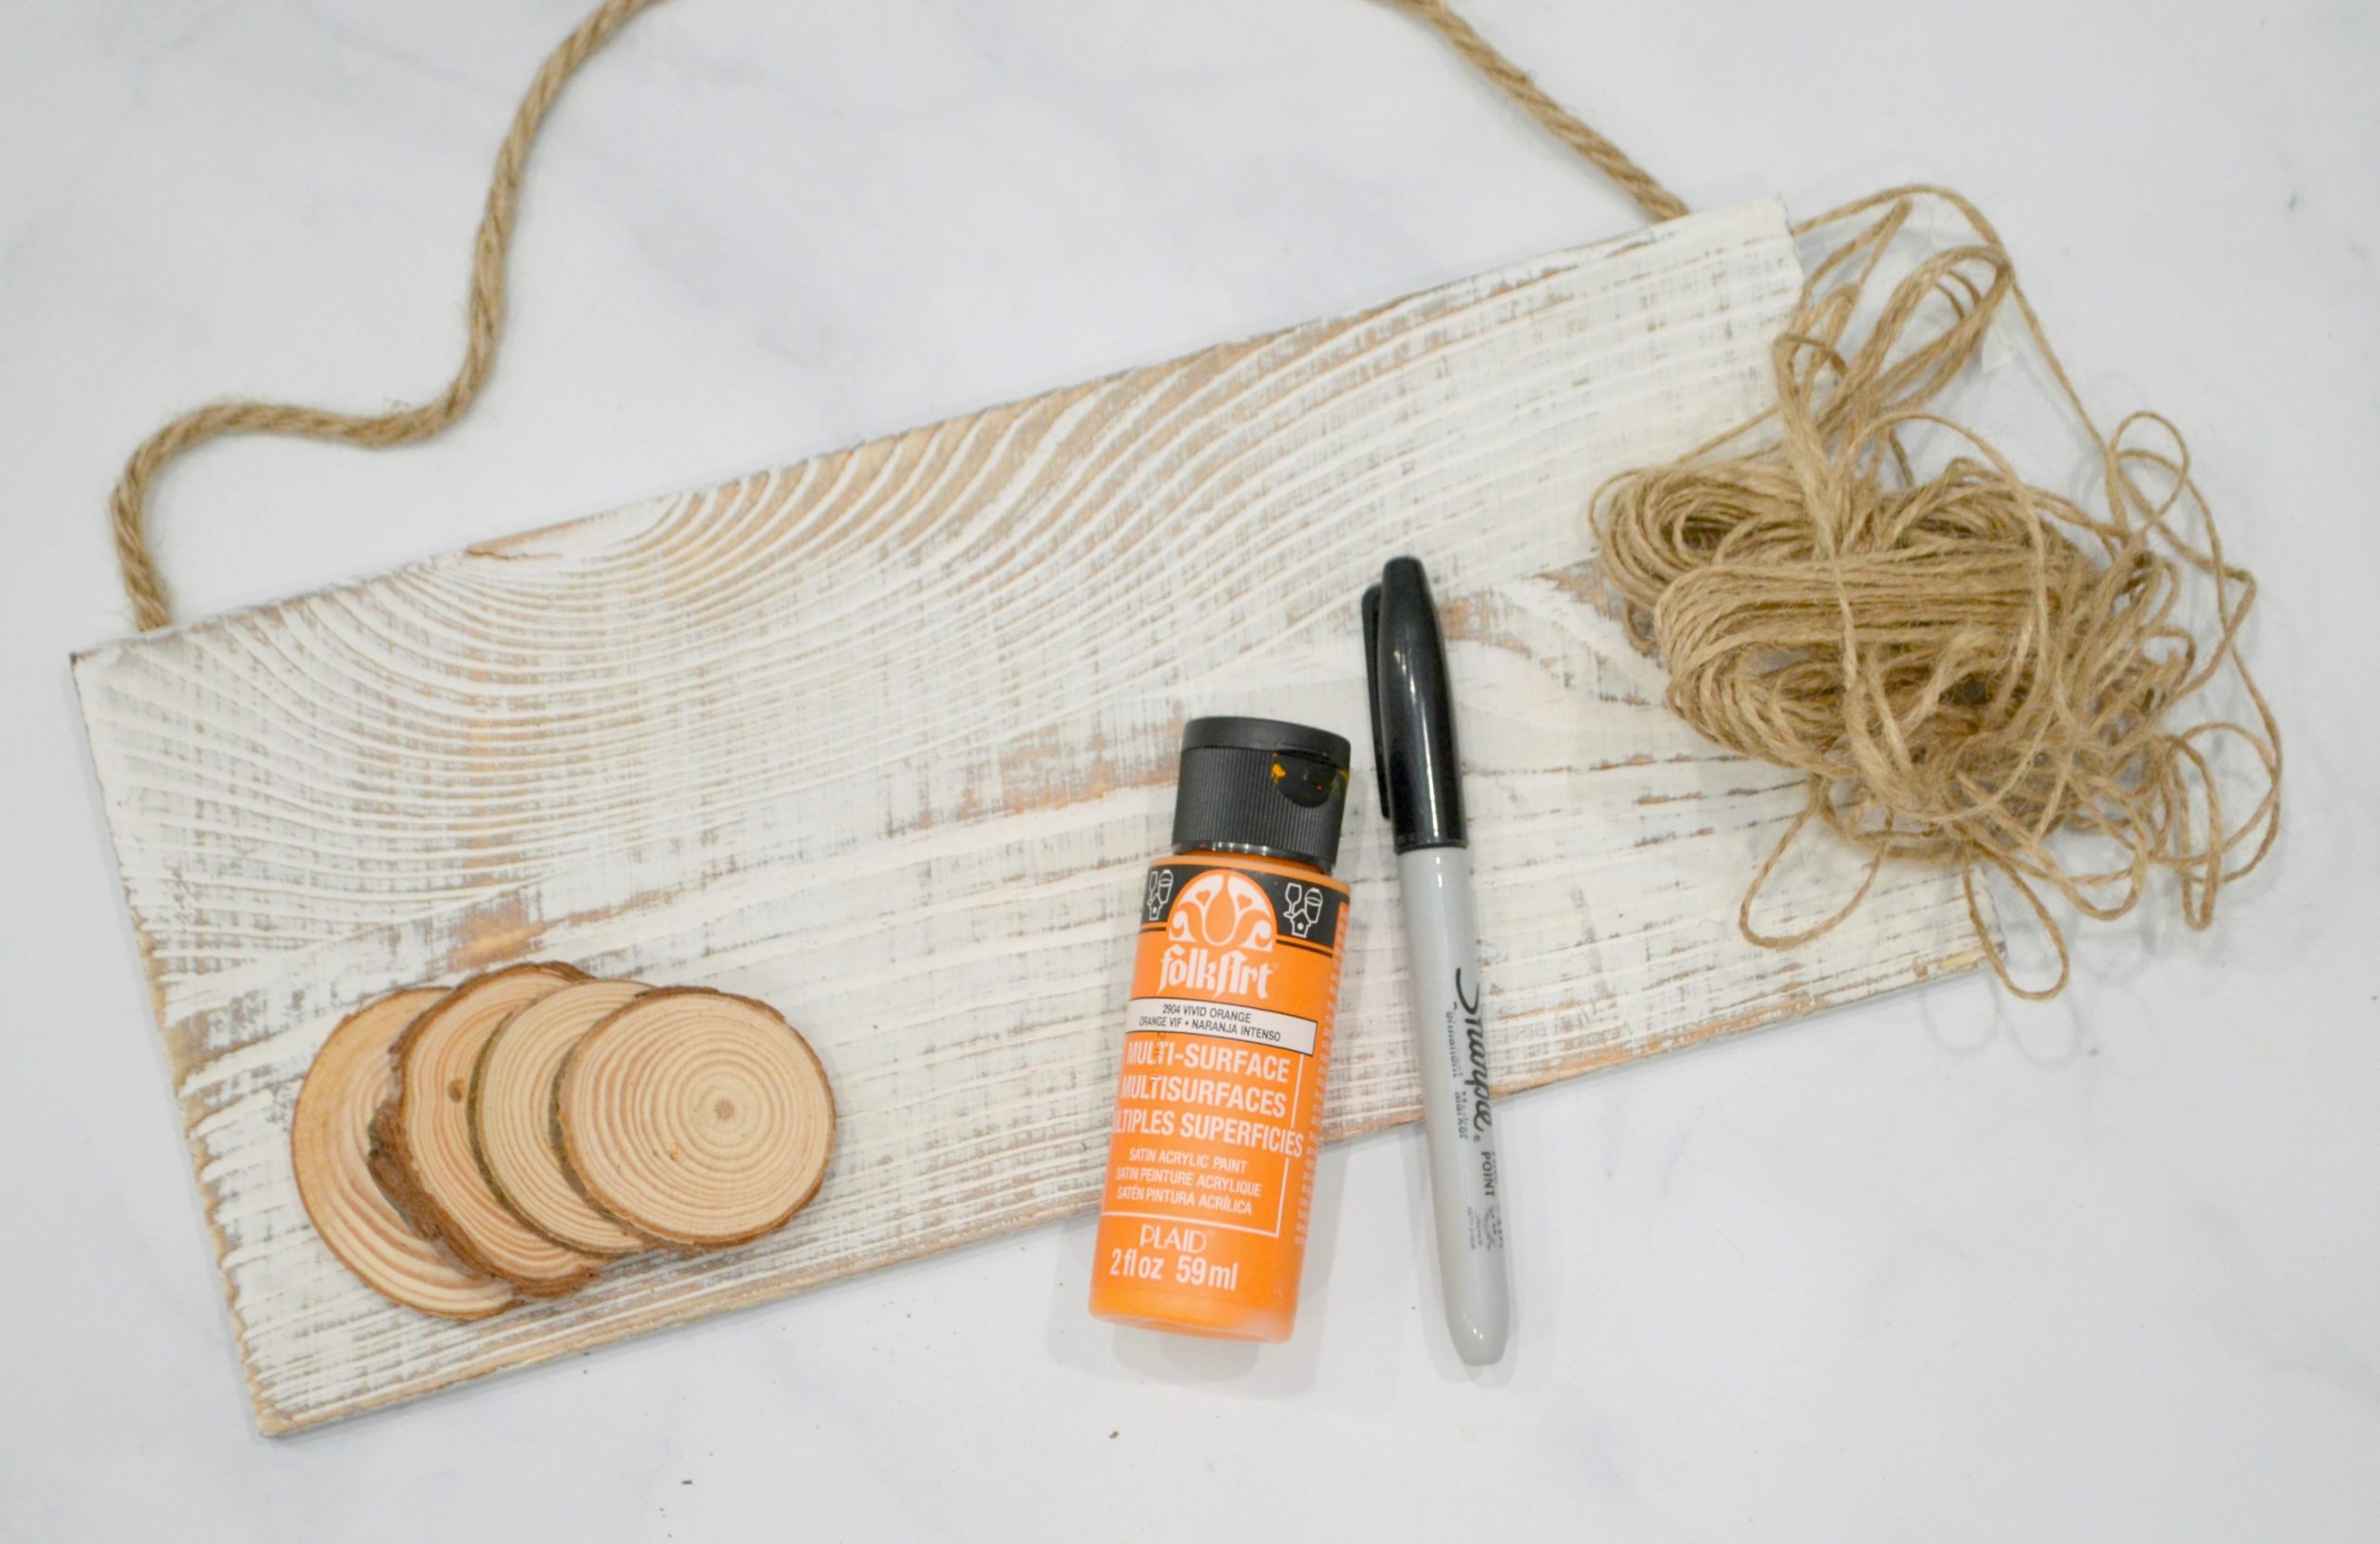
You’ll need:
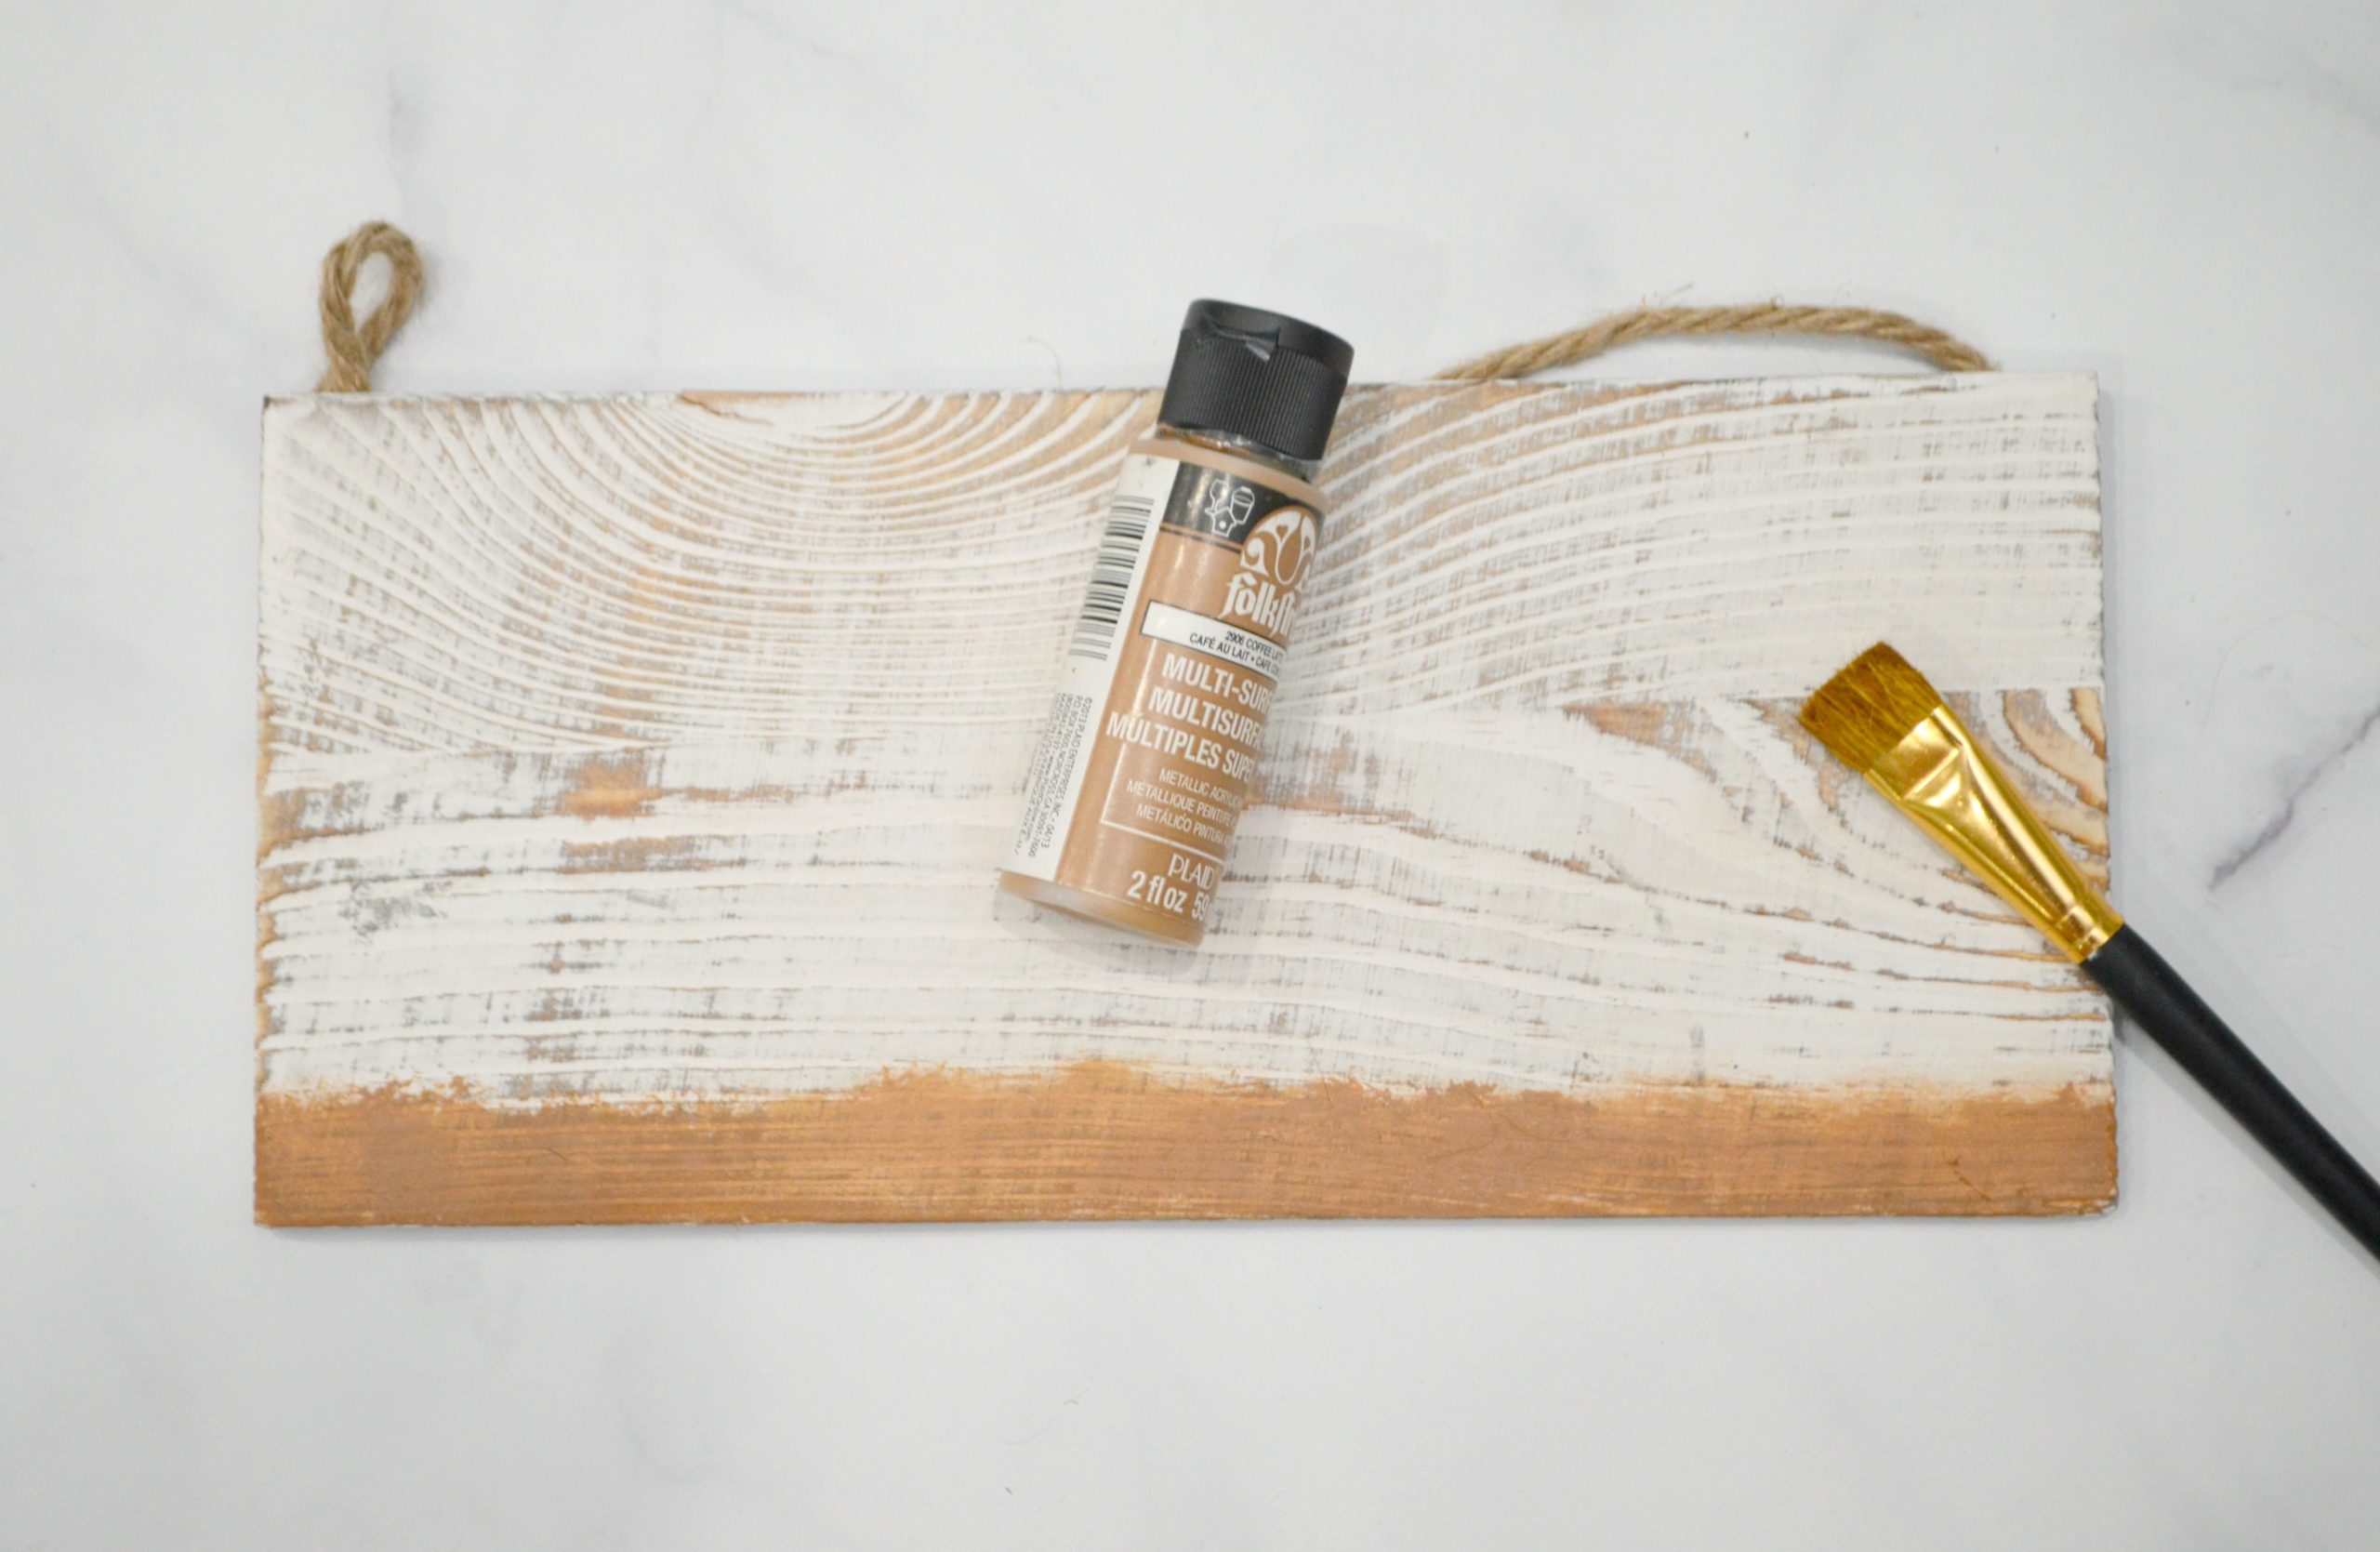
a wooden sign (mine was already whitewashed, from Hobby Lobby)
small wood slices: one for each family member
orange and brown acrylic/multi-surface paint
paintbrushes
black paint marker or permanent marker
twine
scissors
sticks and artificial leaves
hot glue gun and glue sticks
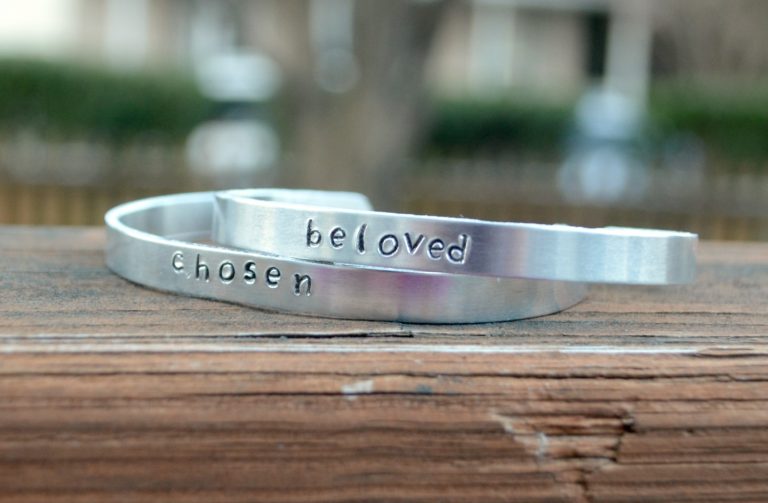
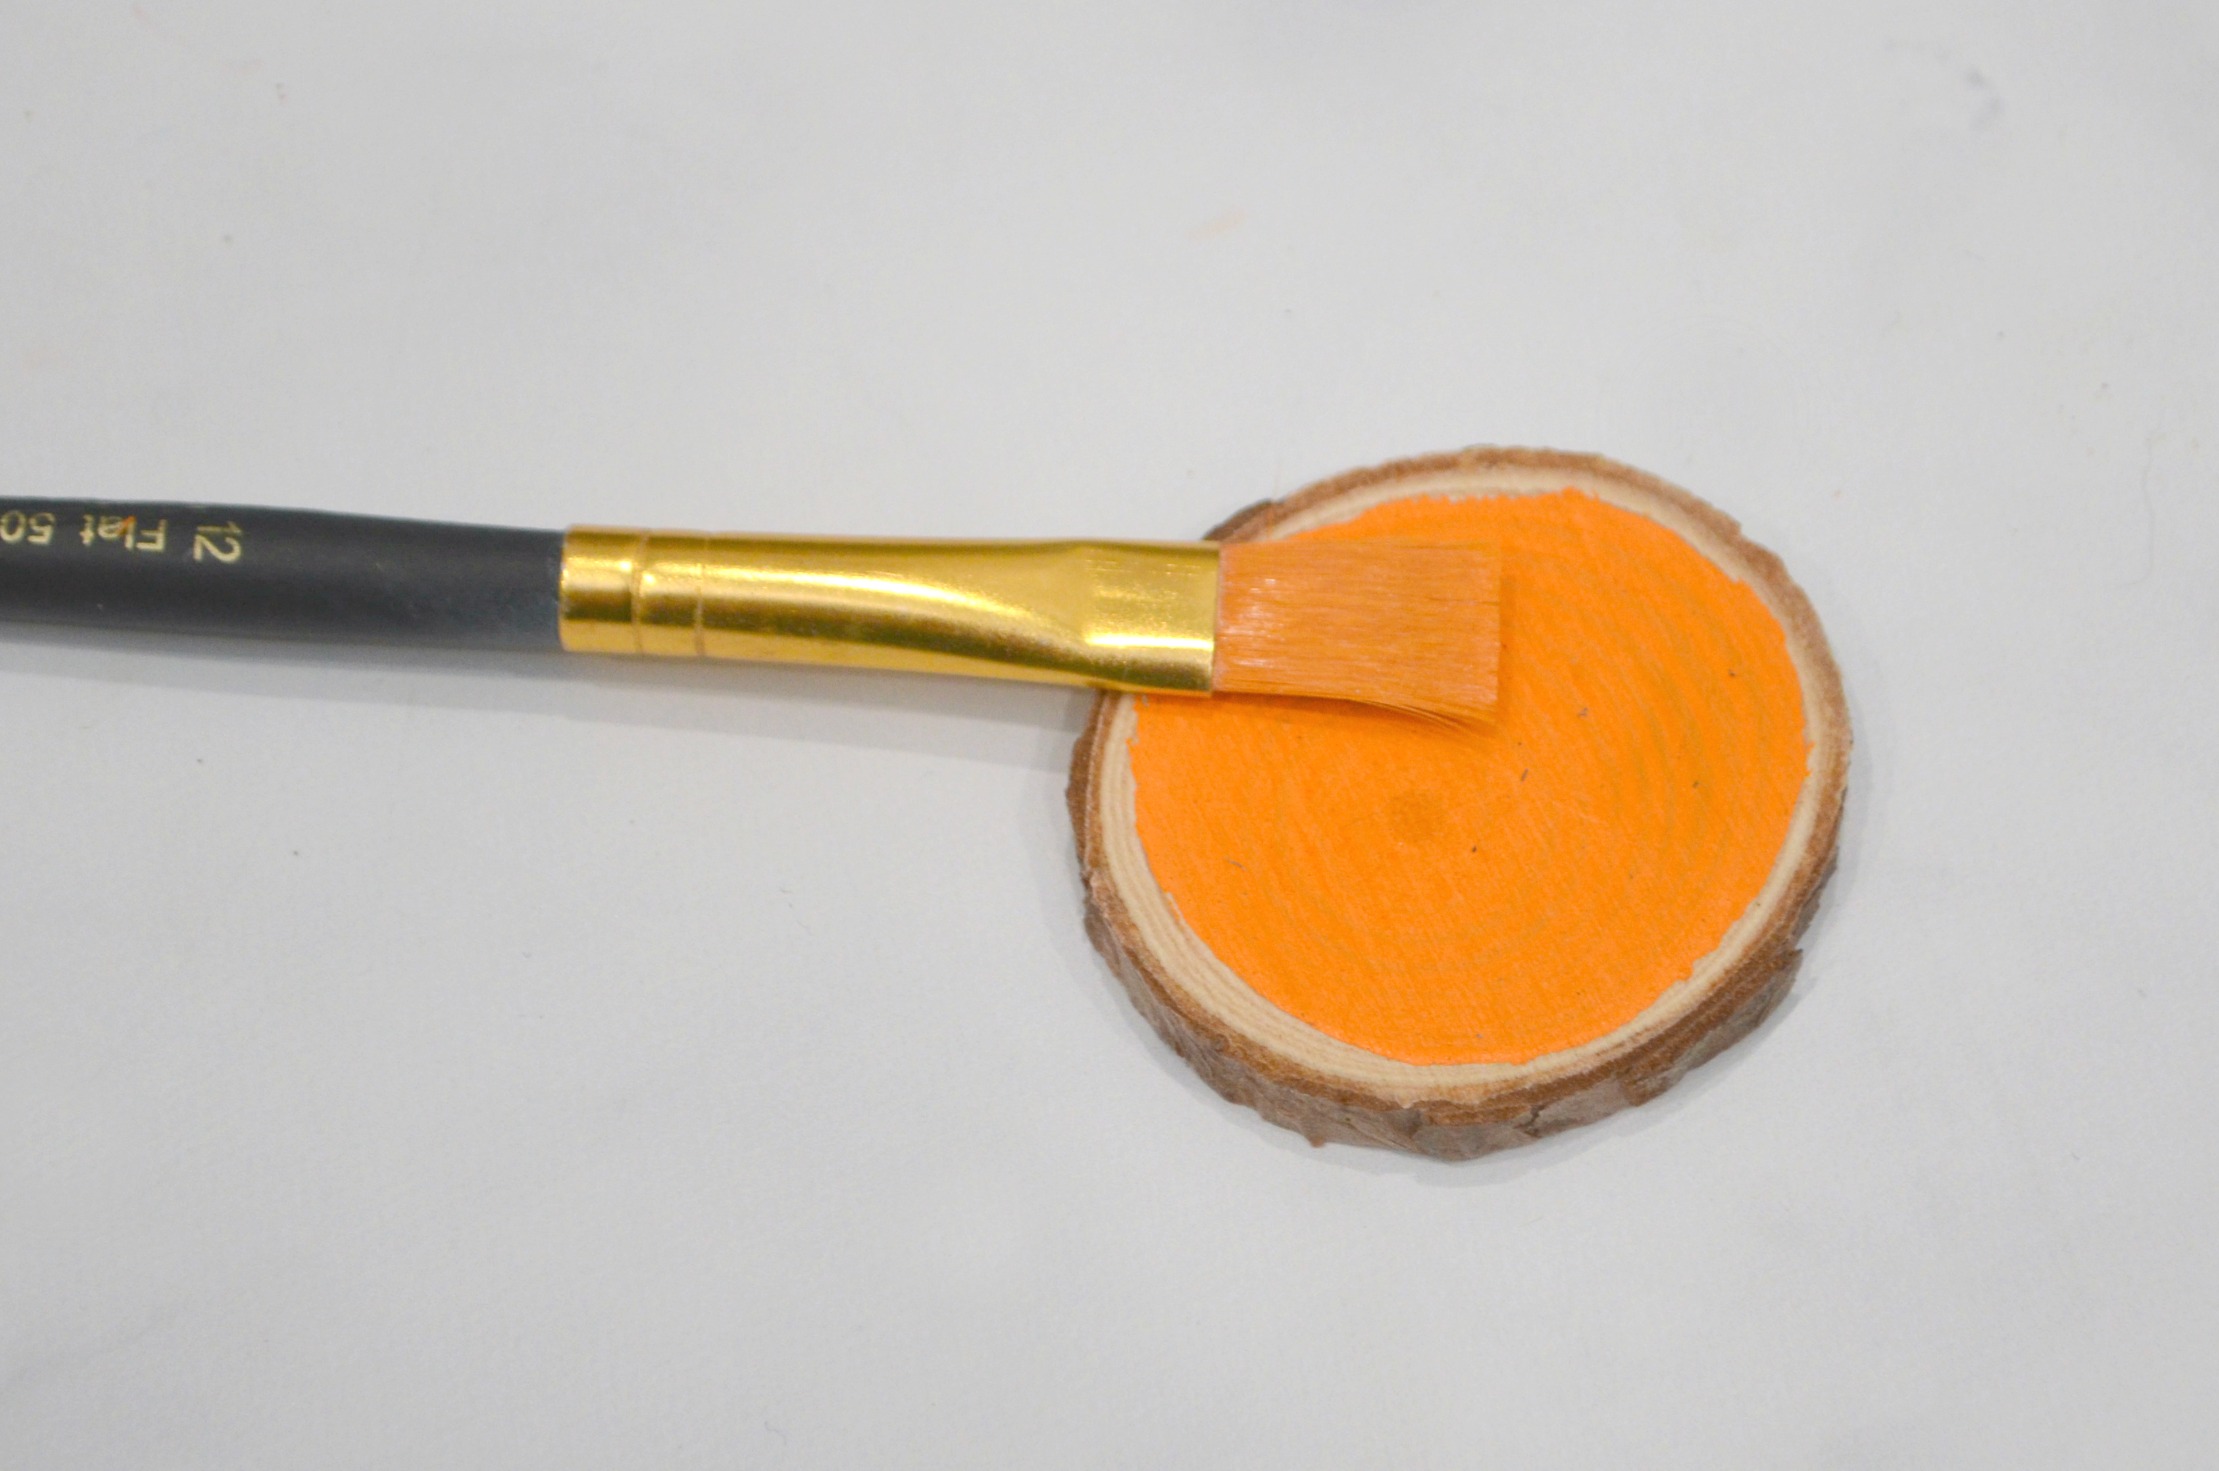
Step 1: Paint one side of each wood slice orange.
I like to leave a bit of wood showing, rather than painting all the way to the edges. Let the paint dry completely.
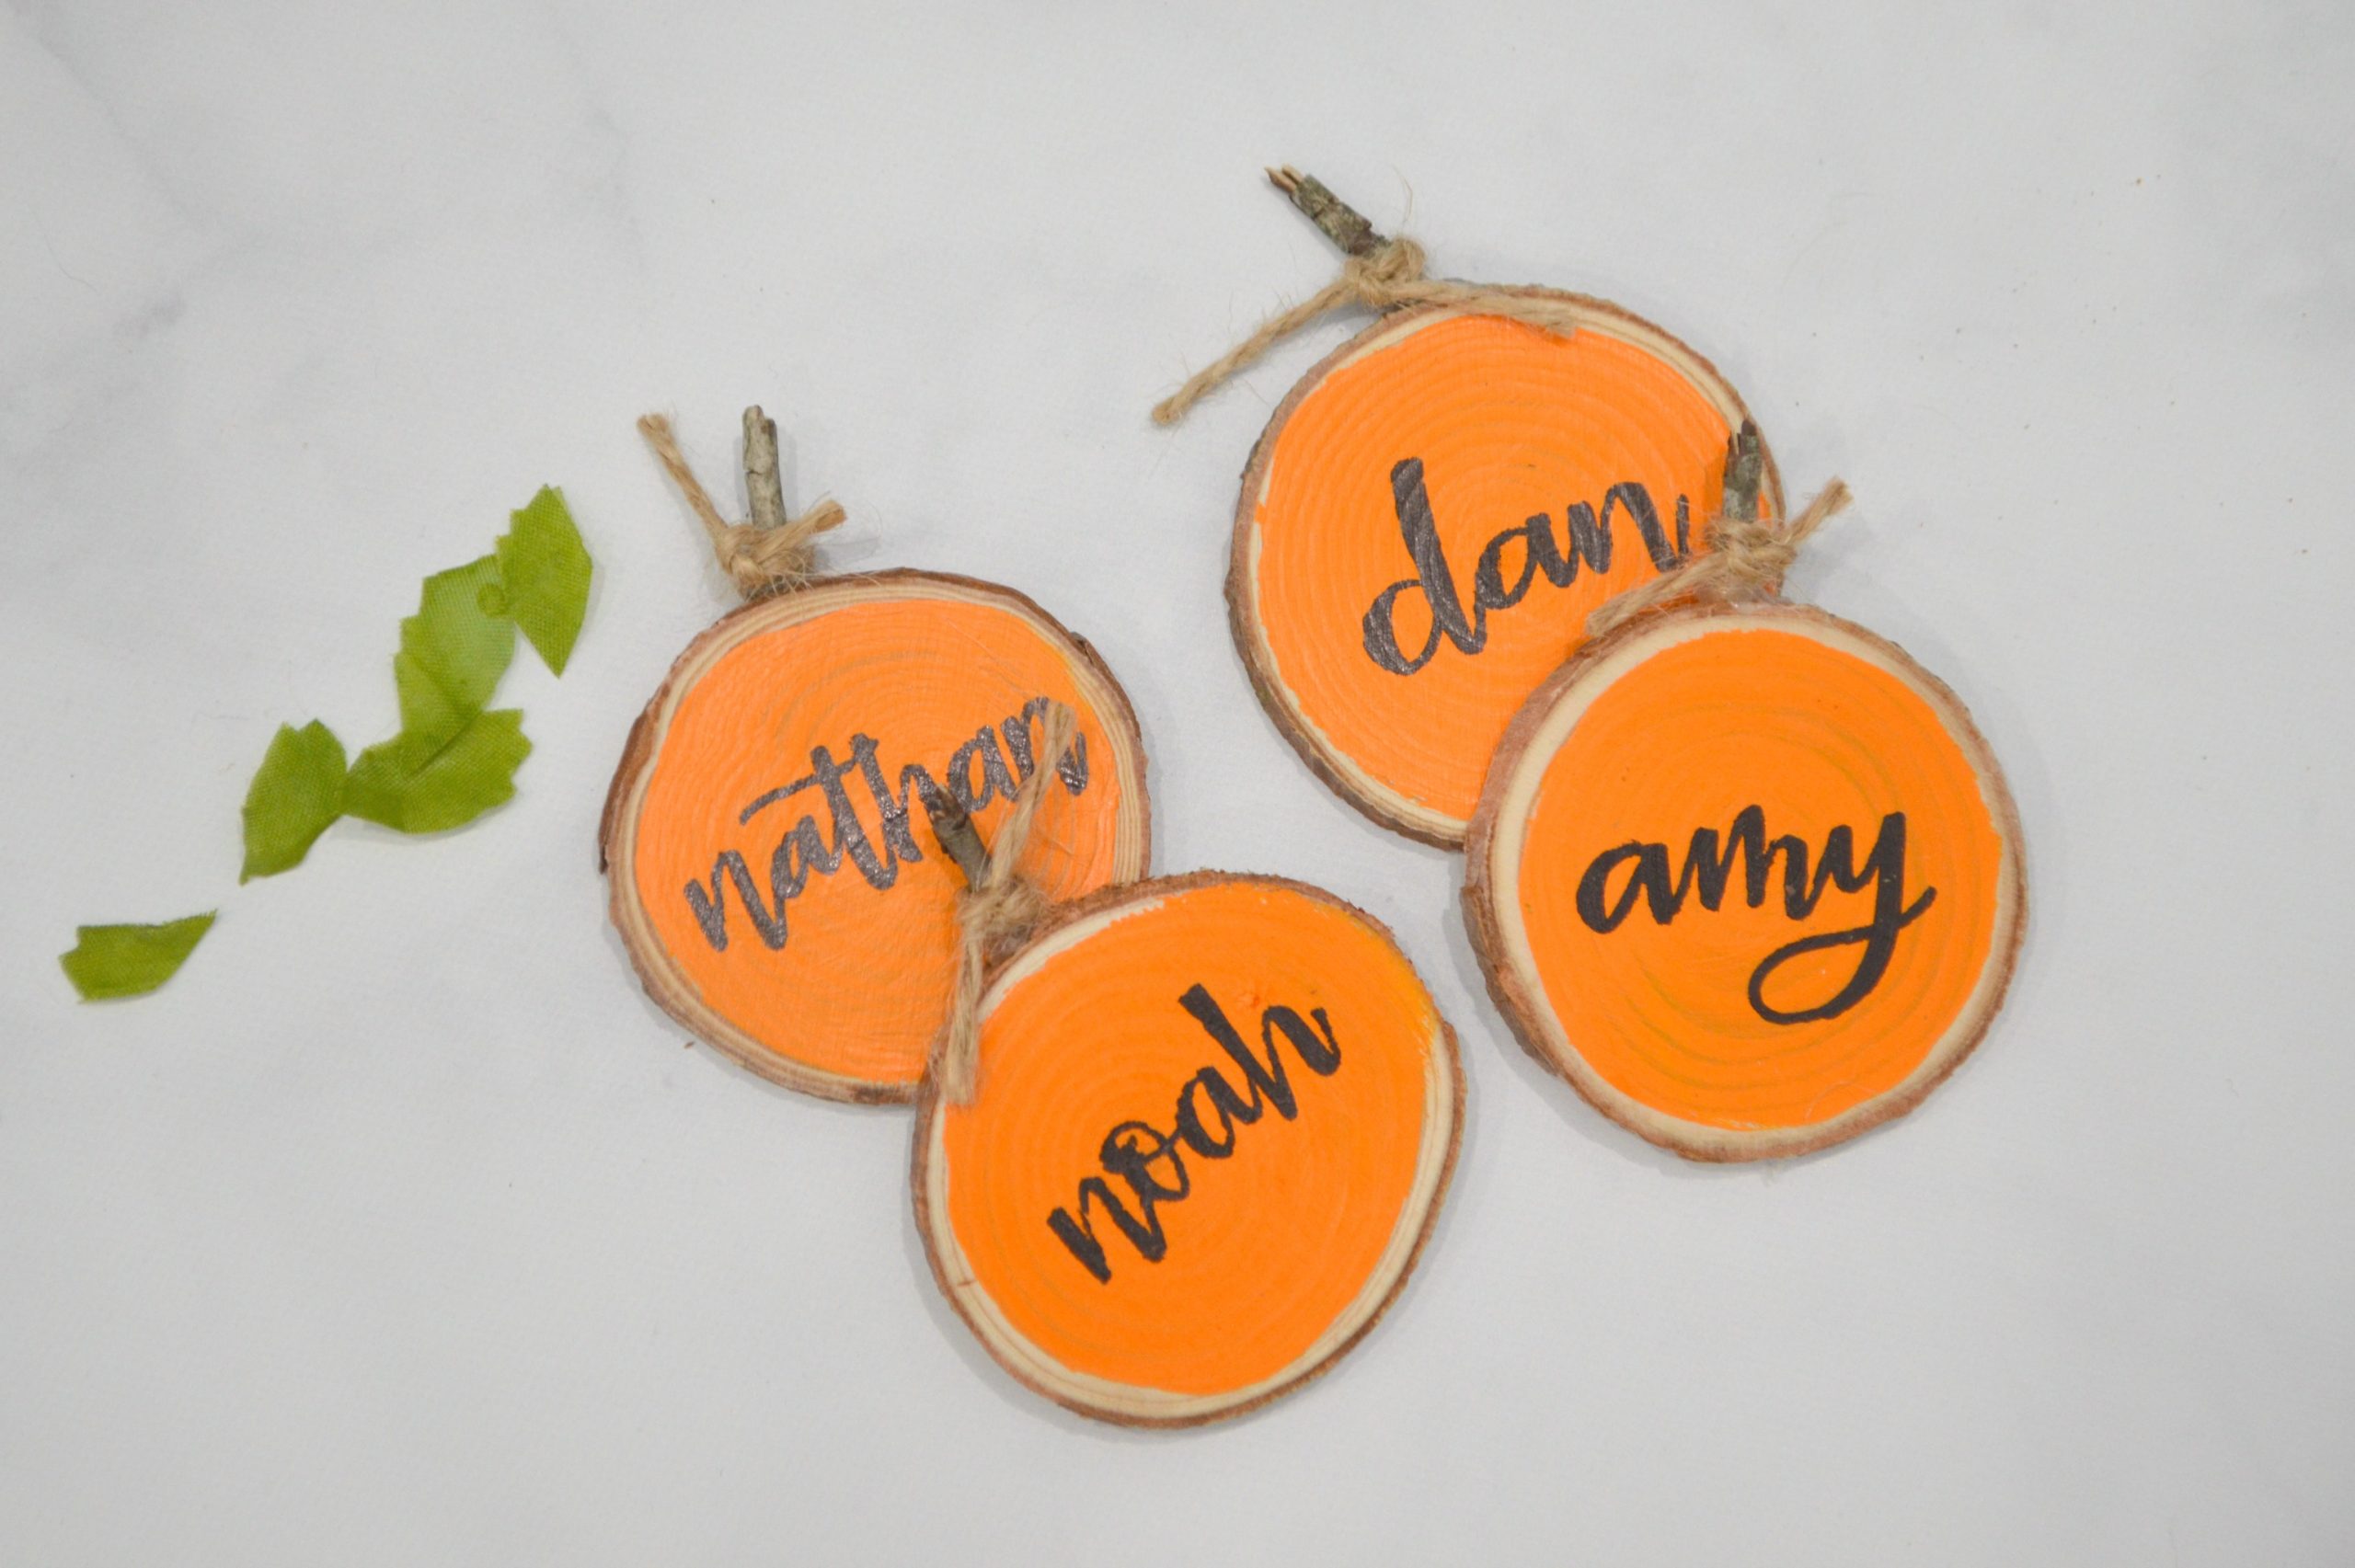
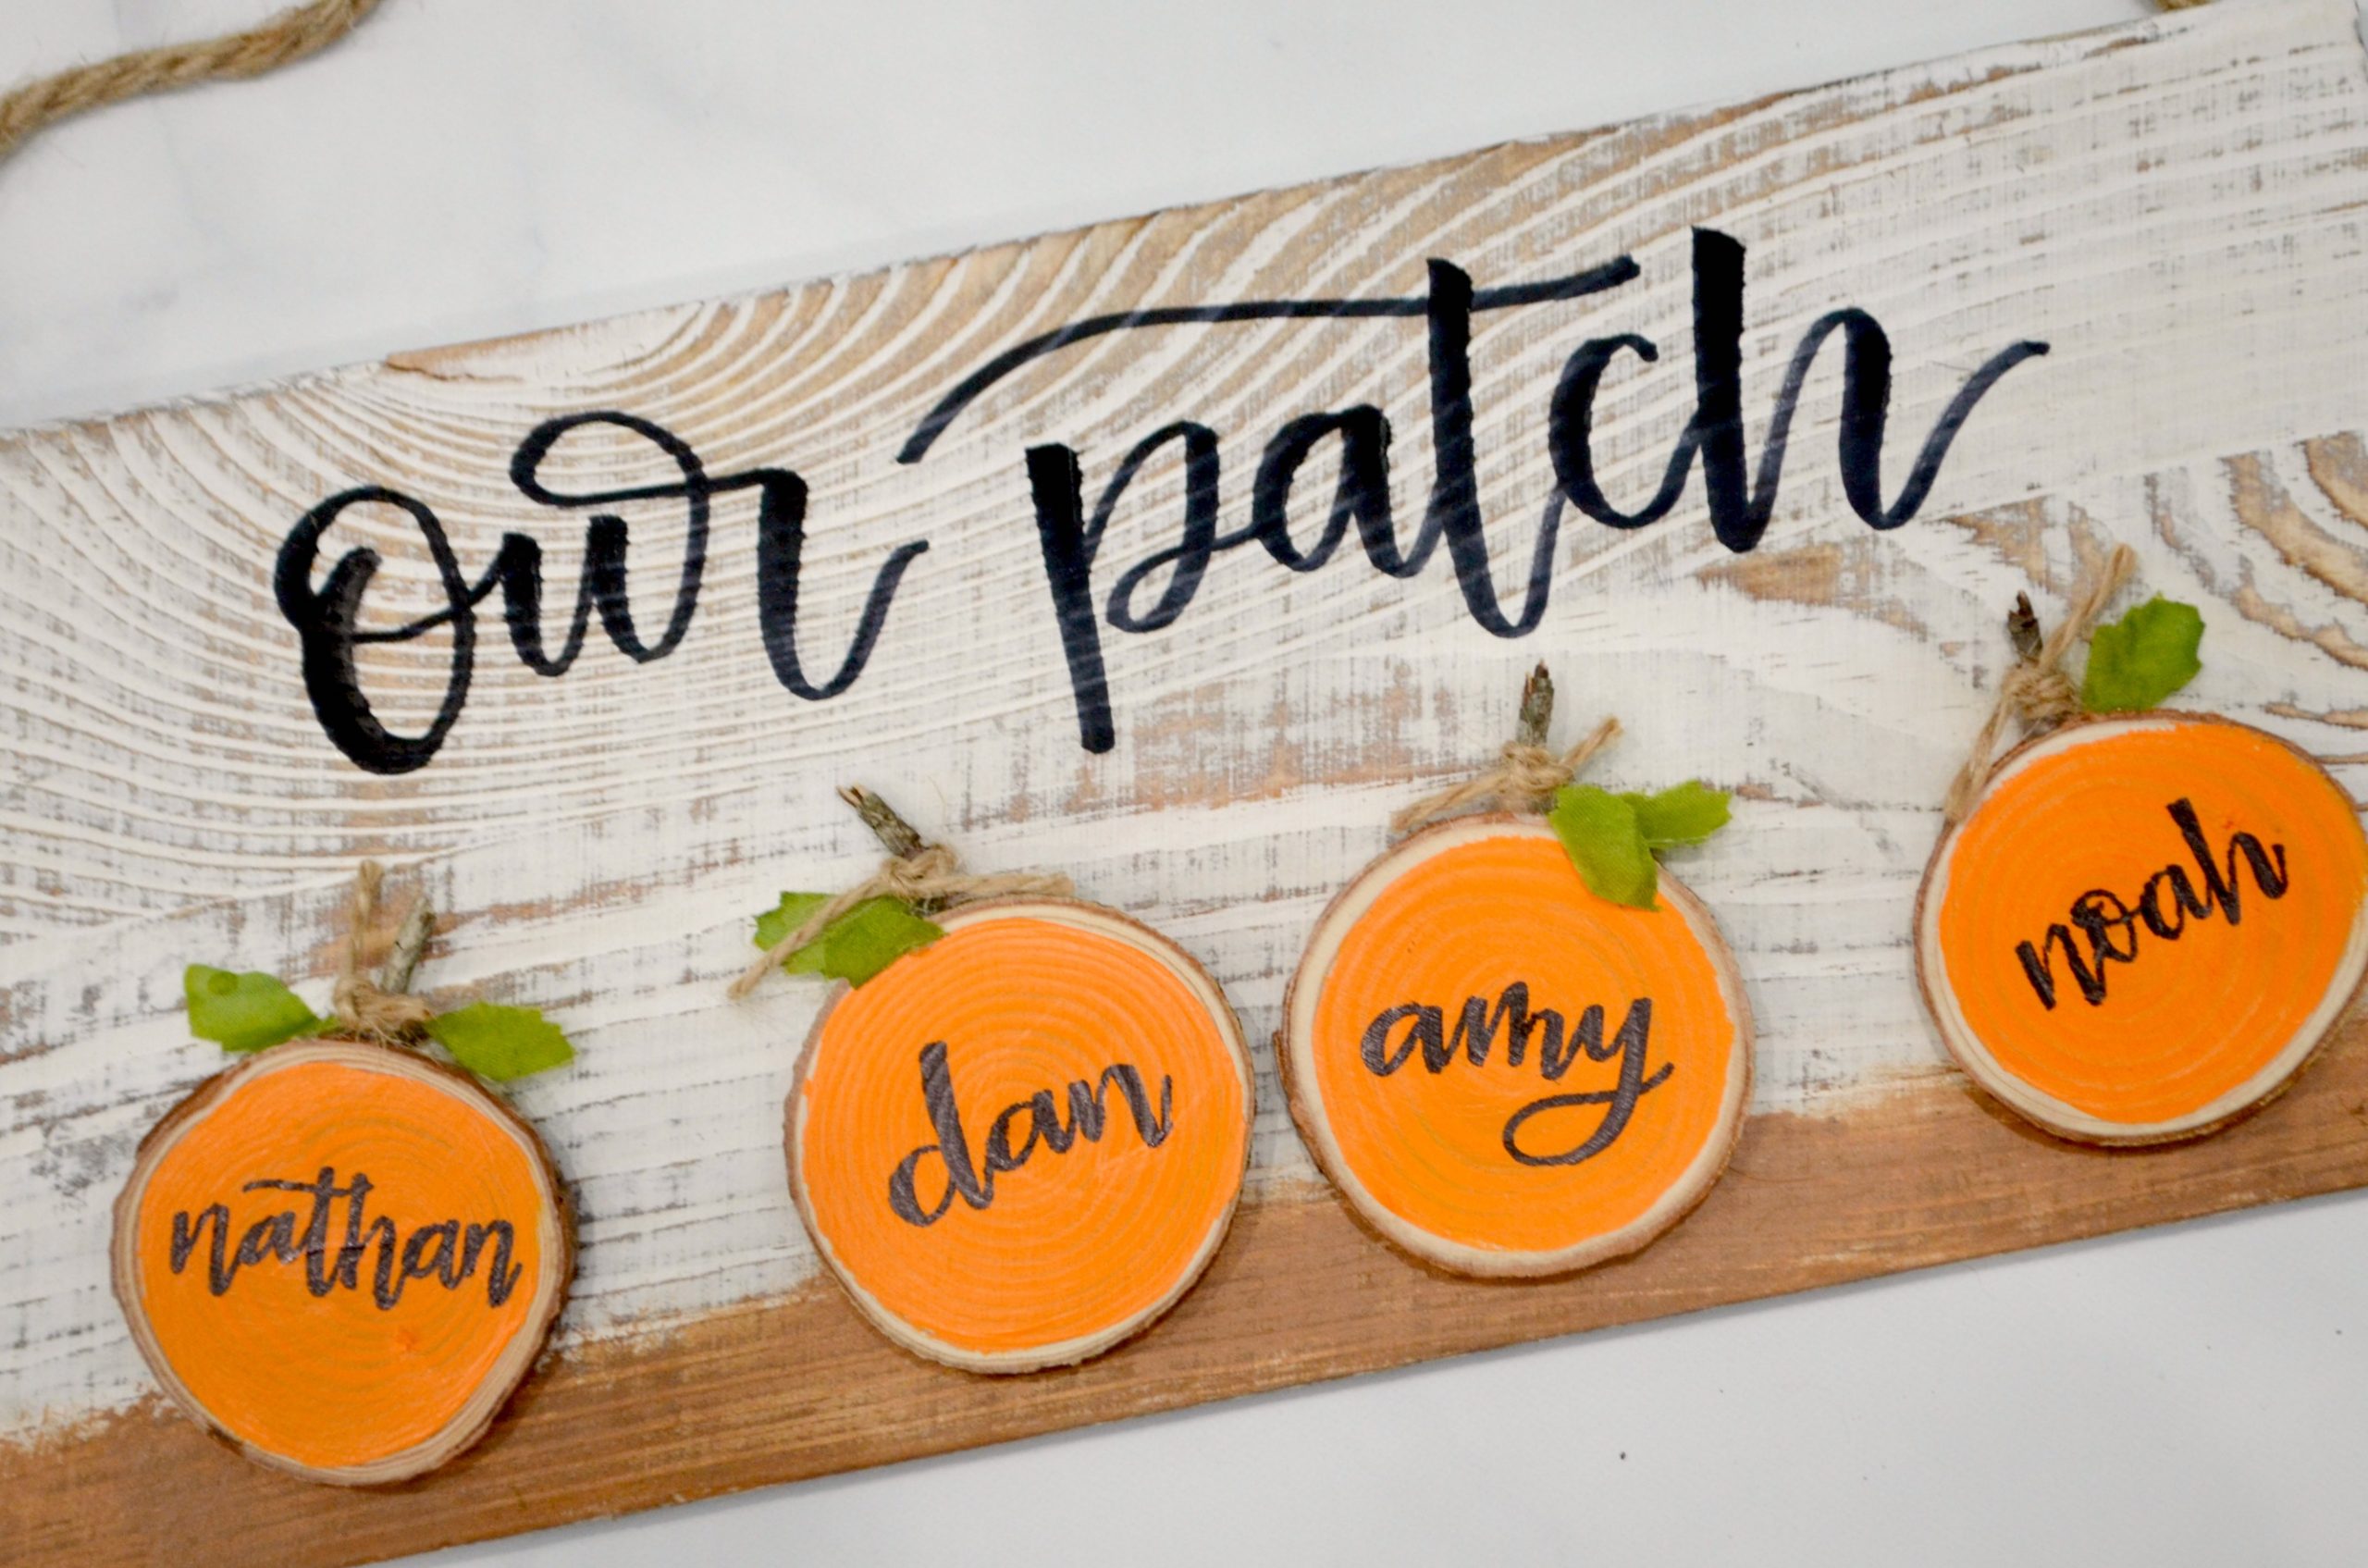
Step 2: Write names on the wood slices.
I used a paint marker to write in Faux Calligraphy. You can also print, use alphabet stickers, or cut the names from permanent vinyl using an electronic cutting machine if you prefer.
Step 3: Glue a small stick to the top of each wood slice and wrap the bottom with twine.
This will be the pumpkin’s stem. The twine will help cover the hot glue.
Step 3: Cut artificial leaves into small pieces and glue 1-2 to each pumpkin.
Step 4: Paint the bottom of your sign brown.
My sign came from Hobby Lobby and was already whitewashed with a rope hanger attached. If yours is plain unfinished wood, you’ll want to paint it white first, before painting the brown section.
Step 5: Glue your pumpkins to the bottom portion of the sign.
You can space them in any way you like. I chose to put the ones for my husband and I in the center, close together, then glued the pumpkins for our kids on either side. If you have many family members, you can overlap the wood slices to make them all fit. You can also opt for a larger sign than this one!
Step 6: Write “our patch” at the top in paint marker/permanent marker.
I used the brush tip Tombow ABT Pro marker so I could do ‘real’ brush lettering for this part. Once again, you can also write in any style you like, use alphabet stickers, or cut this from vinyl if lettering isn’t your thing.
Once the glue is dry, your sign is ready to display! I think it would be adorable on the front door as well as anywhere inside your home.
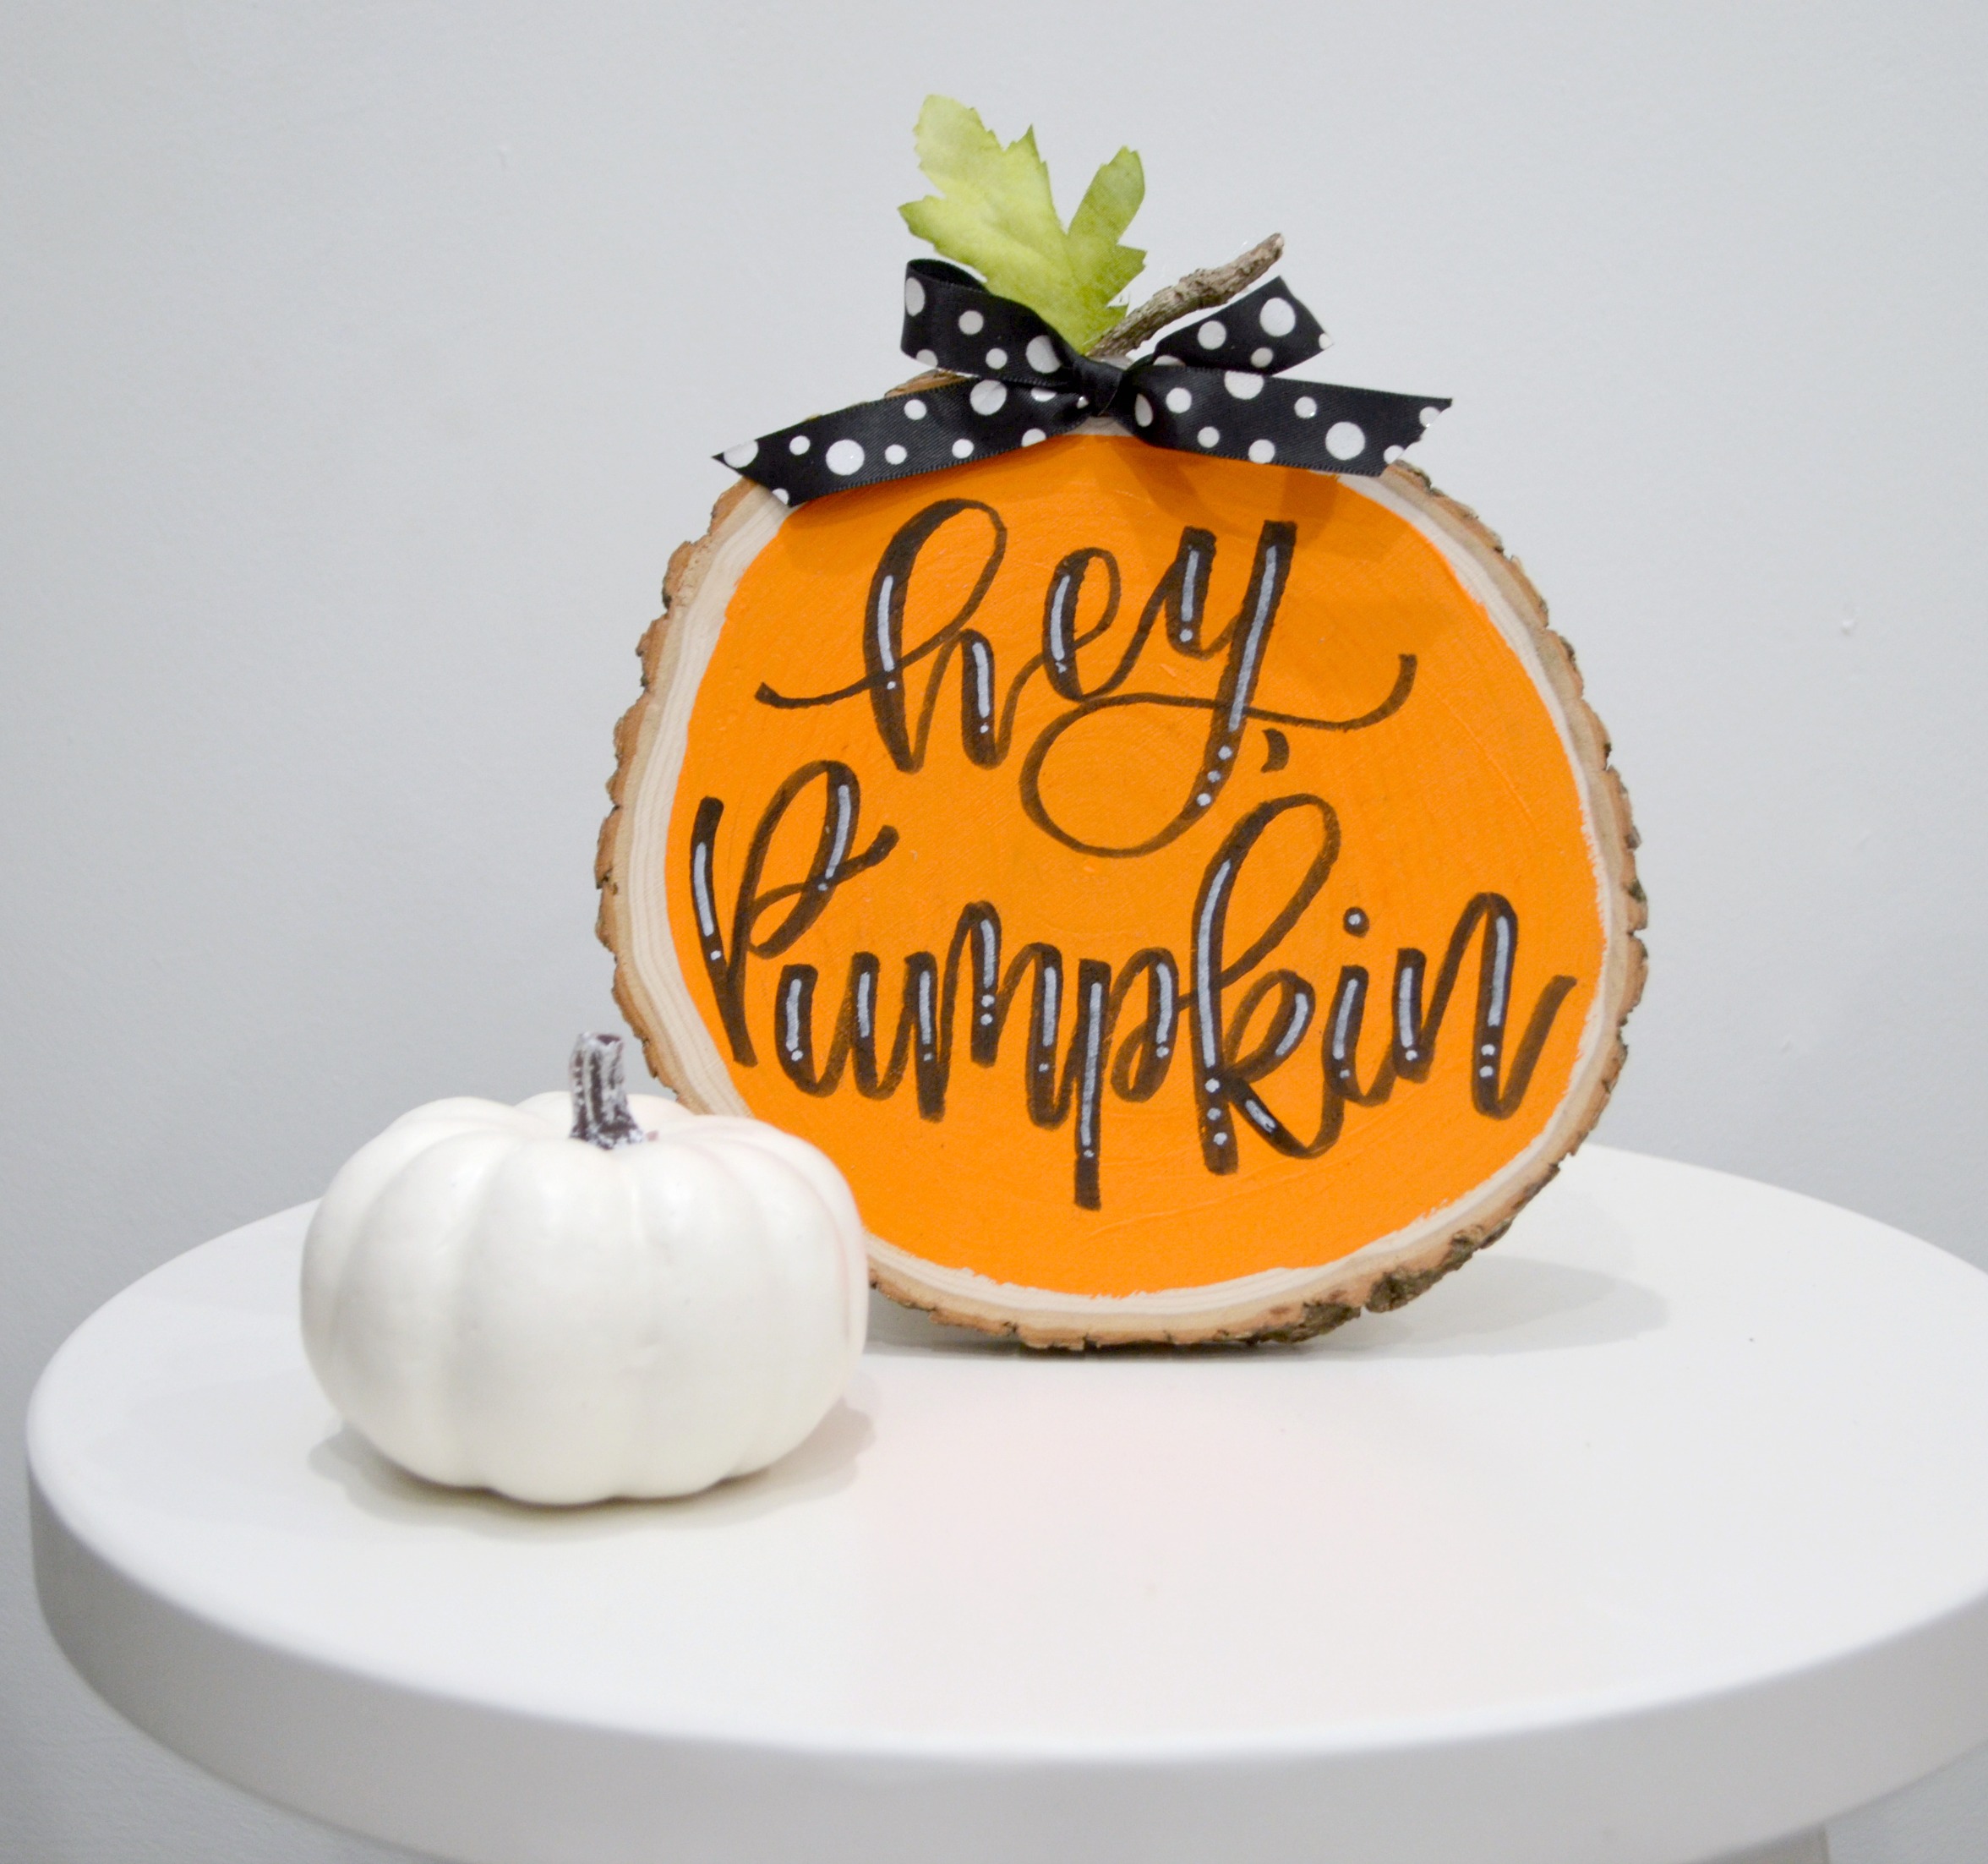
What do you think? I’d love to see your version of this cute and festive fall project! Be sure to share your photos of this or any of your current crafting projects in the Amy Latta & Friends Facebook Group! Also, be sure to check out the full size Wood Slice Pumpkin project for another variation.
Save this project to Pinterest for future inspiration and/or to share with a friend!