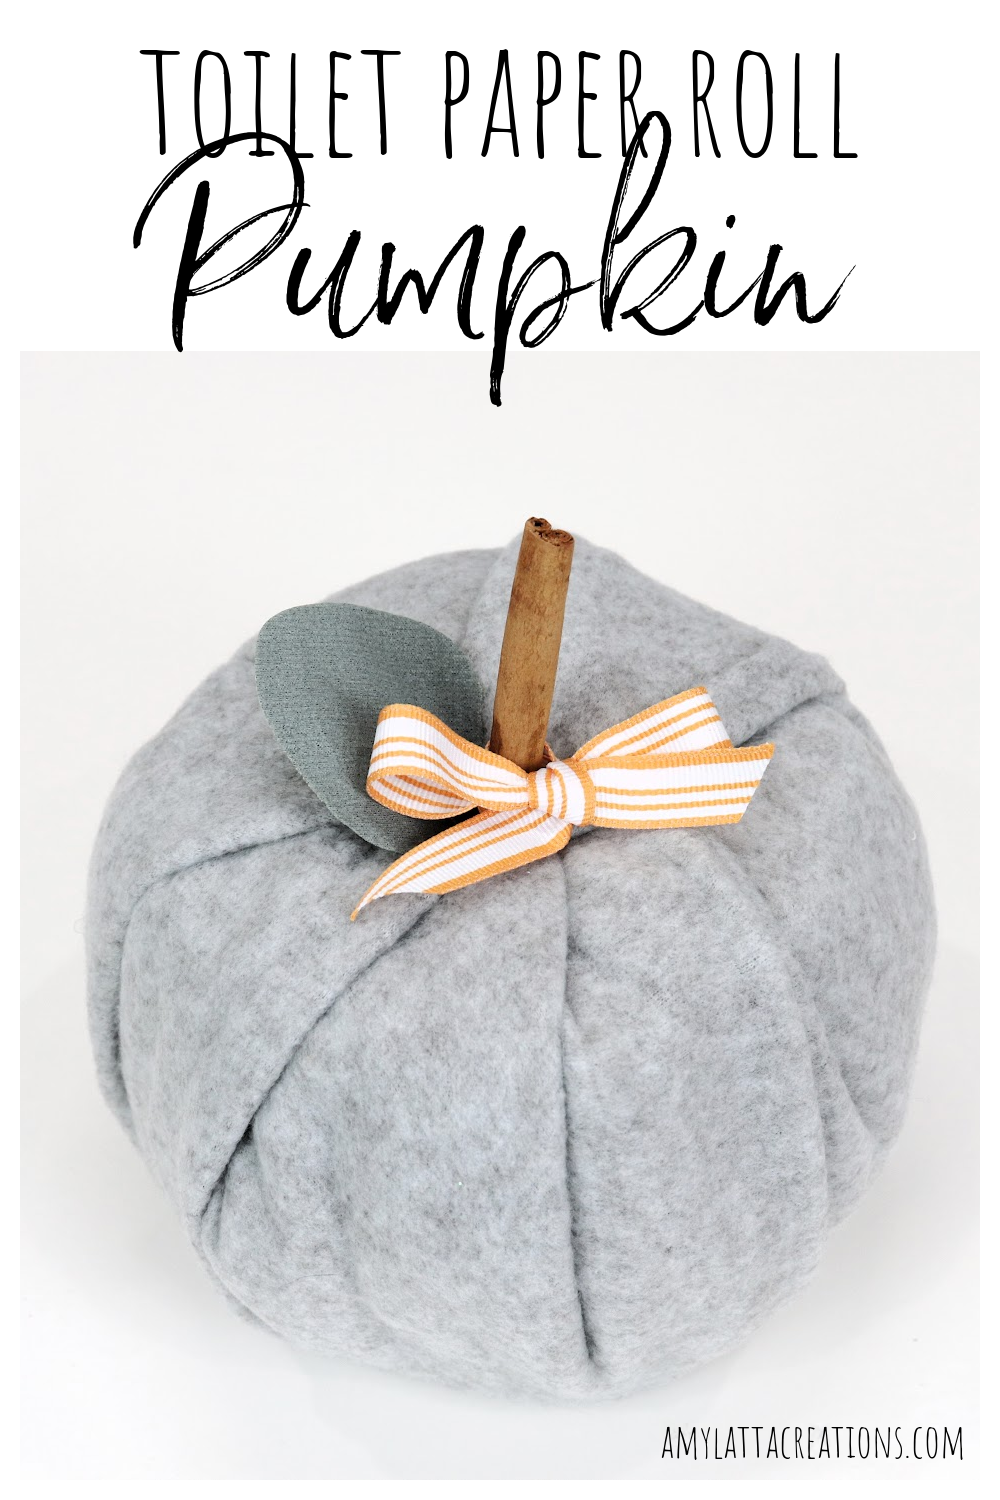
Toilet Paper Roll Pumpkin
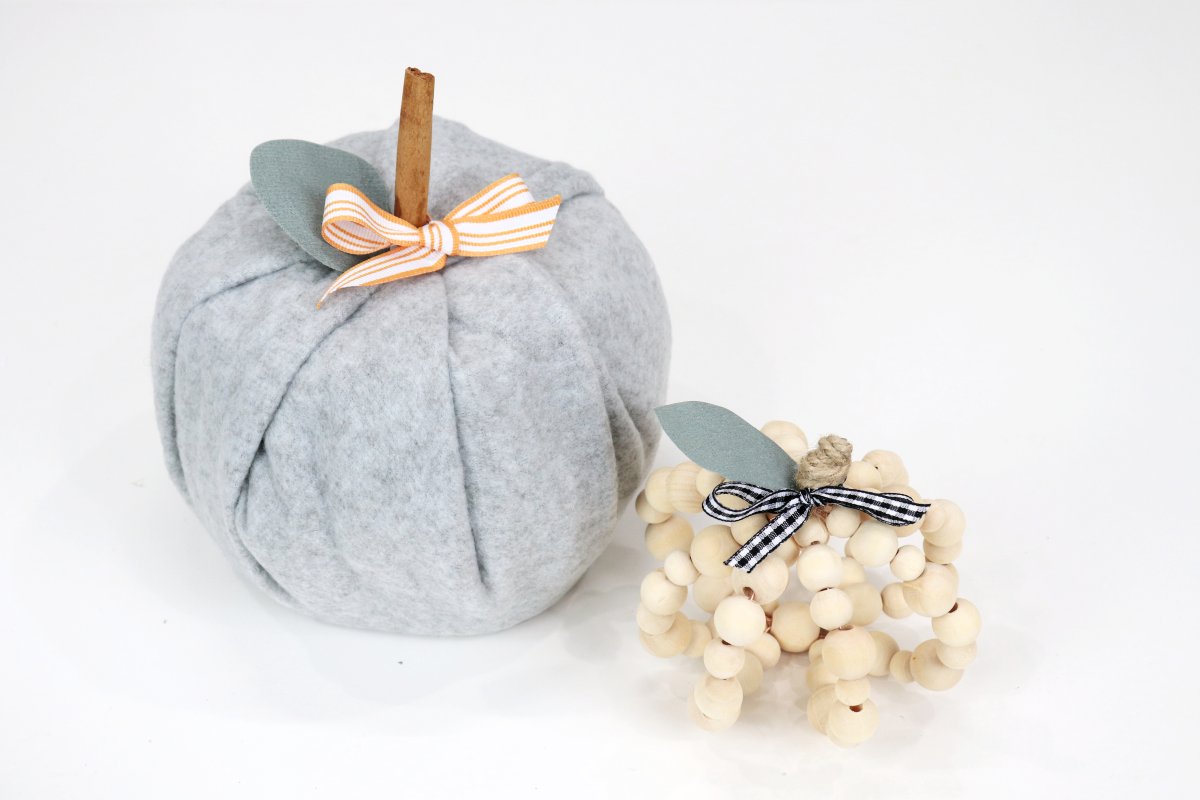
Nothing says fall quite like pumpkins! No matter what they’re made of, they add a wonderful touch of seasonal decor to your home. Here’s how you can create a pumpkin from a roll of toilet paper, of all things.
You’ll need:
a roll of toilet paper
a square of fabric or fleece (mine was 16″x16″)
polyfil
a cinnamon stick or stick from the backyard
optional: faux leaf, ribbon
Making your pumpkin
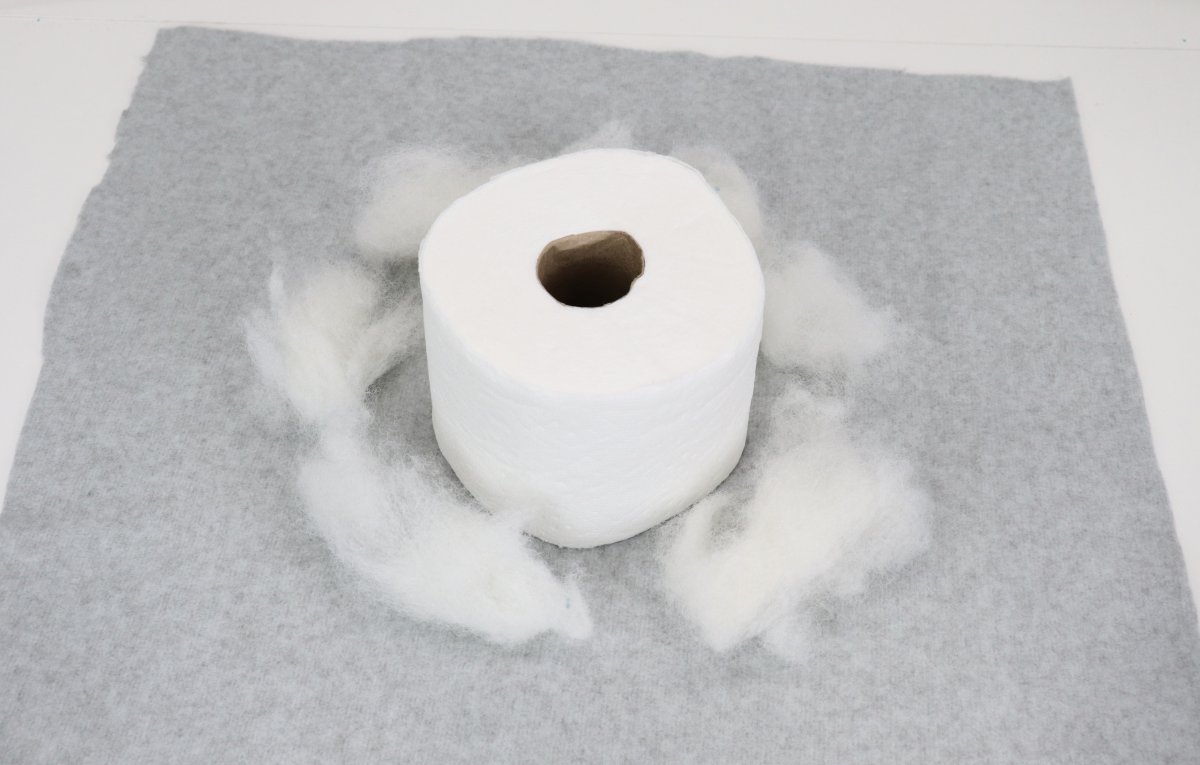
Step 1: Place your toilet paper in the center of the fabric square and add a bit of Polyfil around it.
I wanted a neutral pumpkin, so I used gray fleece, but you can also use orange or any color/pattern of fabric you like.
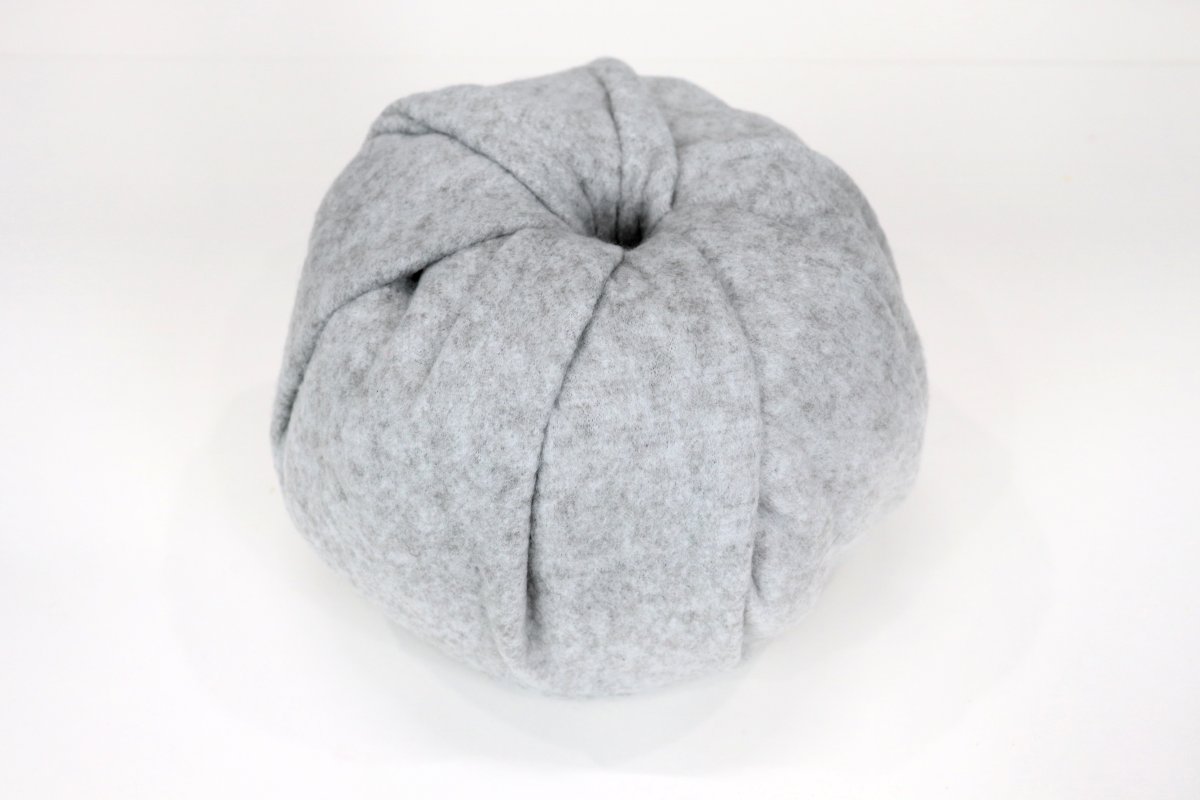
Step 2: Pull the fabric up over the sides of the roll and tuck it inside the tube.
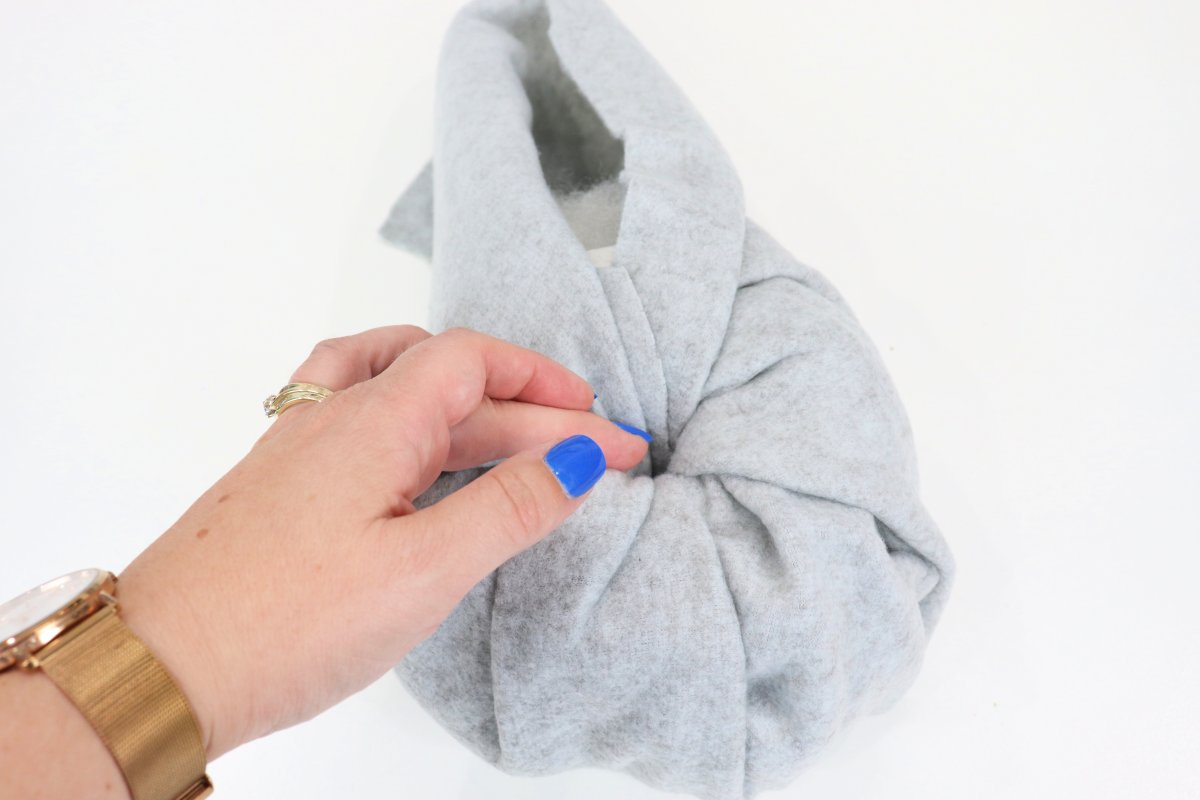
If you like, you can add a bit of glue to secure it, but it should stay in place just fine without any adhesive.
Step 3: Push a cinnamon stick (or stick/branch) into the tube, along with a faux leaf.
Once again, this should stay in place, but you can add glue for extra security.
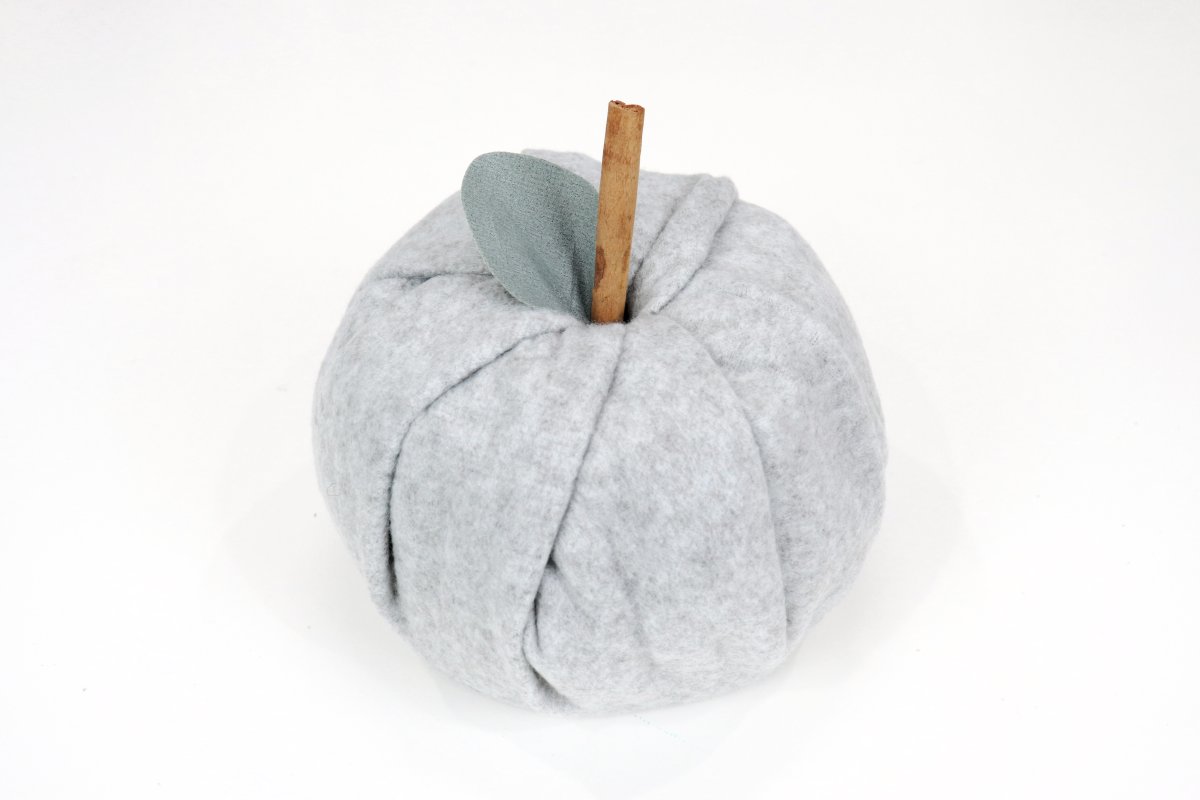
Step 4: Tie a ribbon around the stick (optional).
I liked the little pop of orange my ribbon provided.

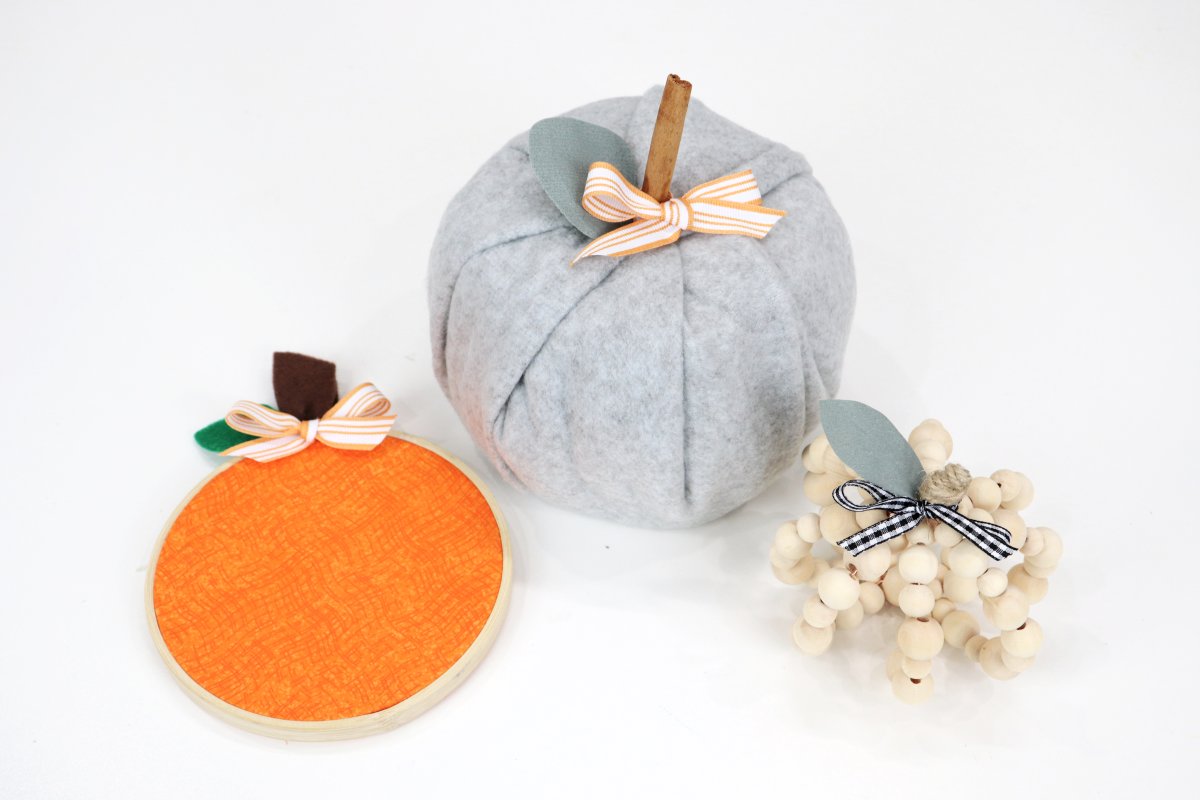
You can create all kinds of unique pumpkins by using different fabrics and ribbons. Different sizes of toilet paper rolls (mega vs standard) will give you slightly larger and smaller pumpkins, too.
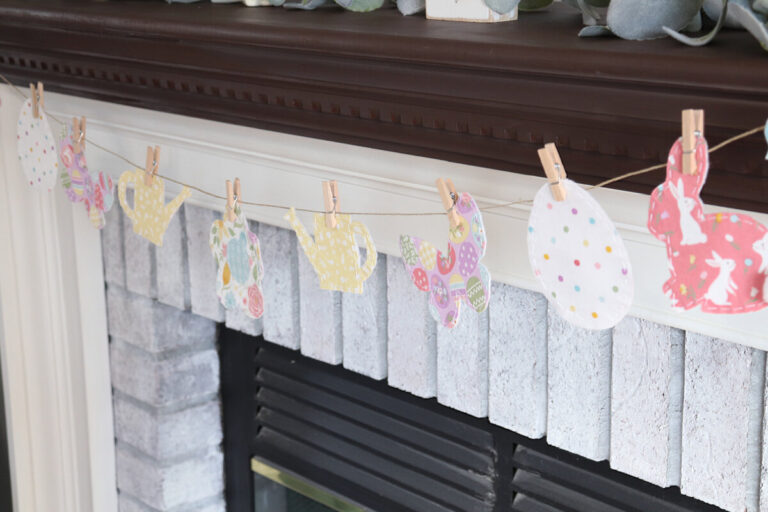
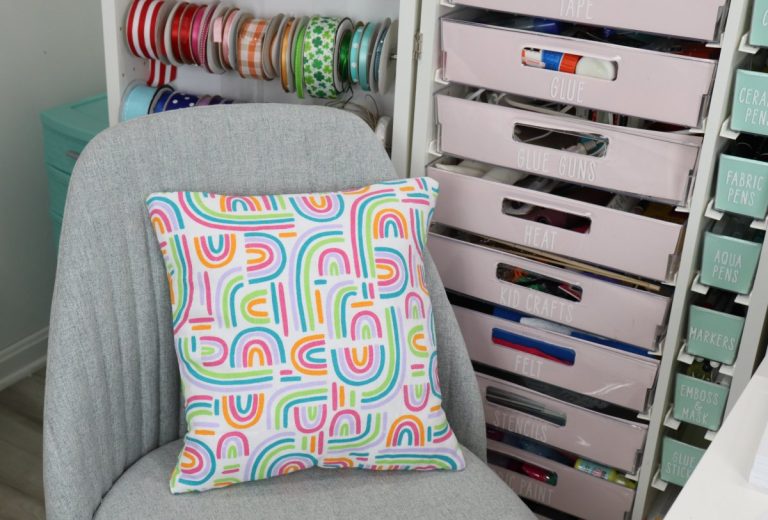
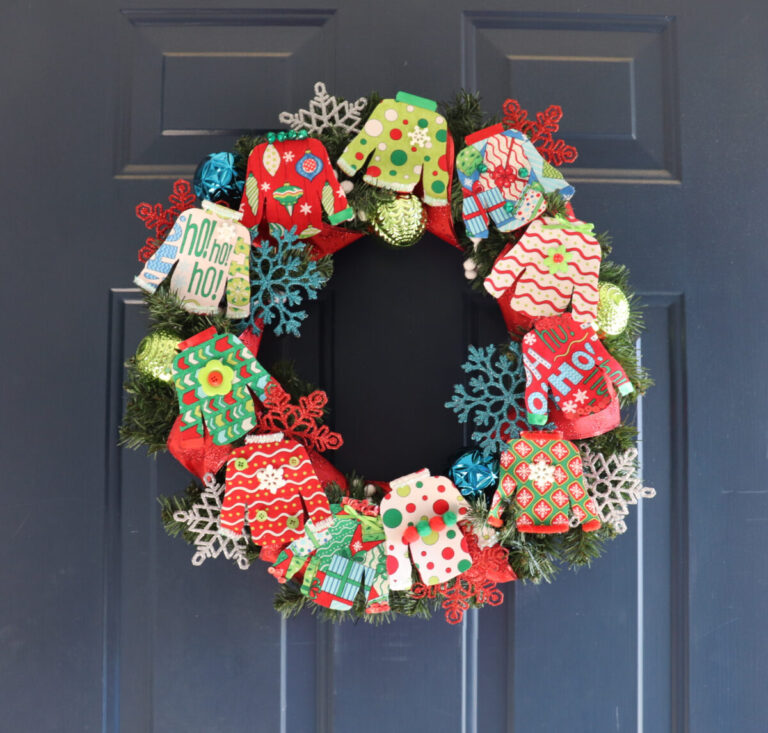
Here are a few other DIY pumpkin decor ideas to try using some basic craft supplies:
If you try your own toilet paper roll pumpkin, I’d love to see how it turns out! Make sure you’re part of the Amy Latta & Friends Facebook Group so you can share all your fall project photos and we can be inspired together. See you there!