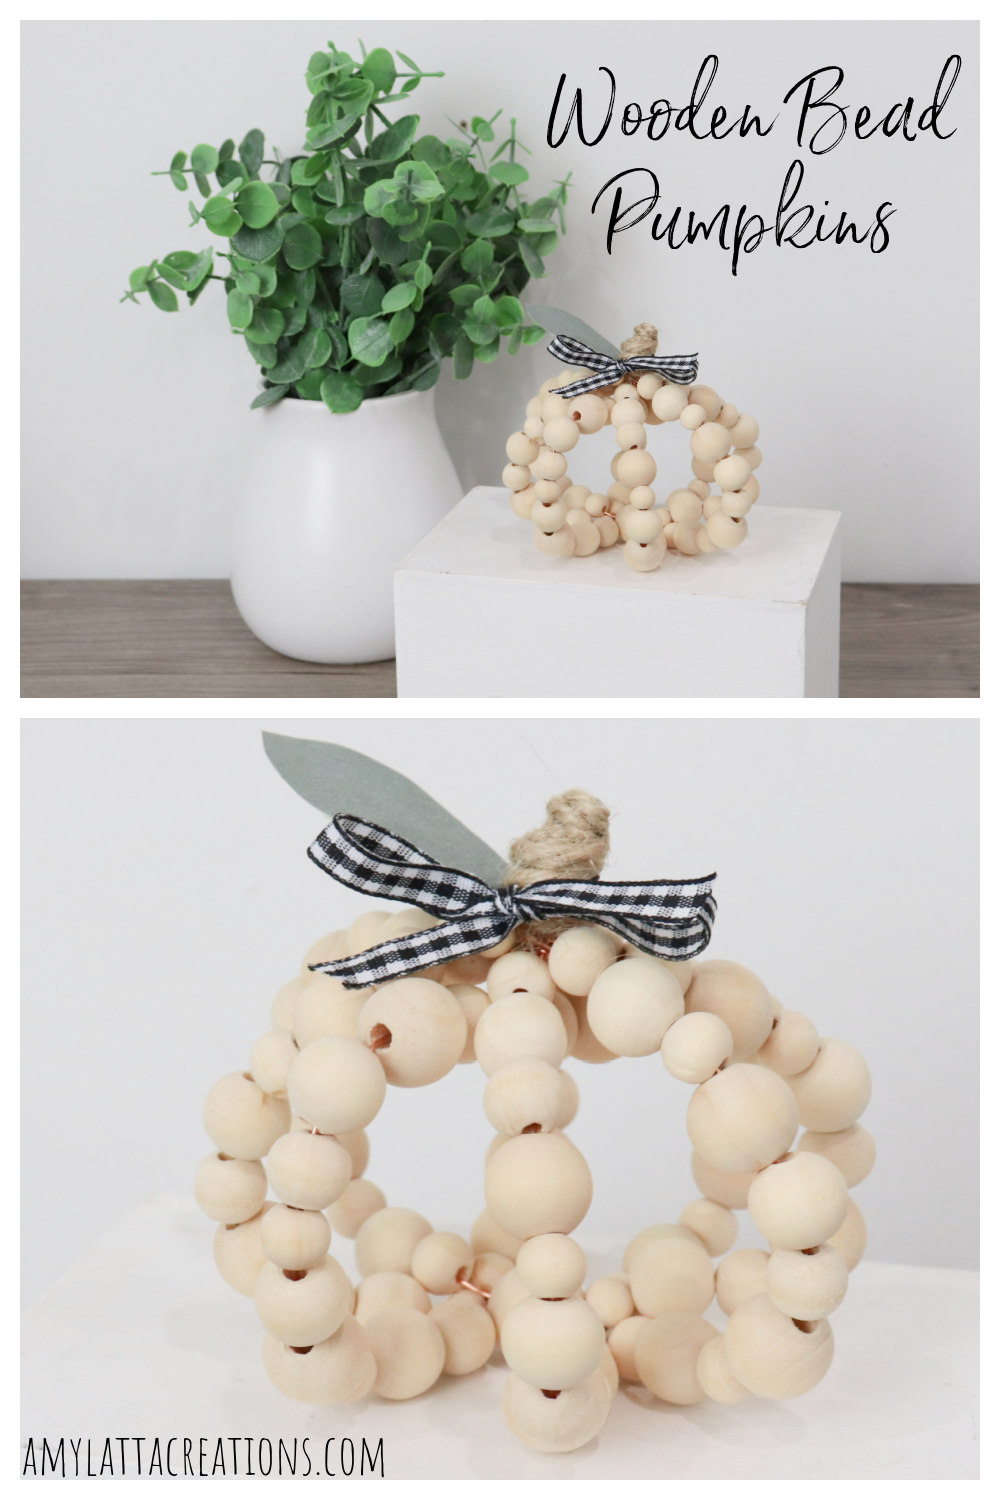
Wooden Bead Pumpkin
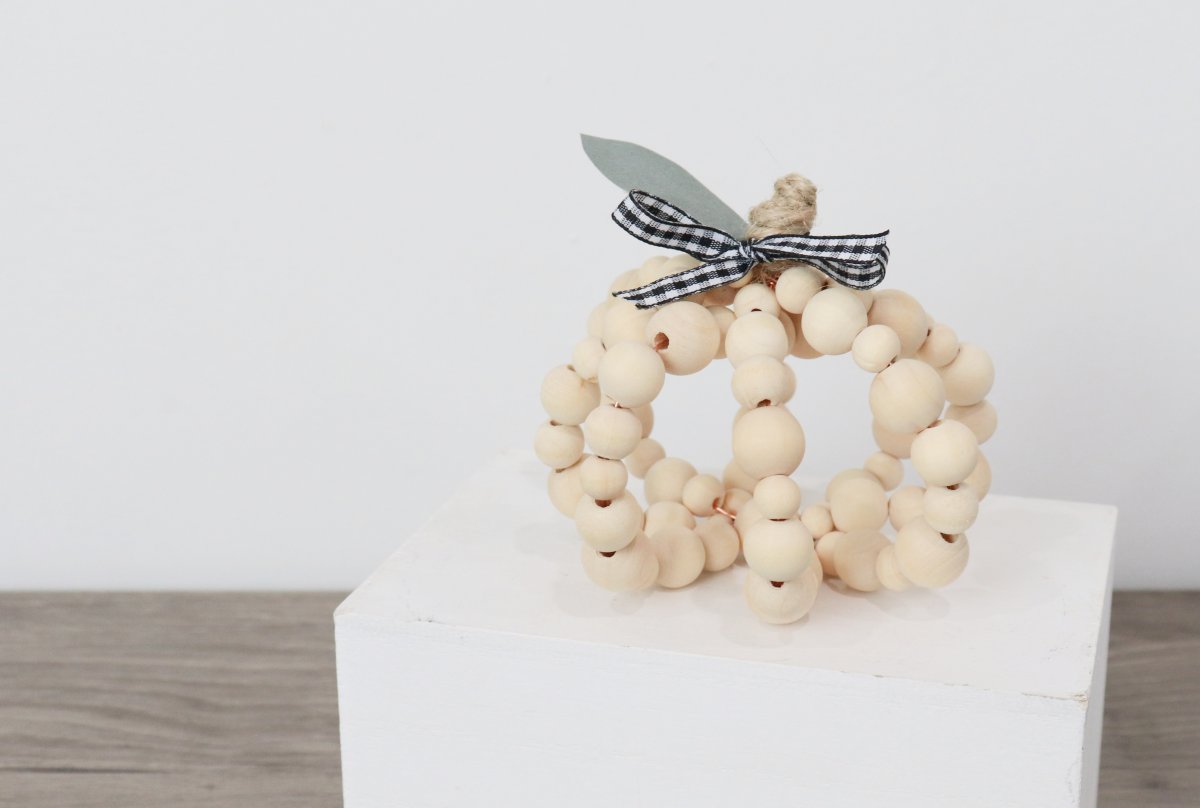
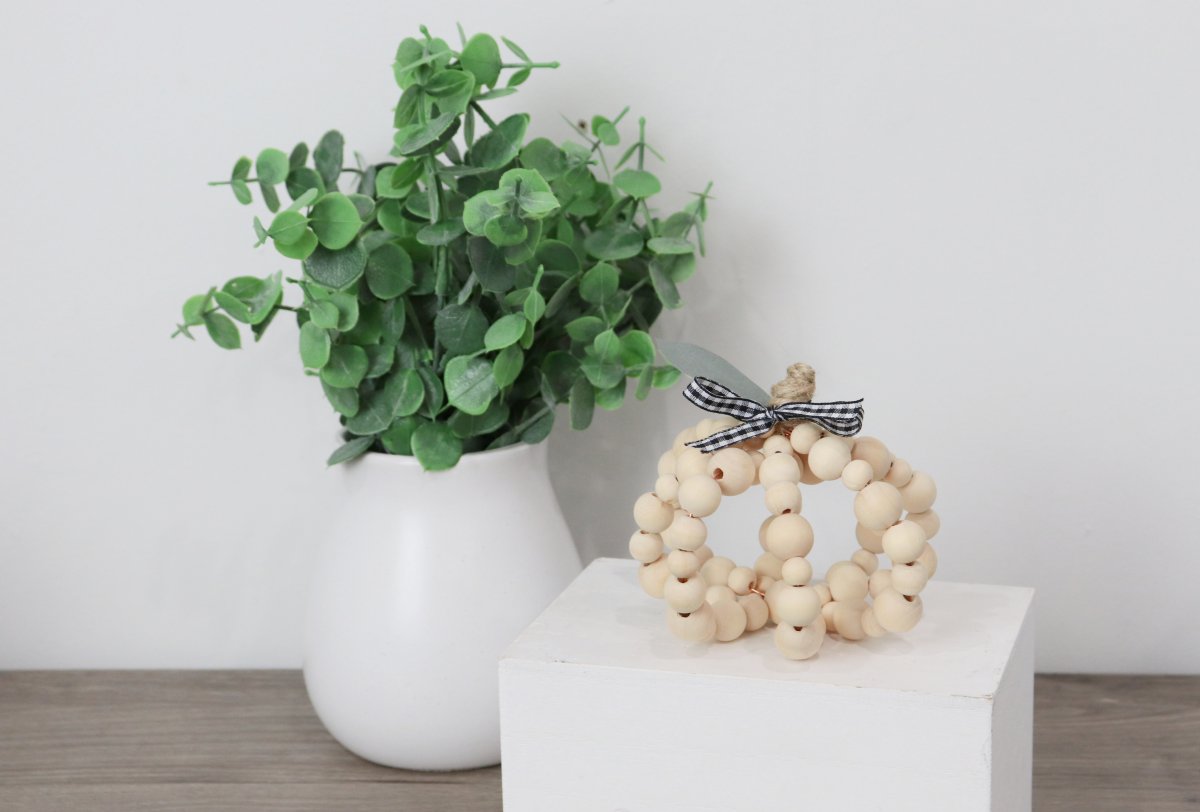
Pumpkin season is almost here! If you’re ready for cooler temperatures, warm drinks, and pumpkin everything, here’s a simple way to bring a touch of fall into your home. This wooden bead pumpkin is festive, but still neutral, and will fit in perfectly with the rest of your decor. Here’s how to create your own.
You’ll Need:
81 wooden beads (mine were assorted sizes)
jewelry or floral wire
wire cutters
twine
hot glue and glue sticks
scissors
optional: faux leaf, ribbon
Making Your Wooden Bead Pumpkin
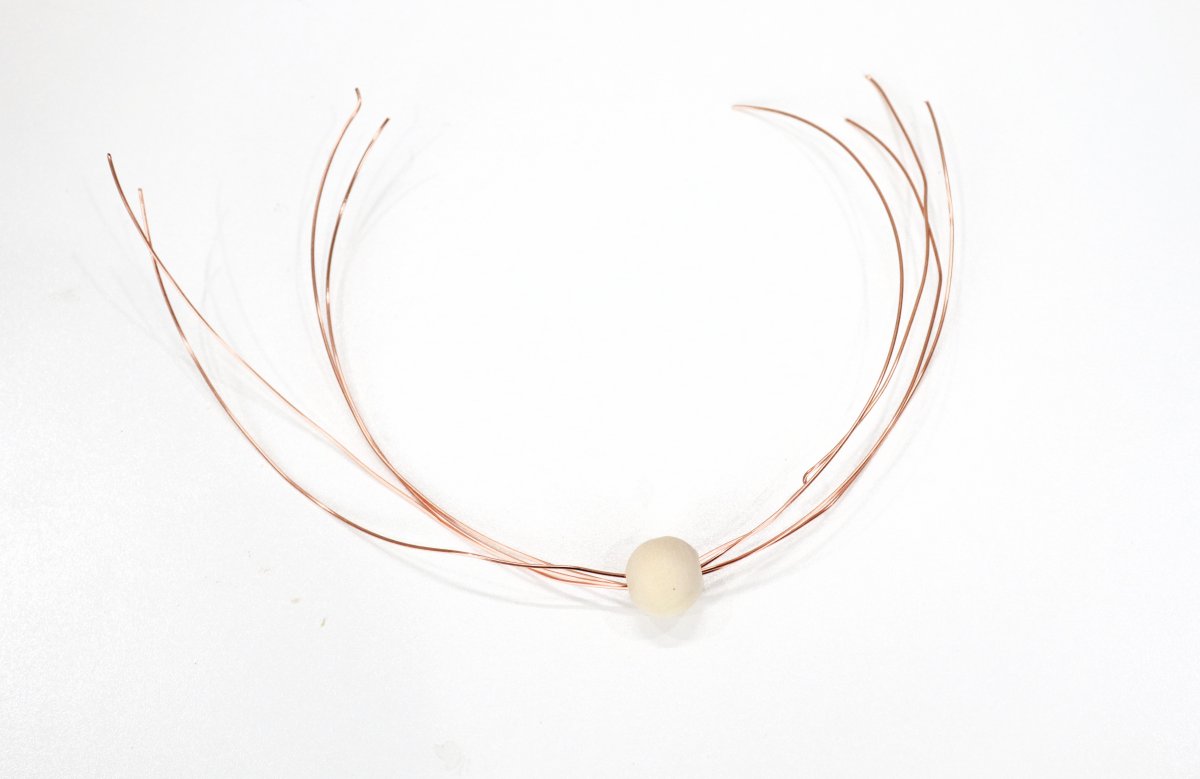
Step 1: Cut four 12″ pieces of wire.
Step 2: Thread a bead onto all four pieces.
This will be the bottom of the pumpkin. Now you’ll have eight 6″ strands of wire to work with.
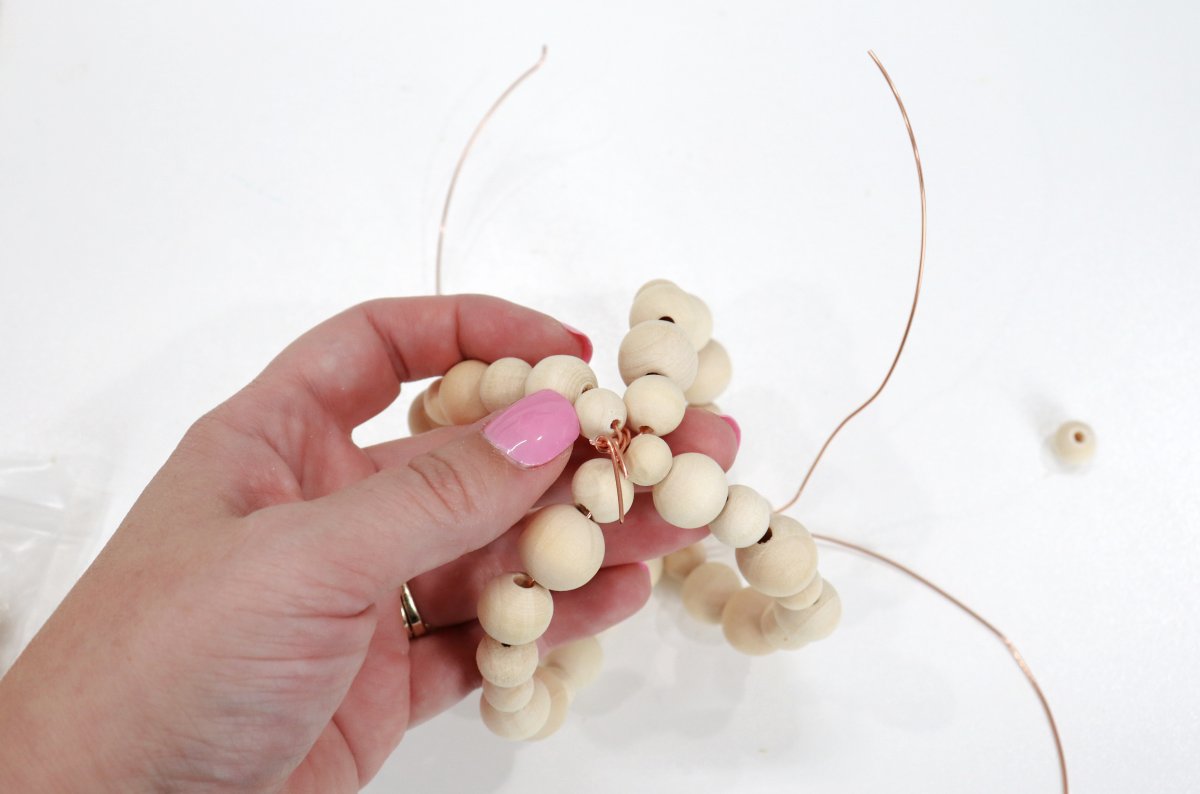
Step 3: Thread 10 beads onto each strand.
I alternated sizes with no particular pattern, but it’s totally up to you how you’d like to arrange yours.
Step 4: Twist the wire together at the top.
This will create the base of the stem.
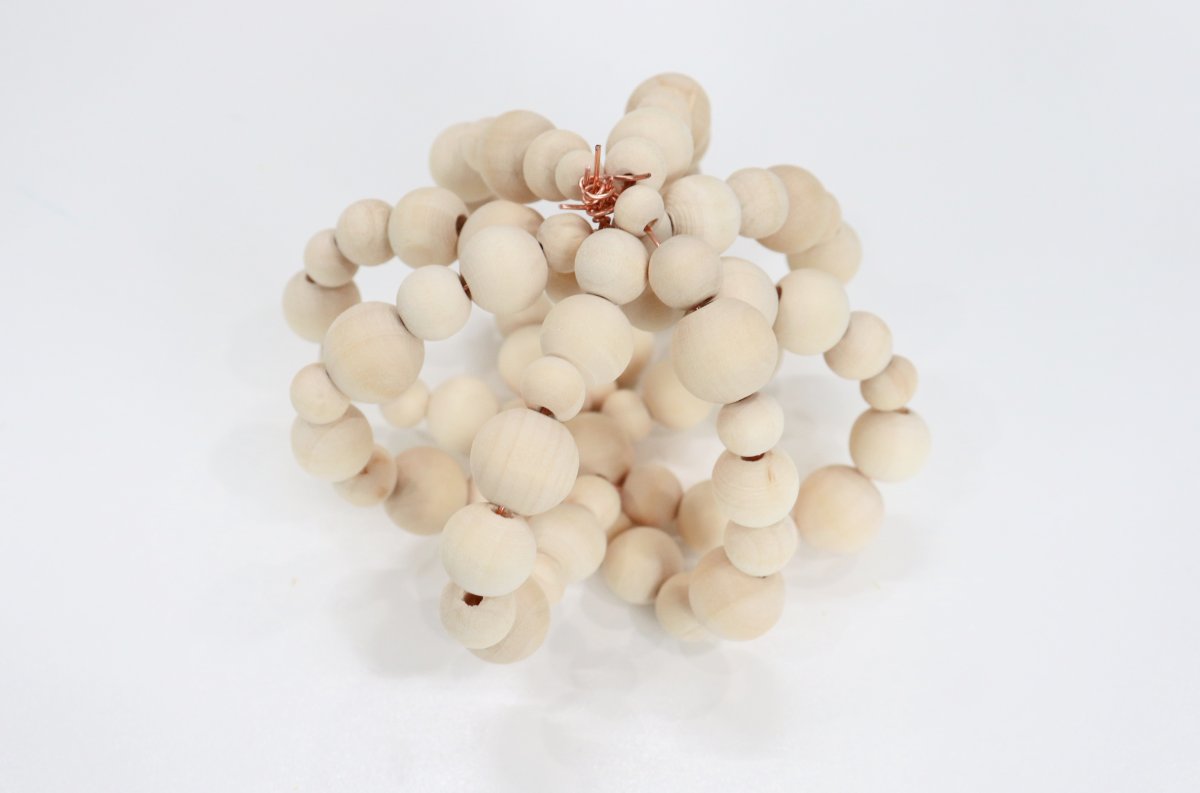
Once all eight pieces are connected, you can gently shape the sides to form a pumpkin.
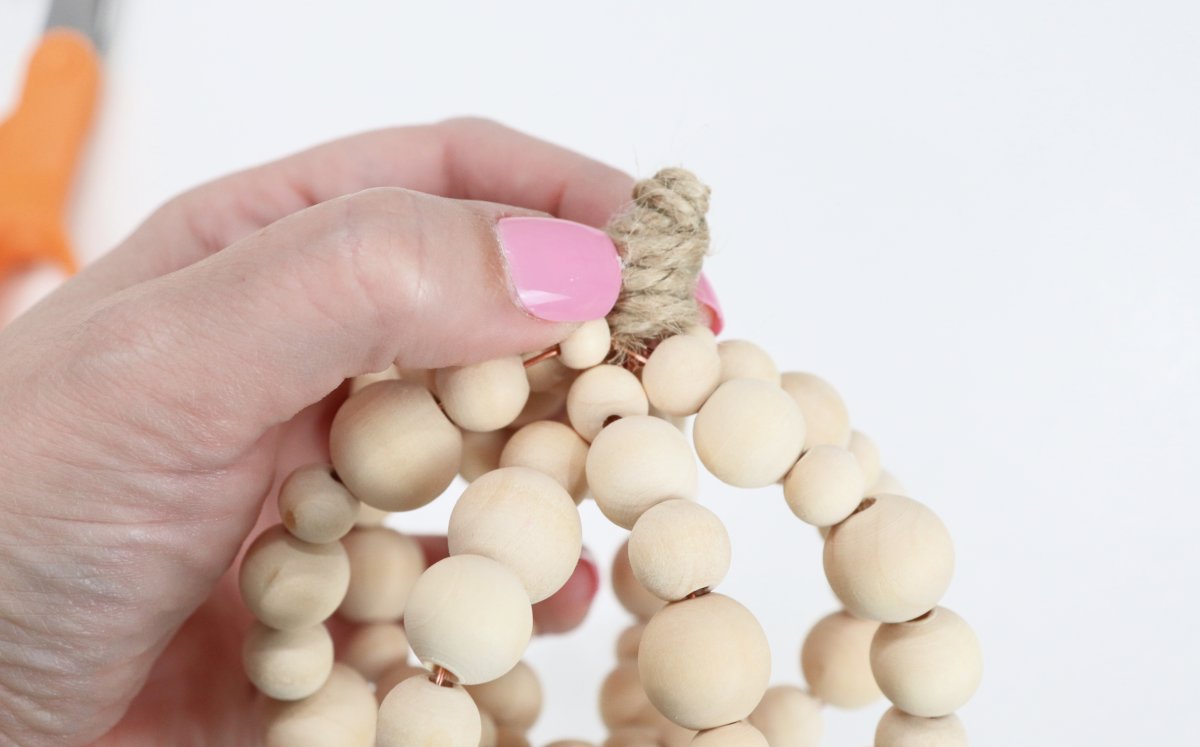
Step 5: Wrap twine around the wire to create the stem.
If you want the stem to be larger/longer than the wire, you can build it up by adding a blob of hot glue and letting it dry.
Step 6: (optional) Add a faux leaf and/or a ribbon bow.
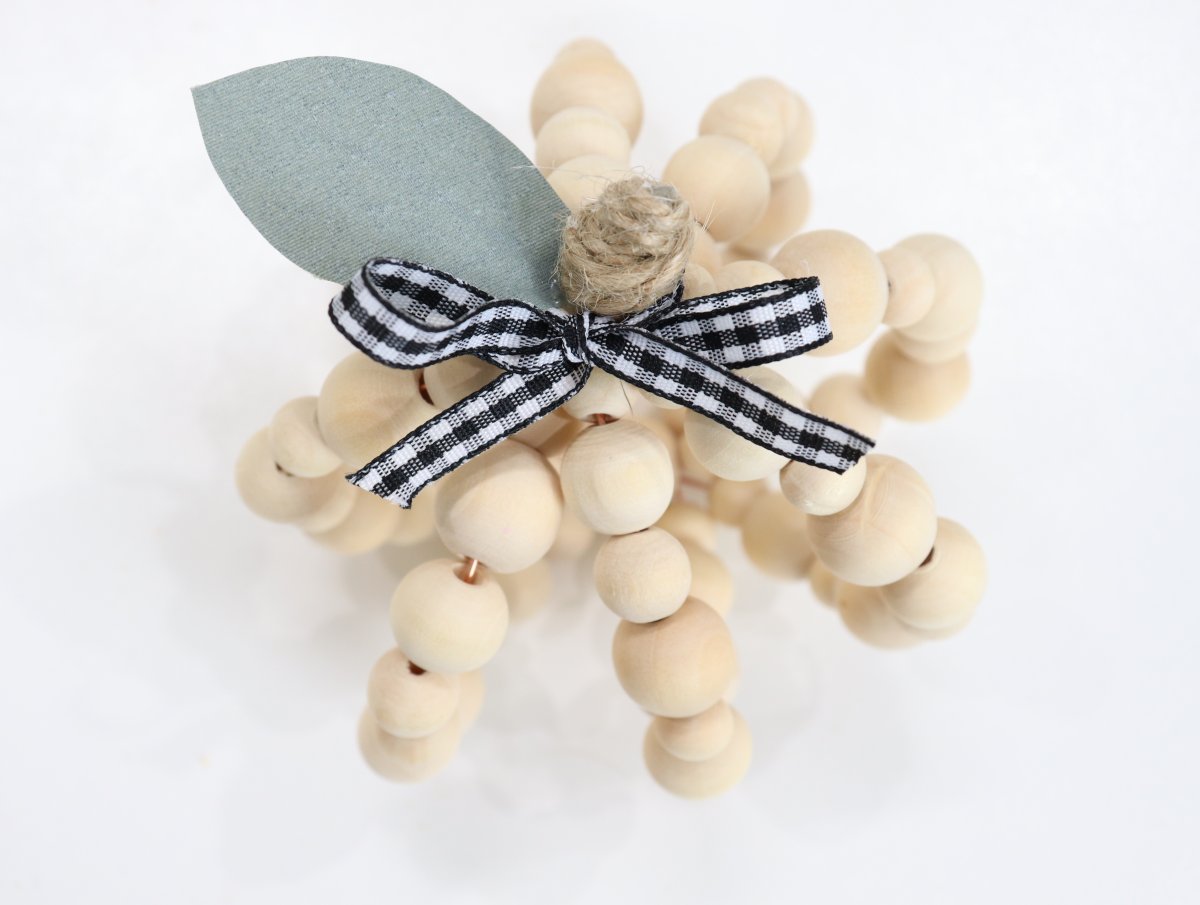
That’s all there is to it! Your pumpkin is ready to go on display.
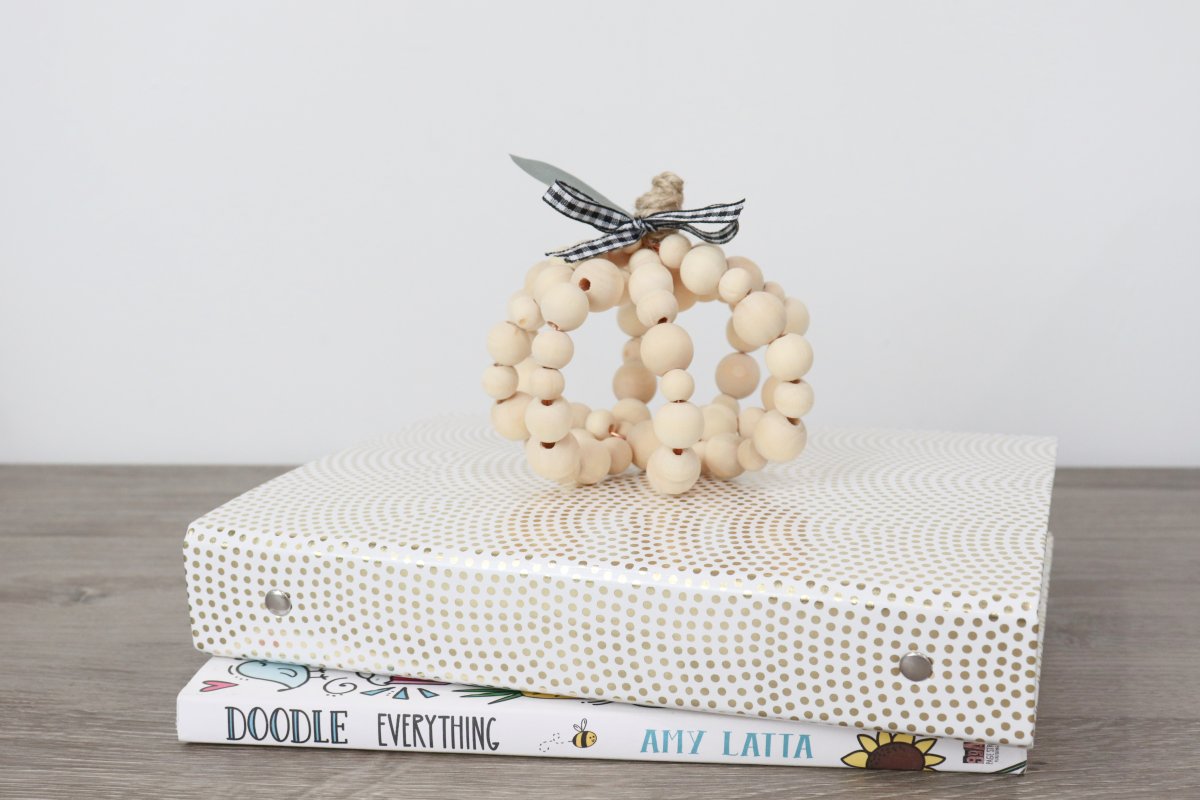
I think this makes such a cute fall decoration while still being neutral enough to match whatever decor style you have in your home. You can also paint the wooden beads to be white, orange, or any color you like.
If you try this project, I’d love to see how yours turns out! Be sure to share your photos of this or anything else you’re creating in the Amy Latta & Friends Facebook Group so we can all be inspired.
Check out these other fall and wooden bead inspired projects:


2 Comments