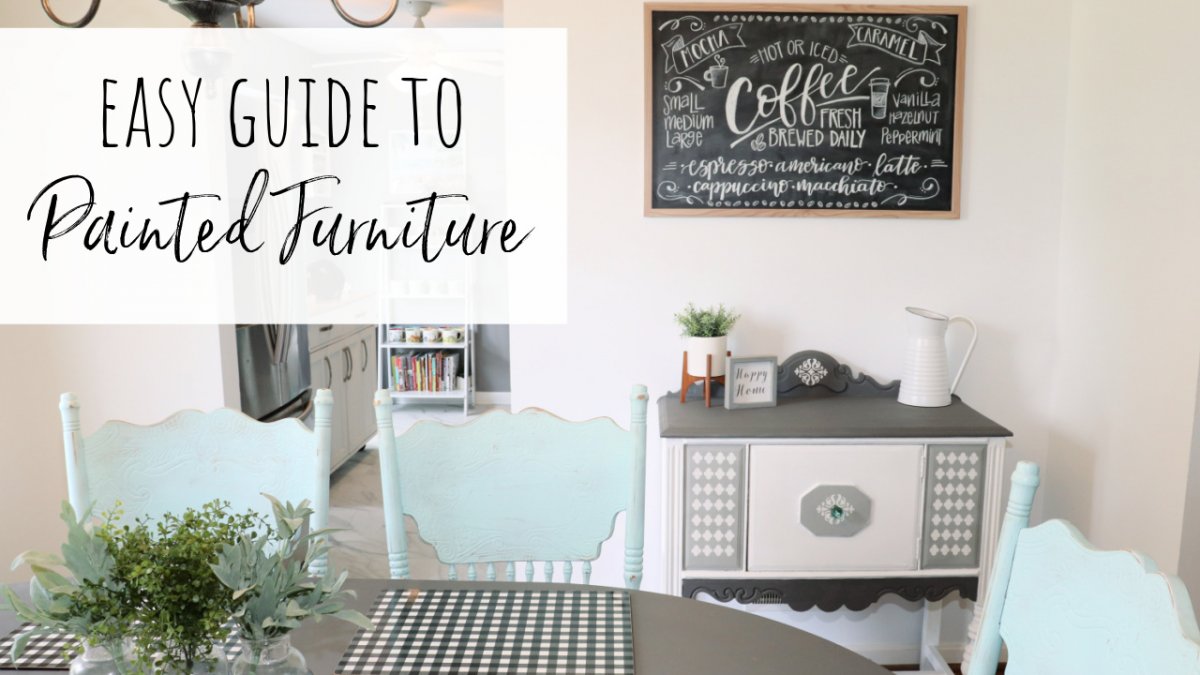
Easy Guide to Painting Furniture
One of the easiest ways to give your living space a quick refresh is to give old furniture a coat of chalk paint! Painting your furniture can:
Give new life to damaged pieces
Make a yard sale/thrift shop find fit perfectly with your decor
Add a pop of color to your room OR make a piece perfectly neutral
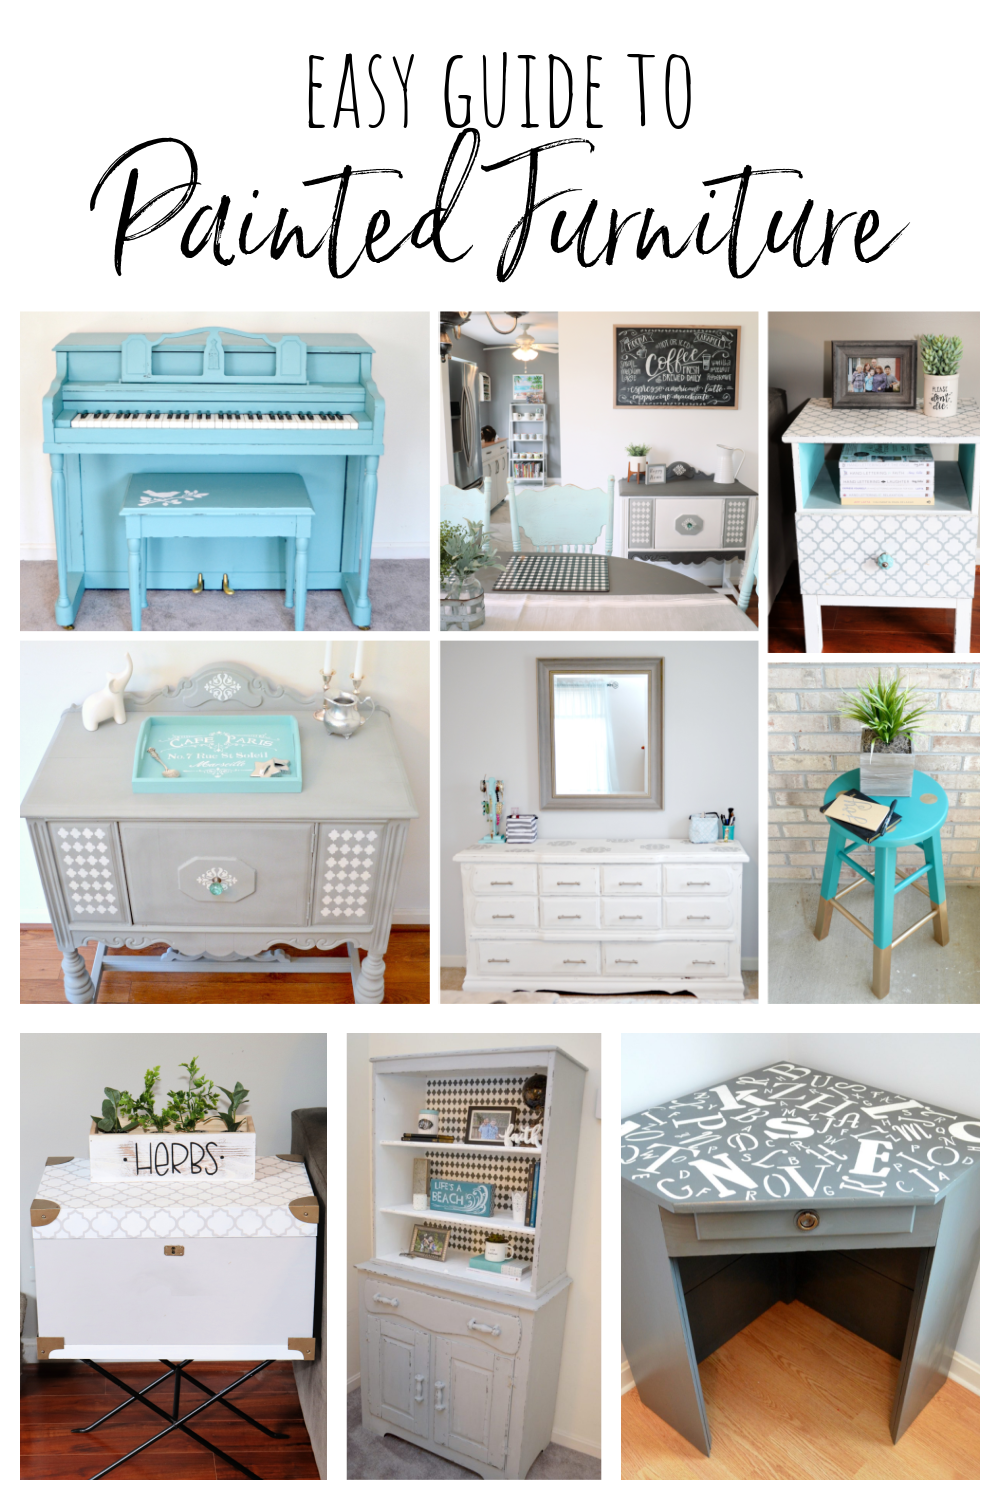
I have painted so many pieces of furniture for all of these reasons…from hiding the condensation rings and scratches on the piano to making a thrift store stool look like a designer copycat.
No matter what you’re transforming, the basic supplies and steps are the same. Here’s a quick guide to get you started painting your own furniture in no time!
You’ll need:
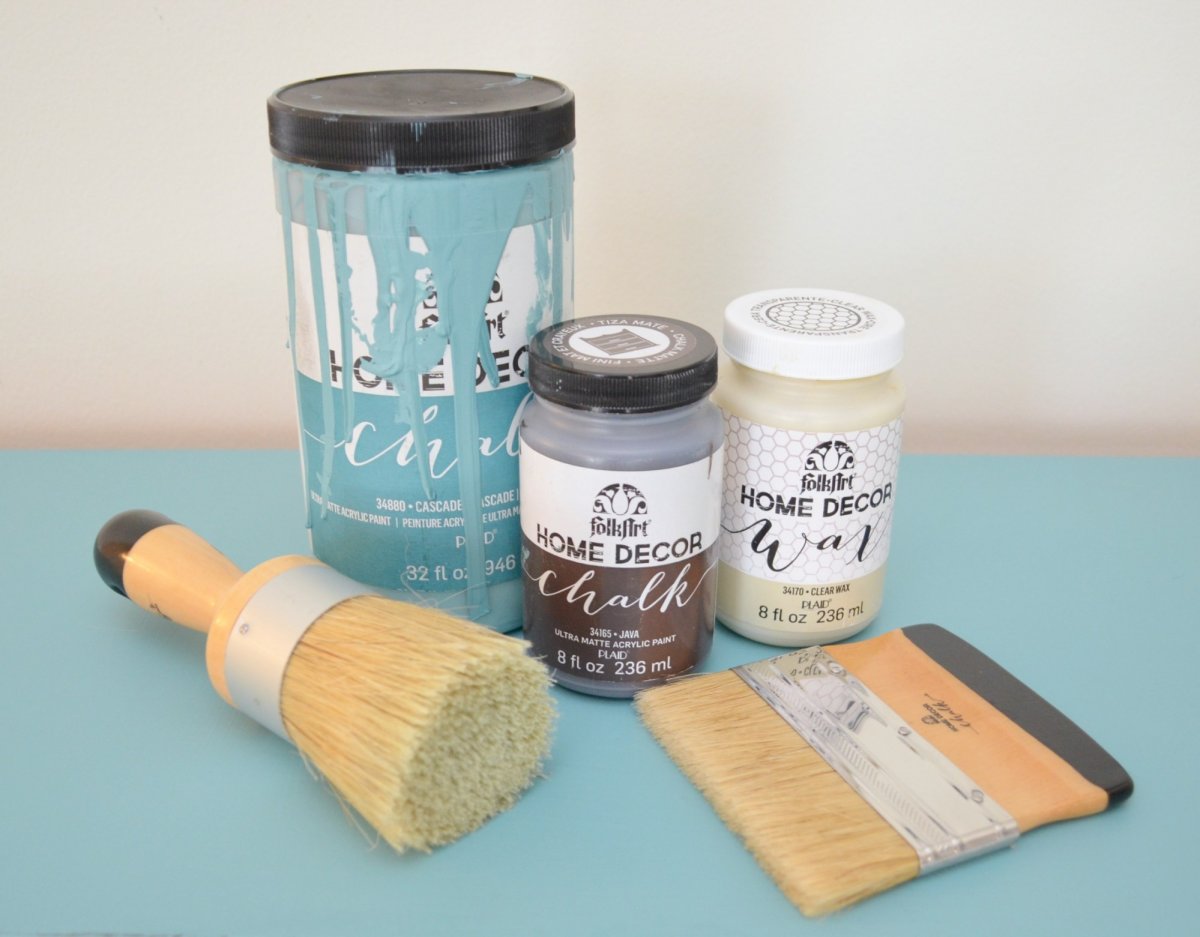
chalk paint in your choice of color(s): (I recommend FolkArt Home Decor Chalk or Waverly)
large paintbrush (I like using a chalk brush or wide brush)
wax brush or soft, lint-free cloth
Optional: stencils, painters tape, stencil brush, wooden distressing block
sand paper
Preparing your piece:
First, make sure your furniture is clean, dry, and free from dust. Next, if it has any type of glossy coating, gently sand it all over to “rough up” the surface. This will help the paint to adhere properly.
Painting your piece:
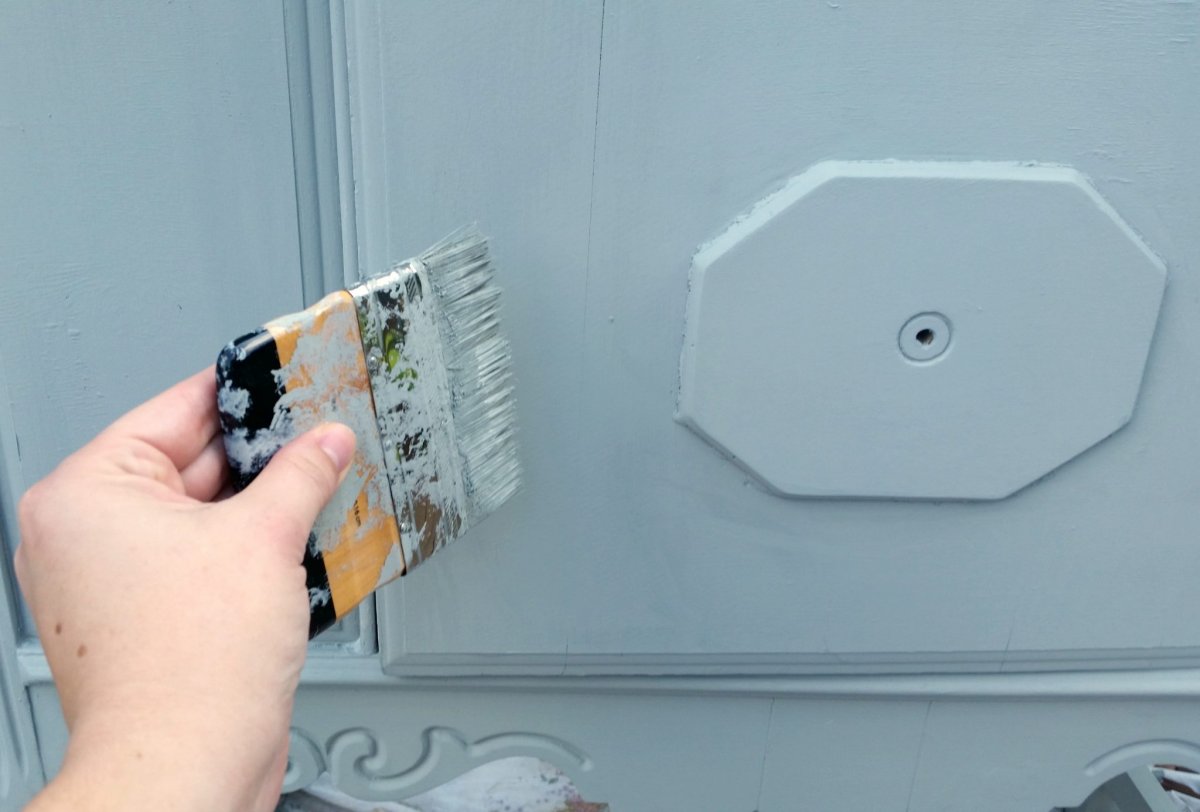
Using a large brush, paint a base coat of your desired color. Don’t worry about seeing the original color of the furniture through this coat. You will need multiple coats, and it will be covered in the end. It’s better to start with a thin base coat that will dry quickly and evenly. When it is dry, go back and add another coat, and repeat the process until you are pleased with the coverage. It is much better to do multiple thin coats than to try and use too much paint at once.
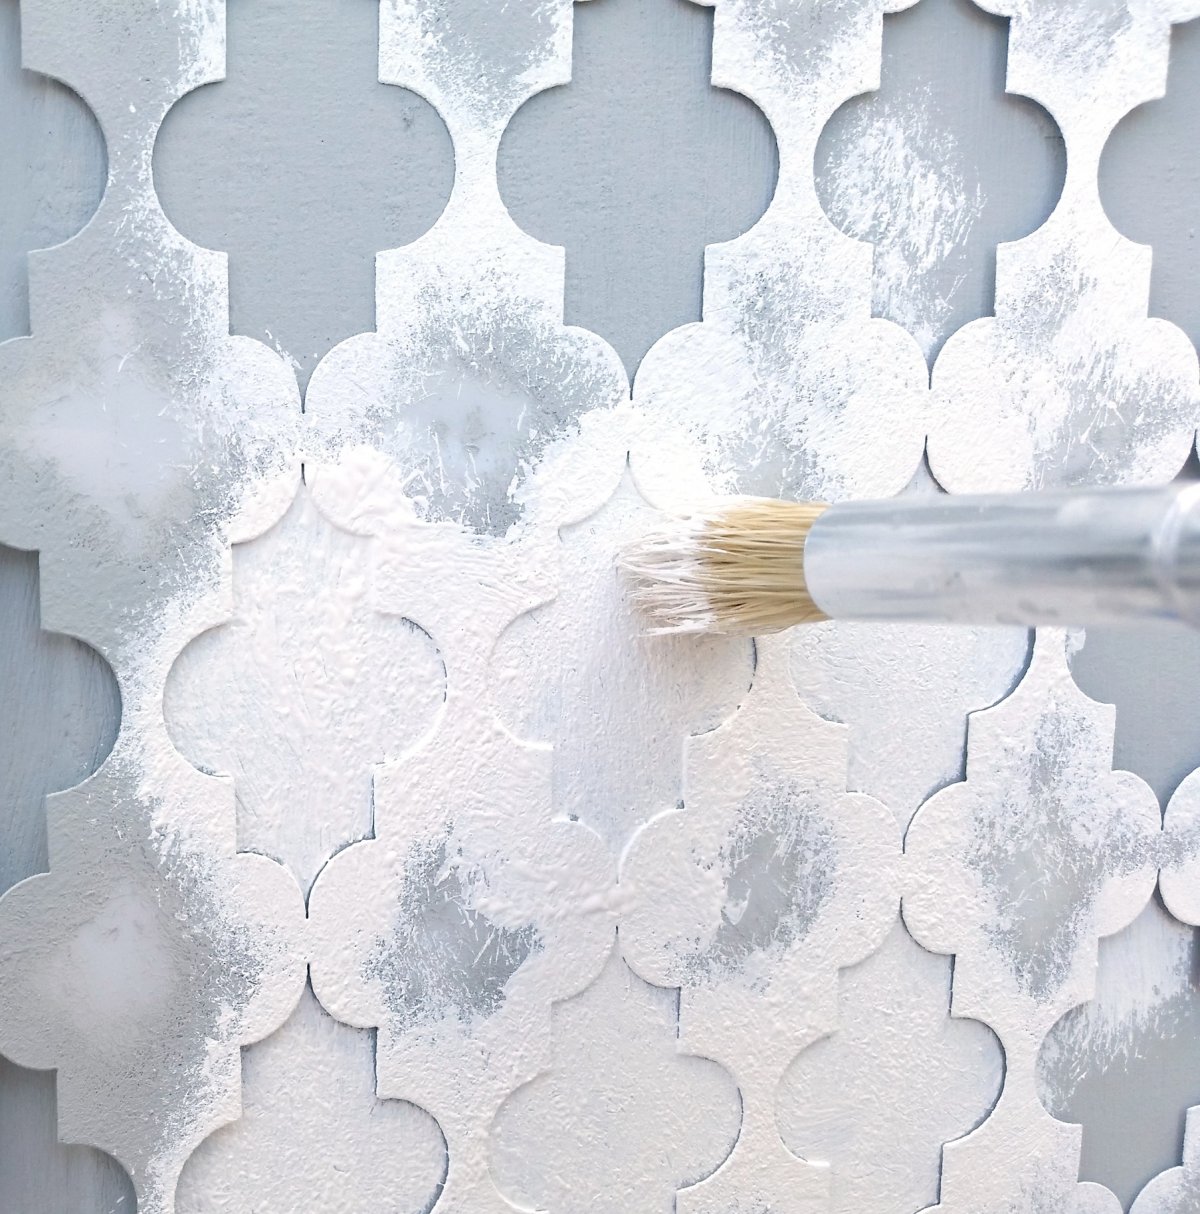
Stenciling Your Piece (optional)
If you want to add a pattern or image to part of your furniture piece, now is the time. Use painters’ tape to adhere the stencil where you want it to go. Pour a small amount of paint onto a palette or paper plate, then load just a bit onto a stencil brush. Offload the brush onto the plate so it is almost dry, then gently tap the brush inside the open space of the stencil. Repeat this process until the area is filled in.
PRO TIP: When it comes to stenciling, less is more! Using too much paint will cause it to bleed underneath the stencil and your image will not be crisp and clean.
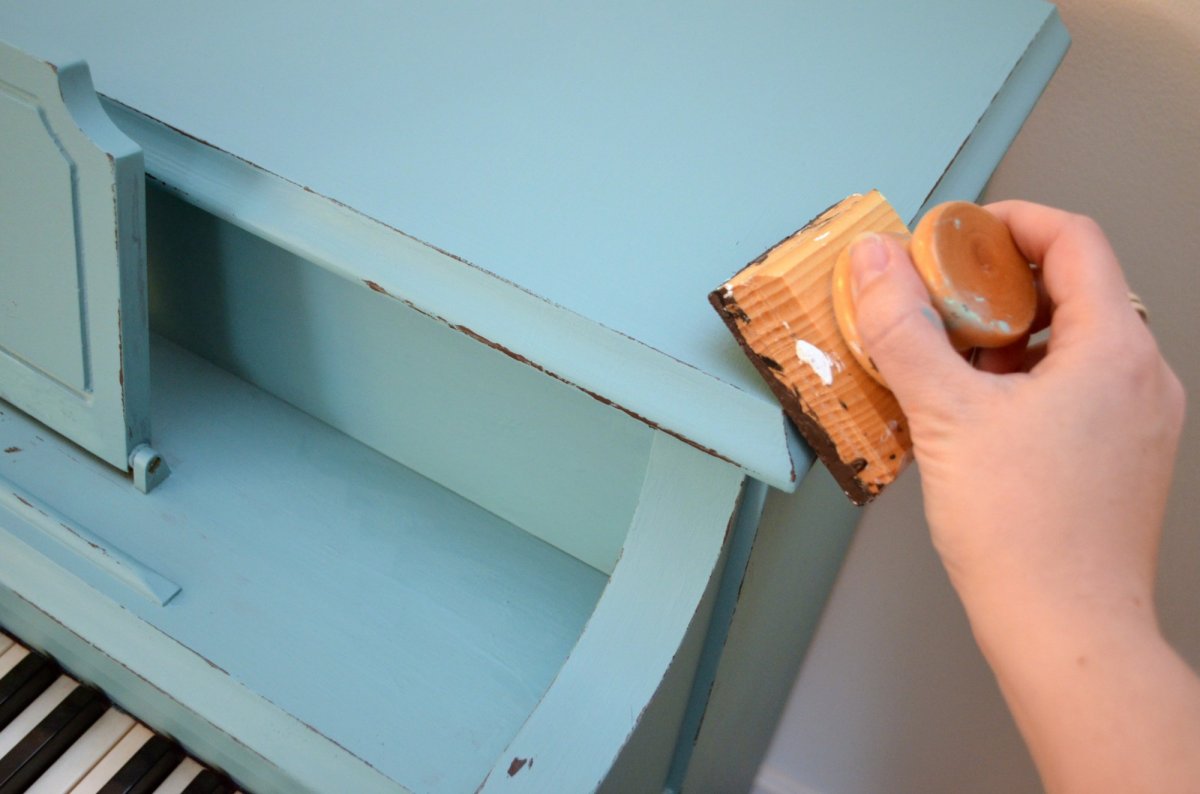
Distressing Your Piece (optional)
If you want your piece to have that aged, worn look, you can choose to distress it. One way to do this is by sanding off some of the paint in “high traffic” areas like the edges and corners. I prefer to use a different method and add paint instead. I place a small amount of dark grey, brown, or chalk black paint on a paper plate and apply a thin layer of it to my wooden distressing block. Then, I gently run the block along those edges, corners, and other areas I want to distress. I’m actually adding paint, rather than removing it, but it gives the illusion that the main color paint has worn away over time. You can use as much or as little of this effect as you like, or none at all!
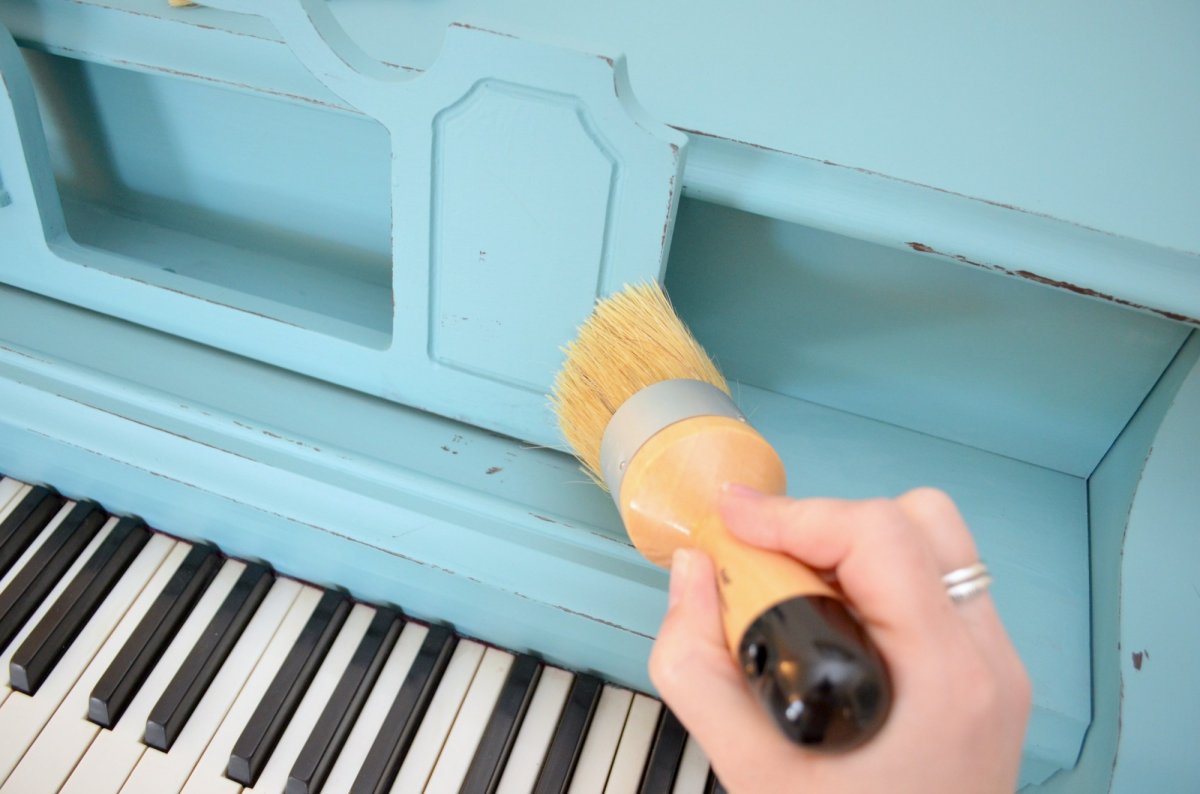
Waxing Your Piece
To seal and protect your furniture, your final step will be to apply wax. I like to use clear wax so that it doesn’t affect the color of my project, but you can also use tinted waxes if you prefer. Apply a small amount of wax to a wax brush or a soft cloth (an old sock works great!) and use a circular motion to rub it into the surface. Continue this until the entire piece of furniture has been waxed.
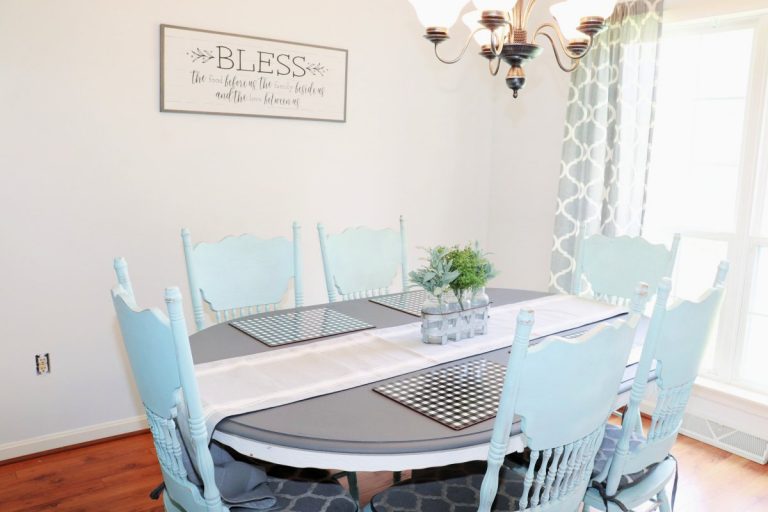
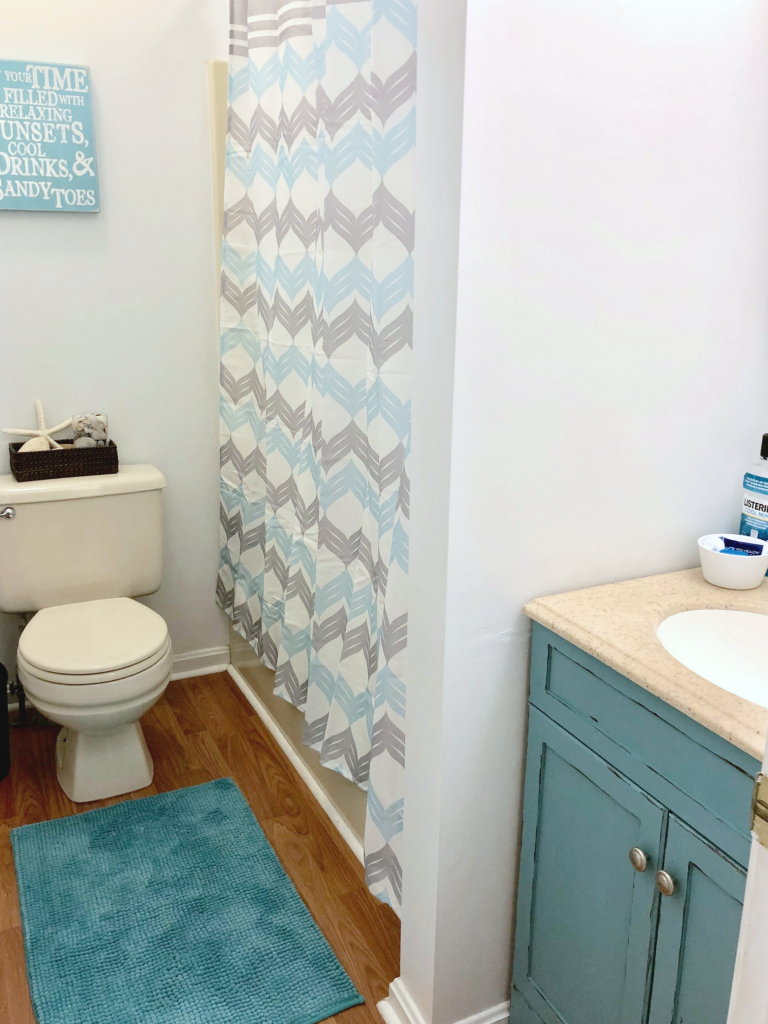
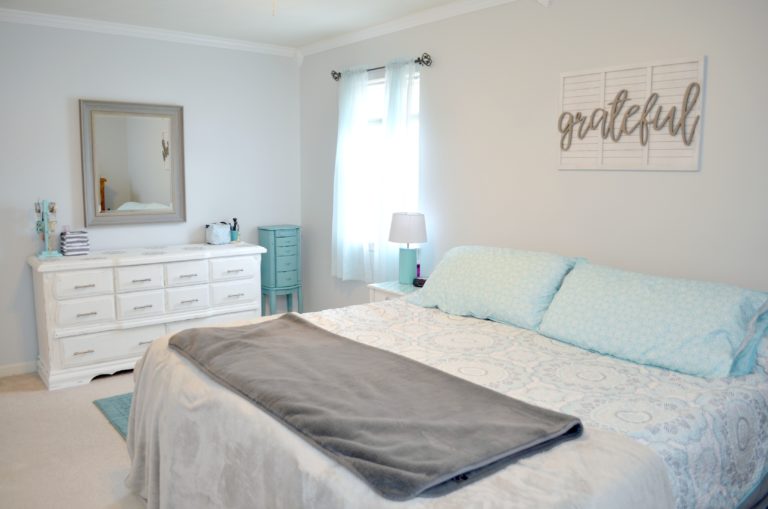
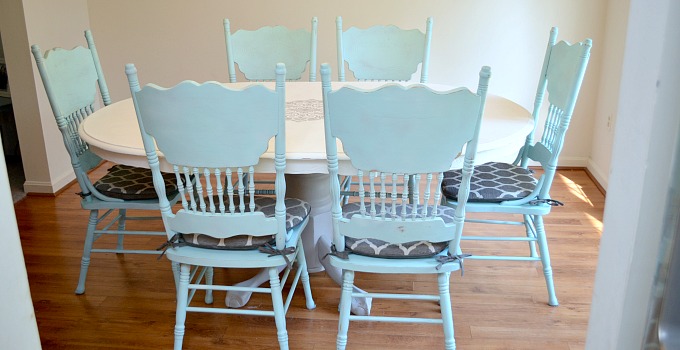
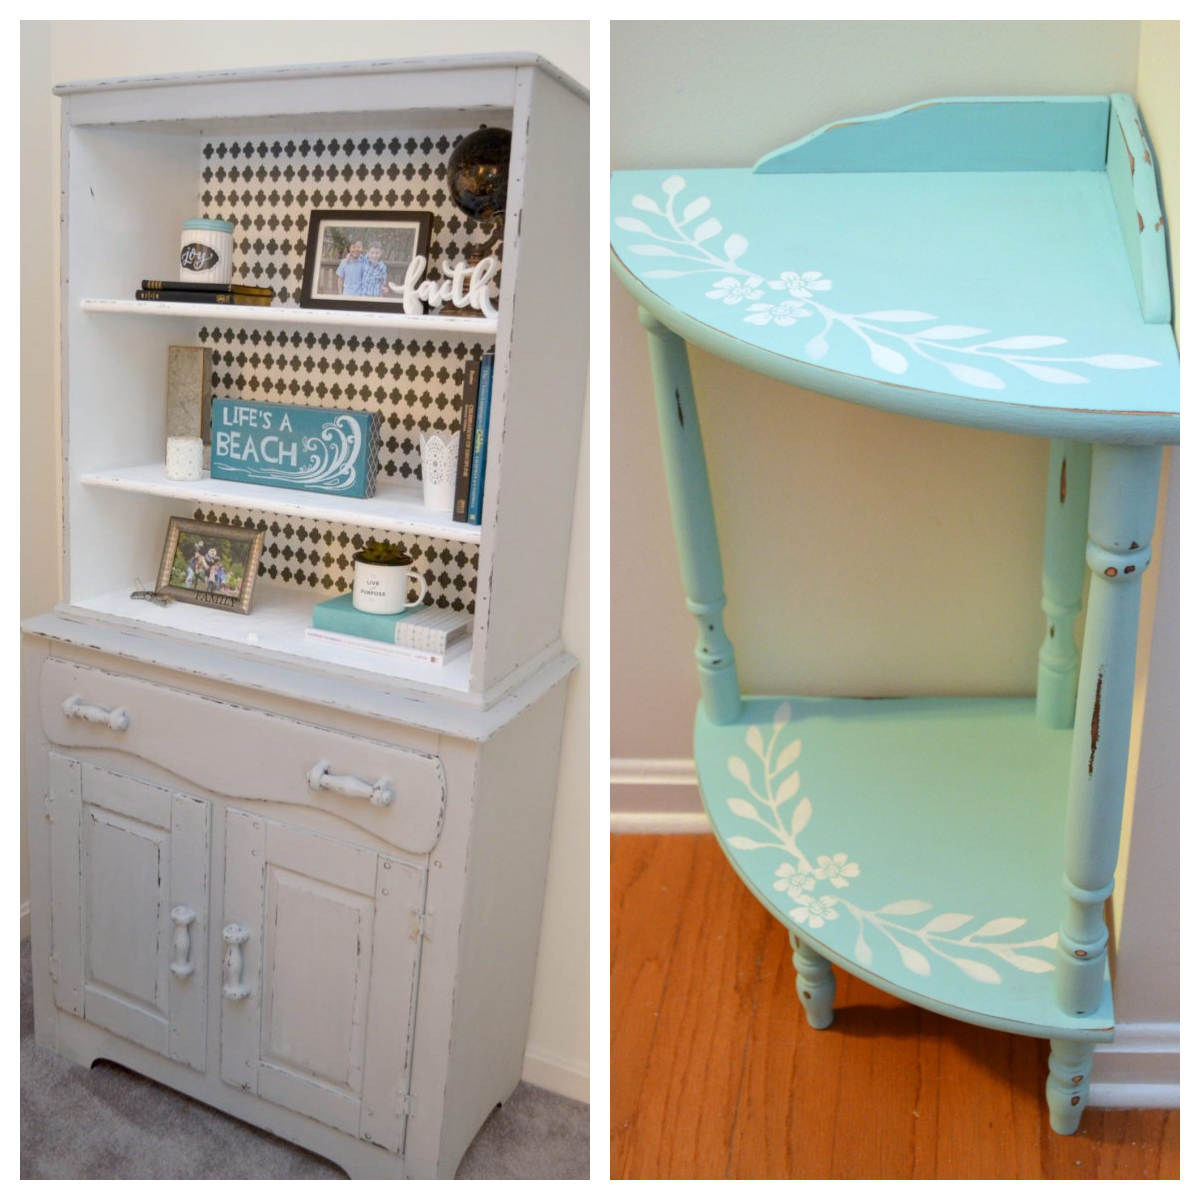
This type of painted furniture holds up extremely well, and can easily be wiped clean with a damp cloth. Here are some examples of furniture pieces in our home that I have painted using these same steps. To learn more about a specific project, click on the links below the photos.


No matter what piece of furniture you’re upcycling, following these basic steps will transform it and make your entire room look like new. I’d love to see your project photos; be sure to share them in the Amy Latta & Friends Facebook Group so we can all be inspired. Happy creating!