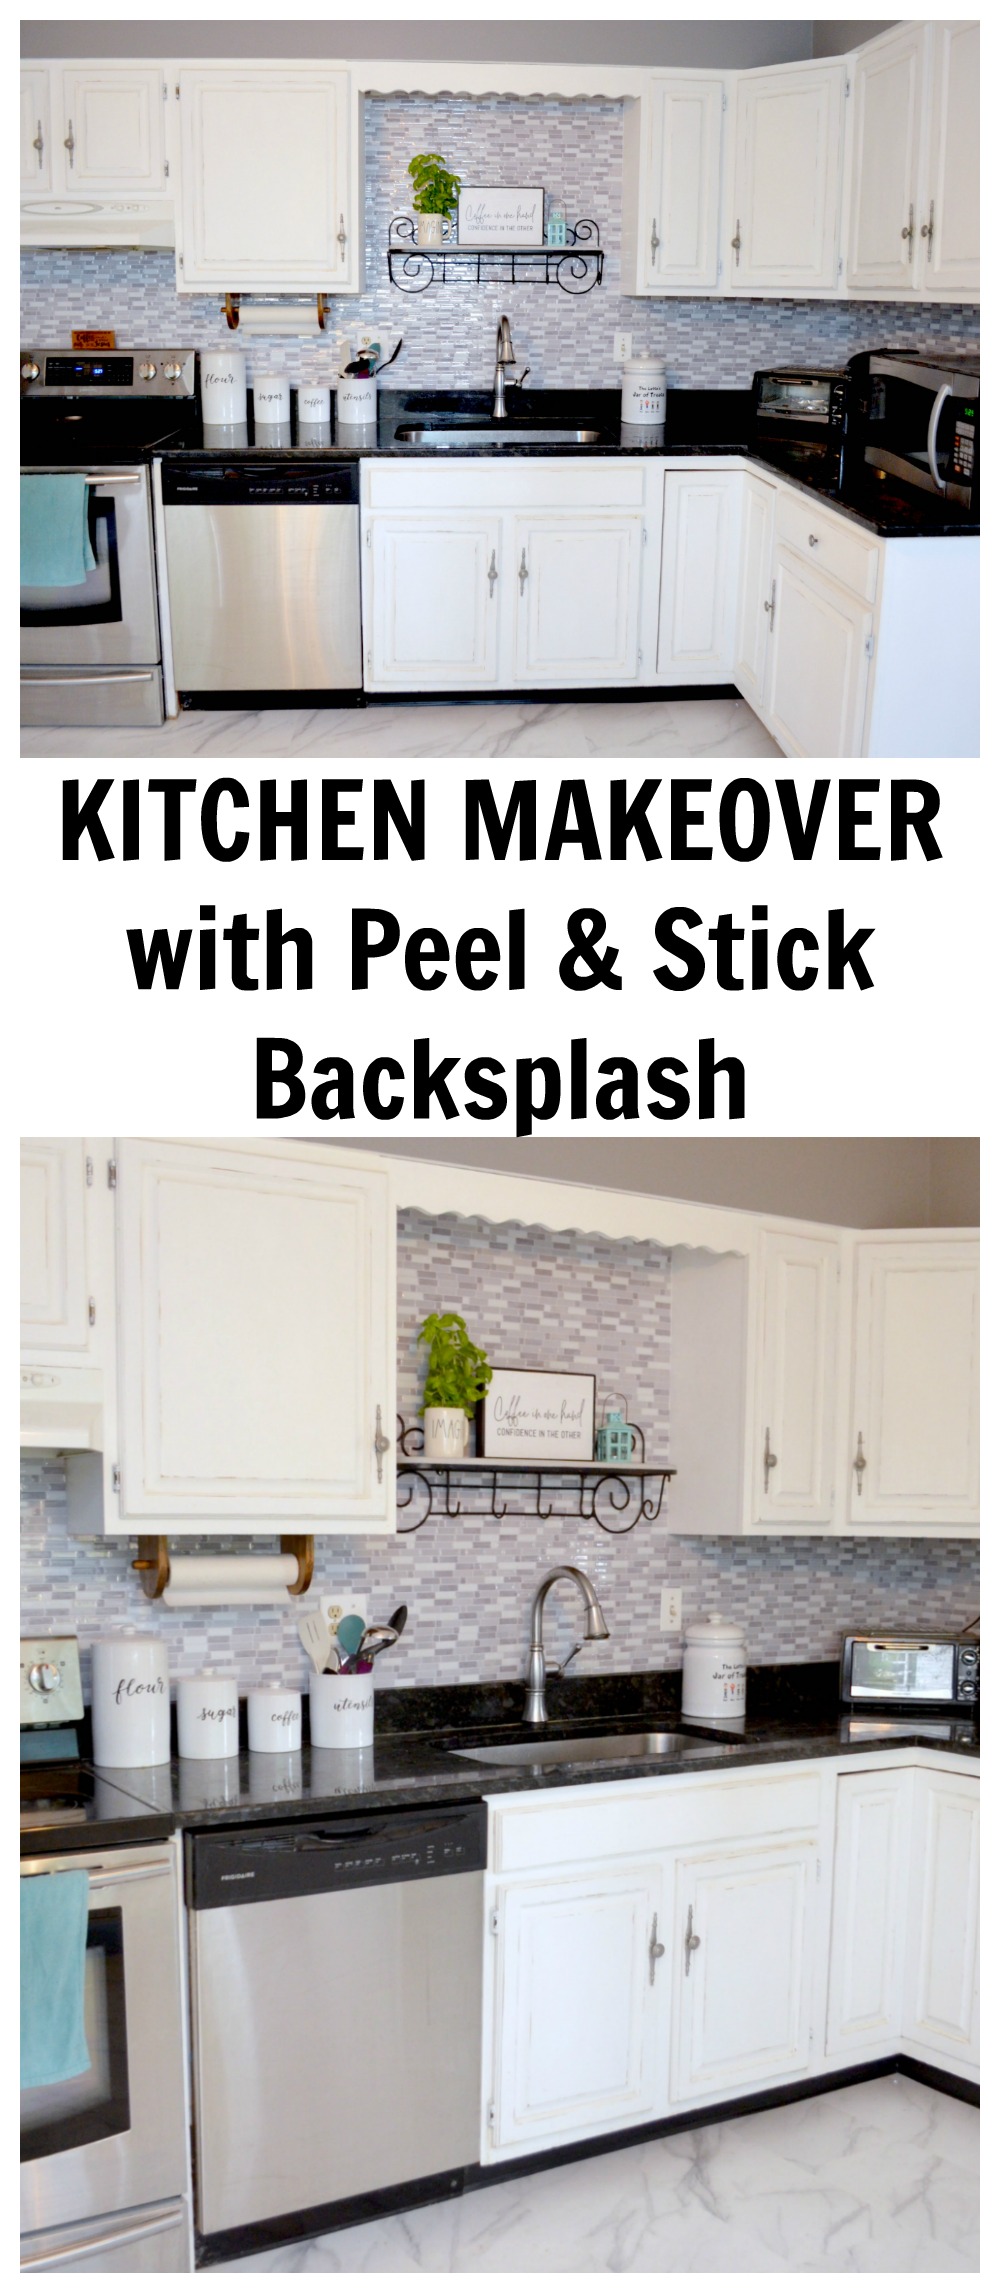
DIY Peel & Stick Kitchen Backsplash
The kitchen is the heart of the home, and I don’t know about you, but I spend a lot of time in mine on any given day. Not only am I preparing meals and doing dishes, I often get to share some quality time in the kitchen with my youngest son as he bakes something delicious.
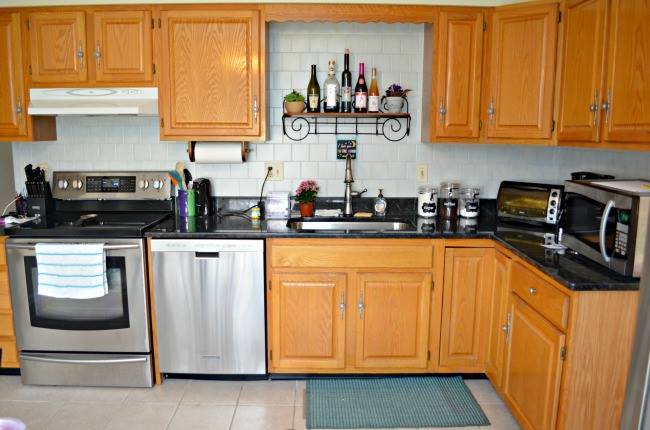
When we first moved into this house five years ago, I disliked almost everything about the existing kitchen. From the color of the walls, counter, and cabinets to the tile floor with crumbling grout and cracked sink, I wanted to make some major changes. Little by little, we have been doing just that until last month, I finally got the kitchen of my dreams.

The very first thing on our to-do list was replacing the cracked sink. Because the sink was literally part of the existing Corian counter top, it meant replacing the counter tops too, which I was more than happy to do! I traded the peachy/pink Corian for gorgeous black granite. This was a big expense, though, so we waited another year before making any other major changes.
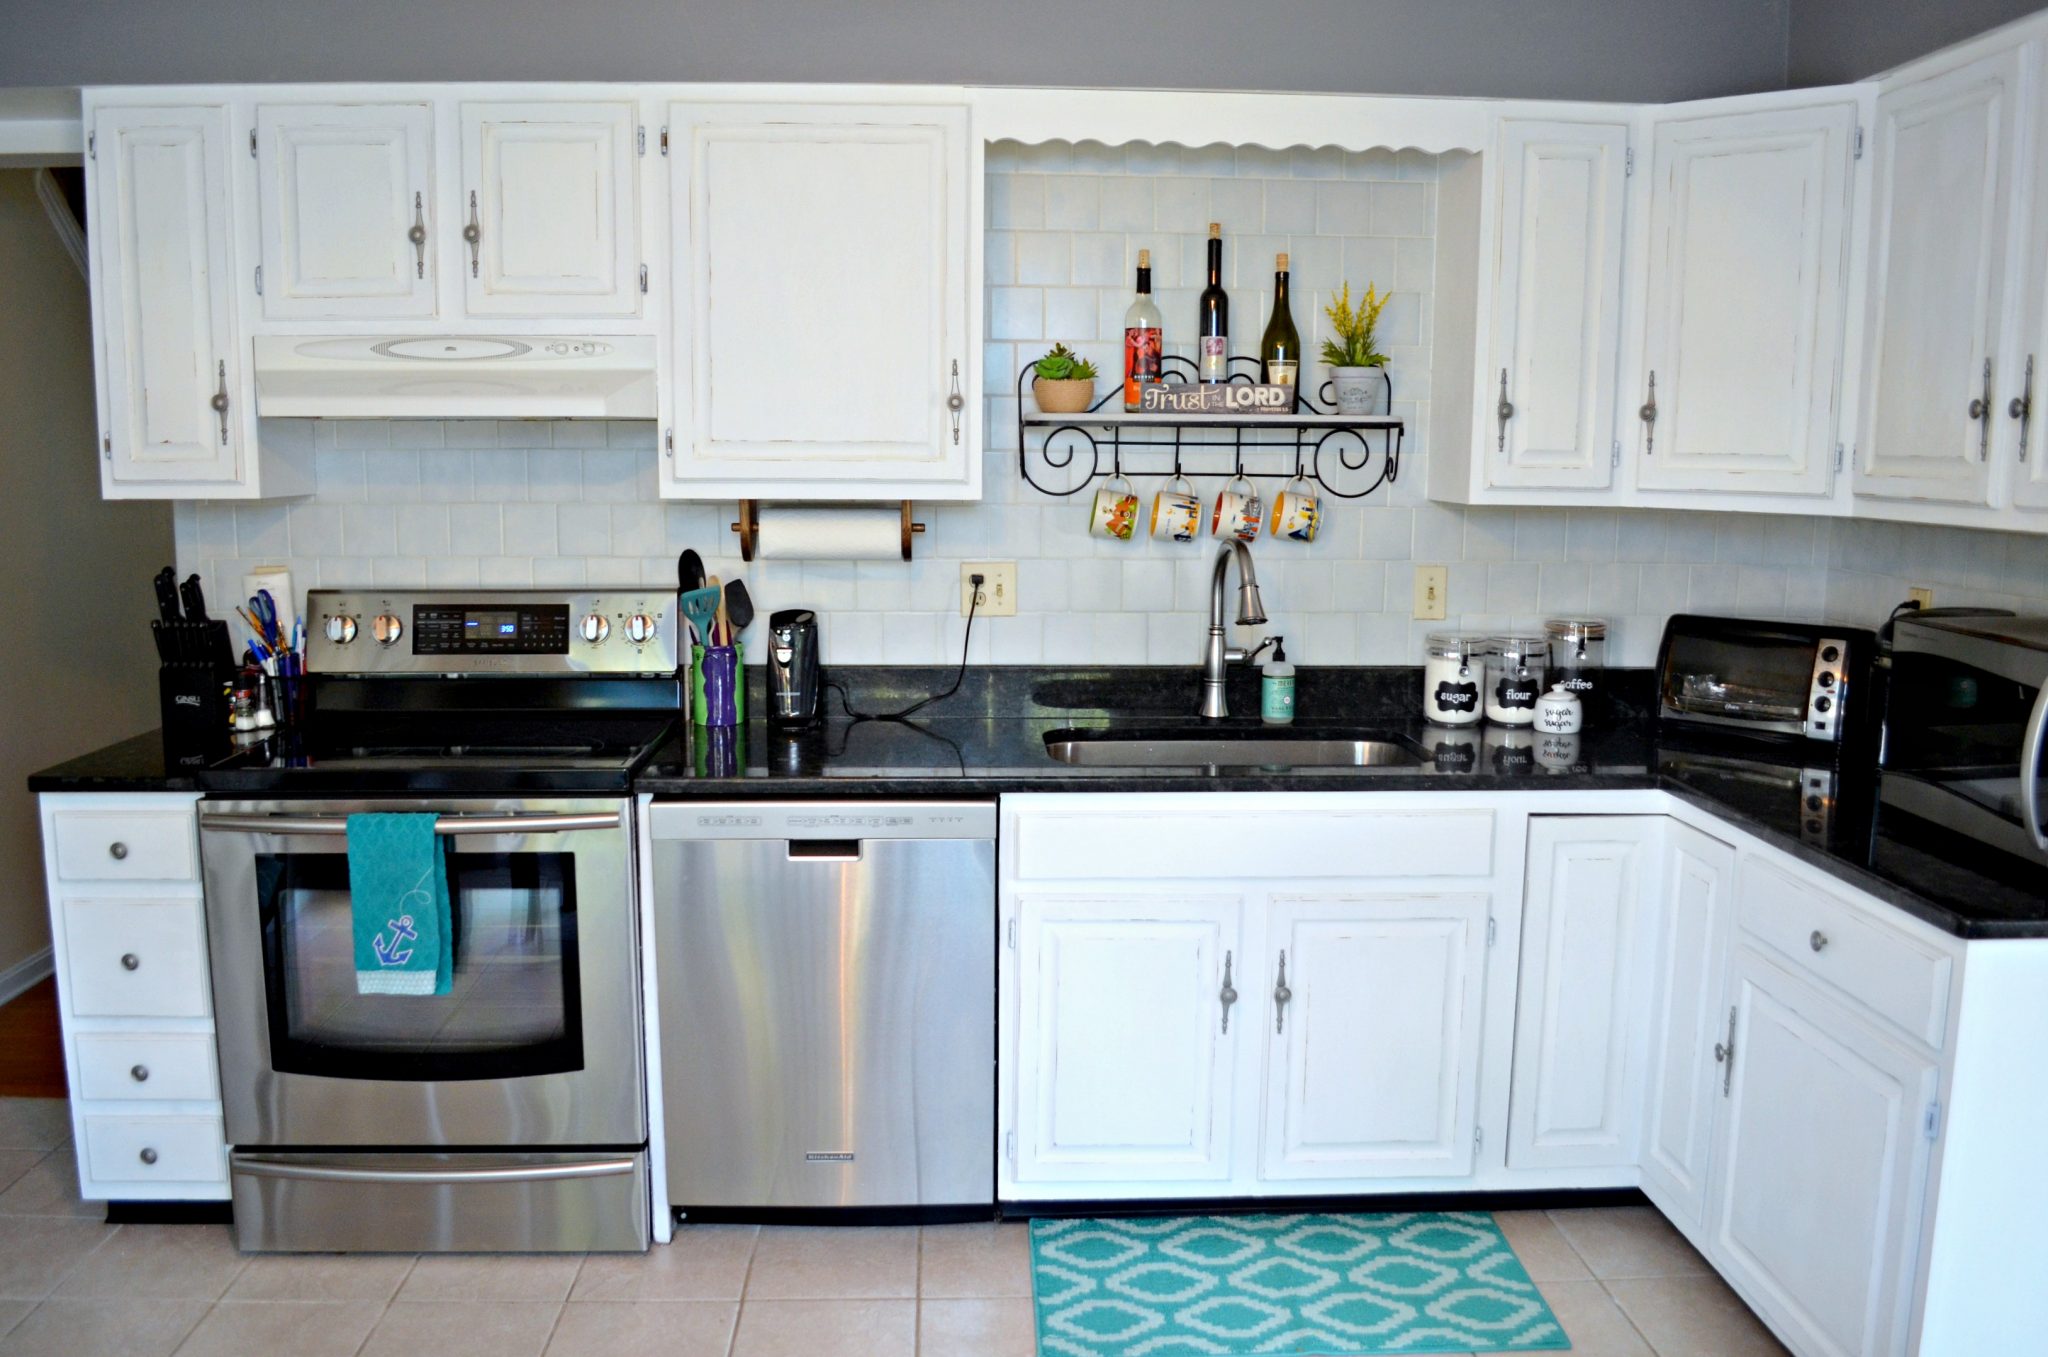
The next step, a year later, was to re-paint the yellow walls, making them gray, and to paint the wooden cabinets white. Painting cabinets is a HUGE job, one that I didn’t enjoy at all, but it was definitely worth all the effort. You can read more about this part of the process in my original kitchen makeover post. I used chalk paint, sealed with wax, and I’m happy to report that it has held up incredibly well for the past four years. This phase of the makeover made a huge visual impact, as you can see. Once it was finished, all that was left on my “to-do” list was replacing the floor and the backsplash. We priced out some floors, then decided to wait until we could afford what we really wanted. So, this is how the kitchen looked from Summer 2016 until Summer 2020.
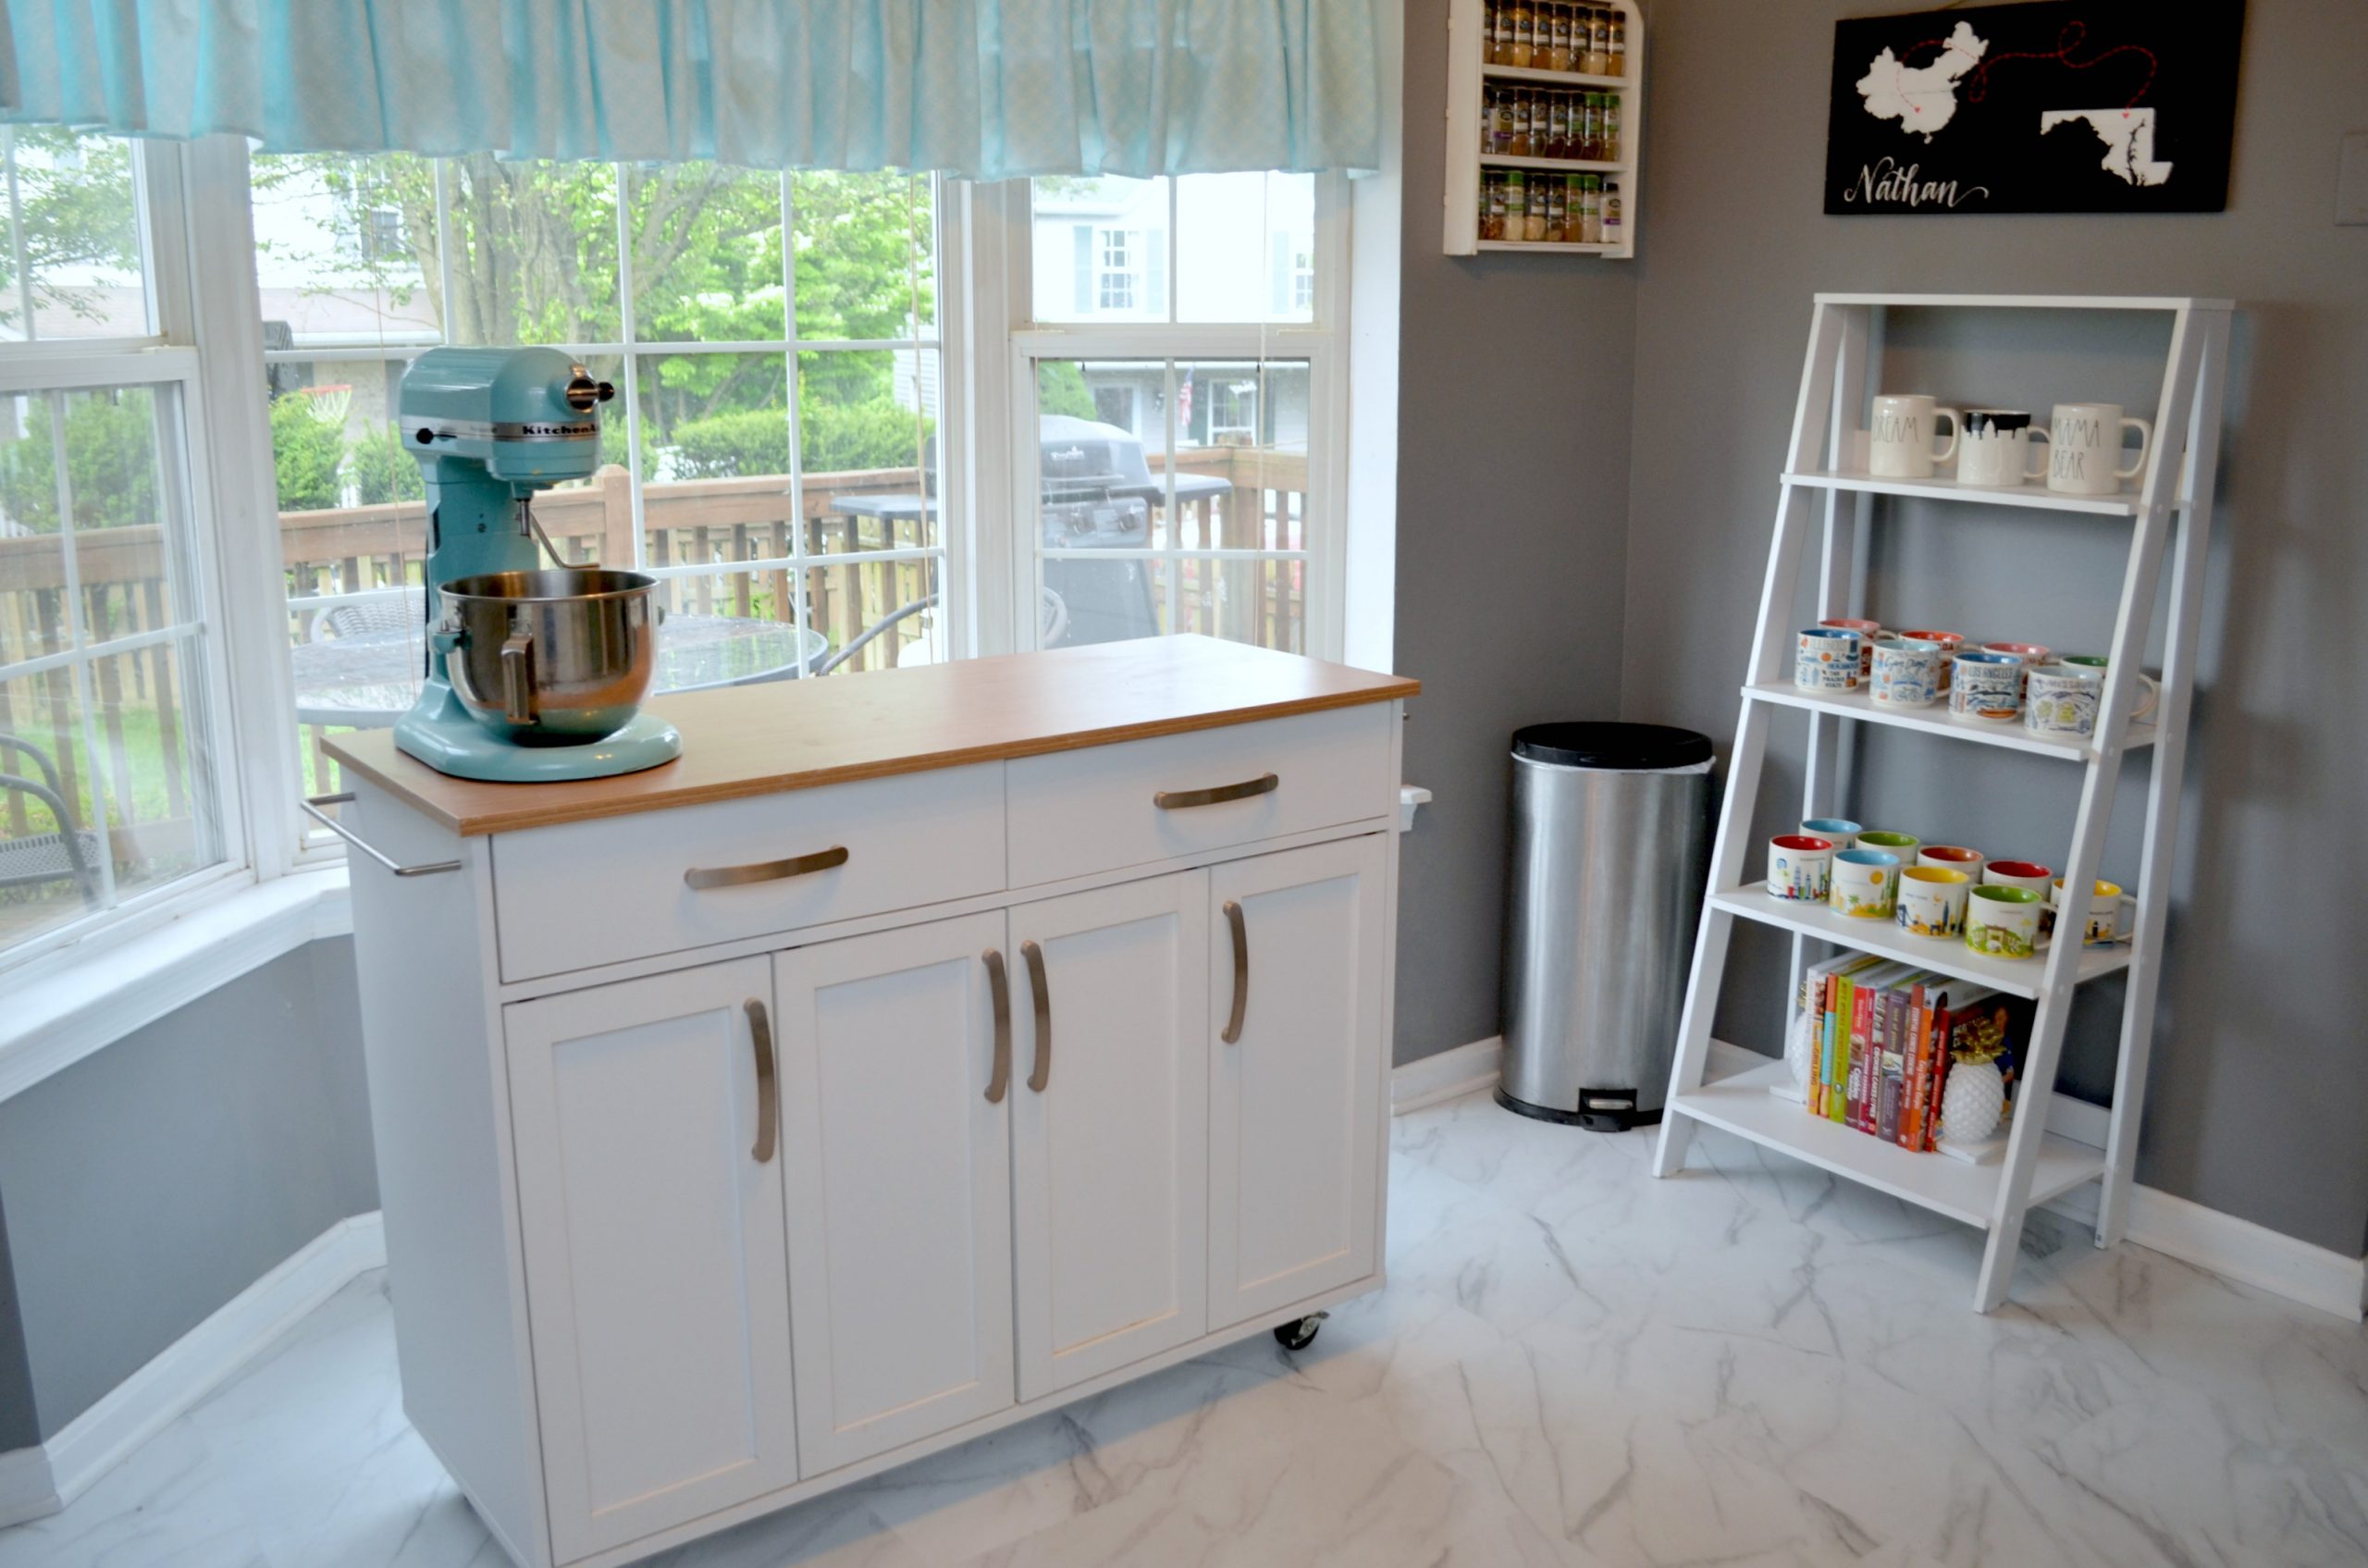
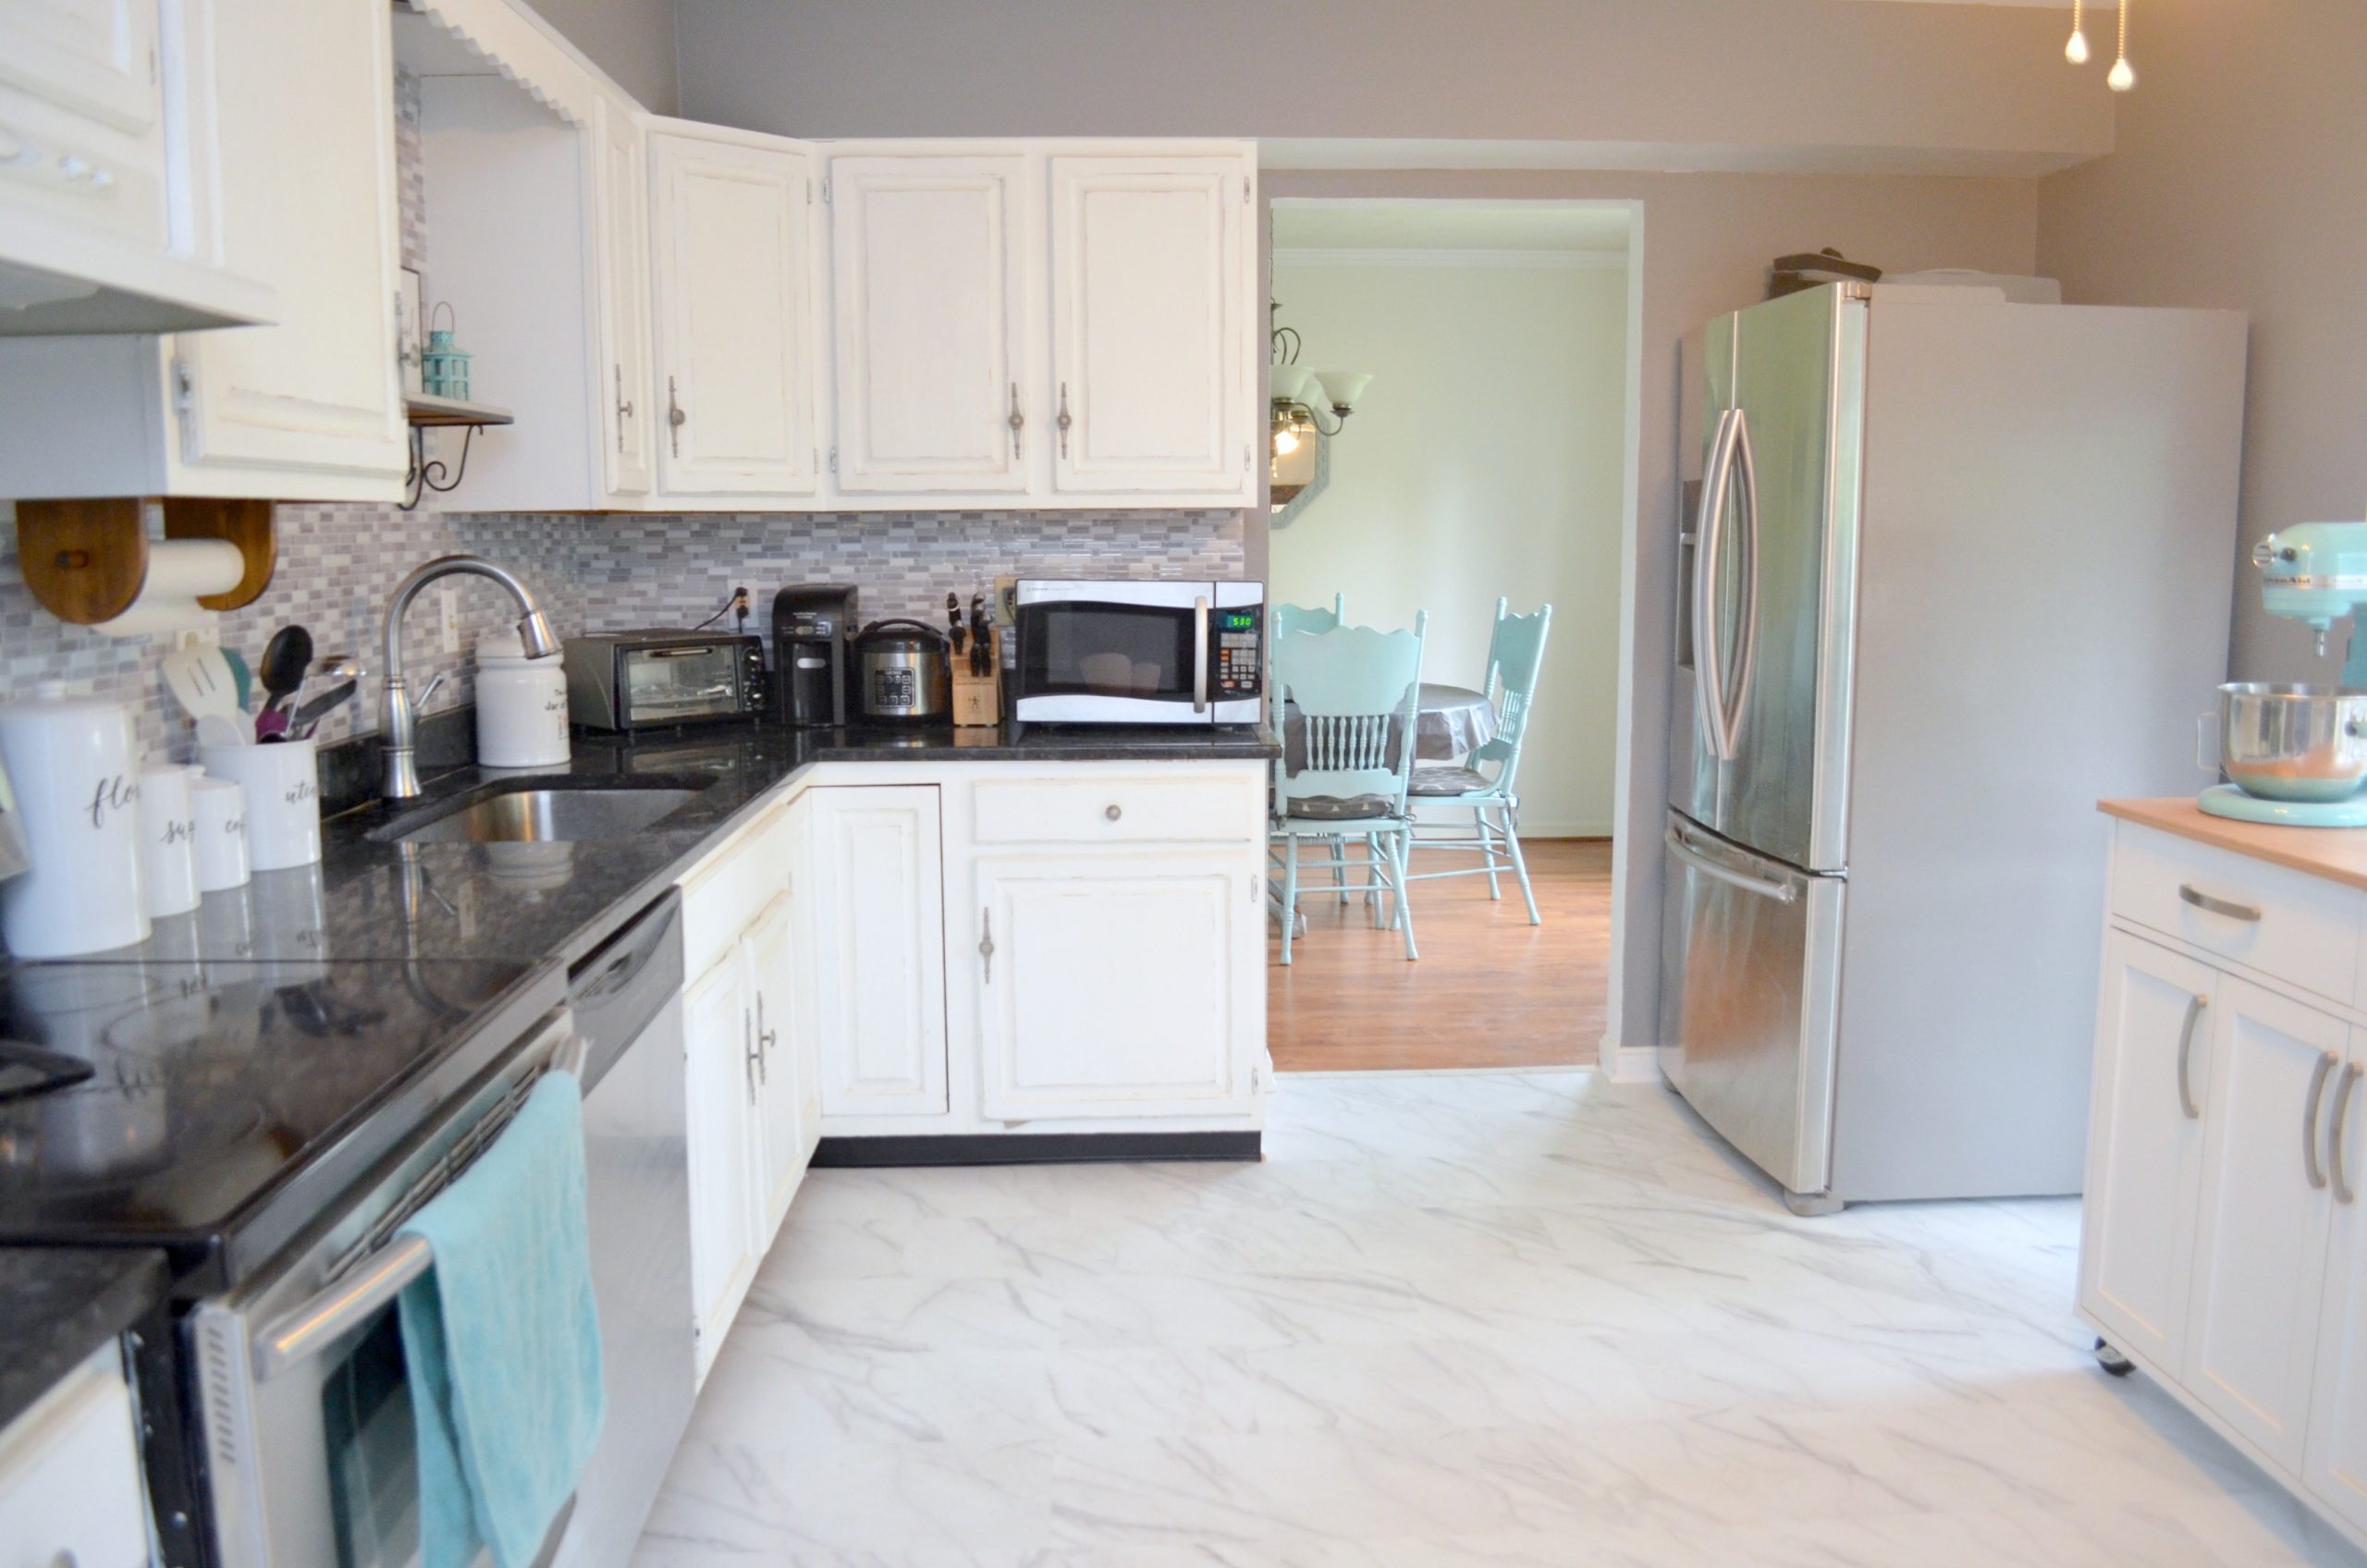
Finally, my hubby told me we could go ahead and replace the floor. Although I did all the cabinet painting myself, the floor was a job best left to the professionals! The old tile was in terrible condition, and it was sitting on top of a linoleum floor we didn’t even know about. We chose to replace it with a pretty white and gray marble patterned vinyl. It took three days for the installation, and when I saw the men using all kinds of equipment and what a mess it made, I was incredibly grateful that I didn’t try to tackle it myself. I love how it looks, and I also appreciate that it doesn’t instantly break anything that falls on it like the tile did.
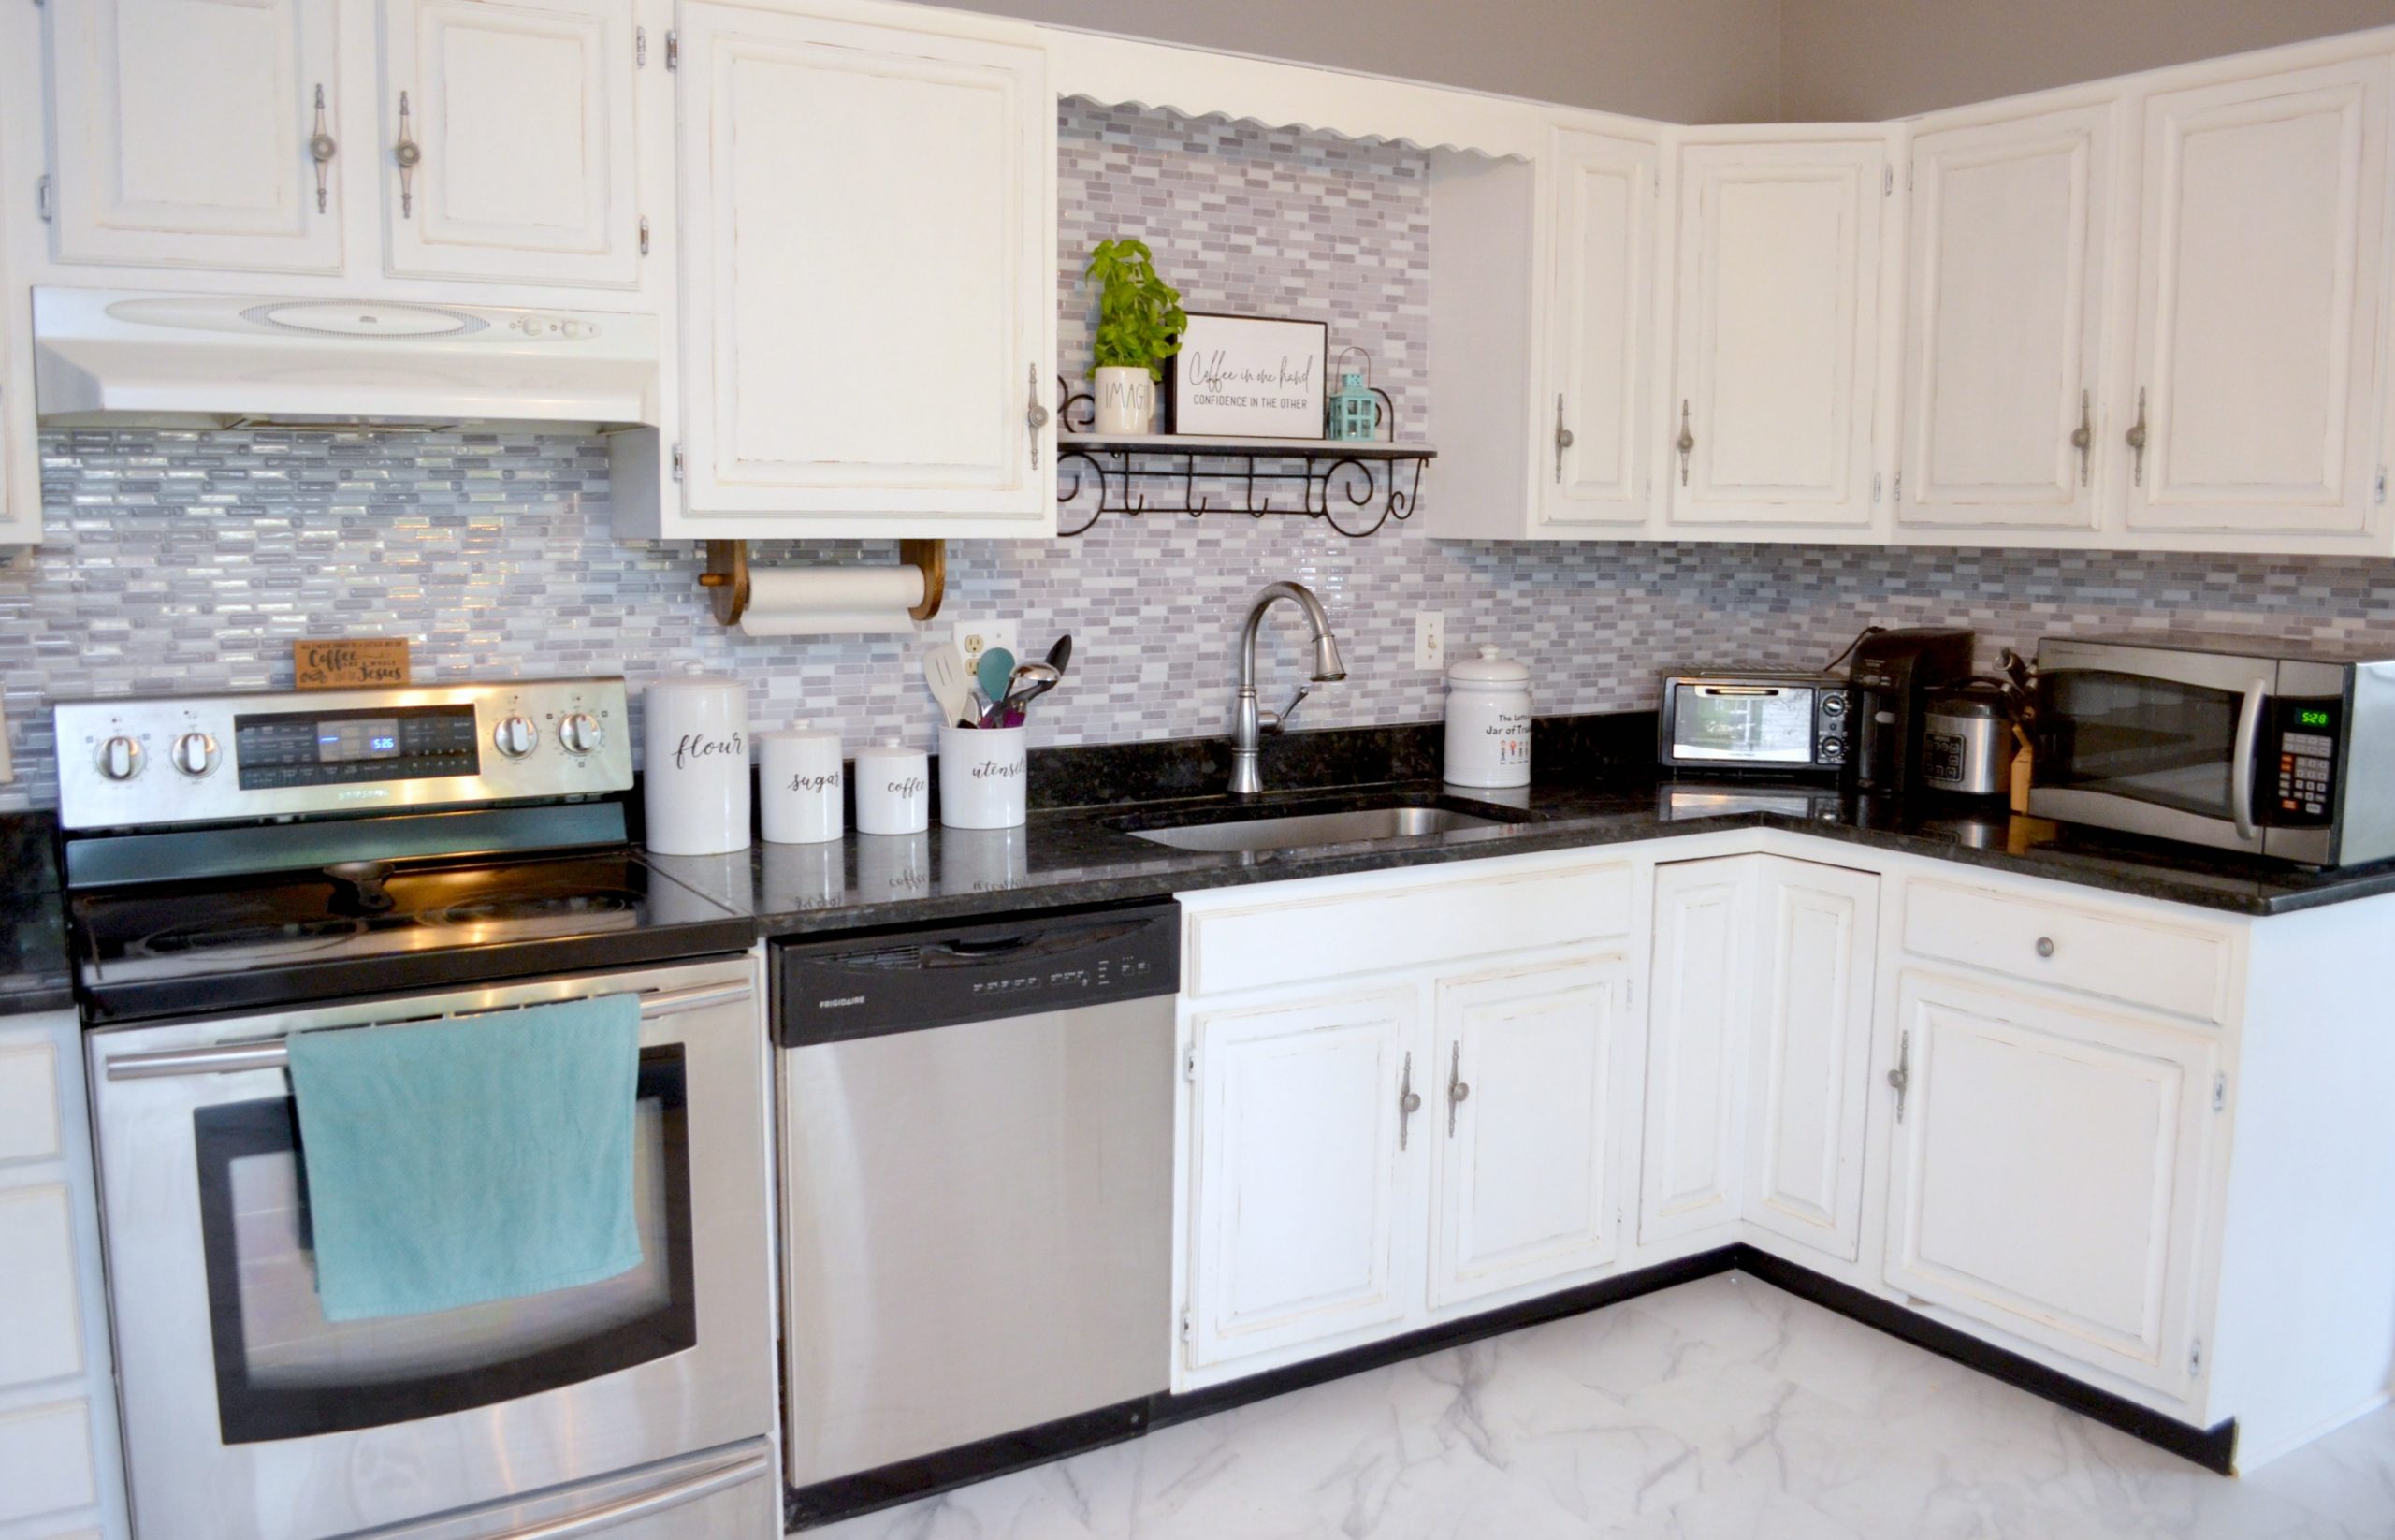
Once the floor was replaced, all that remained was the backsplash. I wanted something that would coordinate with the walls, floor, counter, and cabinets rather than the nondescript blue/gray tile that was there. After just replacing the floor, we didn’t want to pay a fortune for someone to come in and redo it, so I decided to look into peel & stick backsplash. I found the perfect pattern at Home Depot, and decided to give it a try. I figured I could try one pack, then if it didn’t work well, I could return the rest. We measured the area, then bought 16 packs, each containing four large (approx. 10″) self-adhesive tiles.
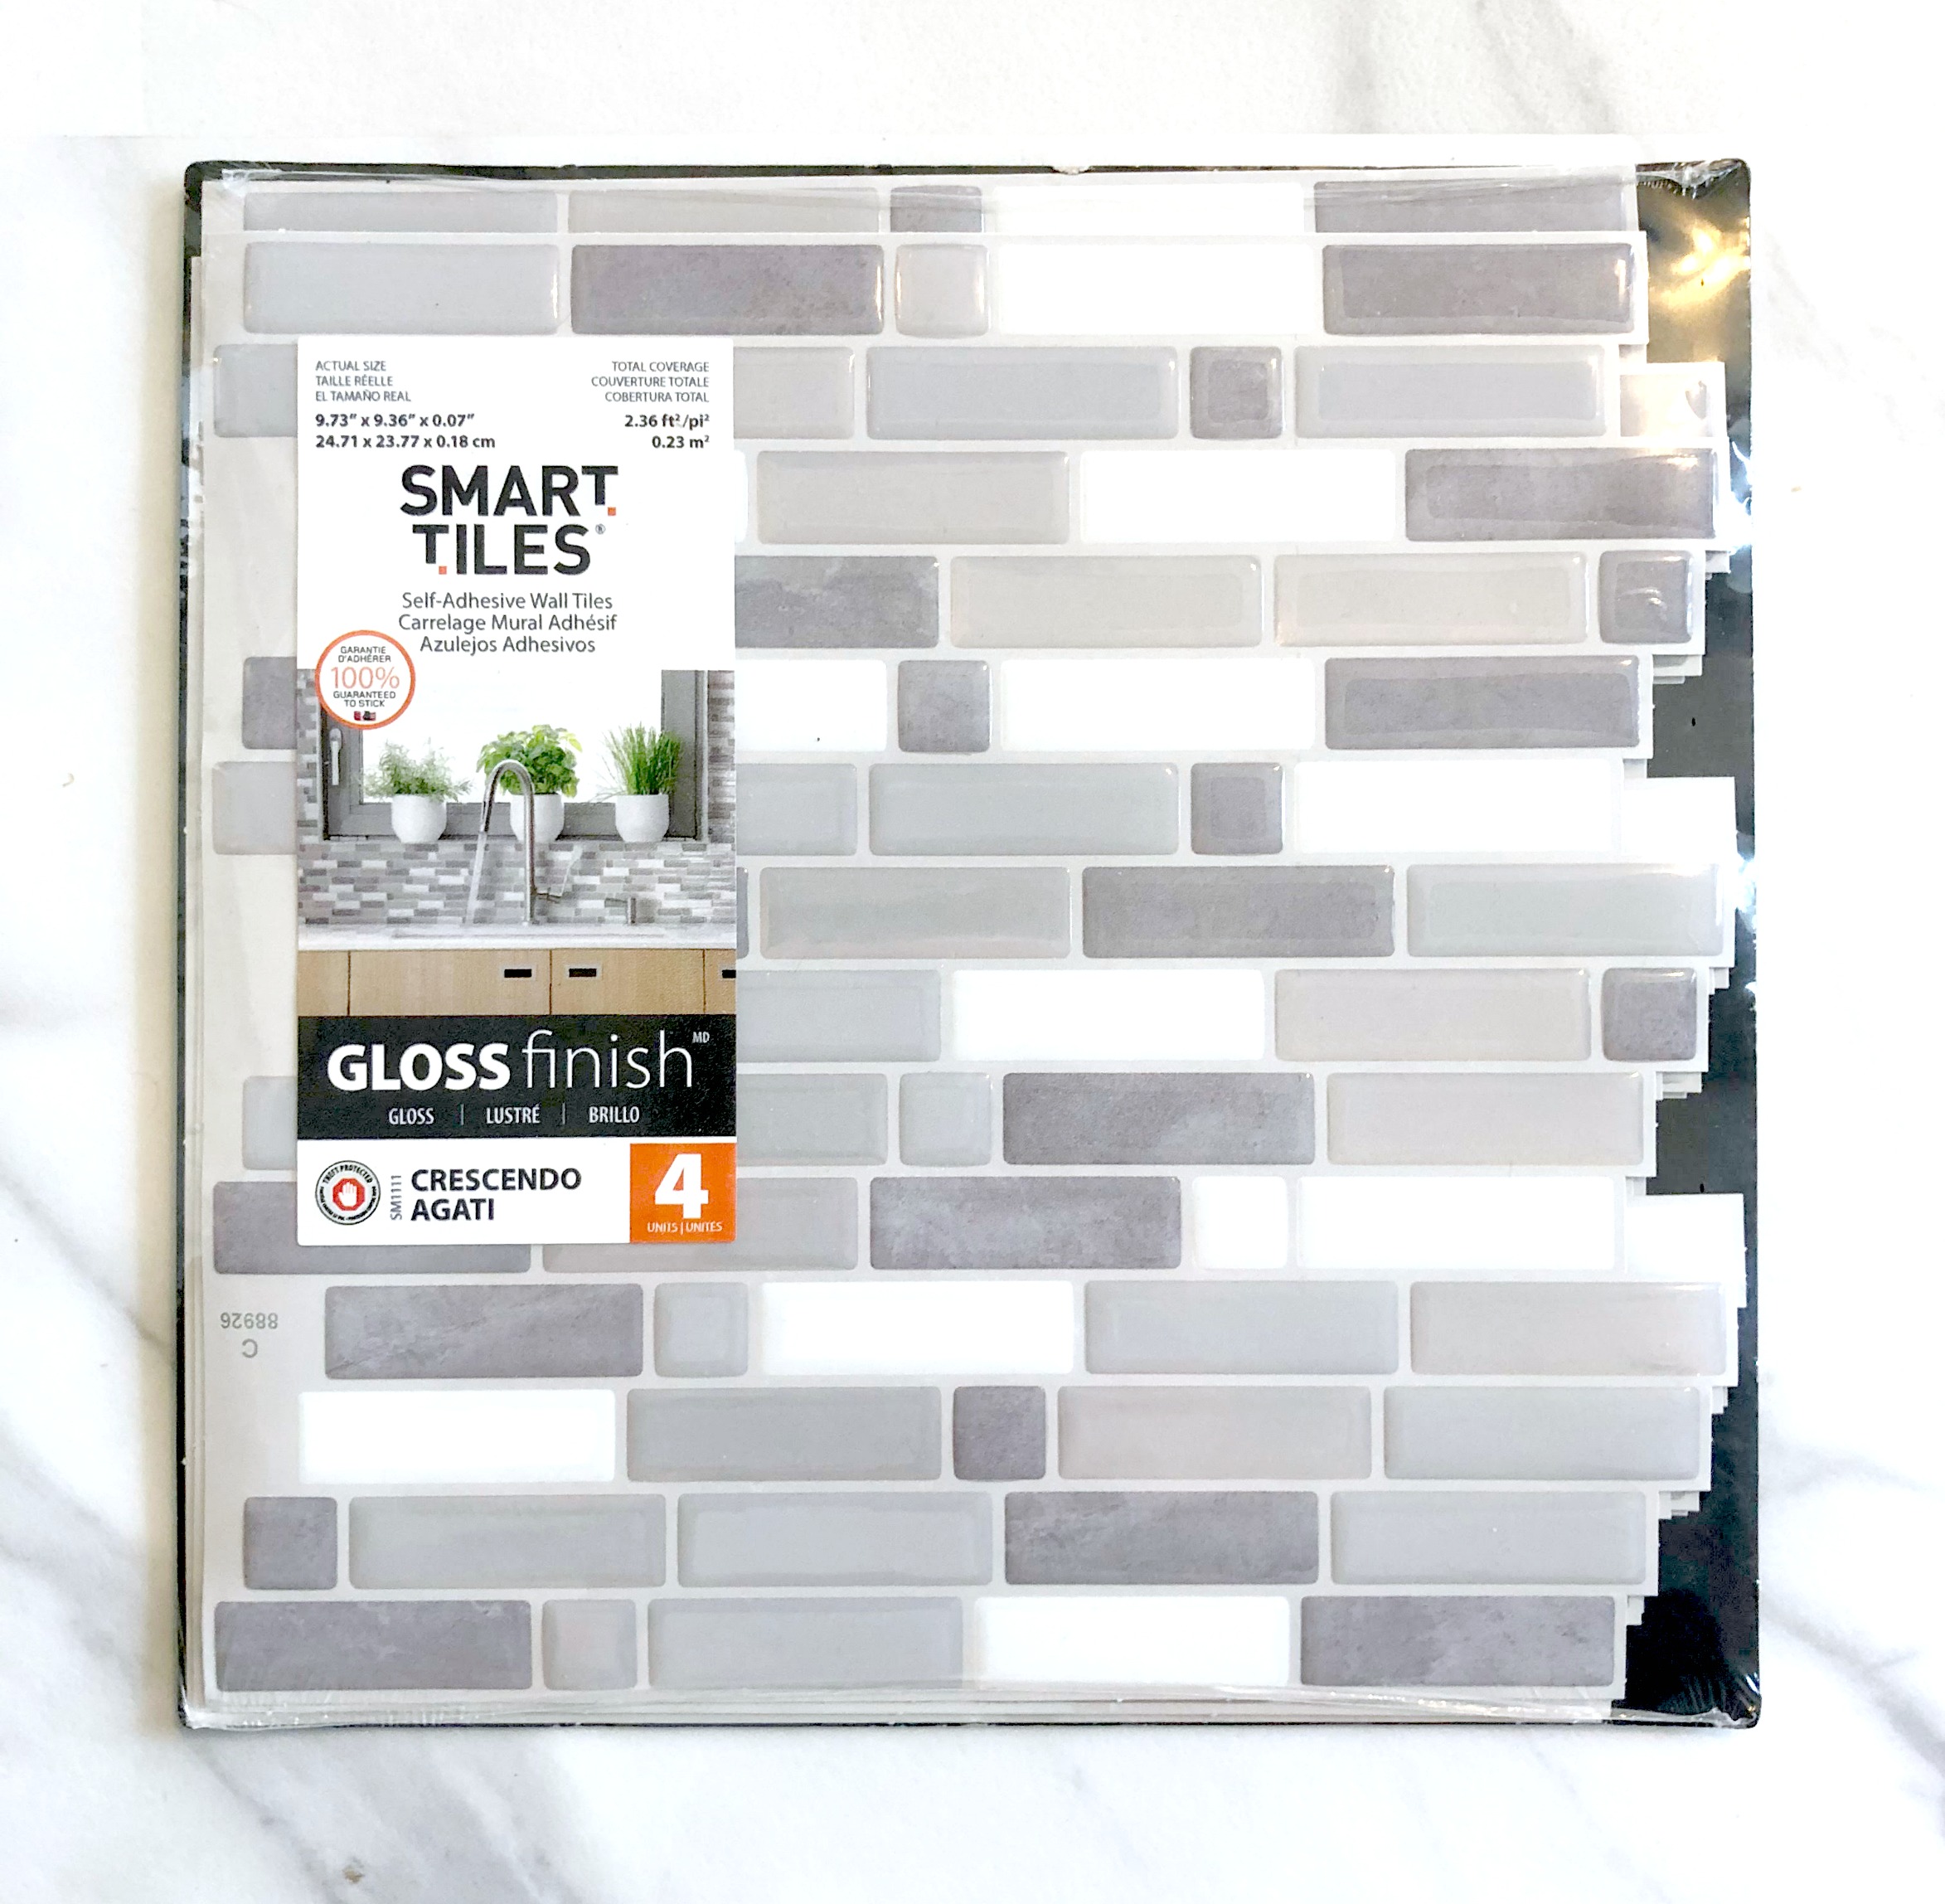
They’re incredibly thin and can easily be cut with an exacto knife or even scisoors. All you do is peel off the backing, then stick it on top of your existing (clean and dry) tile! If you position it wrong, just peel it back off the wall and try again. I literally could not believe how simple this was to do. I expected it to be a lot more stressful and complicated, but my son and I finished the whole area in an afternoon. He actually proved to be an expert at lining up the tiles! I am obsessed with how it looks!
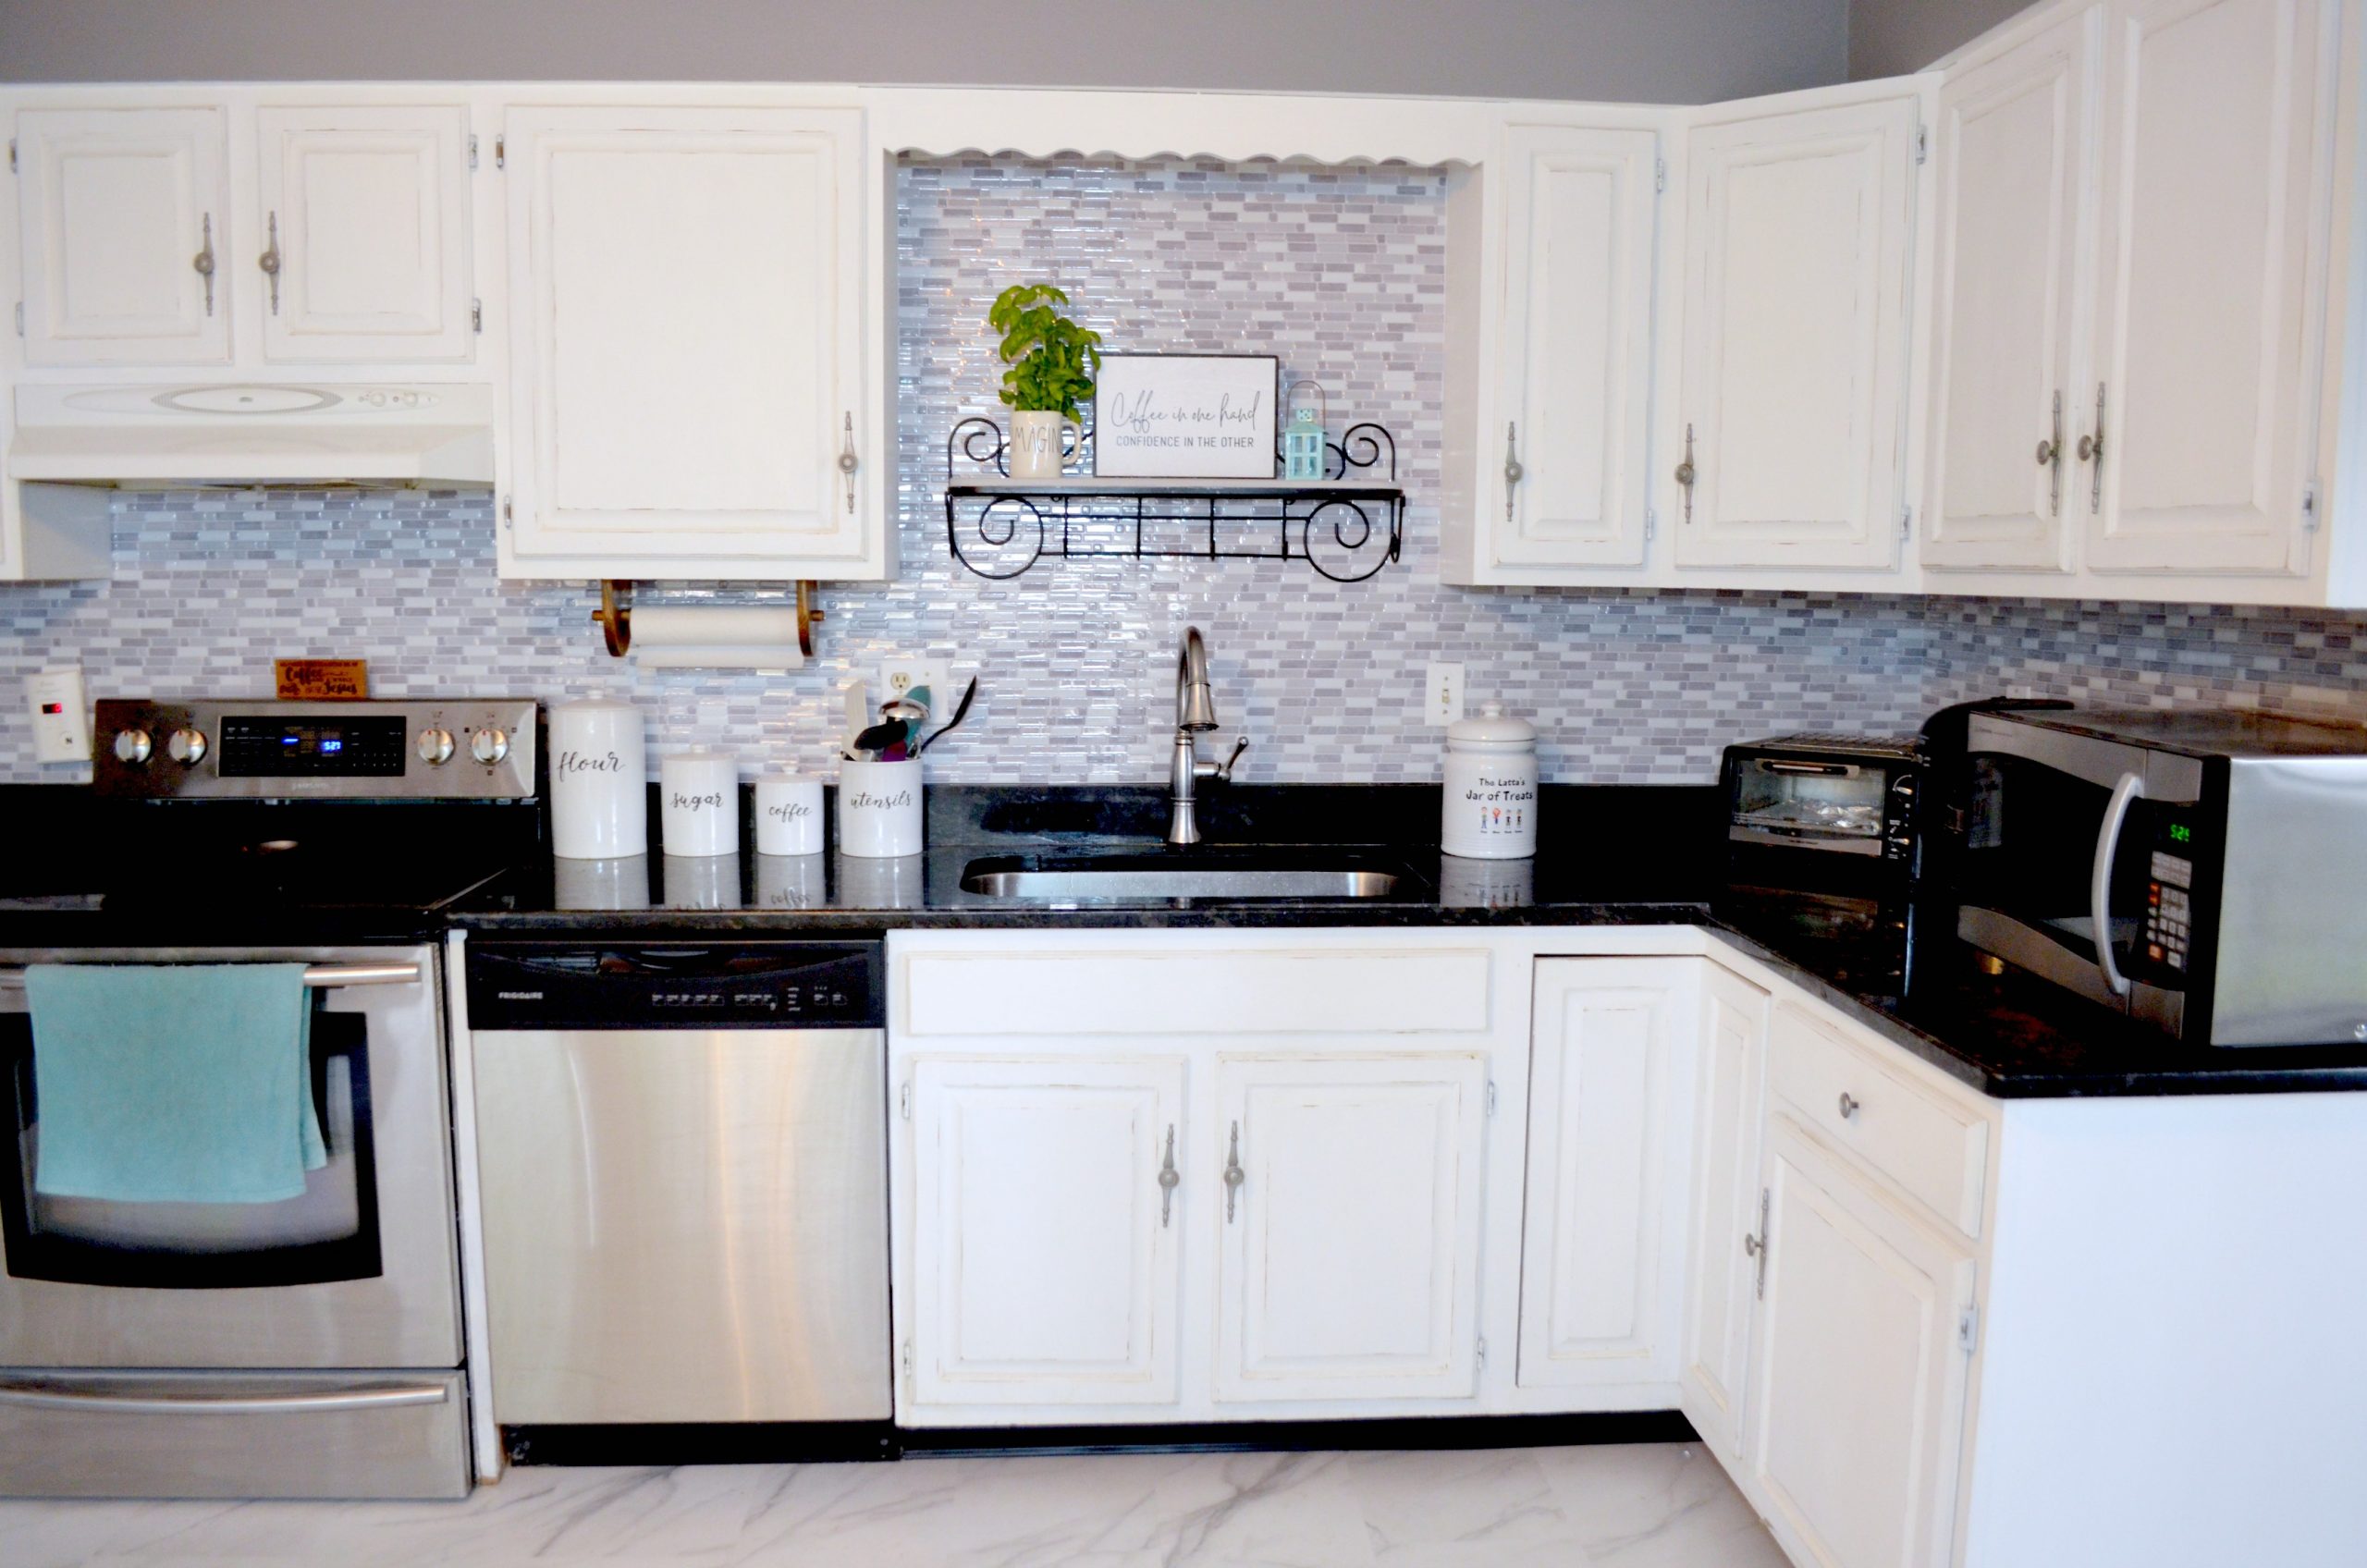
Now, I feel like the whole room is cohesive and looks just the way I envisioned it! It feels larger than ever, and the colors make it feel so peaceful and welcoming.
The peel & stick tiles totaled less than $450, which is a real bargain compared to what we would have paid for someone to come in and replace the backsplash with “real” tile. It looks amazing, even up close, and easily wipes clean with a wet cloth. I highly recommend considering it if you’re looking for an easy change with a huge impact! The tiles are very forgiving and easy to work with, even for an 11 year old. I was really nervous letting him help at first, but he did an excellent job and it looks completely professional. Peel and stick tiles are available in tons of other patterns and colors besides what I used, so you can find the one that best matches the look you want in your own kitchen!
What do you think? Is this something you’d like to try? I hope that seeing the progress of our kitchen gives you hope and encouragement that you really can turn any room in your house into exactly what you want it to be! It will take time and patience, but the end result will be totally worth it all!

Can peal and stick be used behind a stove/oven without melting?
Yes!