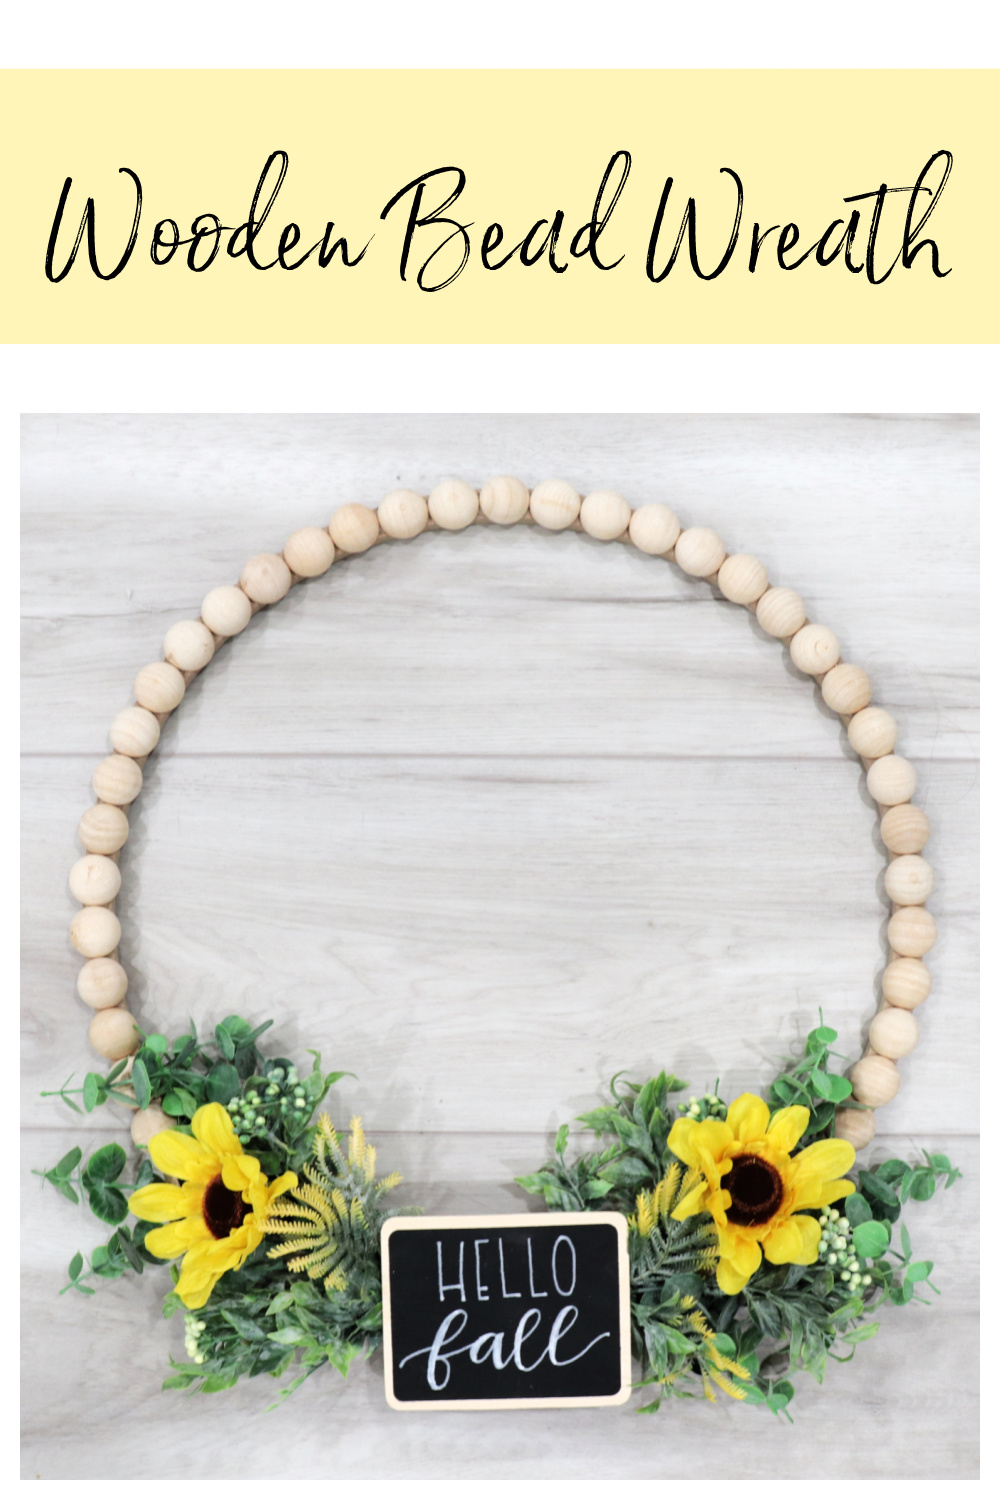
Wooden Bead Wreath
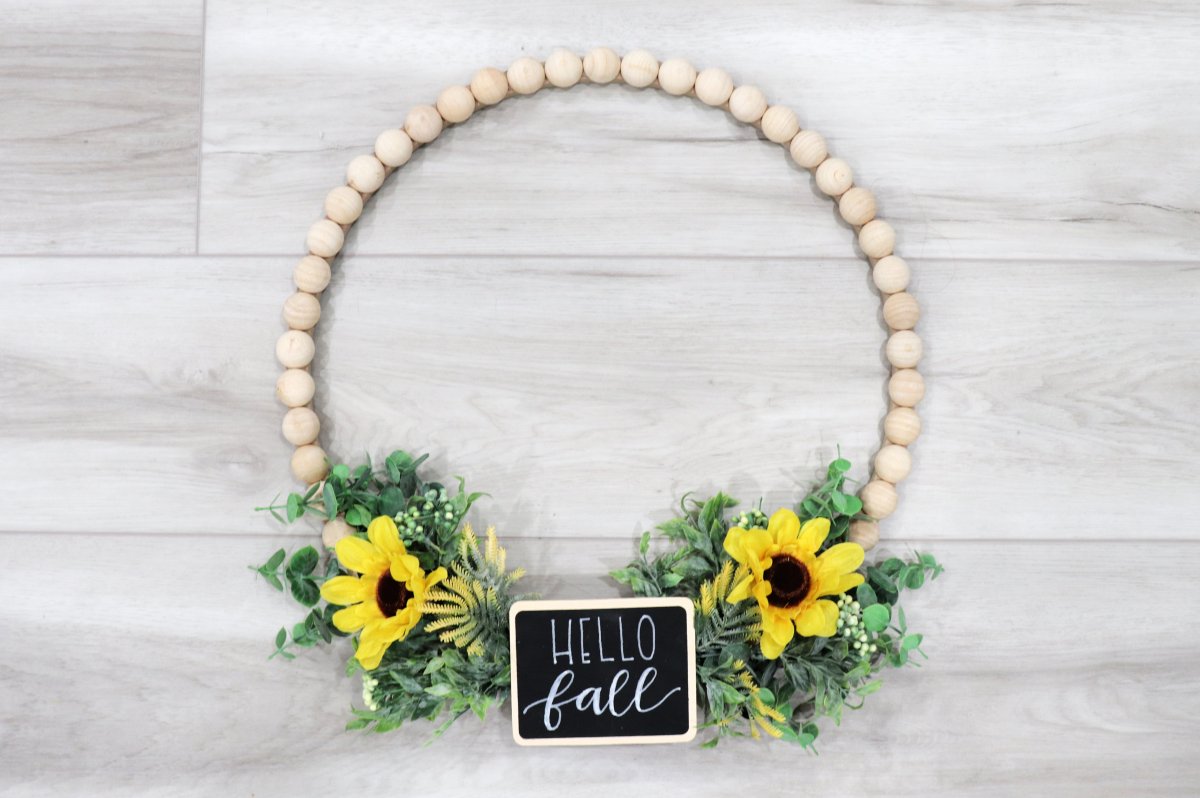
I love seasonal wreaths for the front door, but I don’t necessarily love having to store them all or paying for brand new ones every few months. The wreath we’re going to create today is a neutral wooden bead wreath that’s interchangeable for all the seasons and holidays! The floral bundles are easy to remove and swap out for something different, and you can also change the message on the little chalkboard to say whatever you like.
You’ll need:
50 half wood beads (1″)
mini chalkboard sign (3″x4″)
assorted faux leaves and flowers
white fine or extra-fine tip chalk marker
hot glue gun and glue sticks
floral wire and wire cutters
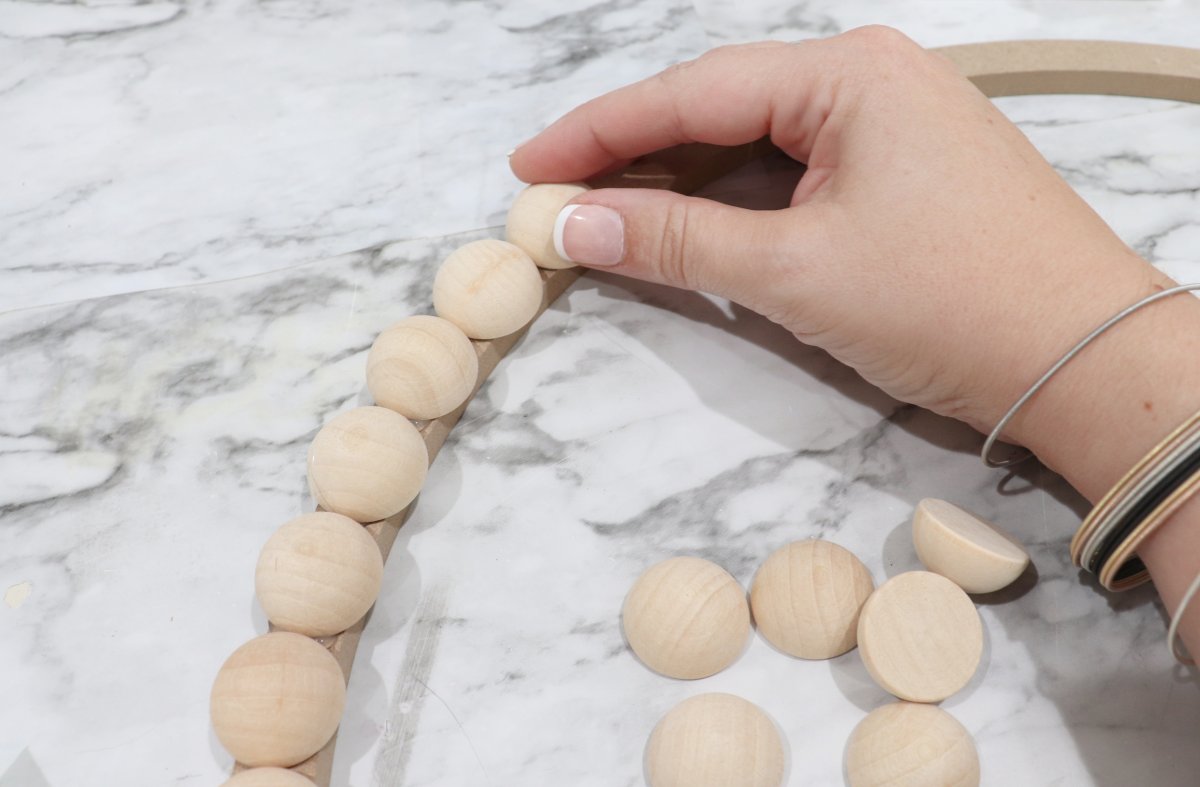
Step 1: Glue beads to the wreath ring.
You will have a small space left where you can’t fit another bead, but don’t worry, it will be covered by the flowers and chalkboard.
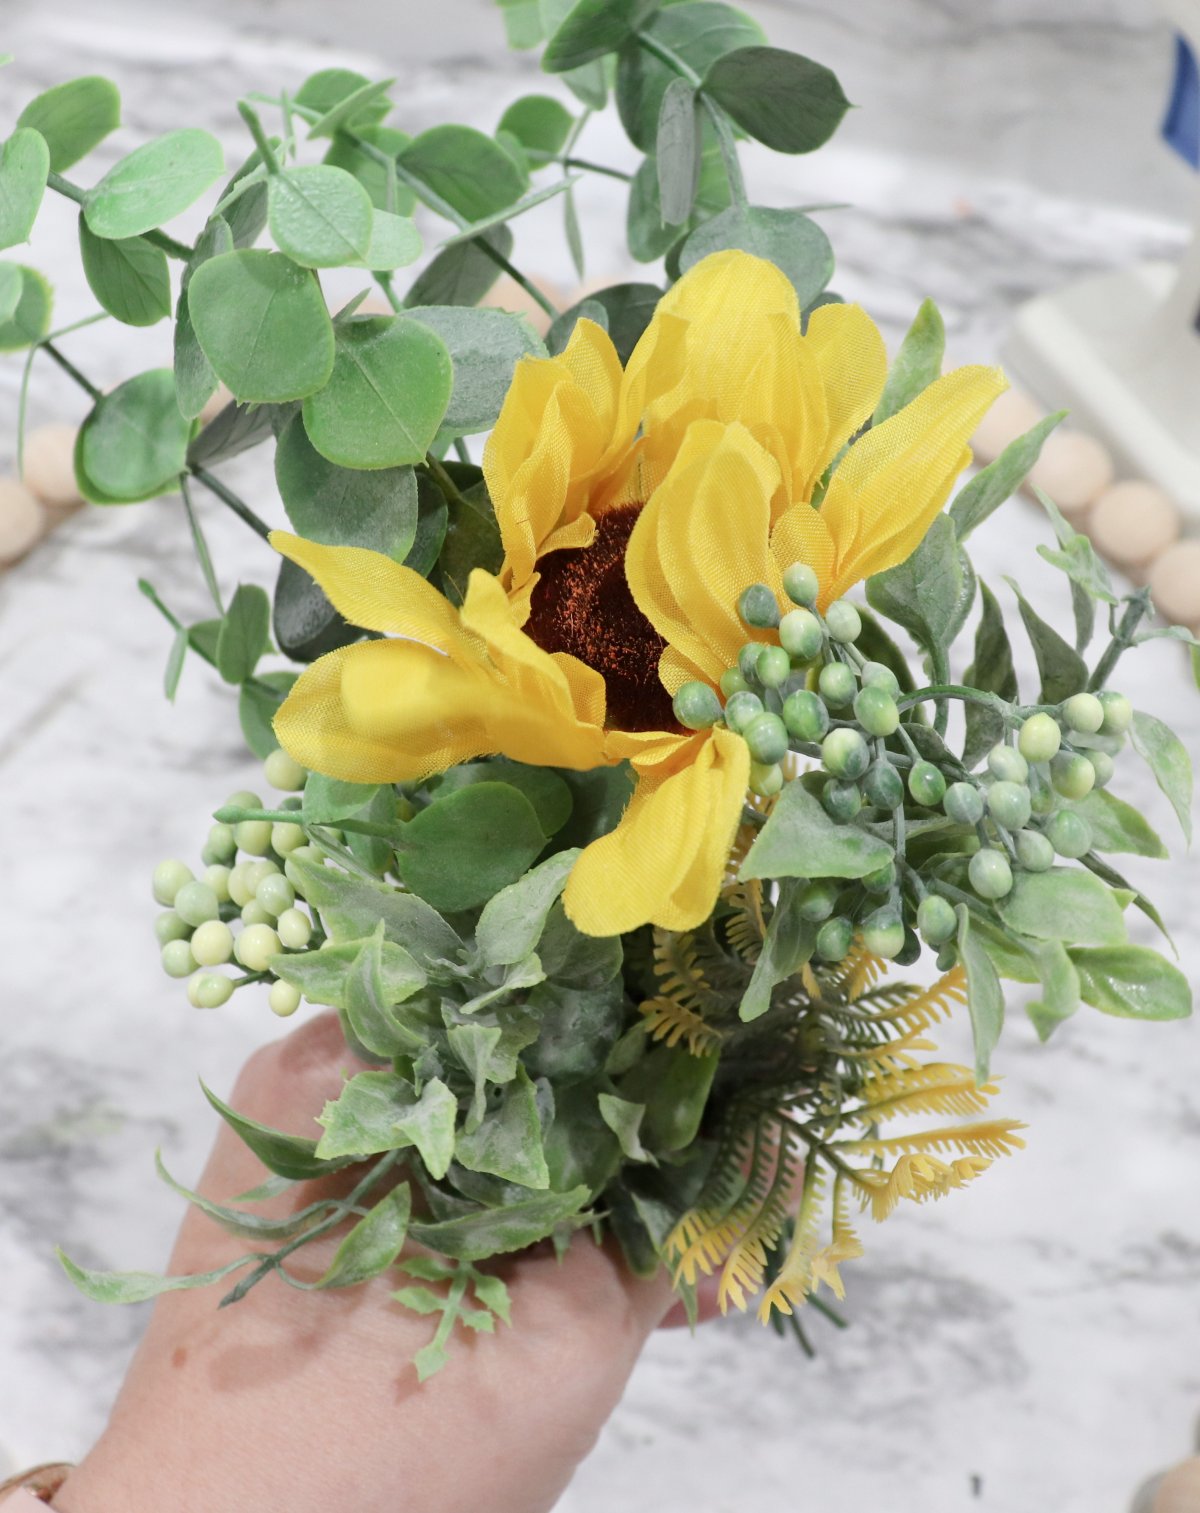
Step 2: Arrange your leaves and flowers into two bundles & secure with wire.
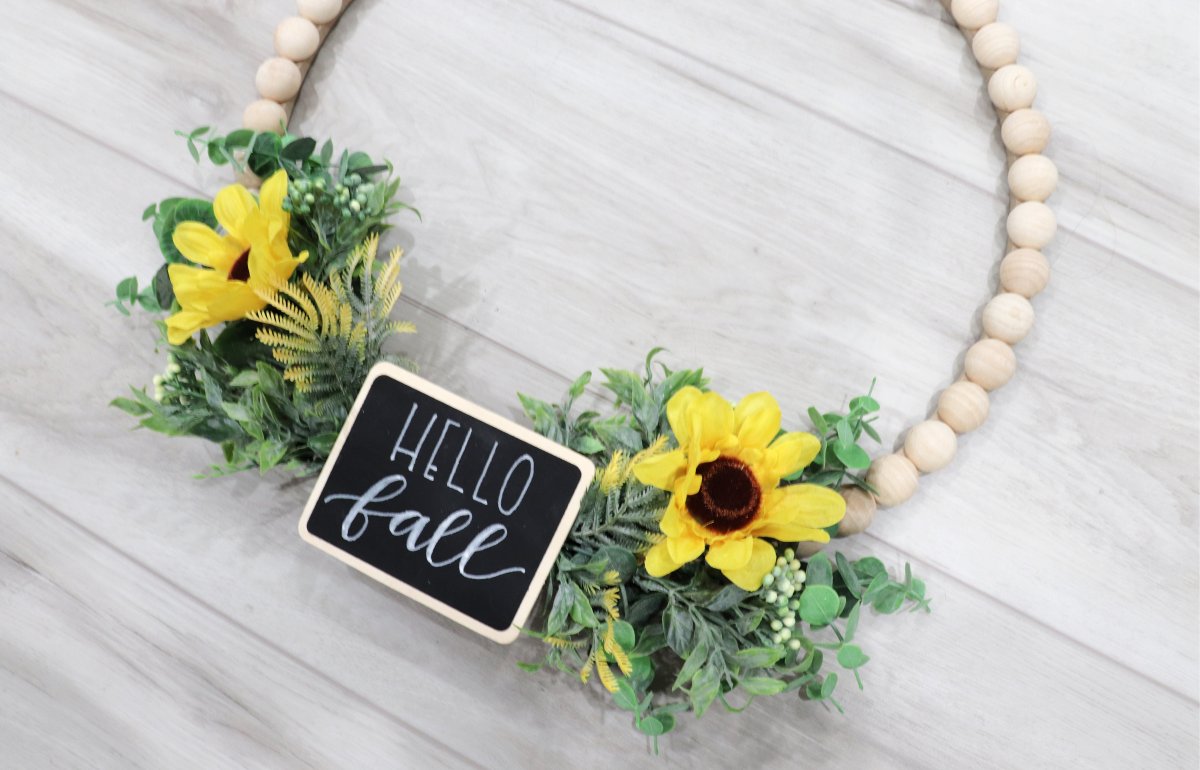
You can use whatever greenery and florals you like for the season. For mine, I used eucalyptus, sunflowers, and some fall berries, all from the craft department of my local Walmart. Once you have an arrangement you like, wrap the stems together tightly with floral wire. Then, make a second bundle just like it.
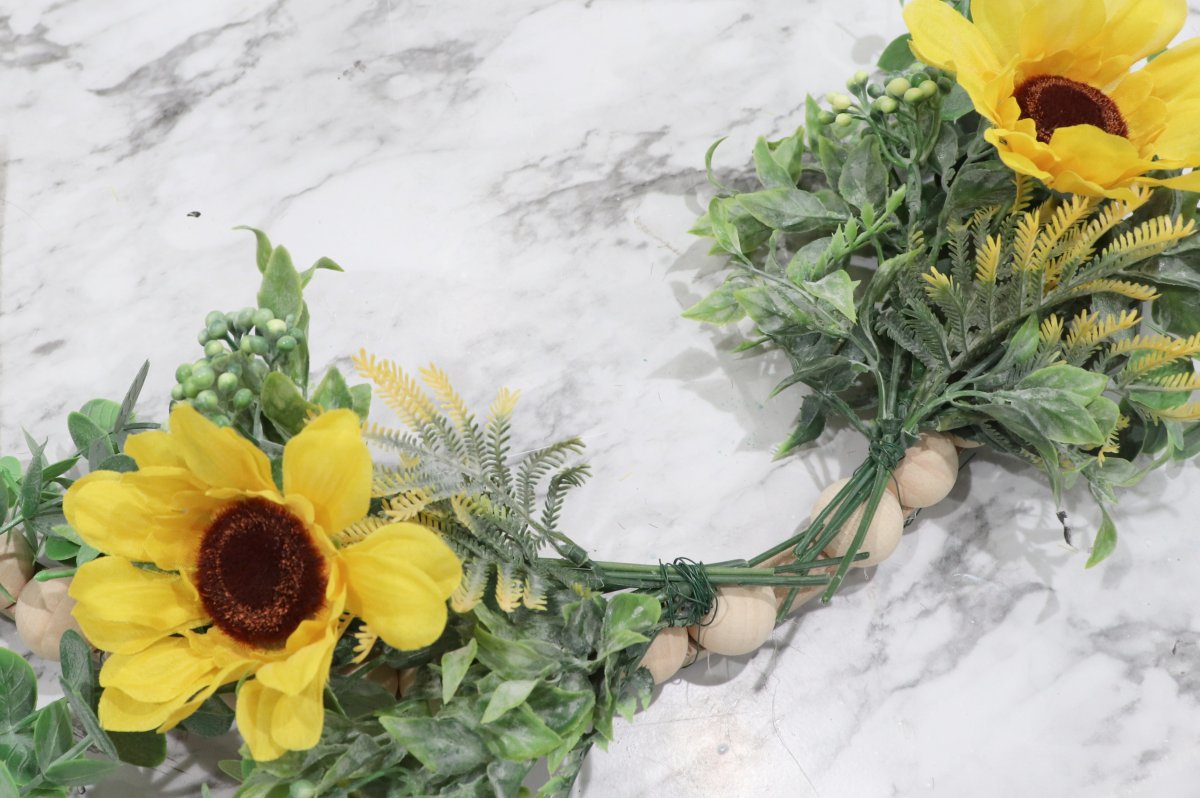
Step 3: Use floral wire to attach the bundles to the wreath.
If you want your wreath to be permanent, you could also use glue, but since I want to change my wreath seasonally, I’m only attaching this part with wire. That way, it’s very easy to pop these bundles on and off.
Step 4: Write a message on the chalkboard.
I used a combination of Rae Dunn-Inspired Print and Faux Calligraphy for my “hello fall” message. To learn how to do this type of writing, check out my lettering posts:
If you plan on changing the message, make sure to use an erasable chalk marker or a real piece of chalk. If you want to write a permanent message, like “welcome,” you can use a white paint marker.

Step 5: Use wire or ribbon to attach the chalkboard to the wreath in between the floral bundles.
Glue a piece of wire or ribbon to the back of the chalkboard. Then, use that to secure it on the wreath in the spot where your floral bundles come together.
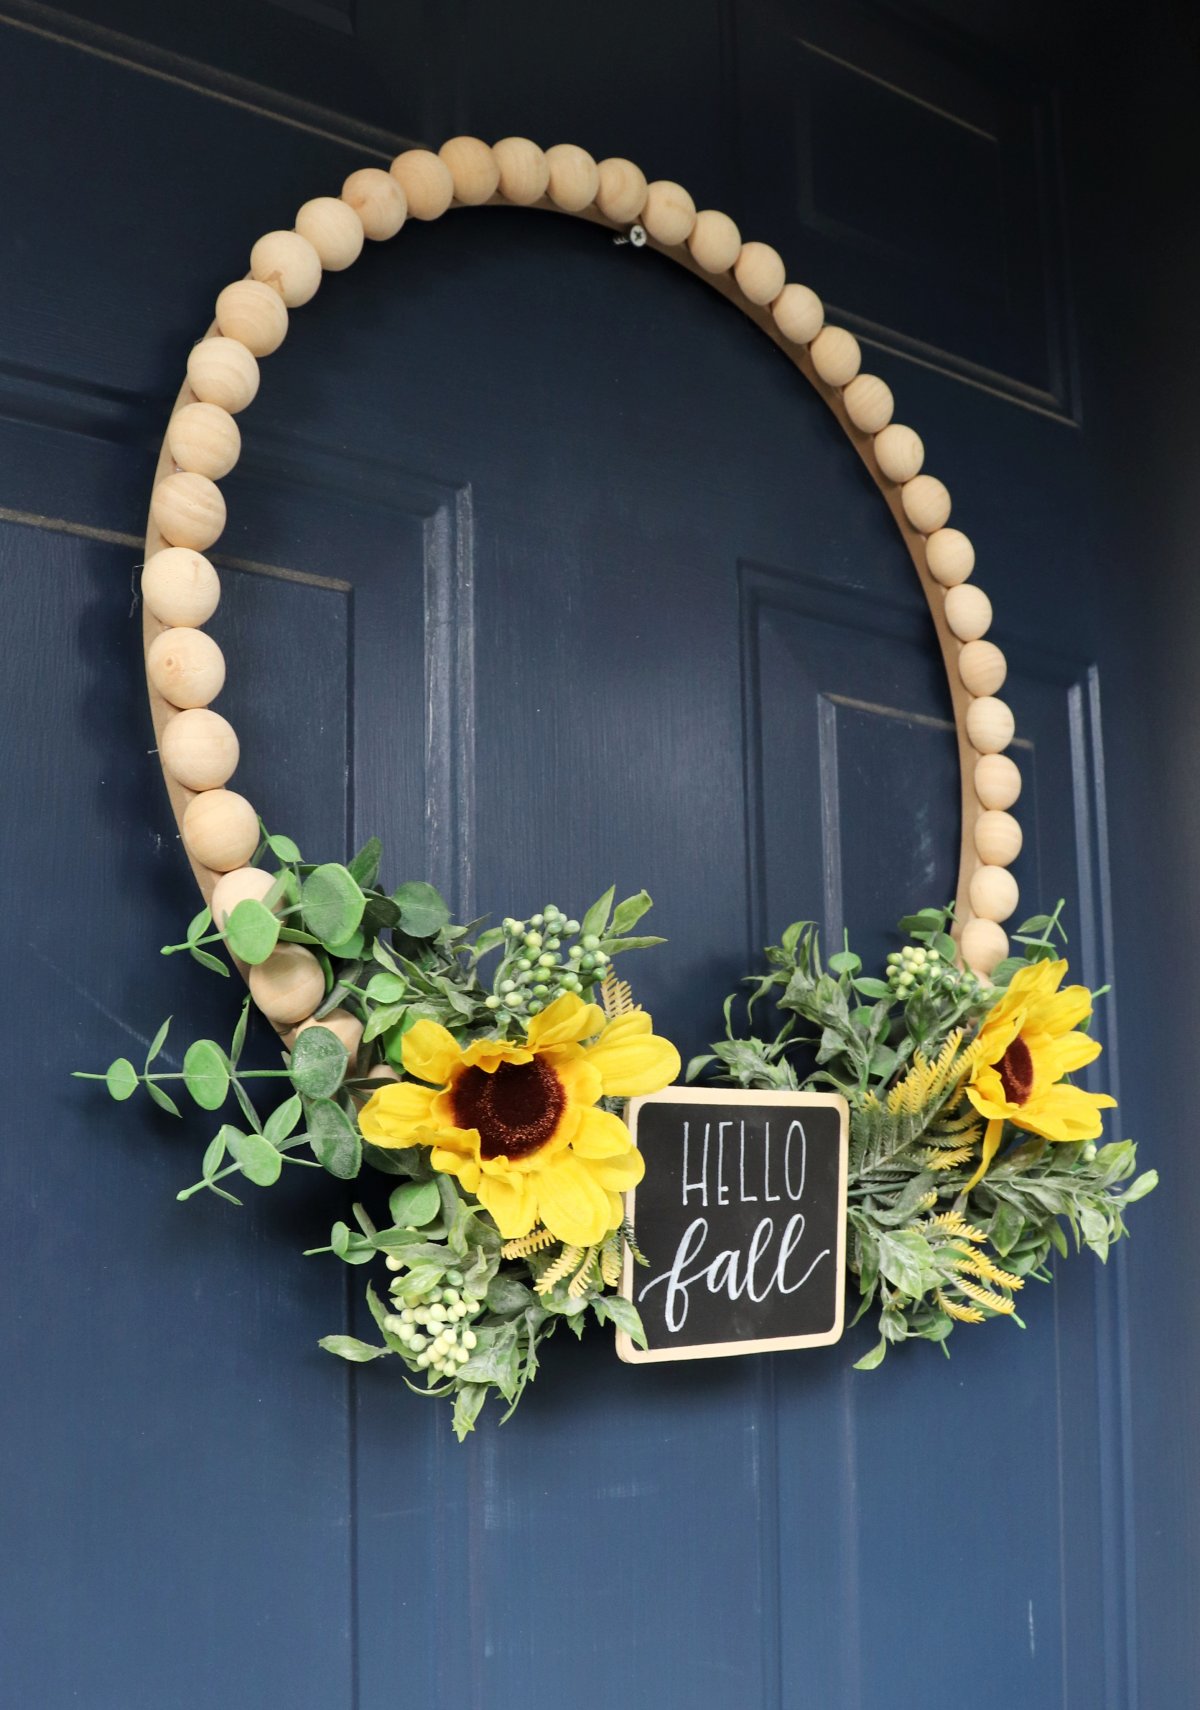
Now your wreath is ready to display! I love the way mine looks on the front door. If you want to create it for a smaller space, you can use a 12″ wreath base instead. Then, as the seasons change, you can un-twist the wires, remove the fall florals, and replace them with others.
What do you think? Is this a wreath you’d enjoy creating and displaying? If you try it, I’d love to see how yours turns out! Be sure to share your latest project photos of this or any other creations in the Amy Latta & Friends Facebook group so we can all be inspired by each other. And be sure to check out my other fall themed projects, like these favorites:


One Comment