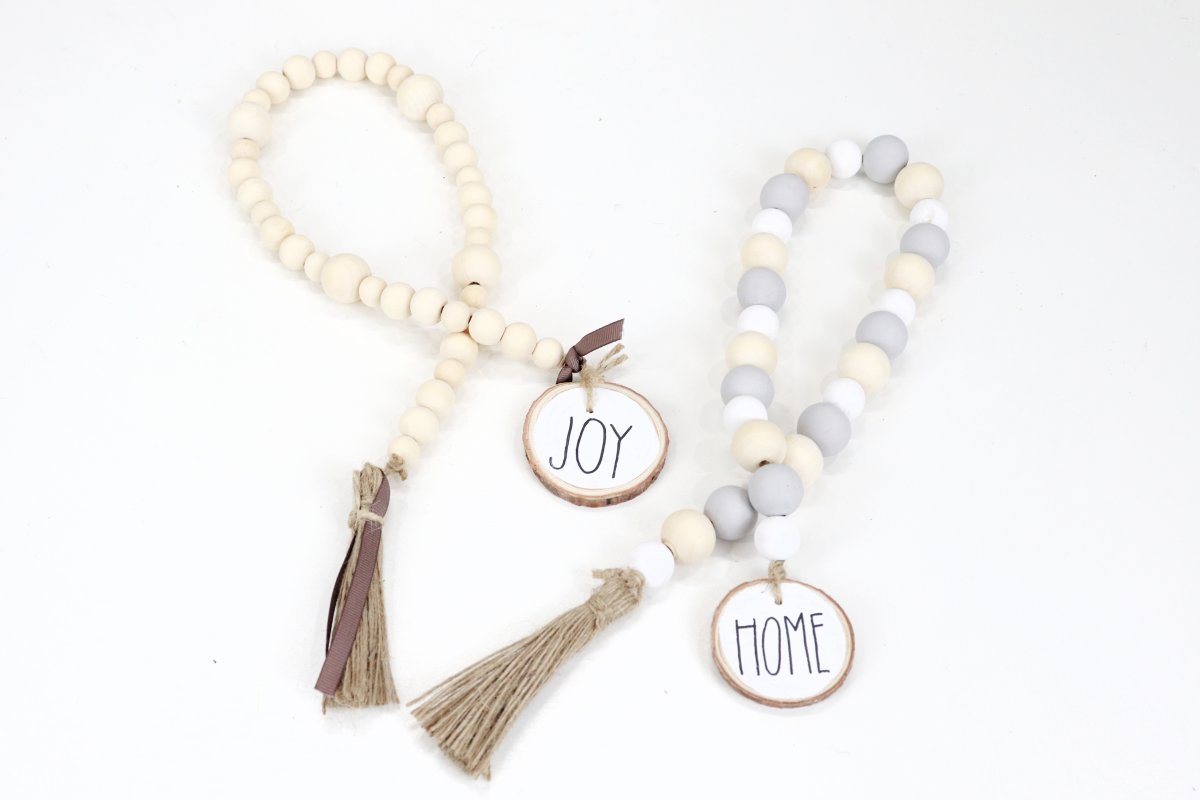
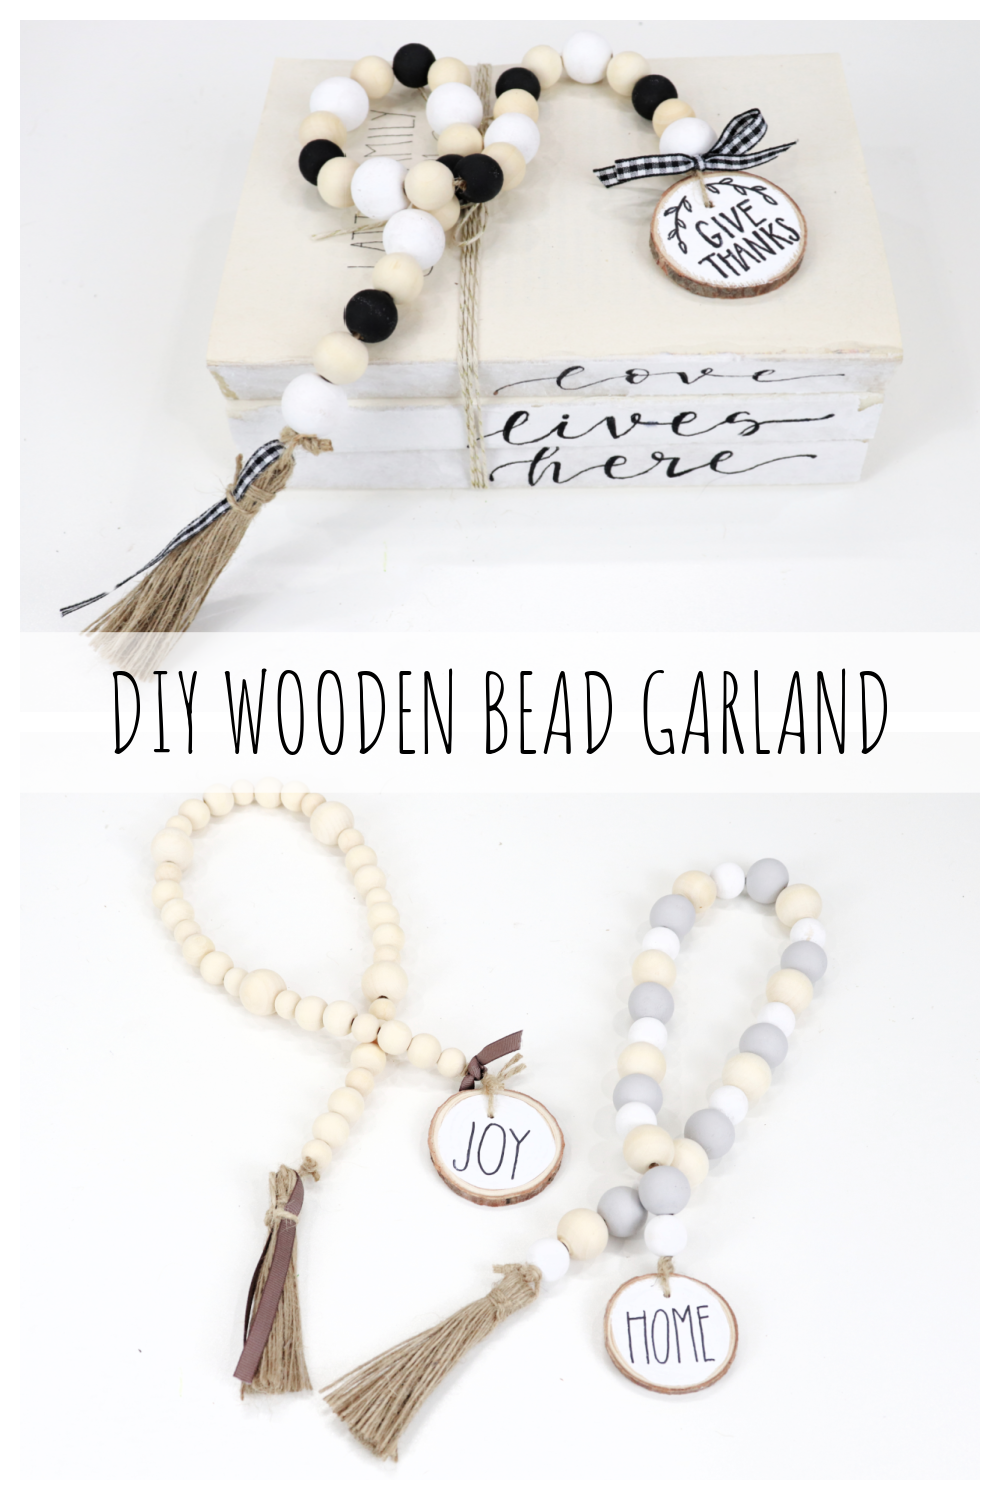
DIY Wooden Bead Garland

As you get ready to add some touches of fall decor to your home, why not create a custom DIY Wooden Bead Garland? These cute bead garlands are perfect for mantles, shelves, and trays, and you can personalize them in any way you like. Take a look.
You’ll need:
wooden beads (assorted sizes: mine are 8mm – 20 mm)
jute, twine, or string, about 36″
chalk paint and/or wood stain, your choice of colors
1/4″ plaid ribbon (optional)
scissors
small paintbrush
wooden skewers
Step 1: Choose your beads.
Choose what size(s) beads you want to use, and how many you’ll need to make your desired length garland. These garlands usually measure somewhere between 26-36″ in length. If you are using multiple sizes of beads, figure out what pattern you want to follow, so you know how many of each size you’ll use.
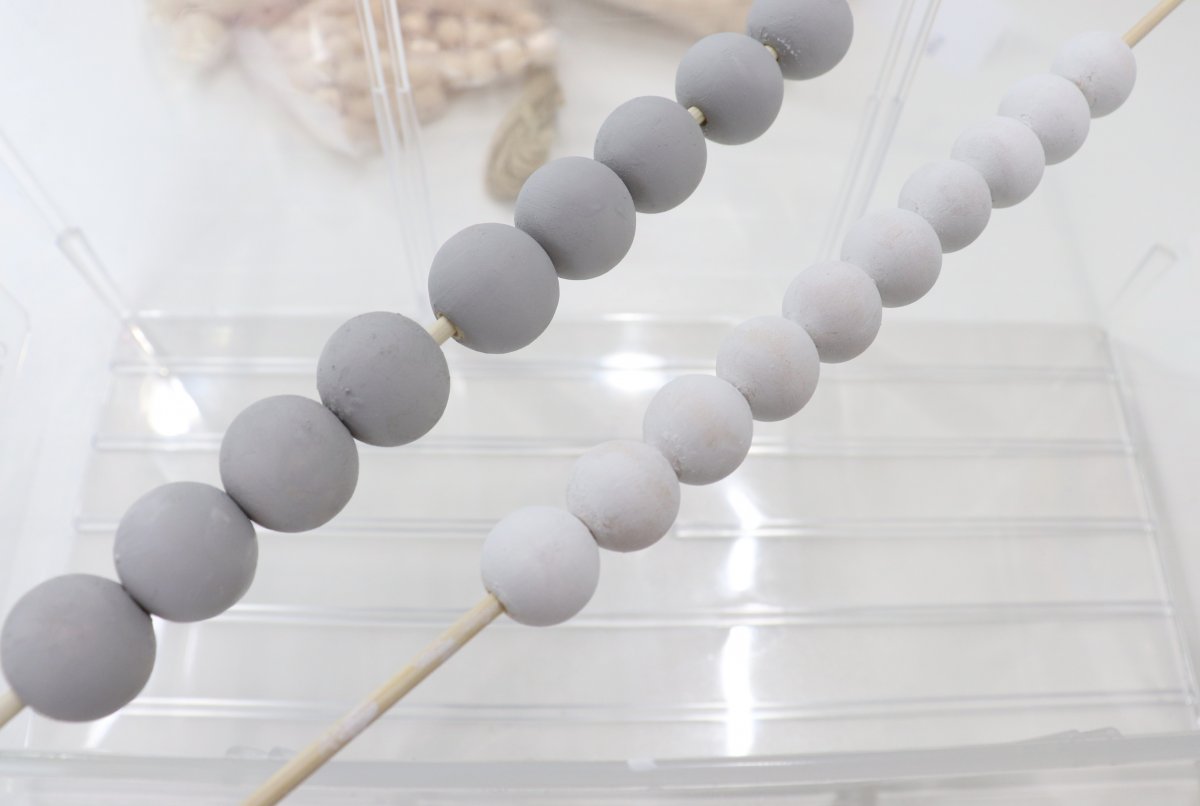
Step 2: Paint your beads.
Natural wood beads look great in these garlands, and if you want to leave them all that way, you definitely can. However, I think it’s also fun to mix in a few other shades of color. I chose to use neutrals, like brown, white, black, and grey for mine, but you can use any colors of paint or wood stain that you like. Painting round objects can be tricky, but a good trick is to thread the beads onto wooden skewers, then stick the skewers through the sides of a cardboard box. This will allow you to reach the entire outside surface of each bead. Let them dry completely before moving on to the next step.
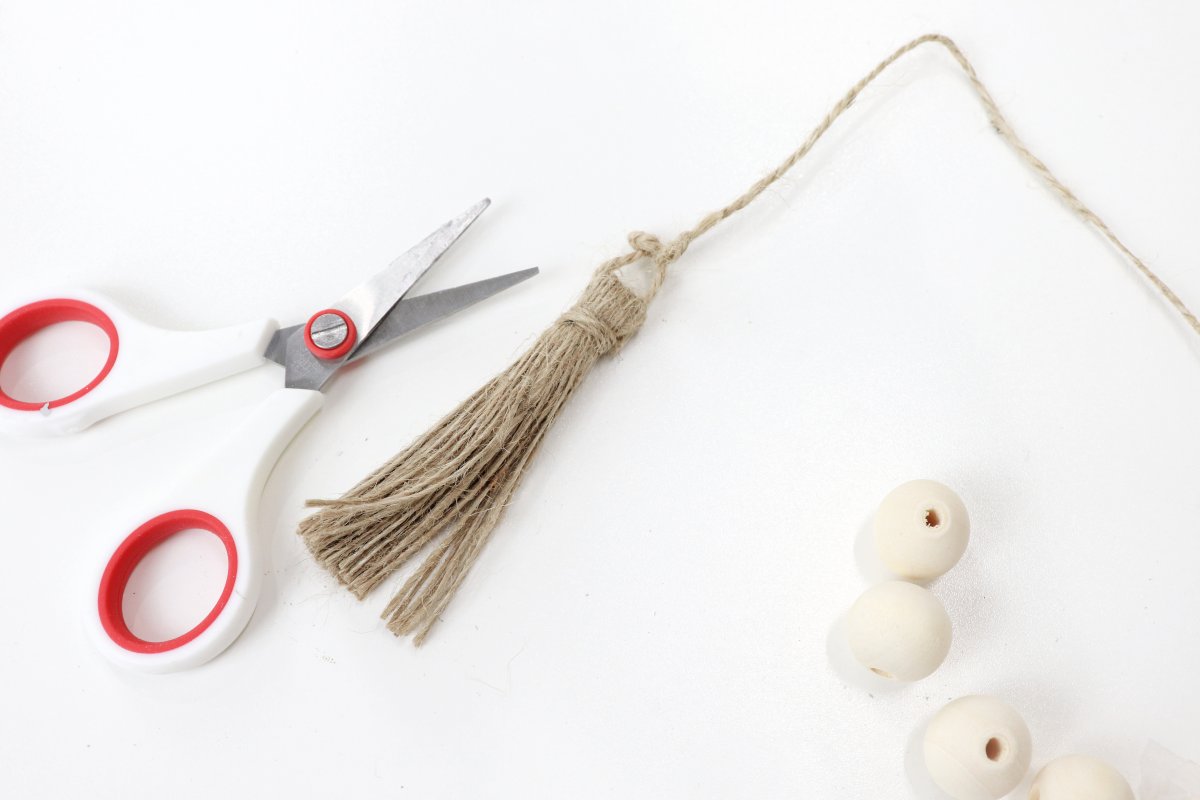
Step 3: Tie your jute string onto one tassel.
You can feel free to make your own tassels, or you can buy them pre-made. Some wooden bead kits even come with a few tassels included. Cut a piece of jute that’s about 6″ longer than you want your beaded portion of the garland to be. Tie one end to a tassel.
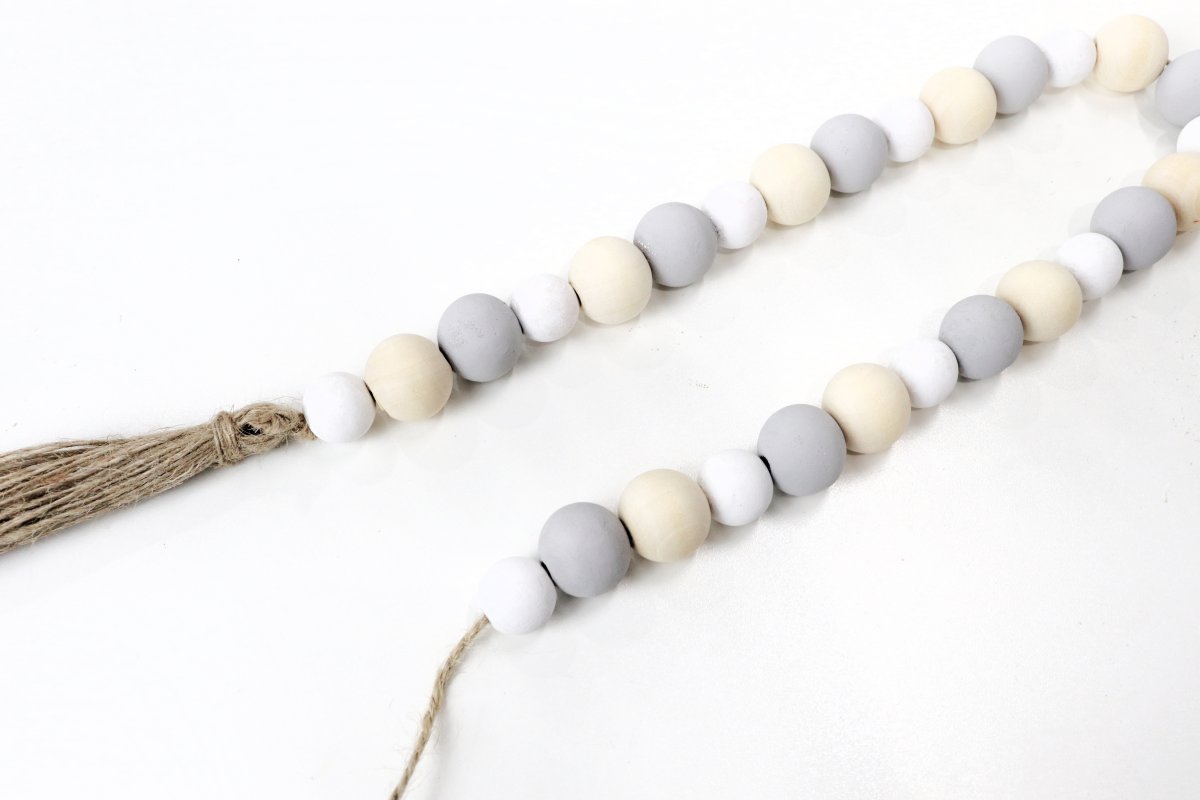
Step 4: Thread your beads onto the string.
Use any color and size pattern you like. There are tons of examples on Pinterest and Etsy that you can look at for ideas to inspire you. Some garlands are simply beads of all one size and color, while others mix things up.
Step 5: Tie a tassel or wooden decoration to the other end of the string.
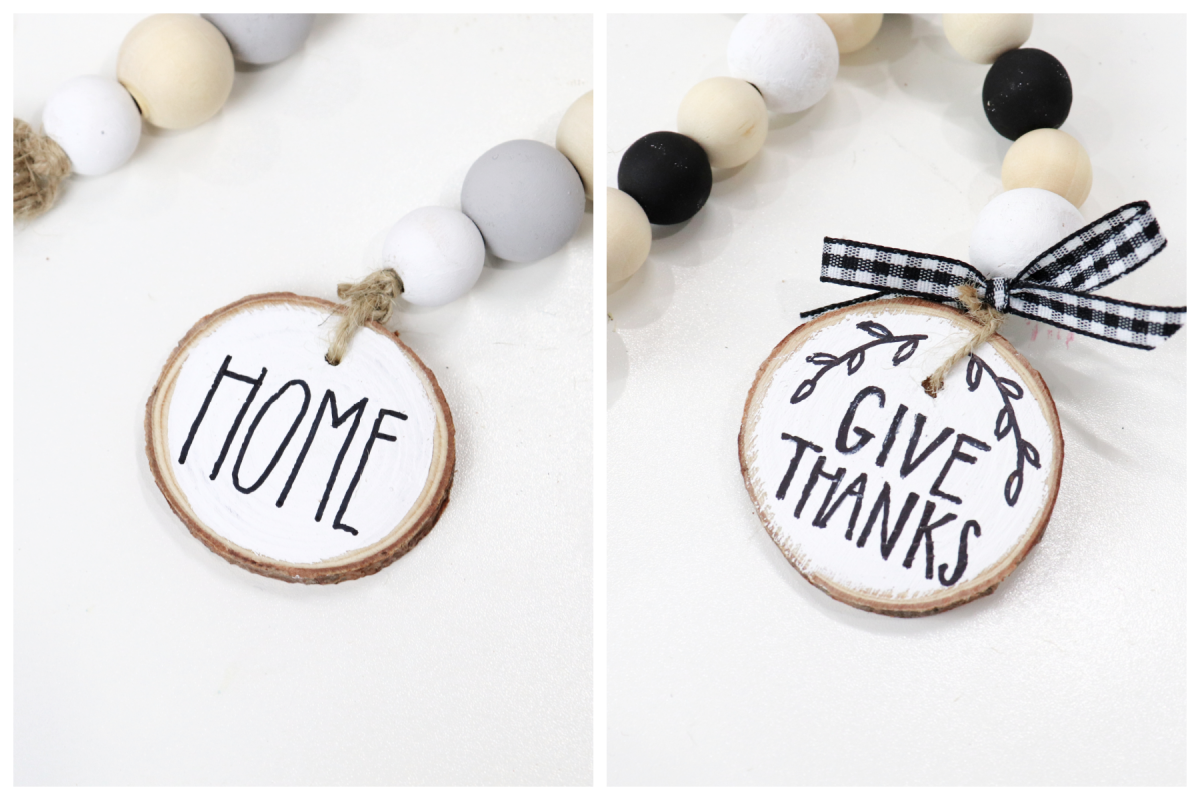
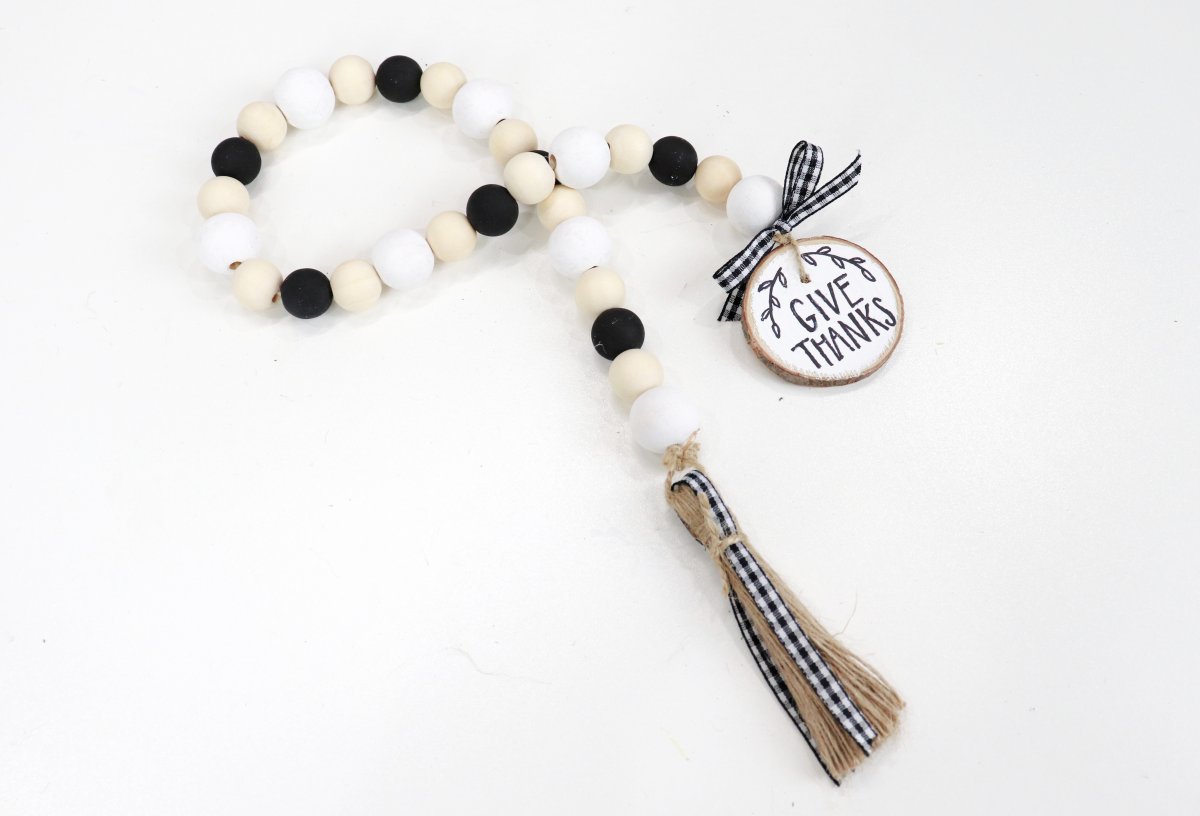
The easiest way to finish your project off is by tying another tassel onto the other end of your bead garland and cutting off the extra string. Another option is to add even more personality by replacing the tassel with a wood slice or other wooden shape. There are tons of ways to make this your own; you can wood burn a design onto it, paint it, hand letter on it, stencil an image, or do anything else you like to decorate it. For mine, I painted the wood slices white, then used a black permanent marker to add words using my Rae Dunn-Inspired Print.
Step 6: Add ribbon (optional)
To add an extra decorative touch, add a piece of 1/4″ wide ribbon in your choice of color or pattern to the tassel and/or above the wood slice.
One of my favorite things about this project is how easy it is to customize. You can use colors that coordinate with your home decor, neutrals, and/or seasonal colors to make these garlands a perfect fit anywhere you want to display them. You can also use whatever message, image, or other accent you want. Each garland is totally unique, and I had a great time coming up with different variations. If you try this project, I’d love to see what you create! Be sure to share your photos in the Amy Latta & Friends Facebook Group so we can all be inspired. See you there!
Before you go, check out my other fall projects and make sure to save this to your Pinterest board. Happy creating!

2 Comments