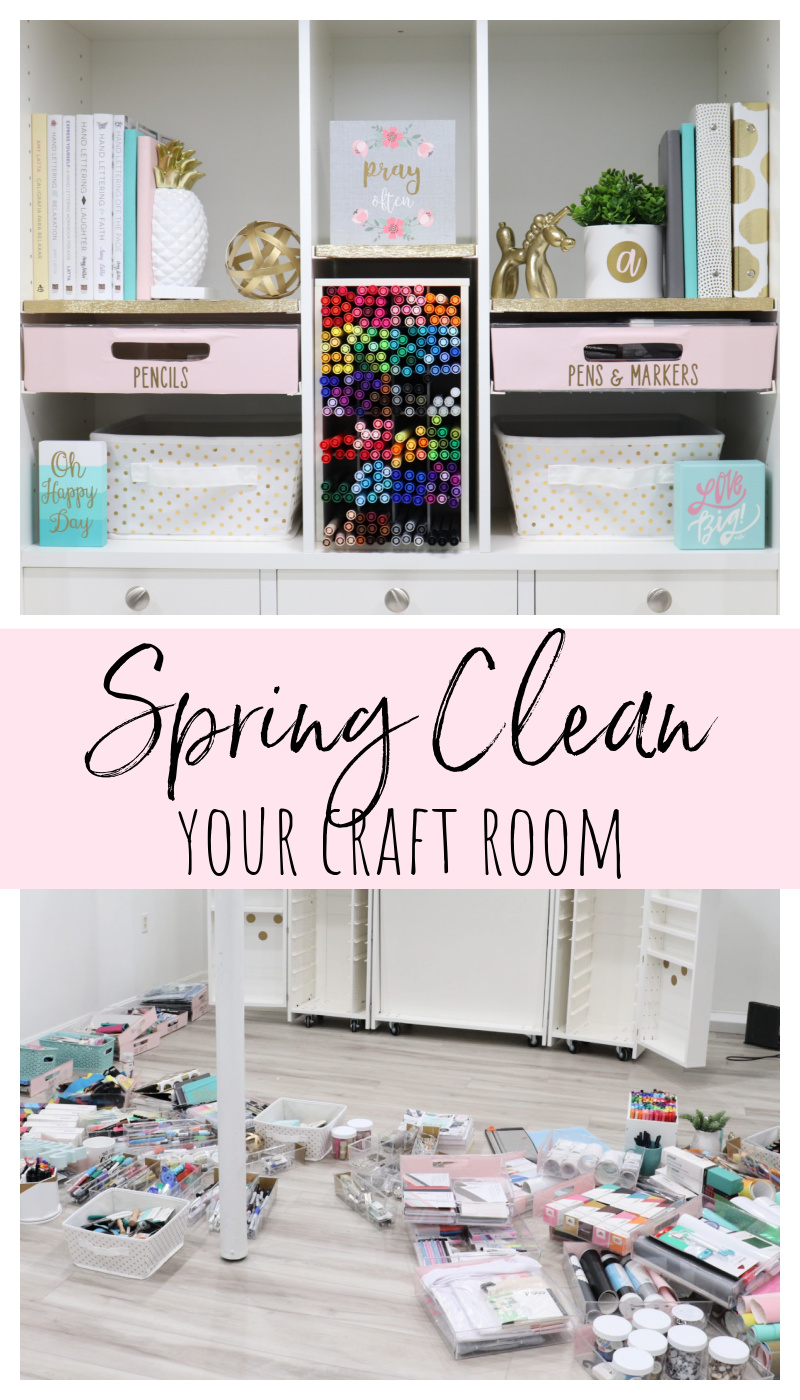
Spring Clean Your Craft Room: 4 Easy Steps
Spring is here, and with it, we often feel the urge to clean and organize the spaces in our homes. Recently, I did a major overhaul in my craft studio, and I’m thinking some of you might be feeling motivated to do the same. Here are four easy steps to follow that will help you spring clean your craft room and turn it into a freshly inspiring creative space.
1.THE PURGE
The first step to organization is getting rid of all the excess things you don’t actually need or use. This is a hard one for me, because I tend to be a packrat who is constantly thinking, “I might need that for a project someday.” The truth, though, is that if you’ve had a craft supply for over a year without using it, you probably never will. It’s okay and even necessary to part with things, because a truly organized and useful crafting space means only having the supplies you actually need. Here are a few simple steps to help you purge.
Get rid of any supplies you haven’t used in the past year.
Unless you have a specific project in mind for those supplies and a date when you’re going to complete it, it’s time to let them go.
Realistically look at your “PHDs”…Projects Half Done.

All of us have these; the projects we bought supplies for and may have even started, but never finished. Decide which ones you are honestly going to complete, and which ones you aren’t. It’s okay to say something didn’t work out the way you hoped, or that you aren’t interested in it anymore. Let those projects go (without any negative self-talk), and focus on finishing the others.
Do a quality test.
Check your partially used supplies like paint, glue, Mod Podge, etc. to see if they are still in good condition. Throw away anything that has turned gloppy or dried out. Test out markers, paint pens, and fabric pens on scrap paper to make sure they haven’t dried up. Get rid of any supplies that are no longer in useable condition.
Get rid of duplicates.
If you’re a supply hoarder like me, you’ll probably find that you have multiples of the same thing that you don’t really need. For example, yes, it’s great to have a jar of Sparkle Mod Podge. I did not actually need six of them. If you don’t reasonably expect to need the extras anytime soon, it’s better to donate them (we’ll talk more about this in the next step) than hang on to them indefinitely. If you need more in the future, you can always purchase it when the time comes.
Once you’ve gone through your supplies and separated what you use from what you don’t, it’s time to decide what to do with the things you aren’t keeping.
2. THE DONATION
Personally, I hate throwing things away or feeling like I’m wasting them, so aside from the things that failed the quality test, I like to donate my excess pile. There are several different things you can do with these extra supplies.
FRIENDS & FAMILY: If you have other creative folks in your life, offer them the opportunity to come over and “shop” for free from your discard pile. Don’t forget about people with young kids who will be way more excited about those old pipe cleaners than you are. You may be surprised by how useful your discards are to other people!
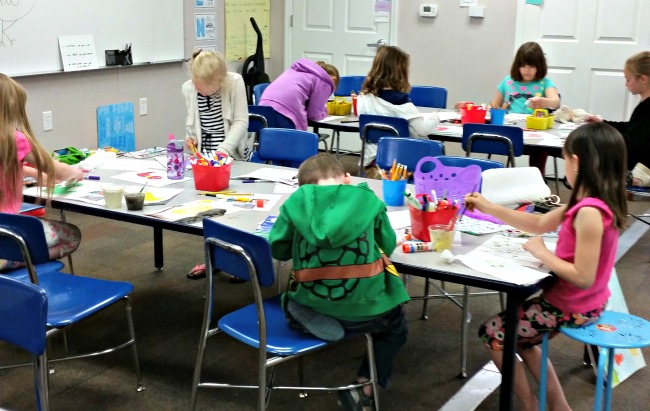
LOCAL SCHOOLS: Art teachers get positively giddy when you remember them and bring a donation of supplies for the classroom. They work with a very limited budget, and are always in need of even the most basic things, like glue, glitter, and paint. Contact a local school and ask to speak to the art teacher to see if he or she is interested in what you have. Chances are, they will jump at the opportunity to take whatever you’re giving.
NON-PROFIT ORGANIZATIONS: There are tons of local groups who have miniscule budgets and would love to take those supplies off your hands for their crafting projects. Here are some groups you could contact: Scout troops, Senior centers, libraries, church children’s ministries
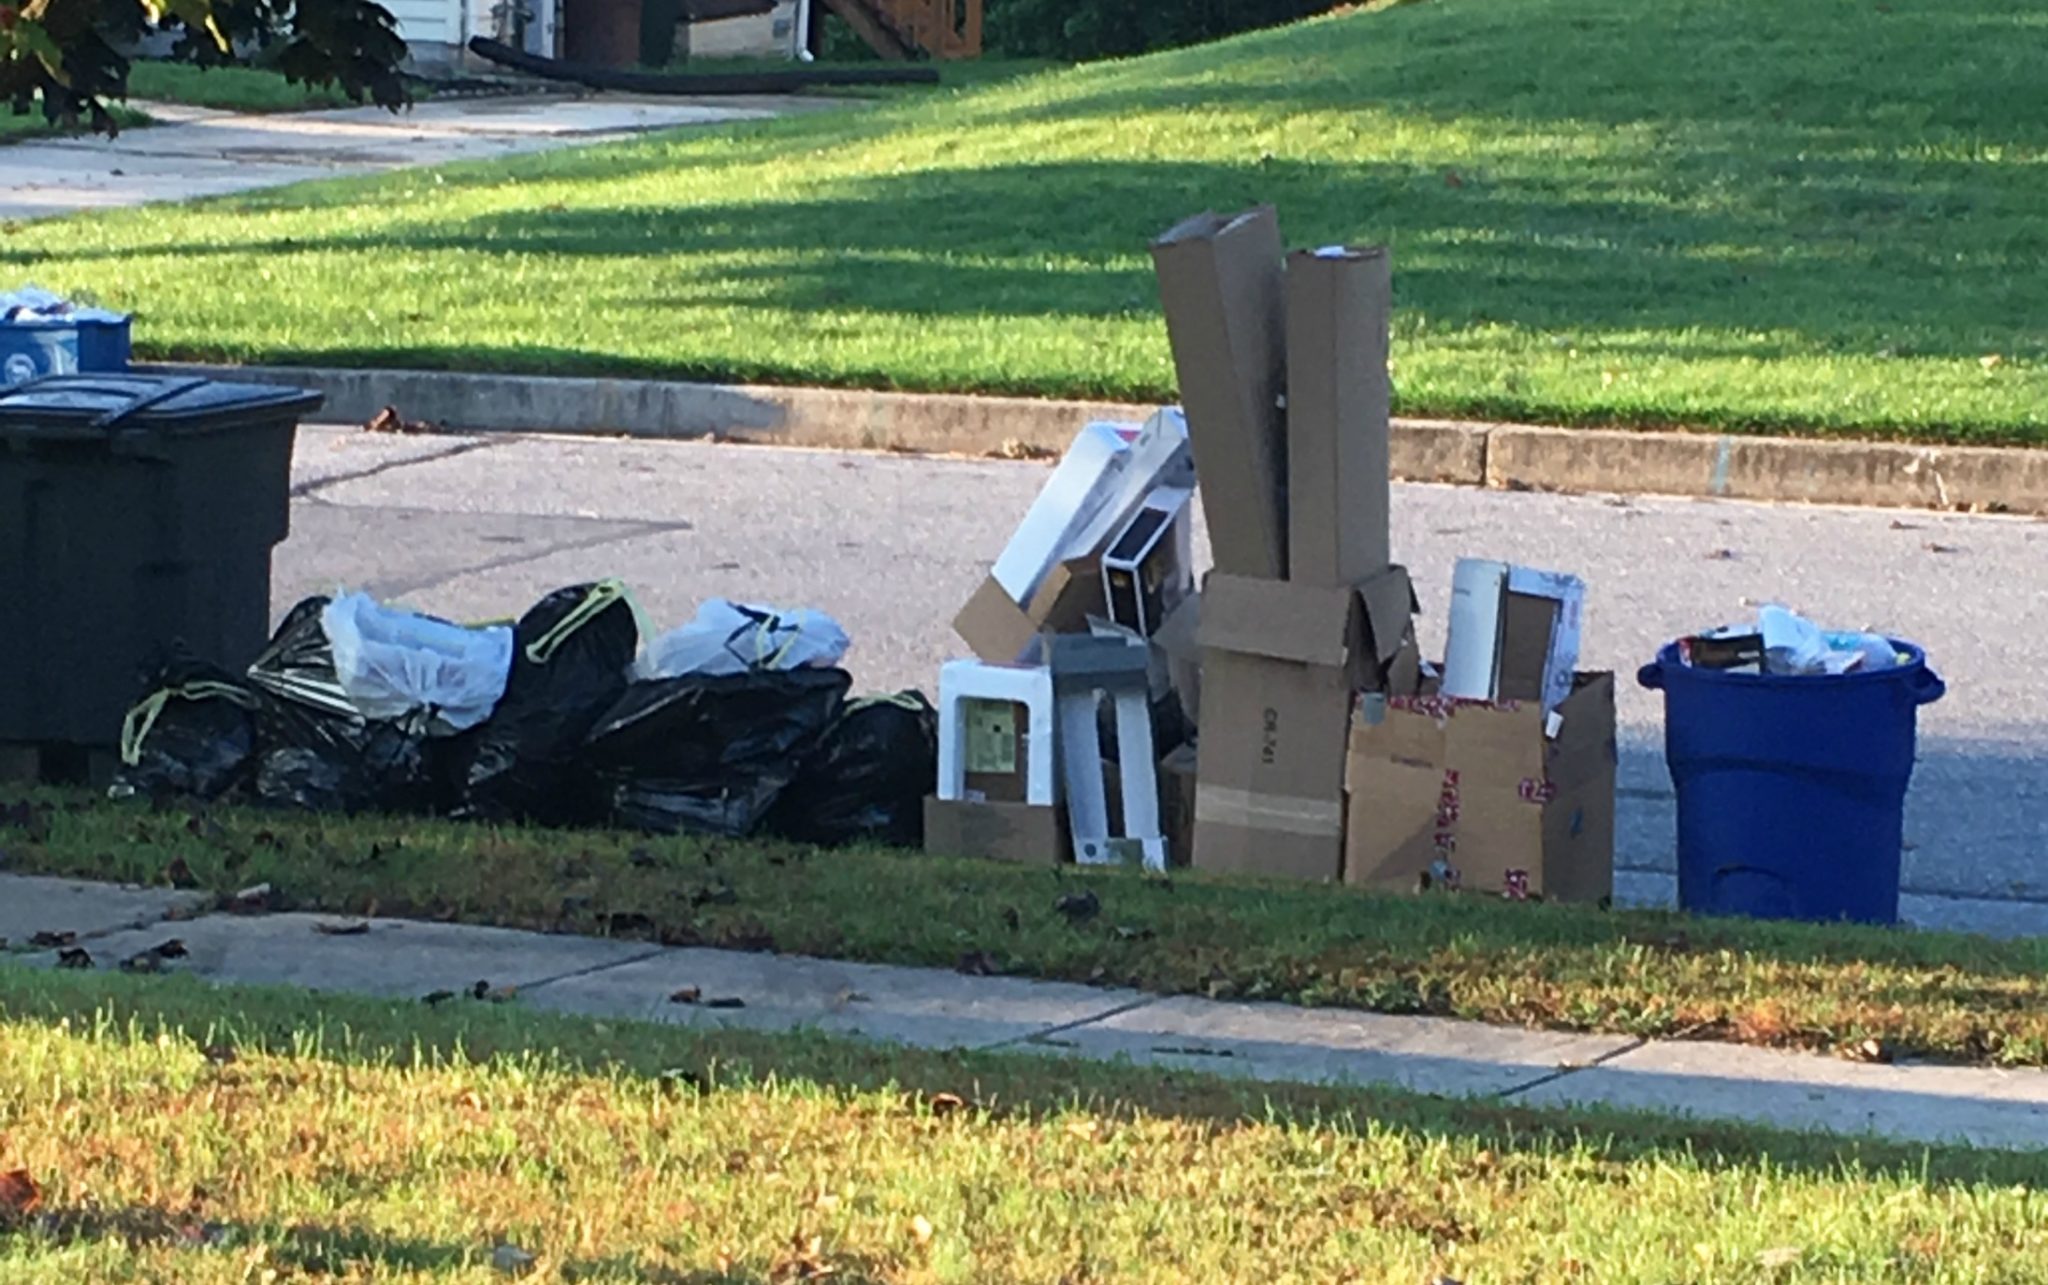
GOODWILL: Unlike the other options, Goodwill does charge customers at resale, but it’s still a way to help the community and to have your supplies used rather than thrown away.
Once you’ve taken care of your purged items, it’s time to organize the things you are keeping.
3.THE BIG SORT
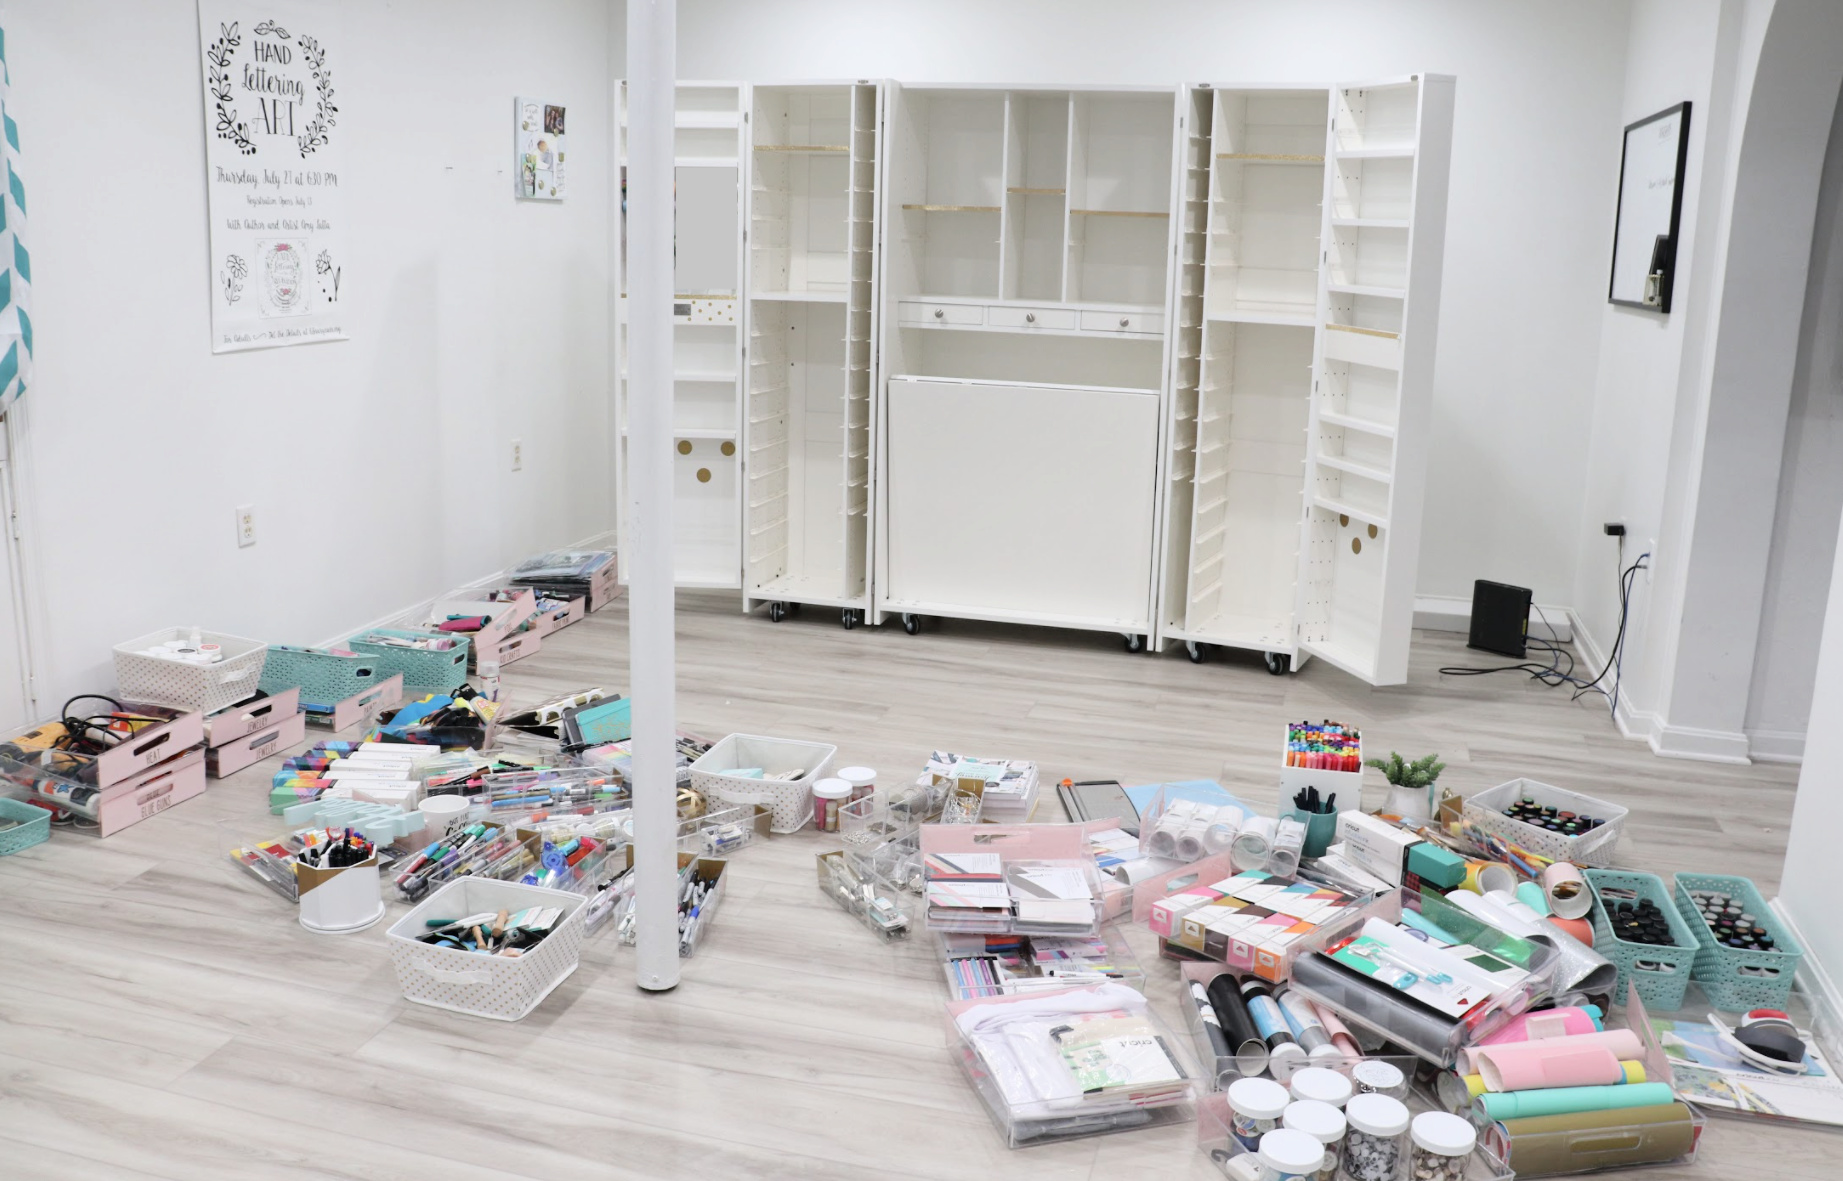
Go through all of your supplies and sort them based on what type of crafting they represent. For example, my groupings were something like this: Hand Lettering, Cricut, Metal Stamping, Jewelry making, Crochet, Painting, General.
Then, once you have your broad categories, sort them more specifically. I took my lettering supplies and sorted them into paper, pencils, markers, paint markers, etc. I sorted my Cricut supplies into vinyl, mats, tools, Infusible Ink, blanks, and so on.
Now, take those smaller categories and sort even further. I took my paint markers and sorted them into black and white, metallics, and colors. I sorted my Cricut vinyl into permanent, removable, HTV/Iron-On, specialty, and Smart Vinyl.
The more specific your categories are, once you store them, it’ll be SO easy for you to find the exact supplies you’re looking for. Make sense?
4.THE RIGHT STORAGE
A huge part of having an organization system that really works long-term is choosing the right types of storage for your items. Here are a few of the things I use and what they’re particularly great for:
CLEAR CONTAINERS
The benefit of these is that you can easily see exactly what’s inside. I like using these for things like glitter, buttons, etc. so that I can organize them by color and immediately see what options I have. They also look super pretty on the shelf, which is a nice added bonus!
![]()
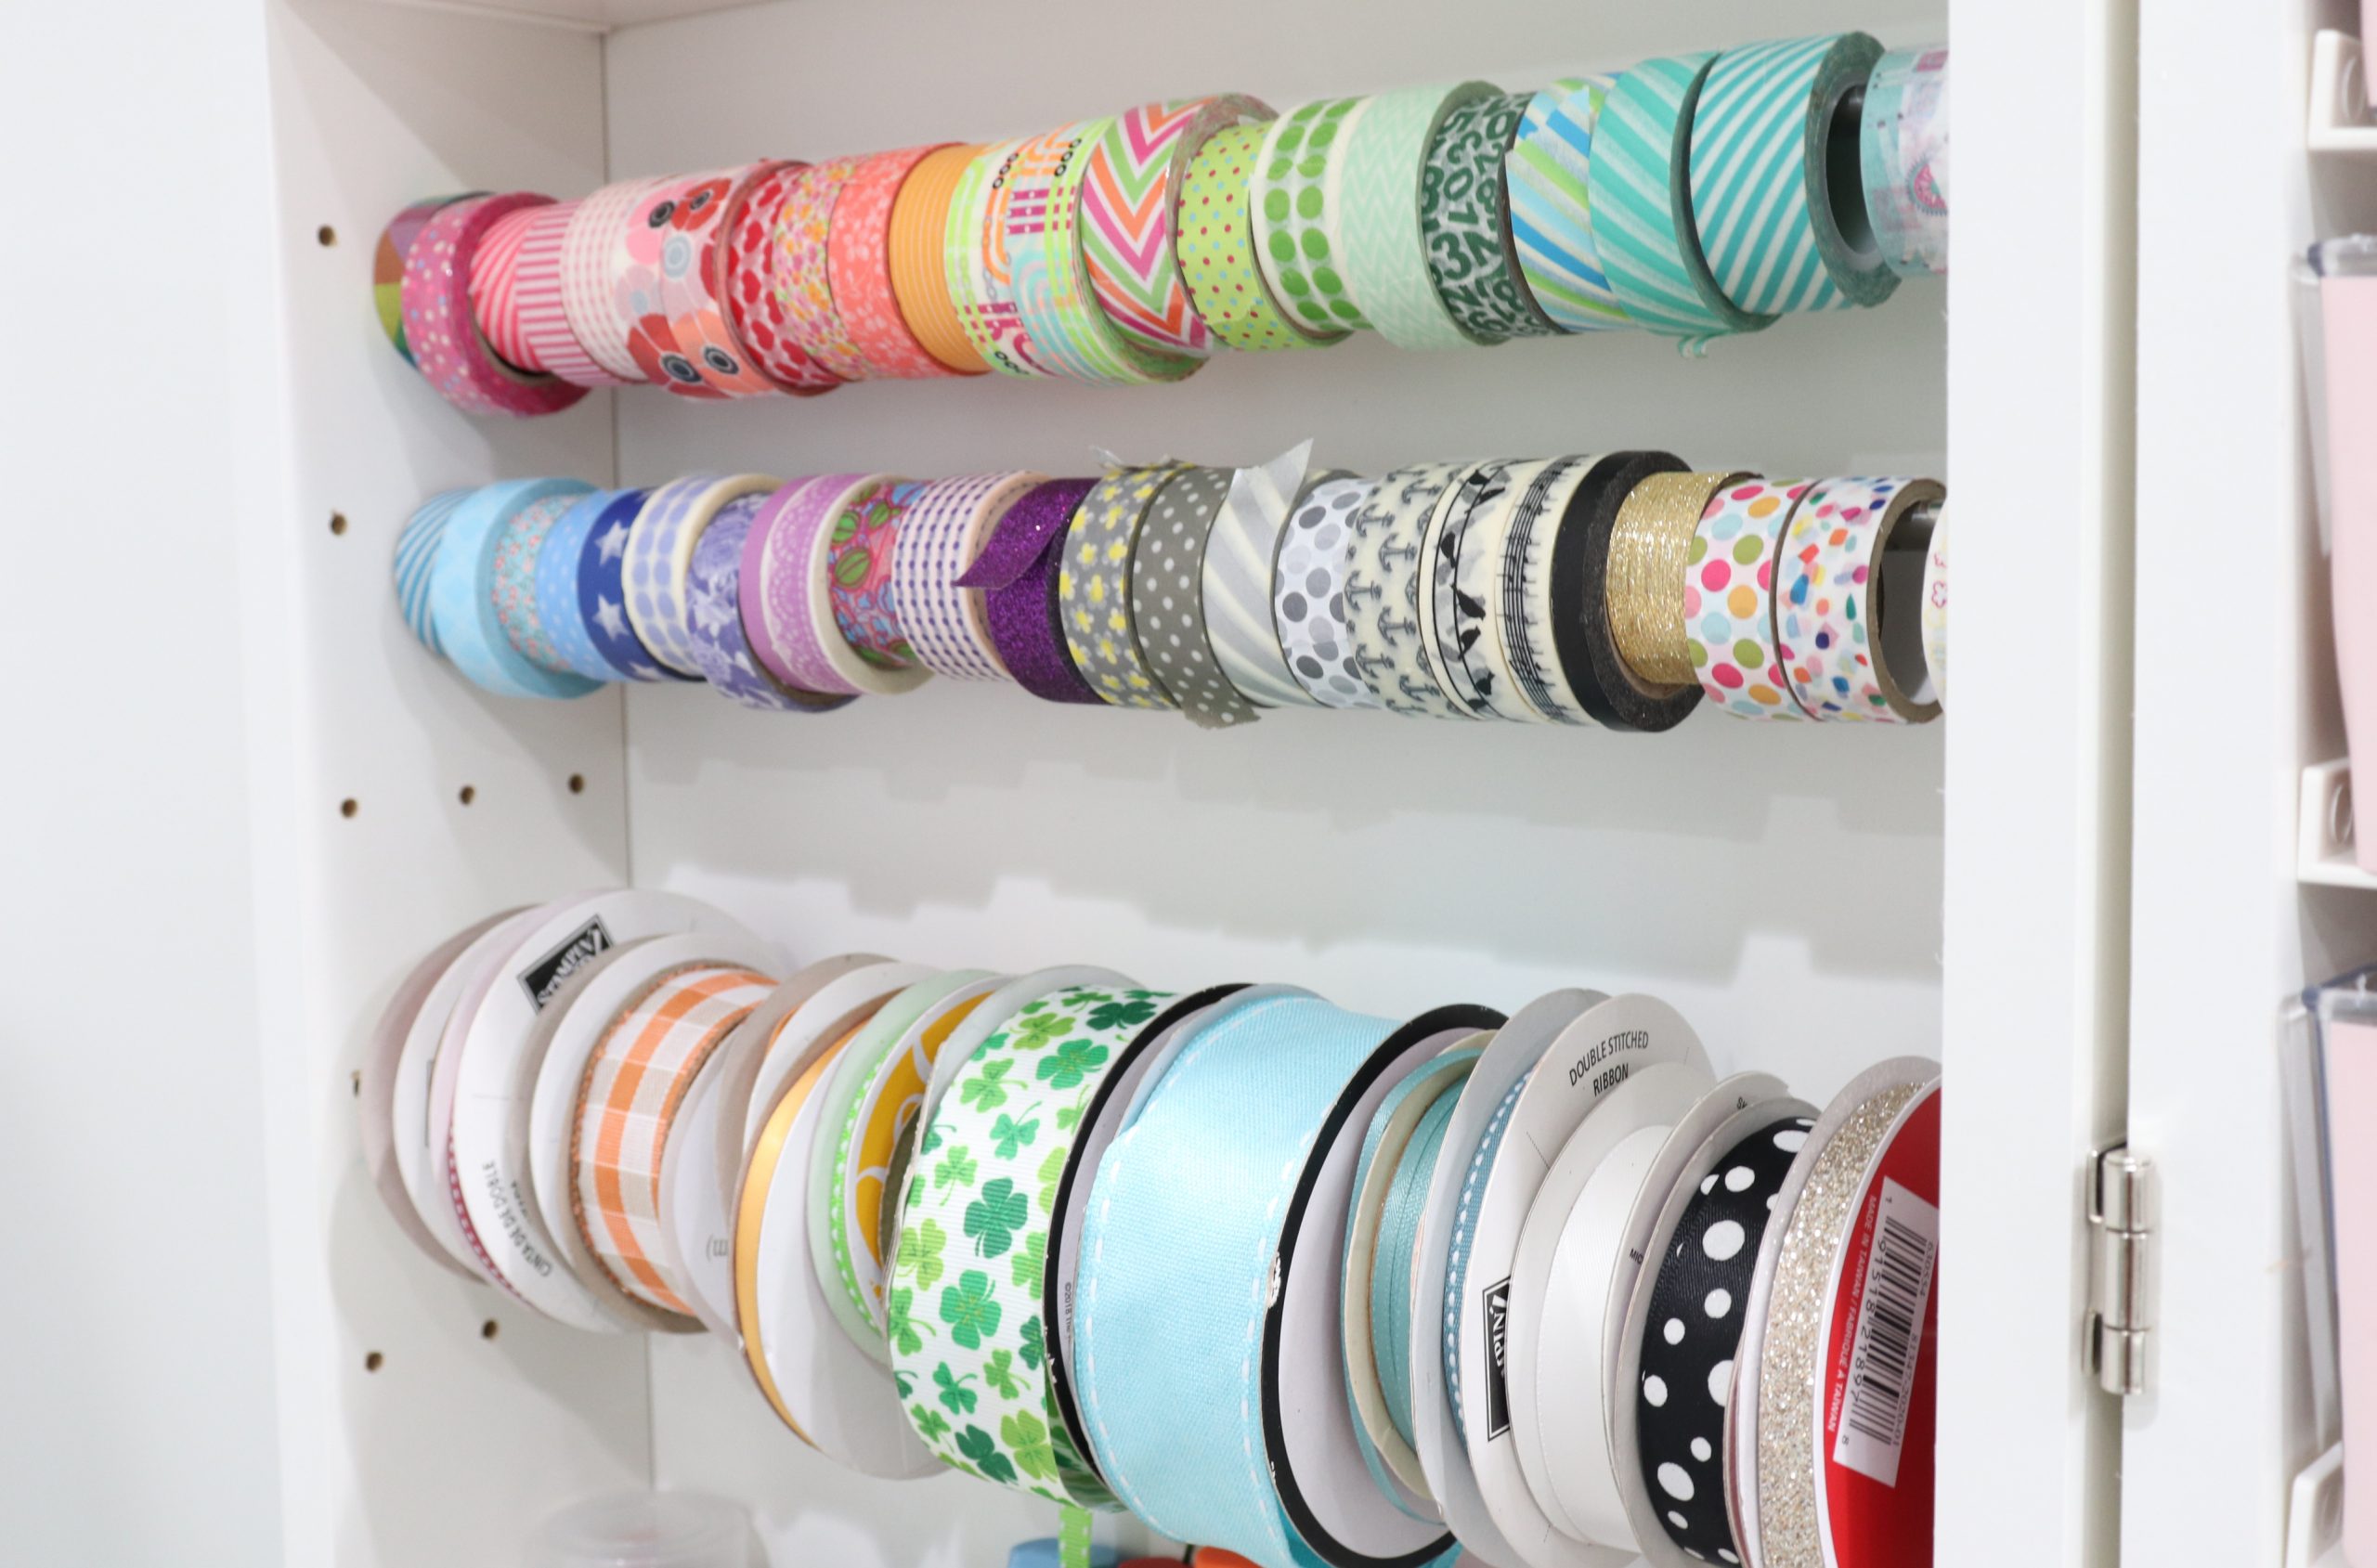
RODS/BARS
I love using metal rods to hold things like washi tape and ribbon. I used to keep these supplies all jumbled up in bins and baskets, but I never knew what colors and styles I had. It was impossible to find exactly what I wanted, and the ribbon often got tangled. Now, I can see at a glance all of my options. When I need to use it, I just roll off the amount I need, snip it, and go on my way! This has been a game changer solution for me.
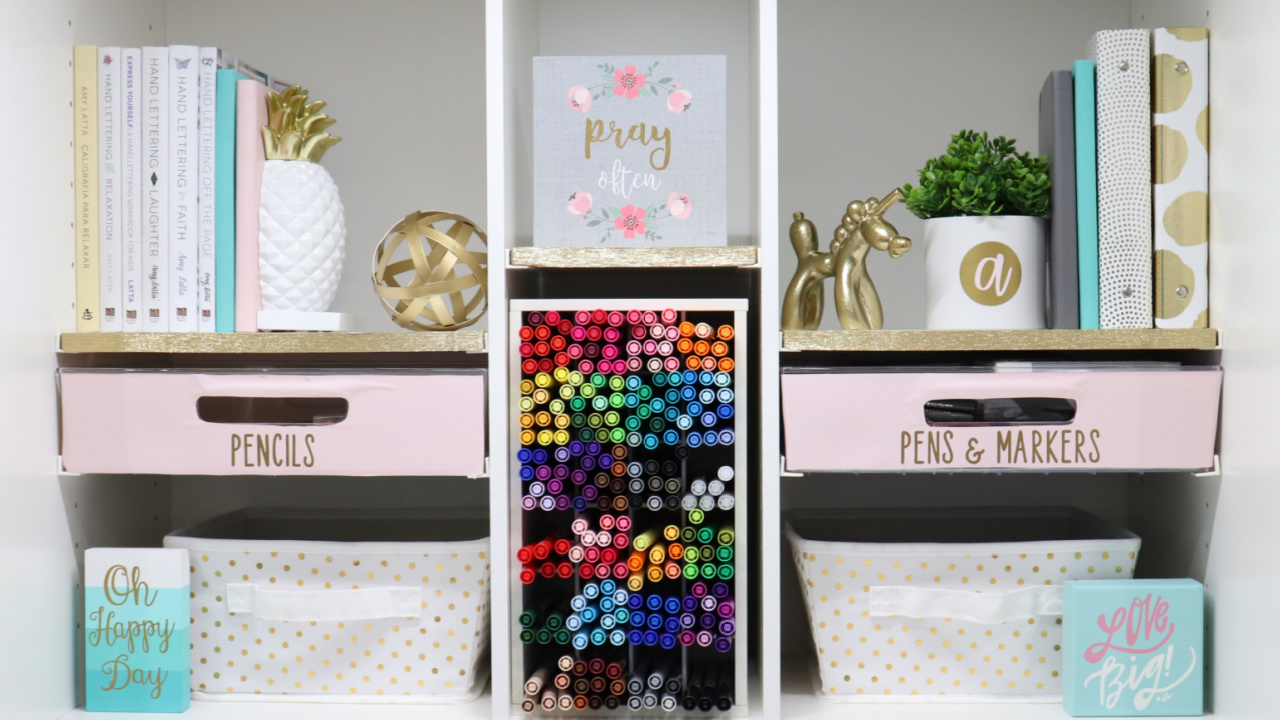
BINS WITH LABELS
For items that aren’t going in clear containers, I recommend using bins you can label. I used my Cricut to cut the name of each bin’s contents from permanent vinyl and adhered it to the front. Now it’s incredibly easy to see exactly where all of my supplies are located, and it also makes cleanup a piece of cake. My bins are part of my DreamBox, which you can learn more about here.

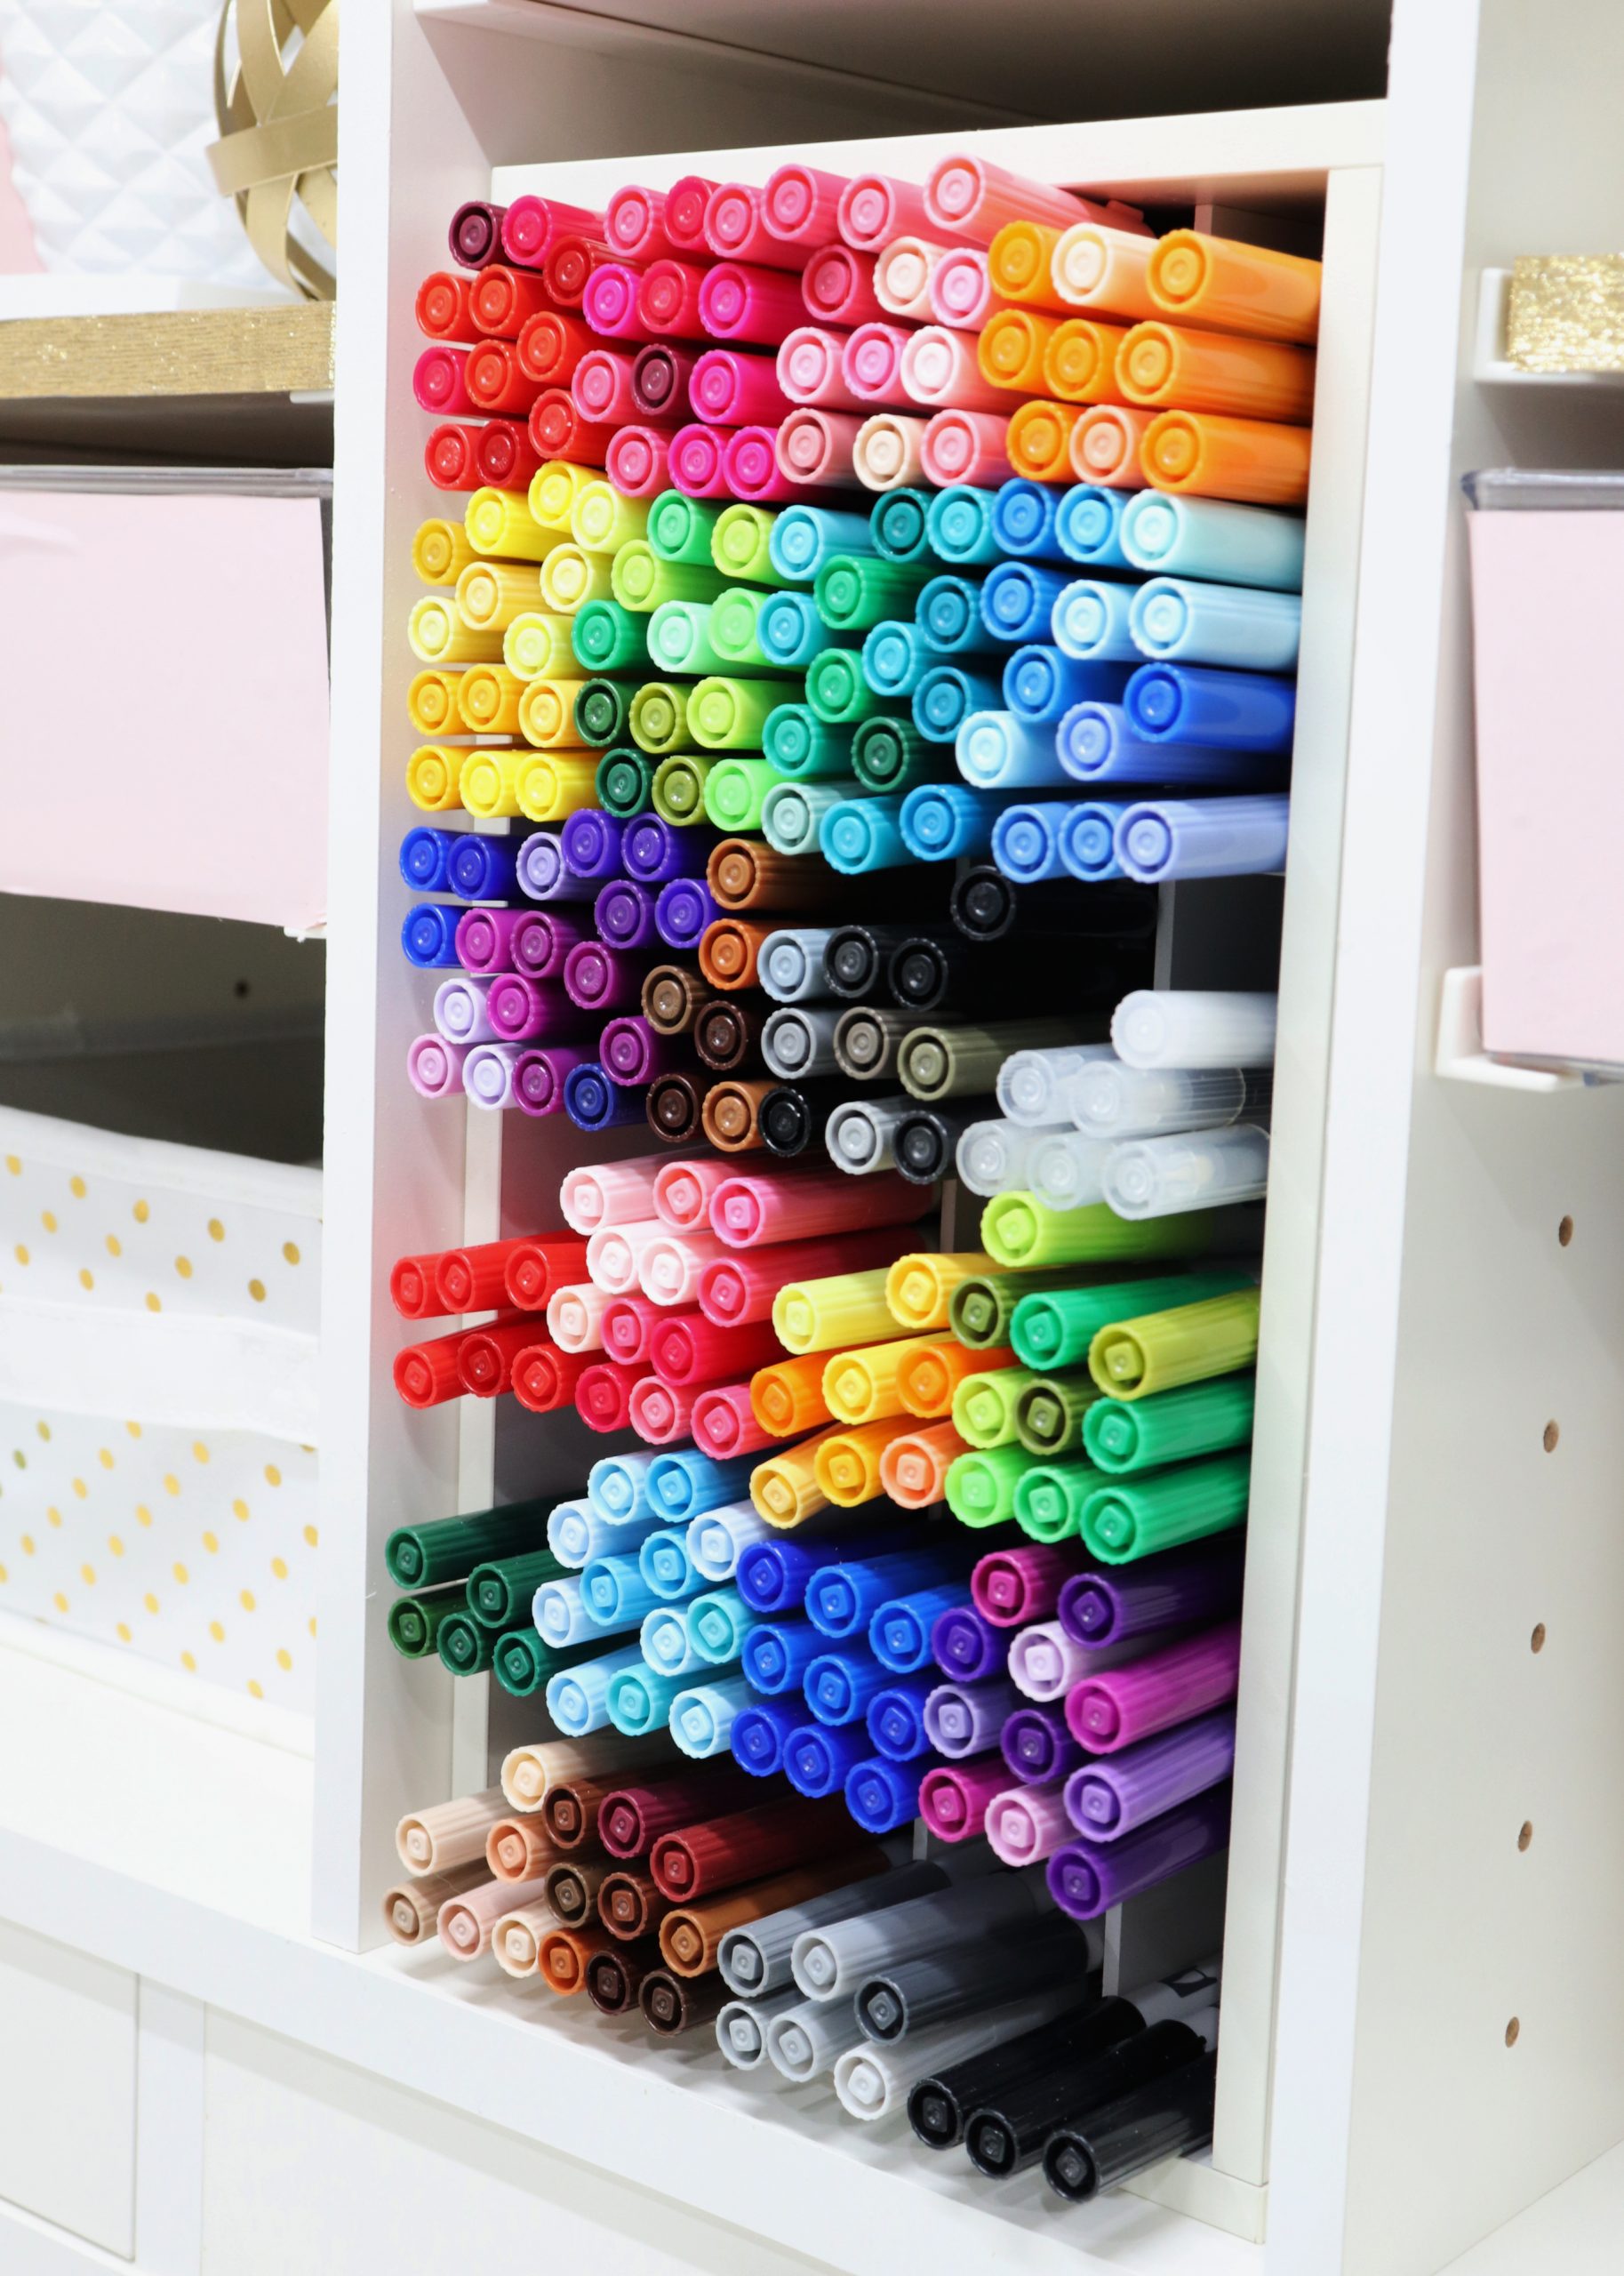
HORIZONTAL MARKER STORAGE
If you’ve been keeping up with my latest Ask Amy segments on YouTube, you already know that dual tipped markers like Tombow Dual Brush Pens and ABT PRO markers need to be stored horizontally. This kind of storage is actually good for all types of markers and pens, and will prolong their life. I like keeping my favorite markers in this Tool Cubby by CreateRoom (listed under the Accessories tab) so they’re in easy reach and I can quickly see all my color options. Some of my markers and pens are also stored in horizontal labeled bins.
By following these 4 steps, I hope you’re able to transform your craft space into a more organized, inspiring place to work. It doesn’t matter if your area is large or small, or where in your home it is; these basic ideas can help you focus on the supplies you really need and store them in useful ways. I’d love to hear your favorite organization tips too! Be sure to share them with us in the Amy Latta & Friends Facebook Group so we can all be inspired. Happy crafting!