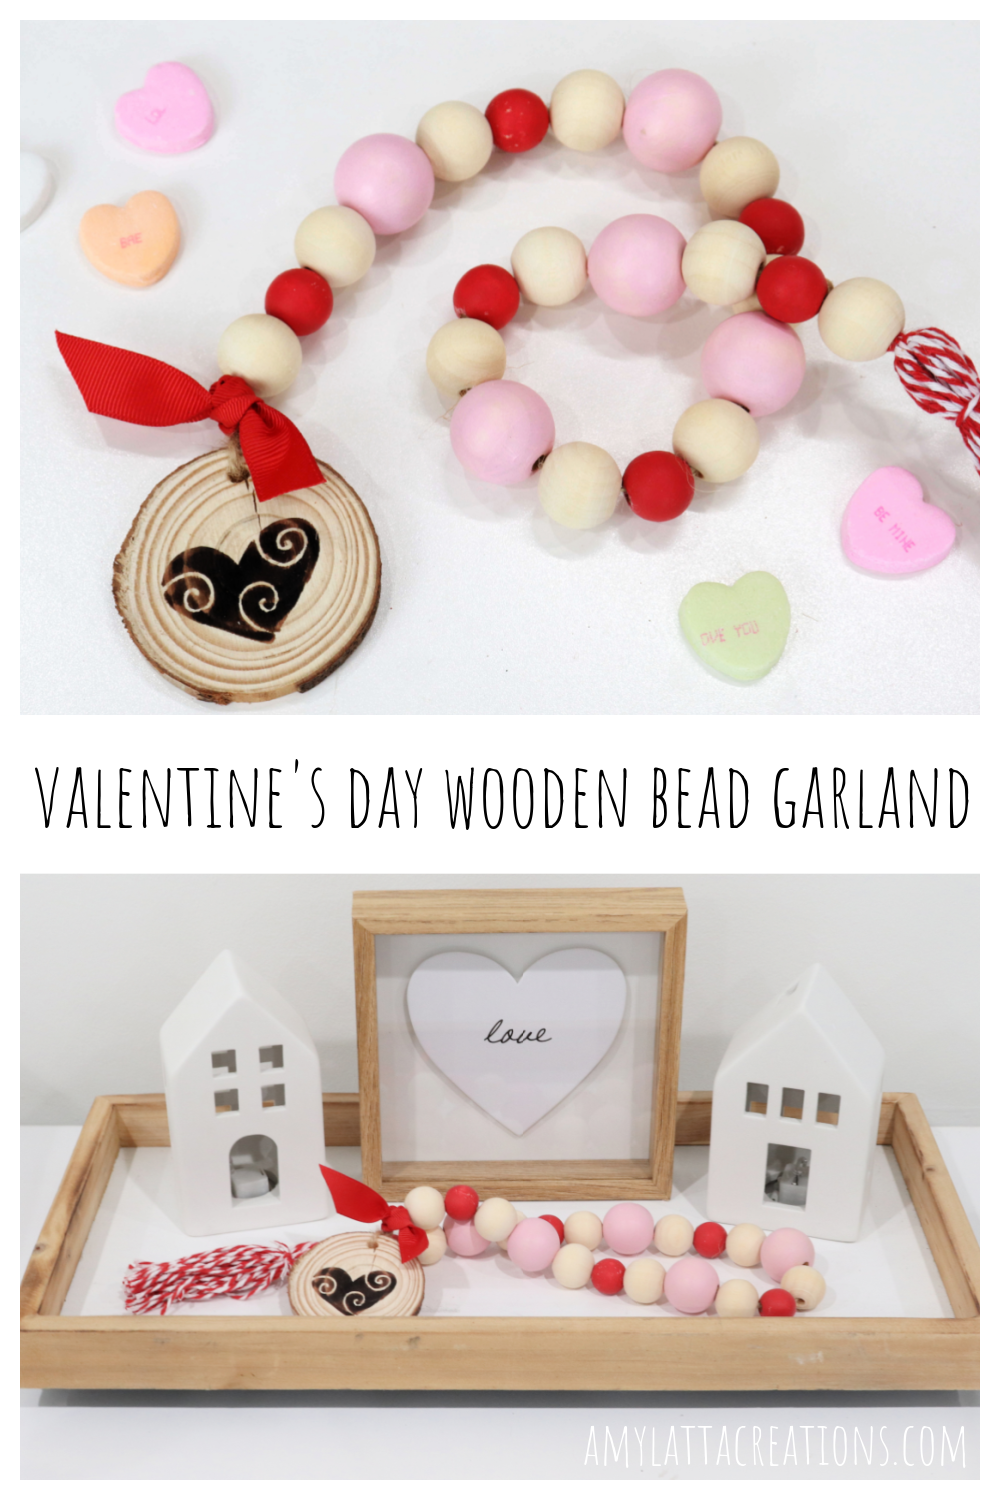
Valentine’s Day Wooden Bead Garland
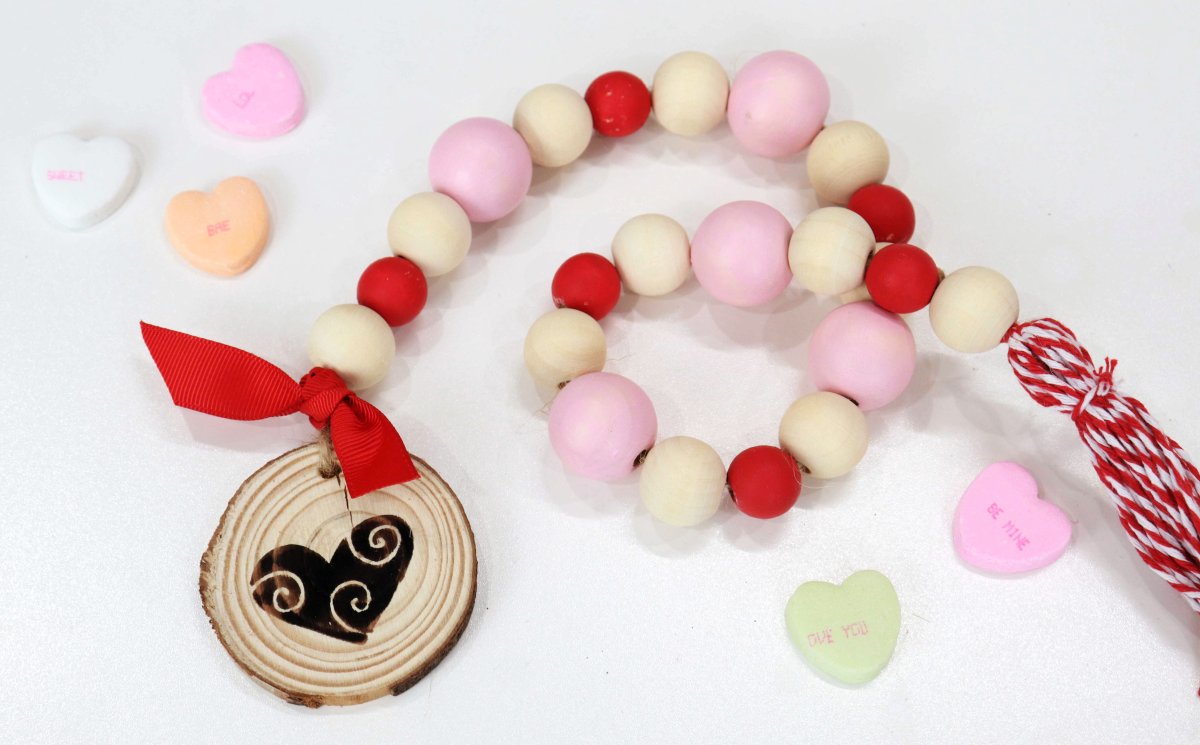
I don’t know about you, but I’m a little bit obsessed with wooden bead garlands! Here’s a fun and festive one that’s perfect the Valentine season. Check out this video for a full project walk-through, or read the step by step instructions below to help you create your own.
(affiliate links)
25 or more wooden beads (assorted sizes)
jute/twine
acrylic paint (red, pink)
ribbon
small wood slice
heat tool (1000+ watts) or oven heated to 300 F
Cricut or other electronic cutting machine (I used the Cricut Maker 3)
Step 1: Plan your pattern.
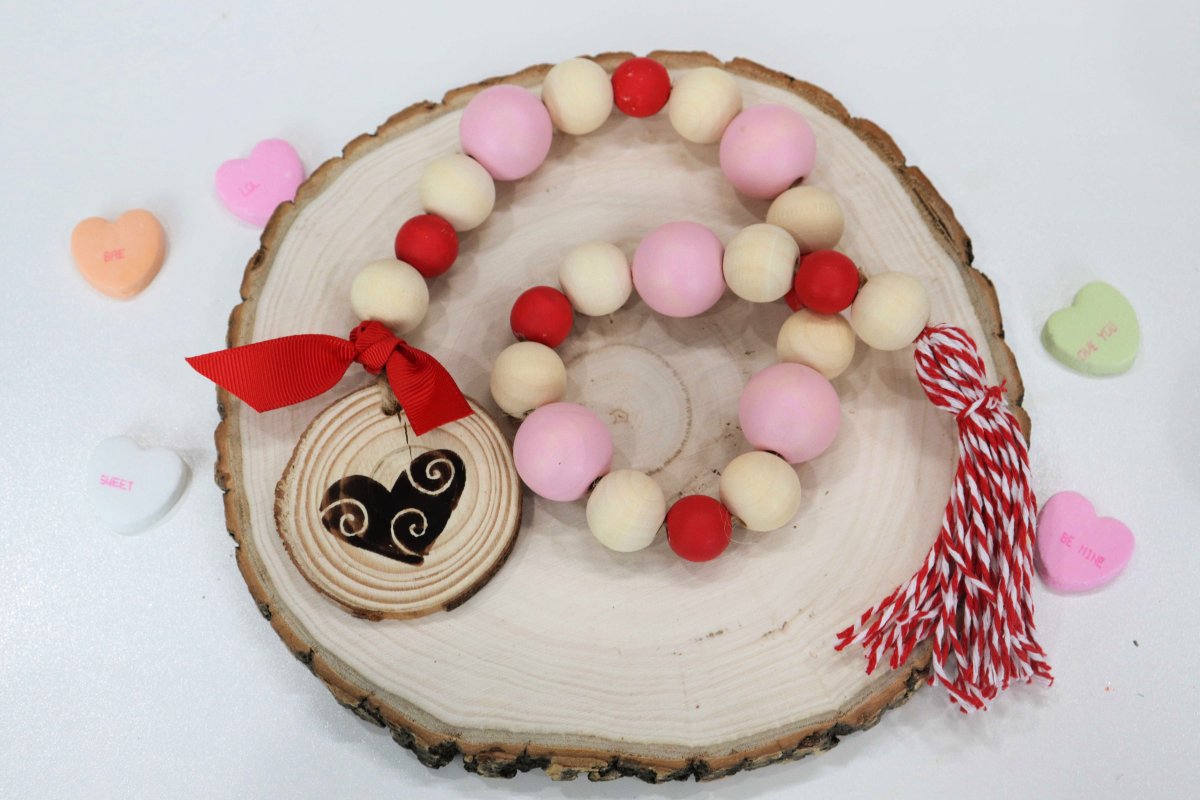
Choose a layout for your beads. Decide how long you want your garland to be, as well as what pattern of sizes and colors you want for your project. My pattern was small-medium-large-medium-small.
Step 2: Paint your beads.
Once you have your pattern planned, paint your beads accordingly using acrylic or multi-surface paint. If you want a matte finish, you can also use chalk paint. I painted my small beads red and the large ones pink, leaving the medium beads their natural wood color. Let them dry completely before moving on.
Step 3: String your beads.
String your beads onto a piece of jute or twine. Tie a decorative tassel on one end.
Step 4: Decorate the wood slice.
I decided to use the Scorch Marker to burn a cute little heart onto mine. You can also hand letter on your wood slice, use stickers/vinyl to decorate it, or paint a design.
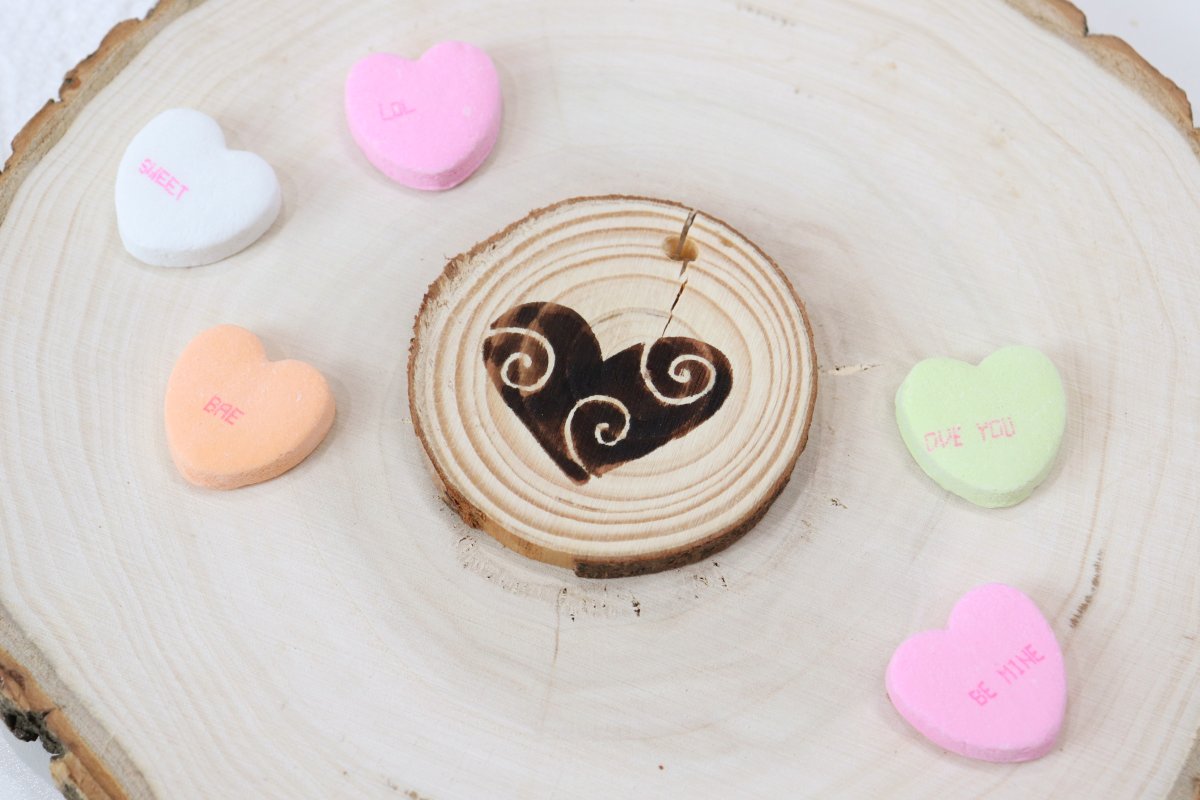
To create a wood burned design like mine, first download the free Valentine Stencil Set from Scorch Marker’s website. Use your cutting machine to cut the design from a piece of removable vinyl. Peel out the center of the design, leaving the negative image as a stencil. Place the stencil on the wood slice and color in the open spaces with the Scorch Marker. Apply heat and the ink will react, burning the design permanently into the wood.
Step 5: Tie on your wood slice.
Add decorative ribbon if you like.
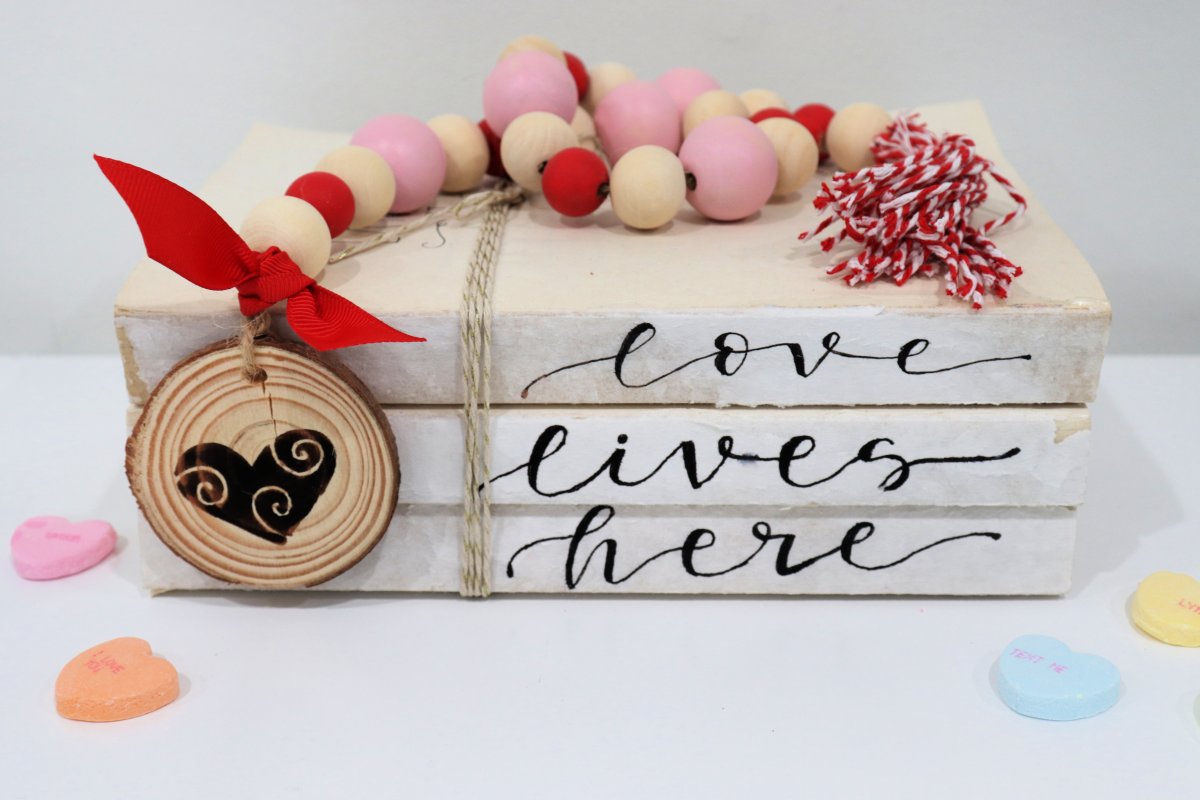
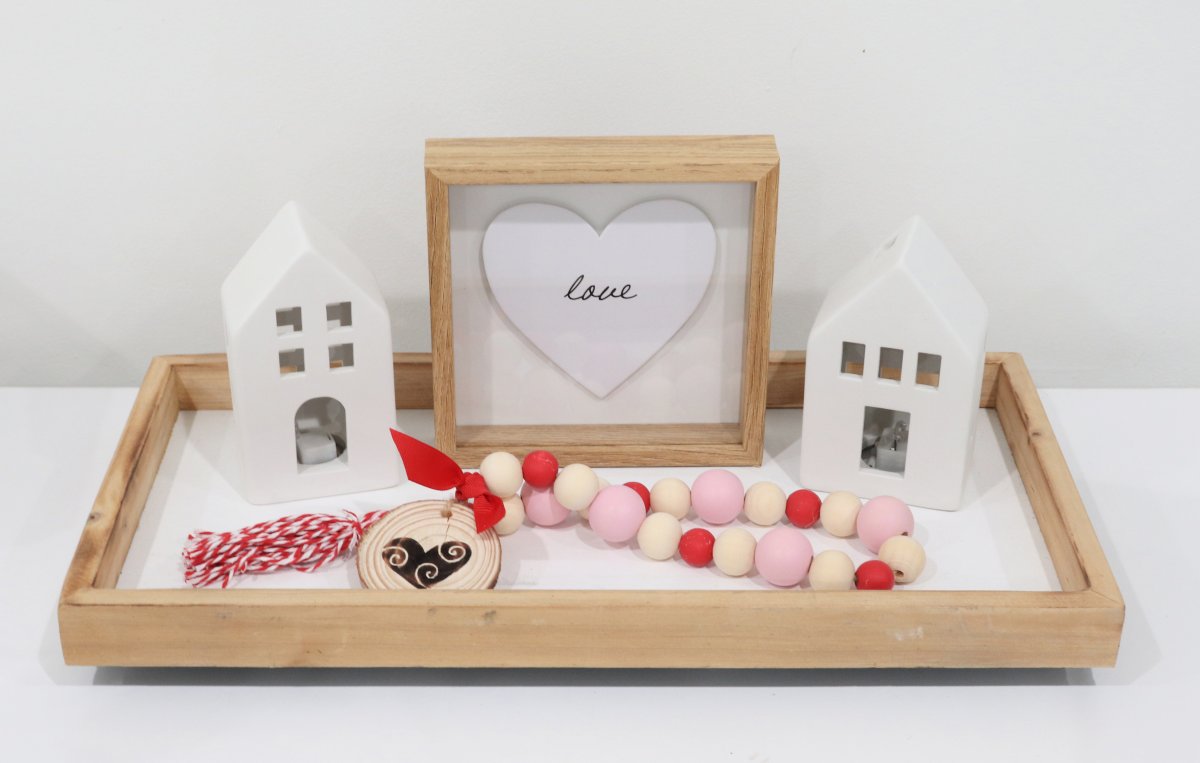
Now your garland is ready to display on a shelf, mantle, tray, or anywhere else in your home. This also makes a cute little gift, so why not make two: one for yourself and one to give away?
If you try this project, I’d love to see how yours turns out! Make sure you’re part of the Amy Latta & Friends Facebook group so you can ask questions, share your project photos, and we can all inspire each other. See you there! Don’t forget to check out my other holiday projects too. Happy Creating!

2 Comments