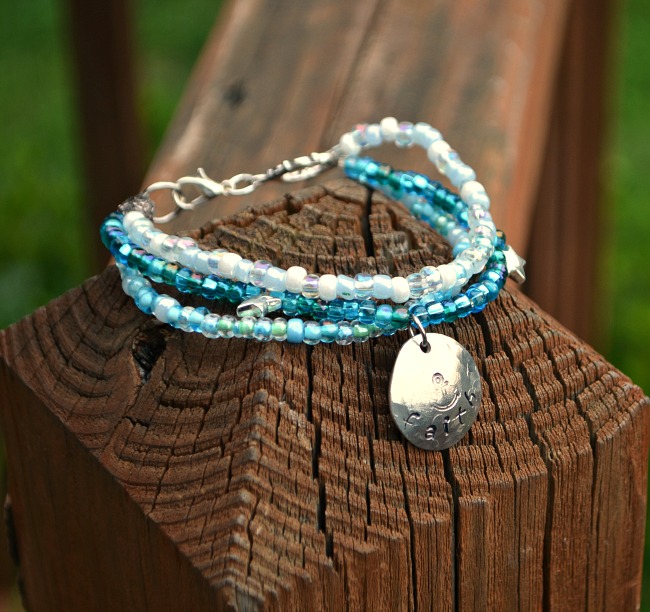
Beaded Charm Bracelet
This summer, boho-style beaded bracelets are a huge trend in the fashion world. Instead of buying one, I decided to make my own! I came up with a mixed media, multi-layer beaded charm bracelet that I hope you like as much as I do! It has a laid-back nautical feel that just screams “summer” to me. Take a look…
Beaded Charm Bracelet
Materials:
For the bracelet
– Stringing Wire
– Assorted Seed Beads
– Crimp Tubes
– Decorative Metal Beads {optional}
– Toggle Clasp Ring
– Jump Rings
– Lobster Clasp
– Wire Cutters and Pliers
For the charm
{Thanks to ImpressArt for sponsoring today’s post; all opinions are my own.}
– ImpressArt Soft Strike Pewter River Stone Stamping Blank
– ImpressArt Juniper Lowercase Alphabet Stamps
– ImpressArt Design Stamp, Anchor
– Steel Stamping Block
– Metal Stamping Hammer
– Texture Hammer, Dimples
– Wood Dapping Block and Punches
– Black paint and paintbrush
– Jewelry polishing cloth
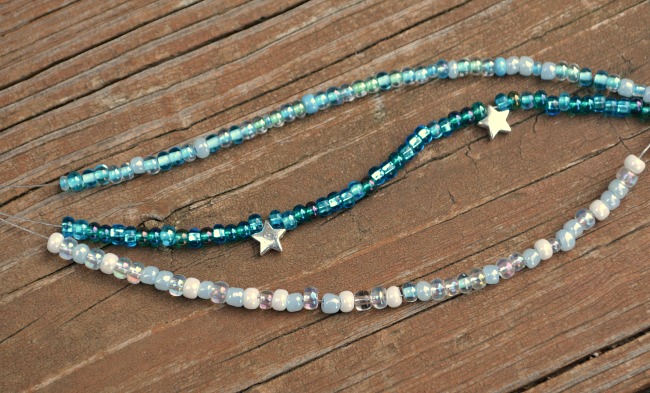
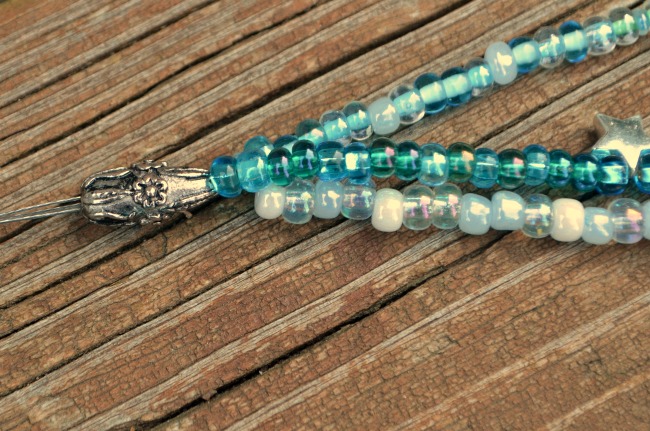
Step 1: Measure your wrist, then cut three pieces of stringing wire that are 3″ longer than your measurement. Thread seed beads onto each piece of wire in any pattern you like. I chose to have one strand of white, clear, and light blue beads, one strand of “medium” turquoise beads, and one strand of darker turquoise beads. I also added two metal star beads onto the dark strand to add some variety. The beaded part of each wire should be long enough to just circle your wrist tightly because the metallic accents and clasp will add length and you don’t want to make it too big.
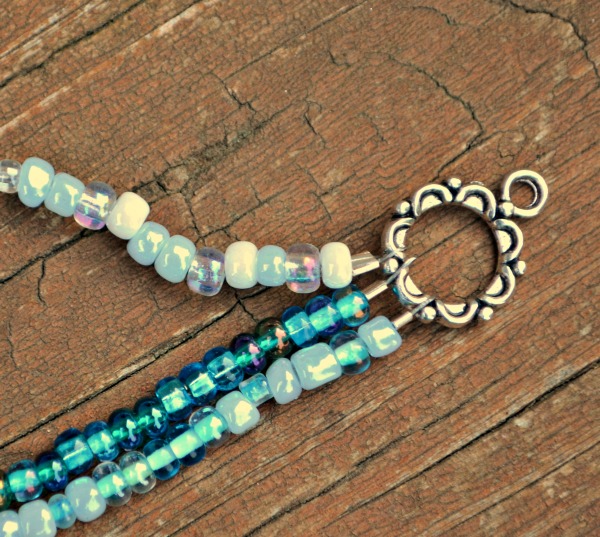
Step 2: Secure one end of each strand to the ring of a toggle clasp using a crimp tube. To do this, thread a crimp tube onto your wire right next to the top bead. Wrap the wire around the ring, then place it back through the crimp tube. Pull tightly, then use pliers or a crimping tool to tightly squeeze the crimp tube shut. Tuck any extra wire through the first few beads.
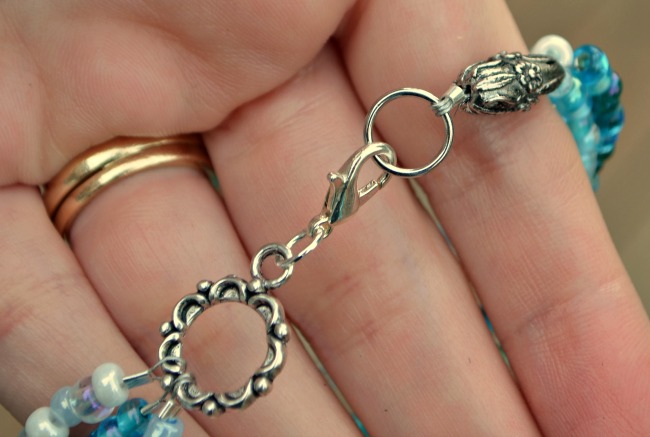
Step 3: On the other end, place all three wires through a metal bead. Add a crimp tube and a jump ring and repeat what you just did in step 2, this time placing all three pieces of wire through the tube instead of doing each strand separately.
Step 4: Attach a lobster clasp to the toggle ring with a jump ring. Now your bracelet will easily open and close. Always remember to gently twist the ends of a jump ring apart, never pull them in opposite directions or you’ll lose the original shape.
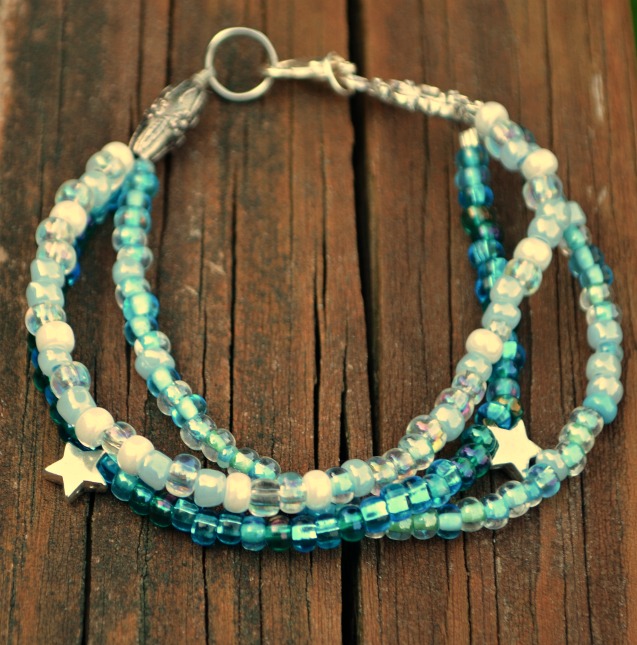
At this point, you have a pretty, multi-layered beaded bracelet. You could stop there if you wanted, but if you love metal stamping like I do, you’ll want to keep on going and create a pretty charm to add to it.
Step 5: Tape your stamping blank to a steel block and stamp your design image in the center. I chose an anchor to go with the nautical look of the bracelet. Then, stamp the word of your choice, beginning with the center letter and working your way out on each side.
Step 6: Use a dimpled texture hammer to add a texturized background all over the blank.
Step 7: Place the blank face down in a dapping block and use a punch to gently give it a curved shape.
Step 8: Fill in the design and letter impressions with black paint and wipe off the excess. Polish with a jewelry cloth when dry.
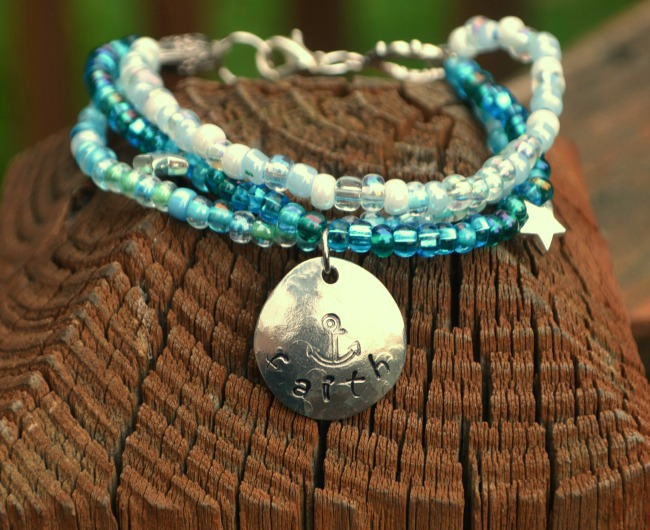
Step 9: Add a jump ring to the stamped blank and secure it in the middle of the center beaded strand.
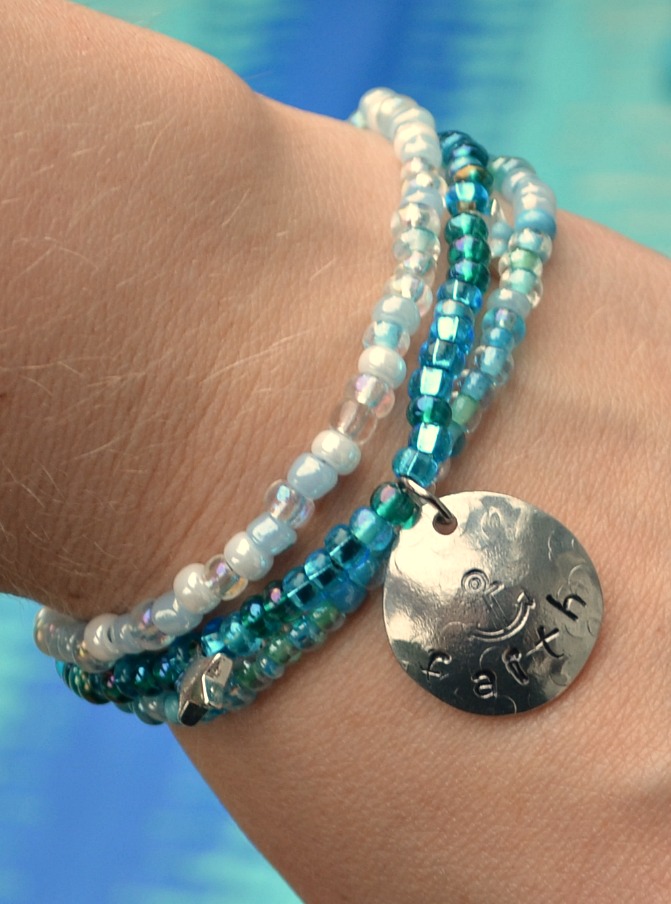
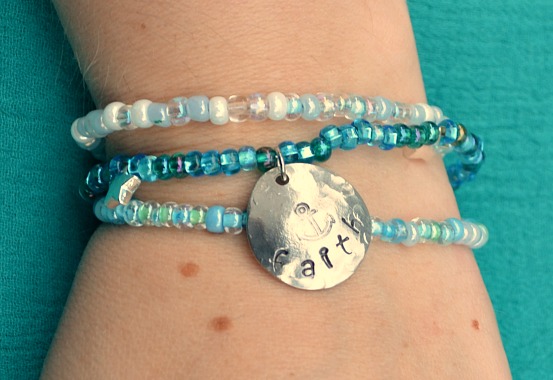
There you have it, a pretty mixed media, multi-layer bracelet. It can look completely different depending on the size and color of the beads you use and what you choose to stamp. How would you craft yours?

Love it…Nice color 🙂 Looks very beachy…
Thank you for the helpful charm bracelet tutorial! The beads you used are absolutely beautiful. I really like the turquoise colors. I can’t wait to get started on my own.
Thanks!