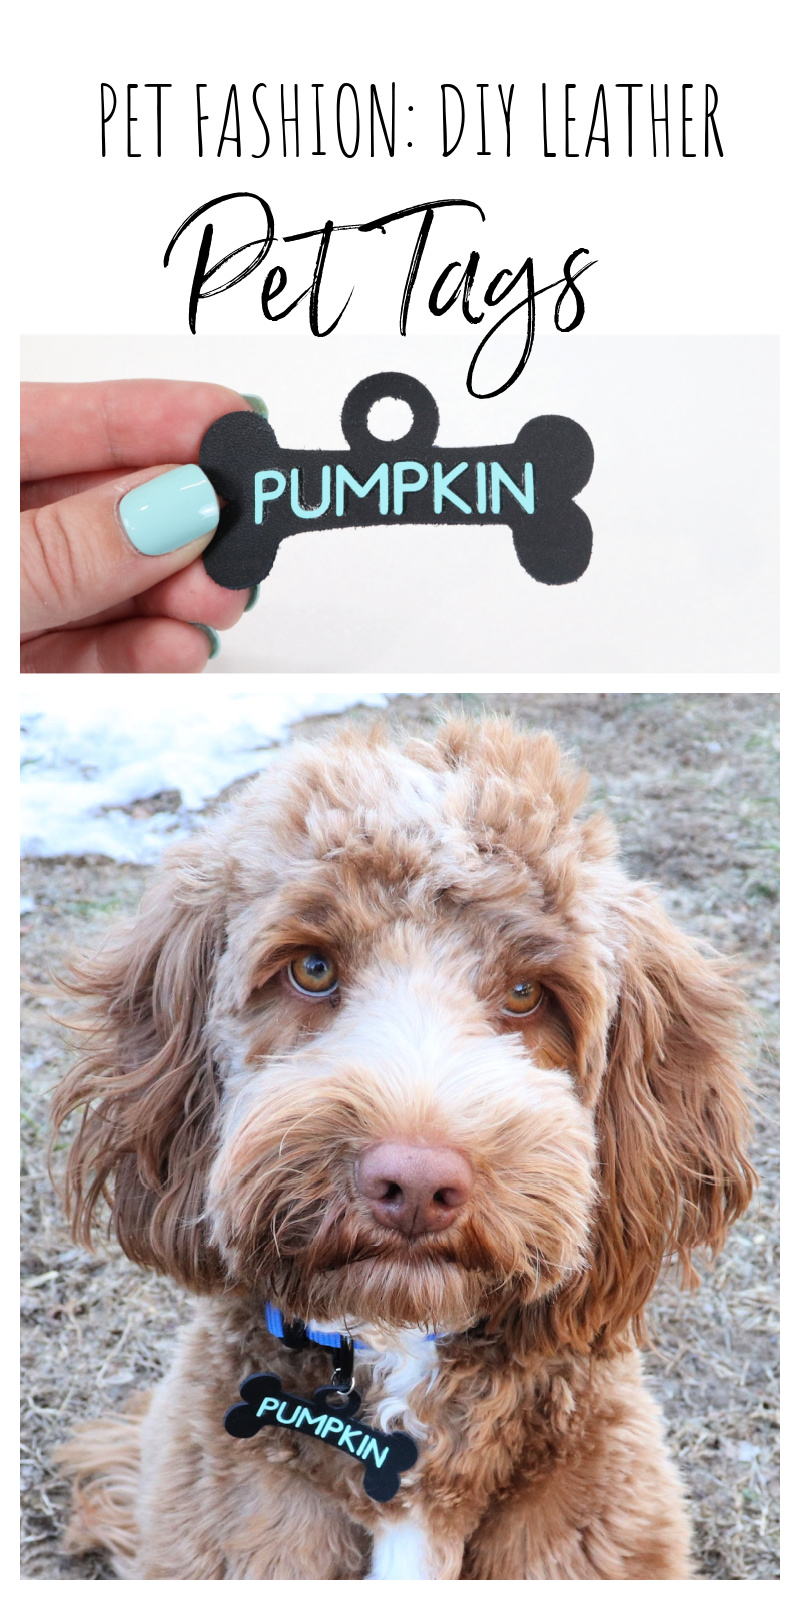
Pet Fashion: DIY Leather Dog Tag
Thanks to Cricut for sponsoring today’s post. All opinions are honestly my own.
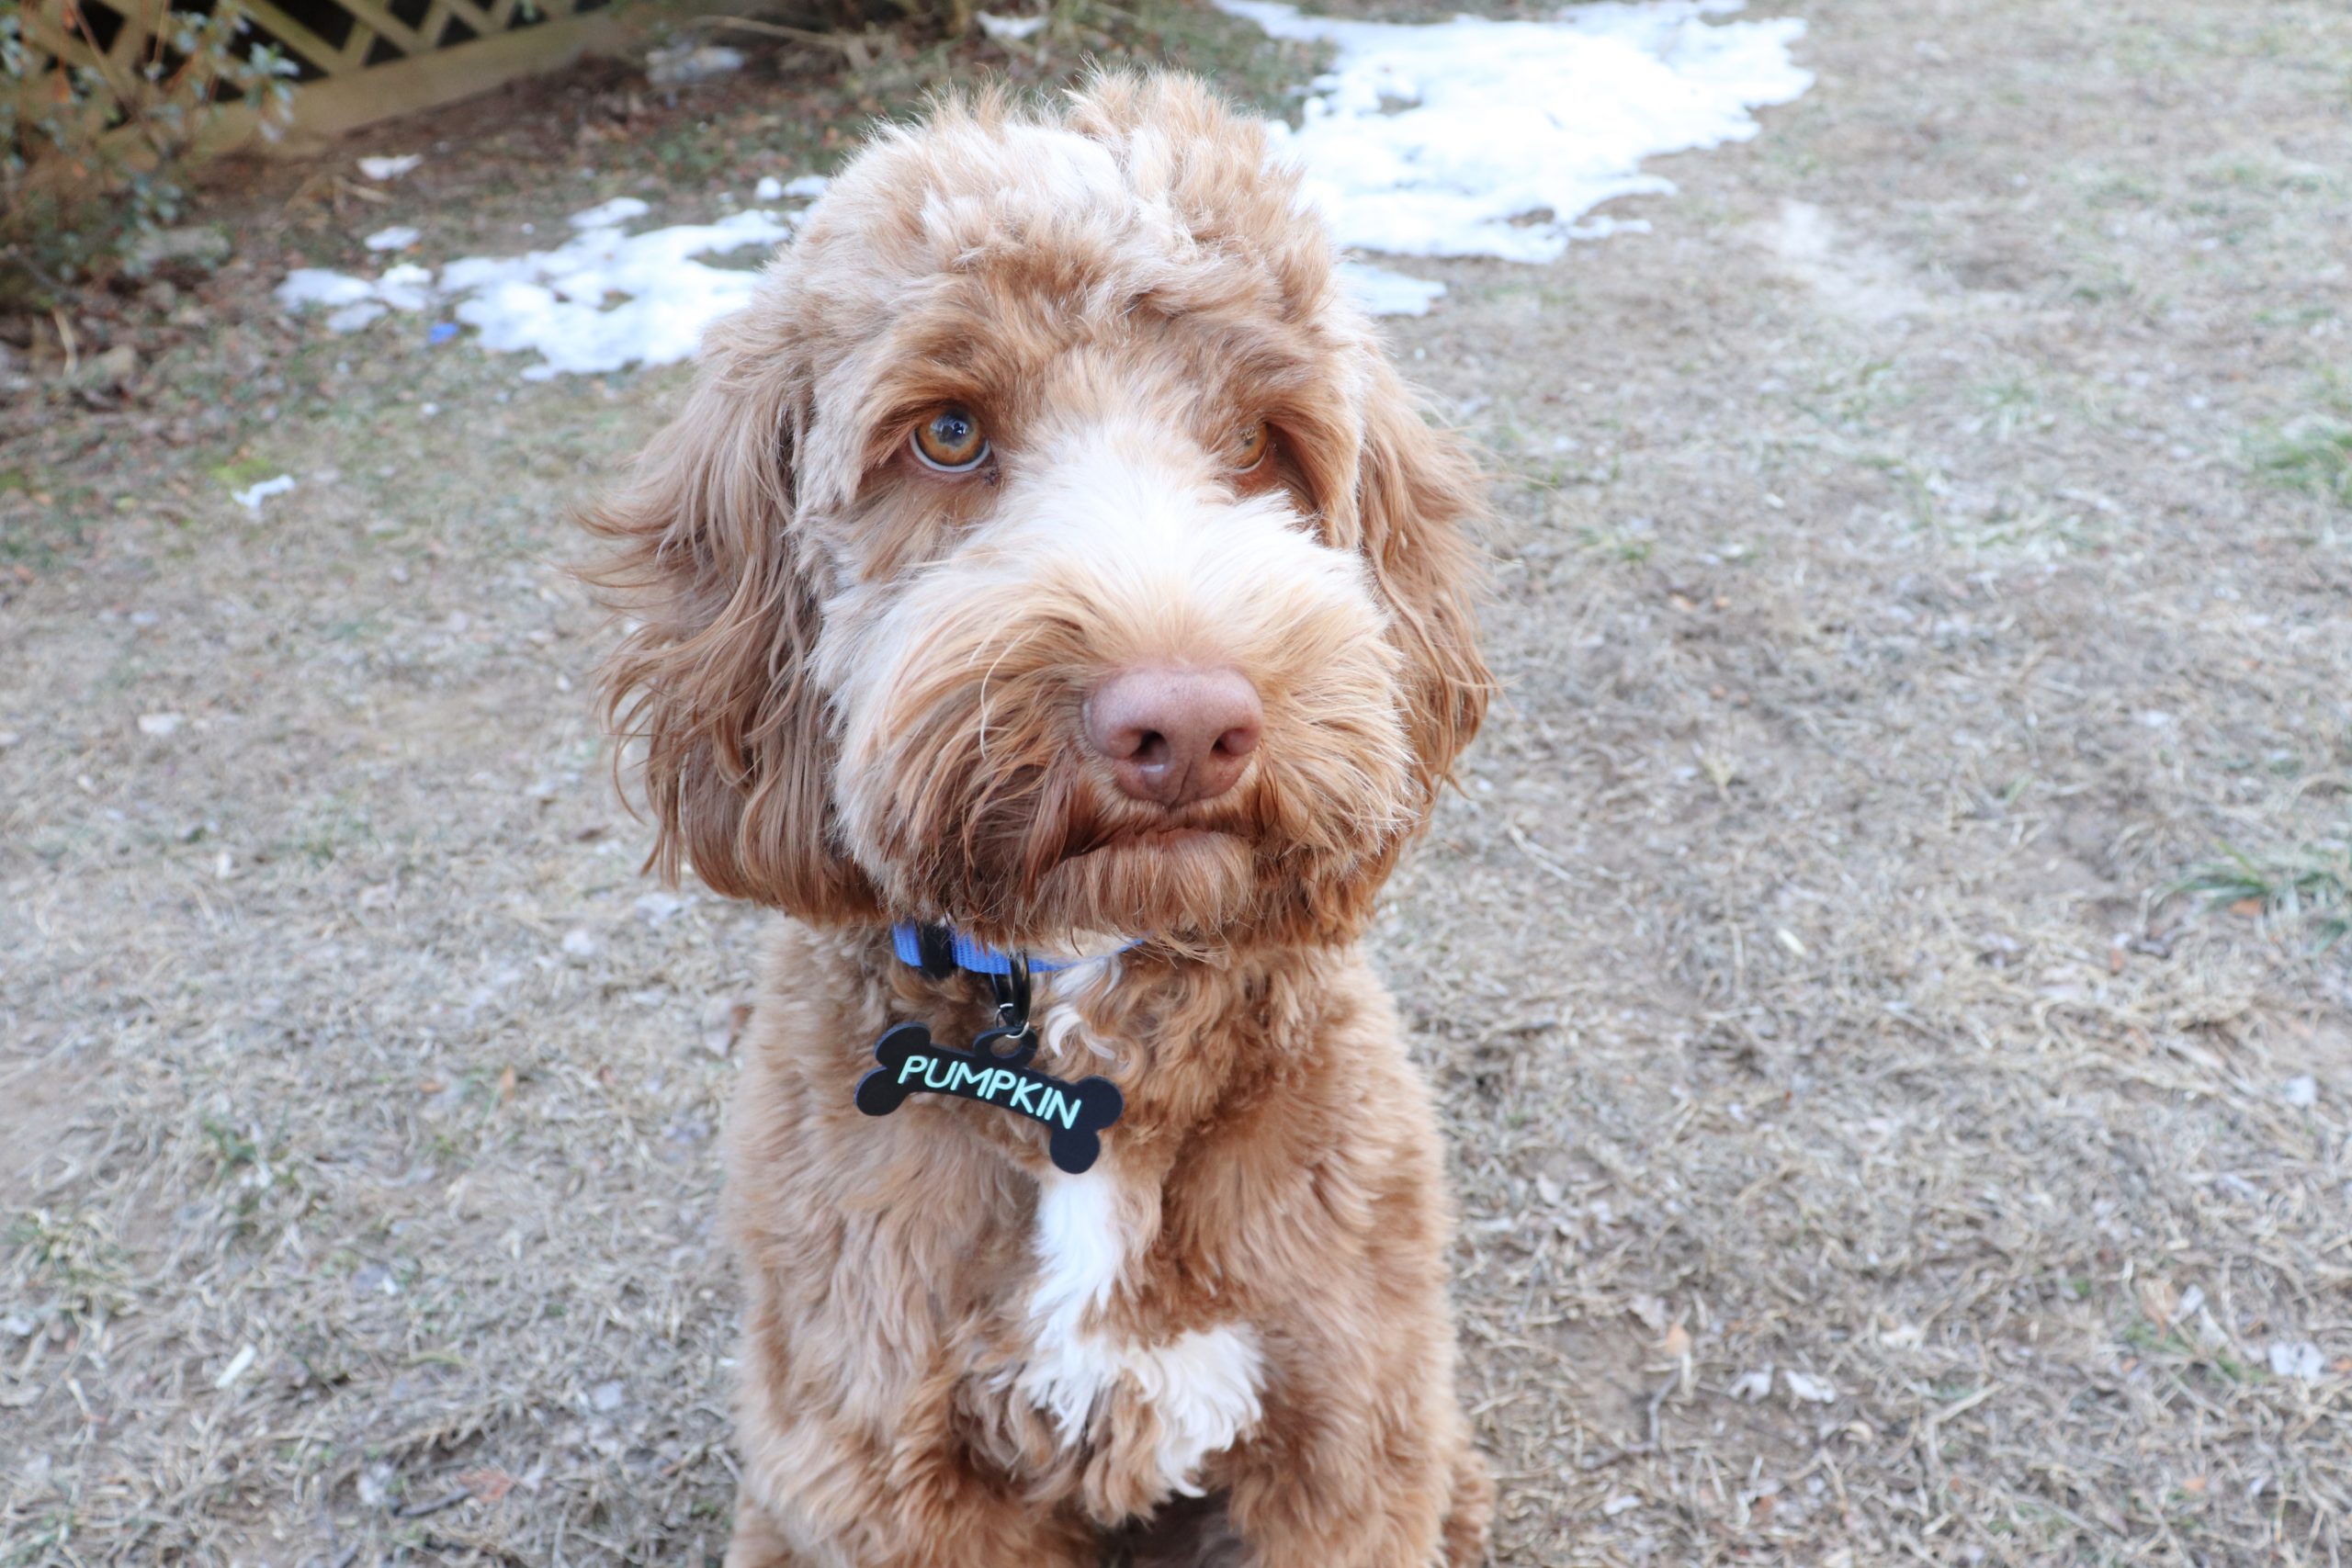
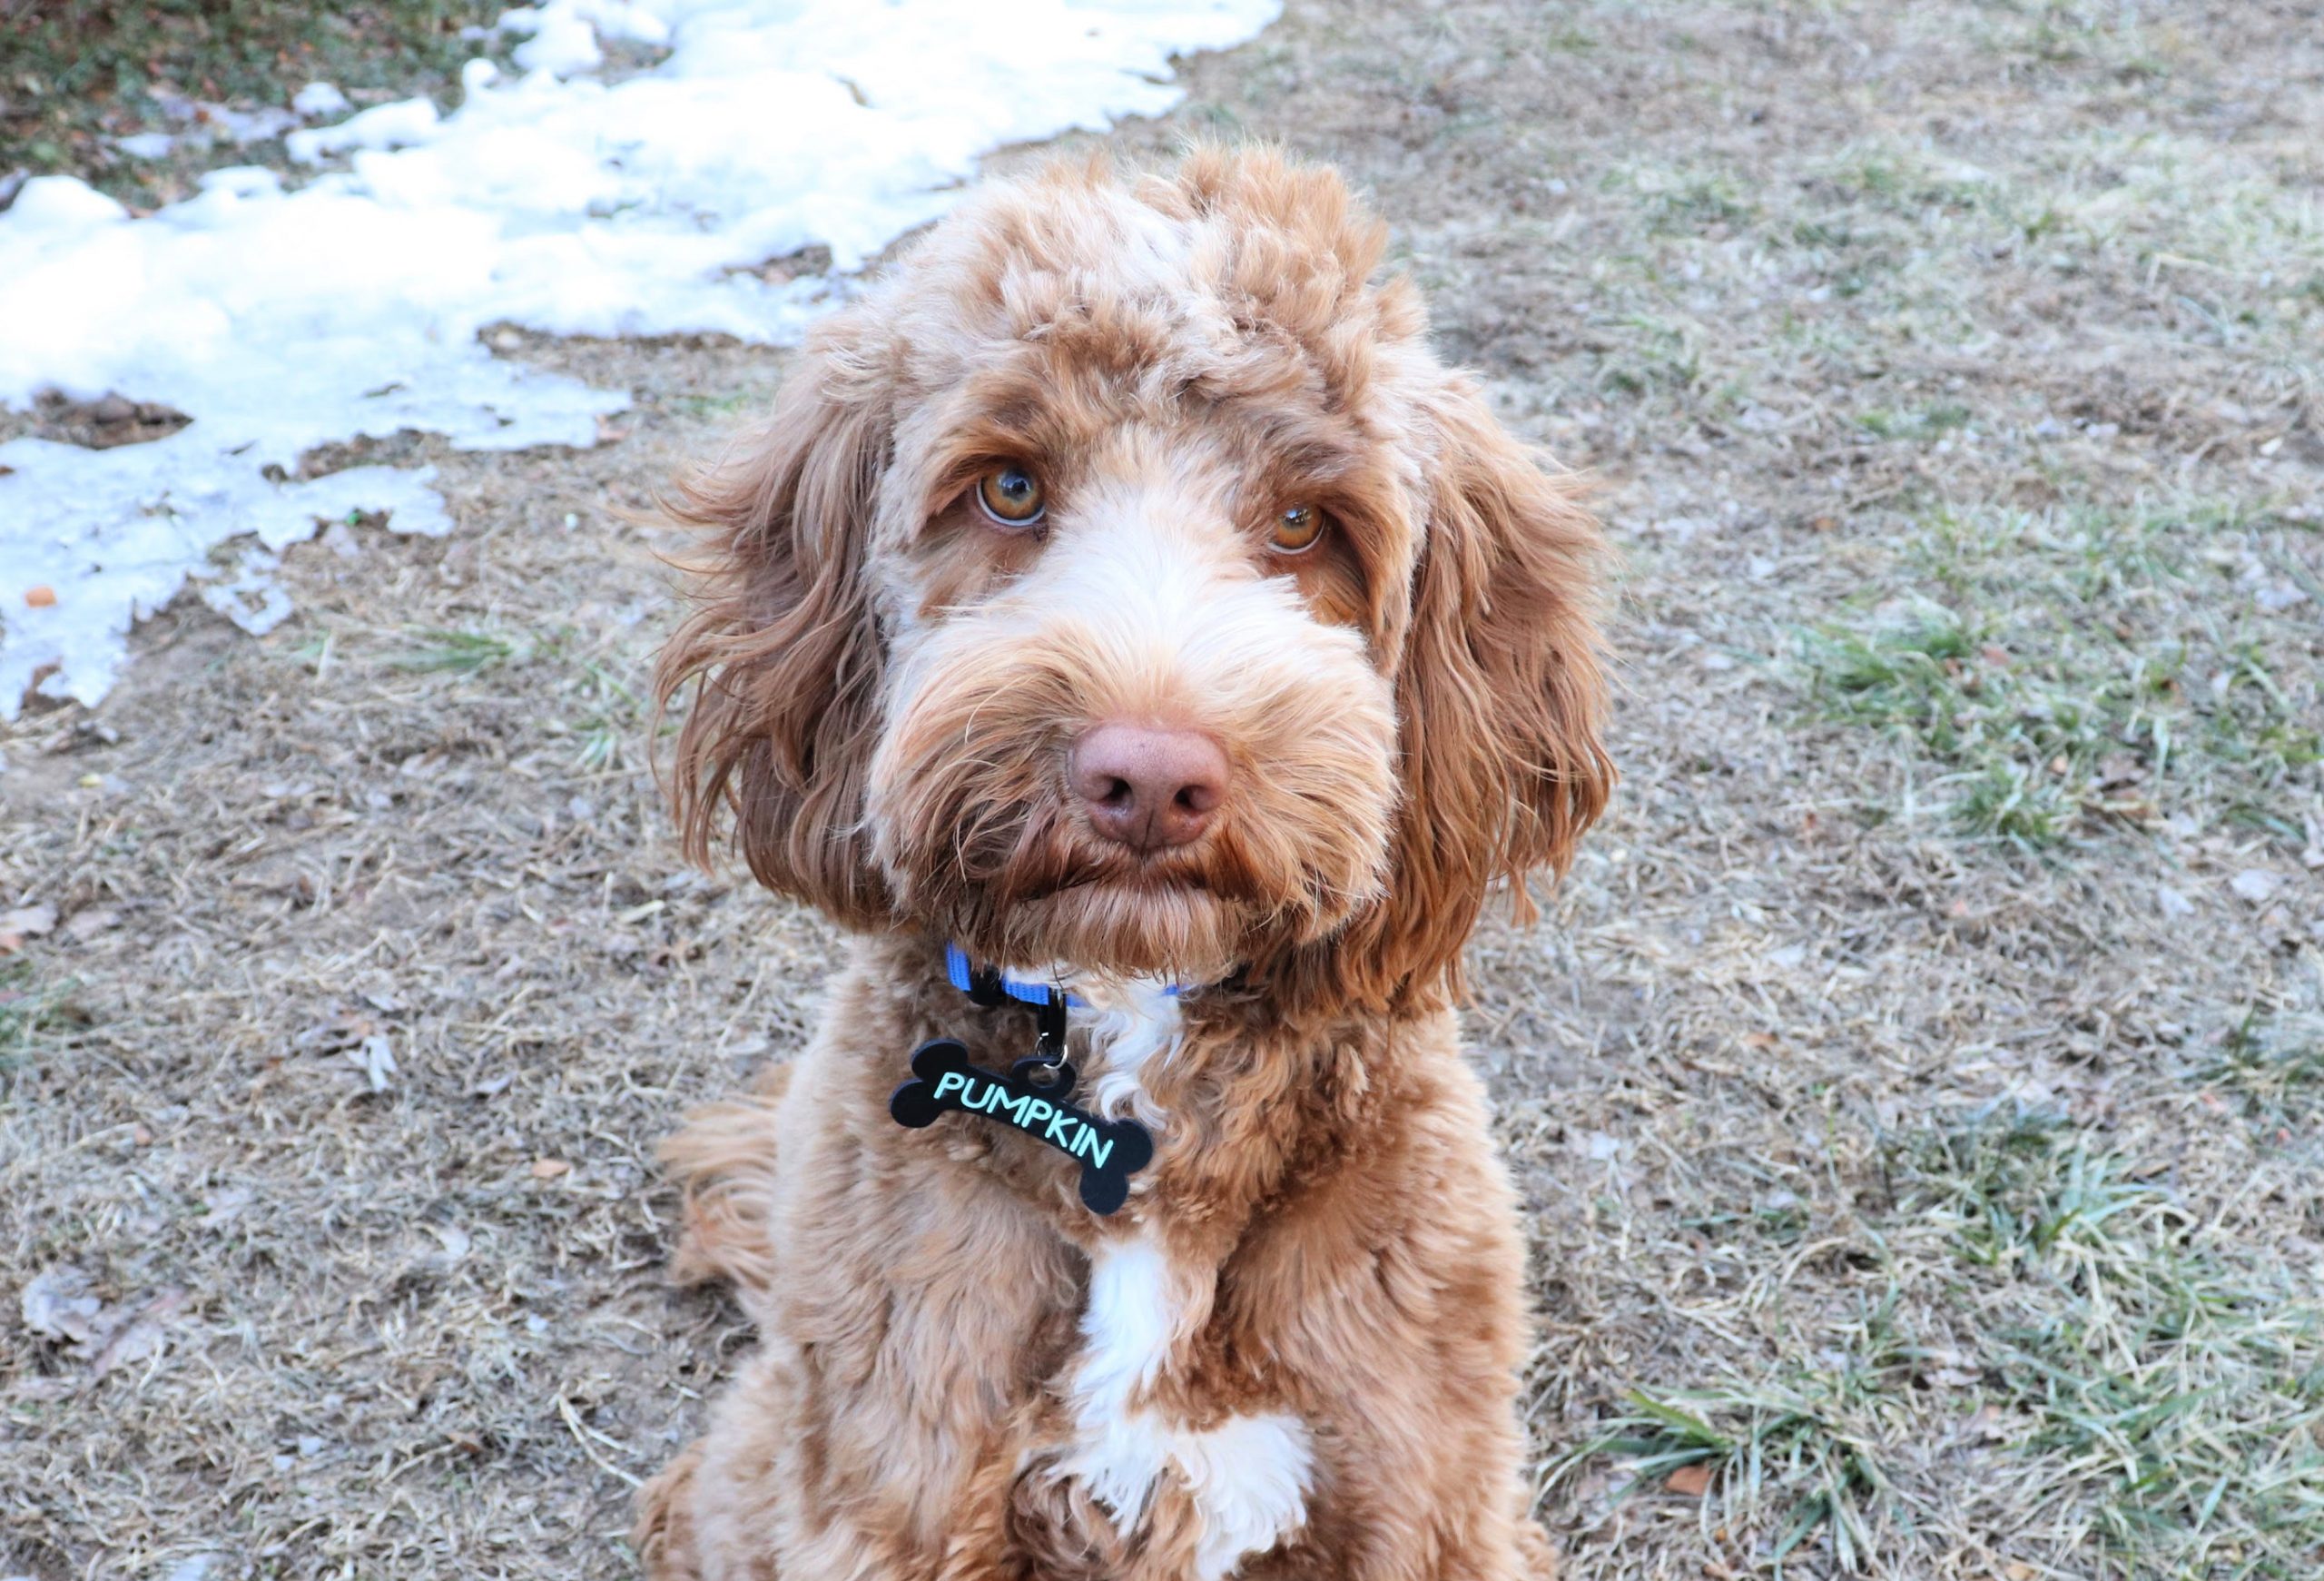
We have a very loved, very spoiled dog in our house who is typically also a very good boy. However, he has recently escaped from the yard several times and gone on joy runs around the neighborhood. We use a harness when we take him for walks, so his “official” tags are clipped to that…which means in the house and backyard, he hasn’t been wearing any kind of collar or tag. After his escapes, it was obvious that he needs to be wearing some type of ID at all times, but I’m not a fan of the jingling noise metal tags make. So, I decided to use my Cricut maker to create a cute, noiseless dog tag! It’s a great kind of pet fashion, because you can completely customize it, and it’s both fun and functional. Take a look.
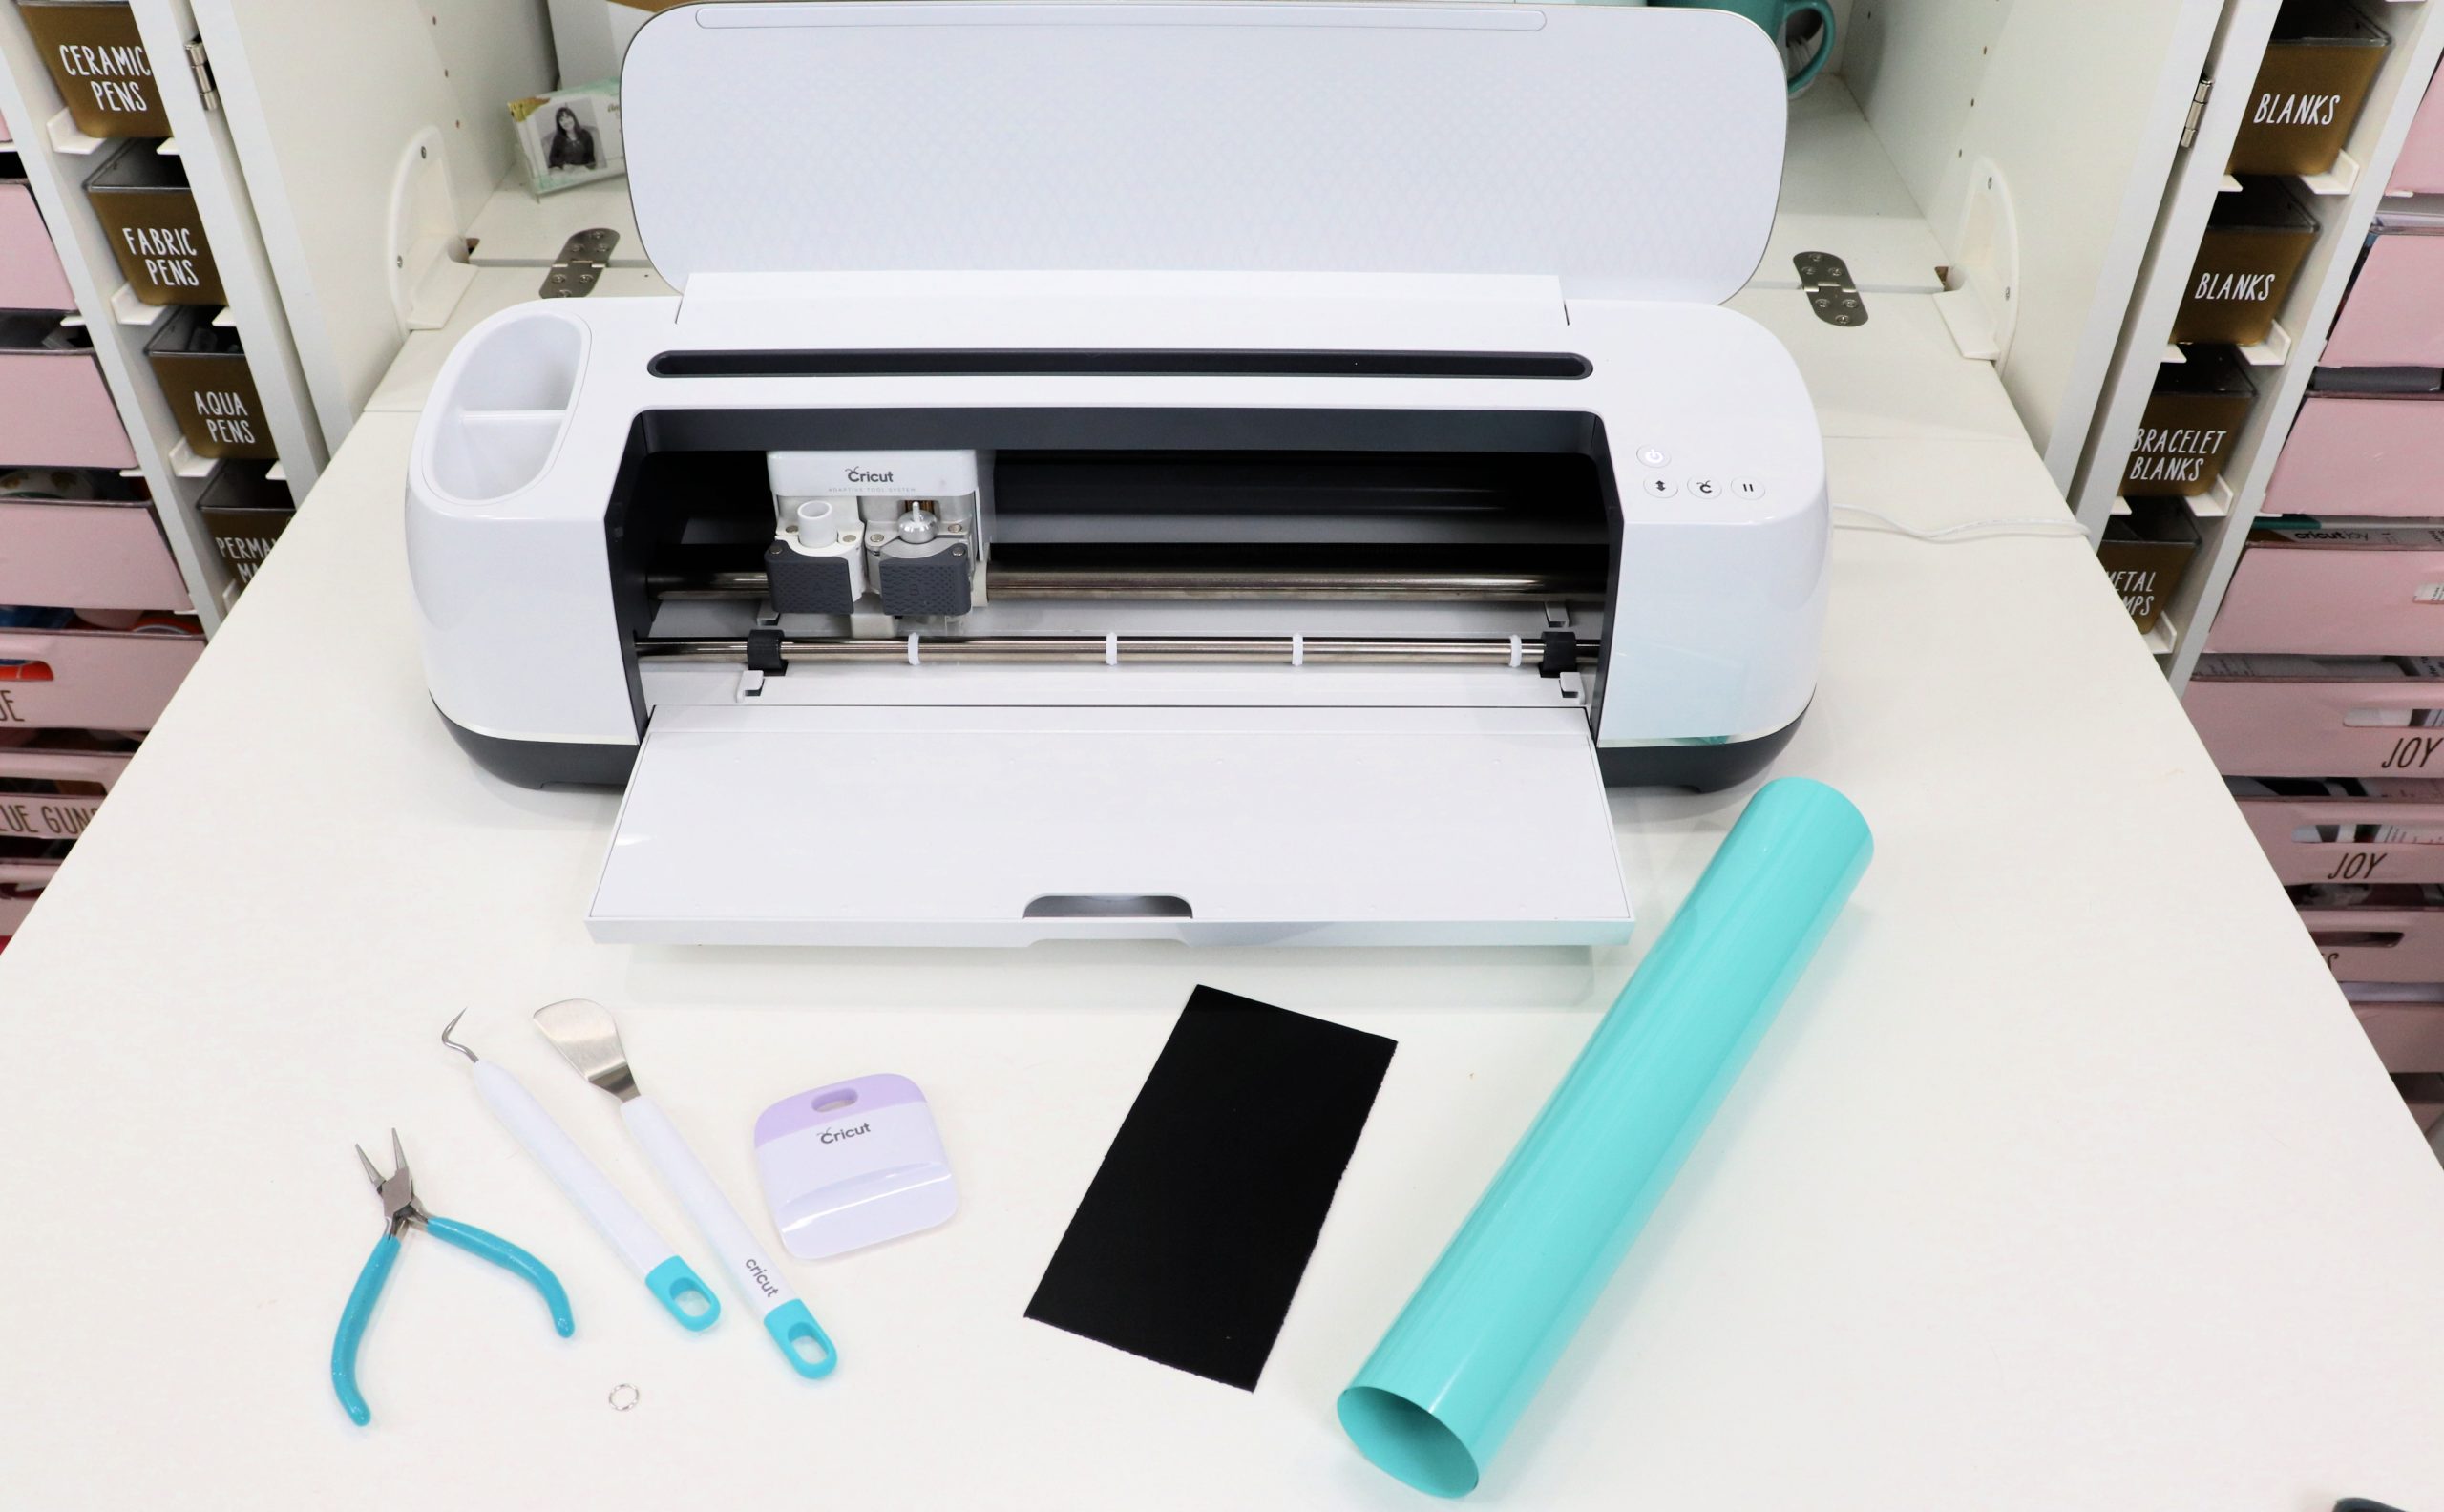
Project Supplies:
Genuine Leather, Black
Everyday Iron-On Vinyl (I used Bright Teal)
Cricut EasyPress & EasyPress mat
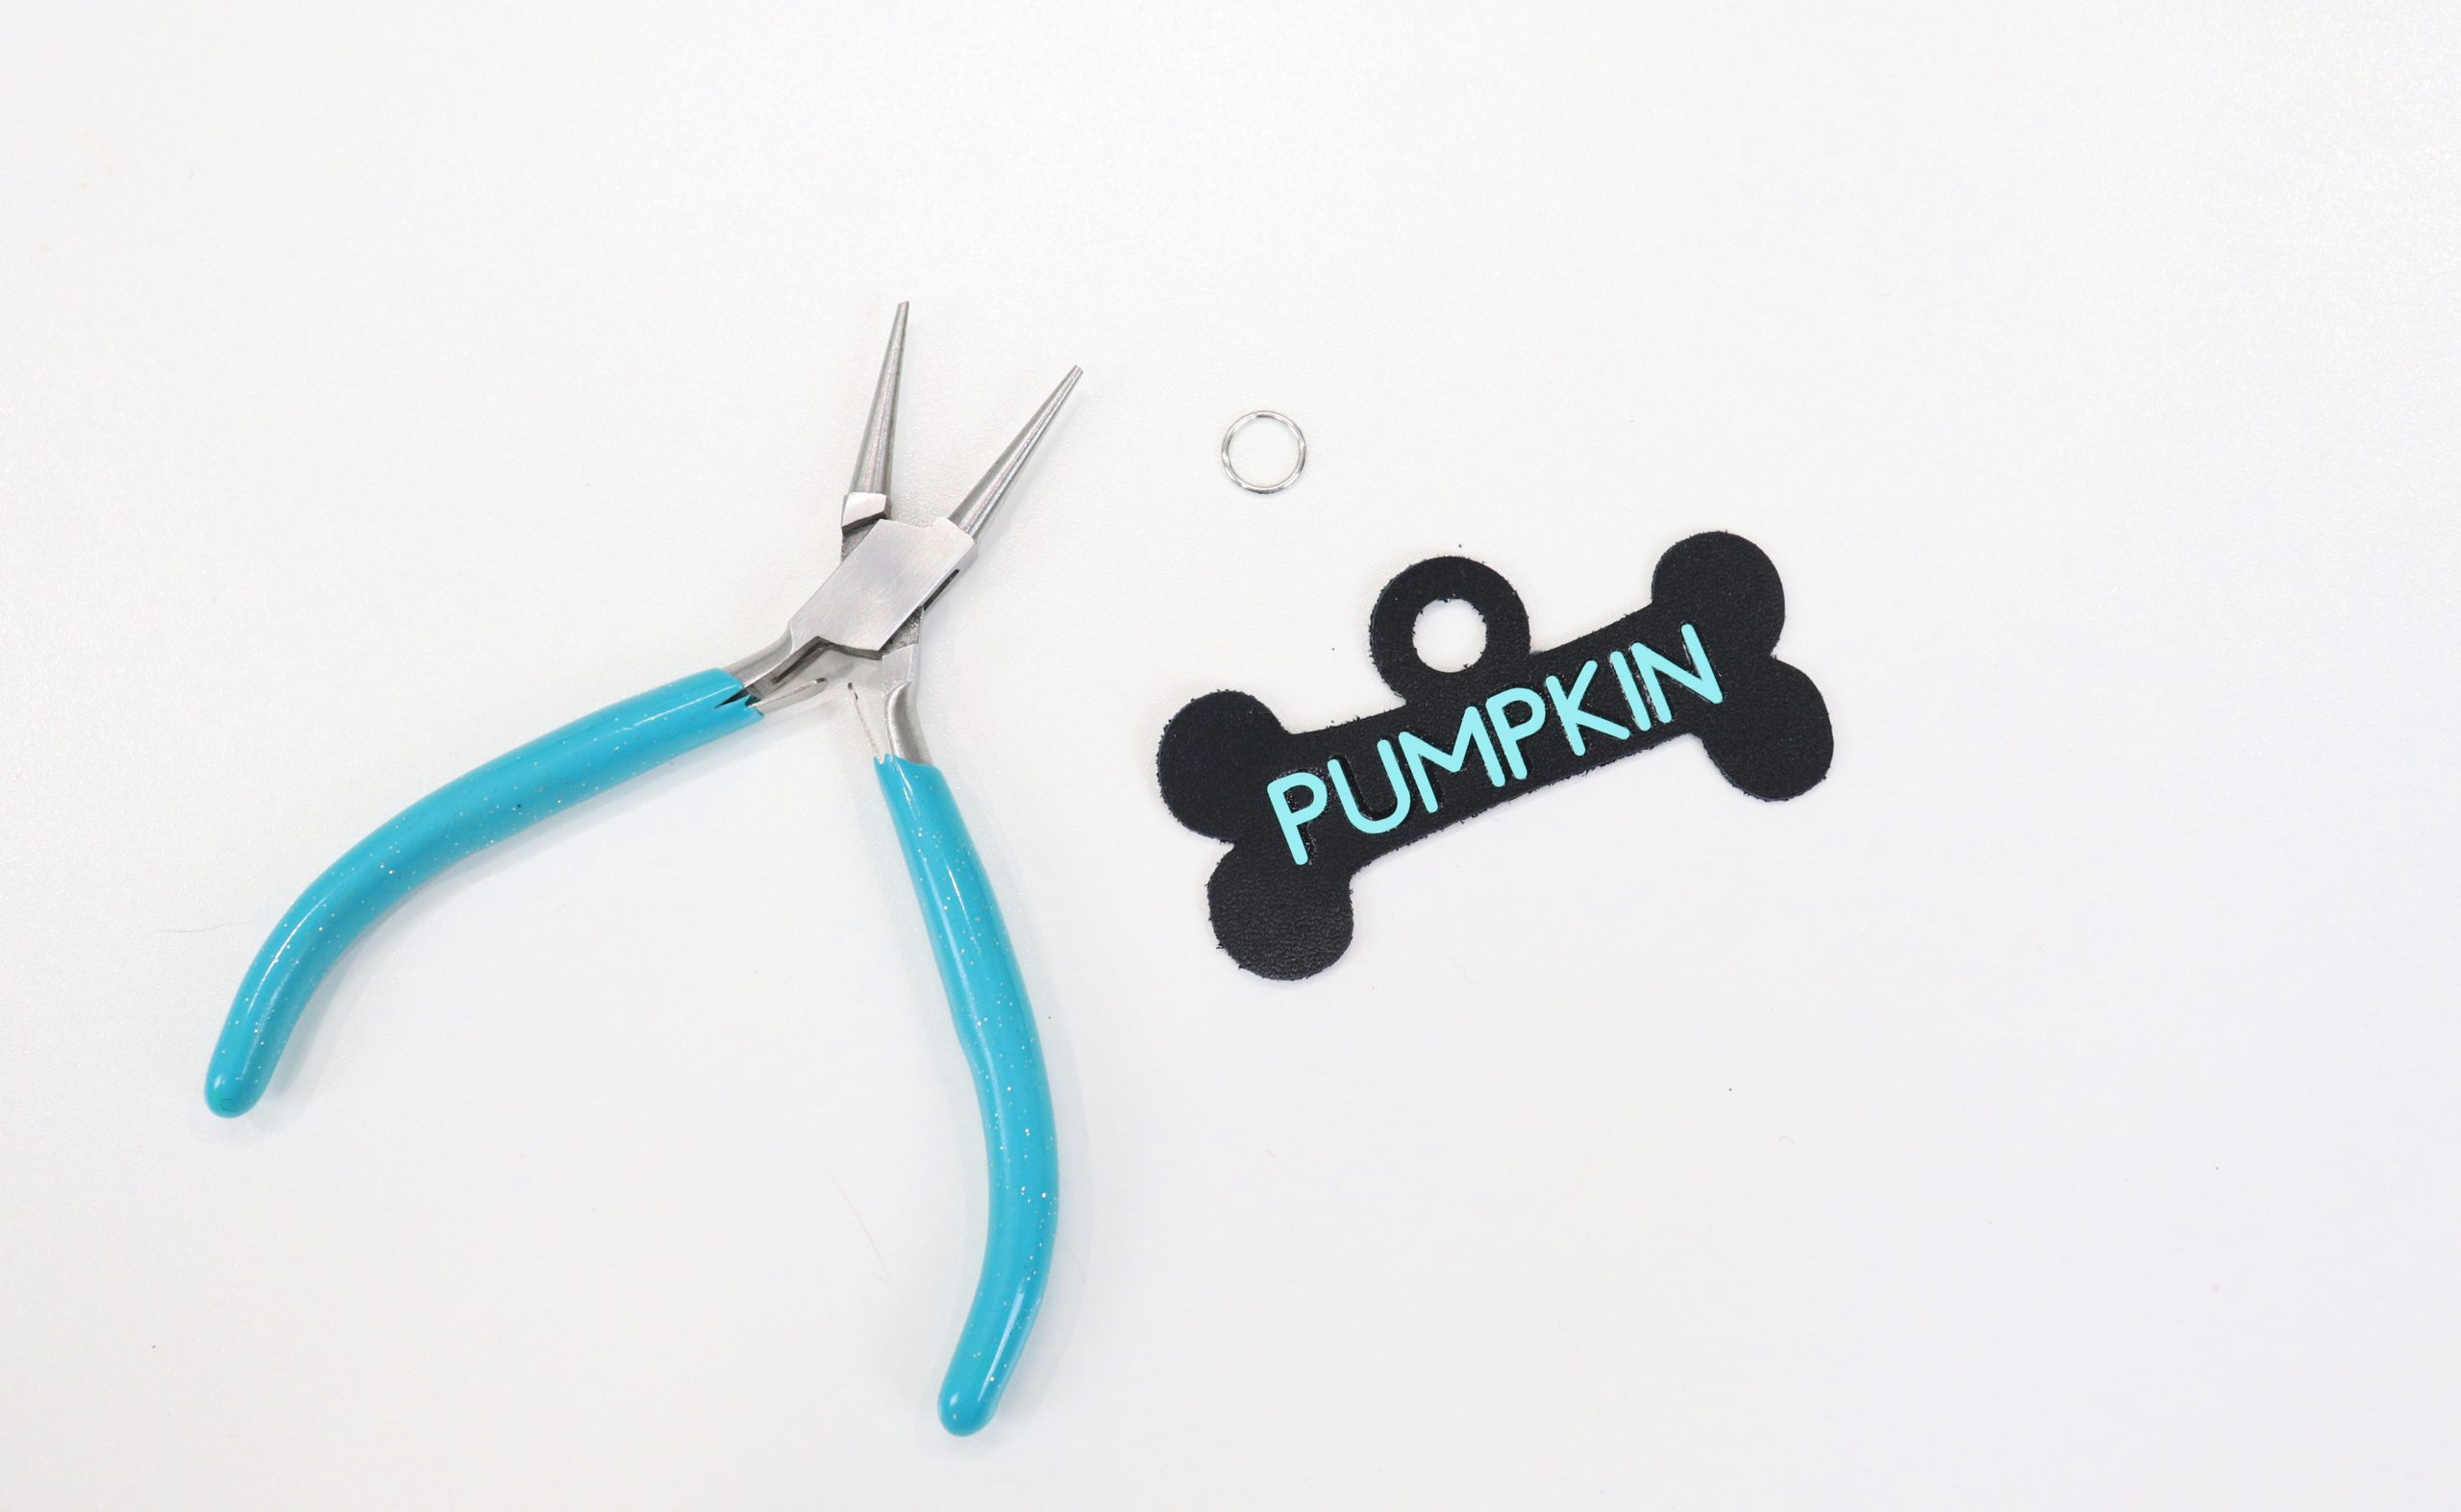
Jump Ring and Pliers
Creating Your Project:
Step 1: Use the Cricut Design Space app and place your desired tag shape on a new canvas.
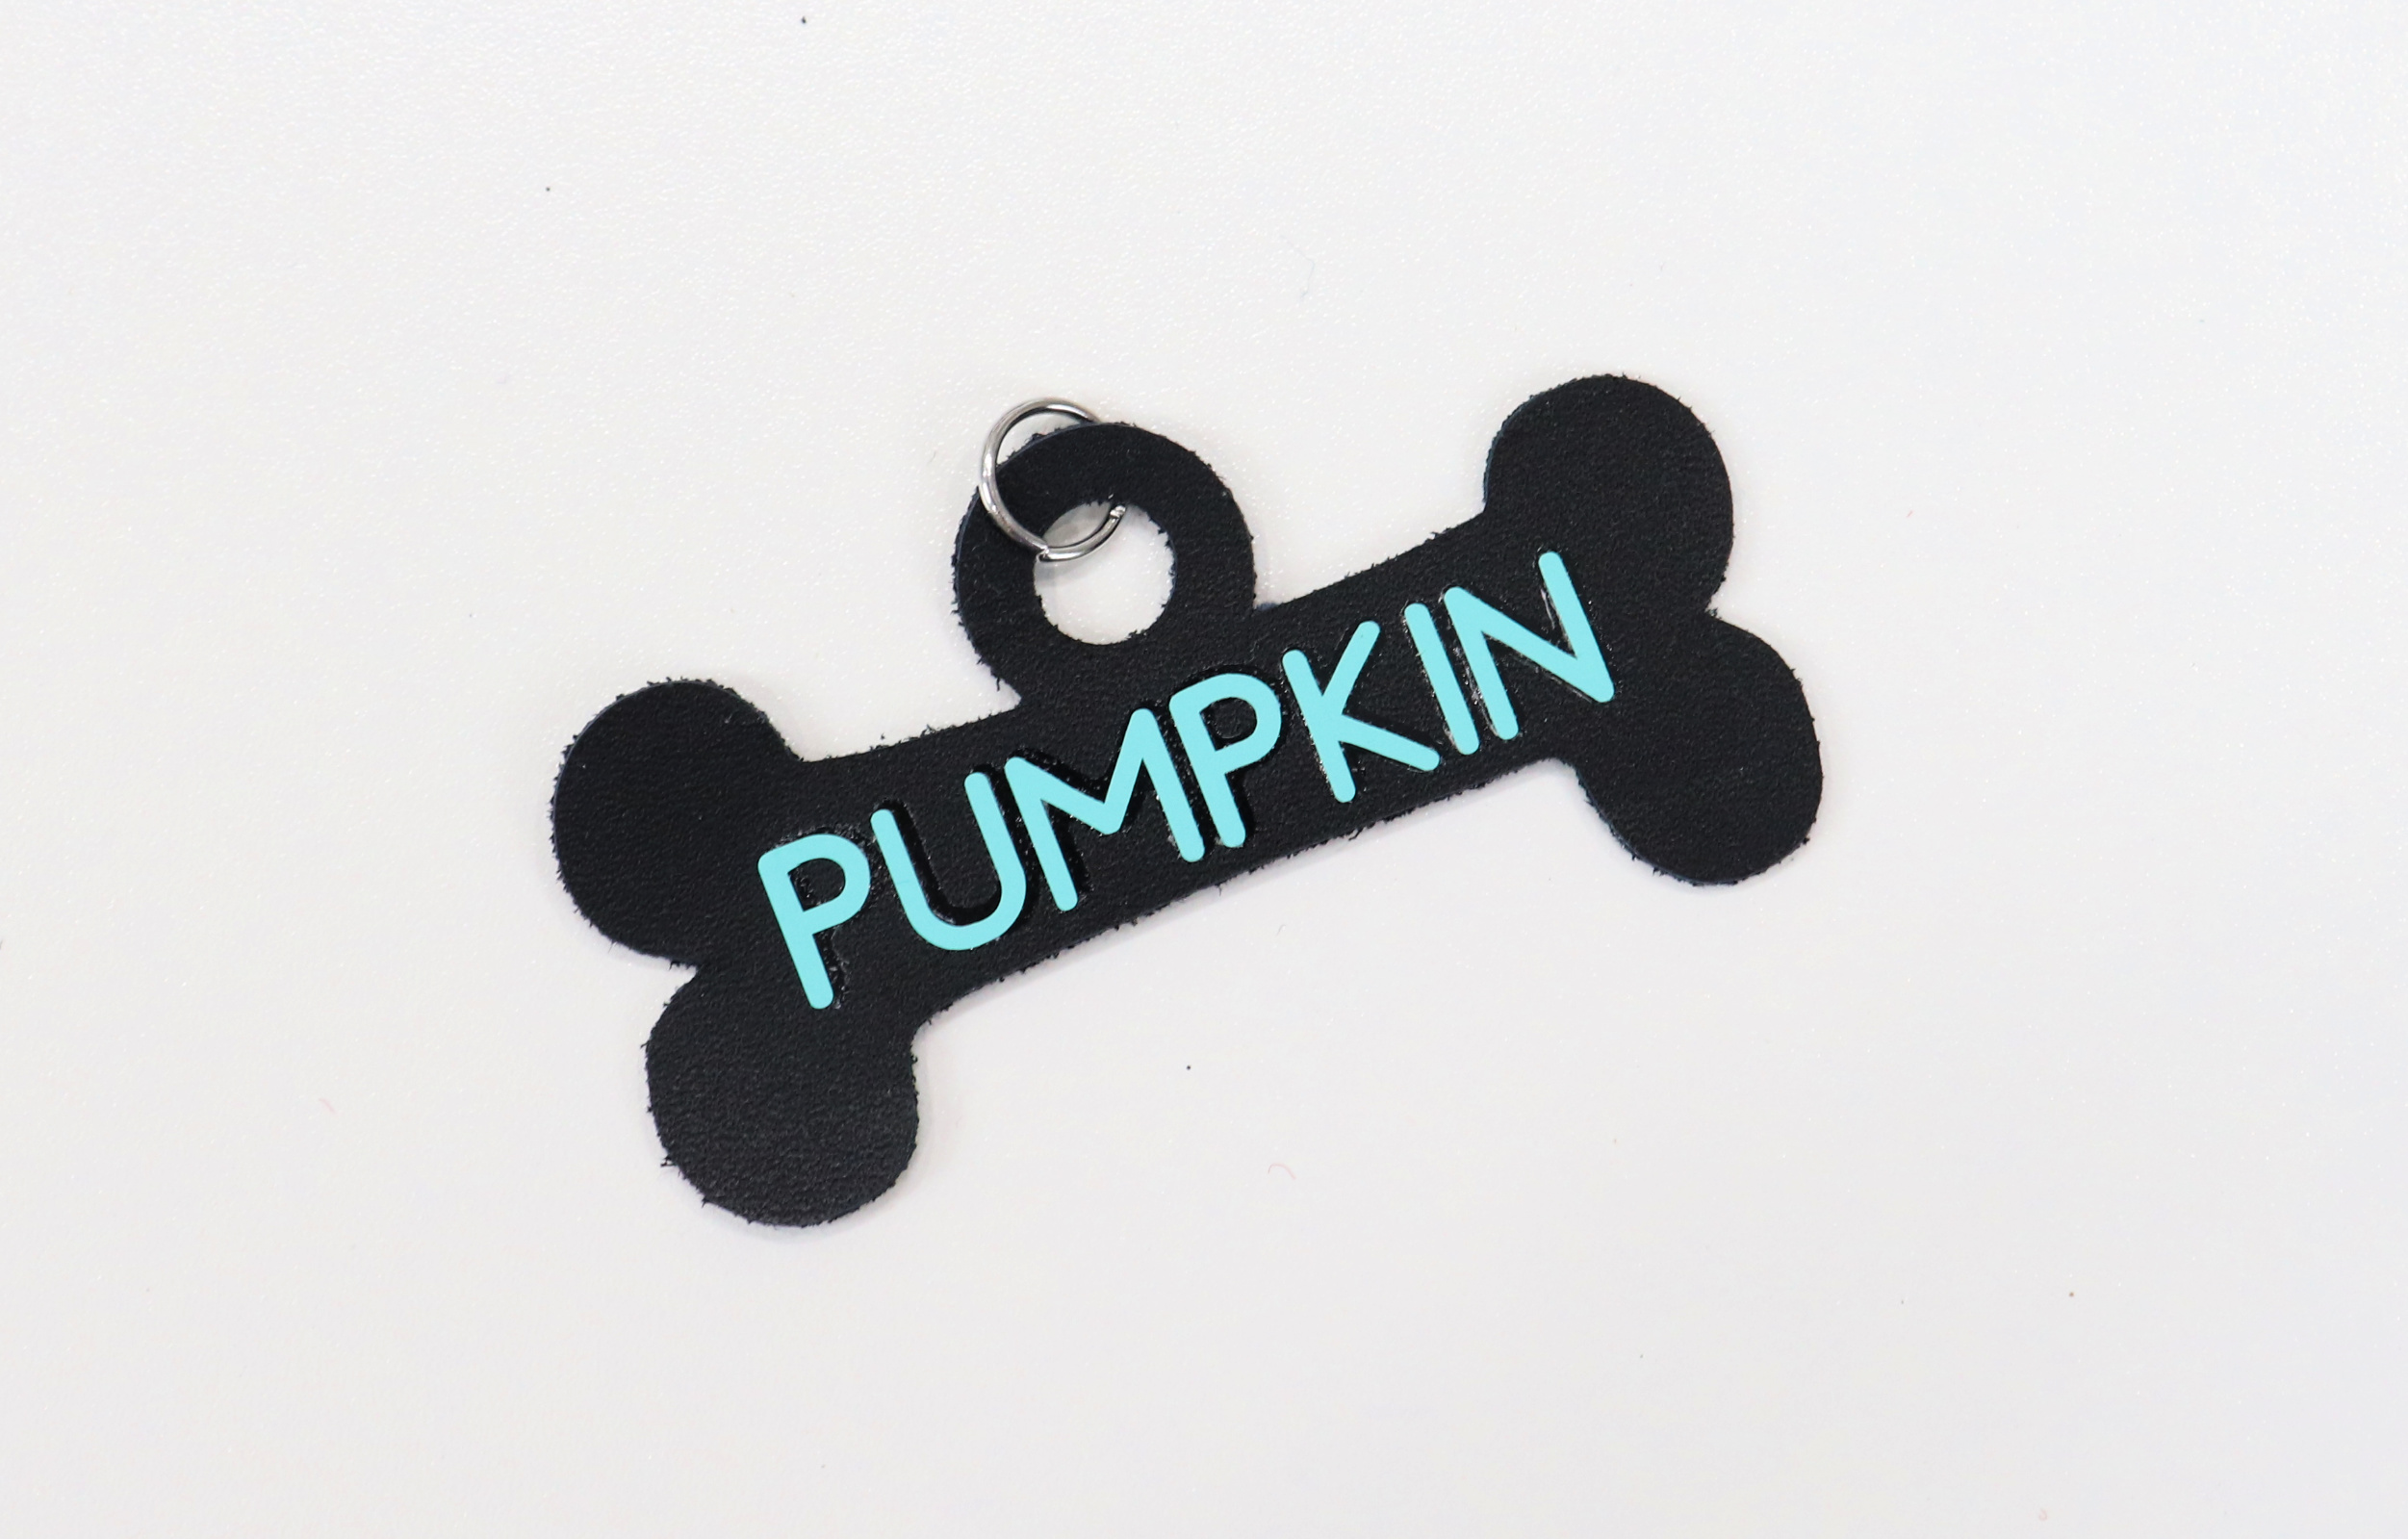
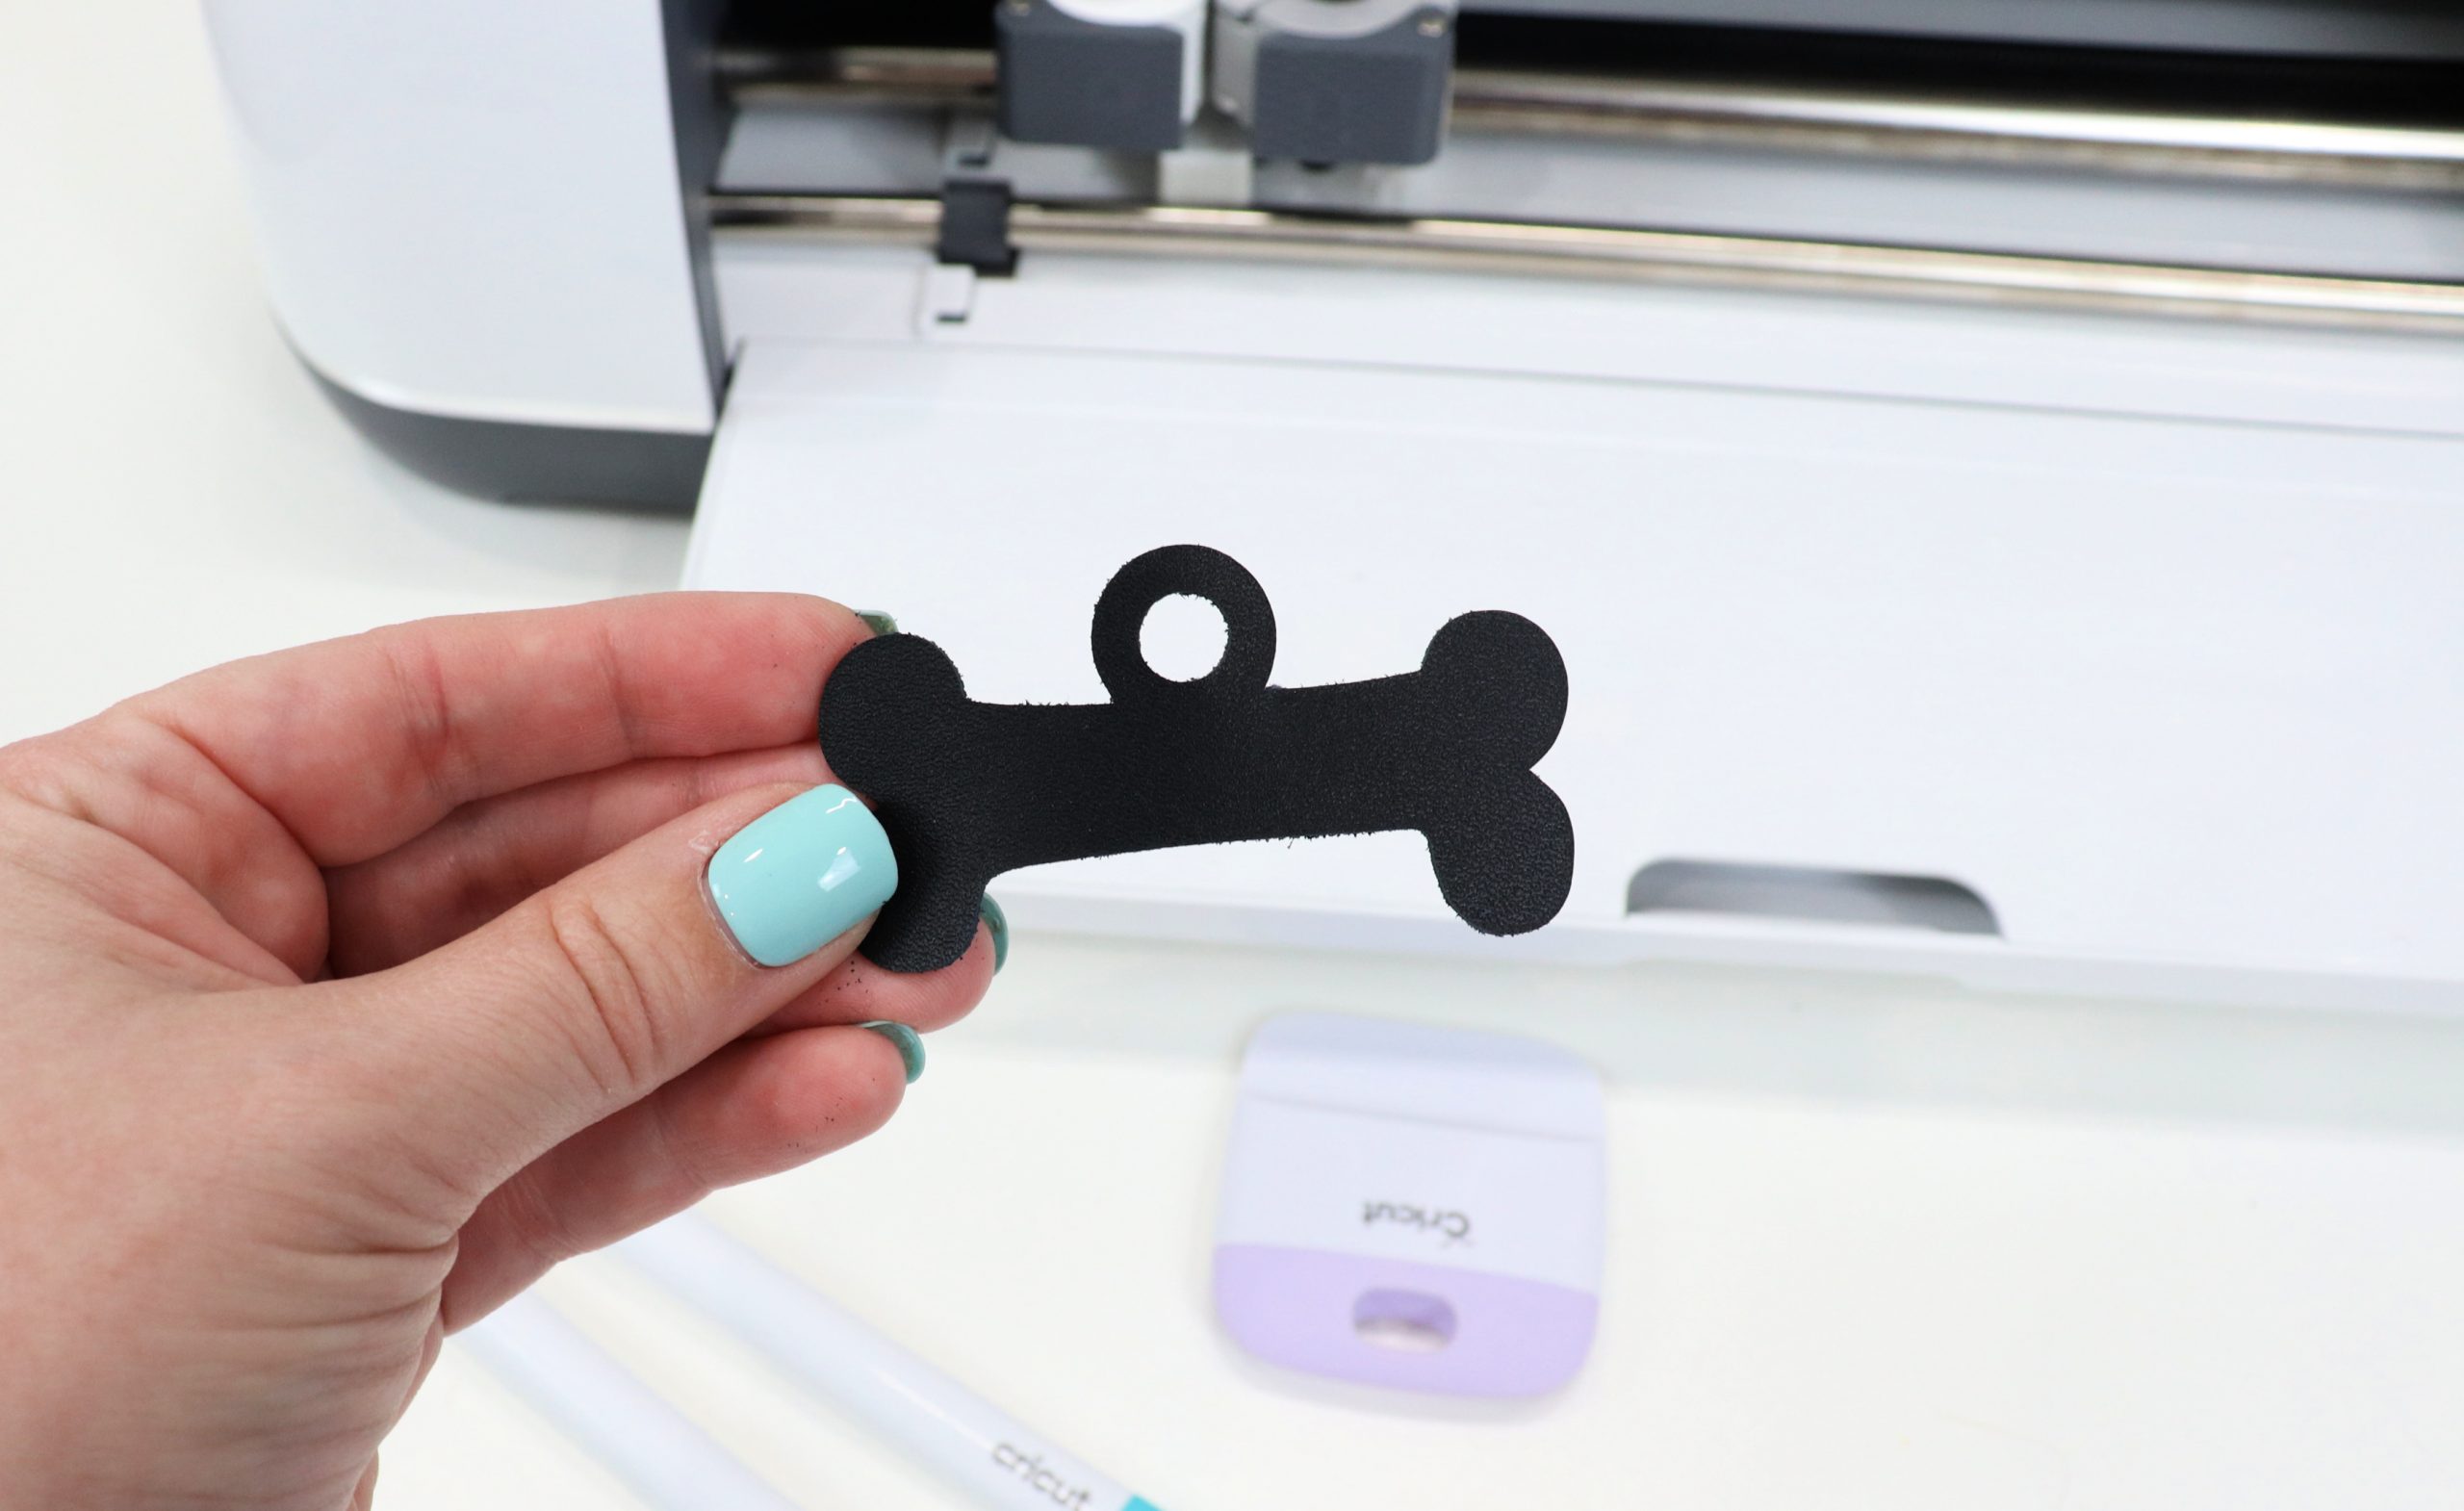
I used an image from the Design Space library called Bone Tag #M8DB19E8. If your prefer, you could use a different shape like a circle or a heart.
Step 2: Size your image (mine was 2.75″ wide), then select “Make it.”
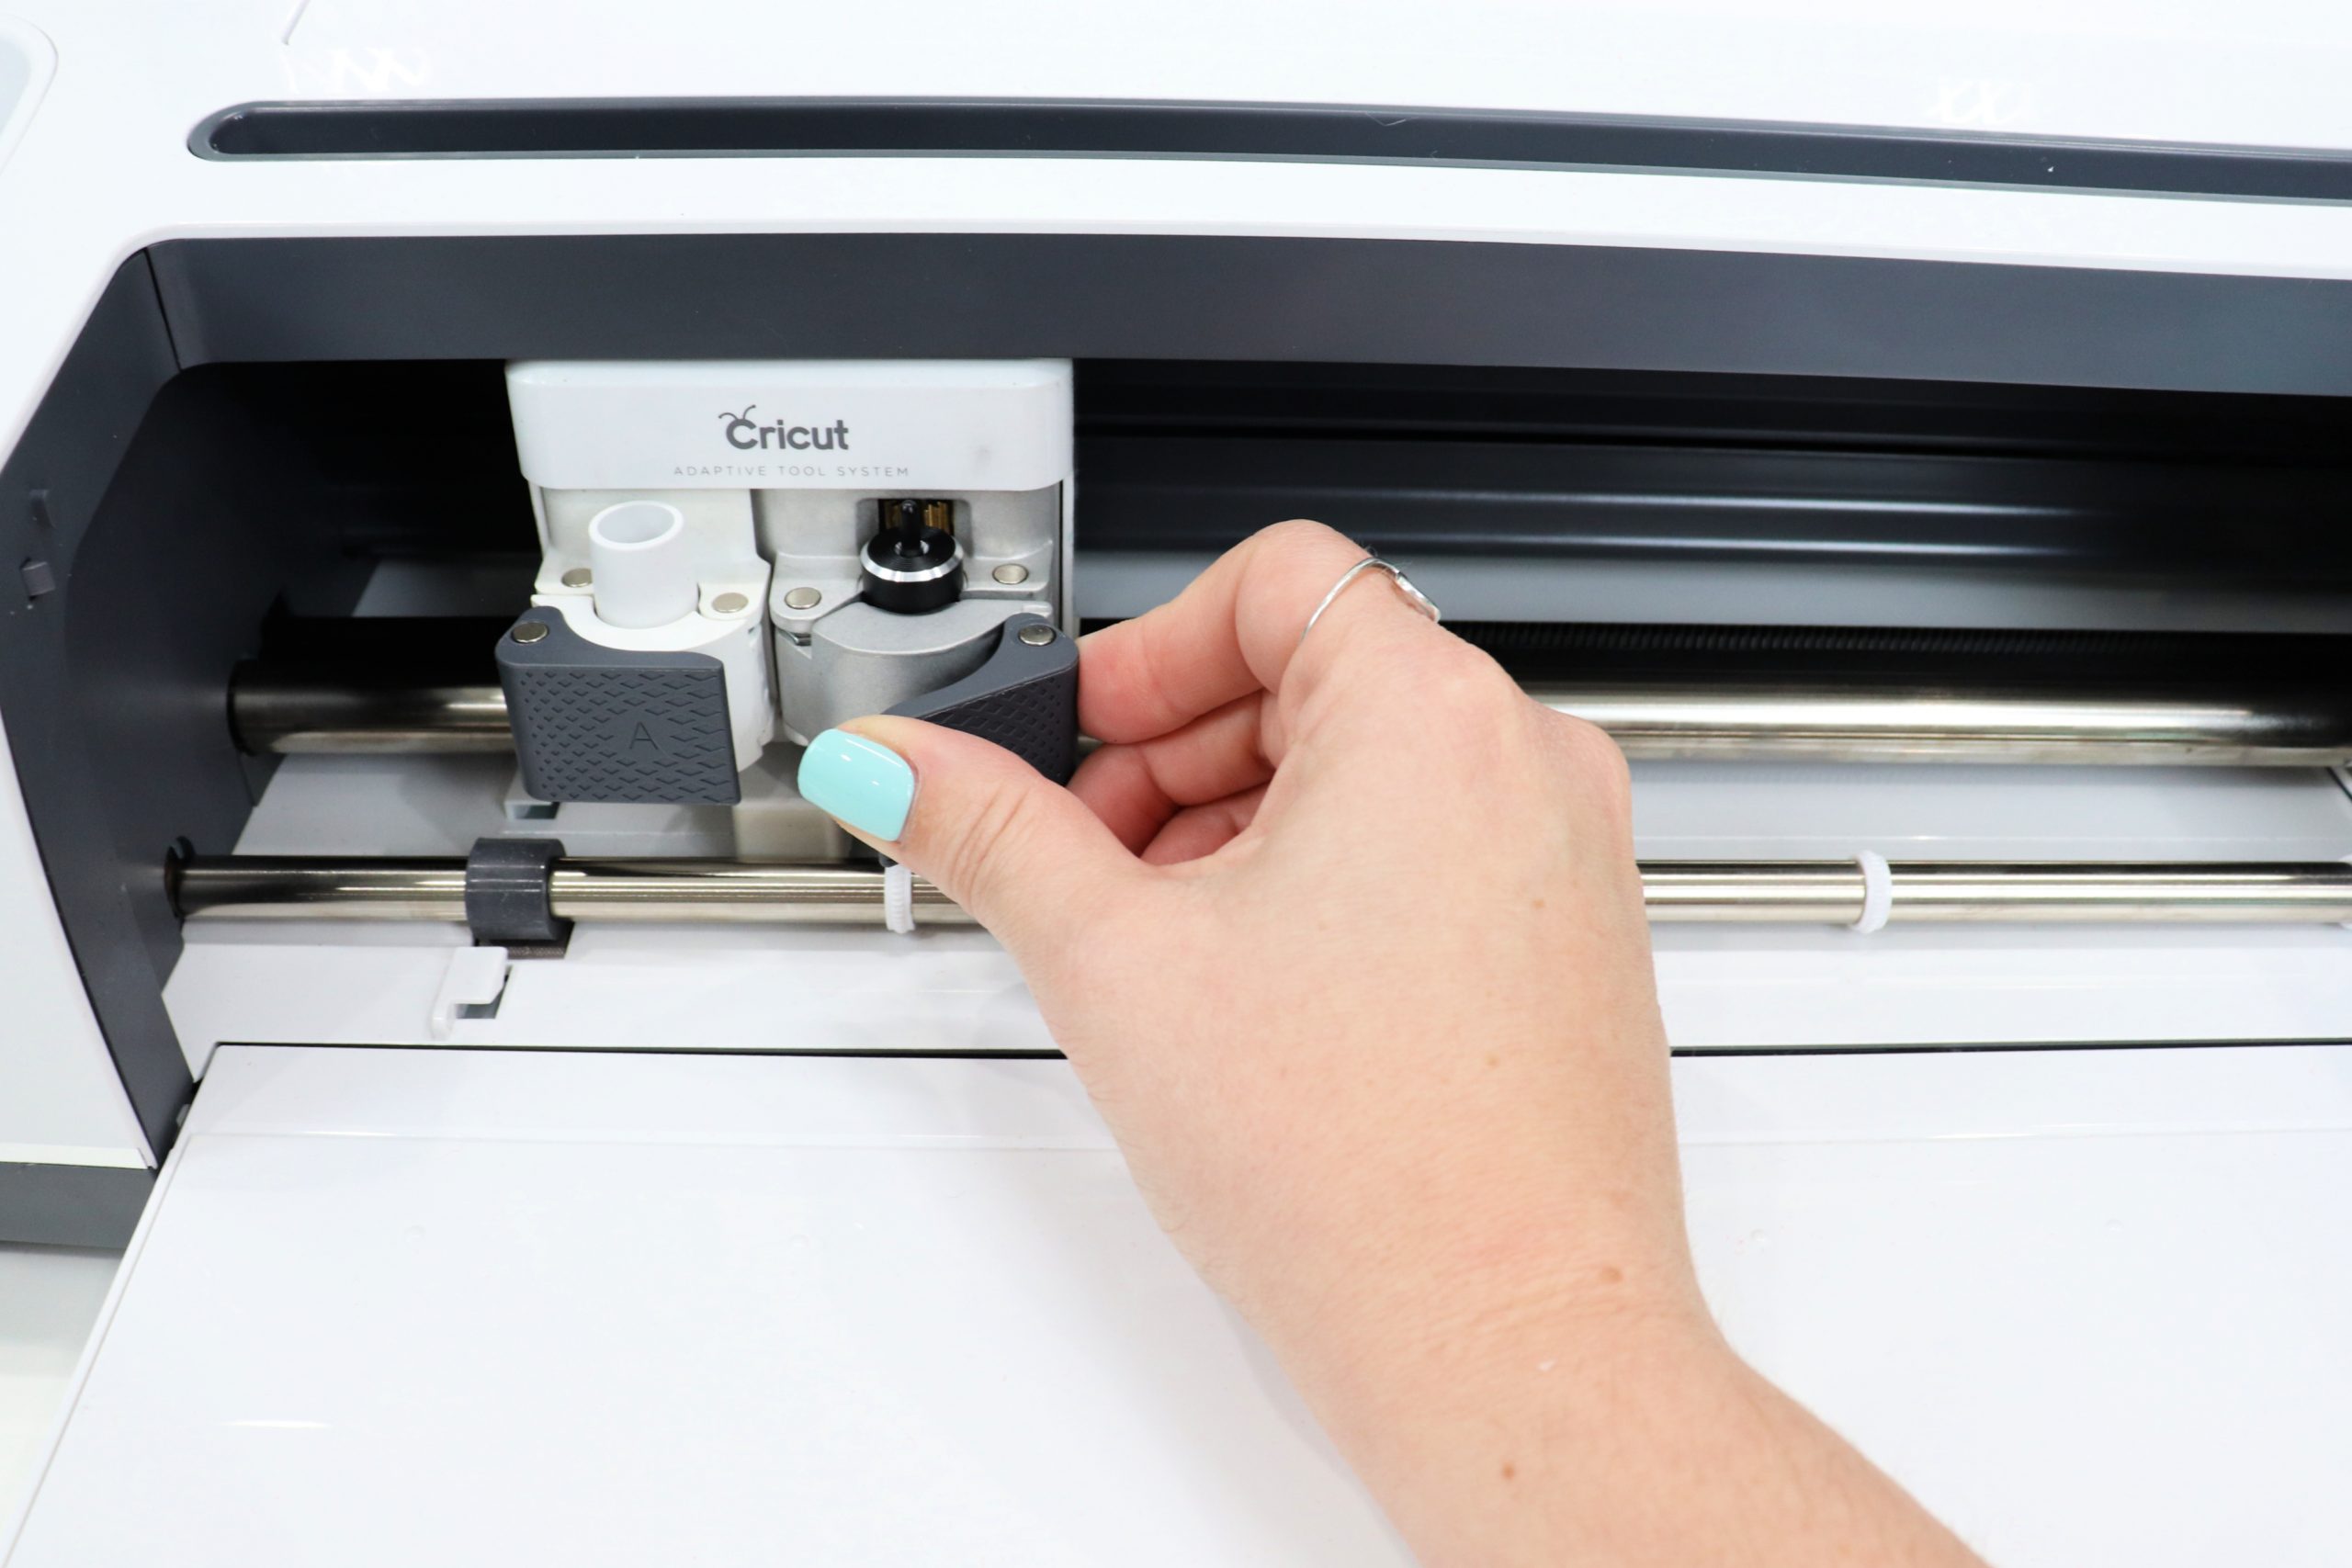
This will prompt you to enter information about the material you are using. Select Genuine Leather. You will then be prompted to load the Deep Point Blade in the B slot. If you do not change the blade, it won’t be able to cut through the leather. Also, make sure you tell the machine to mirror the image before proceeding, because leather loads face down.
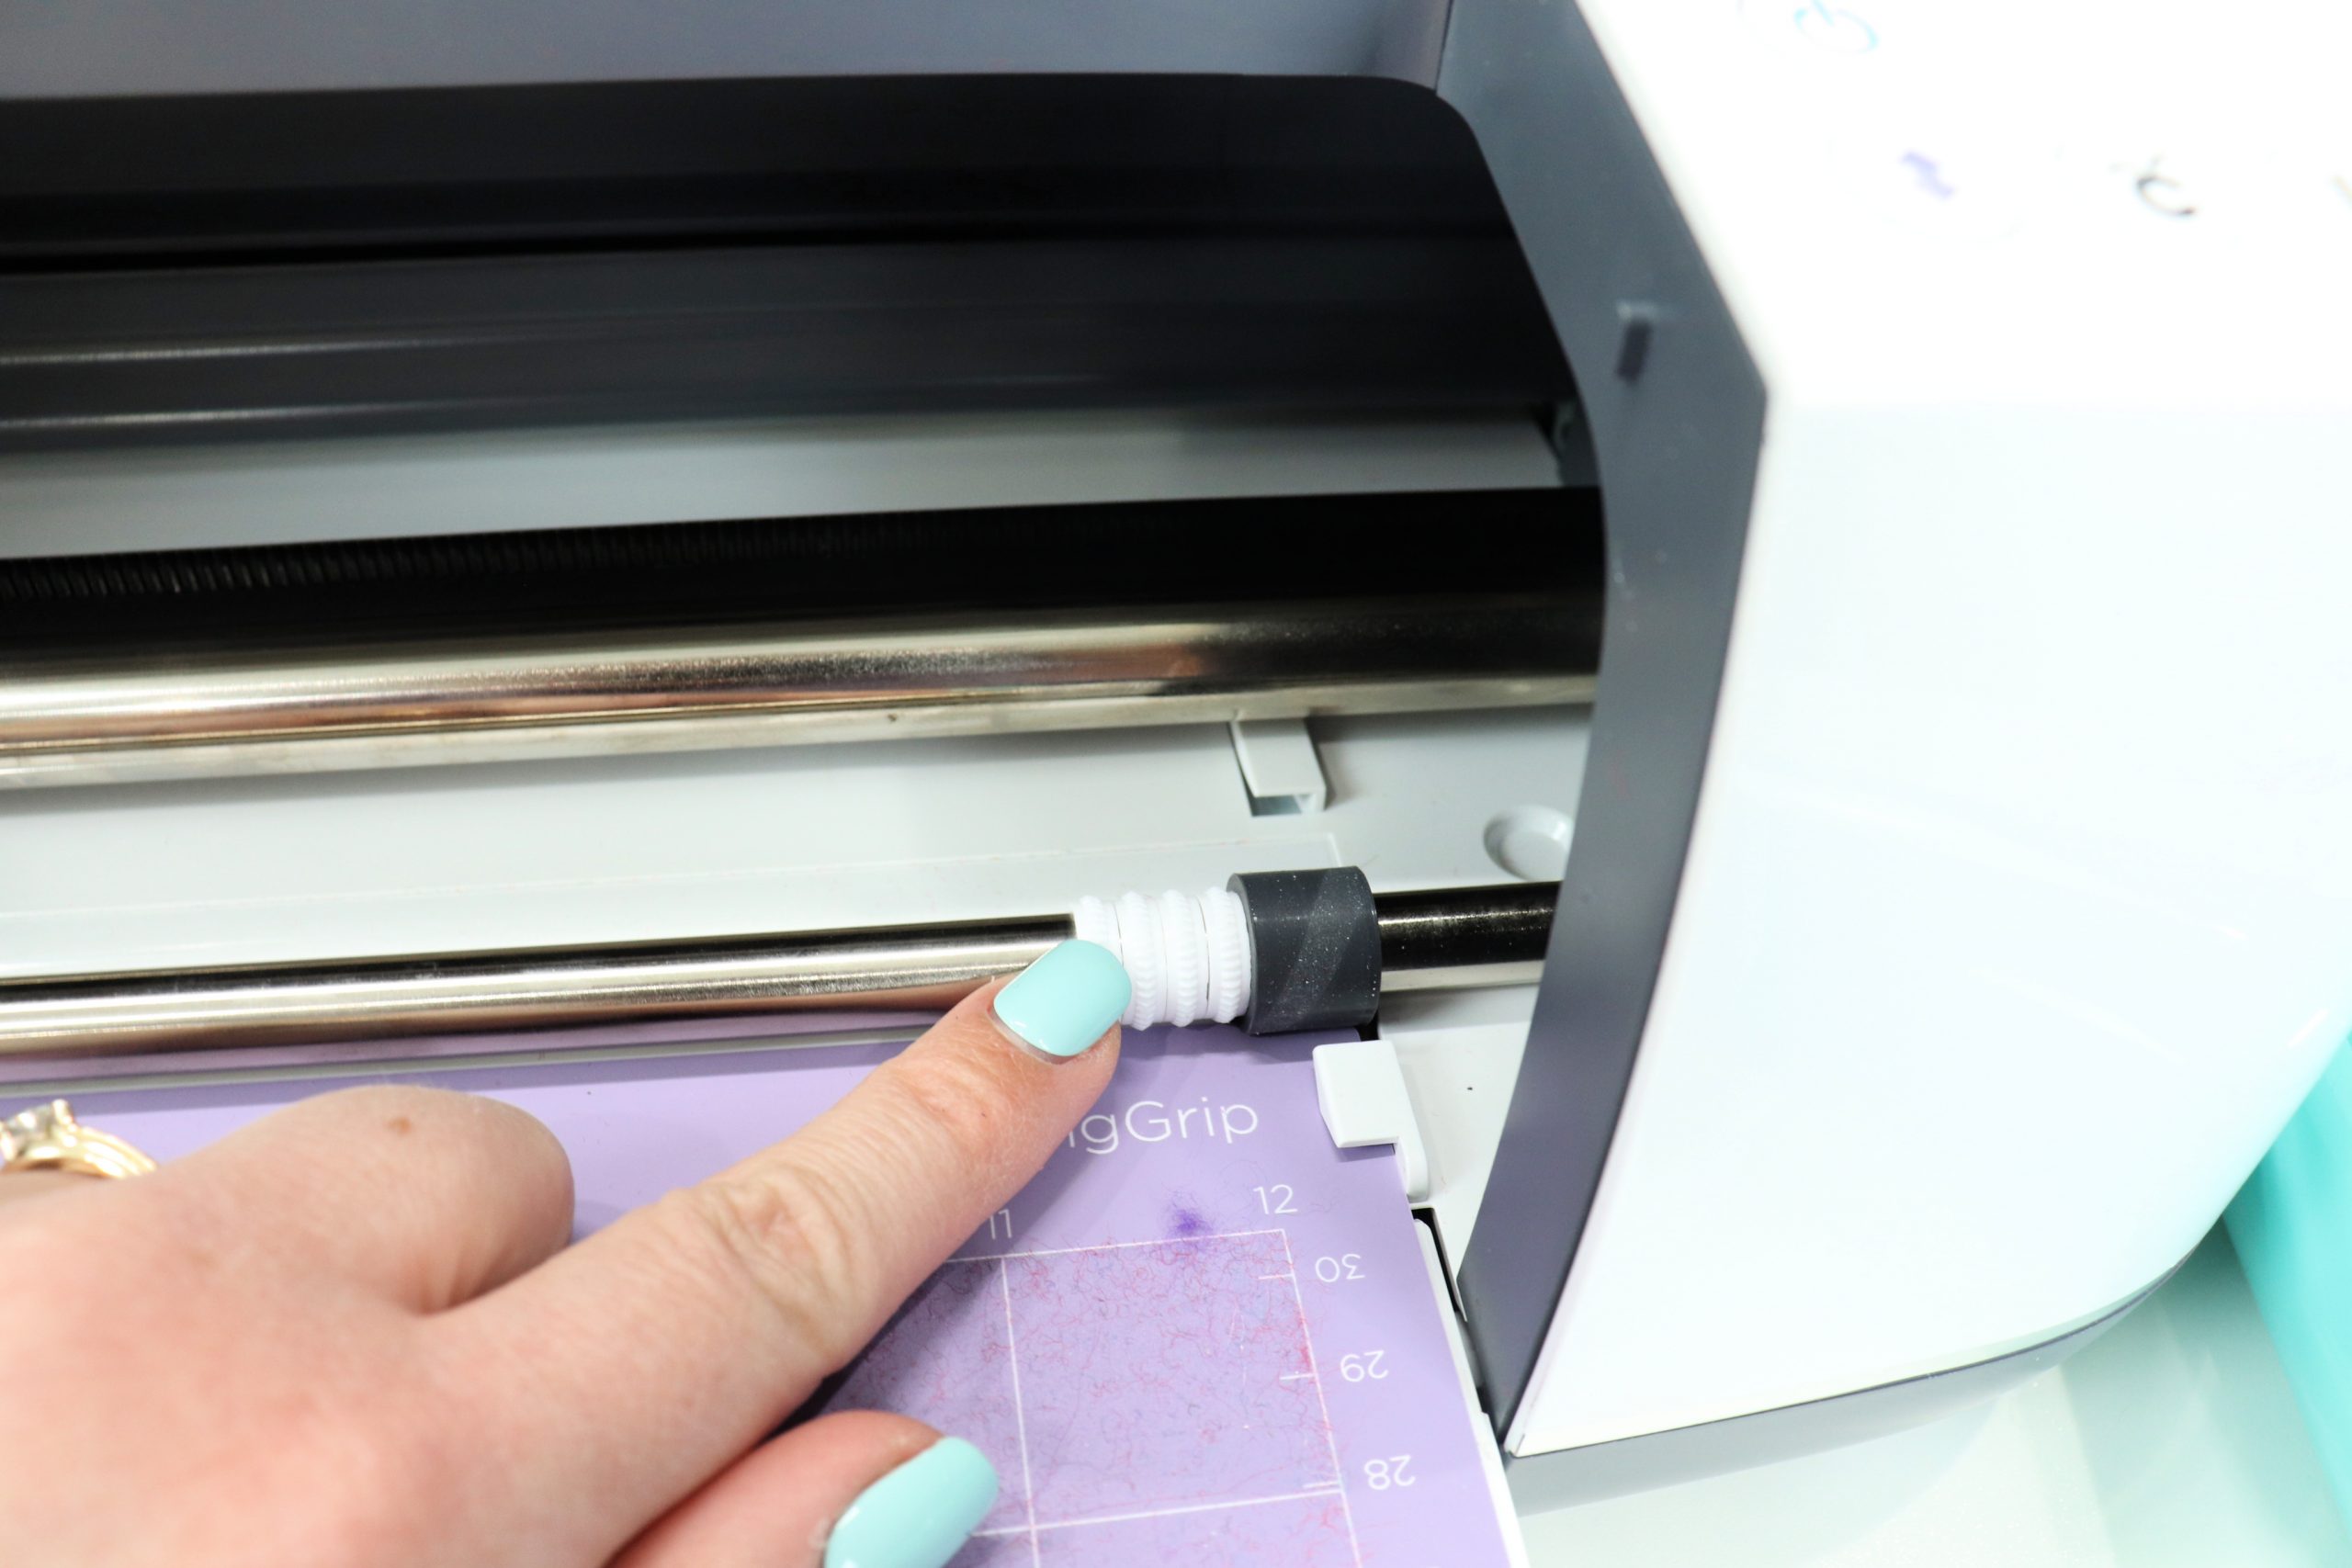
Step 3: Load your material.
Place the leather face down in the upper left corner of a Strong Grip cutting mat. Then, slide all of the white roller wheels on the metal bar to the far right. The app will prompt you to do this, because otherwise they will interfere with the cut. Typically these rollers help to keep materials in place, but since the leather is thicker than most things your Cricut cuts, they do not work in conjunction with it. Finally, load the mat into the machine and press “GO” to begin the cut.
When the cut is complete, unload your mat, and you’ll have your leather shape! Set this aside while you complete the second piece of the project, cutting your pet’s name from Iron-On vinyl.
Step 4: Go back into the Design Space app and type your pet’s name. Size it to fit on the tag.
You can use any font you like, but I find that when you work with something this small, letters that are thick and bold without a lot of extra frills tend to be the most user-friendly. I used a Cricut font called “Monday.” To make sure the size was correct, I left the tag shape on the canvas and placed the name on top of it. Once I knew it was the right size, I deleted the tag, leaving just Pumpkin’s name.
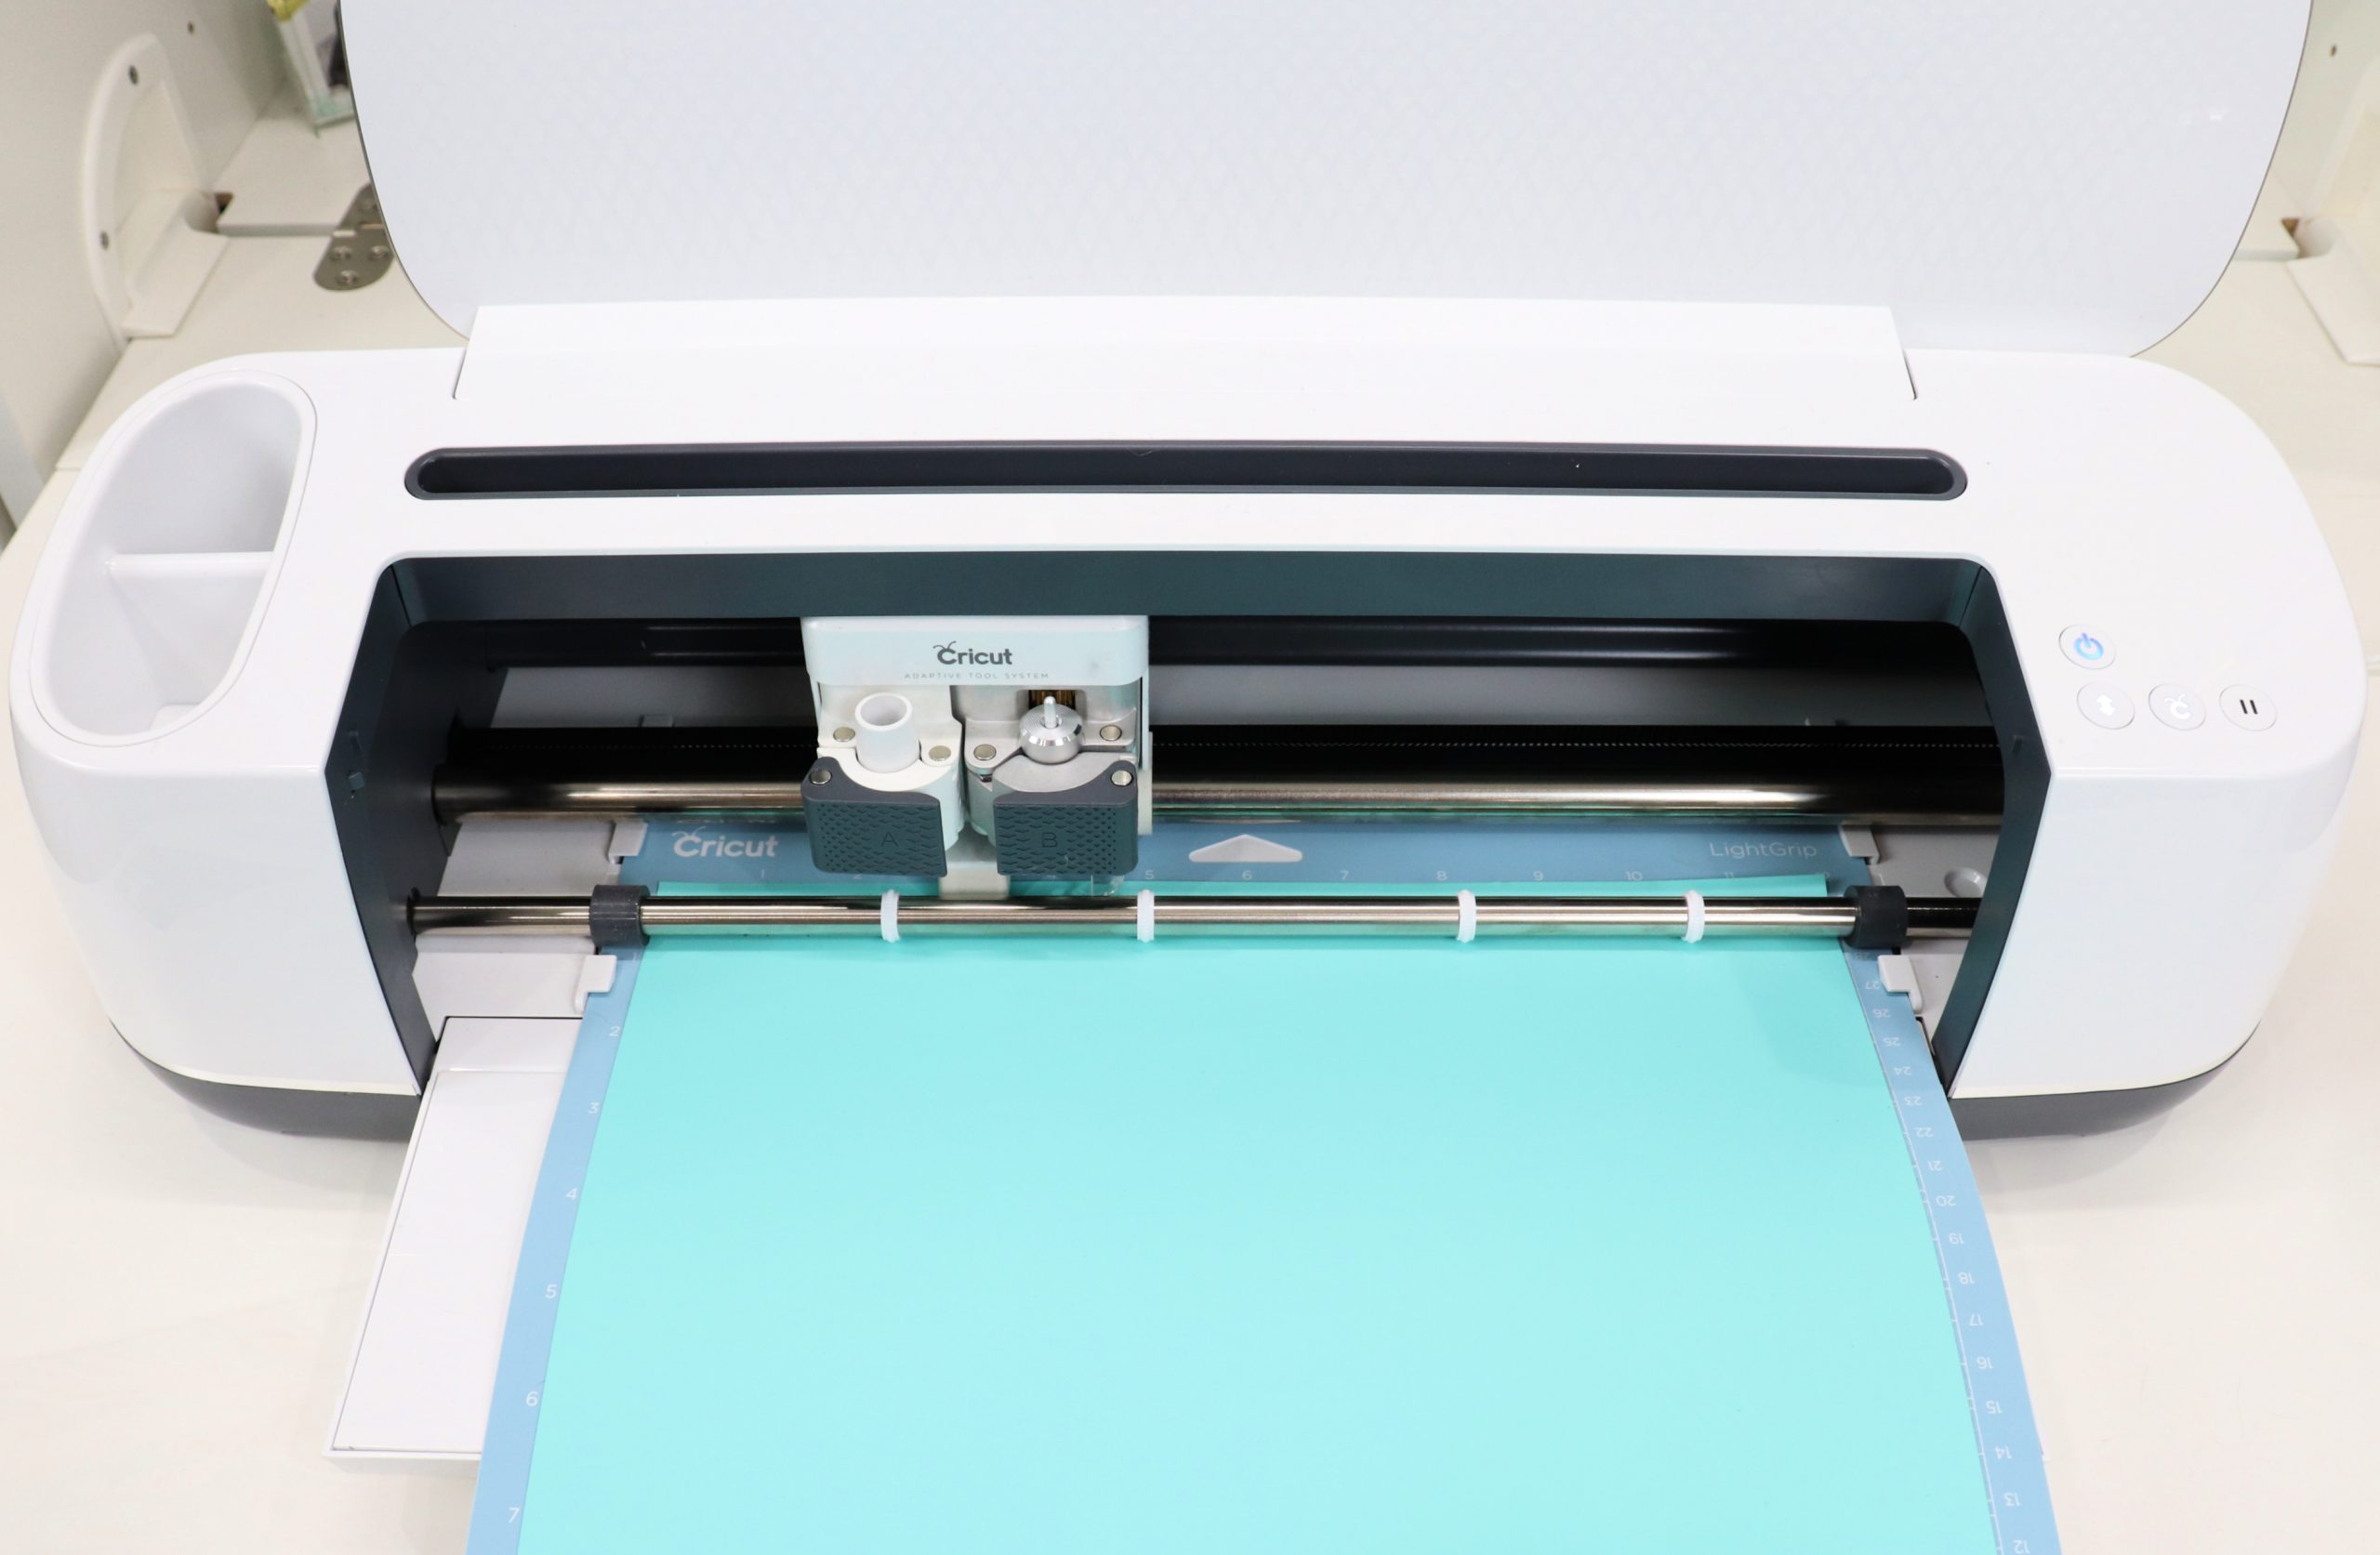
Step 5: Switch to your fine-point blade and cut the name from Iron-On Vinyl.
Once again, you’ll be prompted to choose a material, which in this case is Everyday Iron-On Vinyl. Don’t forget to replace the deep point blade with your fine point one and move the roller wheels back to their regular positions. Place the vinyl on the mat with the shiny side down (you can use a standard grip one for this, or the strong grip), and make sure you mirrored your image again. Let the Maker work its magic and complete the cut.
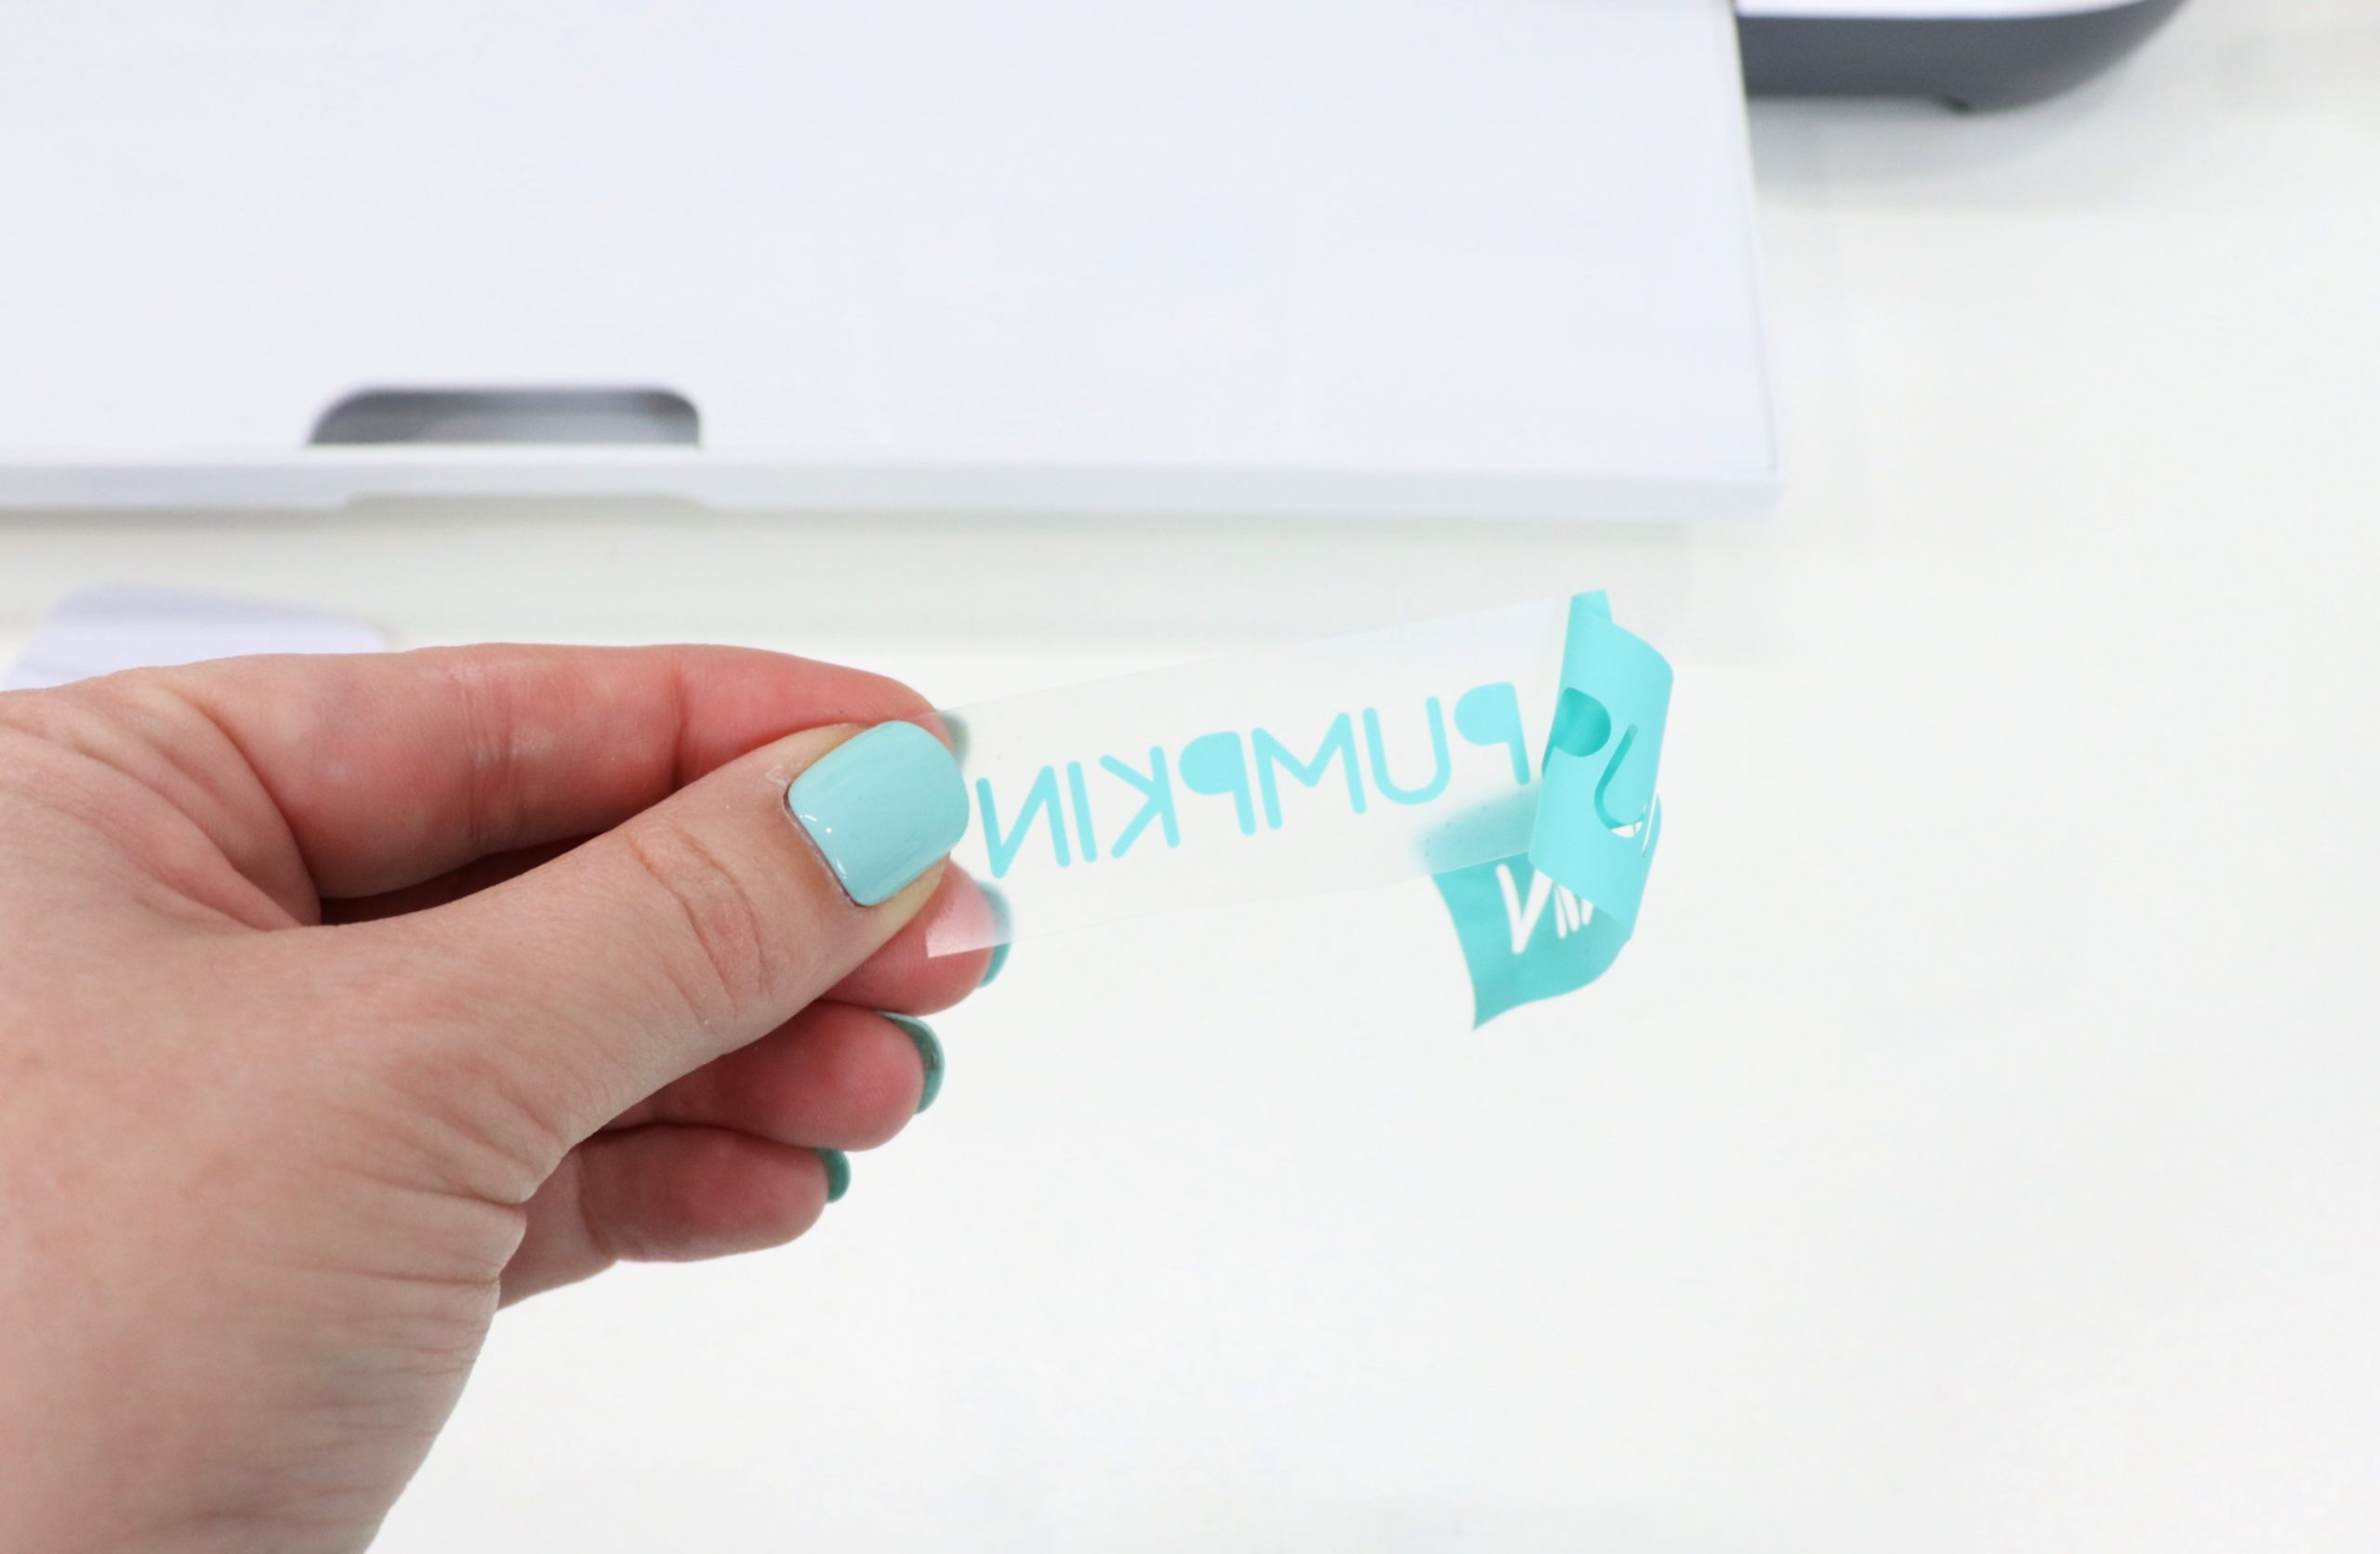
Step 6: Weed your vinyl.
Peel away everything that is not part of your pet’s name. That includes the centers of closed letters like my “P”s. This will leave just the name on the clear transfer backing.
Step 7: Place the name on top of the tag and adhere it using your EasyPress.
Refer to the Cricut Heat Guide for the exact temperature and time settings. Peel away the clear layer and you’ll be left with your pet’s name permanently adhered to the tag.
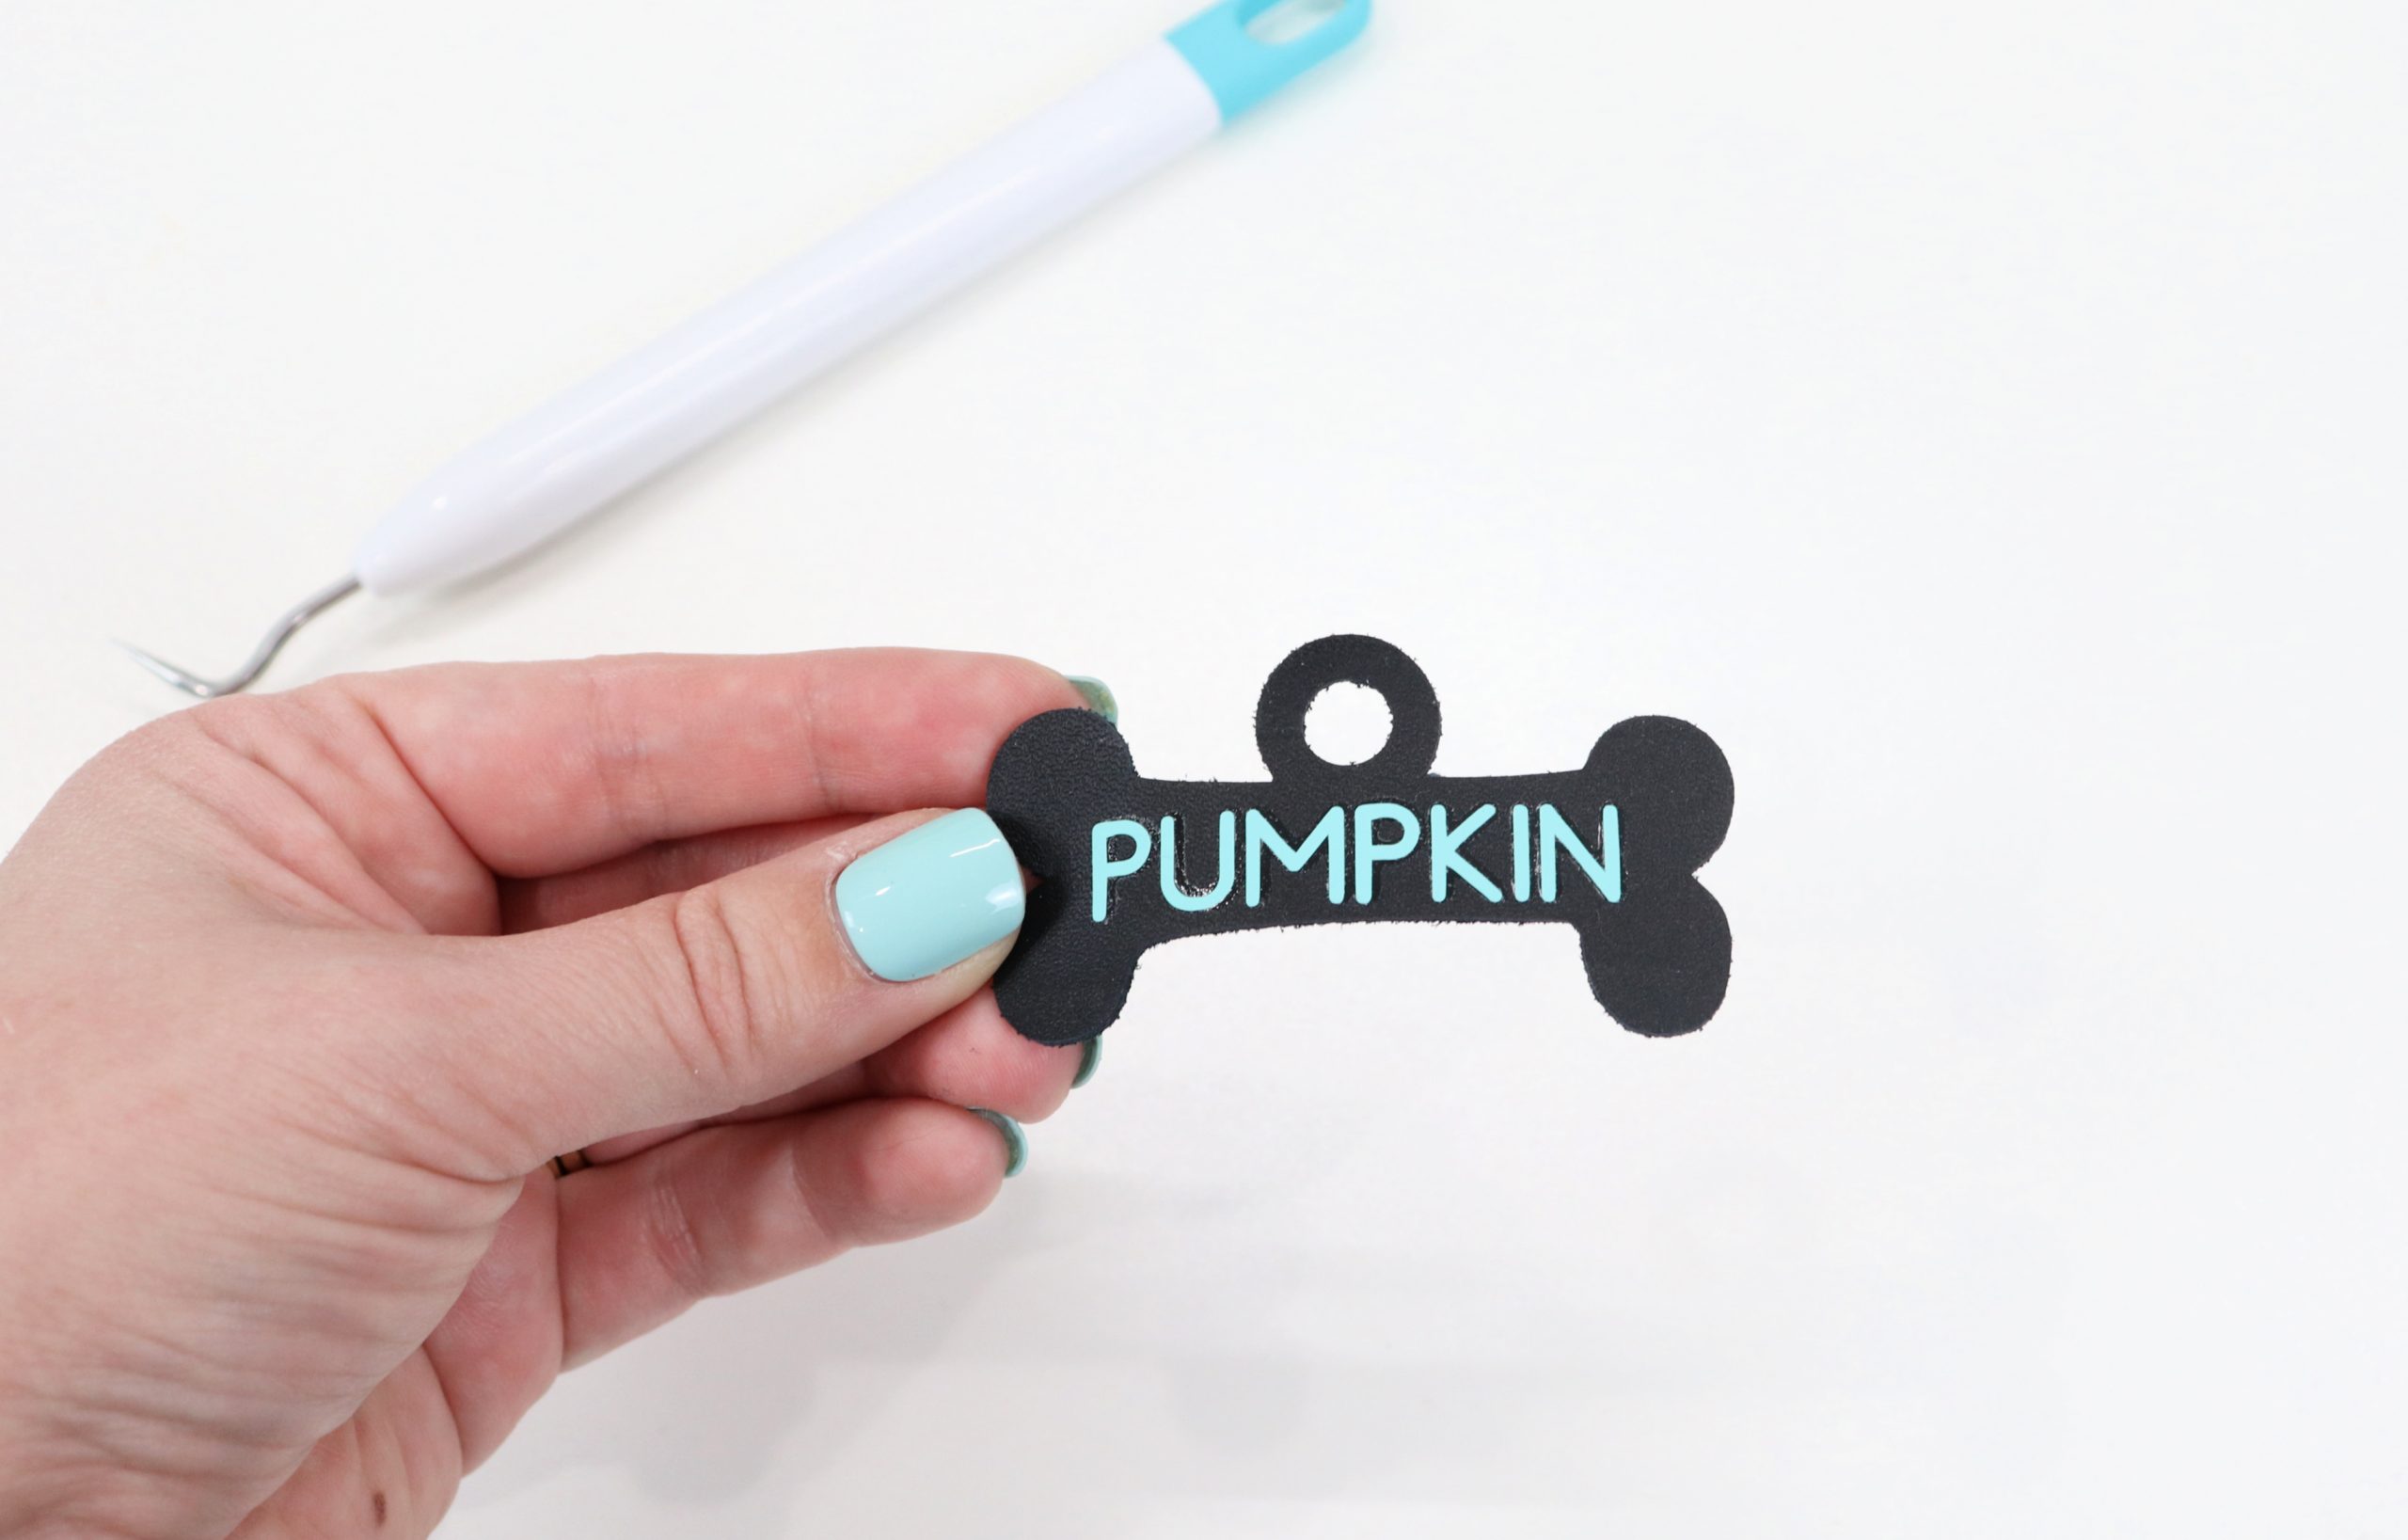
Step 8: Attach a jump ring.
Use a pair of pliers to carefully open the metal ring and slide it through the hole on the tag. Attach it to your pet’s collar, then close the ring. It’s best to do this when your pet is not wearing the collar.
See how easy it is to create your own pet fashion? You can totally customize this project using other colors and shapes of leather, and any color vinyl you like. I also recommend putting your phone number on the back of the tag using more vinyl or a permanent marker. I love that this tag is absolutely silent, and that it is comfortable for Pumpkin to wear too! So much so that he gives it two paws up.
What about you? Is there a furry friend (or two or three) in your life who would benefit from a noiseless leather tag? If you try this project, I’d love to see how yours turns out! Who am I kidding…I really just want to see all your dogs and cats. Be sure to share your photos with us in the Amy Latta & Friends Facebook Group so we can all be inspired (and love on your pets). See you there.

One Comment