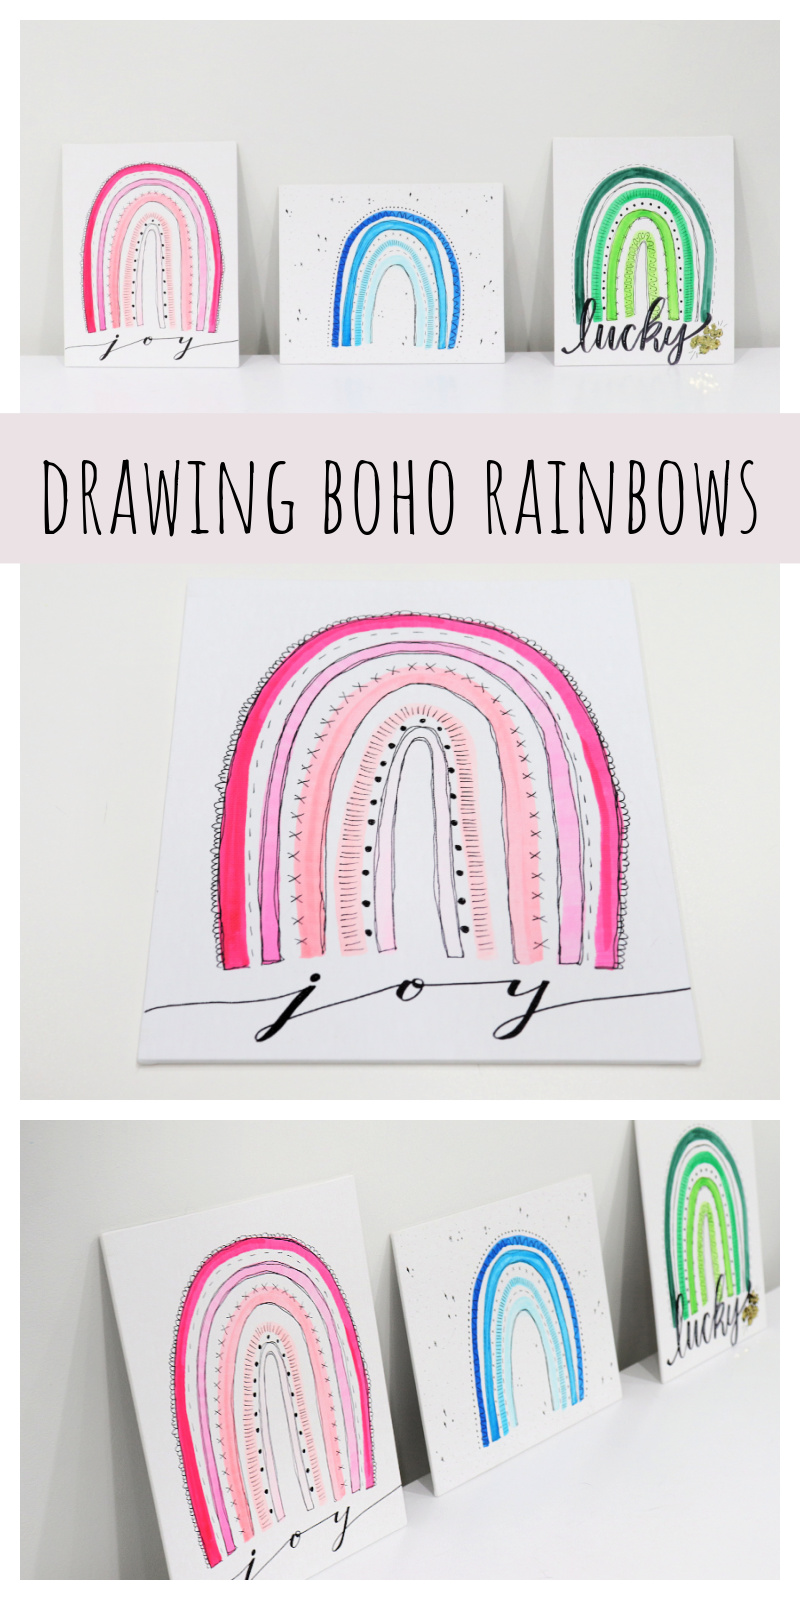
How to Draw Boho Rainbows
The boho rainbow trend is everywhere right now, and friends, I am here for it!! In case you haven’t seen these floating around the internet, let’s talk about four things that make a boho rainbow different from the traditional rainbows we all learned to draw in grade school.
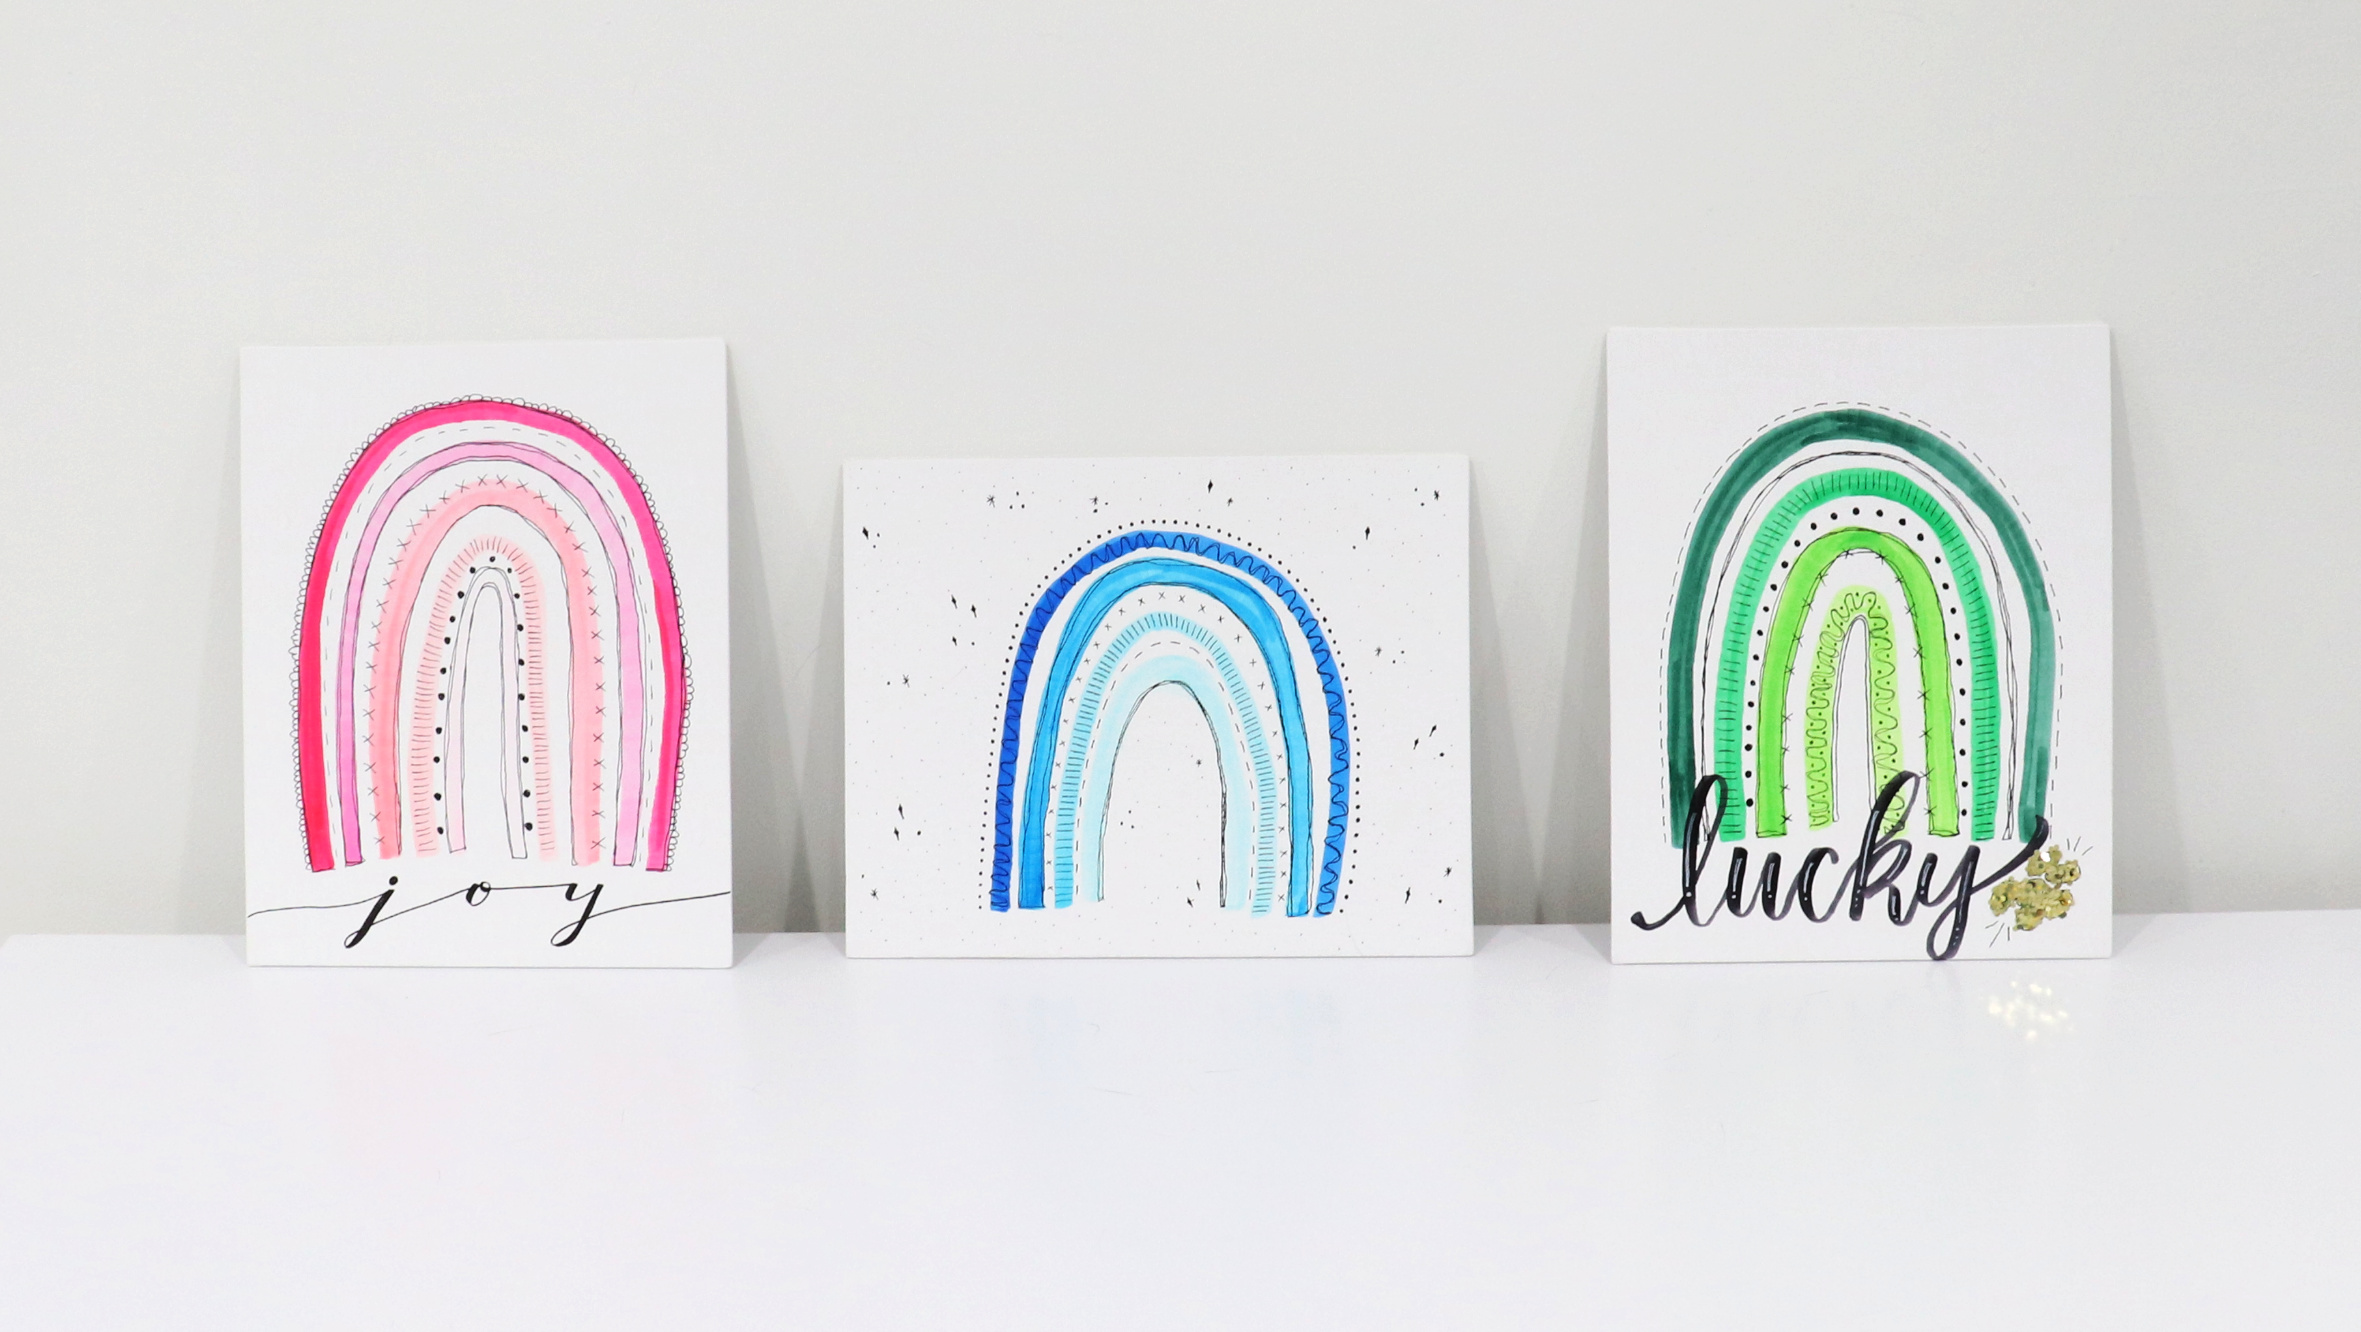
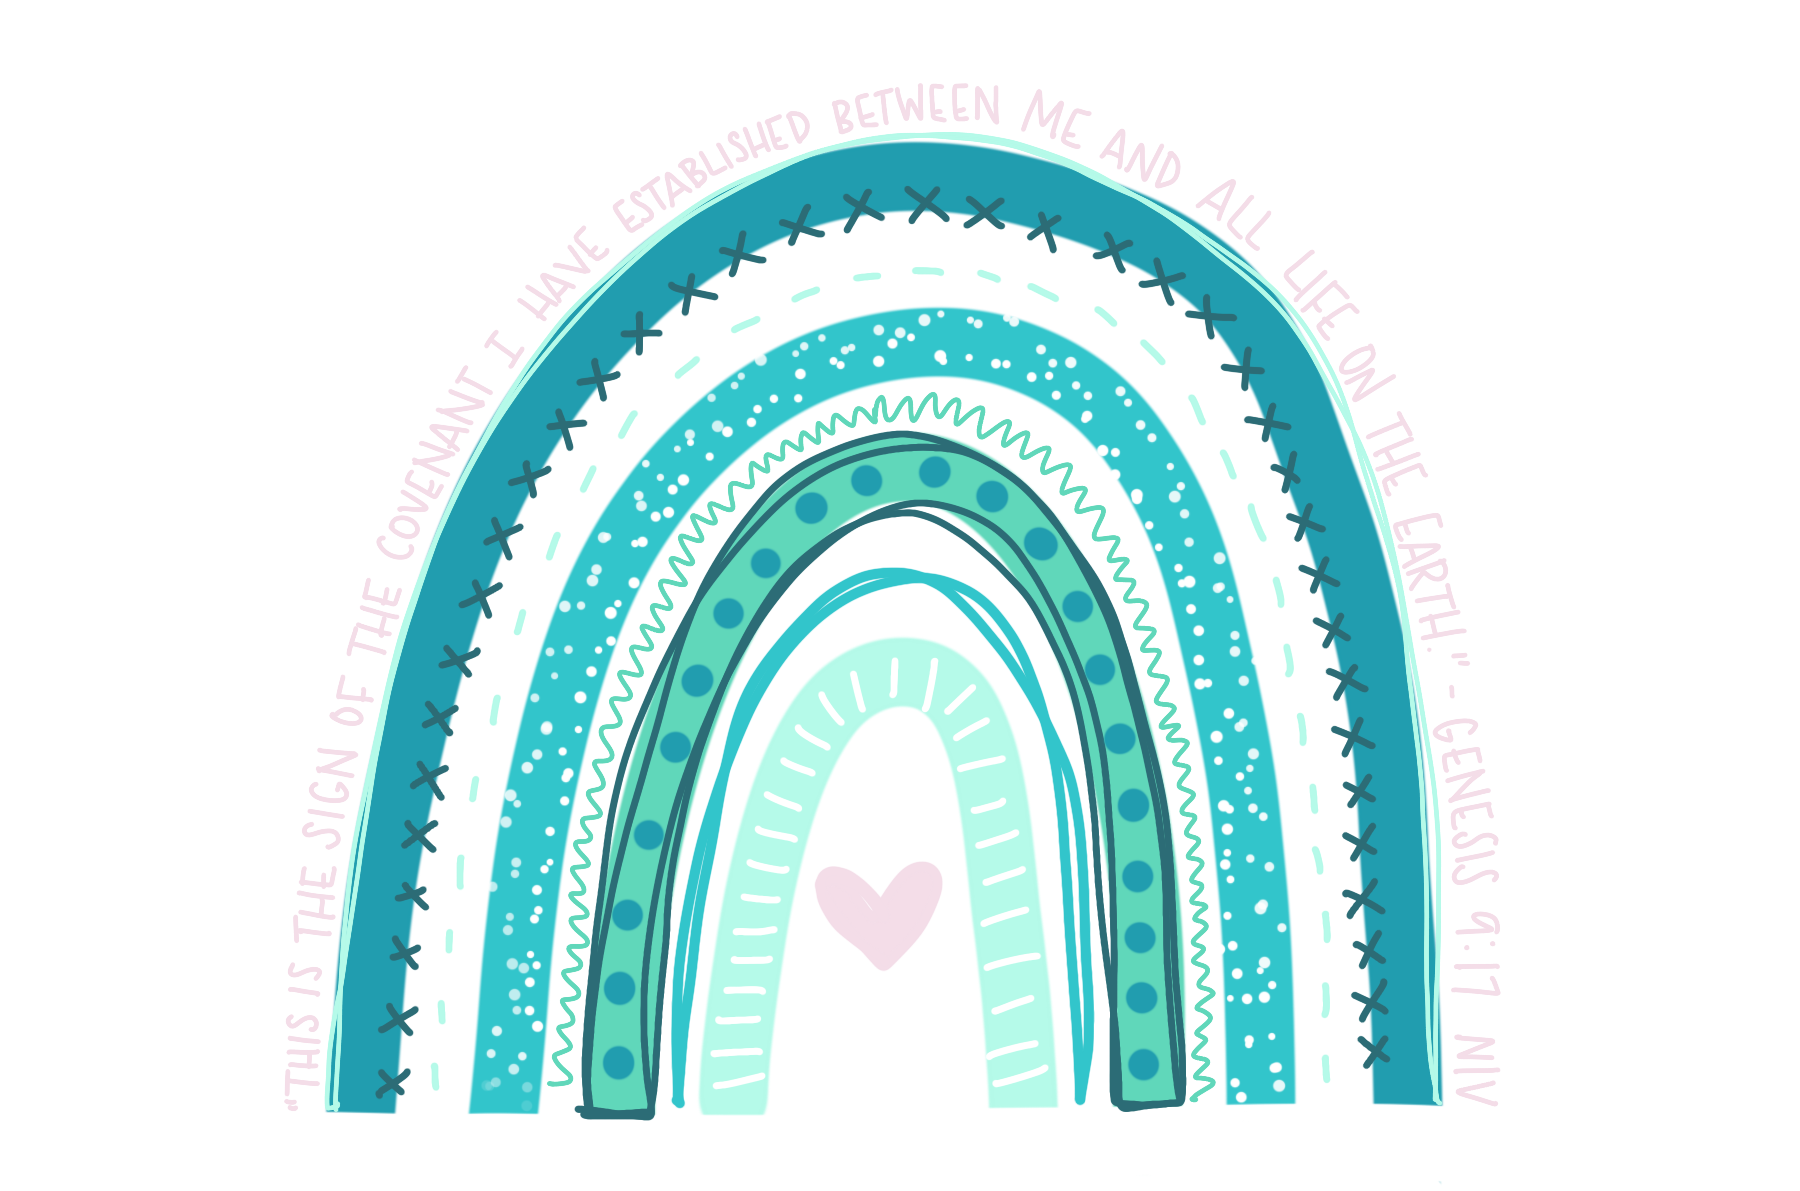
First, the shape tends to be taller and thinner with a more pronounced arch than a classic rainbow.
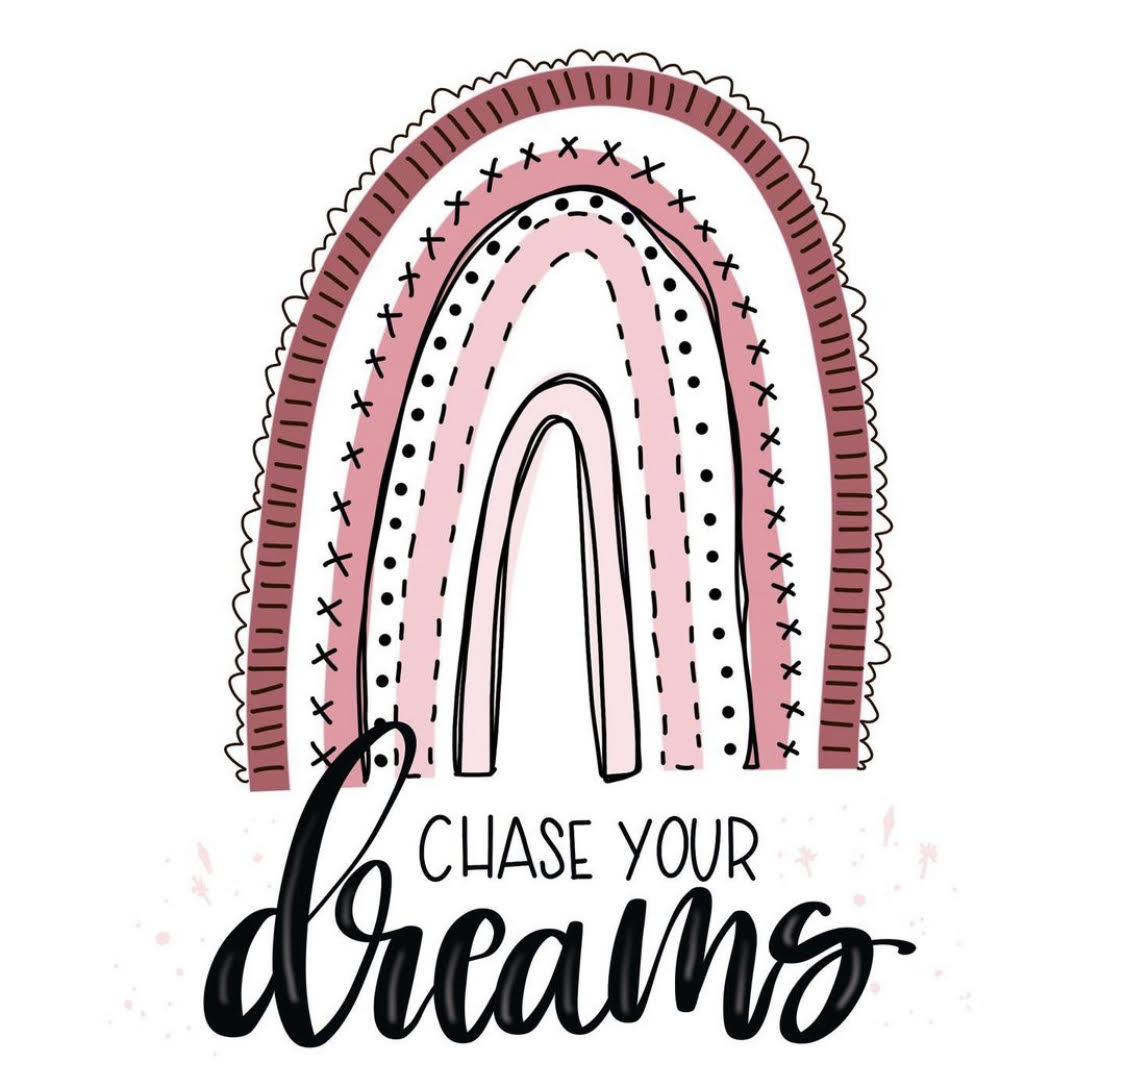
Second, the color scheme is no longer the traditional “ROY G BIV.” Instead, a boho rainbow is often monochromatic, meaning that the stripes are darker and lighter versions of the same color or color family. Sometimes, contrasting colors are used, but the key is to break out of the “red, orange, yellow, green….” order.
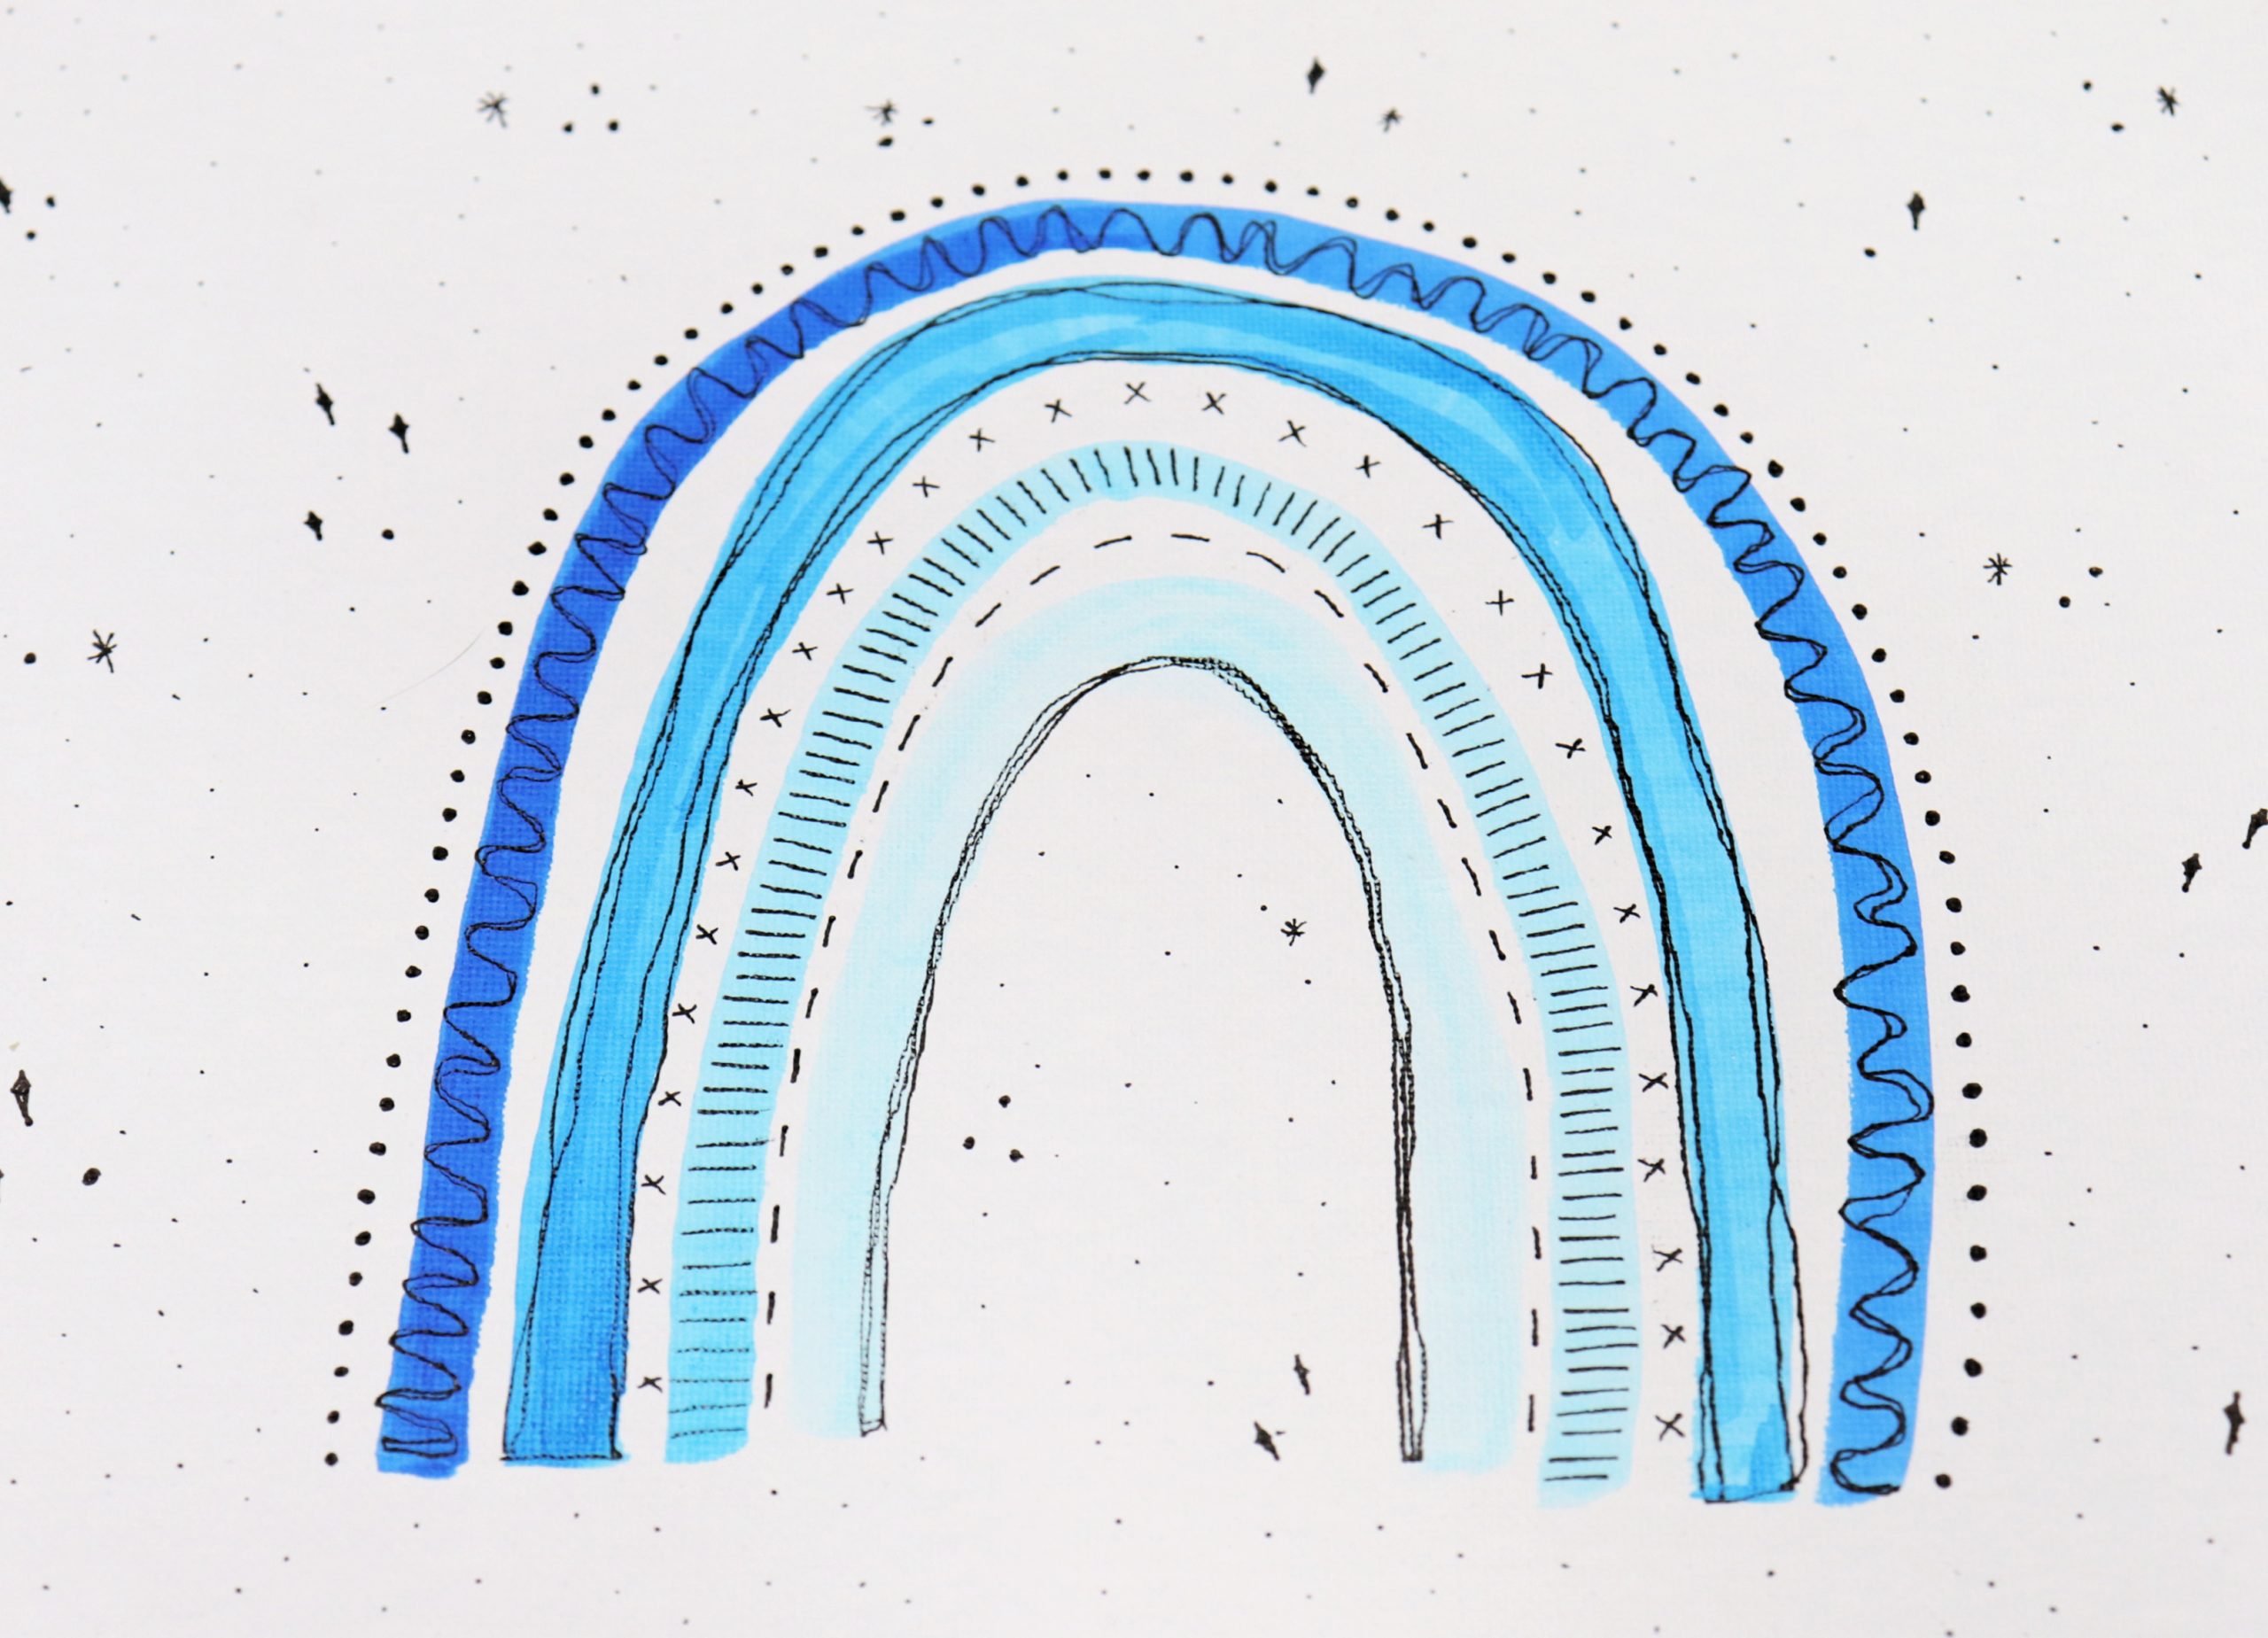
Third, many boho rainbows leave space in between the colored stripes, rather than having the colors touch.
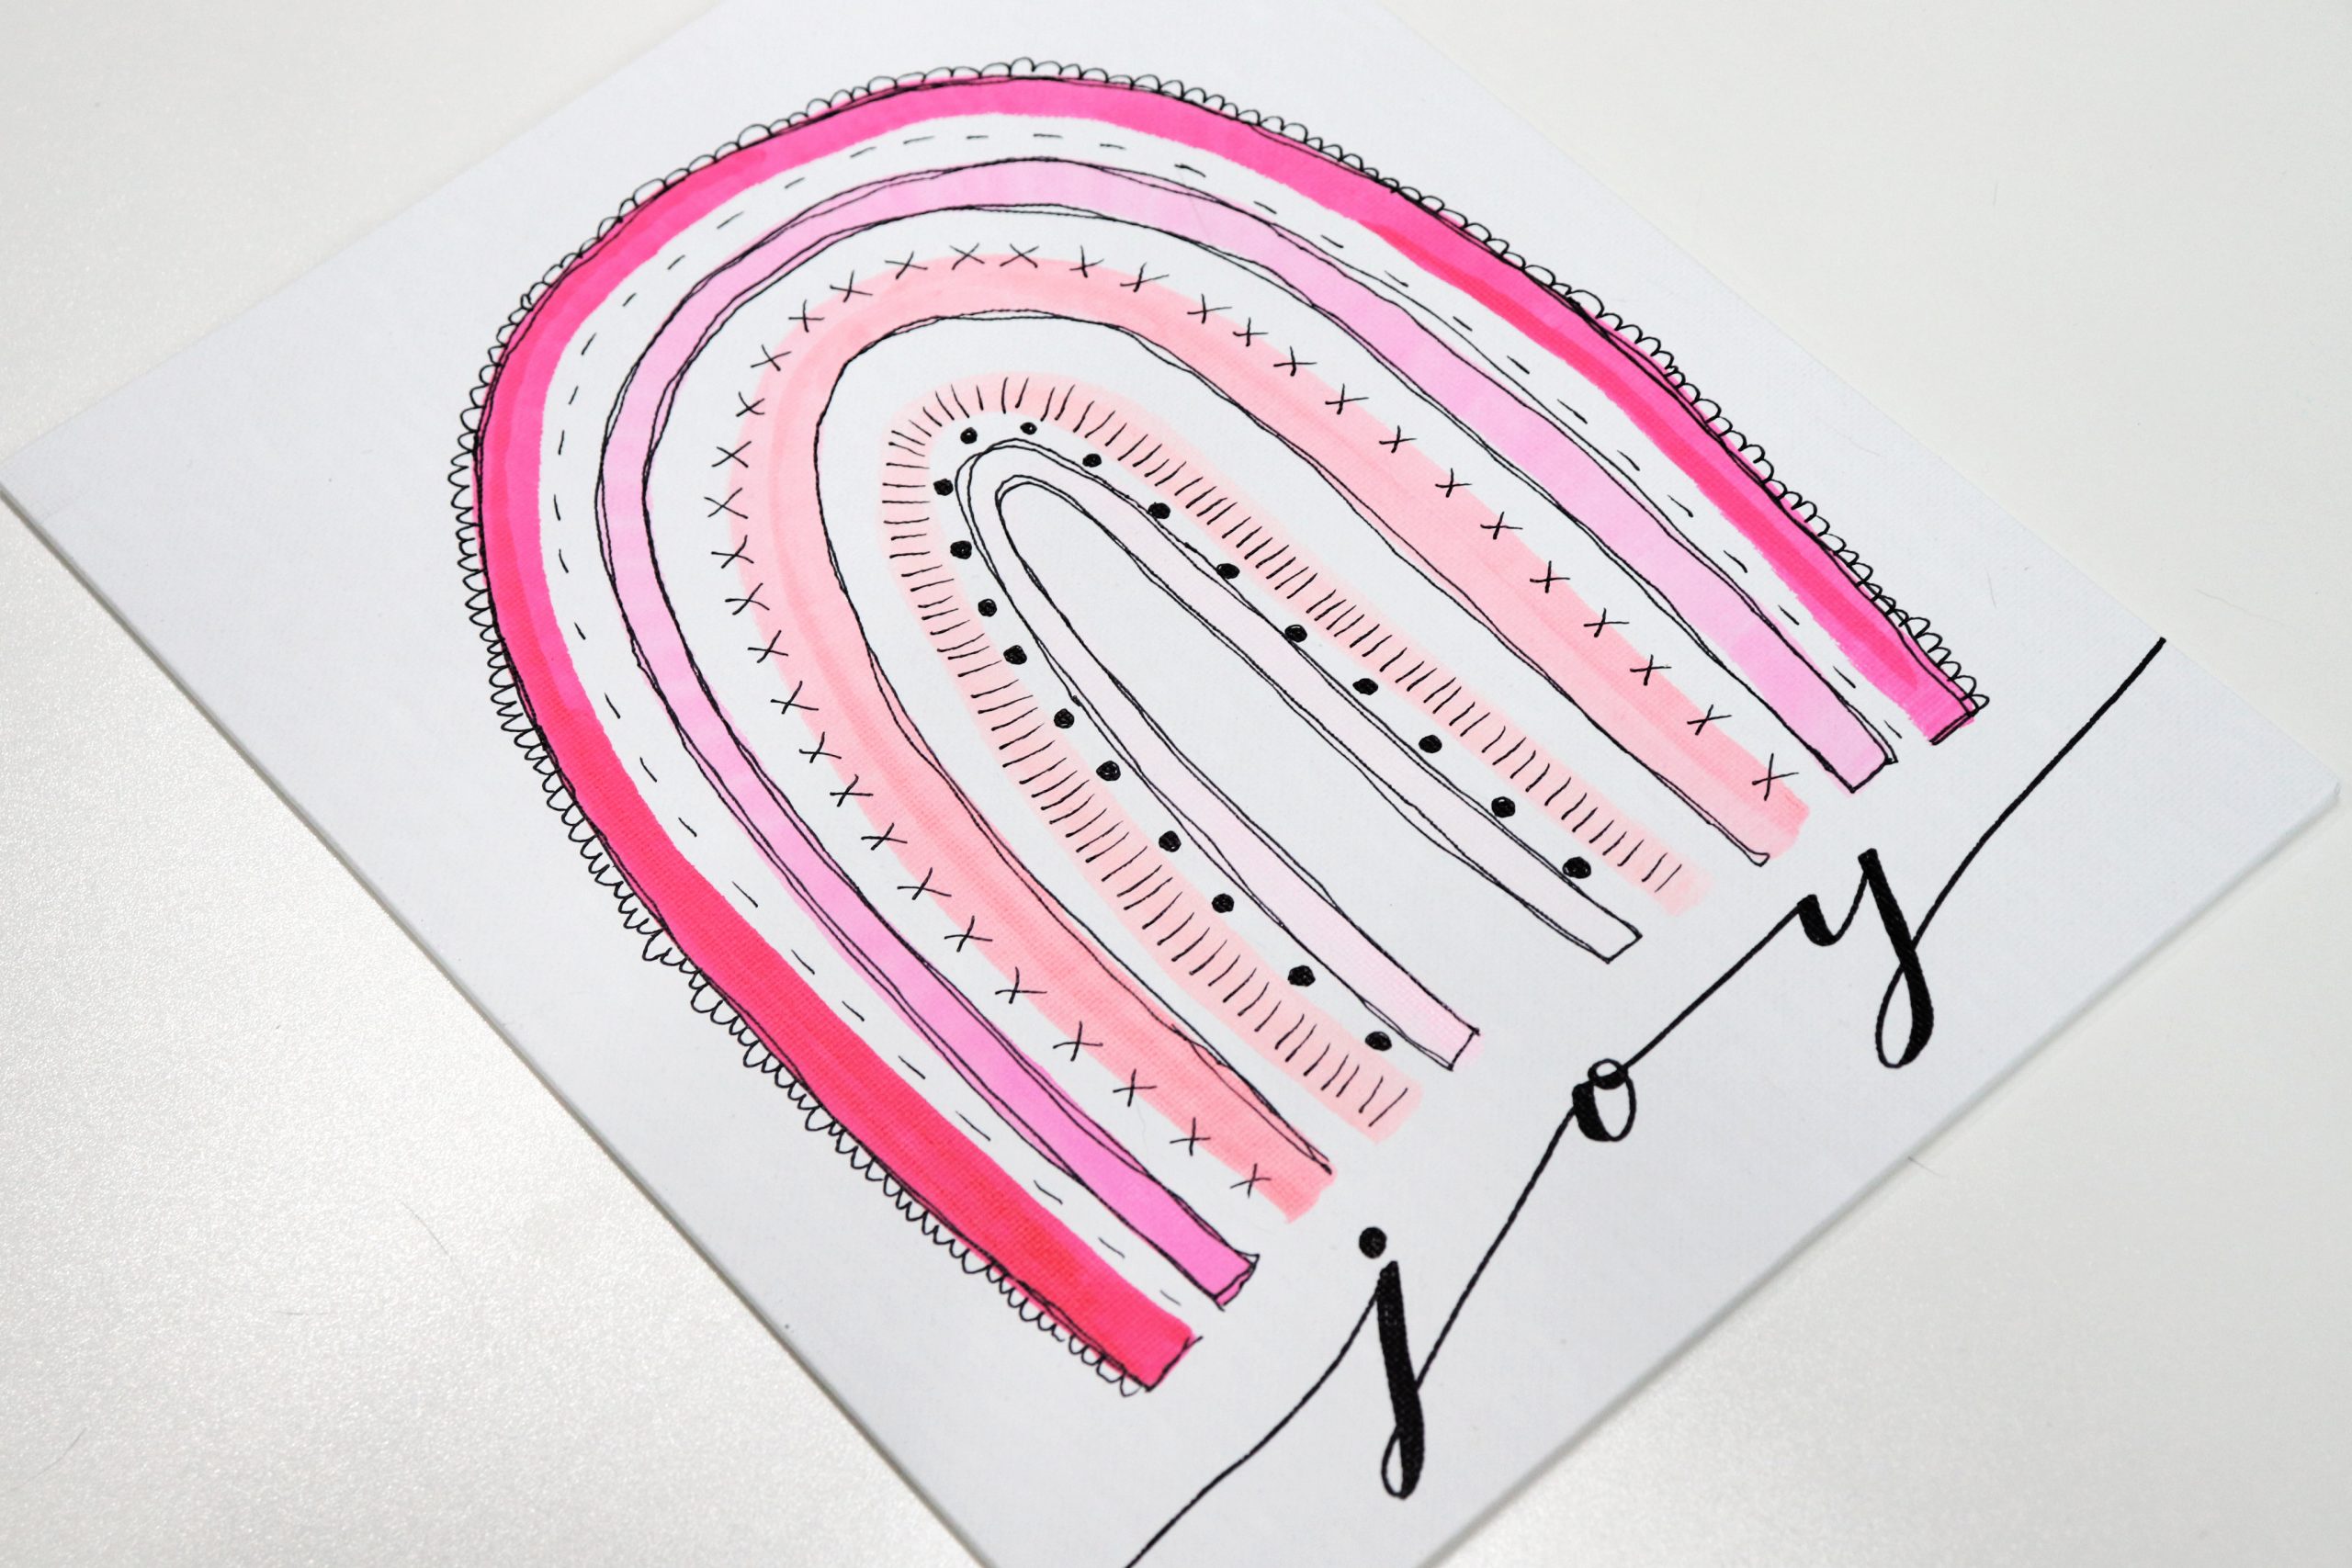
Finally, many boho rainbows incorporate patterns and other doodles to embellish the stripes as well as the areas in between.
Dots, dashes, x’s, outlines, hearts, squiggles, and even words are great ways to add visual interest!
Ready to try drawing your own? These are SO much fun, because you just get to doodle and embellish as much as you like, and each rainbow turns out unique! Follow along with this 10 minute video tutorial and you’ll have your own rainbow art in no time! Or, scroll down for the written tutorial.
Here’s a quick step-by-step tutorial.
- Choose 3-5 colors (remember, shades of the same color and colors in the same “family” work great!)
- Draw your arches, leaving a bit of space in between. I like to start with the smallest arch and work my way up.
- Add embellishments!
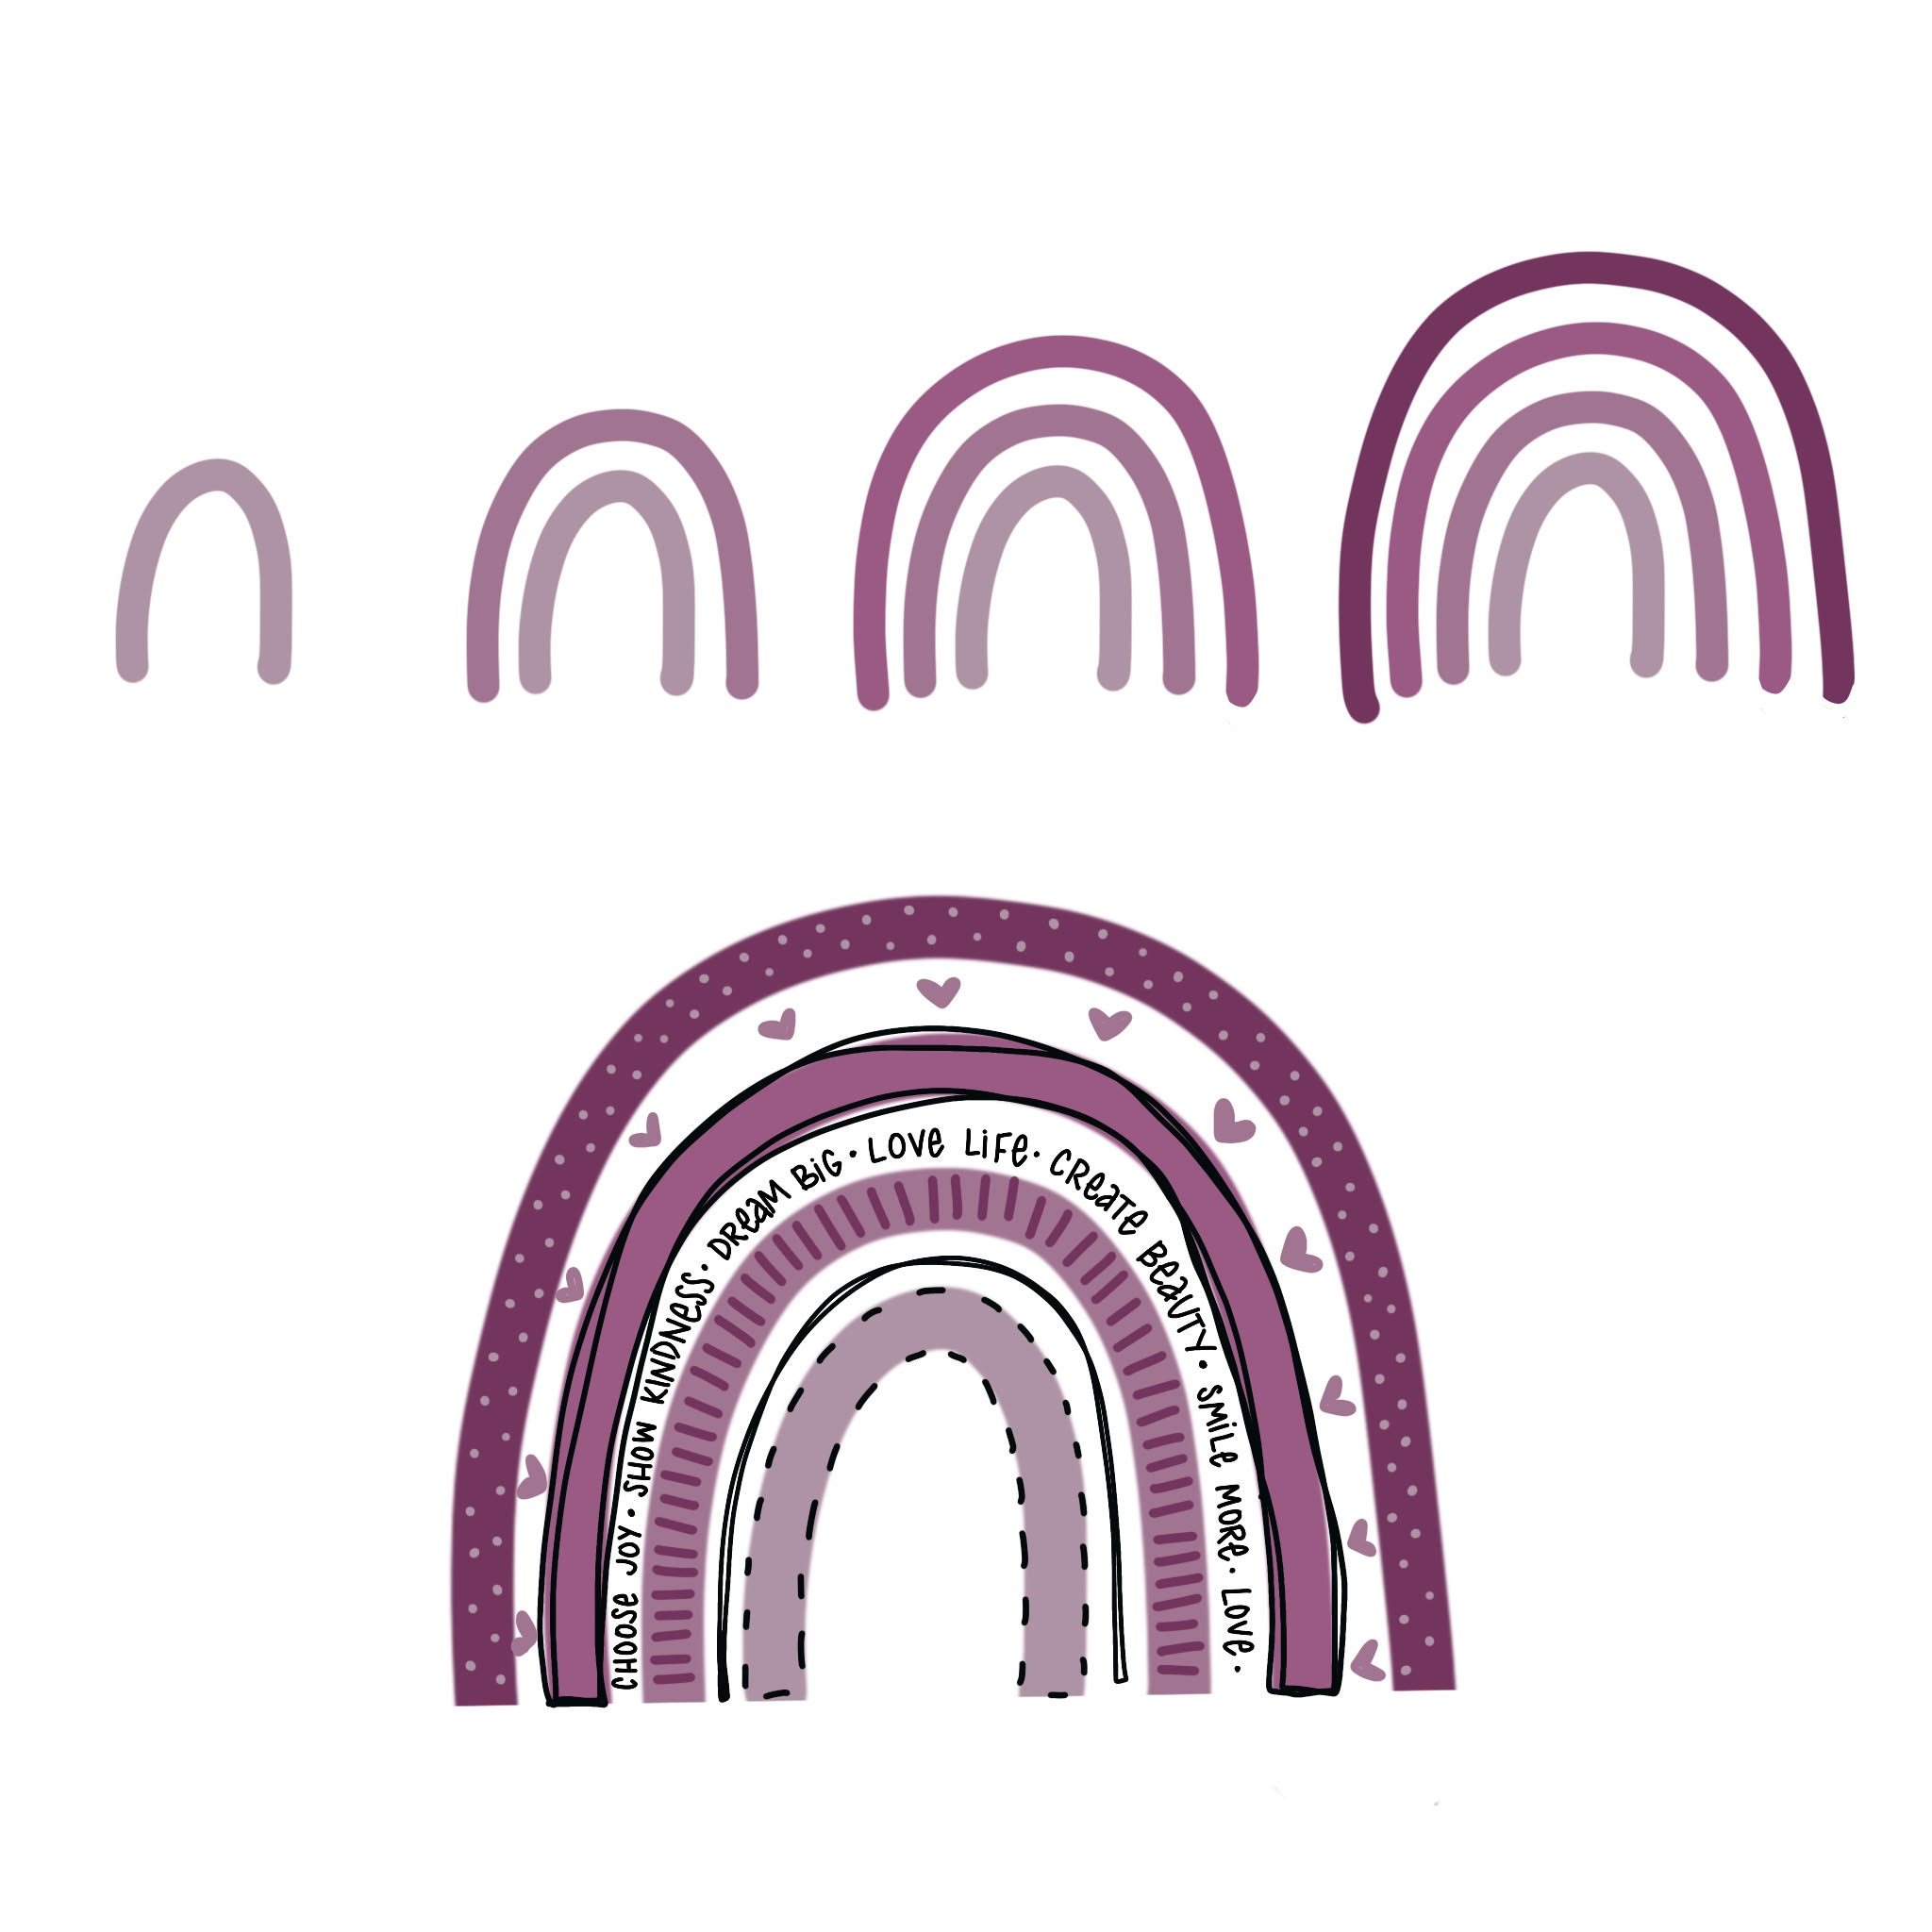
There’s no right or wrong way to embellish, just relax and have fun decorating your rainbow. Try lots of different types of patterns and shapes and see what you like best!
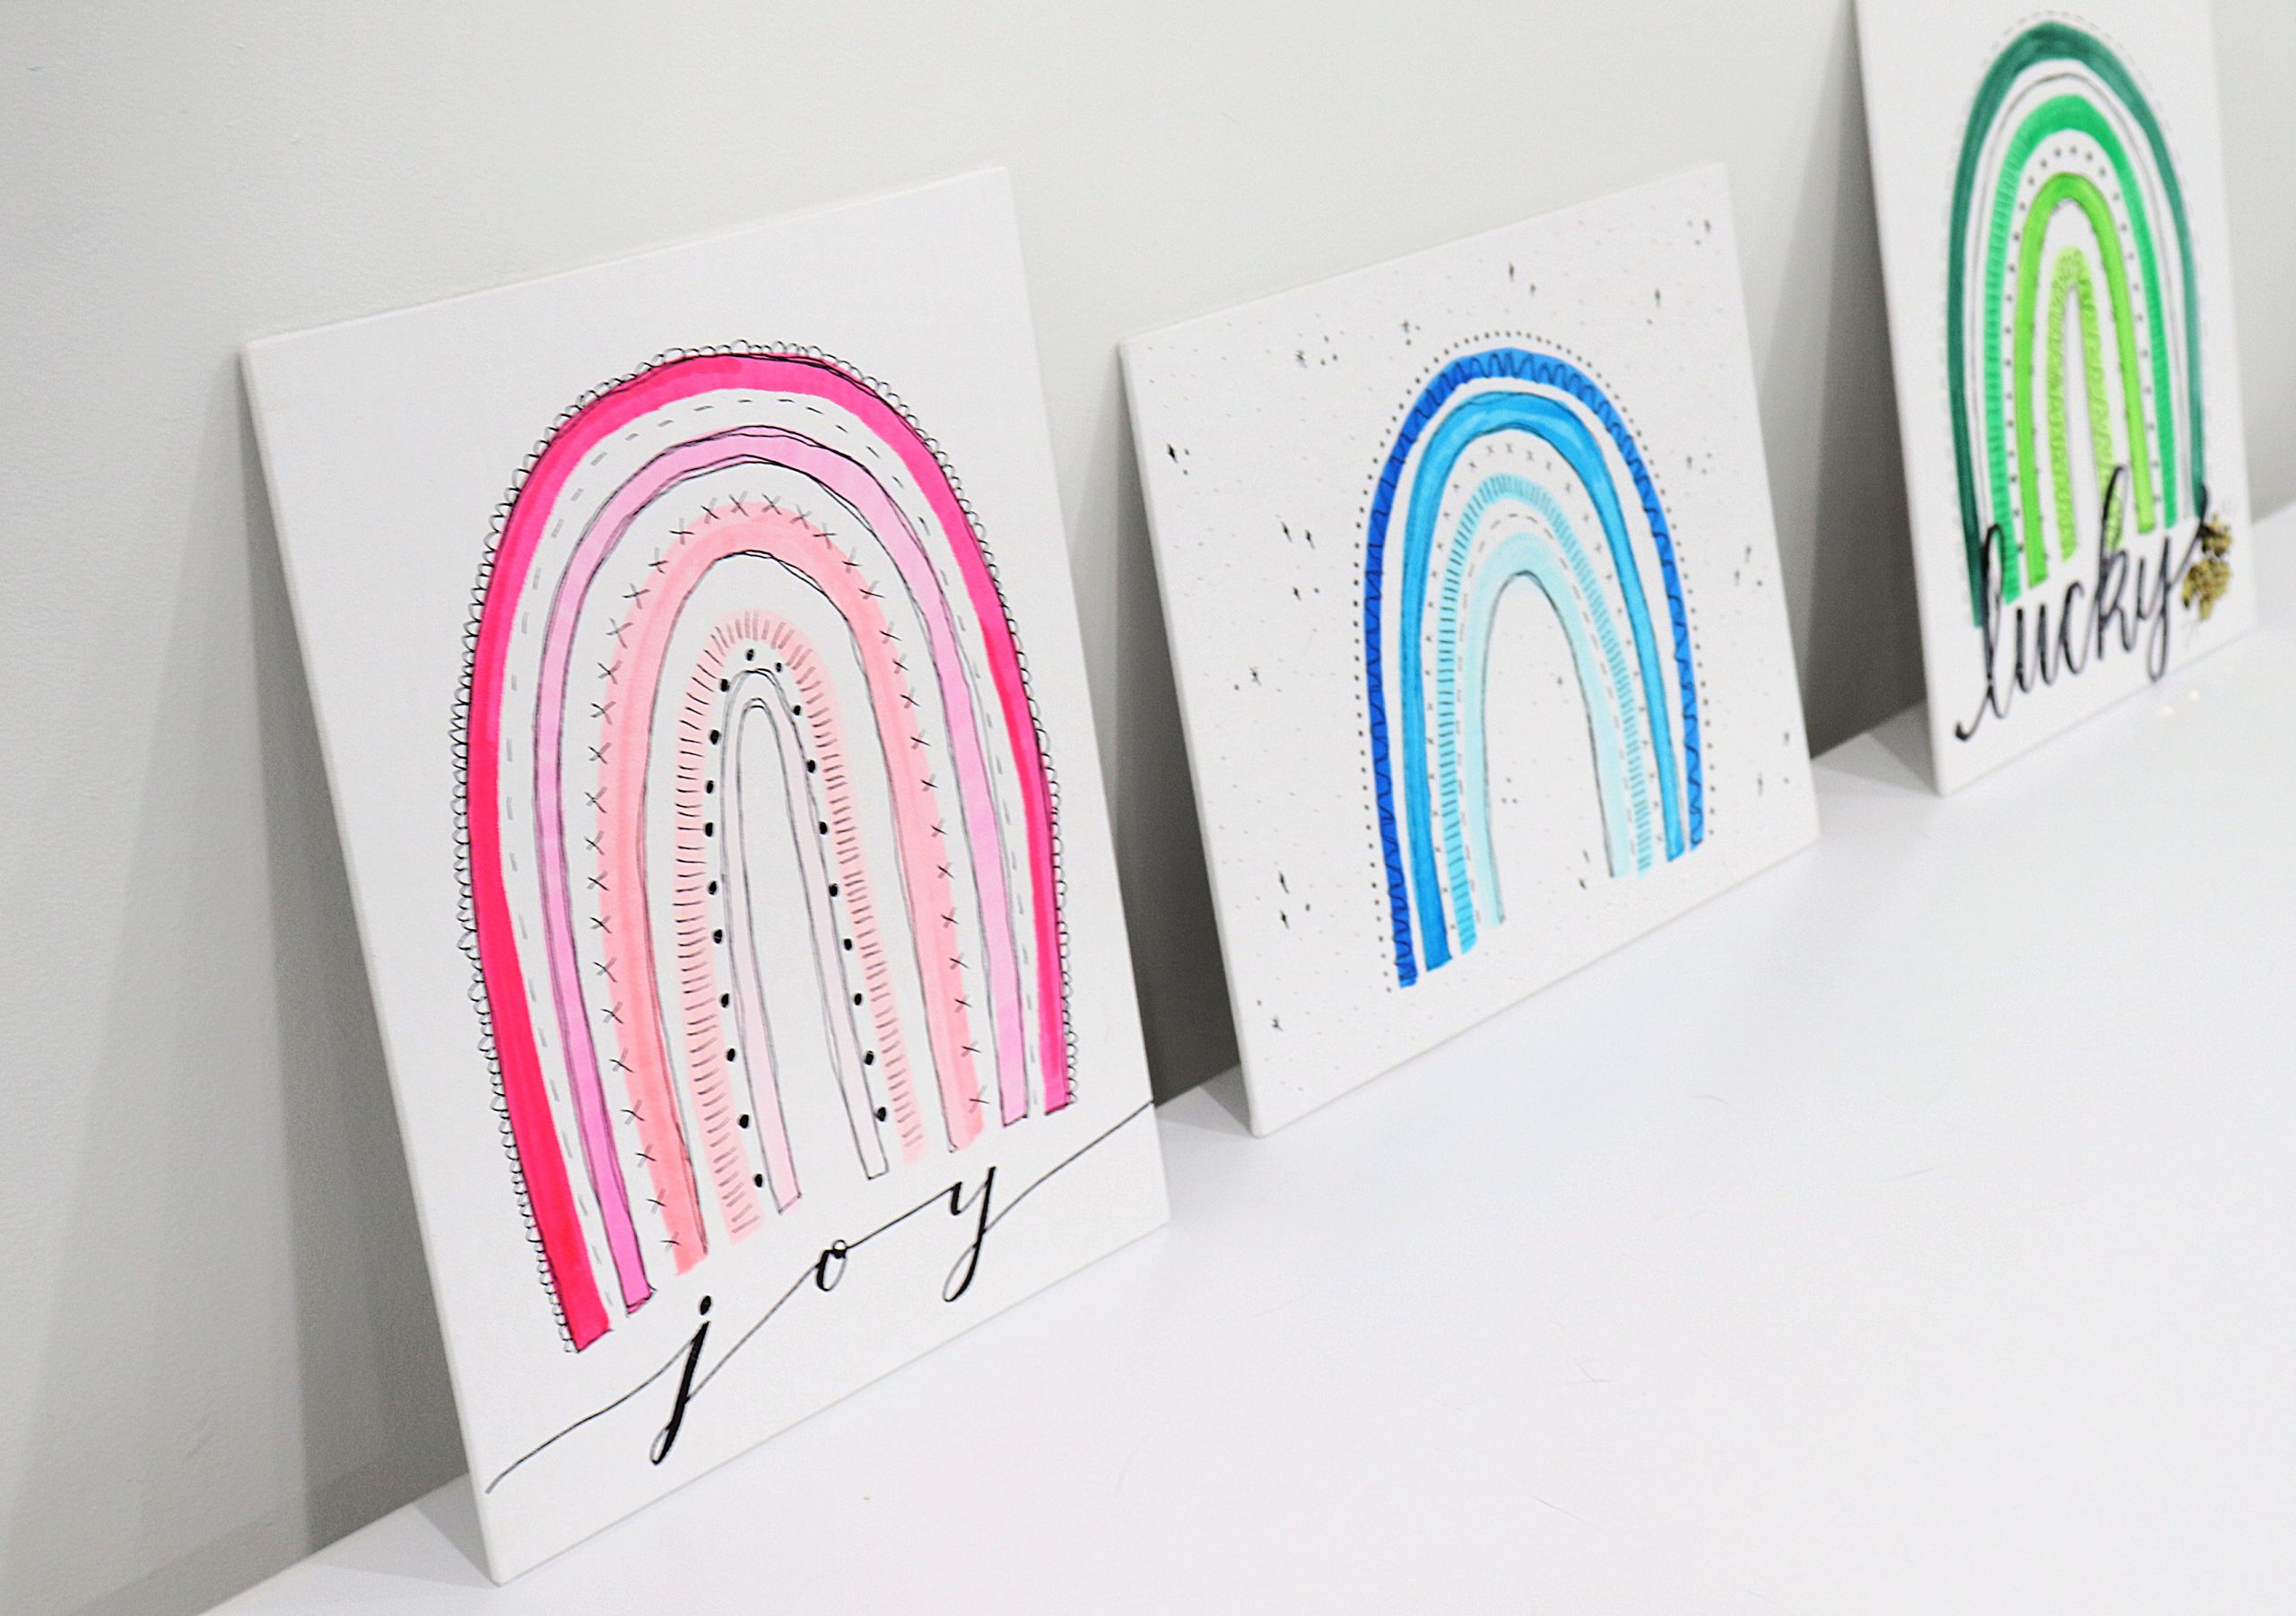
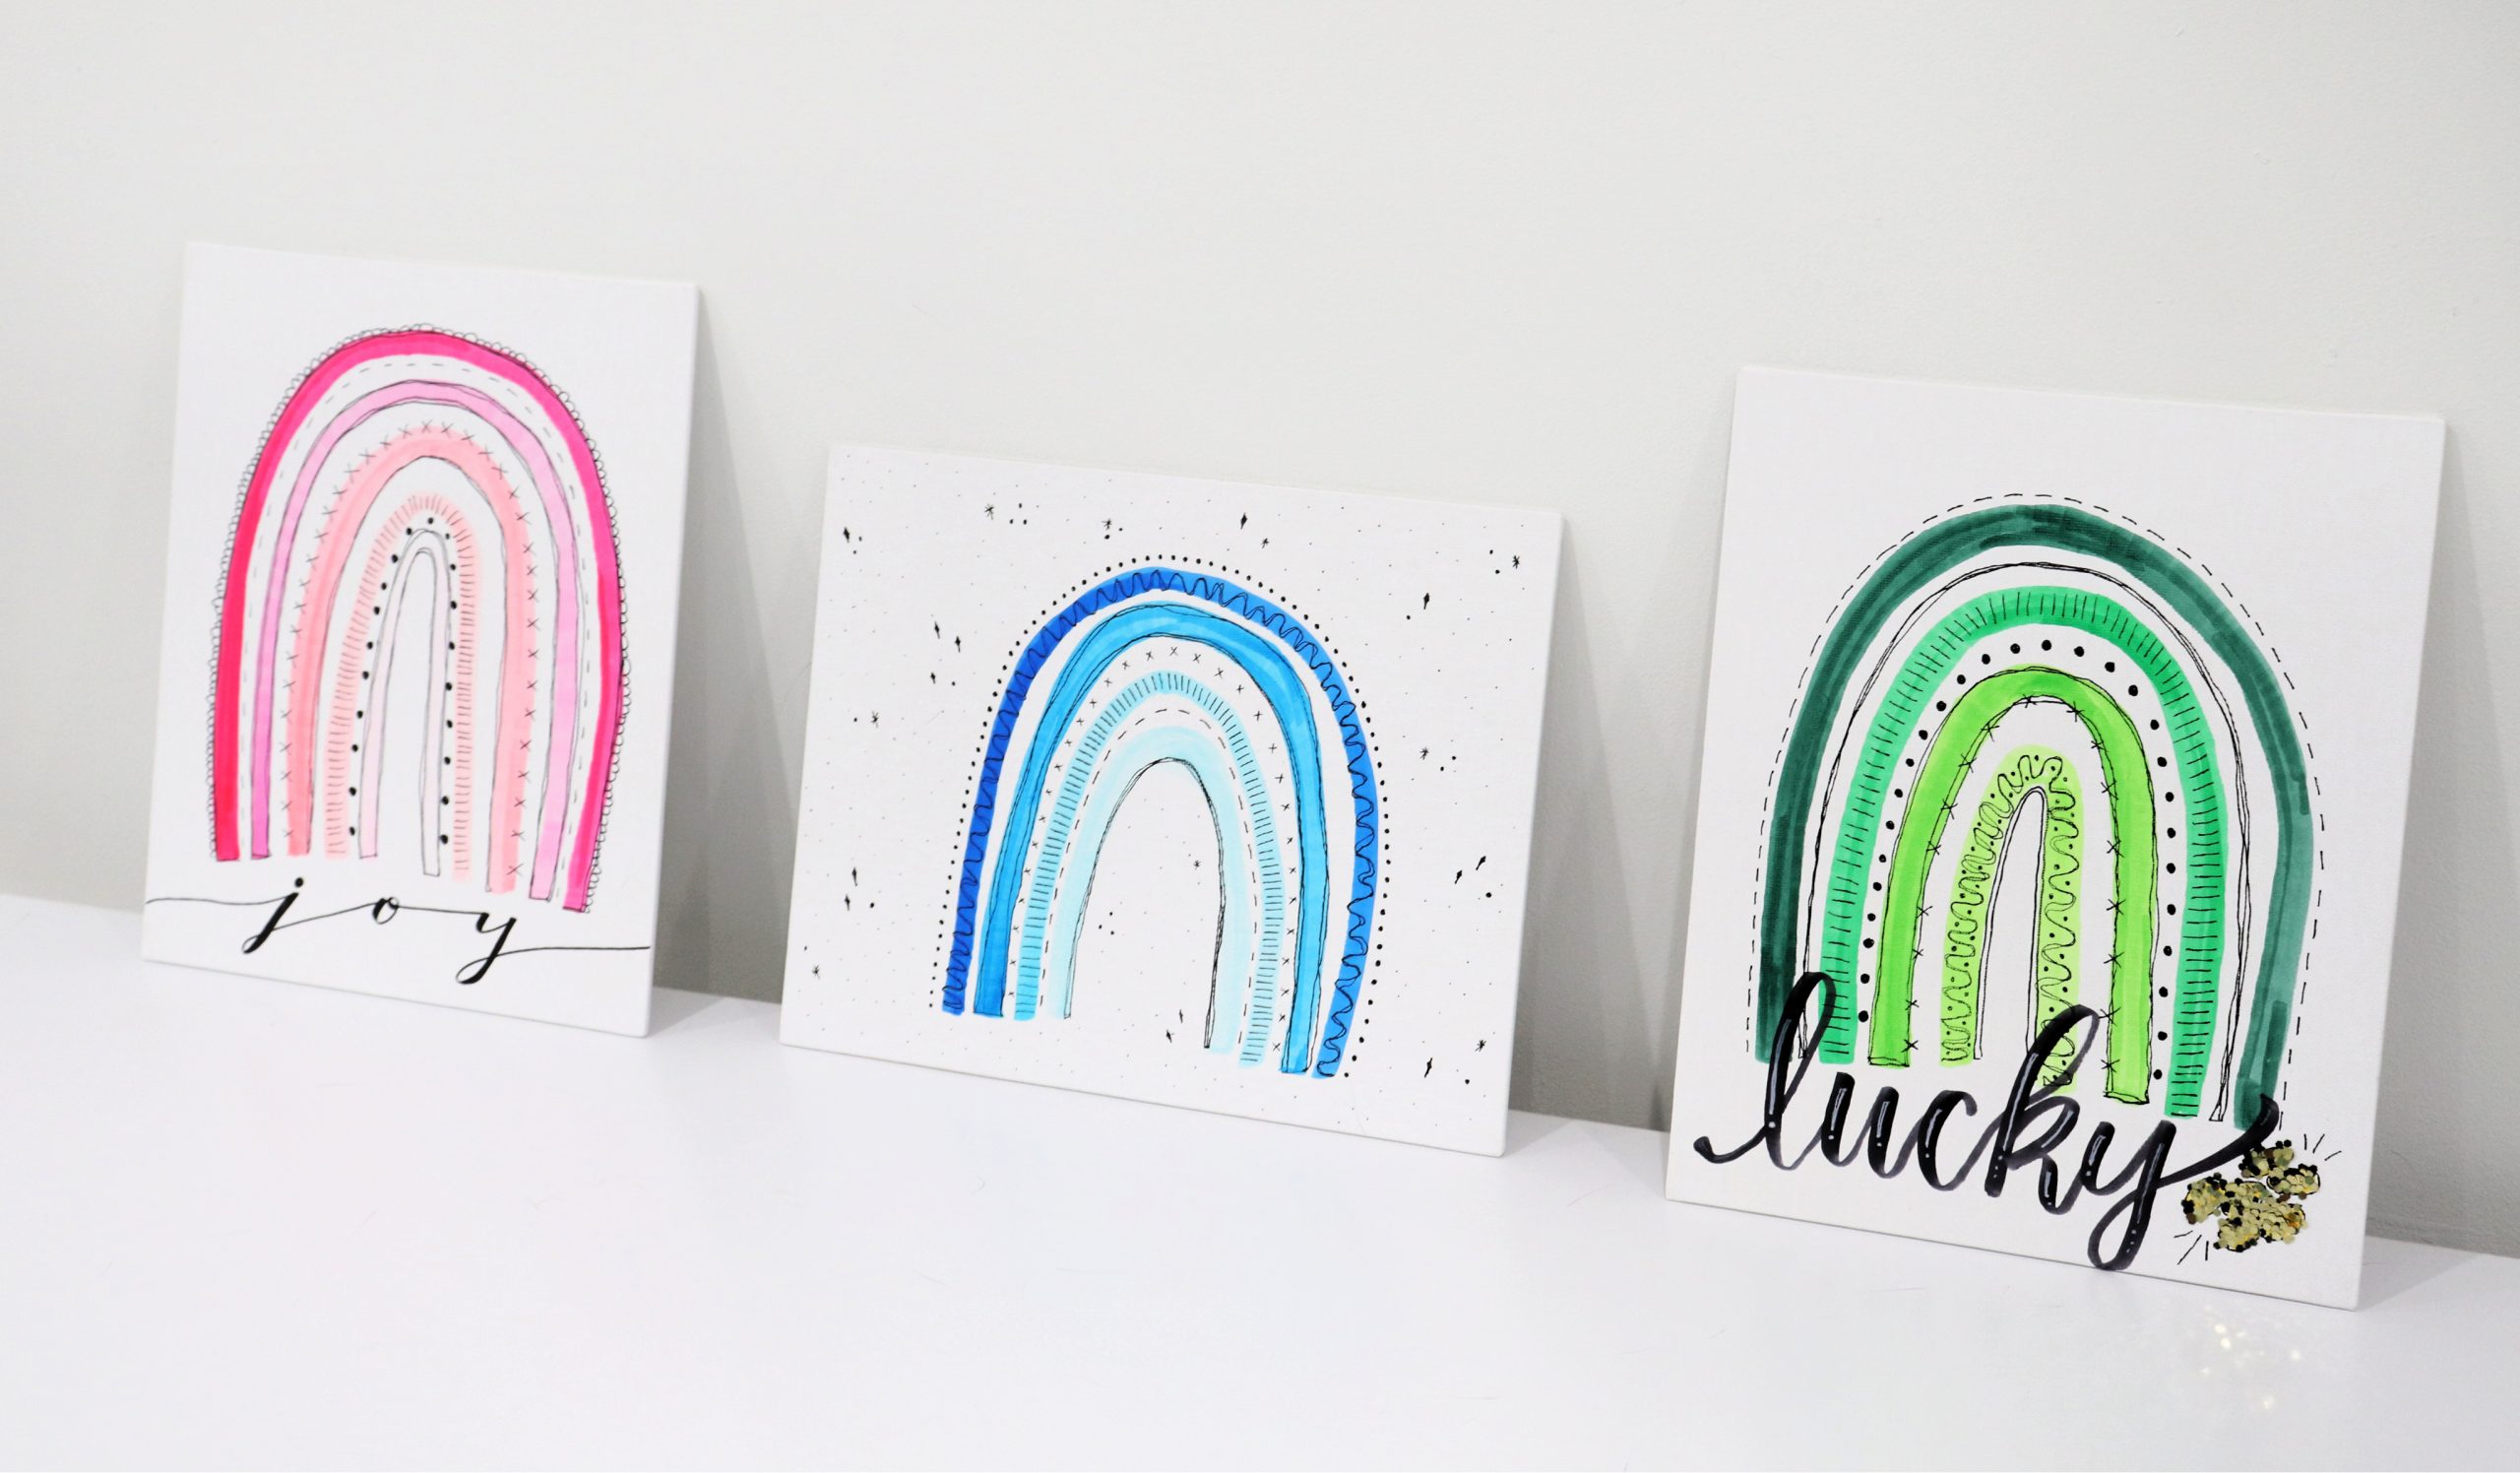
Some of my rainbows, like the three samples below, were created using Tombow ABT PRO markers and the Tombow Monotwin marker on canvas. I also enjoy creating rainbows digitally, like the step-by-step image above, using my Apple Pencil in the Procreate app on my iPad. Wherever and however you create yours, I hope you enjoy it as much as I do!
You can also add background embellishments, like stars and dots, or larger words above or below your drawing. If you try this project, I would LOVE to see how your rainbows turn out. Each one is just so fun and unique! Be sure to share photos with us in our Show and Tell thread in the Amy Latta & Friends Facebook group so we can all be inspired.
If you like this project, why not save it to Pinterest or share with a friend? Also, don’t miss my newest tutorial videos on YouTube! See you there!


One Comment