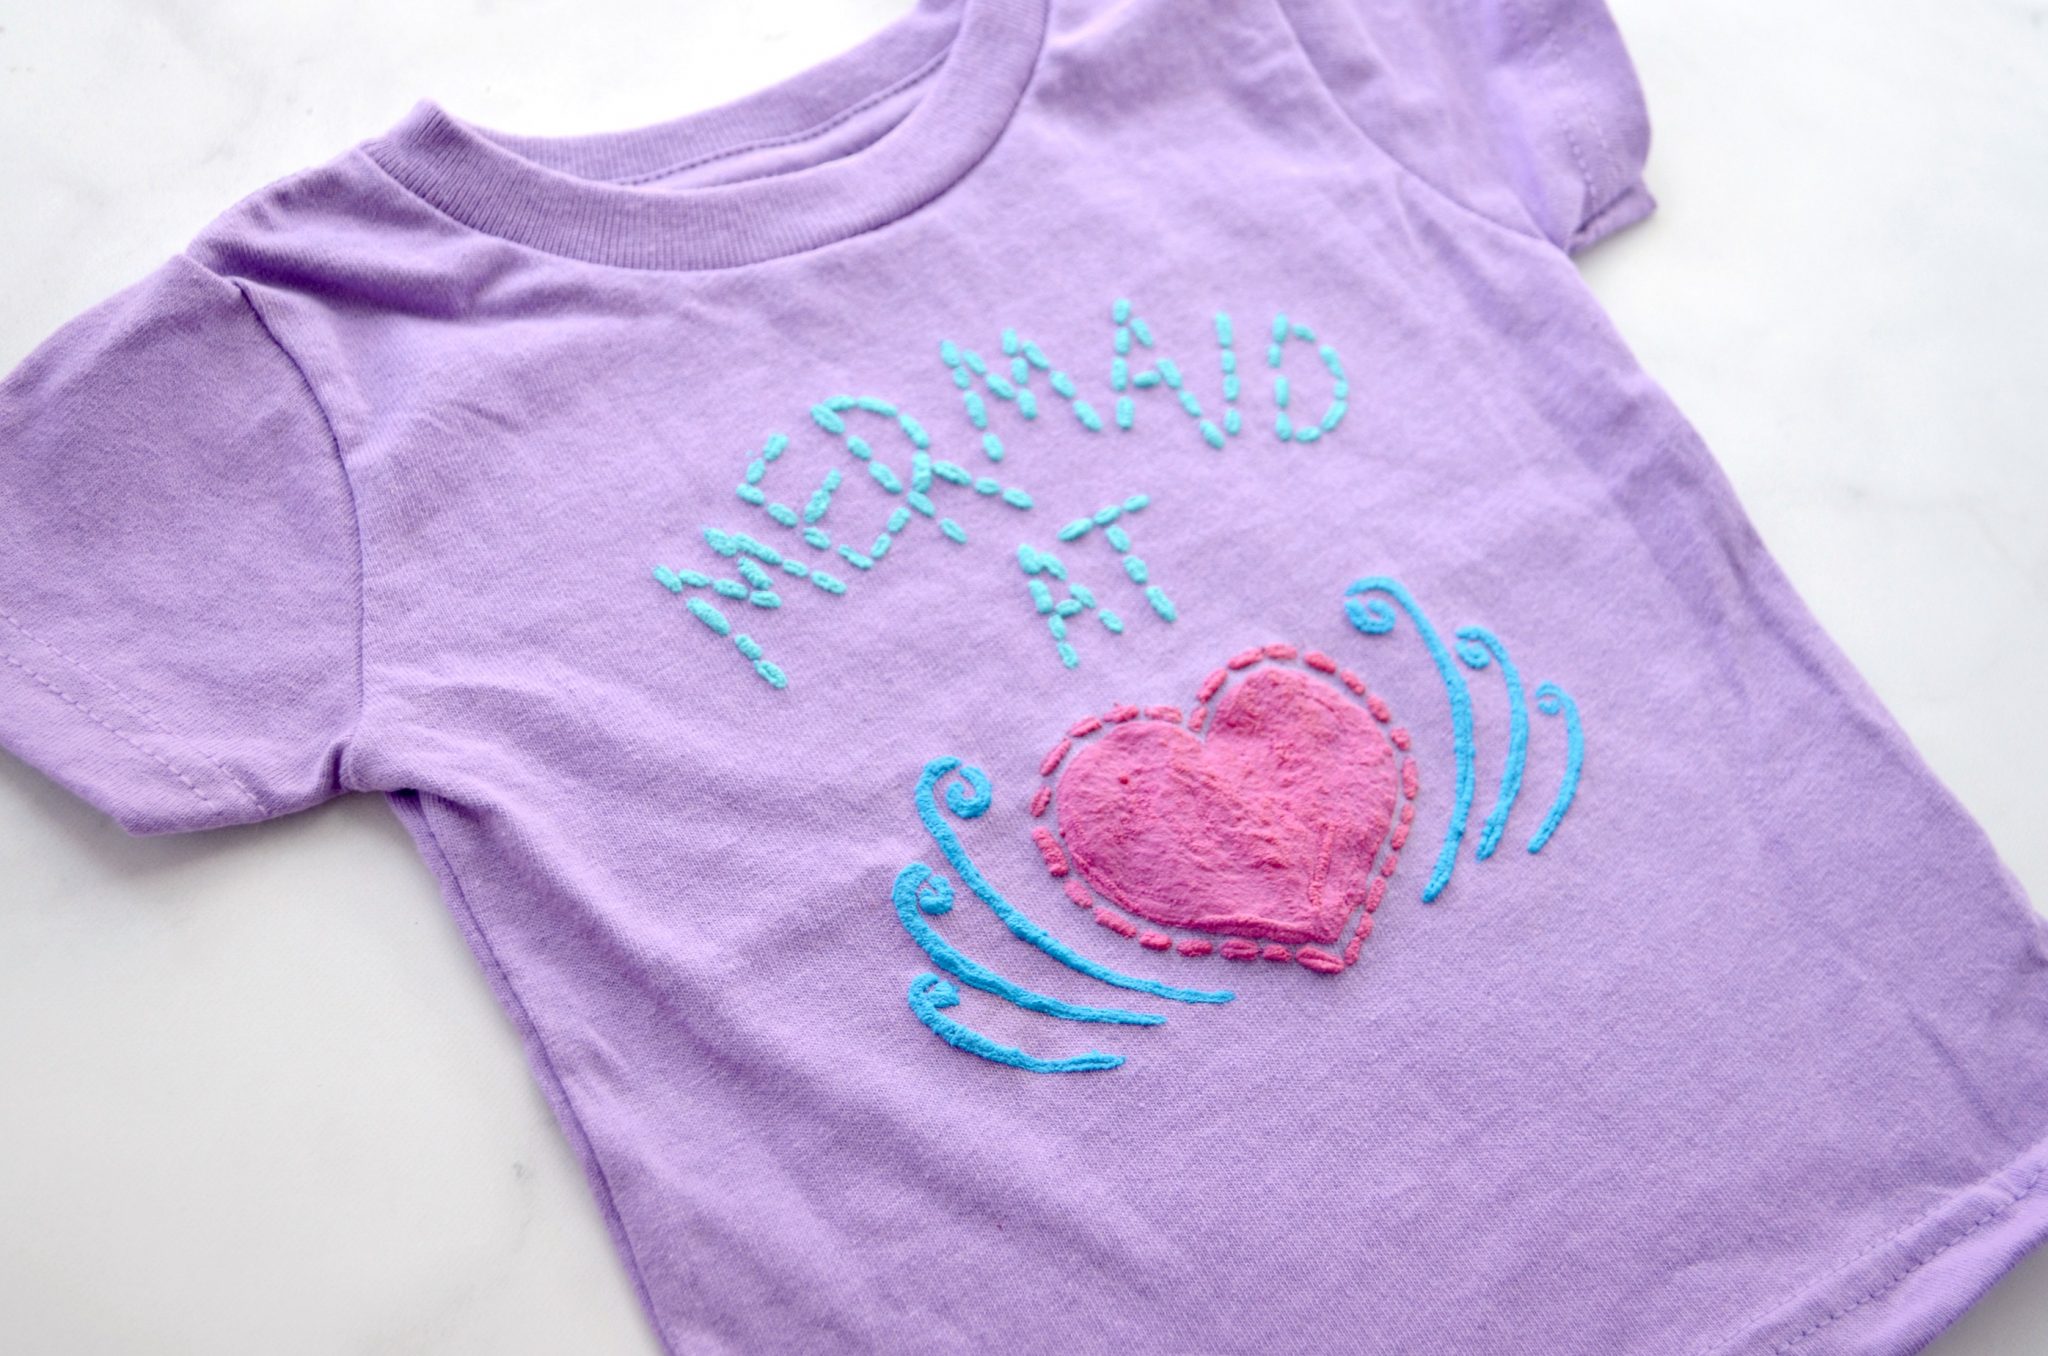
DIY Mermaid T-Shirt with Fabric Creations Plush 3-D Paint
Friends, I am so excited to share today’s project with you, because I get to introduce you to one of the coolest new craft products I’ve seen in a long time. It’s called Fabric Creations Plush, and I just know you’re going to love it as much as I do. I used it to create a super cute little graphic tee for a young lady I know, but I admit, I might wear a bigger version of it myself! Take a look and see what this new fabric paint can do…
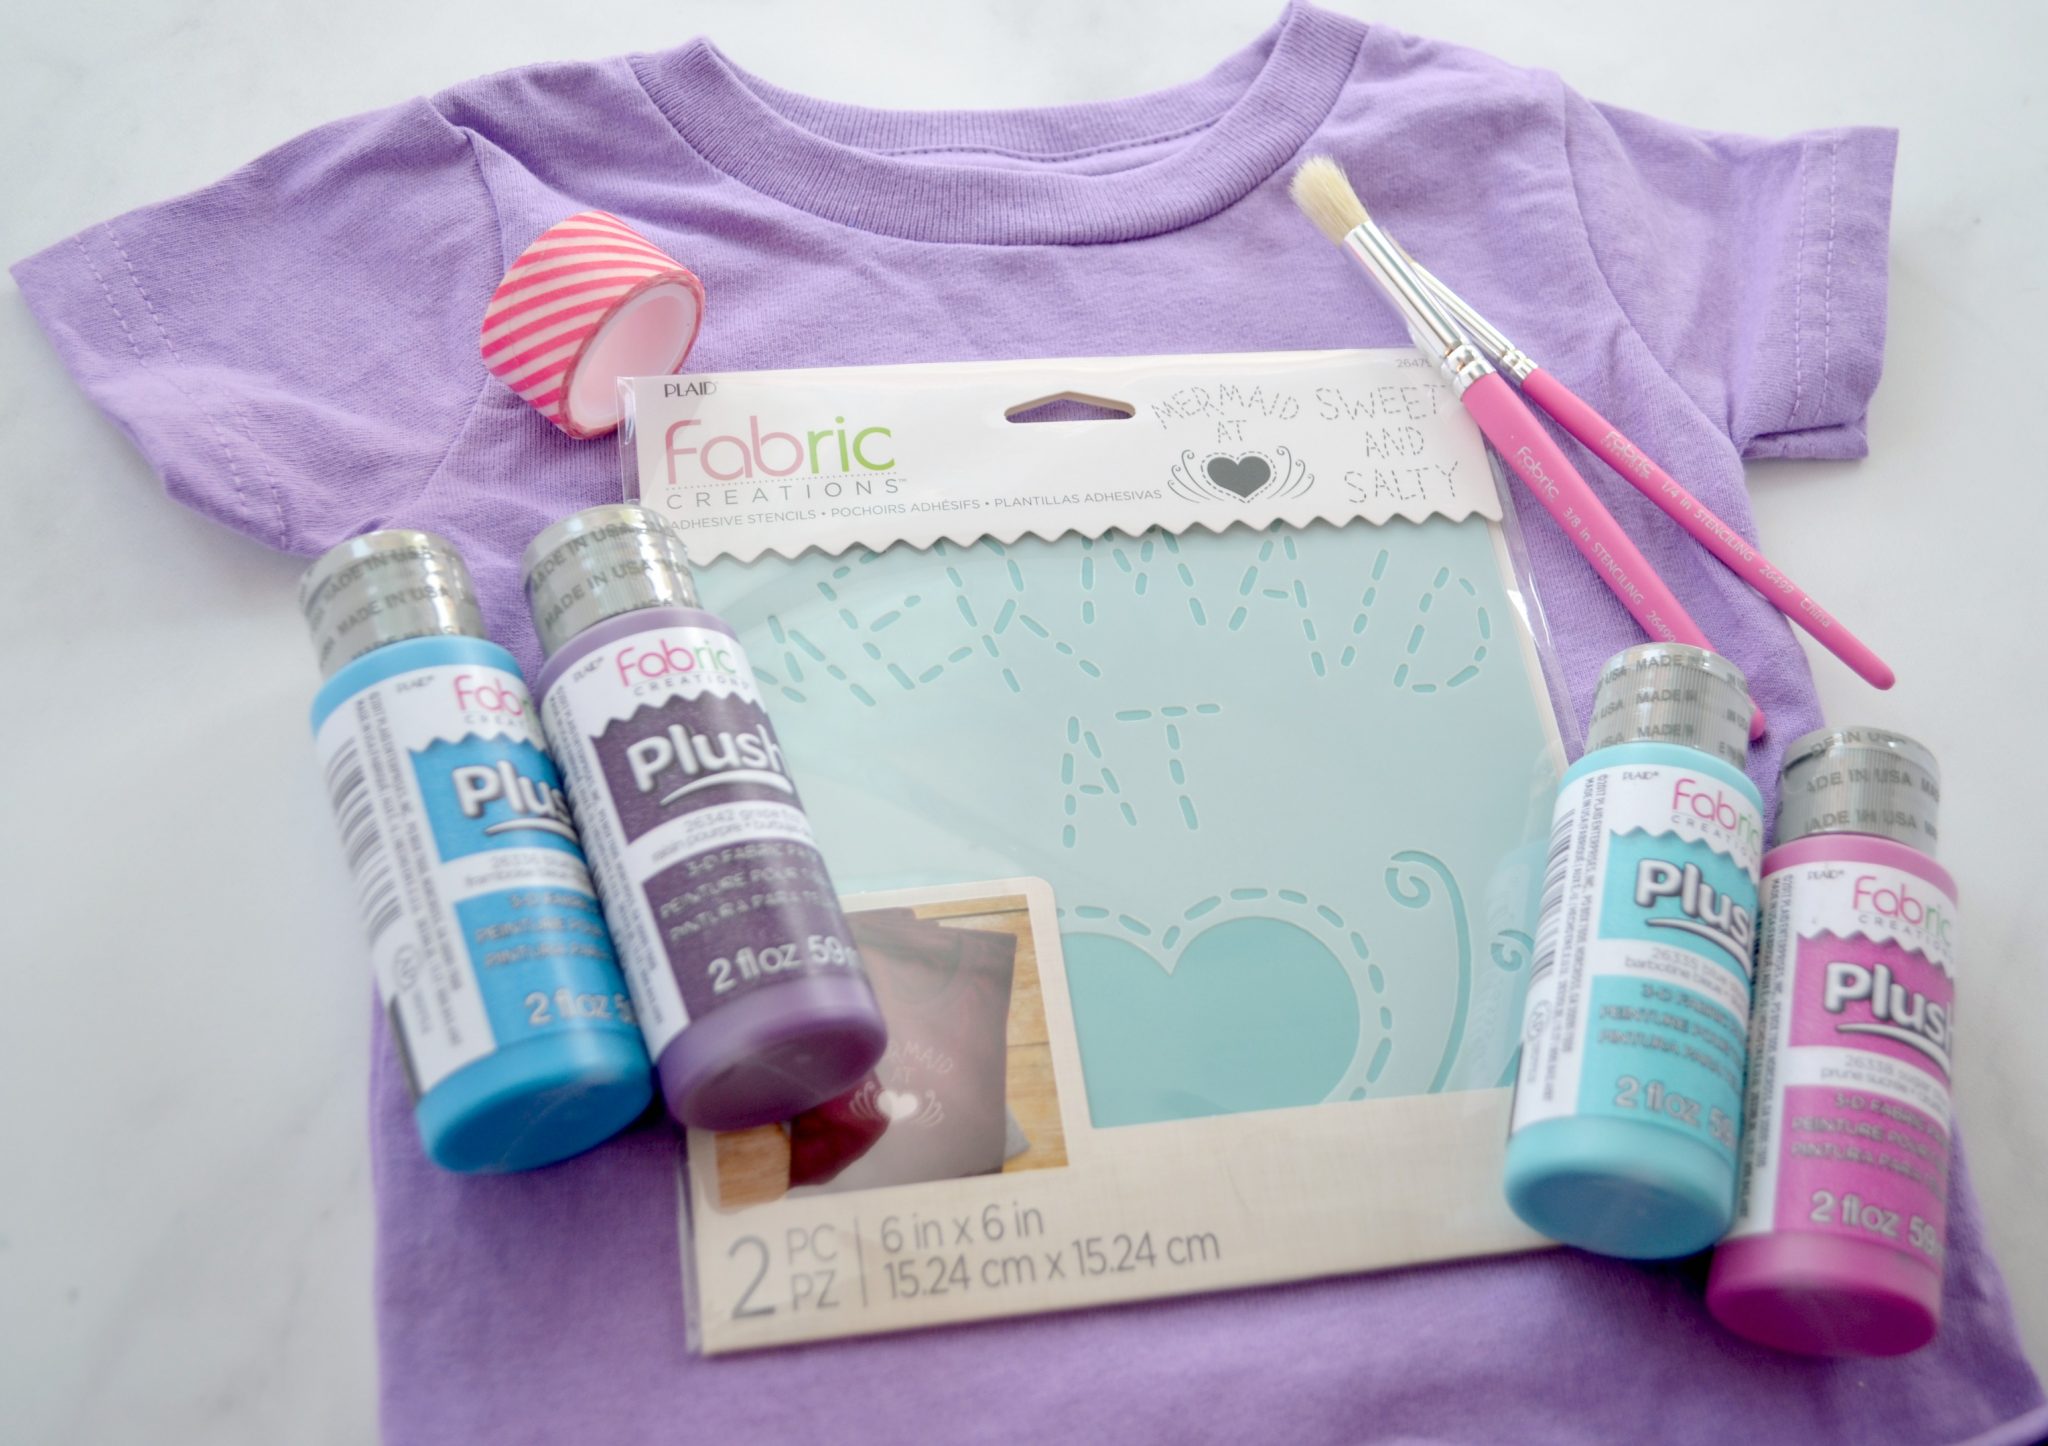
You’ll need:
Fabric Creations Plush fabric paints
Fabric Creations Adhesive Stencil
Fabric Creations Stencil Brushes
Plain colored t-shirt, any size
Embossing tool or iron
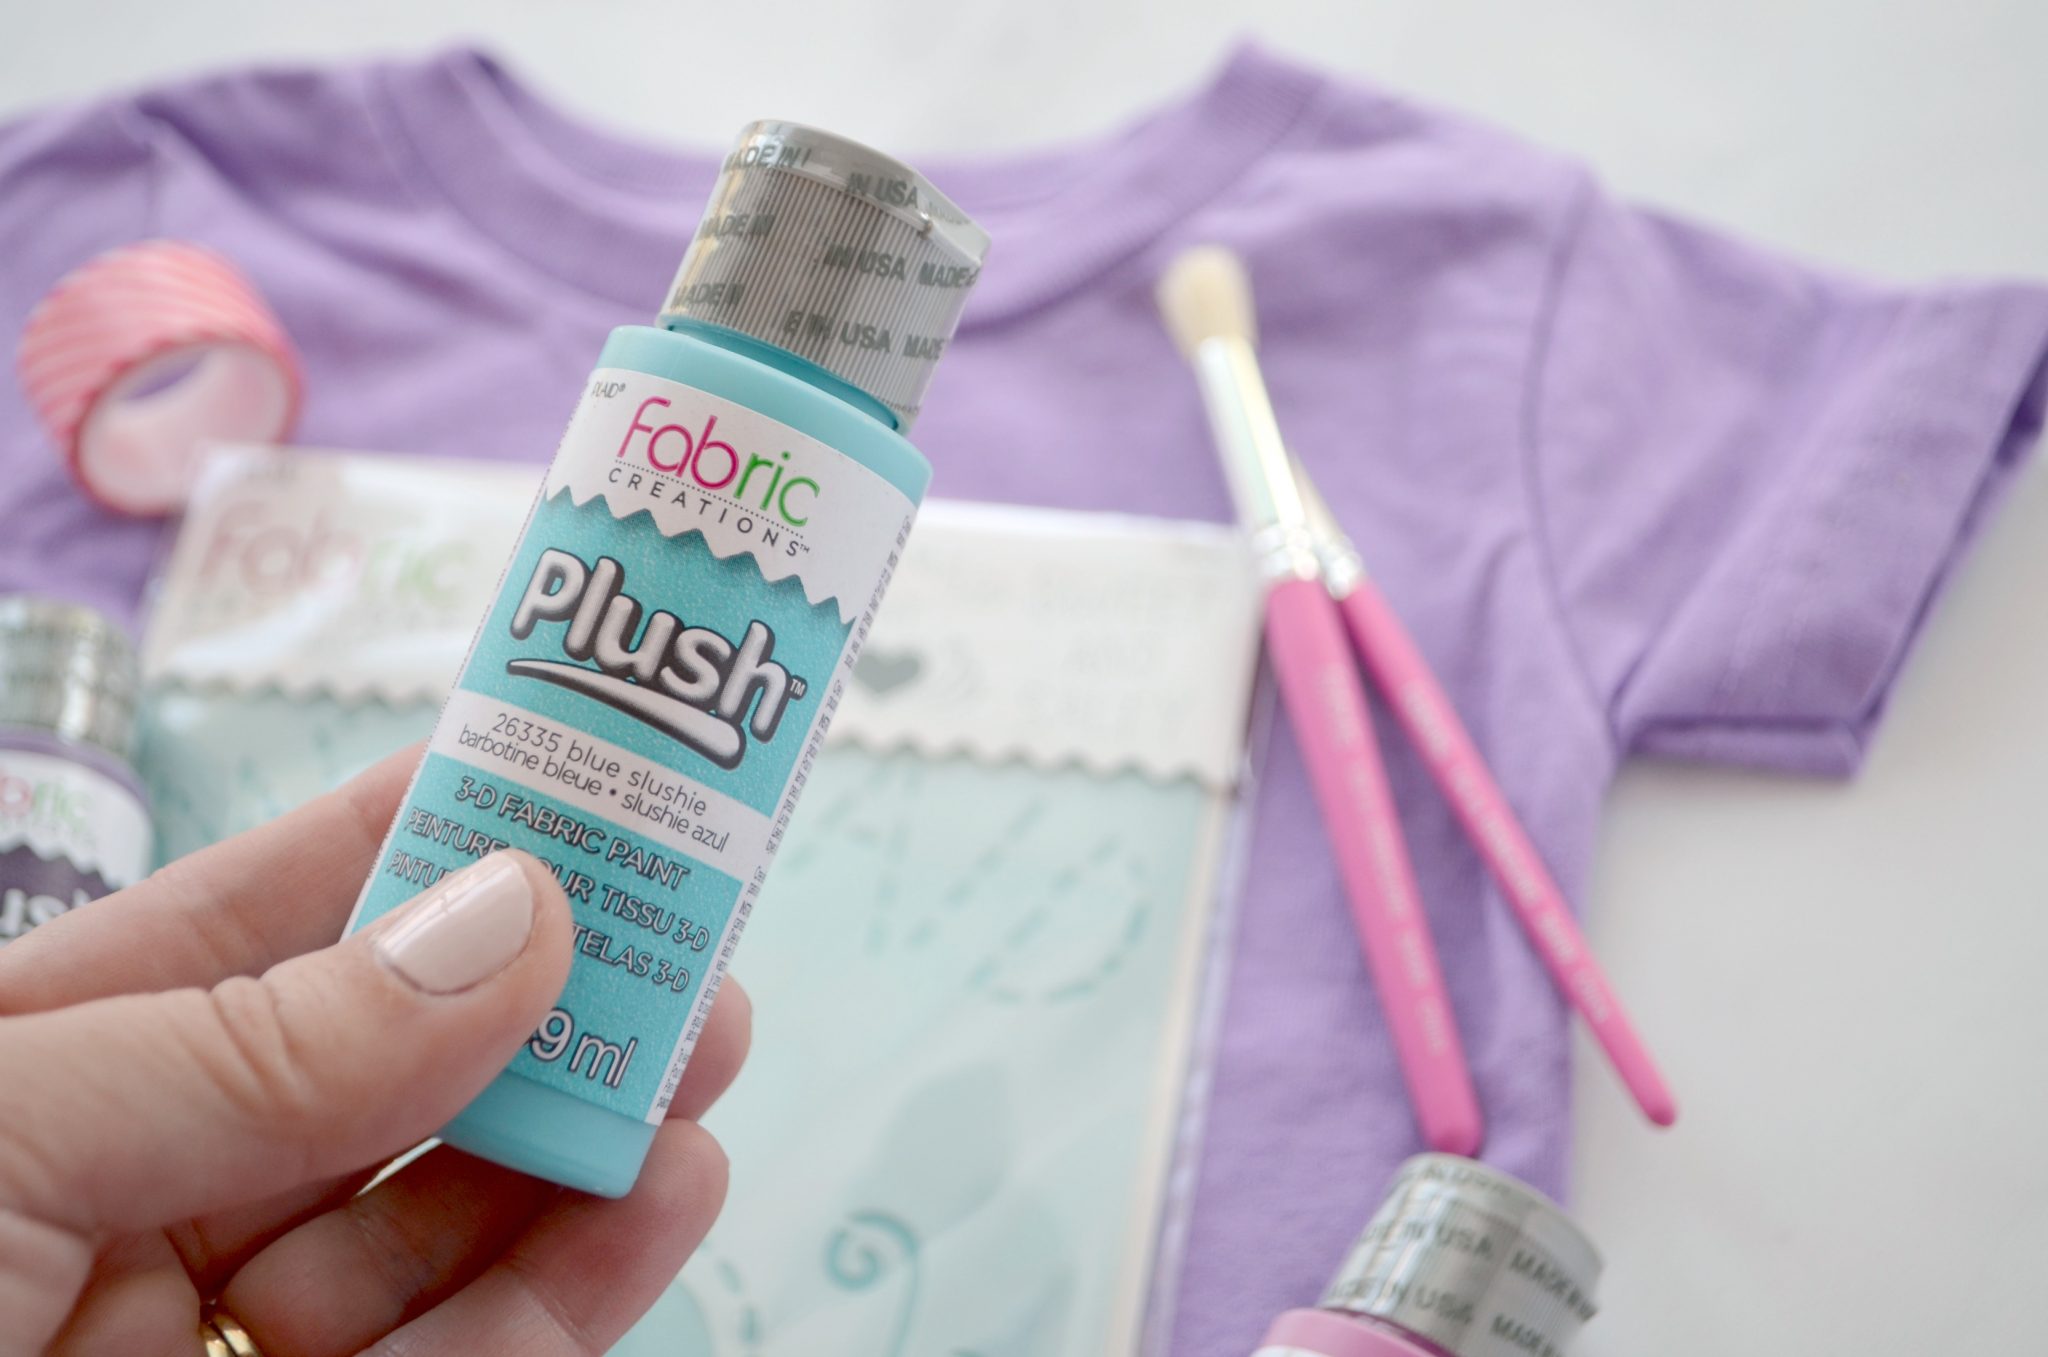
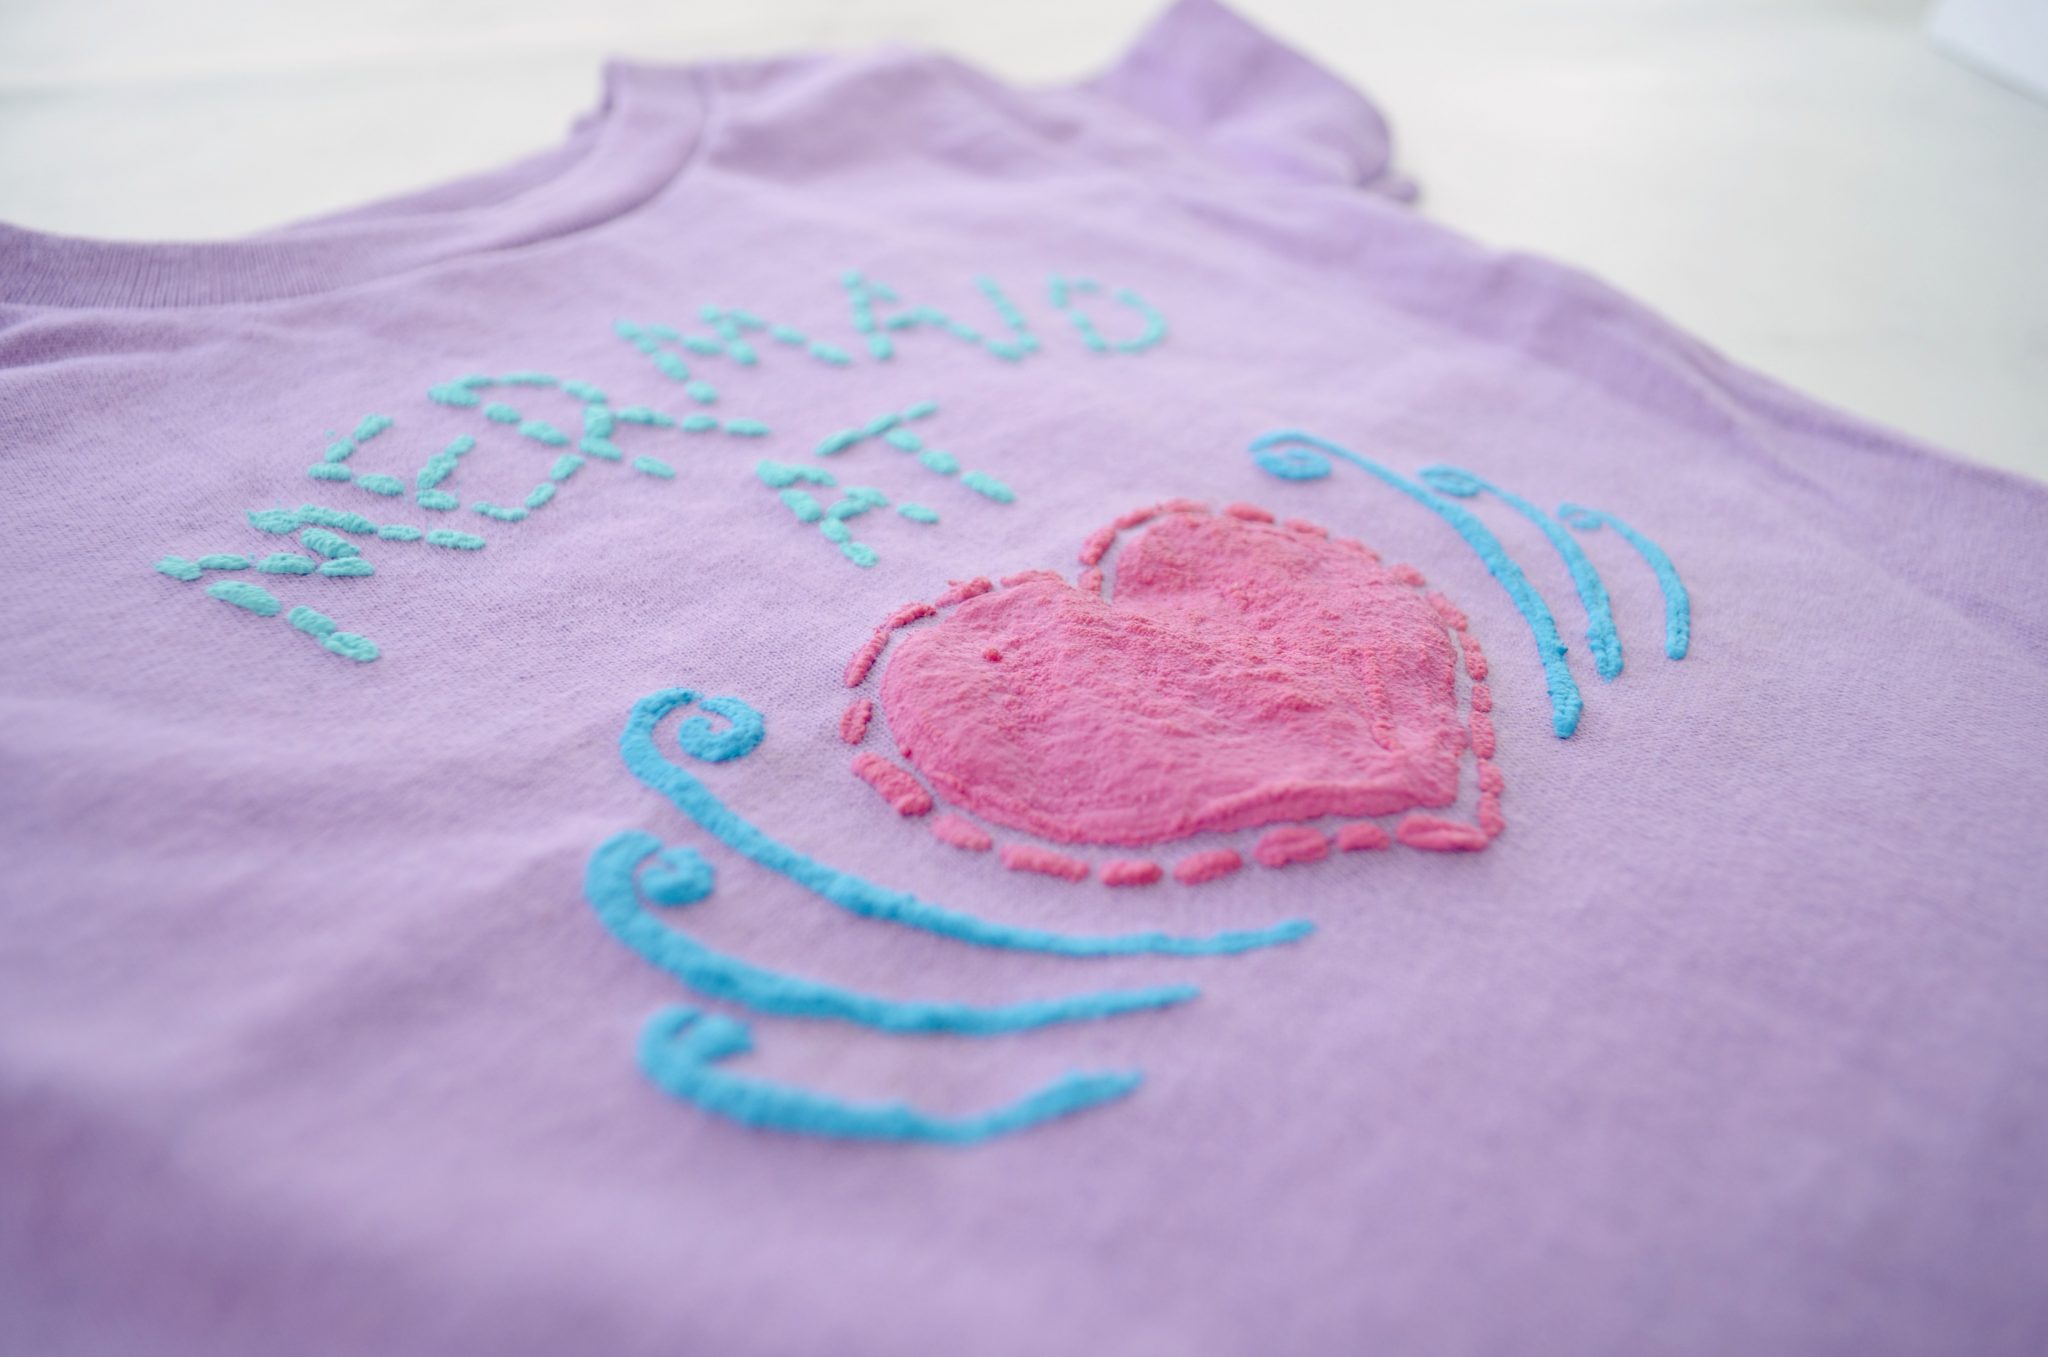
As soon as I got to try the new Fabric Creations Plush, I couldn’t wait to share with you all about it. It’s a brand new water-based, non toxic 3-D fabric paint that goes on like normal paint, but puffs up right before your eyes to have a raised, flocked effect when heat is applied.
Step 1: Place cardboard or other barrier inside a pre-washed shirt.
This will absorb any excess paint that comes through the fabric and keep the back of the shirt clean.
Step 2: Remove the backing from the stencil and adhere it to the t-shirt.
I love adhesive stencils, because rather than just being taped down around the edges, the entire surface sticks to the fabric and prevents the paint from bleeding underneath any part of the cut-out image.
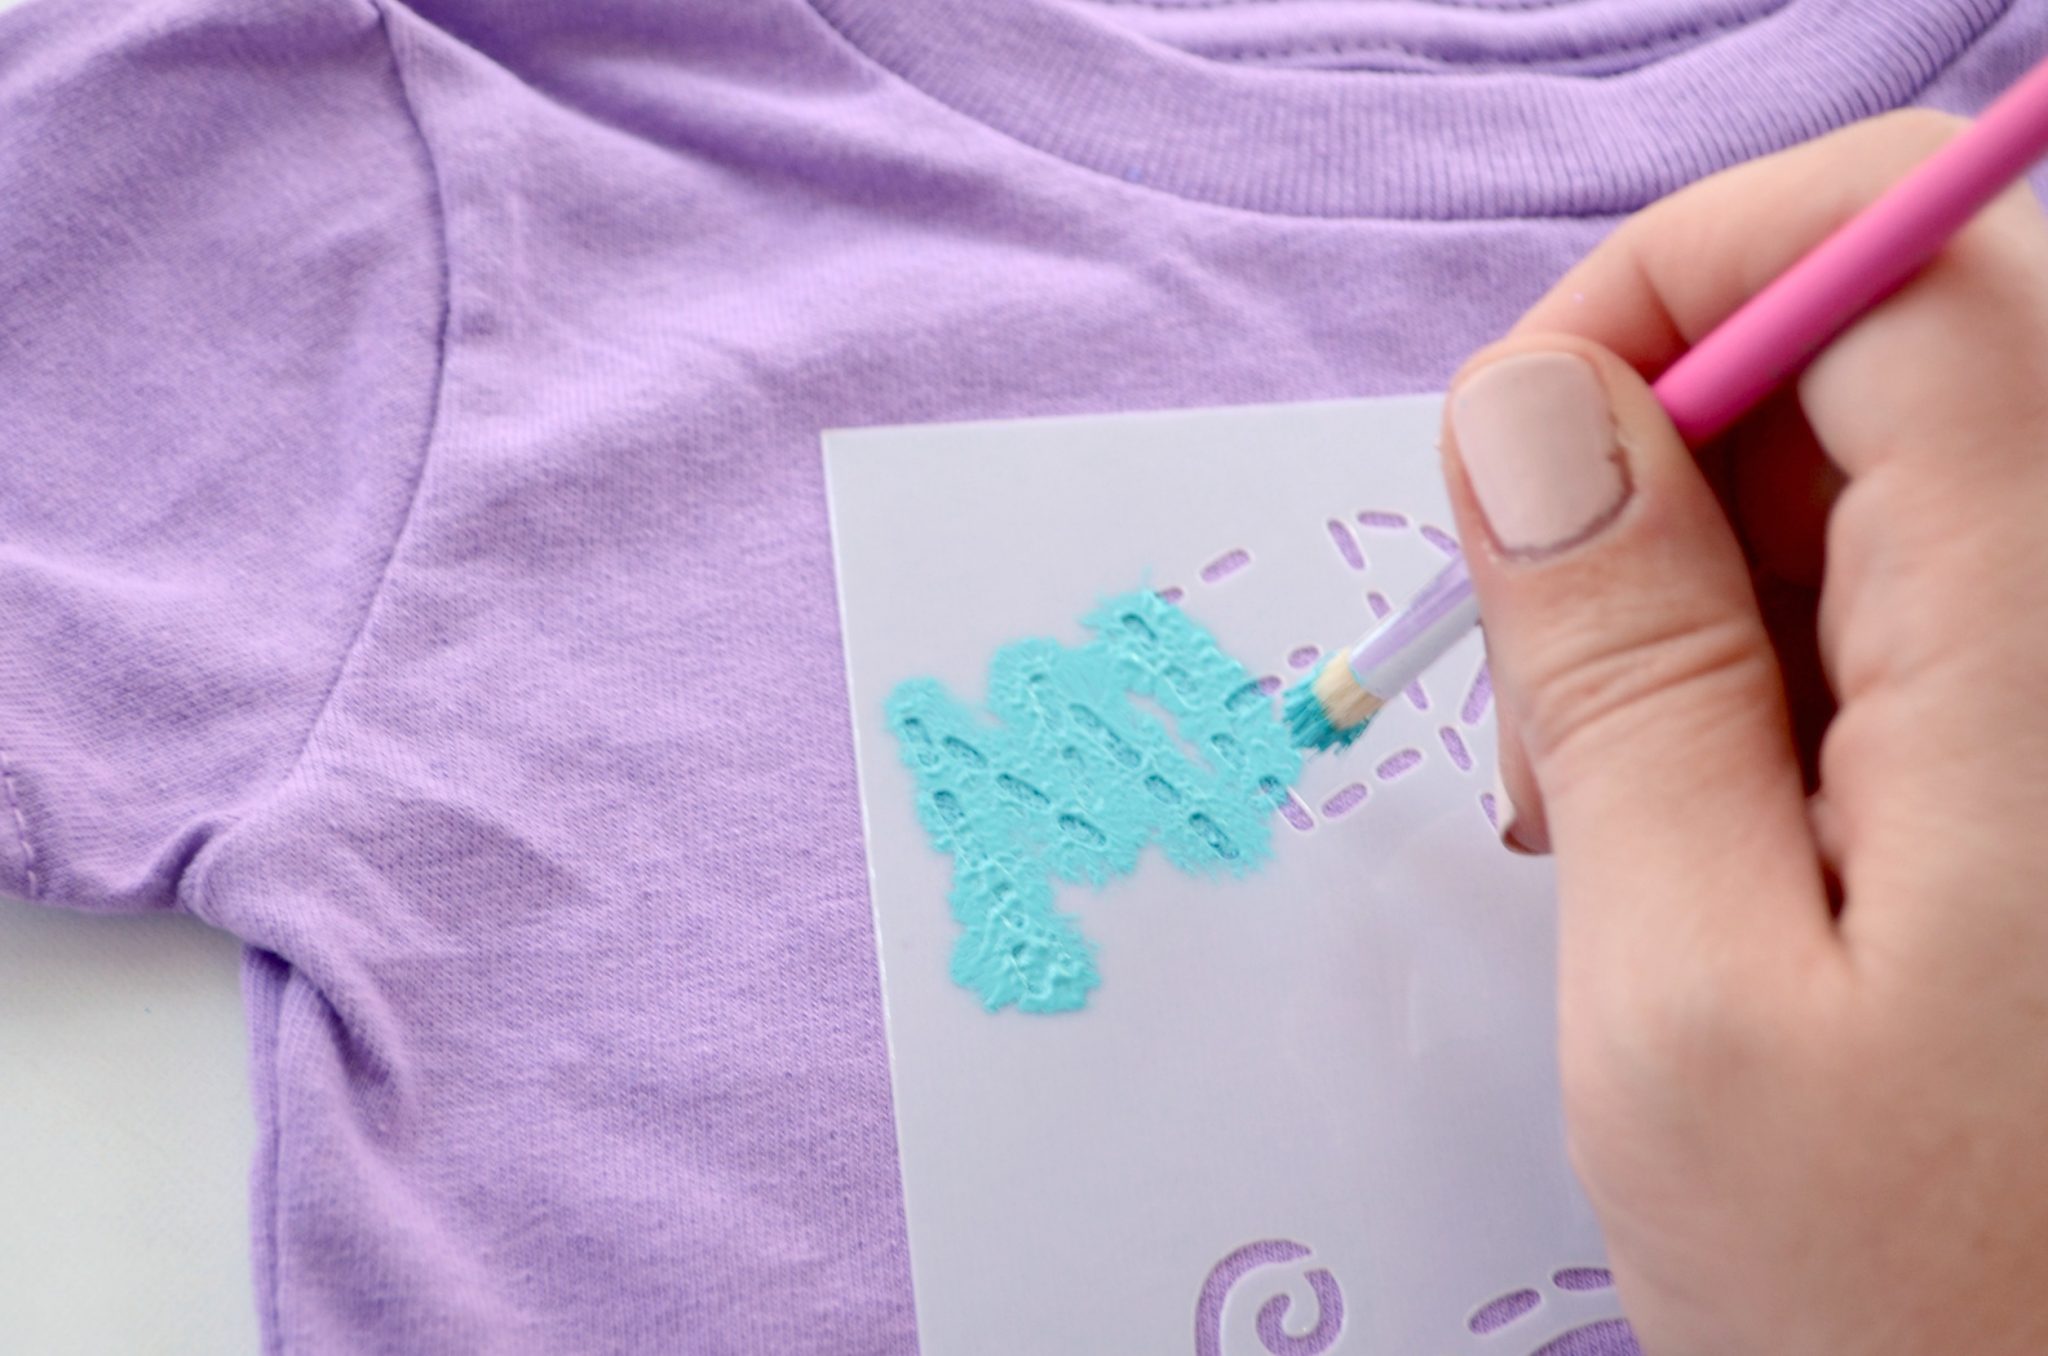
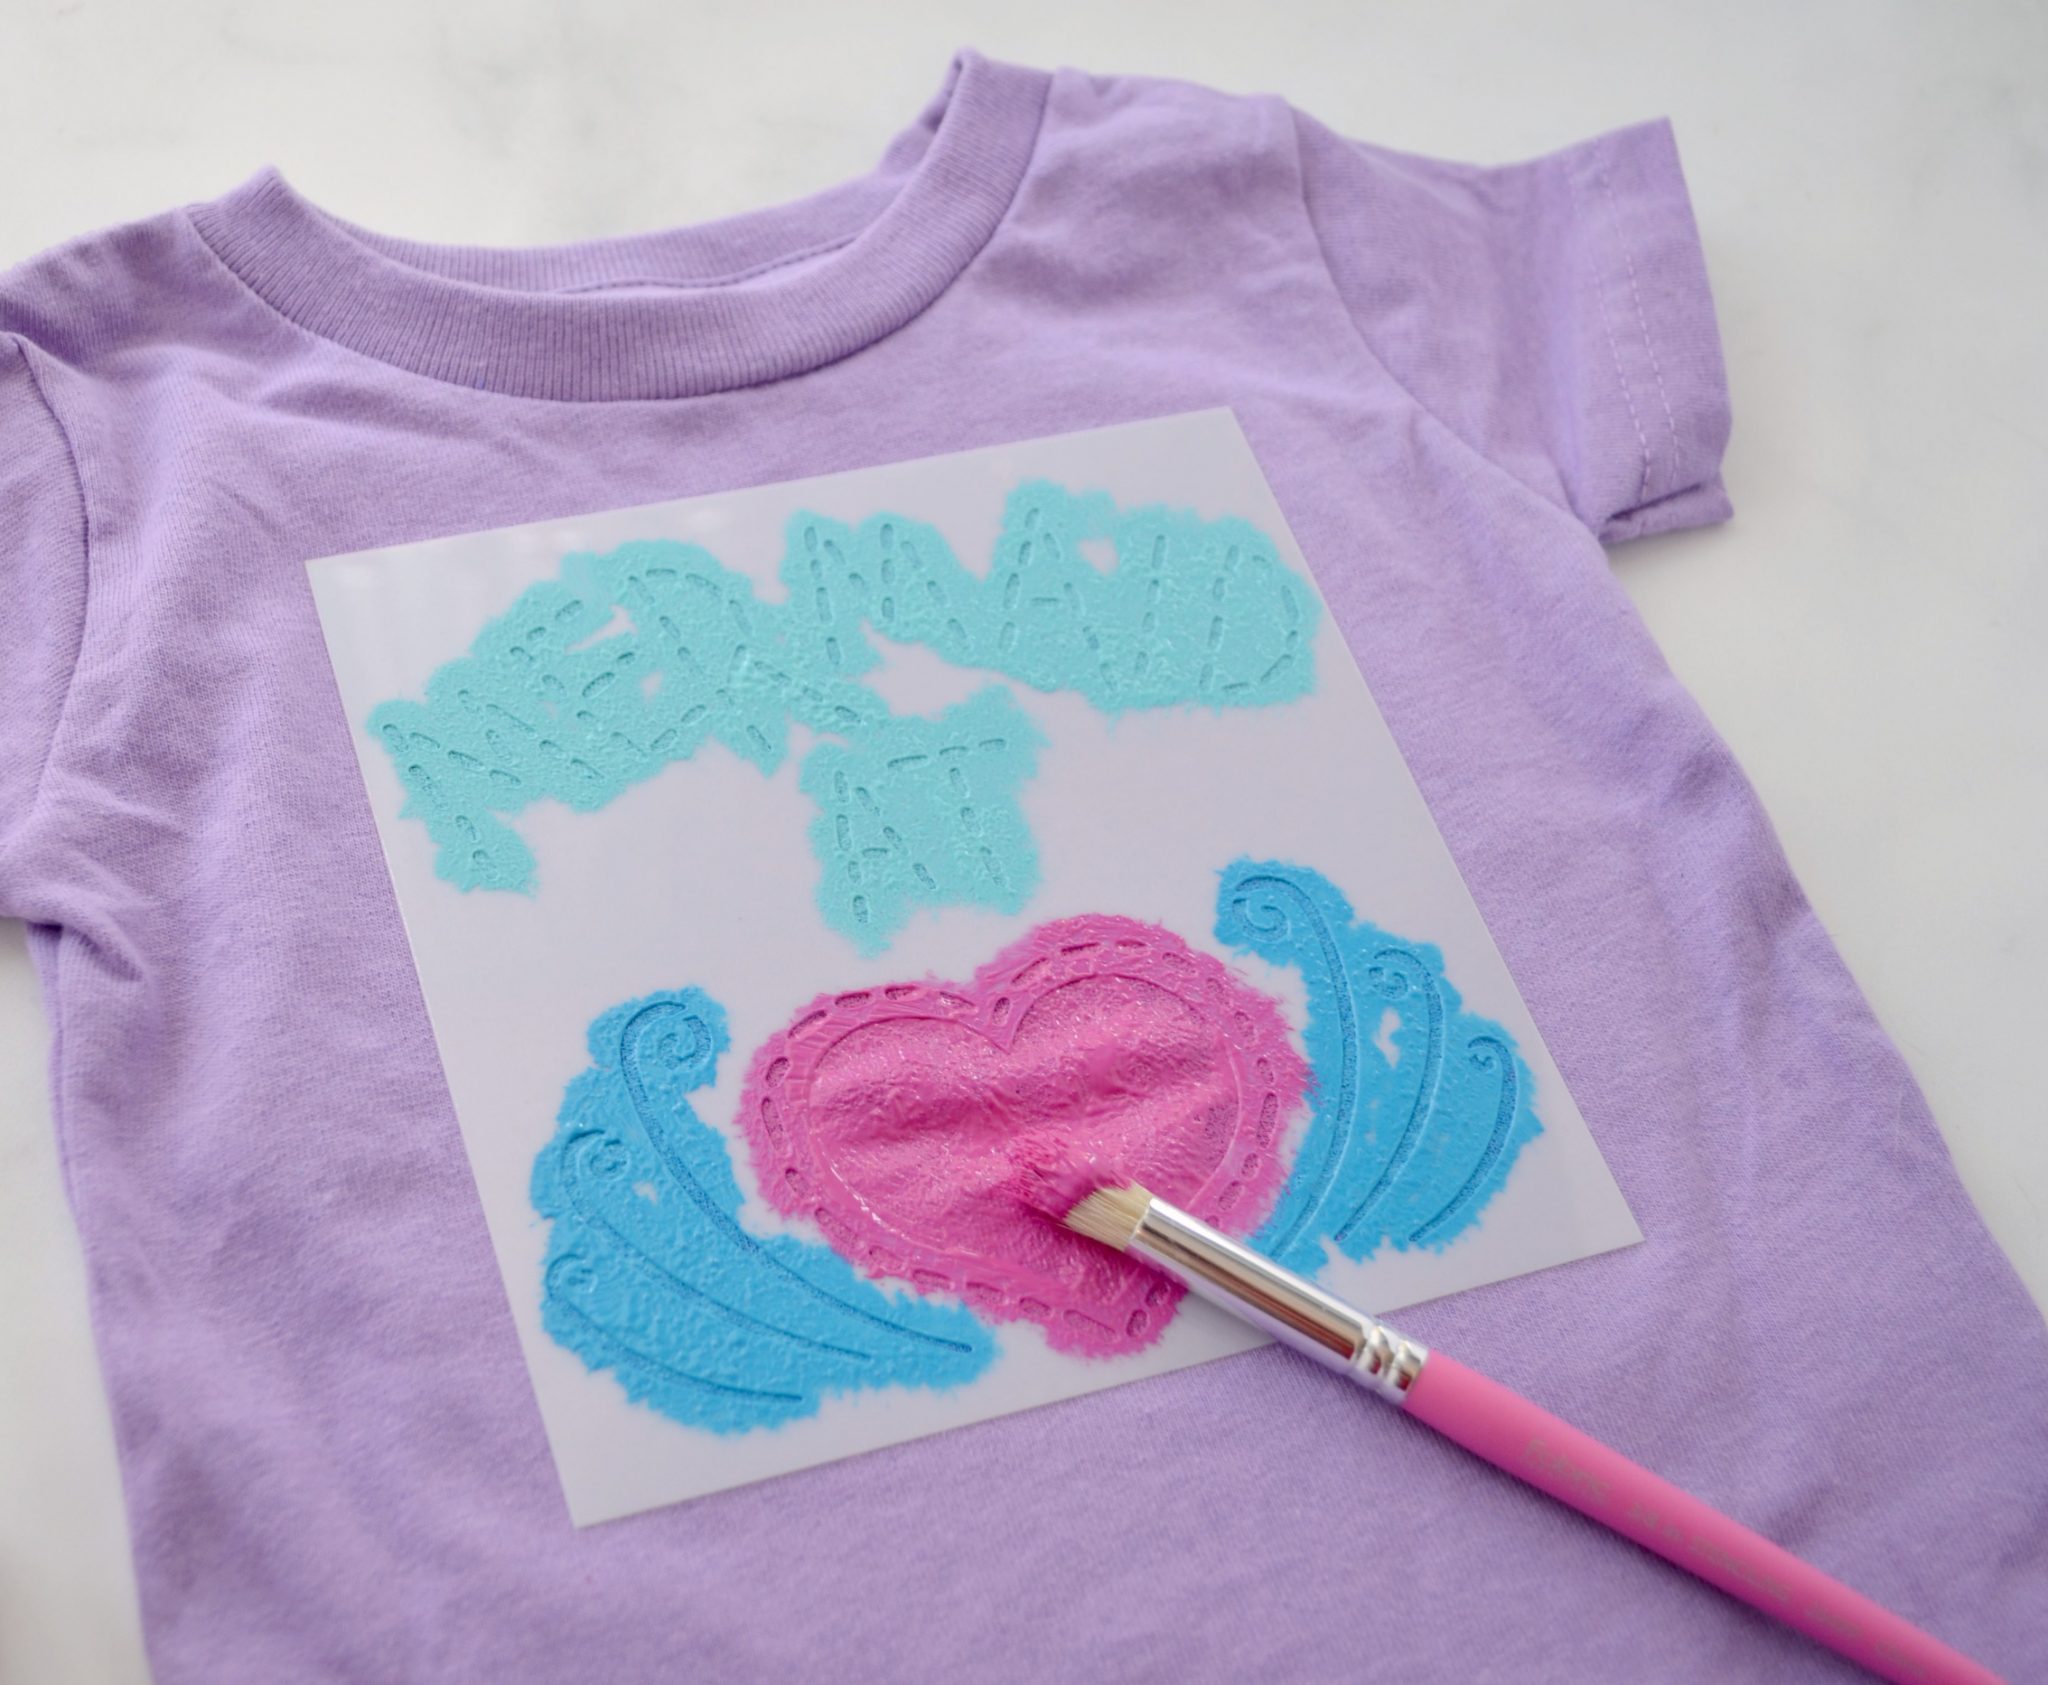
Step 3: Stencil your image.
You can use any combination of colors you like. When stenciling, a good technique is to load paint onto your brush, then tap it up and down over the cut-out areas rather than rubbing or doing normal brushstrokes.
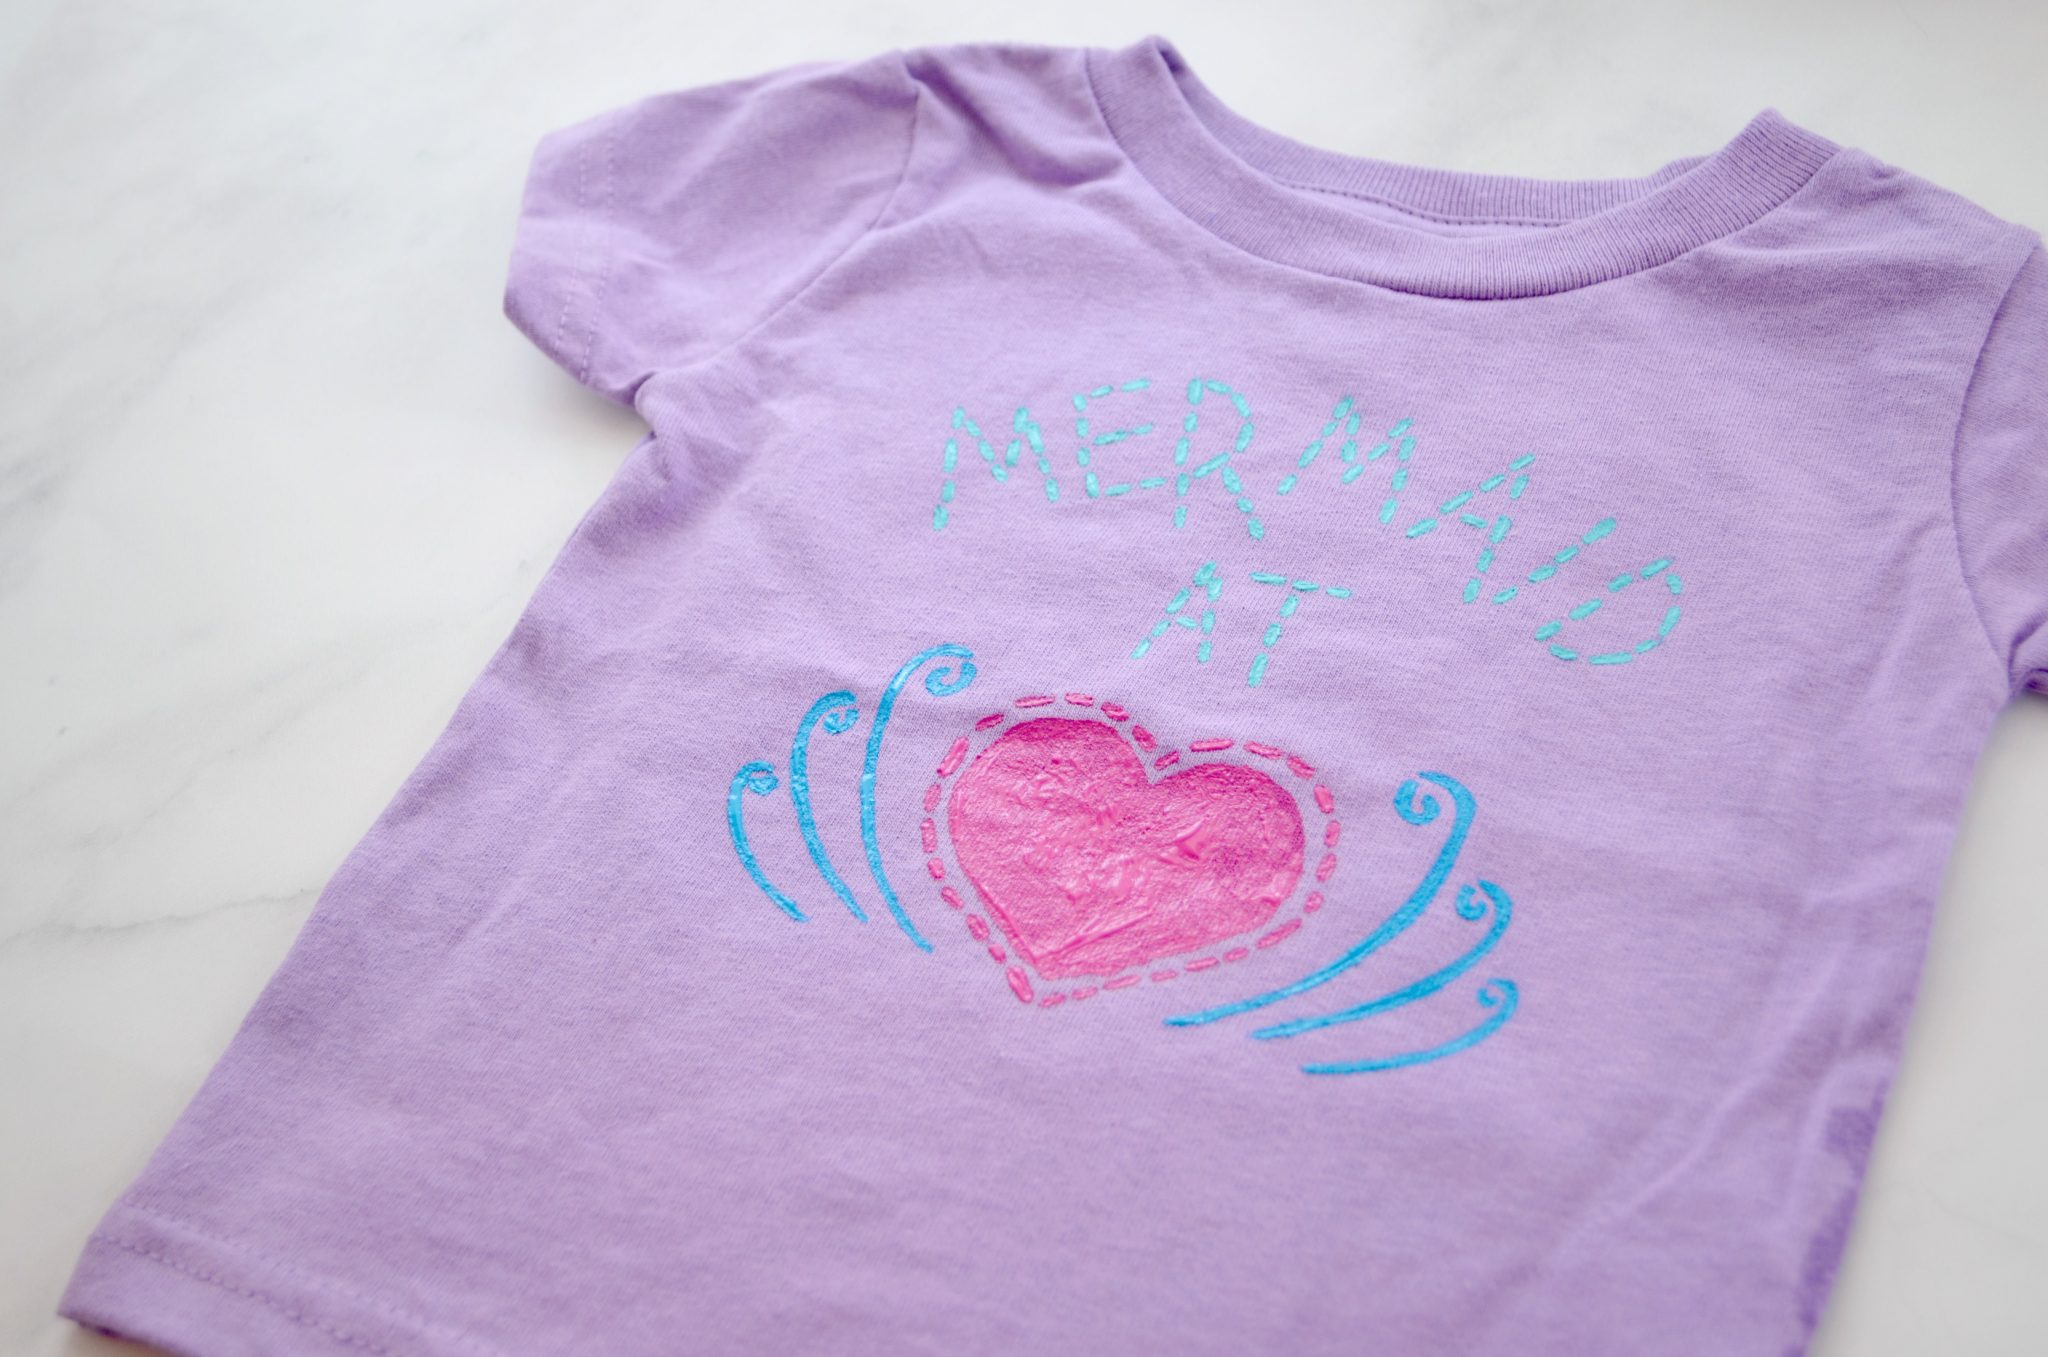
Step 4: Remove the stencil and let your paint dry.
Allow the project to air dry for 24 hours.
Optional: Add more paint to the stenciled areas with a small liner brush.
One thing I learned is that the thicker you apply the paint, the more texture you’ll get. On my first project with these paints, I didn’t use enough, so I didn’t get as much dimension as I hoped. This time, I went back over all the stenciled areas and added a second layer of paint on top after I had removed the stencil.
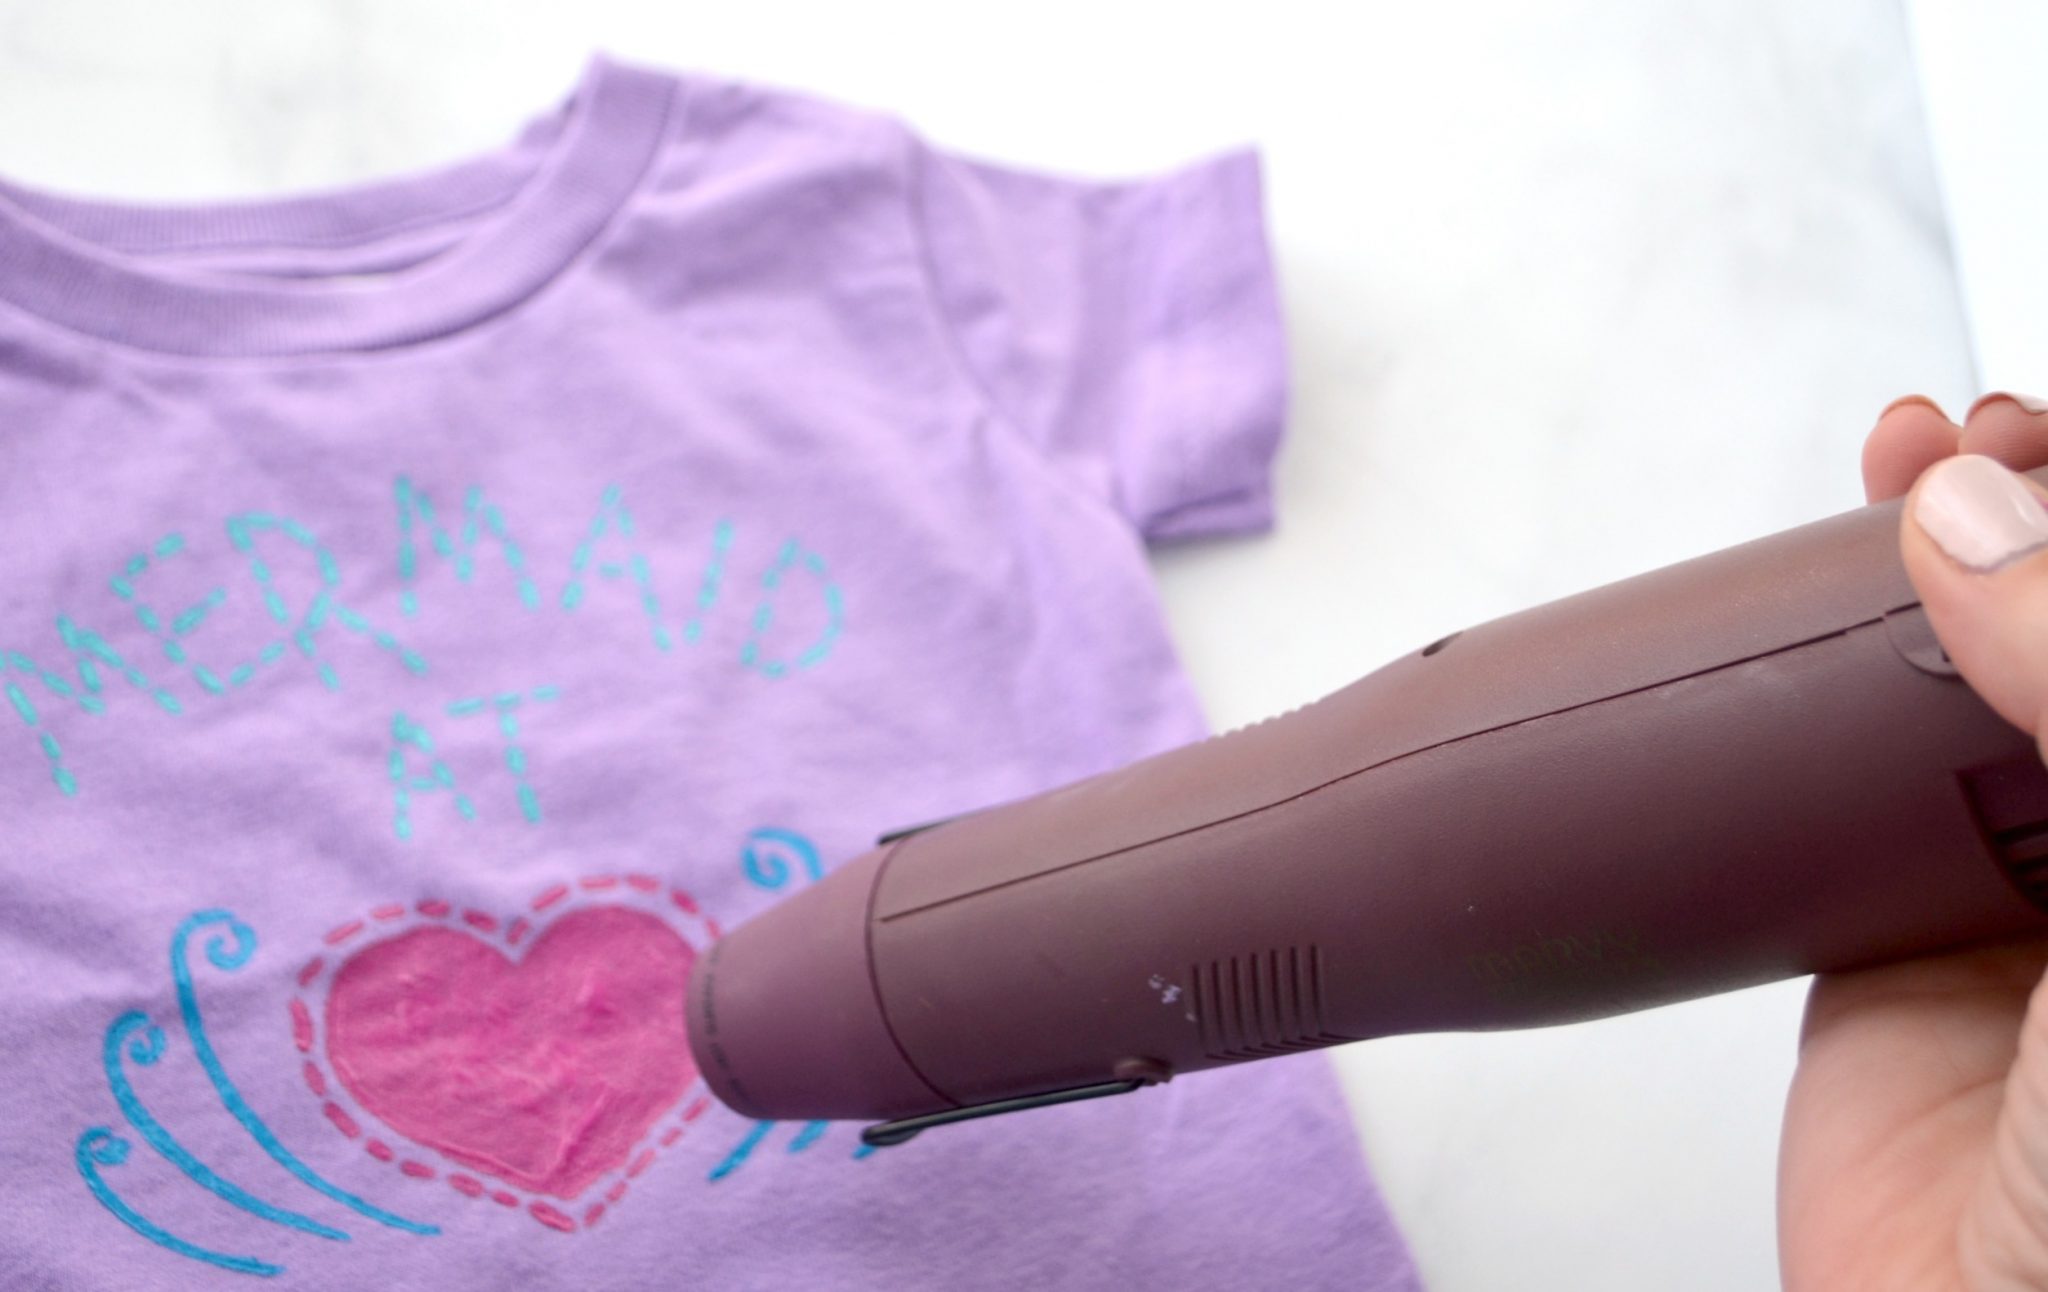
Step 5: Heat the painted areas of the shirt.
The official instructions say to preheat your iron to its hottest setting and make sure it’s set to steam. Then, heat the back of the shirt using steam and light pressure for about 30 seconds or until the paint reacts. Do not apply the iron directly to the painted areas! Another option if you happen to have one handy is to use an embossing tool instead. This allows you to apply the heat from the front side, and it’s incredibly cool to watch the paint puff right before your eyes! You’ll see it take on a 3-D texture and it will also get slightly lighter in color. Make sure not to touch the tool to the paint; hold it above the surface of the shirt just like you would for an embossing project.
I love the way the dashed lines look like actual stitches! How fun is that? I think this would be adorable for faux embroidery projects too…you could stencil and heat a design and then place it in a hoop and display it on the wall. This paint works on most fabric items, including jackets, jeans, tote bags, shoes, and more!
Isn’t it seriously amazing? Take a minute to watch this video and you’ll see the paint actually puffing up to be 3-D right before your eyes!
I just can’t get over how fun this paint is…and the stencil too! There are lots of other adhesive stencils to choose from, and you can also freehand any design you want.
What do you think? What will you do with this new Fabric Creations Plush Fabric Paint?
Really! This is an excellent article for painting t-shirts, I have some experience because last year I did 5 T-shirts. I want to decorate some more shirts again, this time I will follow this article to do it.