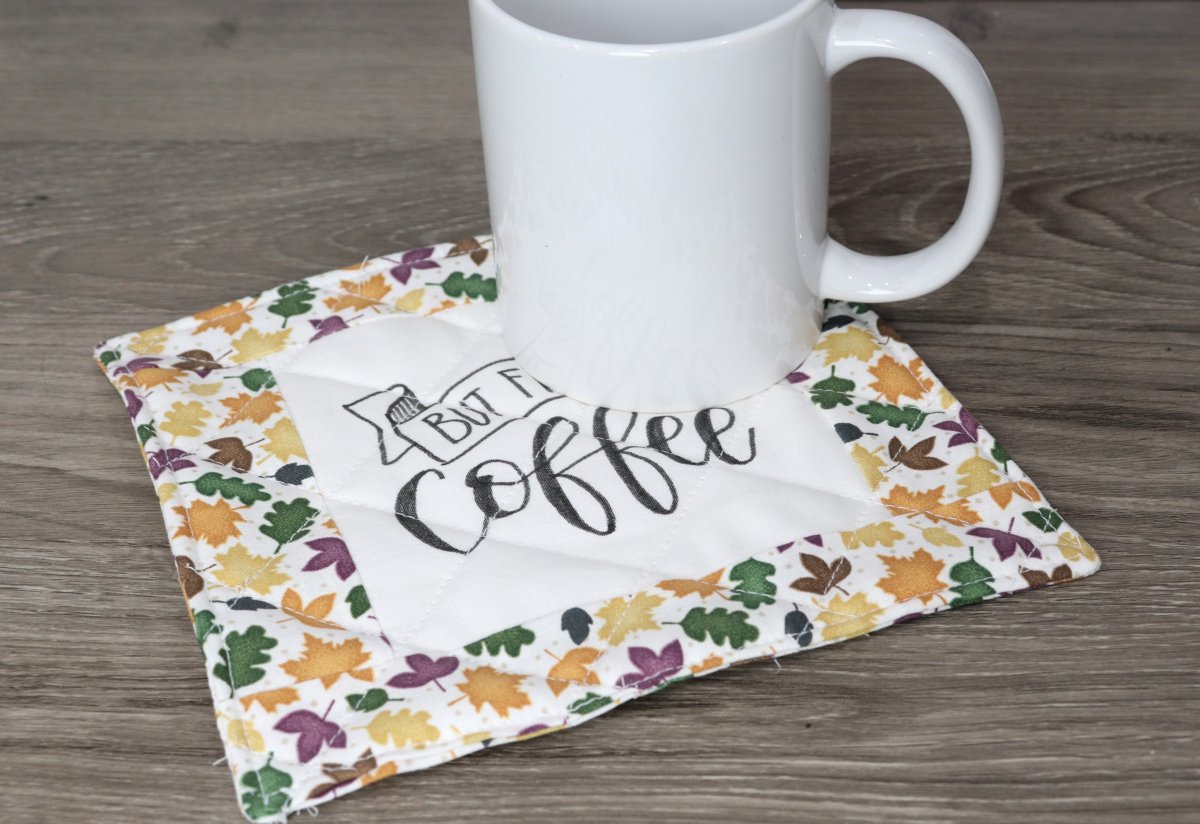
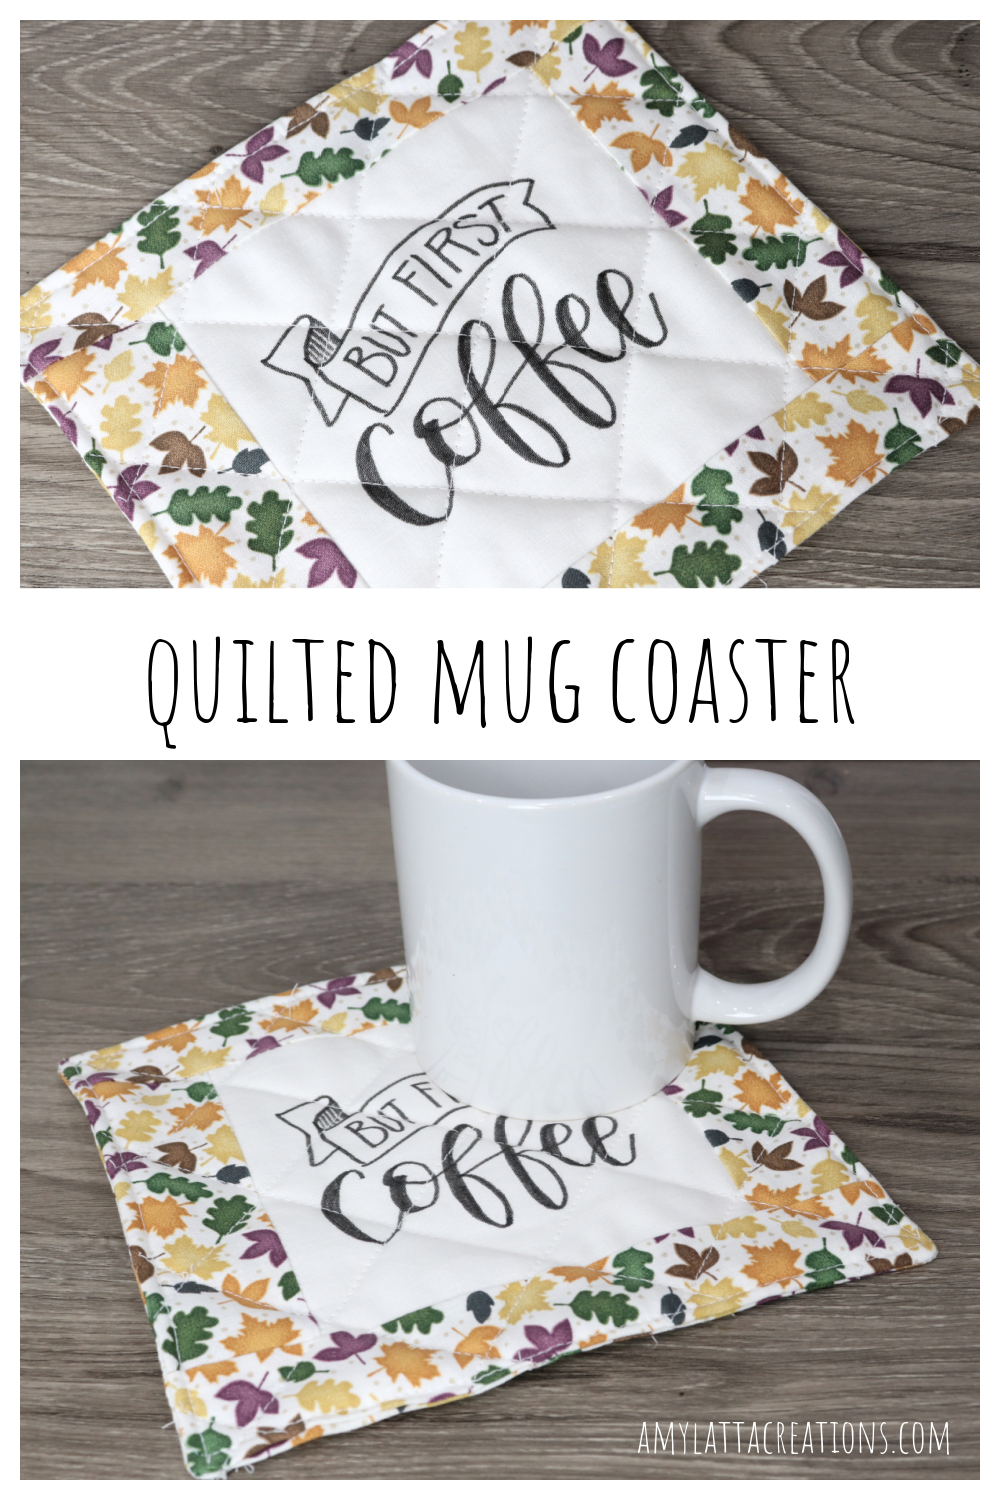
Quilted Mug Coaster
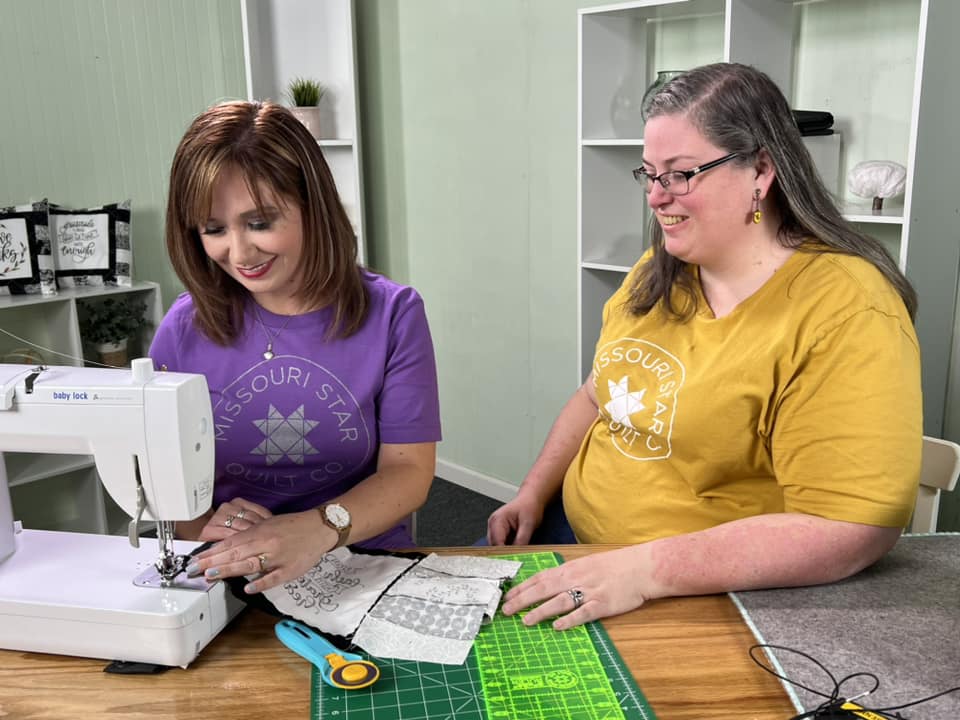
Friends, I am beyond excited to share today’s project with you. Not only does it combine two of my favorite things: lettering and coffee, it is also a very important first for me. This is my first-ever quilted project! For over a year, I have been thrilled to partner with Missouri Star Quilt Company to teach about lettering on fabric, but I had never tried my hand at a quilt project myself. Recently, I was in Hamilton, MO for the MSQC Birthday Bash, and my good friend Liz Gubernatis (very patiently) taught me the basics.
It’s actually way less scary and intimidating than I thought, and I came home determined to make something all by myself. Believe it or not, my very first attempt was a success! I started small, with a quilted coaster for my coffee mugs, and I want to share with you how you can do it too.
You’ll need:
5″ square of white cotton fabric
1/4 yard of cotton fabric, your choice of colors/pattern
cotton quilt batting
Missouri Star Quilt Company Fabric Markers
Scissors
Rotary Cutter and Mat (optional, but super helpful!)
Sewing machine
Thread (I used white)
Straight Pins
Iron
Step 1: Cut your fabric.
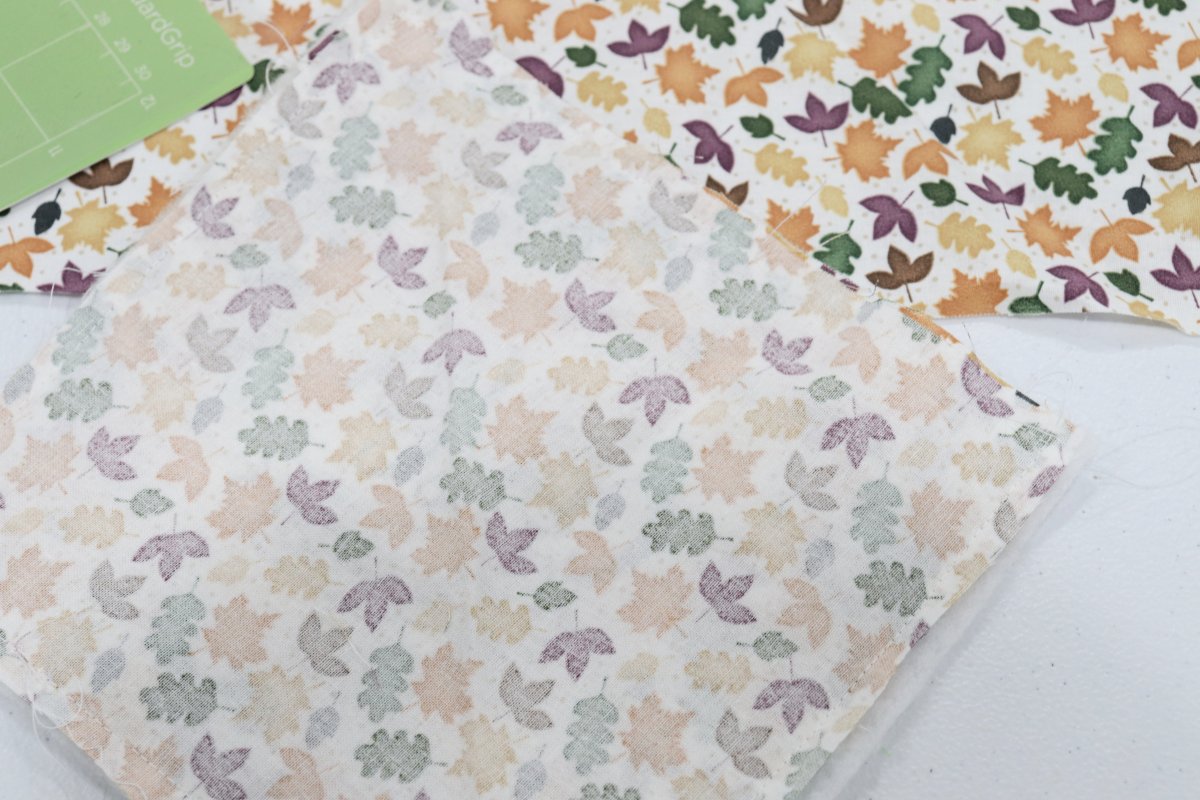
Cut the white cotton into a 5″ square if you haven’t already done so. Then, cut your print/colored fabric so that you have the following pieces:
2 – 1.5″ x 5″
2 – 1.5″ x 5″
1 – 6″ x 6″
Step 2: Letter your design.
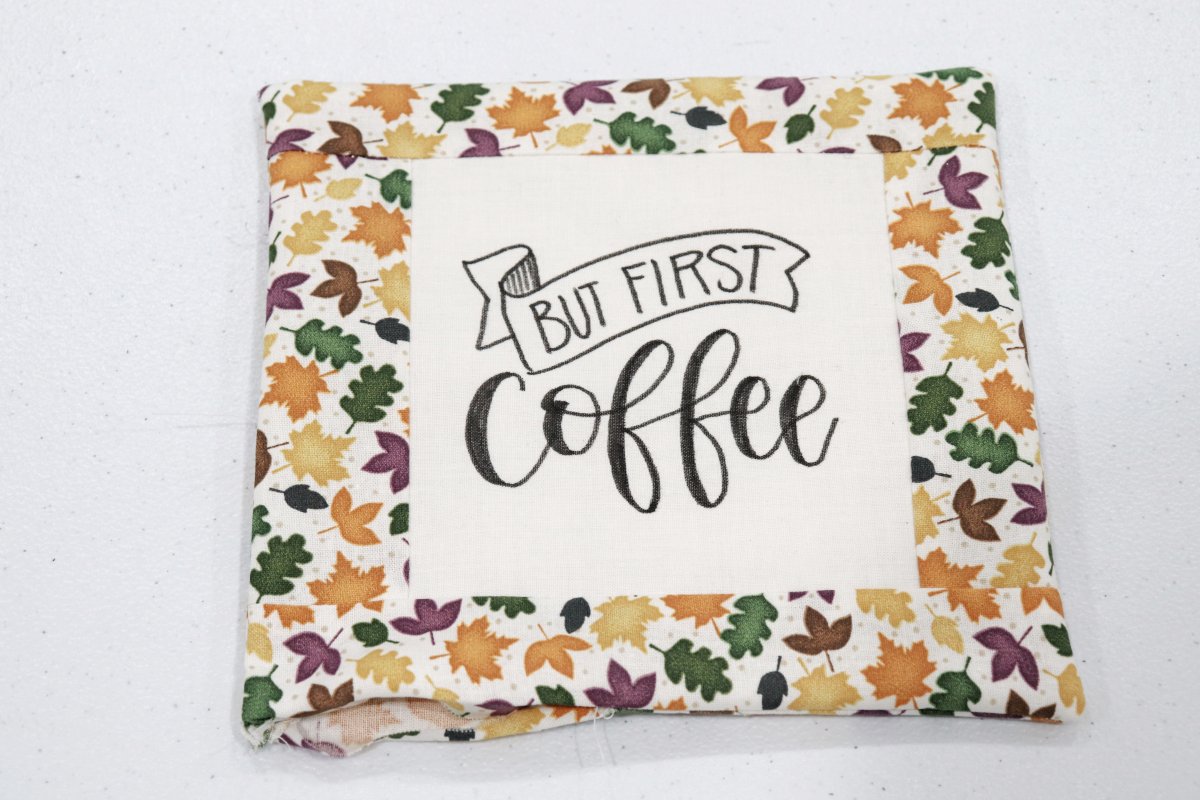
Choose your favorite saying and letter it in the center of the 5″ square using your MSQC fabric marker. Or, you can print and trace mine! Remember, there will be a 1/4″ seam, so make sure to keep your lettering more than 1/4″ from the edges of the square. If you’re new to faux calligraphy, check out my simple tutorial here, or better yet, watch this video!
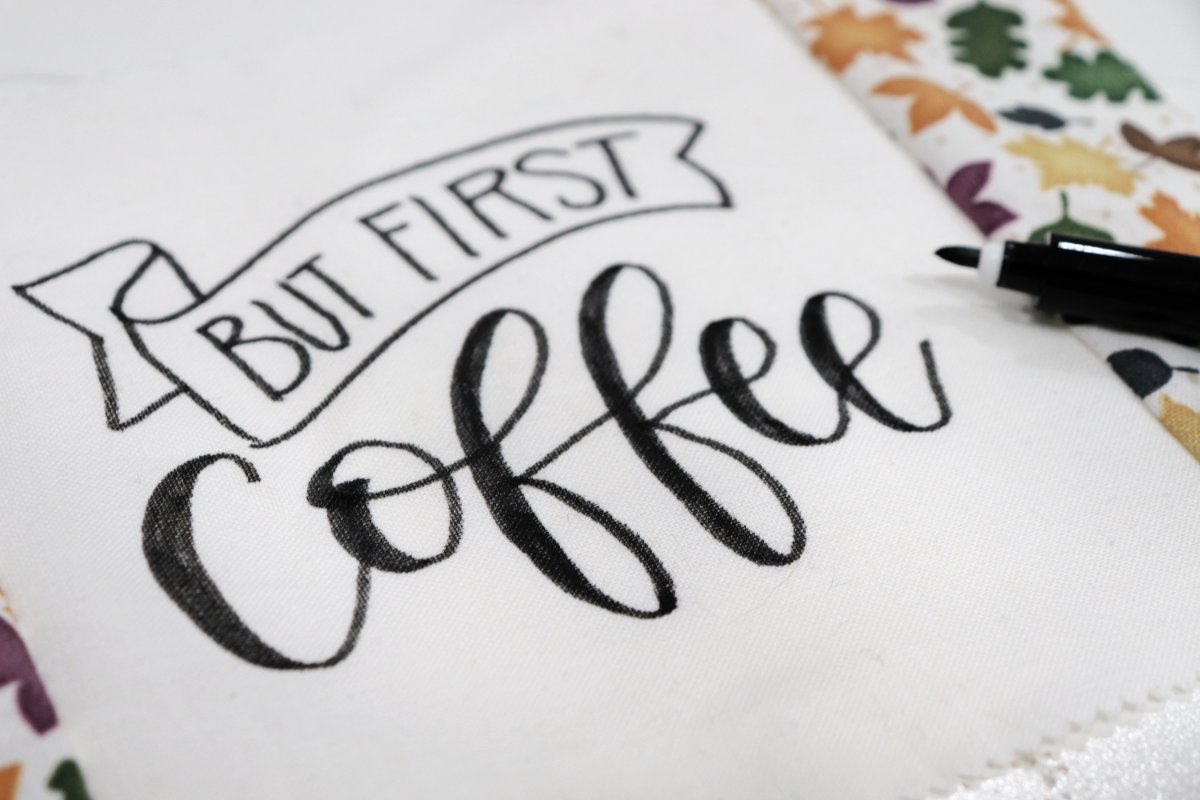
Why use Missouri Star Quilt Co Fabric Markers? I’ll give you three great reasons: they don’t bleed, they don’t need to be heat set, and they’re machine washable!
I used the fine tip black marker, but they’re also available in several other colors, so feel free to choose what best matches your fabric.
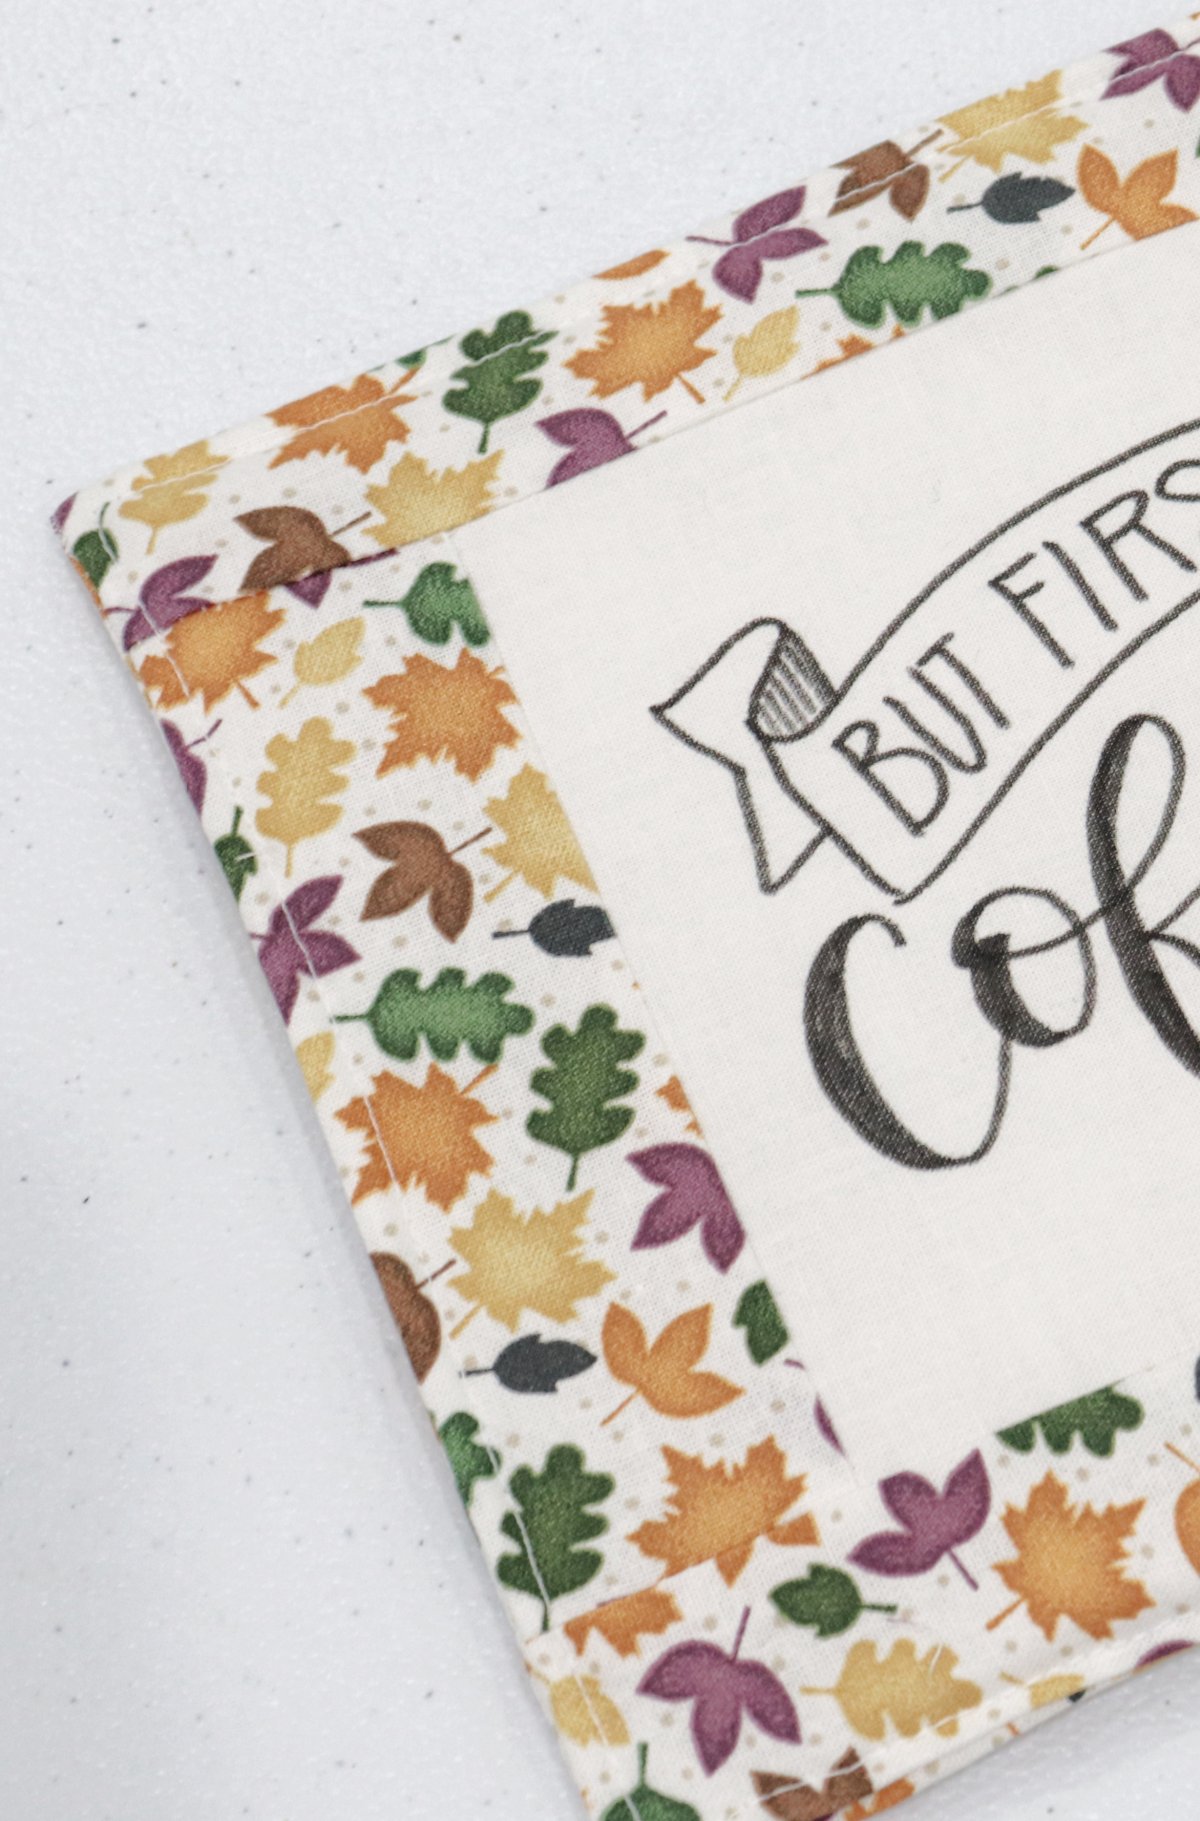
Step 3: Sew the 1.5″ by 5″ strips on the left and right sides of your lettered square.
To do this, place place the strips with the right side facing down on top of the lettered square, one on each side. Sew a 1/4″ seam.
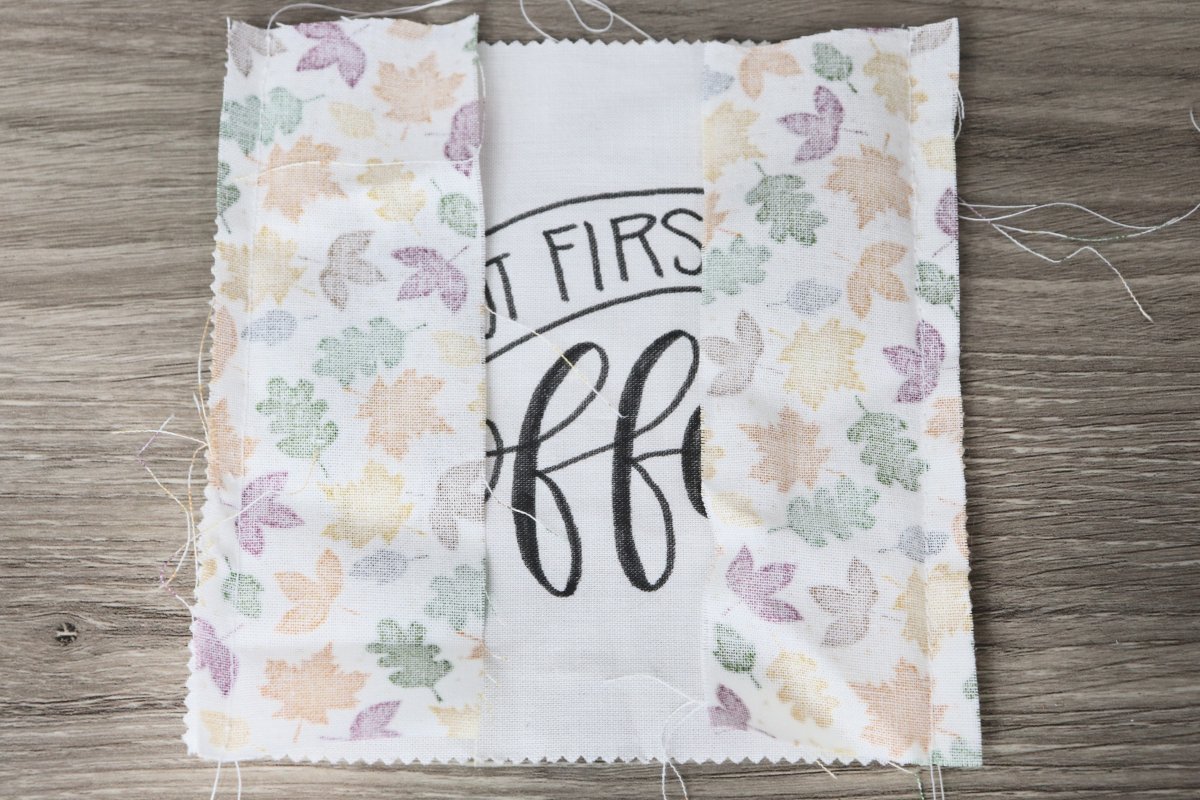
Now, fold the pieces open and press with your iron.
Note: You always want to press the seams so that they lay to whichever side has the darker fabric. In this case, I pressed toward the printed fabric.
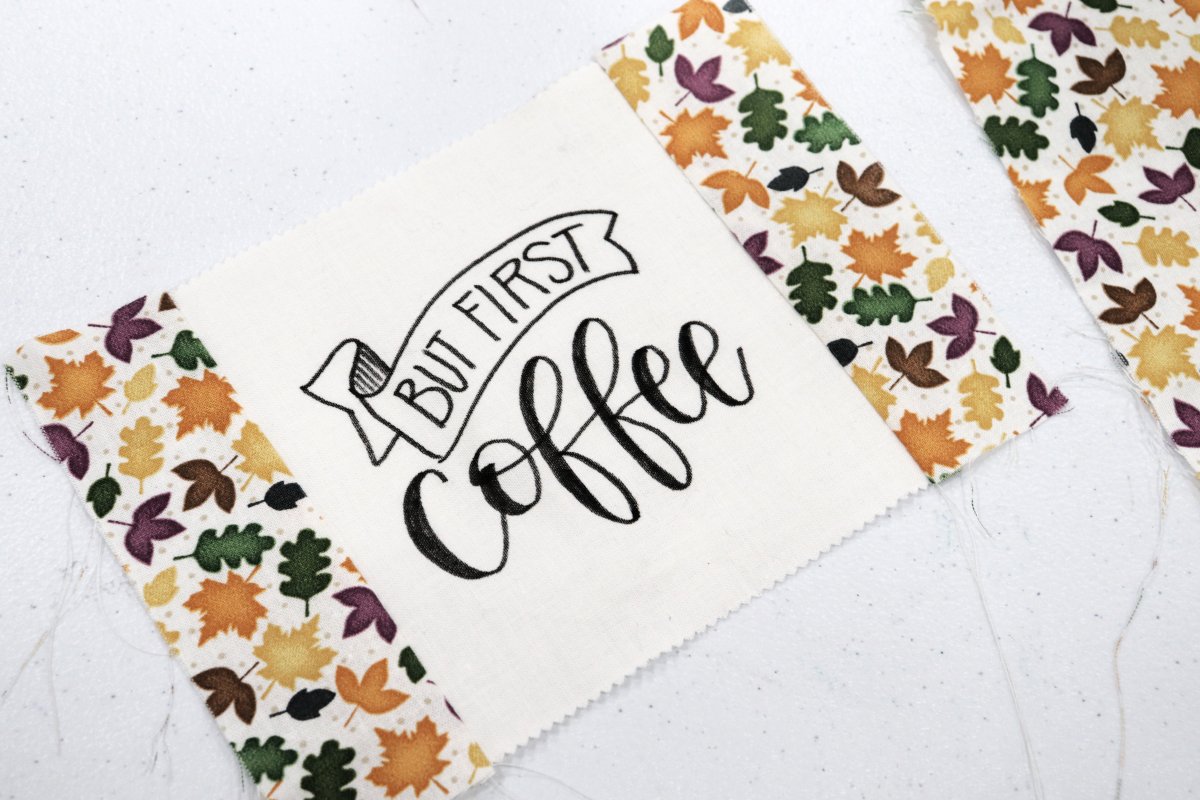
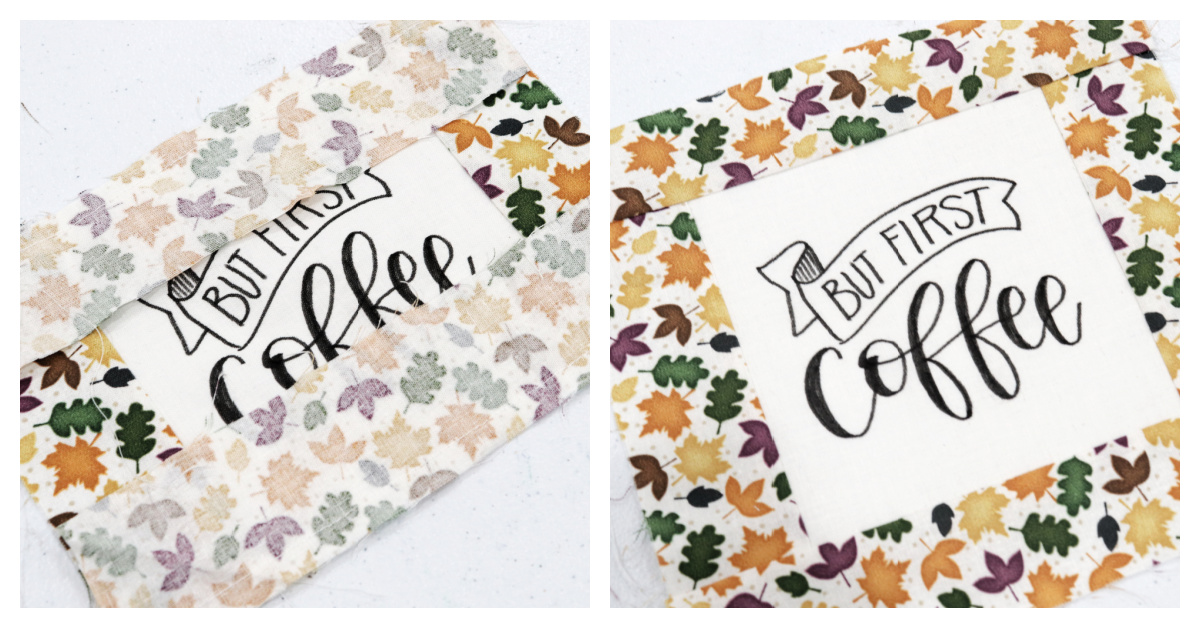
Step 4: Sew the 1″x 6″ strips to the top and bottom.
Follow the same steps you did for the sides; place these right side facing down along the top and bottom, then sew a 1/4″ seam. When you’ve sewn them both in place, press them open and your lettered square will be framed by fabric on all four sides.
Step 5: Make a fabric and batting “sandwich.”
Place a 6″ square of batting on the bottom. Then, place your finished front on top of it, right side facing up. Finally, place a 6″ square of the patterned fabric on top, right side facing down. Pin the three layers together, then sew a 1/4″ seam around the square, leaving a 2″ opening on one side.
Step 6: Clip the corners, then turn your coaster right side out.
You should have the front of the coaster on one side, the back on the other, and the batting in between. Use a chopstick or pencil to gently poke the corners into the correct shape from the inside, if necessary.
Step 7: Topstitch around the coaster, close to the edge (about 1/8″).
This will close the opening you left and help the coaster to lay nicely.
Step 8: Quilt your coaster.
This step means you’ll sew lines or any kind of design you want from the top of the coaster, going through all three layers. I decided to do a pattern of cris-crossing diagonal lines. To do this, I started by turning the coaster so it was a diamond shape, then sewing a straight line from the top point to the bottom point. Then, I used a piece of tape to mark off where the next line should go. I lined one side up with the line I quilted, then sewed on the other side.
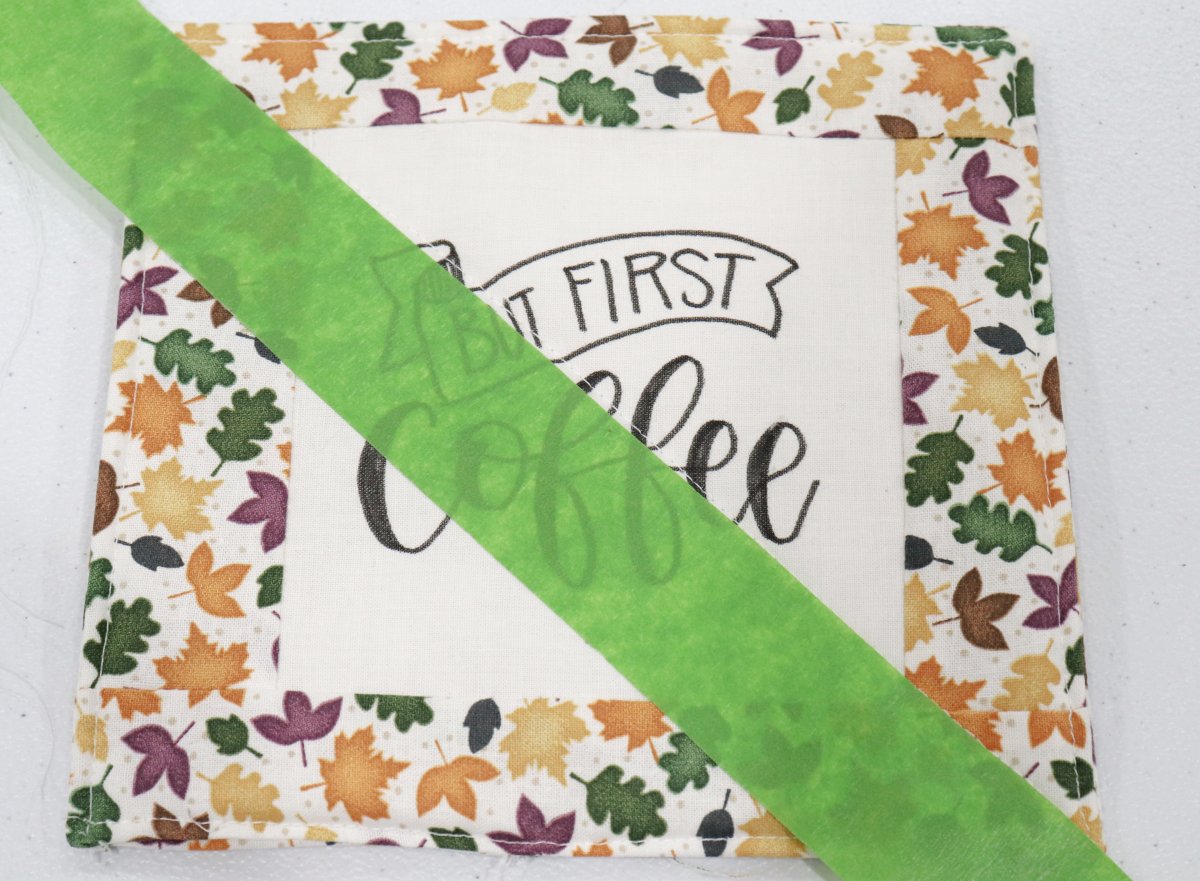
I repeated this until I had a series of intersecting diagonal lines that covered the entire coaster.
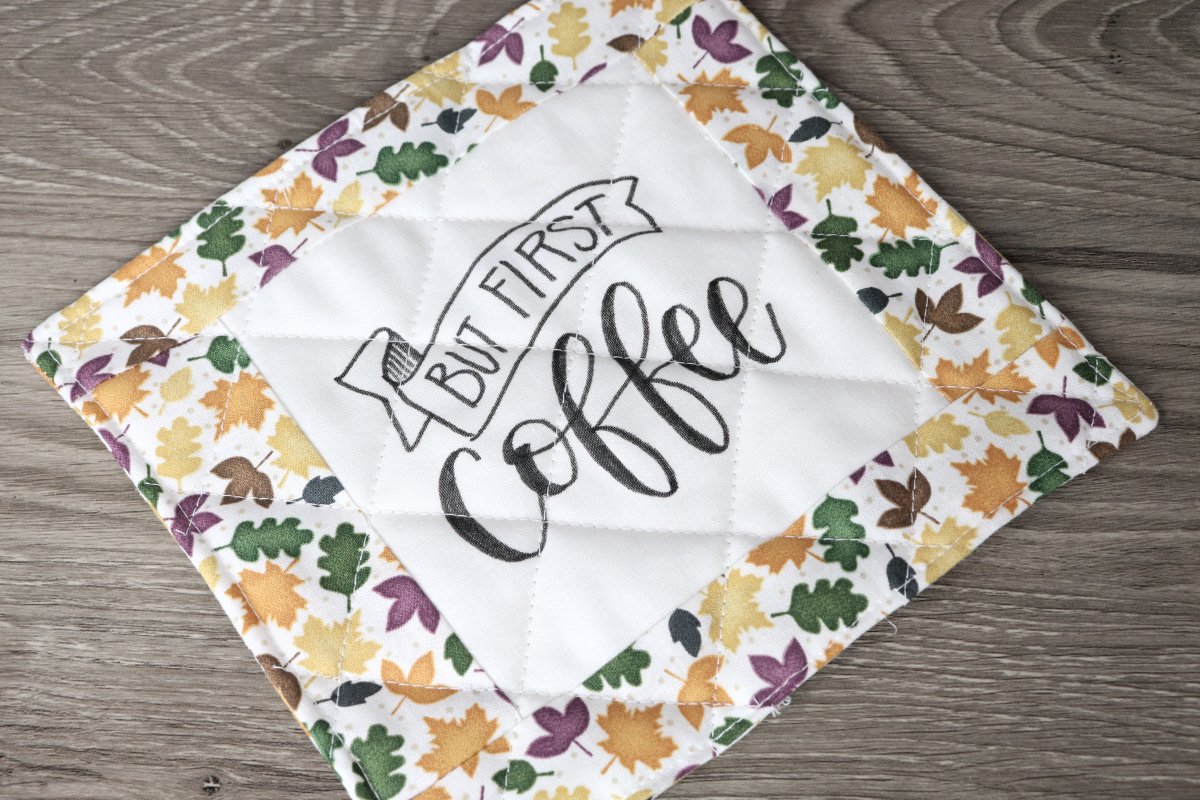
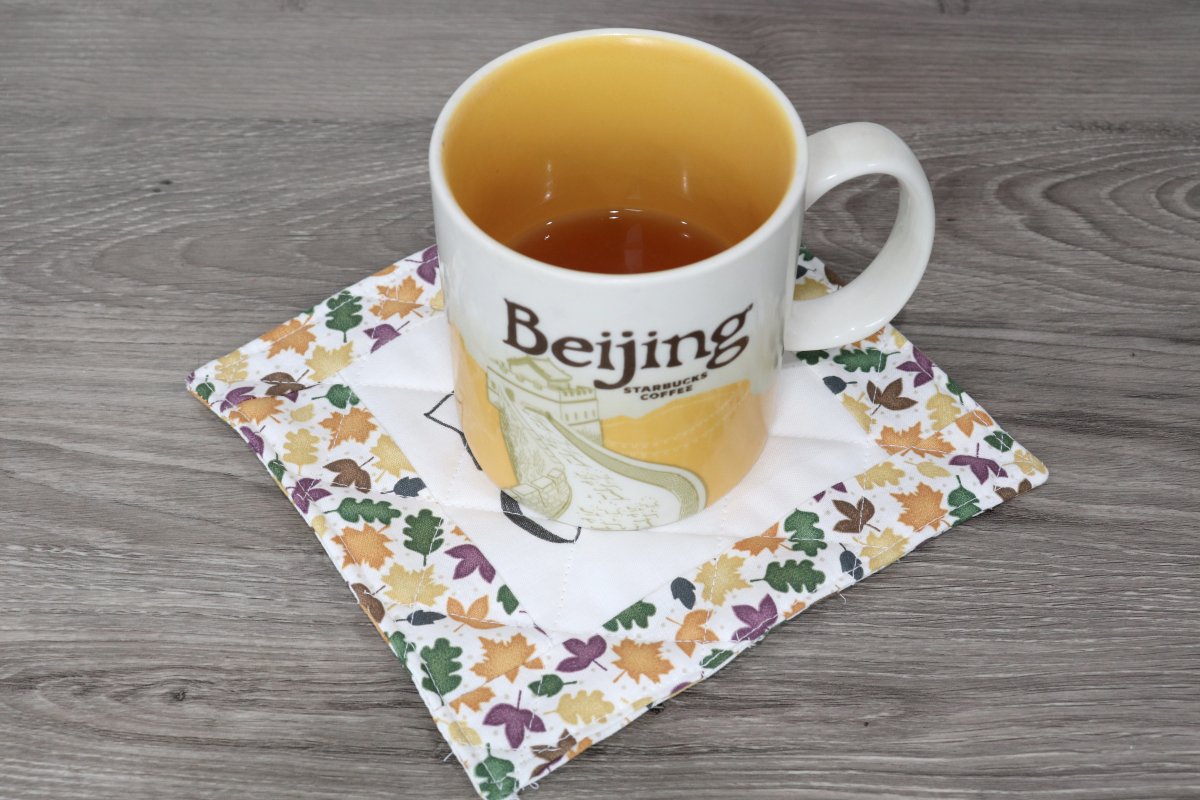
Once the coaster is quilted, it’s finished and ready to use! I made mine pretty large, because I like using big mugs, and I also sometimes like to have room for a cookie too. Shhh! If you want a smaller coaster, you can just trim your pieces slightly smaller to start. Try a 4″ square and/or make your strips 1″ instead of 1.5″ wide for a more compact version.
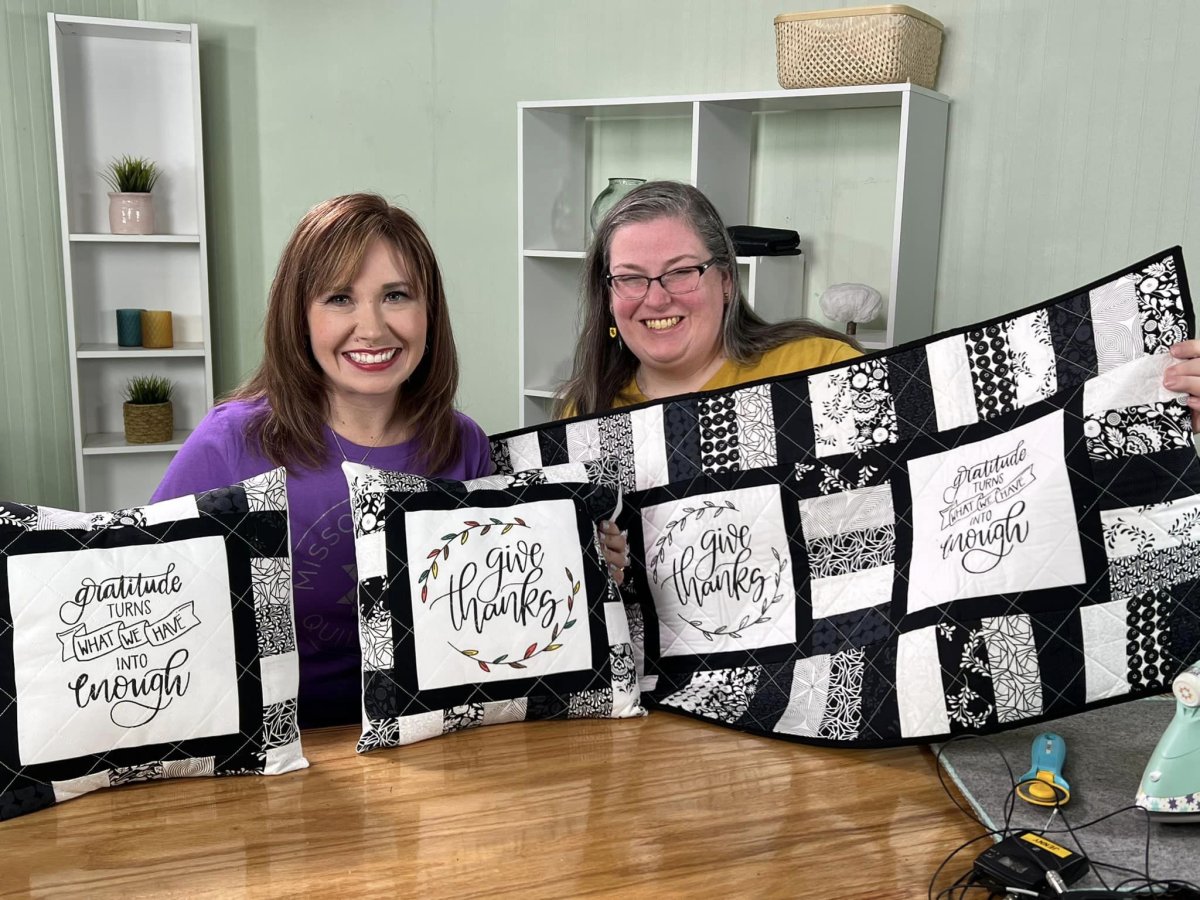
If you try this project, I’d love to see how it turns out! Be sure you’re part of the Amy Latta & Friends Facebook Group where you can share your photos and we can all be inspired. Also, stay tuned, because I have a very special set of projects coming in the next issue of Missouri Star’s BLOCK Magazine! Learn how to take this idea to the next level and create a hand lettered quilted pillow and table runner, just in time for the holidays.
Don’t forget to pin this idea for later and share with a friend!


3 Comments