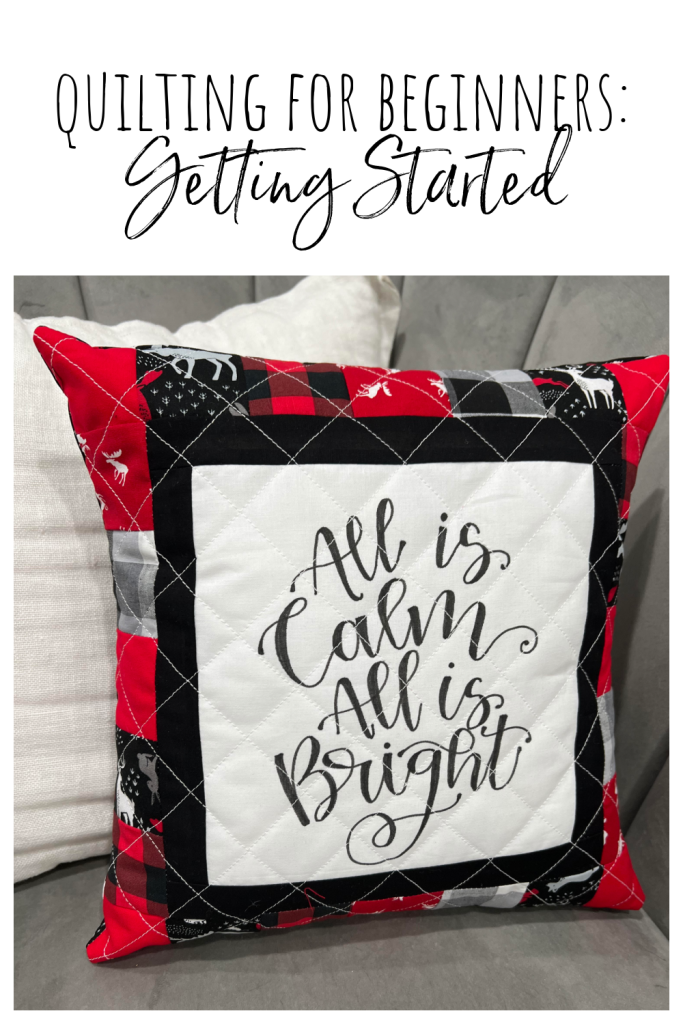
Quilting for Beginners: Getting Started
If you know me at all, you know that I love all types of crafting and creating, and I’m always excited to learn how to do something new. Recently, my friends at Missouri Start Quilt Company (especially Liz Gubernatis!) taught me to quilt, and it has become my new obsession. Seriously, all I want to do is play with fabric. I used to find the idea of quilting completely intimidating, but once I saw how very do-able it is, I was hooked.
(Check out this post to see what my objections were and why I was so wrong!)
I want to start sharing fun patterns and projects with you all, but first, in case you’re brand new to quilting, I thought I better start at the very beginning. Here’s what you need to know to get started with me!
What is quilting?
Basically, quilting is the act of sewing through multiple layers; typically there are three layers of material: two layers of fabric (a front and a back) with a layer of batting in between. It can be done by hand, by sewing machine, or by long-arm quilting machine. The act of quilting is technically just one step in the process of creating a quilt or other quilted project.
Types of quilting
The two main types of quilting are straight line and free motion. Straight line quilting can take on many different forms. The most common is a grid pattern, which often runs diagonally across the project and forms “x” shapes. It can also run vertically/horizontally and create a checkerboard pattern. If you choose not to intersect your lines, you can create a simple pattern of stripes going in any direction.
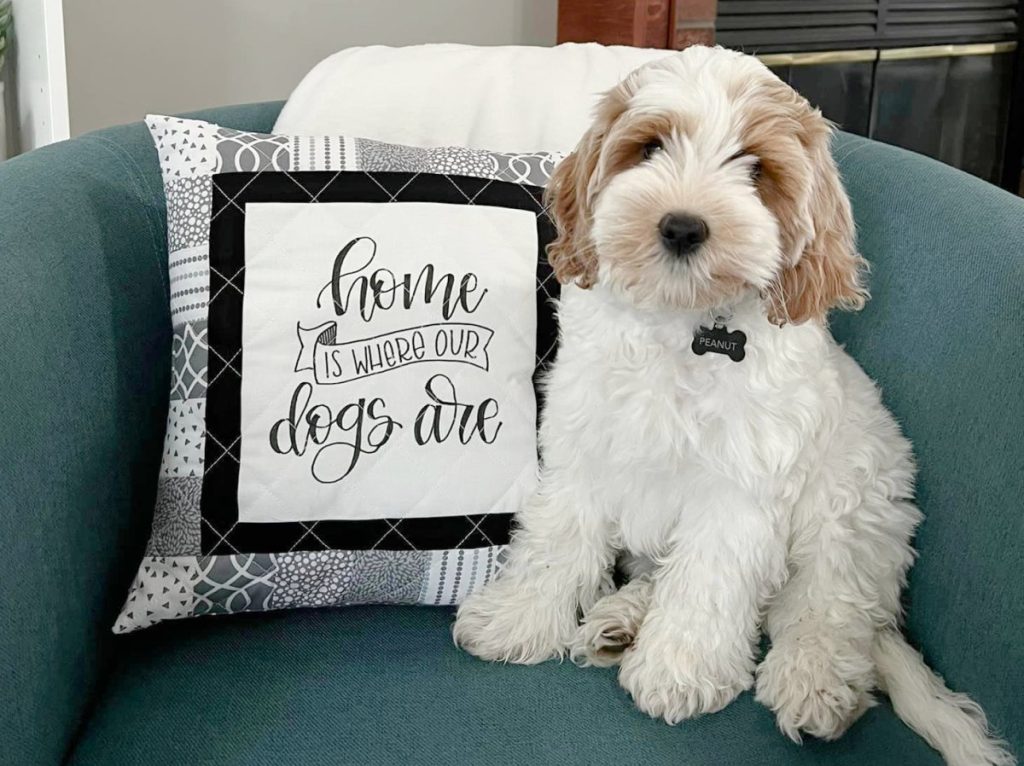
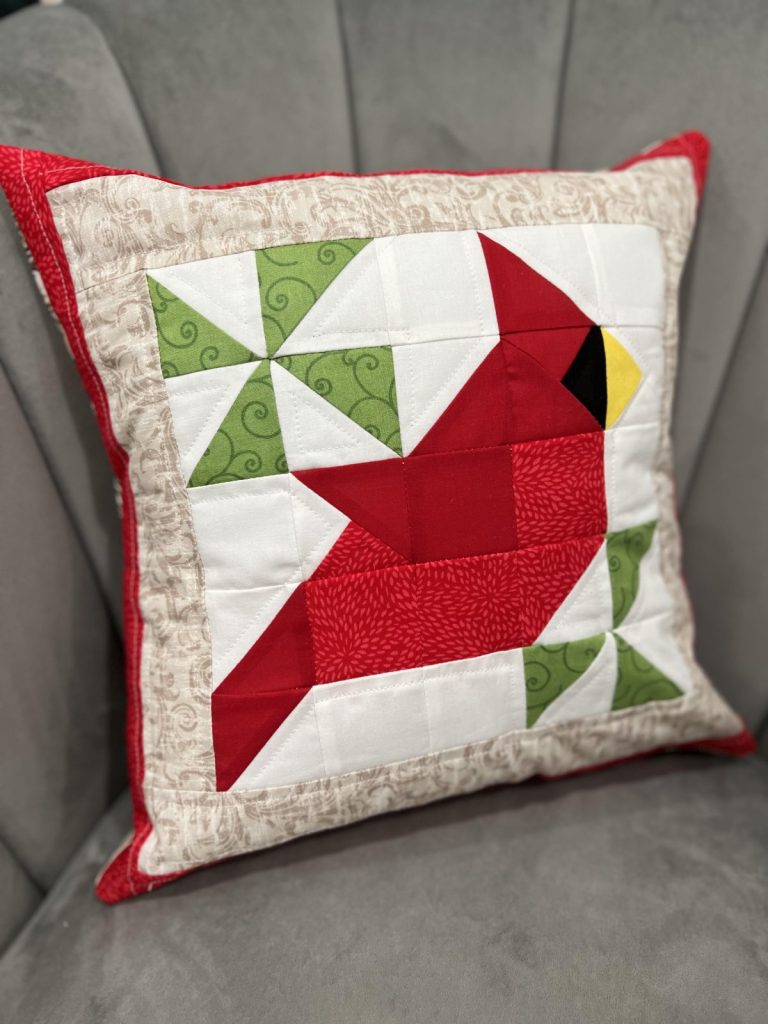
 Another popular way to straight line quilt is to use your stitches to trace around geometric shapes in your design. I particularly like to use this method when I’ve created a decorative image in my pattern, like the cardinal pillow I made for my husband’s gramma. Stitching an outline of the bird makes it pop a little and adds to the design rather than distracting from it.
Free Motion Quilting is done by dropping the feed dogs on your sewing machine (the little grippers that grab your fabric from underneath and push it through under the needle). This allows you to have much more control over the movement of your fabric under the needle and to create all kinds of curving designs. Think of it like doodling with the needle and thread. Check out the example below, done by my friend Bev McCullough of Flamingo Toes (you can get the free pattern for that mini quilt on her site). See how the quilting looks like a bunch of squiggly, wavy lines?
(photo: Flamingo Toes)
The Rest of the Process
If the actual quilting is just one part of creating a quilted project, what are the other important steps? Here’s some terminology you’ll want to be familiar with as you get ready to create your first projects.
Choosing fabrics and a pattern
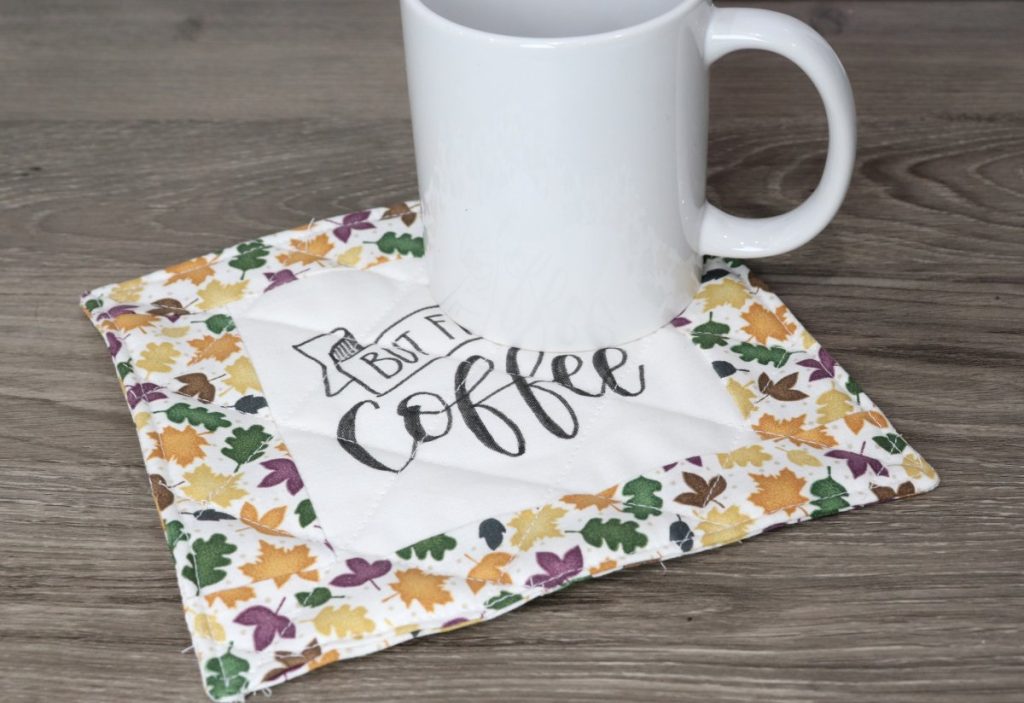
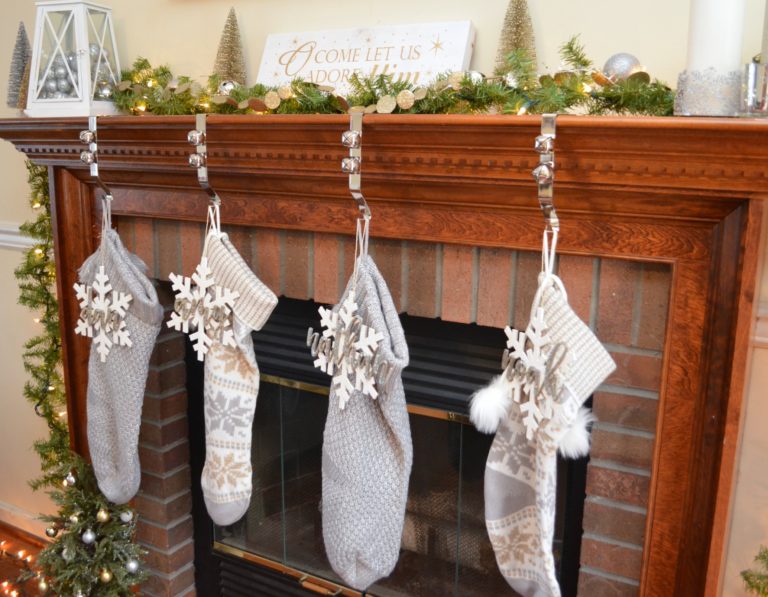
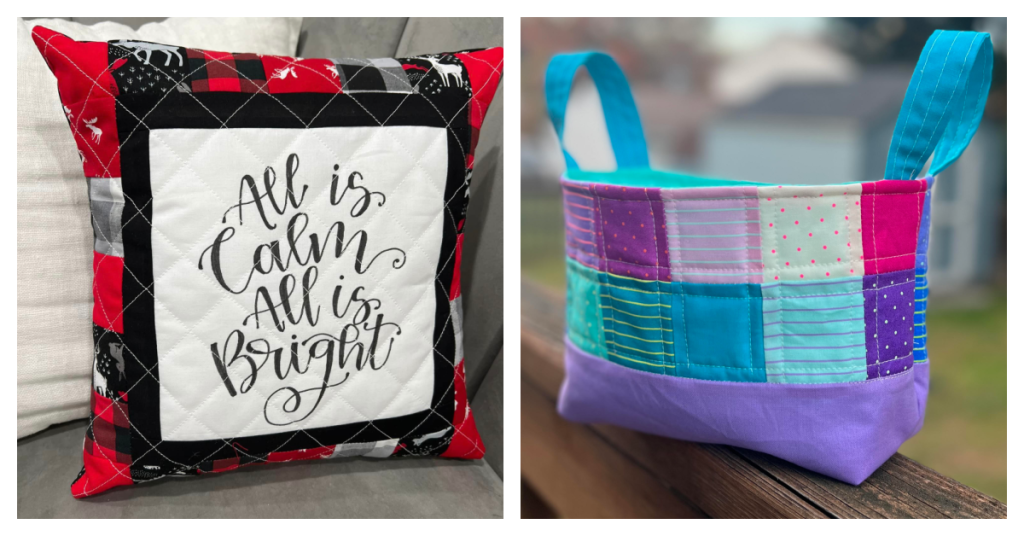
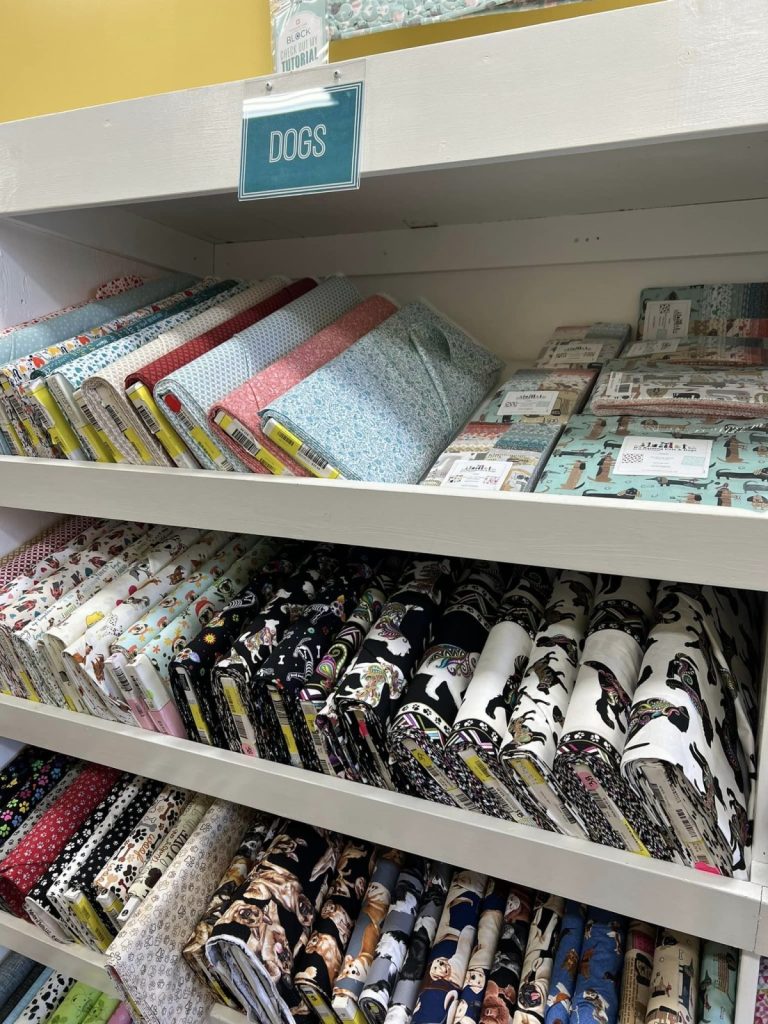
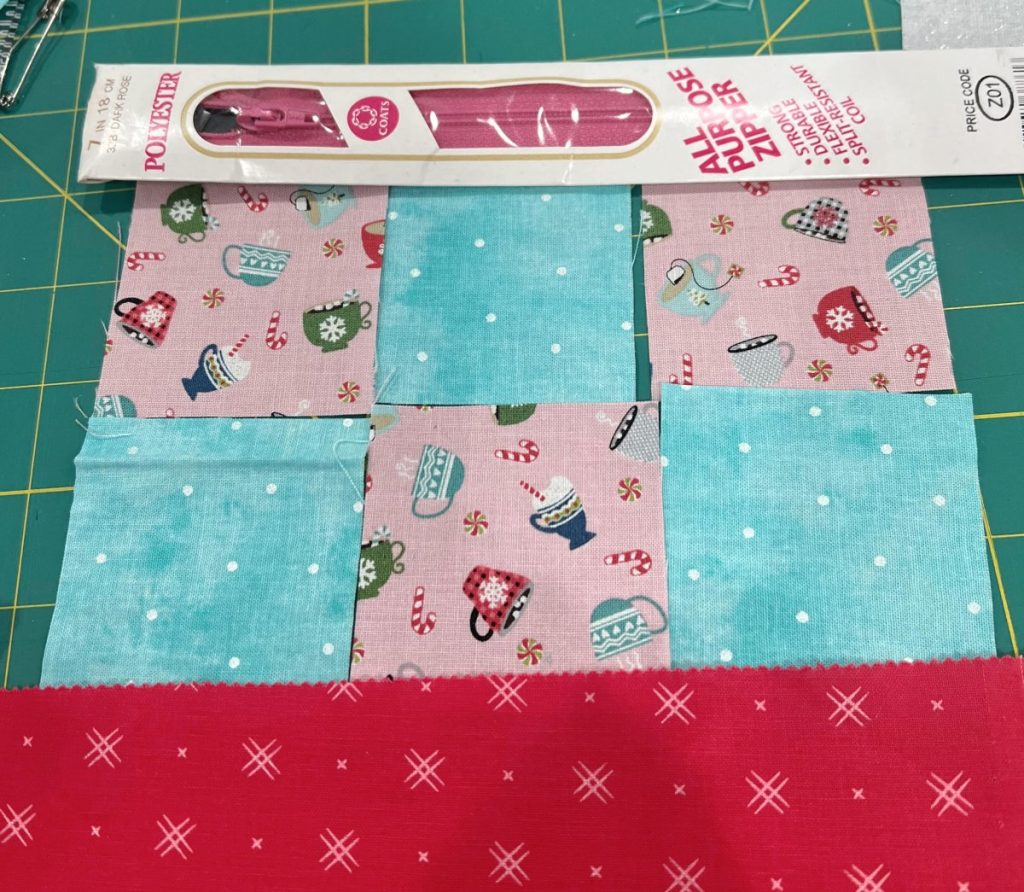
The first step, of course, is to choose what you want to create. Find a pattern you like, then pick out some coordinating fabrics you want to use. Remember, quilting is about more than just quilts. You can also make projects like a coaster, a pot holder, a table runner, a placemat, a pillow, a pouch, a basket, a tote bag, a mini-quilt, a mug rug…the possibilities are endless. There are free patterns available online, as well as both physical and digital patterns you can purchase. If you’re a visual learner, check out YouTube for video tutorials. The pattern will tell you how much fabric you need and how you need to cut it.
Cutting
Once you have your fabric, you’ll need to cut it. Using a rotary cutter with a quilting ruler/template and a self-healing mat is the quickest and most accurate way to do your cutting. If you’re trying to cut with scissors, you’re going to be pretty miserable. Remember, you can also purchase pre-cut fabrics in 2.5″ squares, 2.5″ strips, 5″ squares, and 10″ squares, which can really simplify your life.
Piecing
Piecing is the part of the process where you arrange your pieces of fabric into the pattern you’re creating, then sew them together. The pattern should give you instructions on how to do this, depending on what type of design you’re using. Some designs start in the center with a middle square, then you work your way out, while others go row by row.
Pressing
As you sew, you’ll want to have an iron on hand so you can press your seams, which makes everything lay flatter.
Making a “Quilt Sandwich”
This is the part where you layer the front of your project (right side up), a layer of batting, and a backing (right side down). Use safety pins to hold the layers together while you’re doing the quilting. I trim the batting and backing slightly larger than the front piece, then trim away the excess when the quilting is complete. The next step is the quilting process, where you sew the three layers together using whatever straight or free motion quilting pattern you like.
Binding
This is the final step, which hides the raw edges of the quilt sandwich. To do this, you’ll fold, then sew a long, thin piece of fabric all around the outside edges. There are tricks and techniques to help with this, which we can cover in more depth in other tutorials. Many quilters find this to be the most tedious part of the process, but the good news is that once you finish, your project is complete! Some types of projects don’t require a binding, if they’ve been sewn together in another way, like a pillow cover, a tote bag, or a mug coaster.

Other Steps
Depending on your project, you may have additional steps to do, like creating a lining or handles. Your pattern should walk you through these steps too.
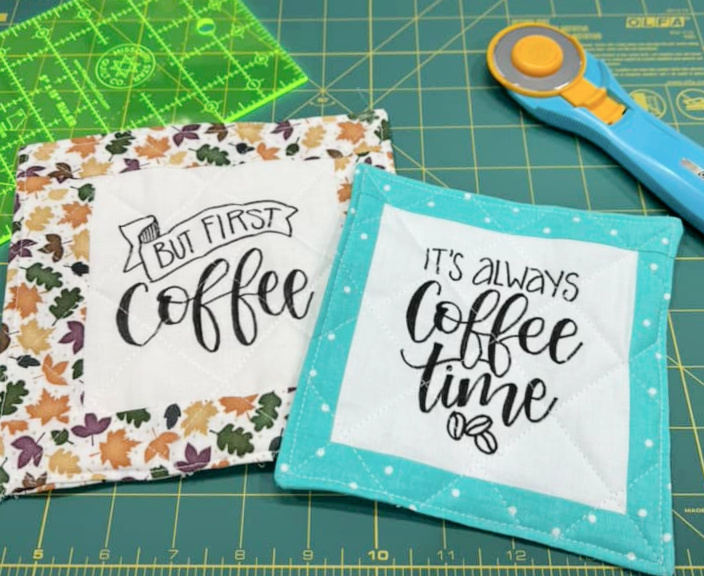
I hope this gives you a basic overview of the quilting process and introduces you to some of the common terminology. Now, you’re ready to start your first project! Here is a simple mug mat you can create (and it doesn’t even require binding). Or, find another pattern you love on Pinterest or another website. In the coming weeks, I’ll be sharing some simple free patterns for things I’ve created, so stay tuned!