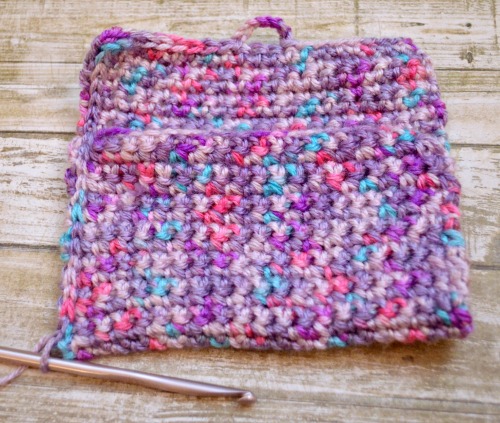
Simple Crochet Pouch
We’re down to just 9 more days until Christmas, so it’s time to take care of those last minute presents! All of us have women on our gift lists, and just about any woman I know needs a little more organization in her purse. So, I thought it would be a good idea to create a simple, pretty little pouch to hold important things…you know, like lip gloss!

If you follow the pattern exactly, this pouch is the perfect size to carry makeup, a small pack of tissues, gum or candy, money, or credit cards/gift cards. If you have something different in mind, just adjust the pattern in the first step by chaining more or fewer stitches to make the width whatever size you like.
I like to keep my crochet patterns super-simple so that even brand-new beginners can follow along. That means we’re only using three basic stitches and you only need a handful of materials. If you’re just starting out, you can click on the name of each stitch to see a step-by-step photo tutorial for how to do it.
– chain stitch {ch}
– single crochet {sc}
– slip stitch {ss}
Materials:
– yarn, any color you like
– crochet hook {mine is size I/9}
– large button
– needle and thread
– scissors
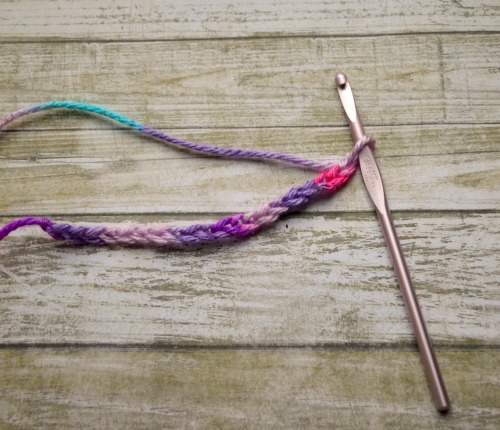
Row 1: Chain 20.
This chain will show you how wide your pouch is going to be. As I mentioned, if you want it to be wider or thinner, you can change it here by adding or removing stitches.
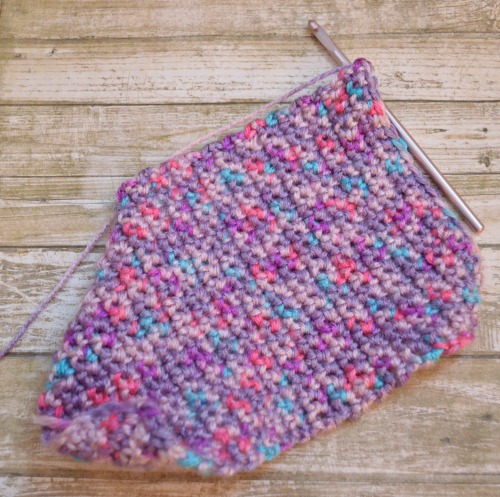
Row 2: Chain 1, then single crochet {sc} in second chain from hook. Single crochet in each chain of the previous row {20 sc}. Chain 1, turn.
Row 3: Single crochet in each single crochet across {20 sc}, ch 1, turn.
Row 4-36: Repeat Row 3.
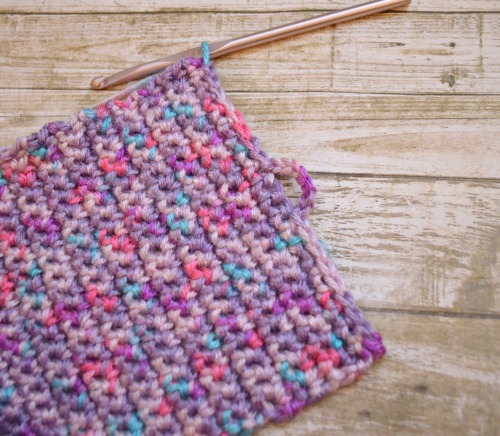
Row 37: Slip stitch in the first 9 sc. Ch 7 {this forms the button hole…you can chain more or less to make it bigger or smaller based on the size of your button}. Skip 2 sc and sc in remaining 9 sc.
Fold the bottom section of your pouch toward the top, leaving about 8 rows of sc for the flap. Slip stitch down one side, stitching the two pieces together where they are folded. Finish off at the bottom corner and tuck end.
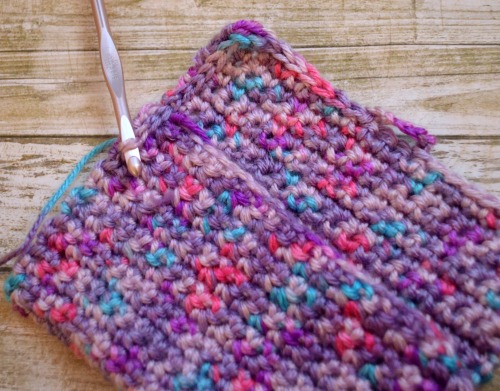
Starting in the other bottom corner, slip stitch up the opposite side until you reach the top corner. Finish off and tuck ends.
Sew a button to your pouch.

That’s all there is to it! Now your pouch is ready to use. When you see how quick and easy these are to whip up, I have a feeling you’re going to be making one for yourself, as well as for some of the ladies on your list. Fill them with a lip gloss or two, or maybe a gift card to a favorite place, and they’re sure to be a hit. You can totally personalize them by using your friends’ favorite colors {they do even make glitter yarn!} so each one looks different and is made just for the recipient with love.

What are some of your favorite kinds of handmade gifts to receive?


Your pouch turned out beautifully! I have some lip gloss I am going to gift this holiday, I wonder if I have time to whip up one of these cute cases?
Oh Amy! You make this look so easy! I am so intimidated by crochet, not exactly sure why, but I have always wanted to learn!
Hi. I’m quite new to crochet. I would like to check with you when you say chain 1, Turn. Turn meaning to work on the opposite side of the stitches (going around).
Thanks. 🙂
Hi, Lisa! Yes, it means you are going to chain one then flip the piece over so that you’re working on the opposite side. Good luck!
I made this today and it turned out great! Thanks for sharing your great tutorial!
Yay! I’m thrilled to hear that!