Sparkle Christmas Wreath
Hey, friends! I am so excited to share my newest wreath project with you today!

For the past several years, I’ve been using a storebought jingle bell wreath on our front door, but it was really too small for the spot. This year, I decided to create my own instead so it would be exactly what I wanted. In the Artsy family, our motto is, “Glitter makes everything better,” so I knew whatever I made had to sparkle! Here’s how I created my wreath in just three simple steps and you can too…
Materials:
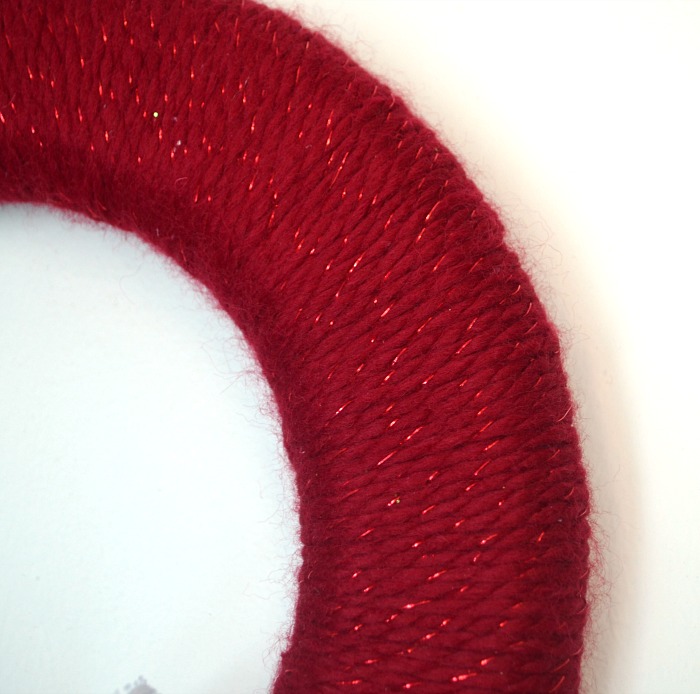
– Floracraft Styrofoam Wreath Form
– Lion Brand Wool Ease Thick & Quick Poinsettia Yarn
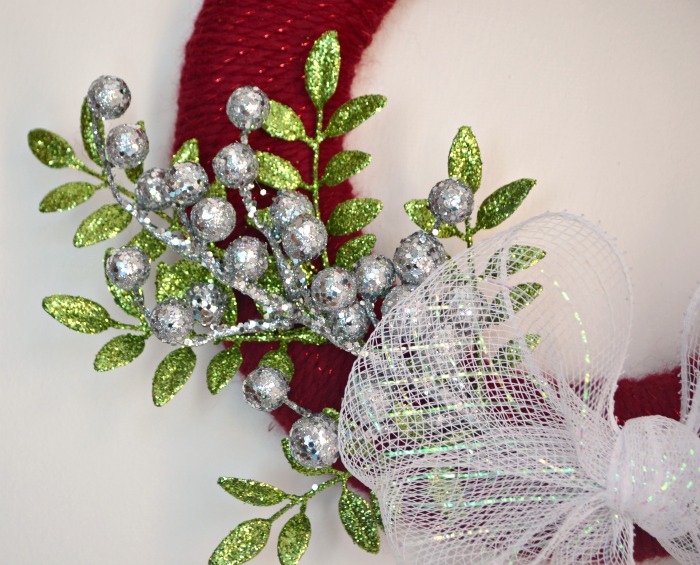
– Silver Berries Floral Pick
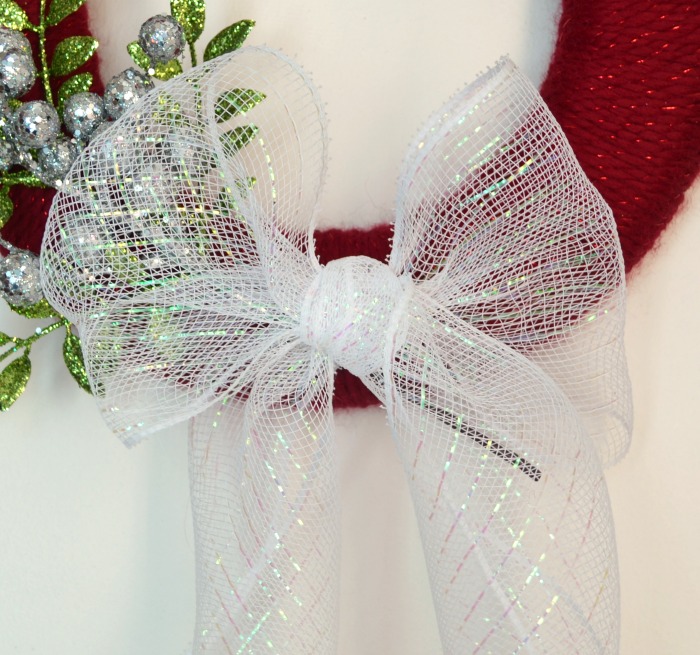
– Iridescent Burlap
– Hot Glue Gun and Glue
– Floral Wire and Wire Cutters
Step 1: Glue the end of your yarn to the back of the wreath form. Wrap the yarn around the form until it’s completely covered. Glue the other end. {Yarn wrapping can be a slow process, but since this particular yarn is thick, it was finished in less time than I expected}.
Step 2: Position your floral pick where you want it to go and secure it to the wreath form using wire. You could also glue it, but in the past, the heat of the sun on my front door has caused hot glue to melt and my wreaths to fall apart. So, I went with wire instead.
Step 3: Tie a burlap bow. Adjust the size to fit your wreath well, then trim the ends. Wire the bow to your wreath form to secure it in place.
That’s it! In just three easy steps and with very few materials, you have a fun and festive wreath that sparkles in every way! I’m loving the way it turned out and can’t wait to hang it on my door.

What are your favorite ways to decorate for the holidays? I hope you’ll stop by One Artsy Mama, where I’m sharing lots more of mine, including DIY ornaments you can make yourself or with little ones and other holiday décor!


Very Pretty!!
Love the wreath!! So pretty!! I usually put a wreath up on my front door, but this year I decided to put a glittery snowflake on it.